In this article we cover:
- Vernacular design concept
- Internal layout around family life
- Troubleshooting on site
- Choosing the right builder
- System choices
- Interior finishes including kitchen and fireplace
- Landscaping
- Top tips to others
- Favourite features and what they would change
- Floor plans and specification
- Suppliers list and timeline
Architect Jonathan Thompson chats about how he went about designing and building his family home with his wife Emma.
How did the opportunity to build your family home come about?
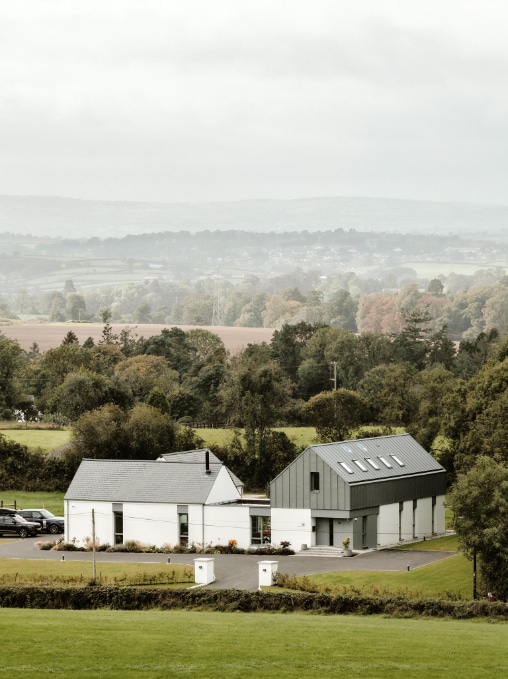
The opportunity arose unexpectedly to purchase a site close to my wife Emma’s family. The site had Outline Planning Approval for a single family home which helped to remove an element of the risk for us. It wasn’t a site with great views or anything like that – it was a simple, quiet, rural site, and we just fell in love with it. Its proximity to Emma’s parents, sister and brother was also important along with the schools for the children
Overview
House size: 274sqm
Garage size: 31sqm
Bedrooms: 5
Plot size: 1/2 acre
Heating: Oil fired central heating
Ventilation: Positive input
Build method: Blockwork (cavity walls)
What inspired the design concept?
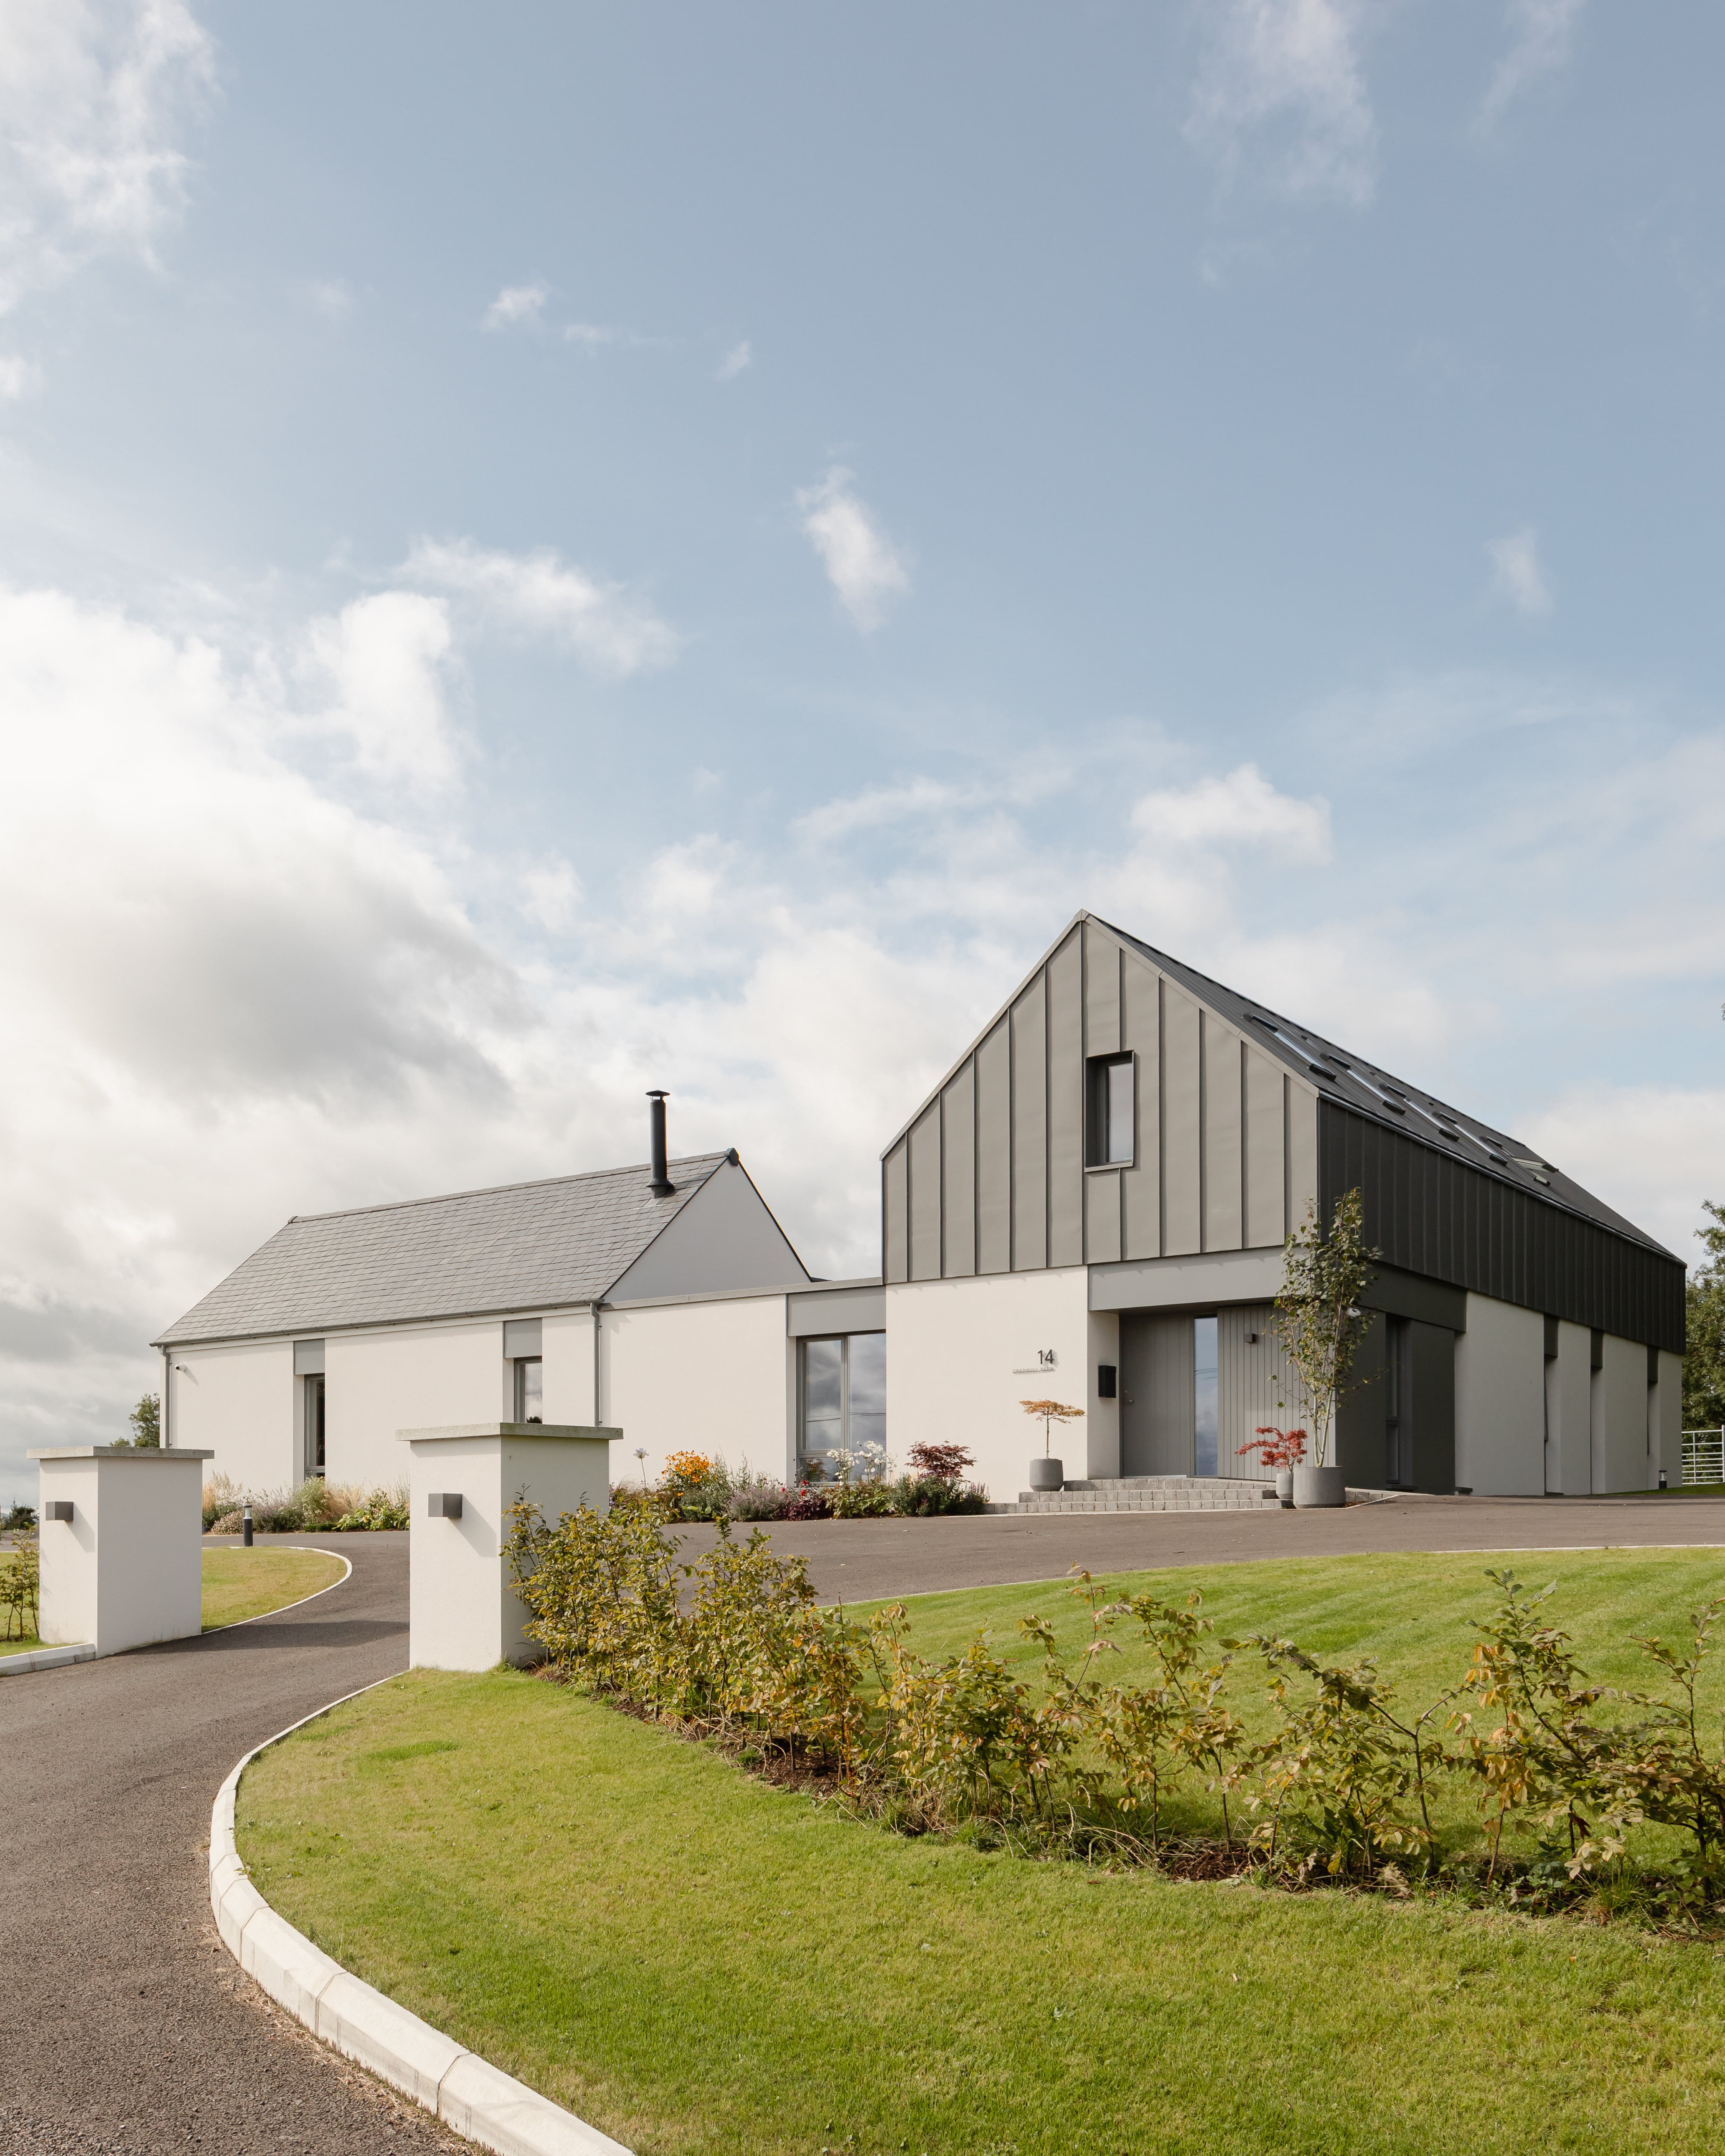
The rural context provided immediate inspiration for the barn aesthetic which was a strong design concept moving forward. In fact, the site dictated every aspect of the developing concept – from the orientation to the 3D form and even how the building would meet the landscape.
Instead of fighting the context, I embraced an agricultural reference with a contemporary interpretation of the traditional Northern Irish courtyard farmstead, sympathetic to the architectural vernacular.
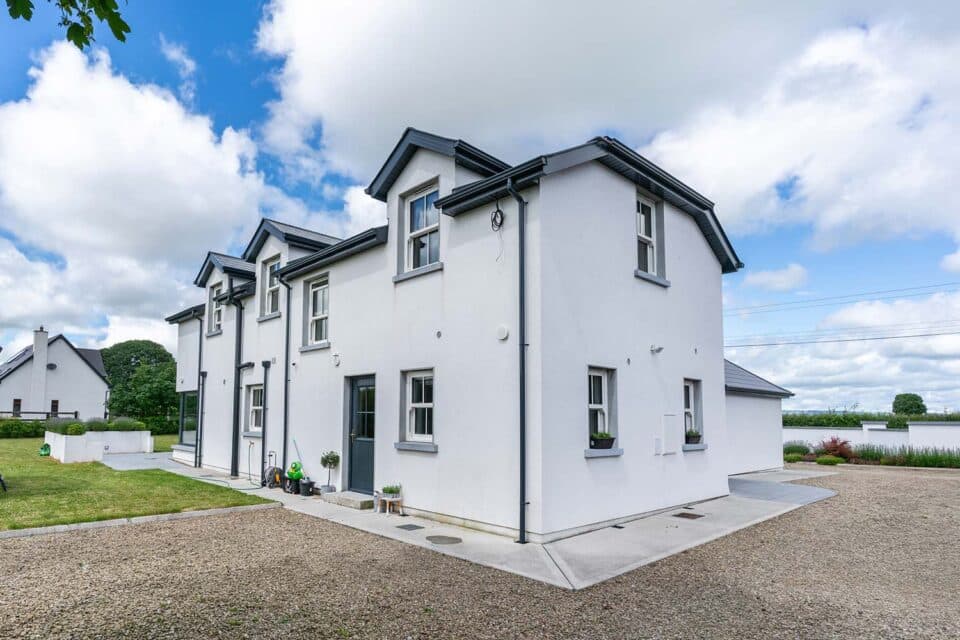
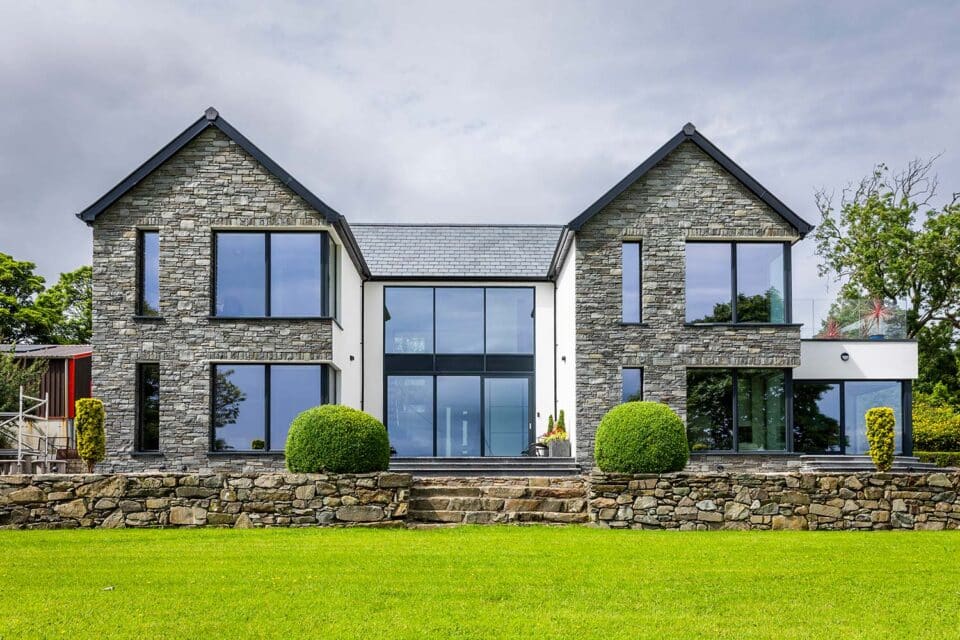
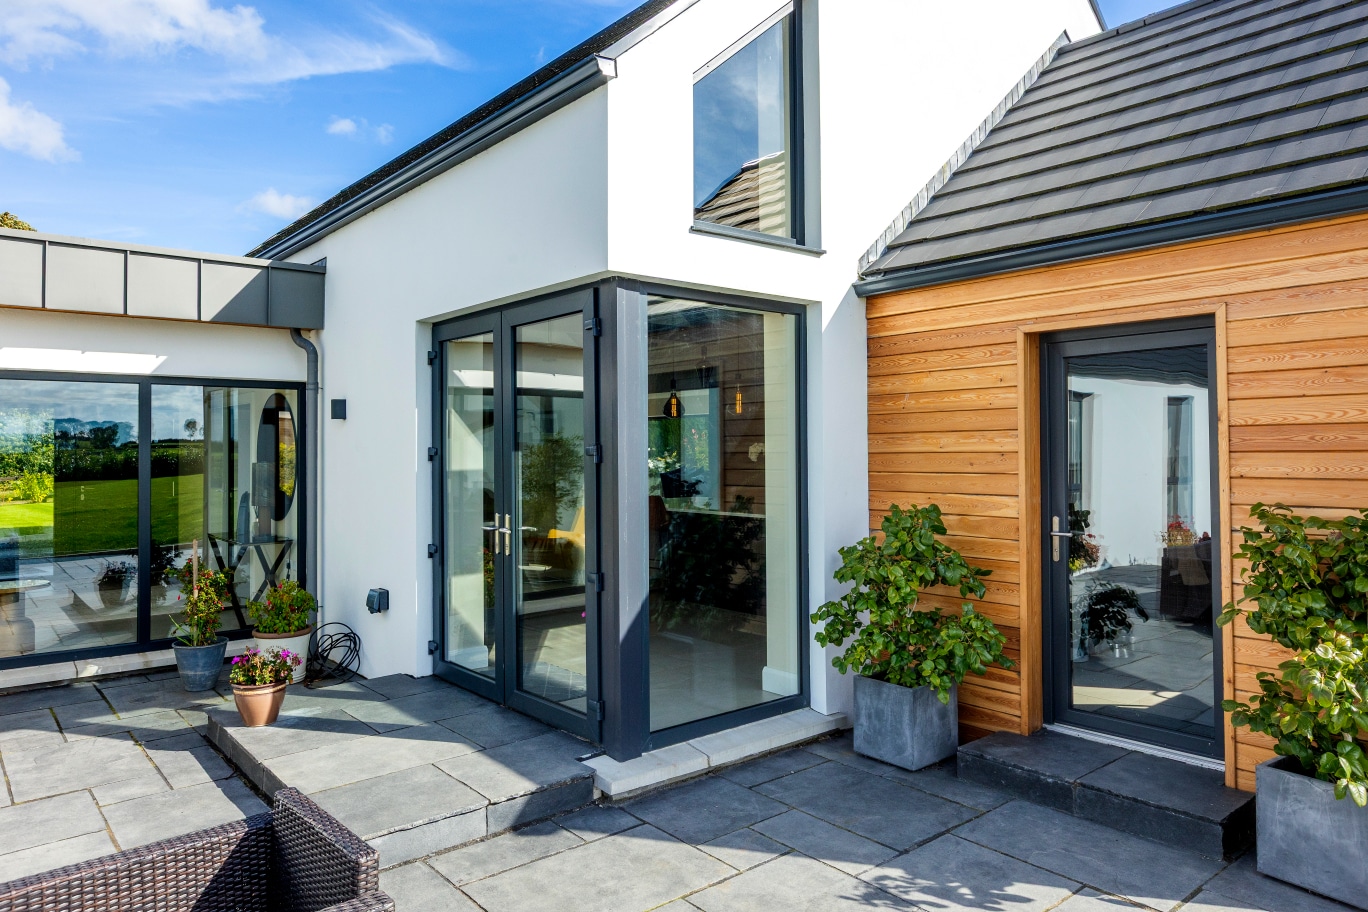
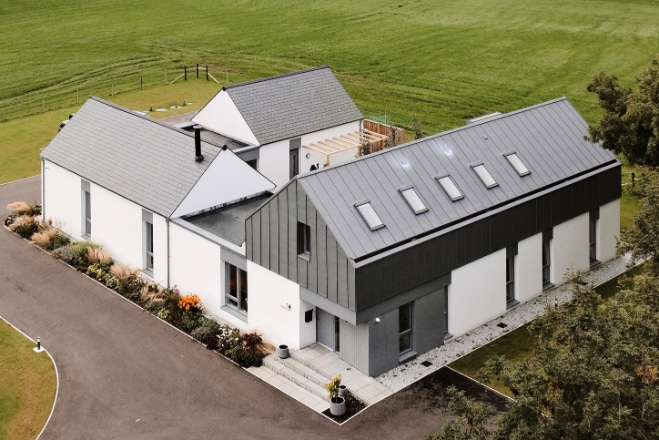
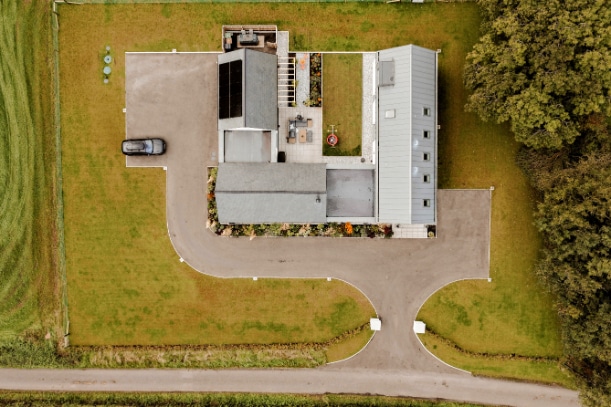
Rather than one large house block, the home is composed of a group of pitched roof forms around a rear southwest facing courtyard reminiscent of the traditional courtyard farmyard typical in the locality. The three pitched-roof elements creating the courtyard are linked with flat-roof extensions.
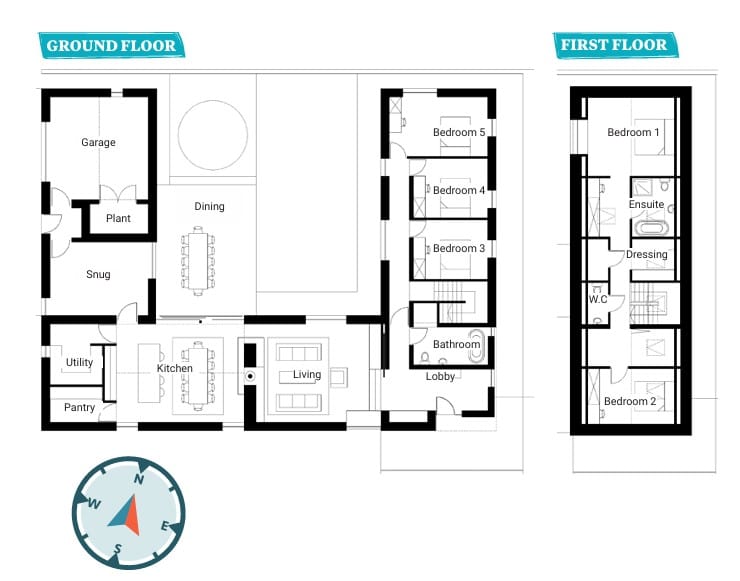
The variation in ridge heights across the collection of buildings is again common in the Irish farmyard idiom and is reflected here too. The concept for the building layout is the separation of sleeping and living space across two main linear blocks: a 1.5-storey block for all sleeping accommodation and a single-storey block for the living, dining and kitchen spaces.
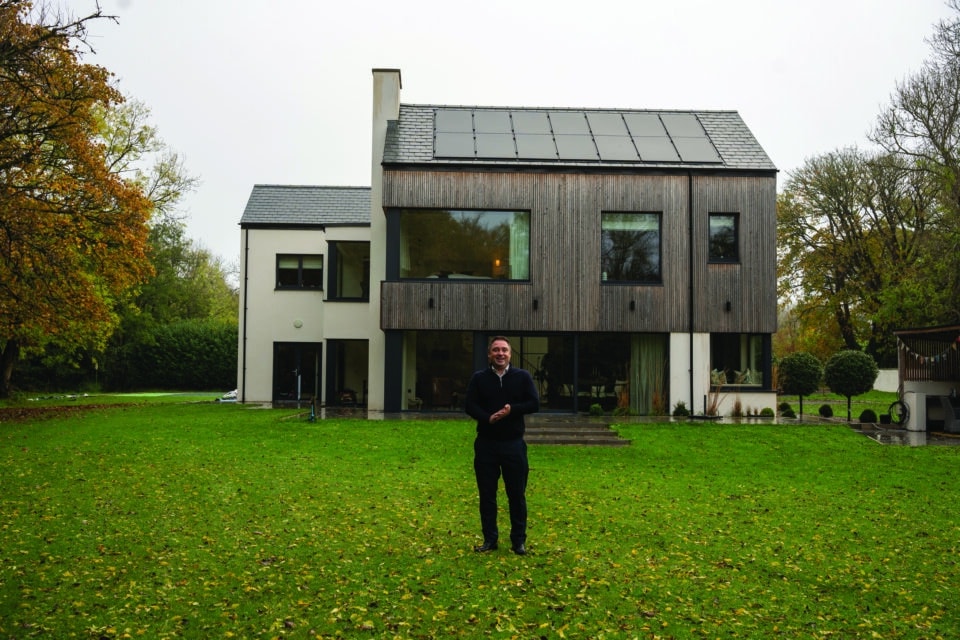
The garage completes the trio and encloses the private courtyard. Materials are simple, contemporary and contextual: white render with a dark slate roof forms the main palette, while the 1.5-storey block introduces grey-toned standing seam zinc cladding, reinforcing the rural agricultural ‘barn’ context.
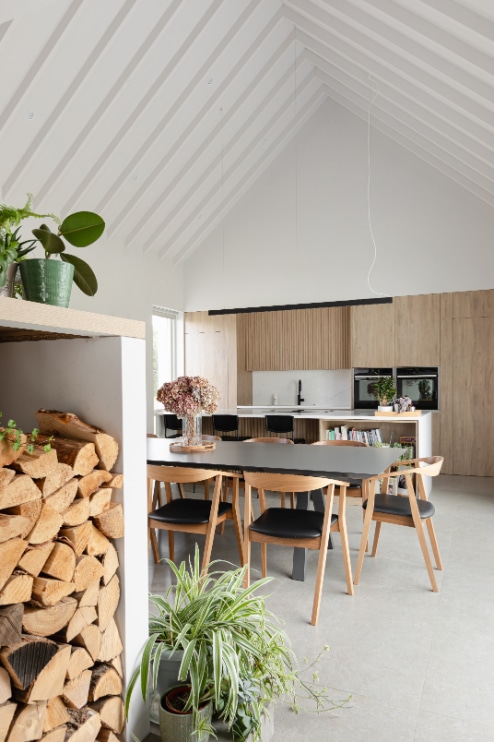
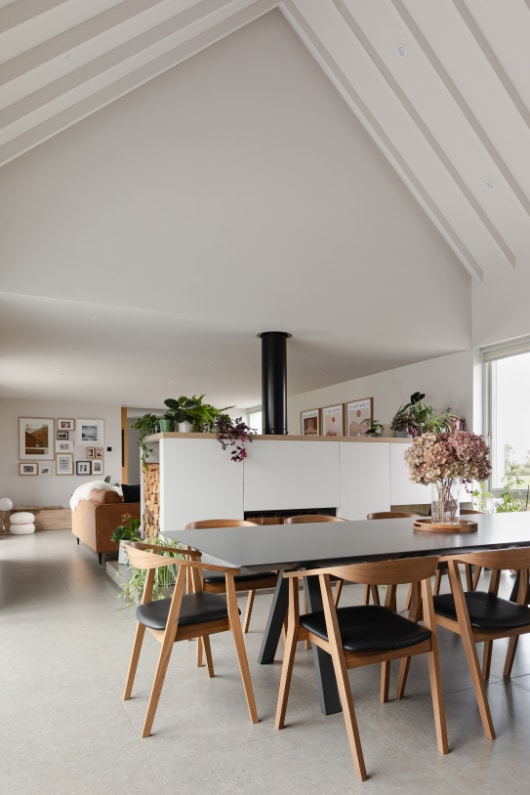
The entrance is marked with painted vertical timber cladding for warmth and texture. A vaulted roof in the kitchen/dining area celebrates architectural volume and space, with visible ribbed rafters accentuating the barn aesthetic.
Tips
Do not be tempted to breach your budget. We had a budget which we refused to exceed. If something was coming in more expensive than planned, we simply cut back elsewhere to ensure that we managed our limits. I cannot overemphasise the importance of this.
Tender wisely. If you want good cost certainty, it is vital that your tender package is well considered with a high level of detail. The more detail, the greater your cost certainty should be. So try to avoid relying on PC sums too much.
Stay hands-on during the build, even if you have a main contractor. Regular site visits help catch issues early and allow you to make informed decisions as things progress. Always make measured decisions, with both practicality and long-term enjoyment in mind. Don’t just focus on trends or what looks good on paper.
Be open to being challenged if you’re working with an architect. Let them test your brief and bring new ideas to the table. Sometimes the best solutions come from being pushed beyond your original plan. From my own professional standpoint I would obviously always recommend hiring a chartered architect in a house build project for these very reasons.
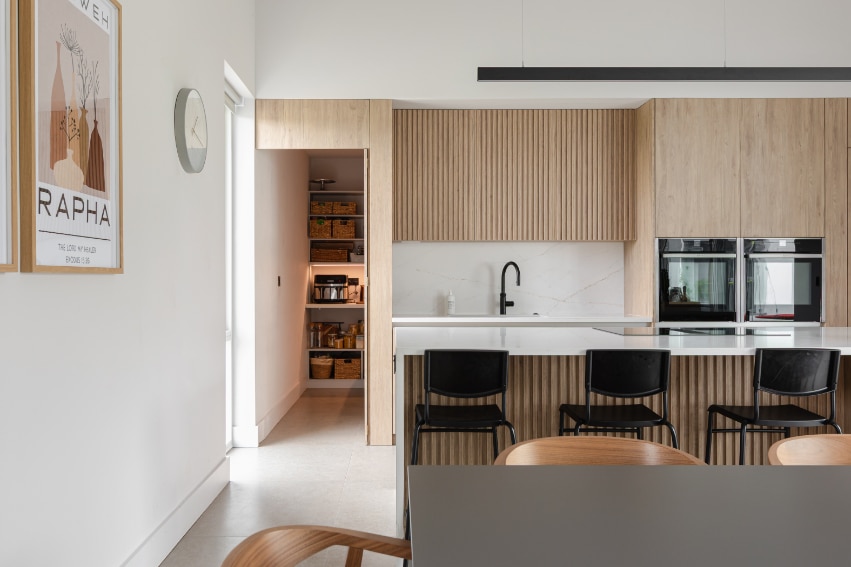
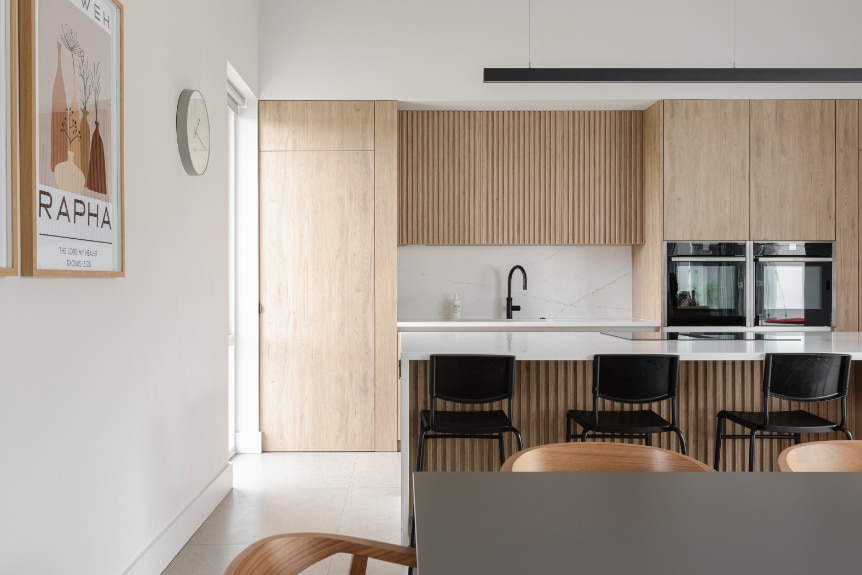
How did you plan the internal layout for everyday family life?
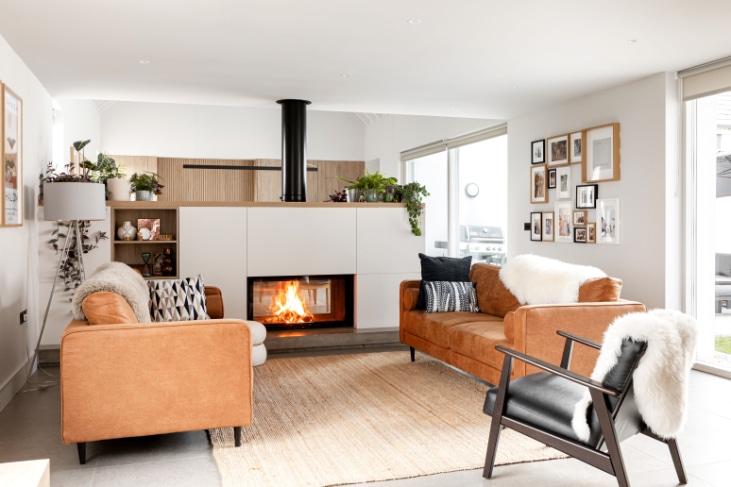
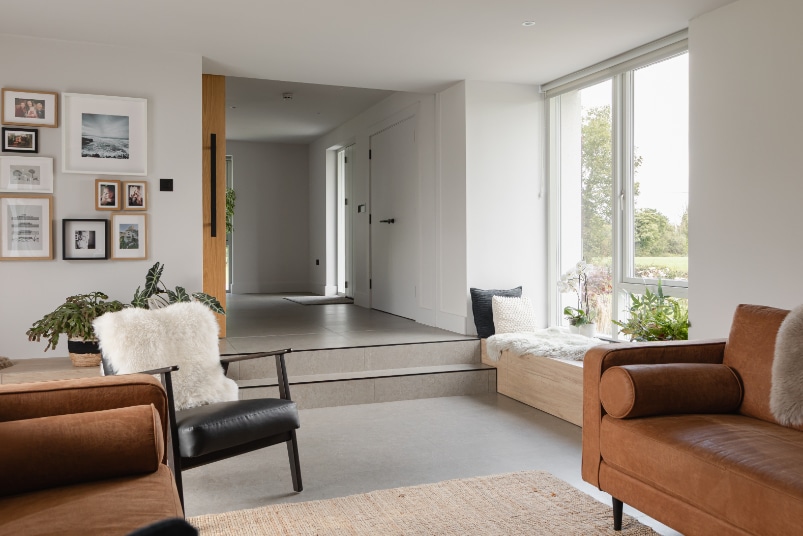
As a family of six, practicality led every decision. We separated functions into two linear wings: one for living and one for sleeping.
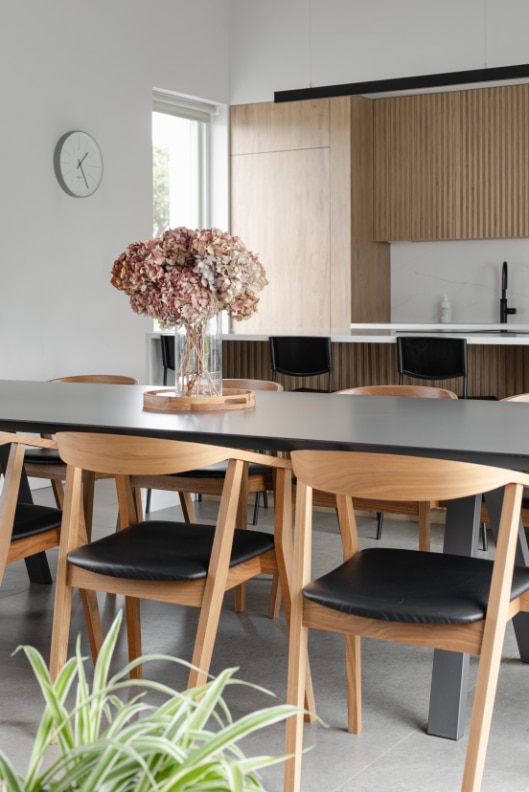
The kitchen/dining space is our main gathering place, for cooking, homework and general full-family chaos. We also included five bedrooms, a snug for quiet evenings, an integrated garage and plenty of storage – thanks in large part to Emma’s input. The layout was designed around how we actually live, rather than following social media trends. Each space had to reflect our routines and personalities, giving everyone a sense of comfort and independence while keeping family life connected.
By the time we had reached the point of building our own home, almost 20 years married with four children, we had a very clear understanding of how our family operated and the flow we knew would work. We considered future independence and privacy too, so the layout allows for quieter zones for the kids as they grow, without isolating anyone from the family heart of the house.
Did your architectural experience make the self build easier?
Despite the fact that I have almost 20 years in private practice as an architect, I had quite limited experience in the delivery of single family houses. Much of my experience has more recently focused on high density housing projects in London and third level education projects.
That being said, I am very comfortable with design supported by a fairly strong technical knowledge, so it was a great challenge to take on. Of course, when the house is for yourself and your family, the pressure multiplies considerably. In preparation for the tender process, I produced around 20 detailed construction drawings, about four times more than a builder would often see for a typical rural house.
The purpose of this was to challenge my own mind to consider the construction of every part of the house and it was also about ensuring a more complete tender estimation. As the project develops on site, that training has its part to play when reviewing progress, but when you are both the architect and the client, perhaps the emotional investment is much more acute and the eye for detail ramps up a notch! It is very important to know when to keep pushing and when to step back.
What were your biggest technical challenges during construction?
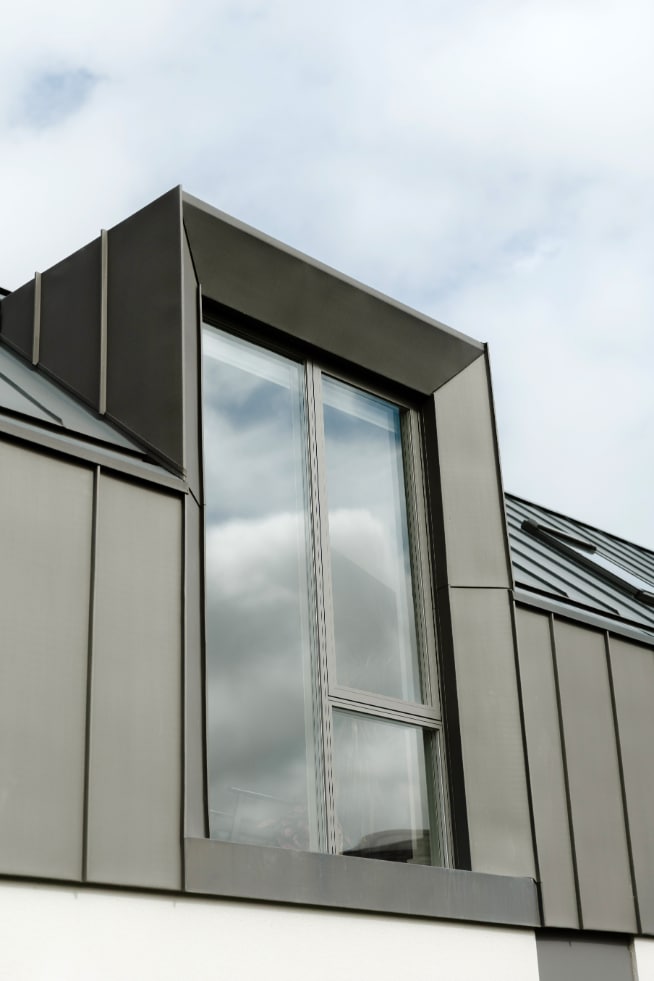
The zinc roofing over the 1.5 storey wing of the house demanded specific detail attention with a hidden gutter detailing, and really clean lines marrying with a zinc clad dormer with angled reveals coming to a point. A specific datum line runs around the entire house which is created by the base of the zinc cladding – this forms the line for the base of the pitched roofs and the parapet of the flat roofs.
This aspect took some specific detail consideration. A recessed flat metal detail over all ground floor windows proved quite challenging. Again, it had to meet the imposed datum line, ensure proper insulation and ventilation was achieved, whilst avoiding thermal bridges. The cantilevered entrance involved heavy steel detailing for structural and thermal performance.
Internally, our double-sided fireplace was another demanding element, requiring close coordination between the fire installer, concrete hearth provider and joiner to work within tight tolerances.
How did you select your builder?
We tendered at the peak of the rapid construction cost inflation in the spring of 2022 – it was a scary time as we had already sold and left our previous home – so our budget was stretched to its extreme limits. To initiate the tender process, I used the Federation of Master Builders’ website to find reputable local contractors and shortlisted five.
Our contractor stood out from the start; I’d already seen them employed to build a house for friends of ours so I could see their attention to detail first hand. Whilst a ‘fixed price’ tender was not possible for the builder to offer in July 2022, with careful budget management and a small contingency, the overall project was completed for just £2k over the original tender price.
This demanded a forensic understanding of the costs and specification. I suspect that working with an architect who is also the owner of the house would be challenging for most builders, but Mark (our builder) and I worked really well together. him and we never once lost patience. We challenged each other constructively every step of the way.
Since then two family members have employed the same company for their own build projects; I think that is the ultimate endorsement. With our home Mark won ‘Housebuilder of the Year’ in the Federation of Master Builders NI Awards, a further testament to a successful project.
Comfort and efficiency clearly mattered – what systems did you choose?
The goal was high performance now, with the ability to upgrade over time. That means the thermal performance of the envelope was a key decision and significant funds were invested in insulation across the whole building to maximise thermal mass. This was coupled with triple glazed windows and high-performance doors throughout also supported by airtightness measures at reveals and other crucial details.
All of this required financial investment in things which are largely unseen, but the quality of the environment now, and how easy the house is to heat has proven the value of these decisions.
The house achieved our builder’s highest airtightness result and EPC certification to date, so it was a good process for him also. I initially planned on installing an air source heat pump to heat the house and I tendered on this basis. However, the quote for the NIE Network’s connection to the house was over £15k. This was due to the higher power load required for a heat pump; in this specific case that would have demanded the upgrade of a nearby transformer. This compares to the £4k standard connection charge. With a very close eye on the budget, there was simply no debate. This was an extremely frustrating occurrence, but we made the design to install our heating system in such a way that an upgrade could be made easily when the time is right.
Underfloor heating was installed in every room which works well with the oil fired boiler. We laid the underfloor heating pipes tighter together which would be typical for a heat pump installation. This was practical planning for a potential switch in the future.
I installed solar panels on the garage facing south-east, as part of my effort to boost our energy efficiency and generate some of our own electricity. At the moment, with NIE Networks there’s a limit of 5kWp for PV installations unless you have battery storage on the property. I did find this quite frustrating as it does not encourage a homeowner to maximise the potential PV power generation. It would be good to expand the system in the future to be even more self sufficient, but the setup works well for us and helps offset a reasonable element of our electricity use.
When it came to choosing a ventilation system, I initially considered a whole house system, but in the end, it technically wasn’t the right fit for the house. Instead, I opted for two positive input ventilation units; these quietly bring in filtered fresh air and help keep the indoor environment healthy and comfortable. It’s a simple, low maintenance setup, and we’ve never had any issues with air quality or stuffiness.
How did you approach the interior finishes?
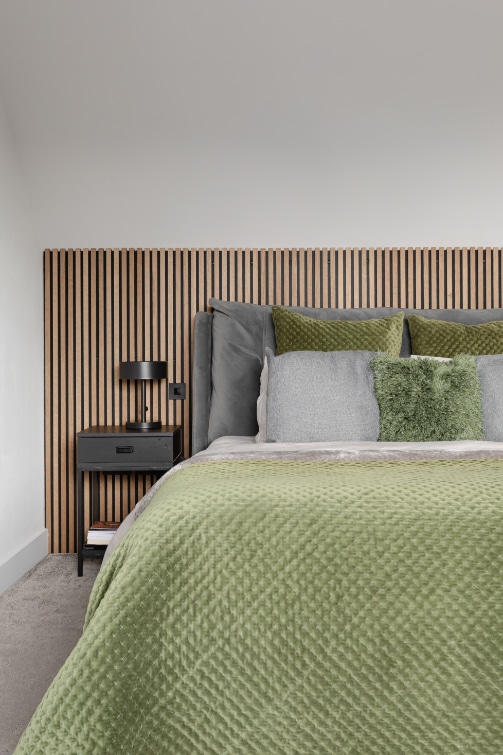
We’re both drawn to the Scandinavian inspired look, so we kept the palette simple with off-white walls and used a single concrete effect large format floor tile in all tiled areas, with a warm grey quality carpet elsewhere.
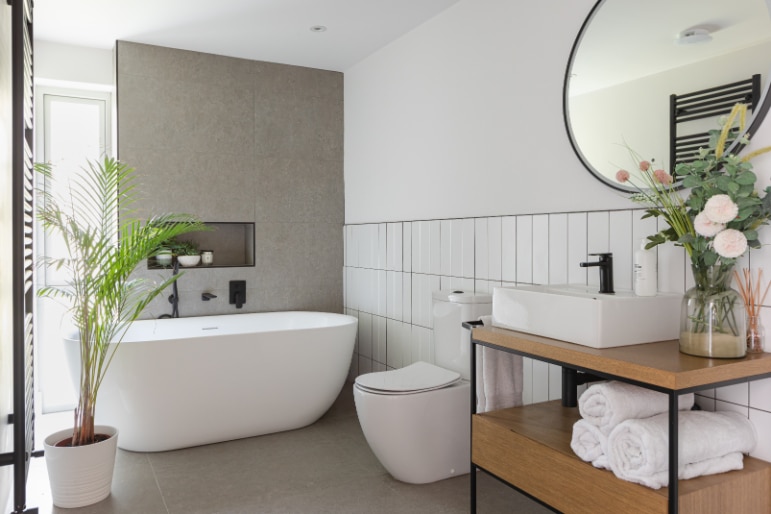
We made conscious choices to balance style, practicality and cost. For example, we had a tendered budget of £30/sqm for tiles, which was not helped by rapid inflation. We therefore made careful choices to stay within that. We used the same feature tile in the bathrooms but reduced the tiling quantity and mixed it with more affordable brick wall tile to keep things within budget without sacrificing character.
All walls, ceilings and joinery were painted the same colour, with highlights introduced through bedding, soft furnishings and objects. Natural materials feature throughout, including pale oak in the kitchen and on a sliding door.
Lighting was something we put a lot of thought into. We started with input from a lighting designer during the tender stage, but in the end, we leaned heavily on floor lamps and accent lighting for warmth and cosiness, rather than relying solely on overhead f ixtures. One of my favourite features is a striking bar light over the kitchen, which adds interest without being flashy.
For bathrooms and kitchen finishes, we went with a modern but understated feel: black taps, handles and quality vanity units and sinks, which give a strong contrast but also work well with how light the spaces are.
Tell us about the kitchen and feature fireplace.
At the centre of the home is the double sided fireplace, visible from both dining and living spaces. It sits on a polished concrete hearth and is really the centre piece. In actual fact, we had purchased the fire before site work commenced so in many ways, the living/ kitchen/dining space has been designed around it.
The kitchen was a real balancing act between cost and design ambition. Showroom prices didn’t match our budget, so I designed it and a great local kitchen maker who I had worked with before made it real.
John has great attention to detail and thinks like me, so he knew the importance of clean lines and was easy to work with. I estimate we saved about £4,000 to £5,000 compared to going with a big kitchen company.
What role does the outdoor environment play?
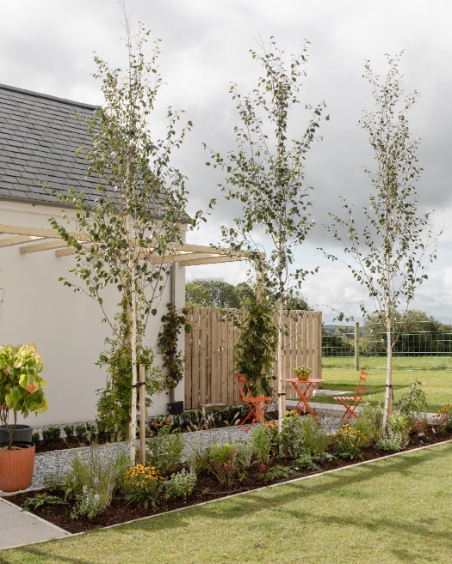
The landscaping was chosen with budget in mind but aimed to be contextual and impactful. Along the entire front of the house is a long, wide bed planted in a cottage garden style with over 100 plants including masterwort, dahlias, daisies, woodland sage, anemone sylvestris, various grasses and a Japanese maple. This bed matured well last spring.
The rear courtyard is a family area with hard and soft landscaping. A timber pergola sits over a bed, with silver birch trees and perennials planted to echo the front garden. Simple marble stone paths add interest.
The courtyard layout creates a private, sheltered outdoor space ideal for dining and play. Low maintenance decisions were a priority; with four children and a new golden retriever puppy, there’s already plenty to keep on top of indoors.
Any regrets or lessons learned?
I visited the site every evening during works so I could monitor progress and act quickly if any problems started to develop – this was extremely important lesson. I spent many a winter’s night walking around a dirty site with a torch.
There were also technical reflections: if I’d had more time during detail design, I would have explored timber frame construction for its insulation and airtightness qualities, though the solid loadbearing build we chose has also brought many benefits. Above all, this was our first self-build, so every decision carried emotional weight. It taught me the importance of patience, adaptability and focusing on what truly matters – family, function and creating a home that works for us.
How did it feel once you finally moved in?
Instantly right. There was a slight fear that after years of emotional effort, the reality might not match the dream. But on the first evening – doors open to the courtyard, kids running around – it already felt like home. We are now coming up to two years in the house, and we all still love coming home.
Q&A With Jonathan
What is your favourite design feature?
I think it would be the double-sided fireplace. It’s a very special element which is always a source of conversation with our guests. It’s a large, quality German product that creates a striking focal point. The fire is set within a surround I designed to ensure all the opening mechanism and the main chimney chamber were hidden – all you can see is the glass and a single flue rising up, everything else is hidden. Every time my wife and I come home, we get a real kick out of seeing it. We both also love the kitchen – we invested a lot of time in designing it and it is working exactly as we had hoped. The walk-in pantry is a real luxury.
What would you change or do differently?
I’d maybe focus on the location of the two oldest boys’ bedrooms. They’re on the north or northwest side of the house and are a bit darker than I would have liked – they had shared a room for many years and I didn’t quite expect the boys to hibernate quite so much in their rooms – maybe that is also a sign of success!
What surprised you?
Surprise may be the wrong word but I was delighted at how straightforward the planning application process was. It is always an unknown but I was confident that my aspirations to make this property settle into the context could only ever really be seen as a positive by the planners. I was certainly surprised by the lack of supports for net zero objectives, from how unaffordable the electricity connection charge was for the heat pump to the limits on the number of PV panels we could install without a battery.
What single piece of advice would you give?
Invest as much time and effort as possible into thoroughly designing the building before you even start the build – make sure you understand the drawings. The less changes on site the better for the pocket. I modelled the house to a very high level of detail on computer software to help myself and my family visualise the plans as much as possible
Project Info
Spec
External walls: Internal skin of 215mm concrete blockwork with a 150mm cavity and a 100mm outer leaf. The cavity is filled with 150mm full fill polyisocyanurate (PIR). U-value: 0.13 W/sqmK.
Floor: Above the ground floor concrete slab there is a continuous damp proof membrane (DPM) later with 150mm PIR insulation and a 50mm deep liquid screed over vapour barrier. The first floor maintains the solid construction with precast concrete slabs with a 75mm insulation layer and a 50mm liquid screed.
U-value: 0.11 W/sqmK (ground floor).
Flat roof: The two flat roofs are built with engineered timber joists and a plywood deck, topped with 150mm PIR insulation and a single-ply membrane roof. U-value: 0.13 W/sqmK.
Pitched slate roof: Timber rafters support the roof, with 60mm of PIR insulation beneath the rafters, a vapour control layer, and 12.5mm plasterboard. Inside the rafters, there’s 125mm of additional PIR insulation, a 50mm ventilated gap above, and standard slate tiles on top. U-value 0.10 to 0.13 W/sqmK.
Standing seam zinc roof: Timber rafters support the roof with 60mm of PIR insulation underneath, a vapour control layer, and 12.5mm plasterboard. Within the rafters is 125mm of insulation, covered by a zinc membrane. Ventilation is maintained with a 38mm batten gap, topped with an 18mm plywood layer as a base for the zinc panels. U-value: 0.13 W/sqmK.
Windows: Triple glazed uPVC, U-value 1.0 W/sqmK.
Suppliers
Architect: Jonathan Thompson
Main contractor: GM Construction
Structural engineer: ADD Consulting
M&E engineers: AH Design
Polished concrete hearth: Donnelly Custom
Polished Concrete External doors and windows: Rationel Zinc
Roofing supplies: VM Zinc
Floor and wall tiling: David Scott Tiles
Bathrooms: Ceco
Kitchen: Logans Kitchens and Joinery, Ballymena
Double sided fireplace: Flames and Fireplaces, Banbridge
White goods: Dalzells of Markethill Carpets 68/SELFBUILD/SPRING26 PWM Agencies, Bangor.