In this article we cover:
- Living in the house to determine what needed done
- Reworking the ground floor to improve the flow
- Planning permission process
- Finding a builder
- Structural issues they uncovered
- Energy efficiency considerations
- How they refreshed their windows at low cost
- Favourite design feature
- Surprises along the way
- Top tips to other renovators
- Lighting and interior finishes including flooring
- Landscaping for their urban garden
- Timeline and professional photographs
- Before and after floor plans
- Specification and supplier list
Overview
Extension size before: 57 sqm
Extension size after: 79 sqm
Bedrooms: 4
Heating system: Gas
Ventilation: Natural
Build method: Cavity blockwork
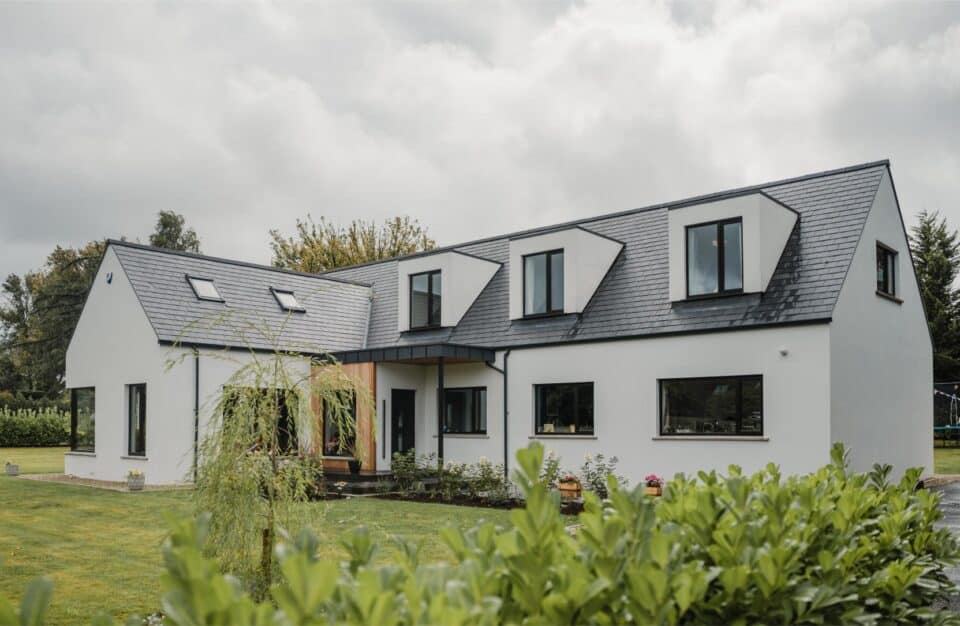
Phil and Judith Stewart reshaped their 1920s Belfast home to suit family life now, and in the years to come.
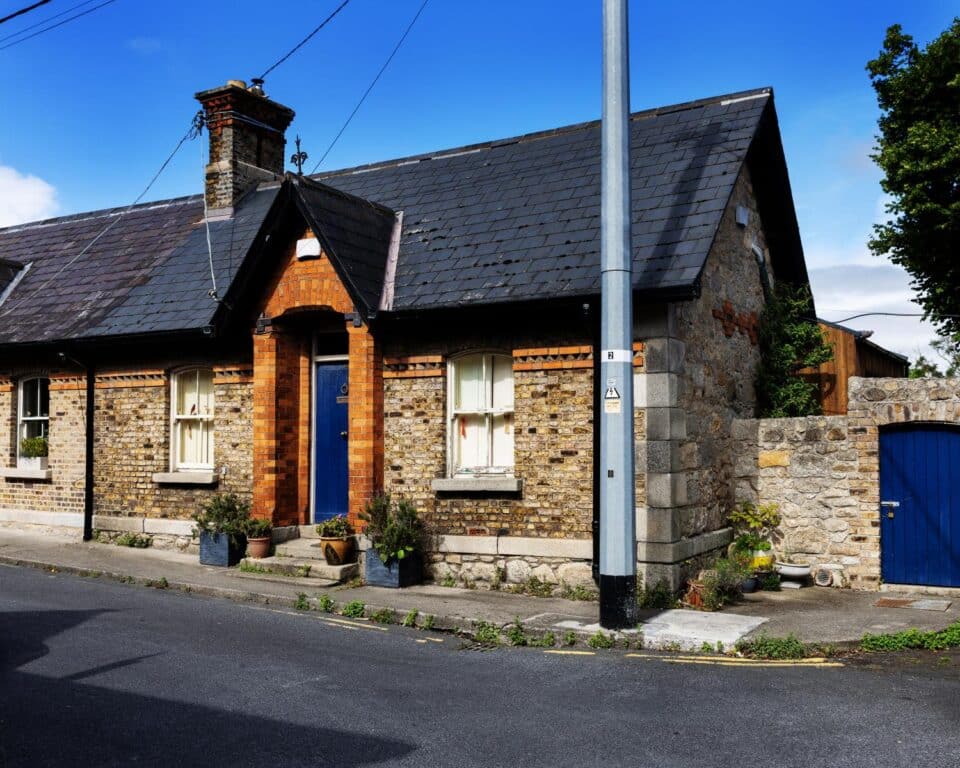
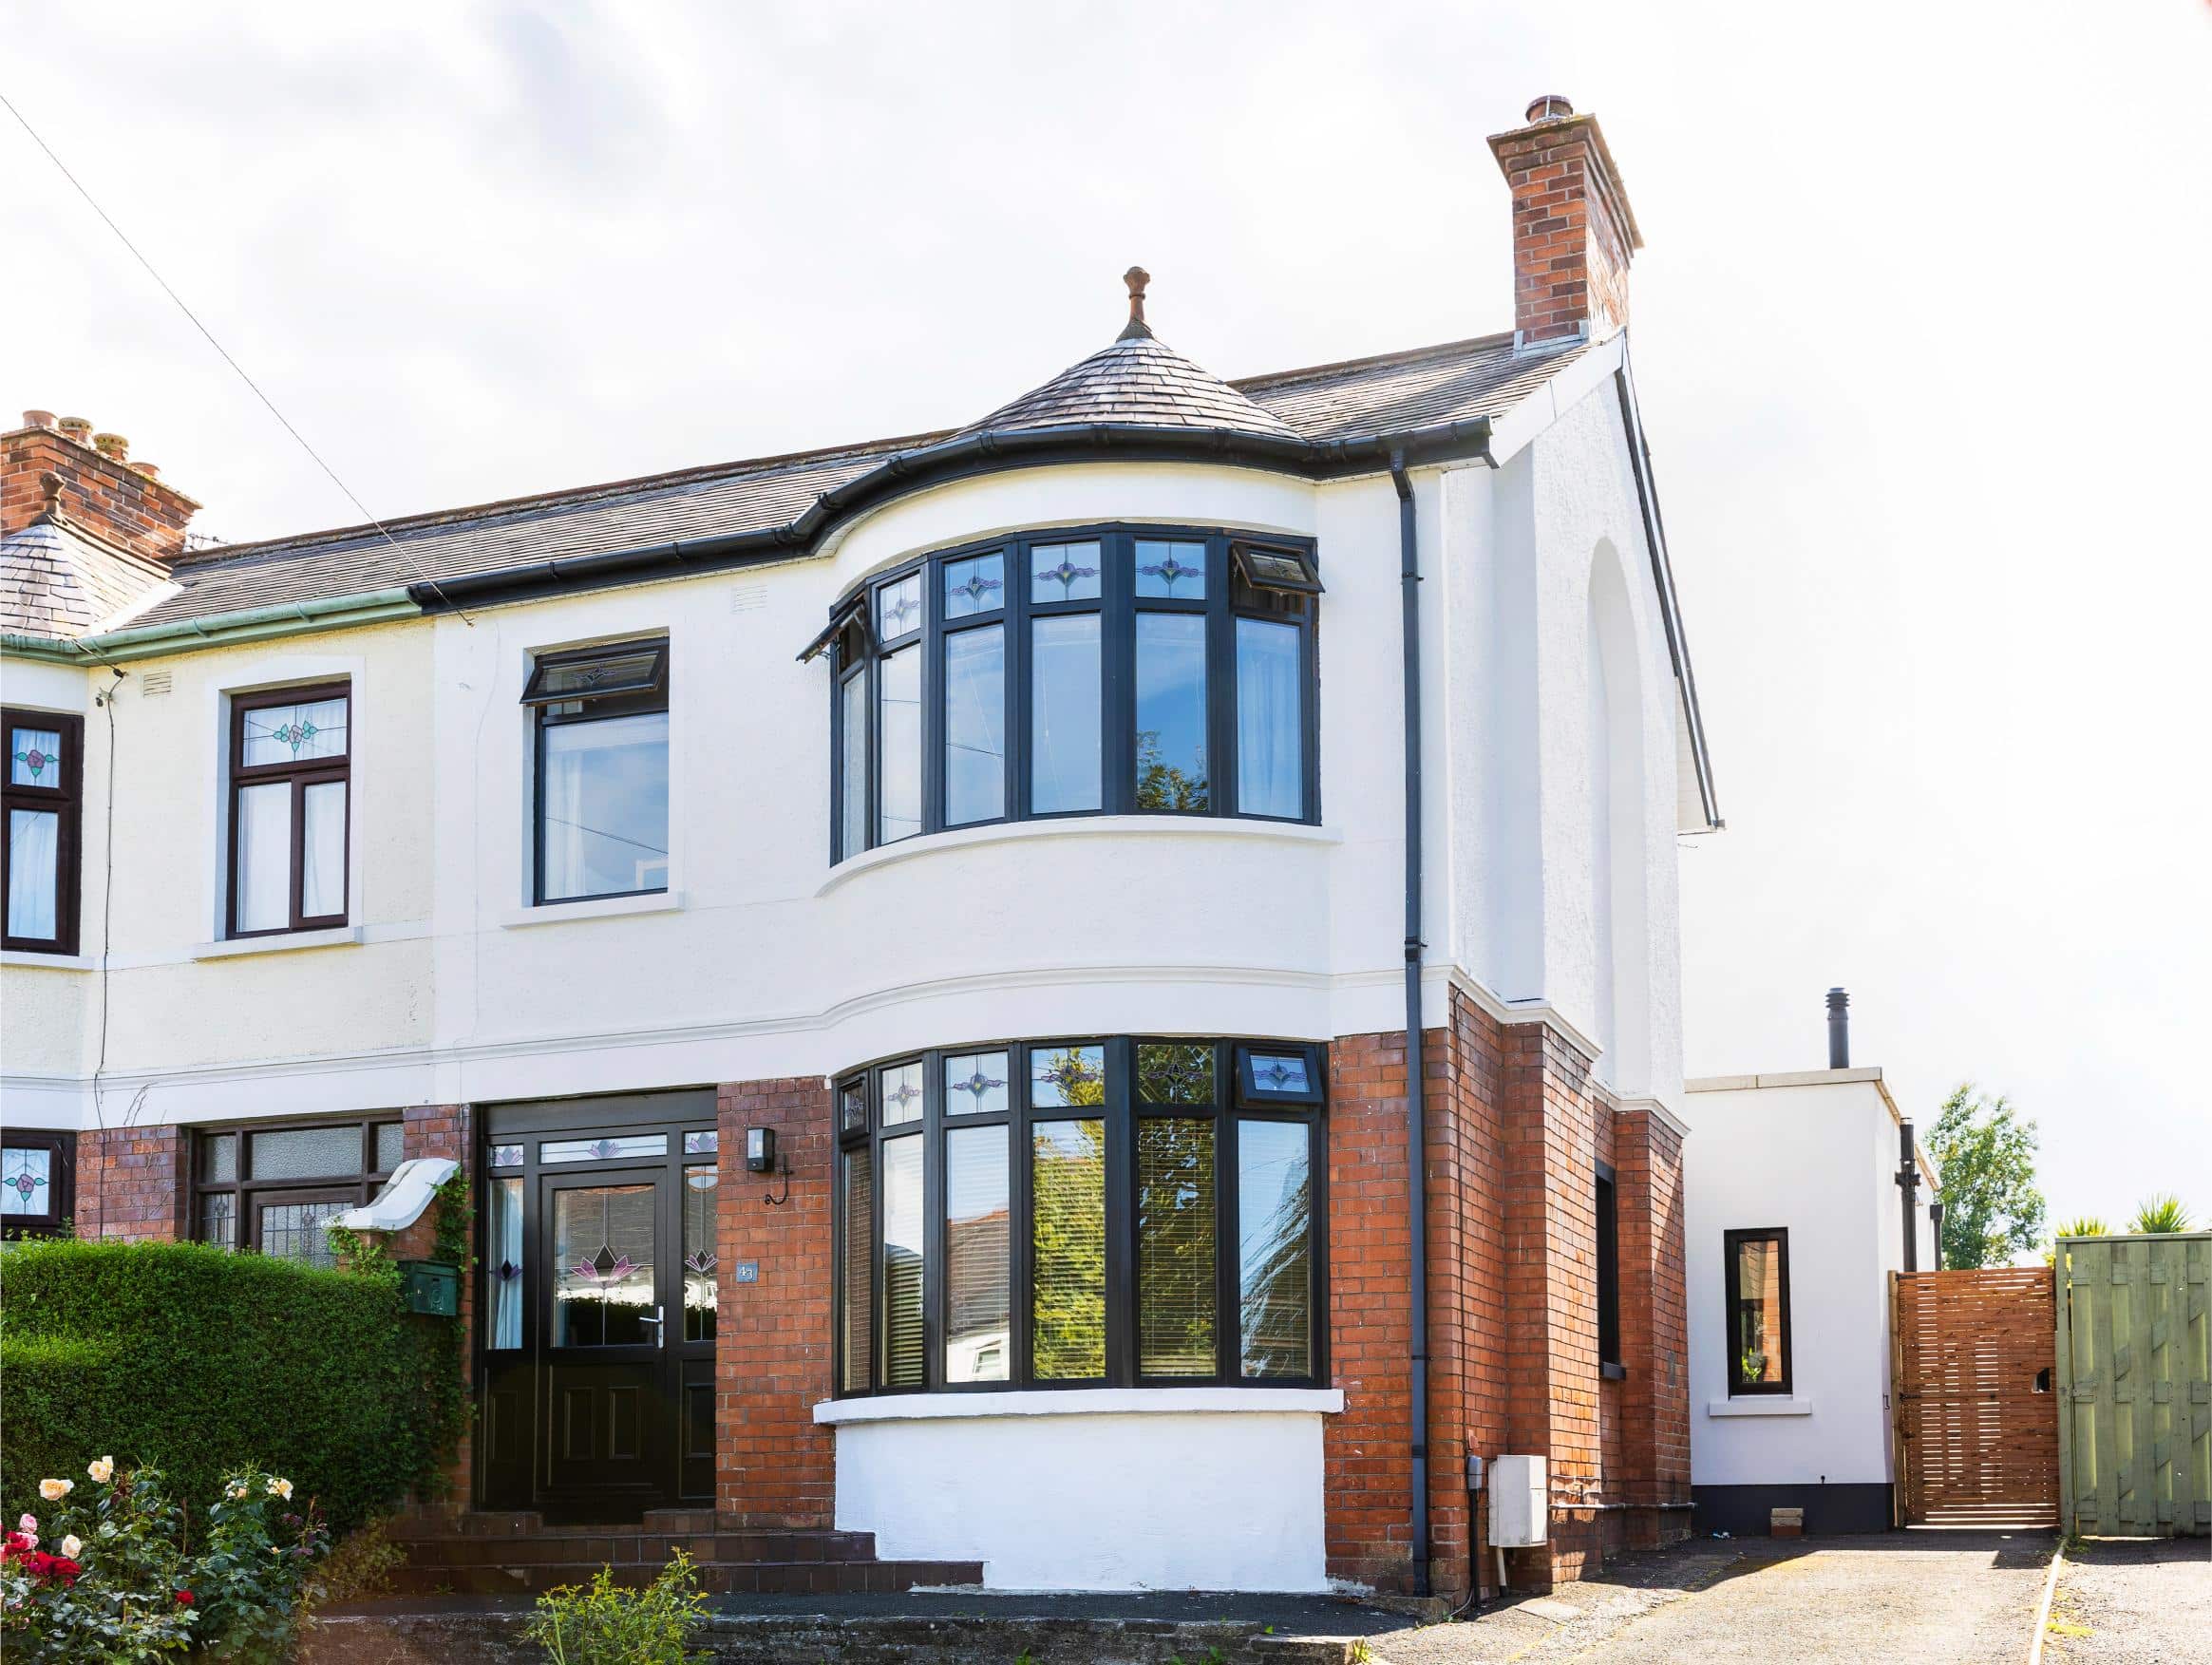
Back in 2019, Phil and Judith moved into a 1920s semi detached house in a great spot in Belfast. It had a big garden and lovely old features like high ceilings and ceiling roses. But while they liked the early charm of the place, it didn’t take long to realise the layout wasn’t working for day to-day family life.
The long galley kitchen felt cramped, and the way the rooms were laid out meant some of them hardly got used at all.
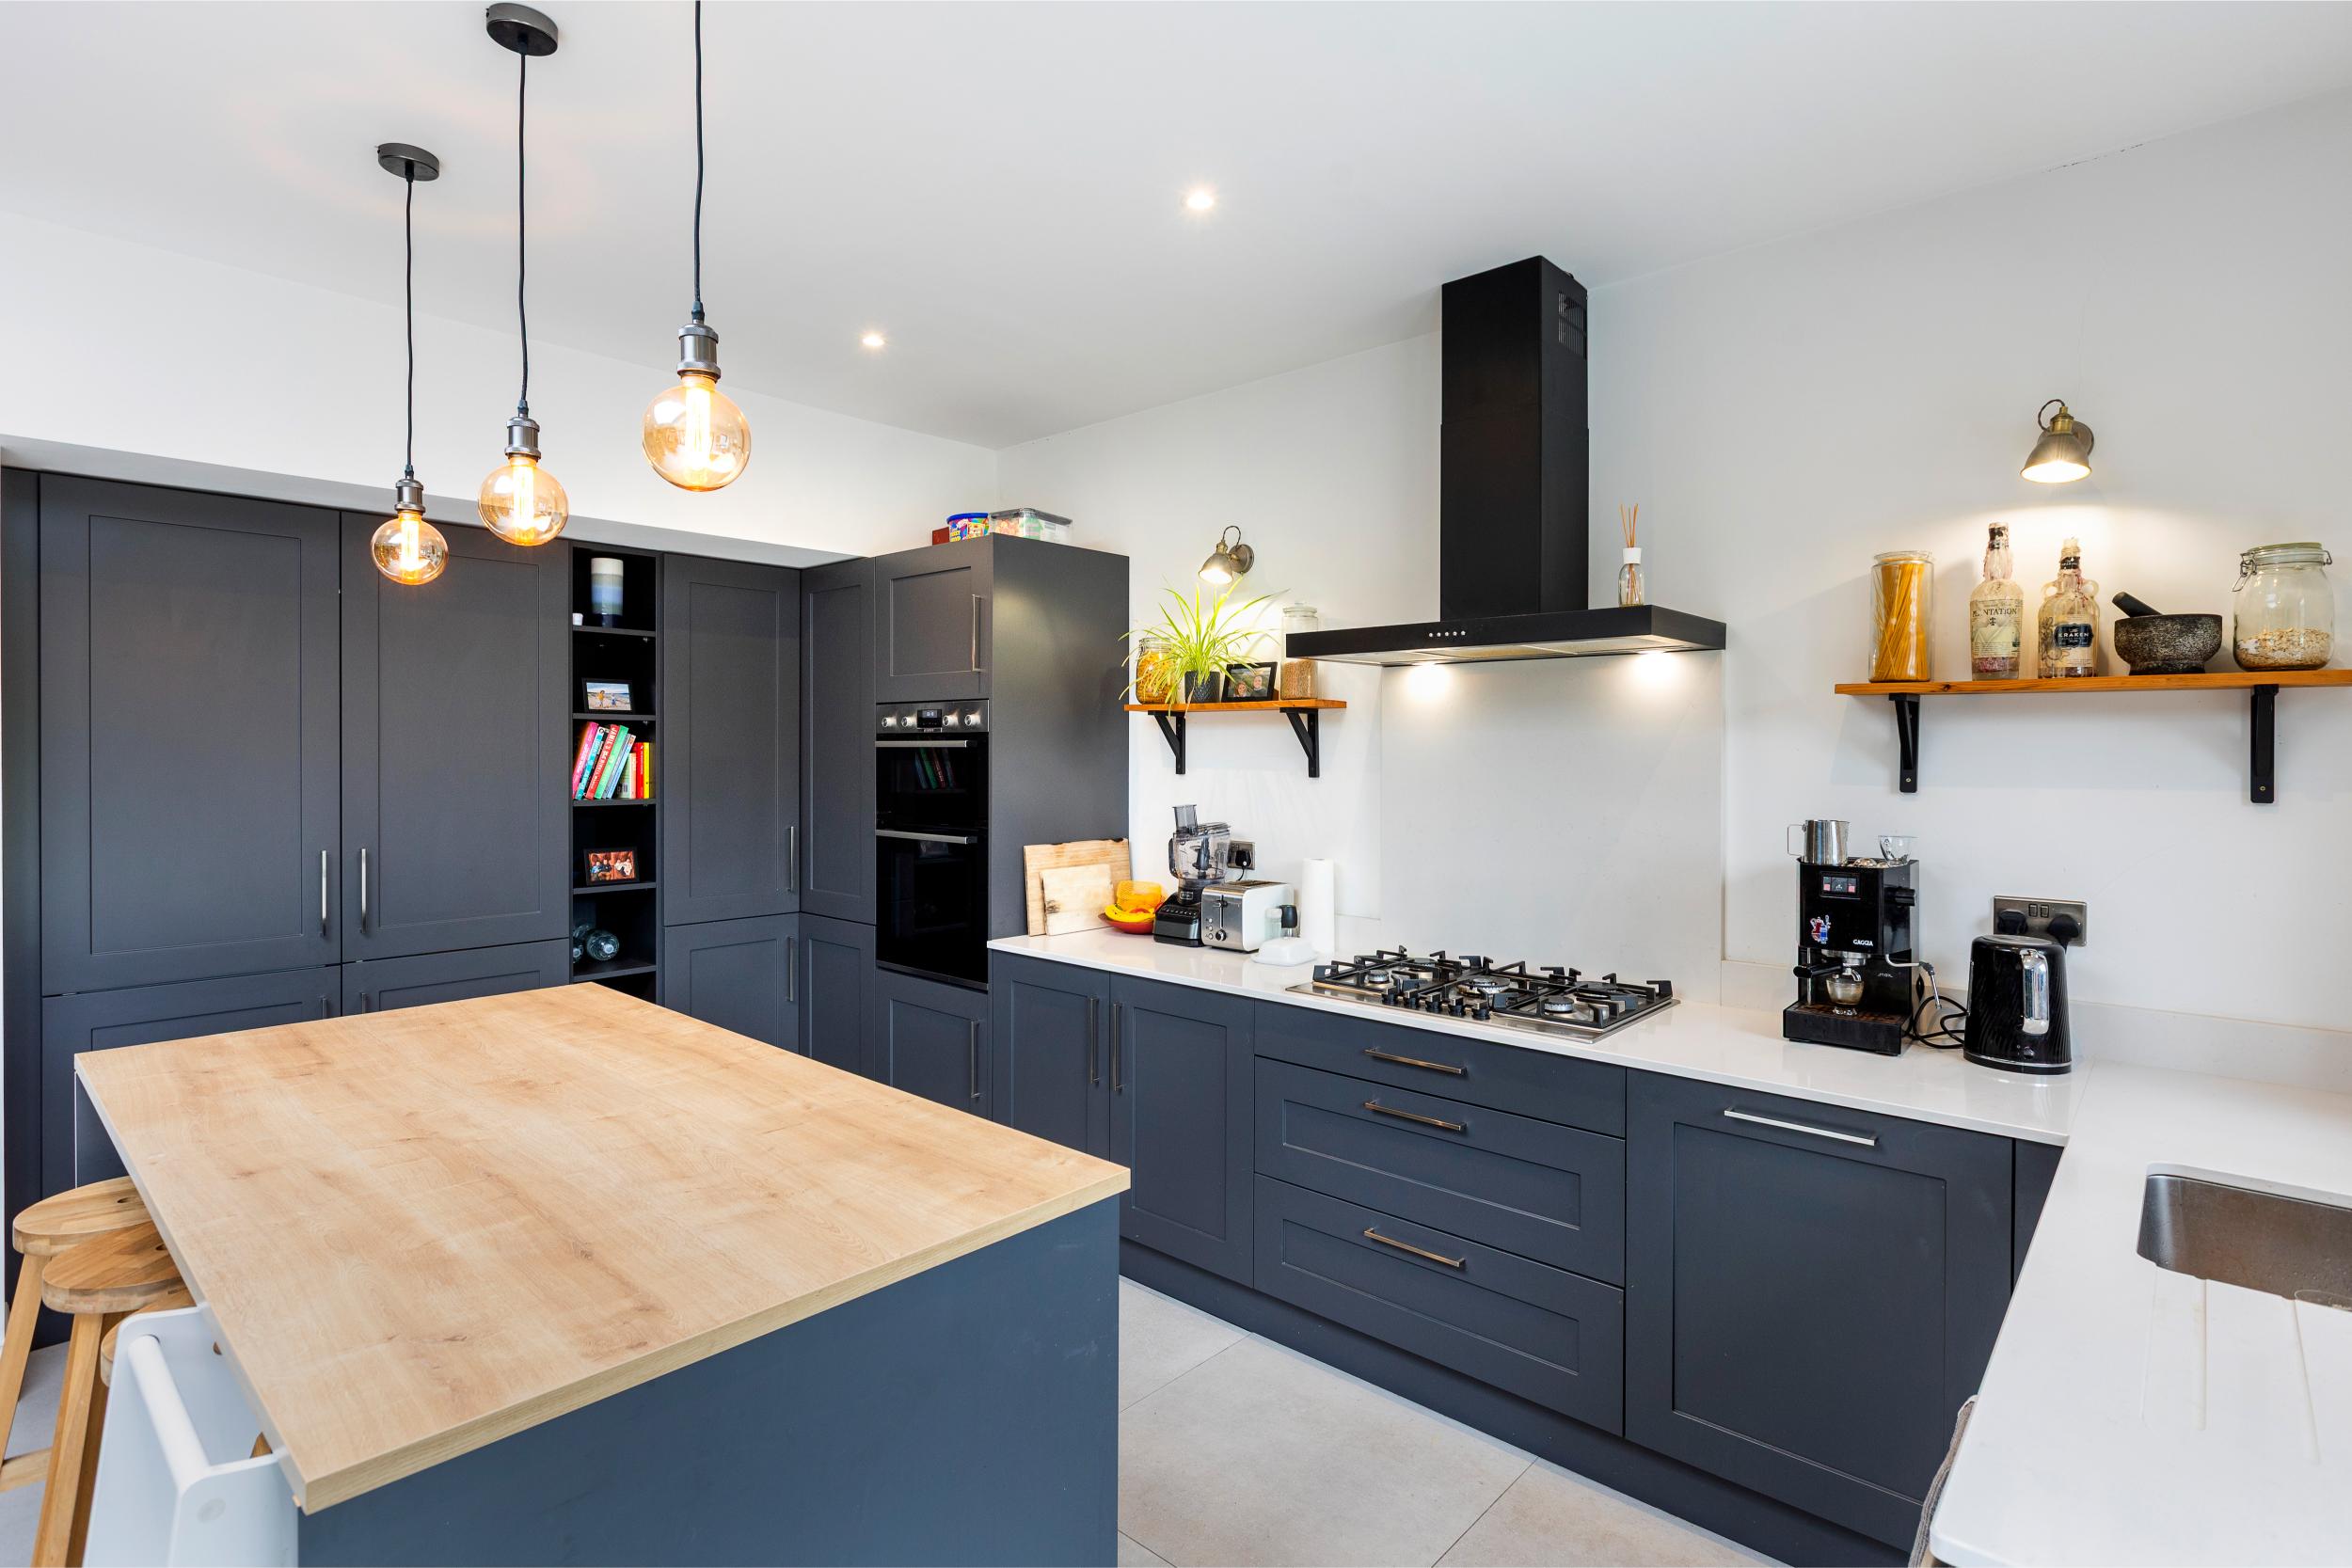
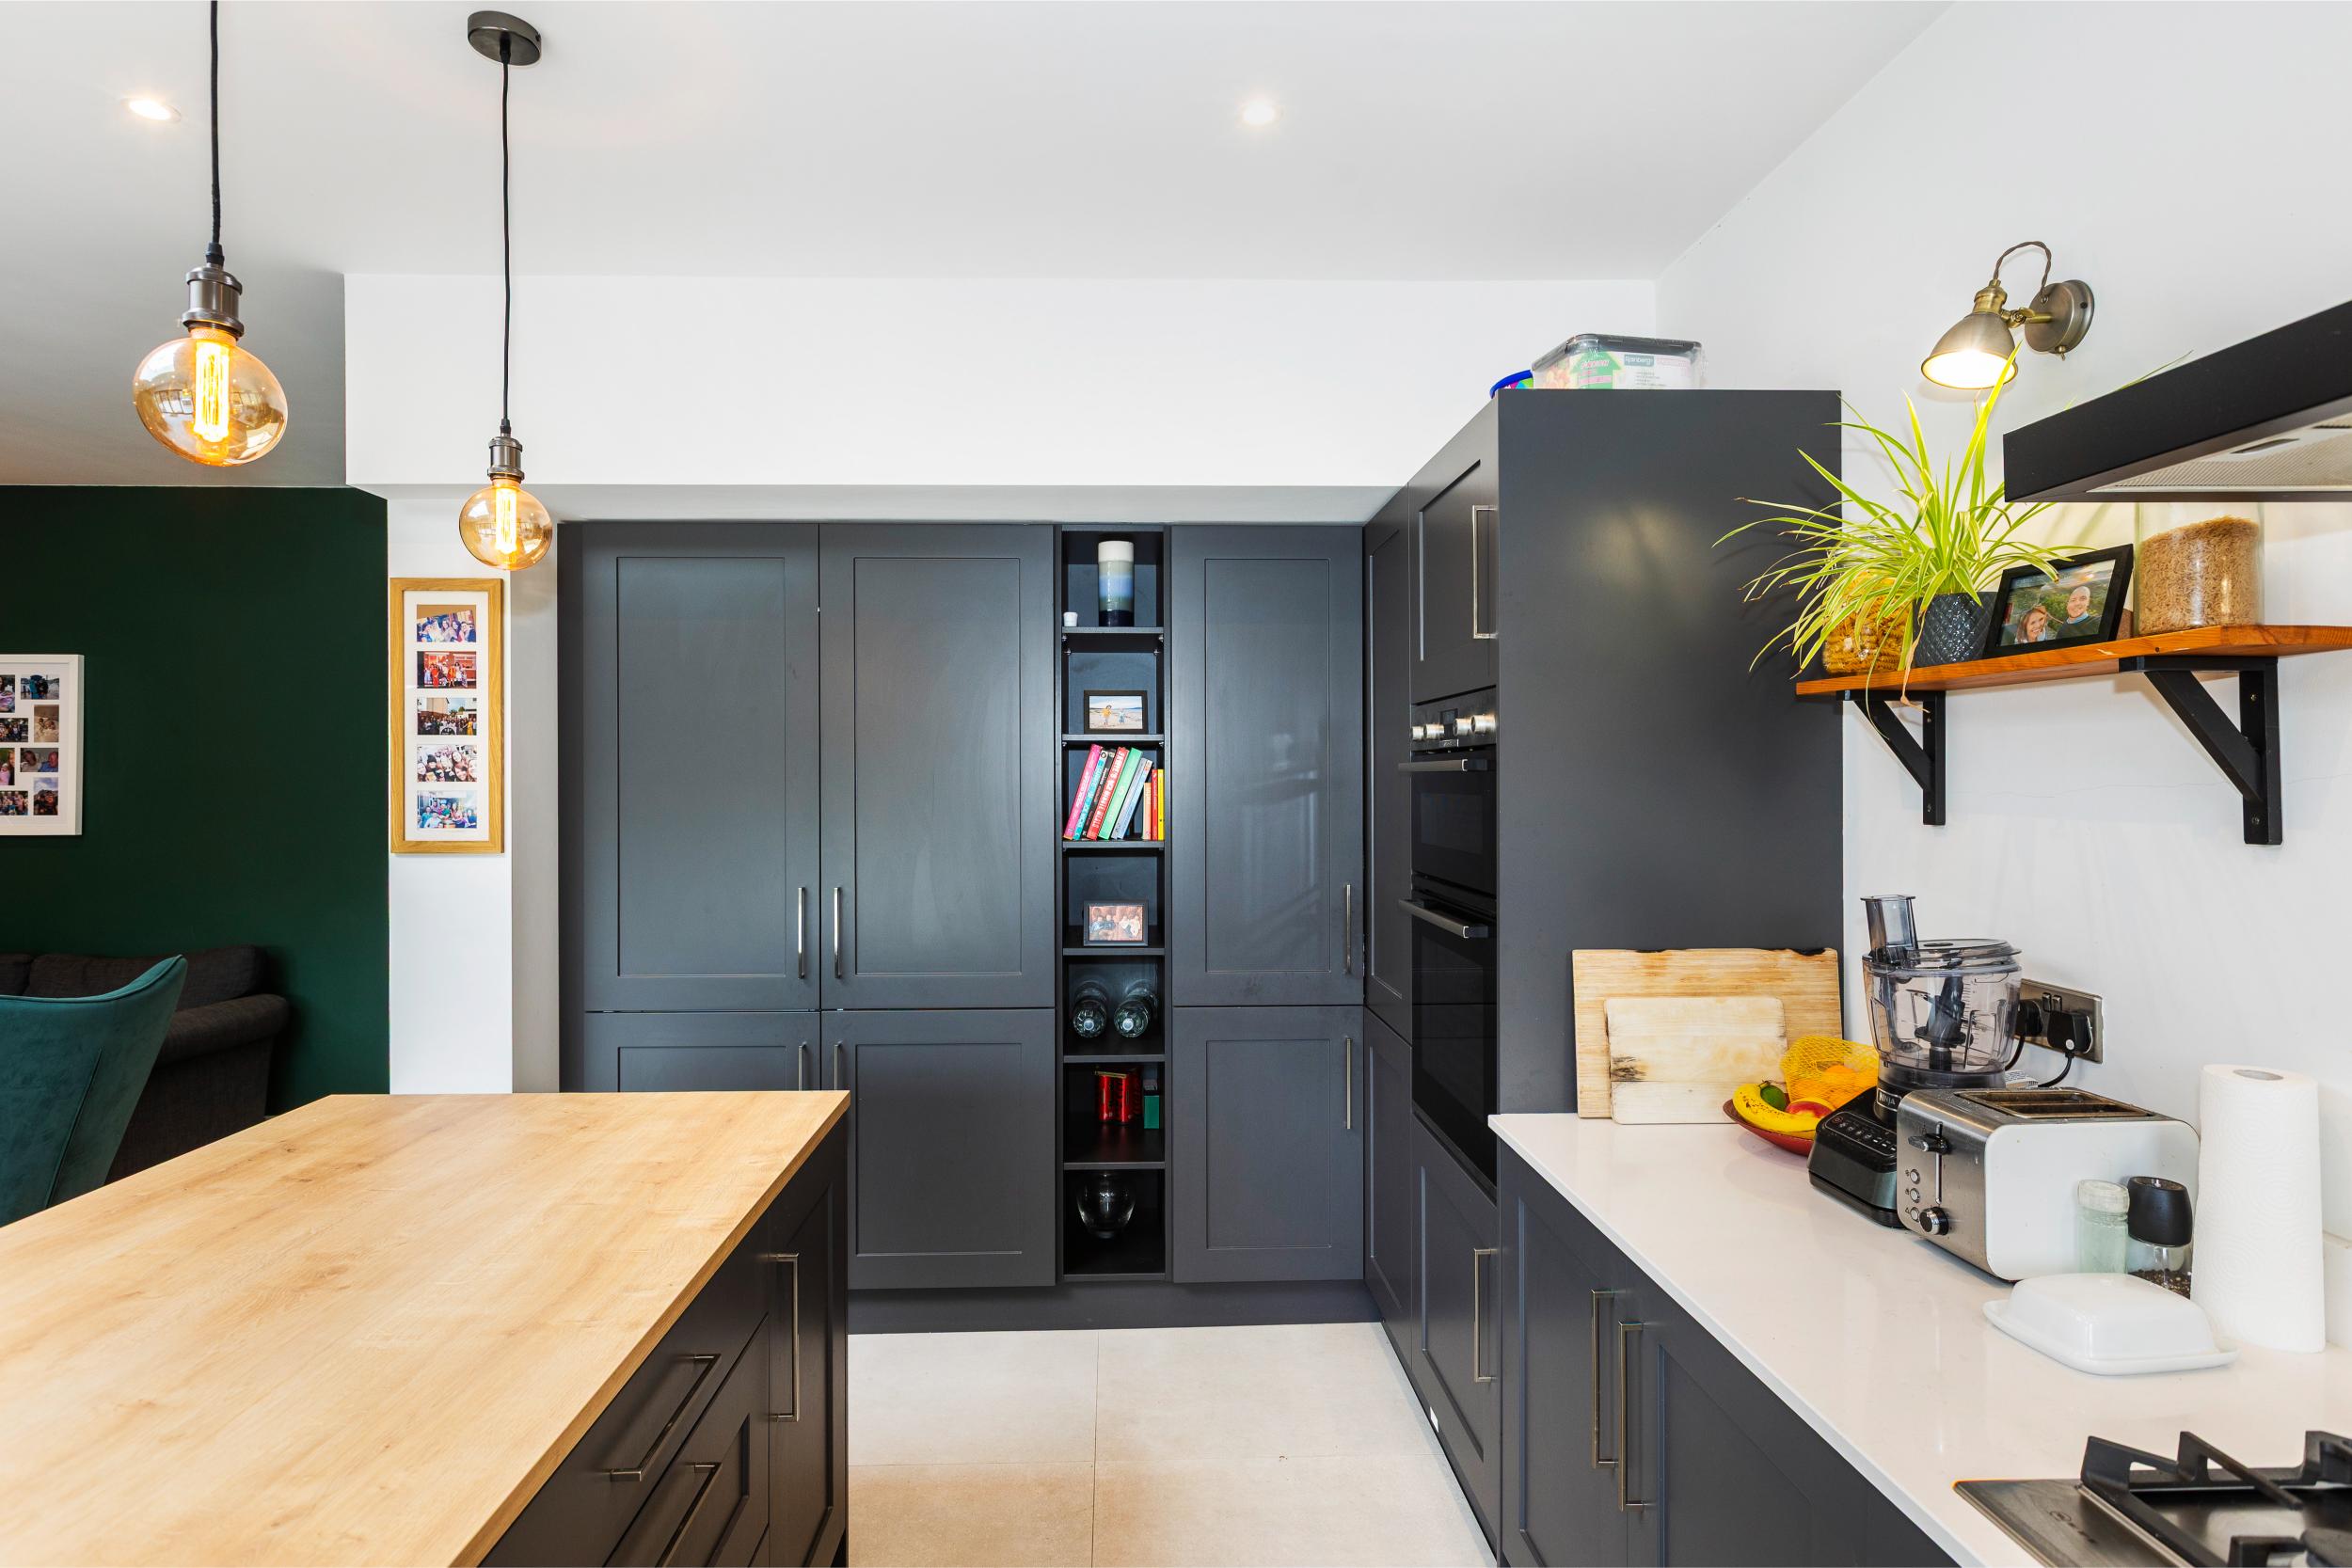
The Covid lockdowns brought that into sharper focus. With both of them working from home at different points, the limitations of the space became more noticeable. It gave them time to reflect on how the house could better support day-to-day life – particularly the need for a more open and flexible living area.
Planning for change
The couple didn’t have any building or design experience, so they did some research and visited the SelfBuild Extend & Renovate Live event in Belfast. That’s where they found architectural designer Ronan, who specialises in energy efficient renovations and who also offers full project management services.
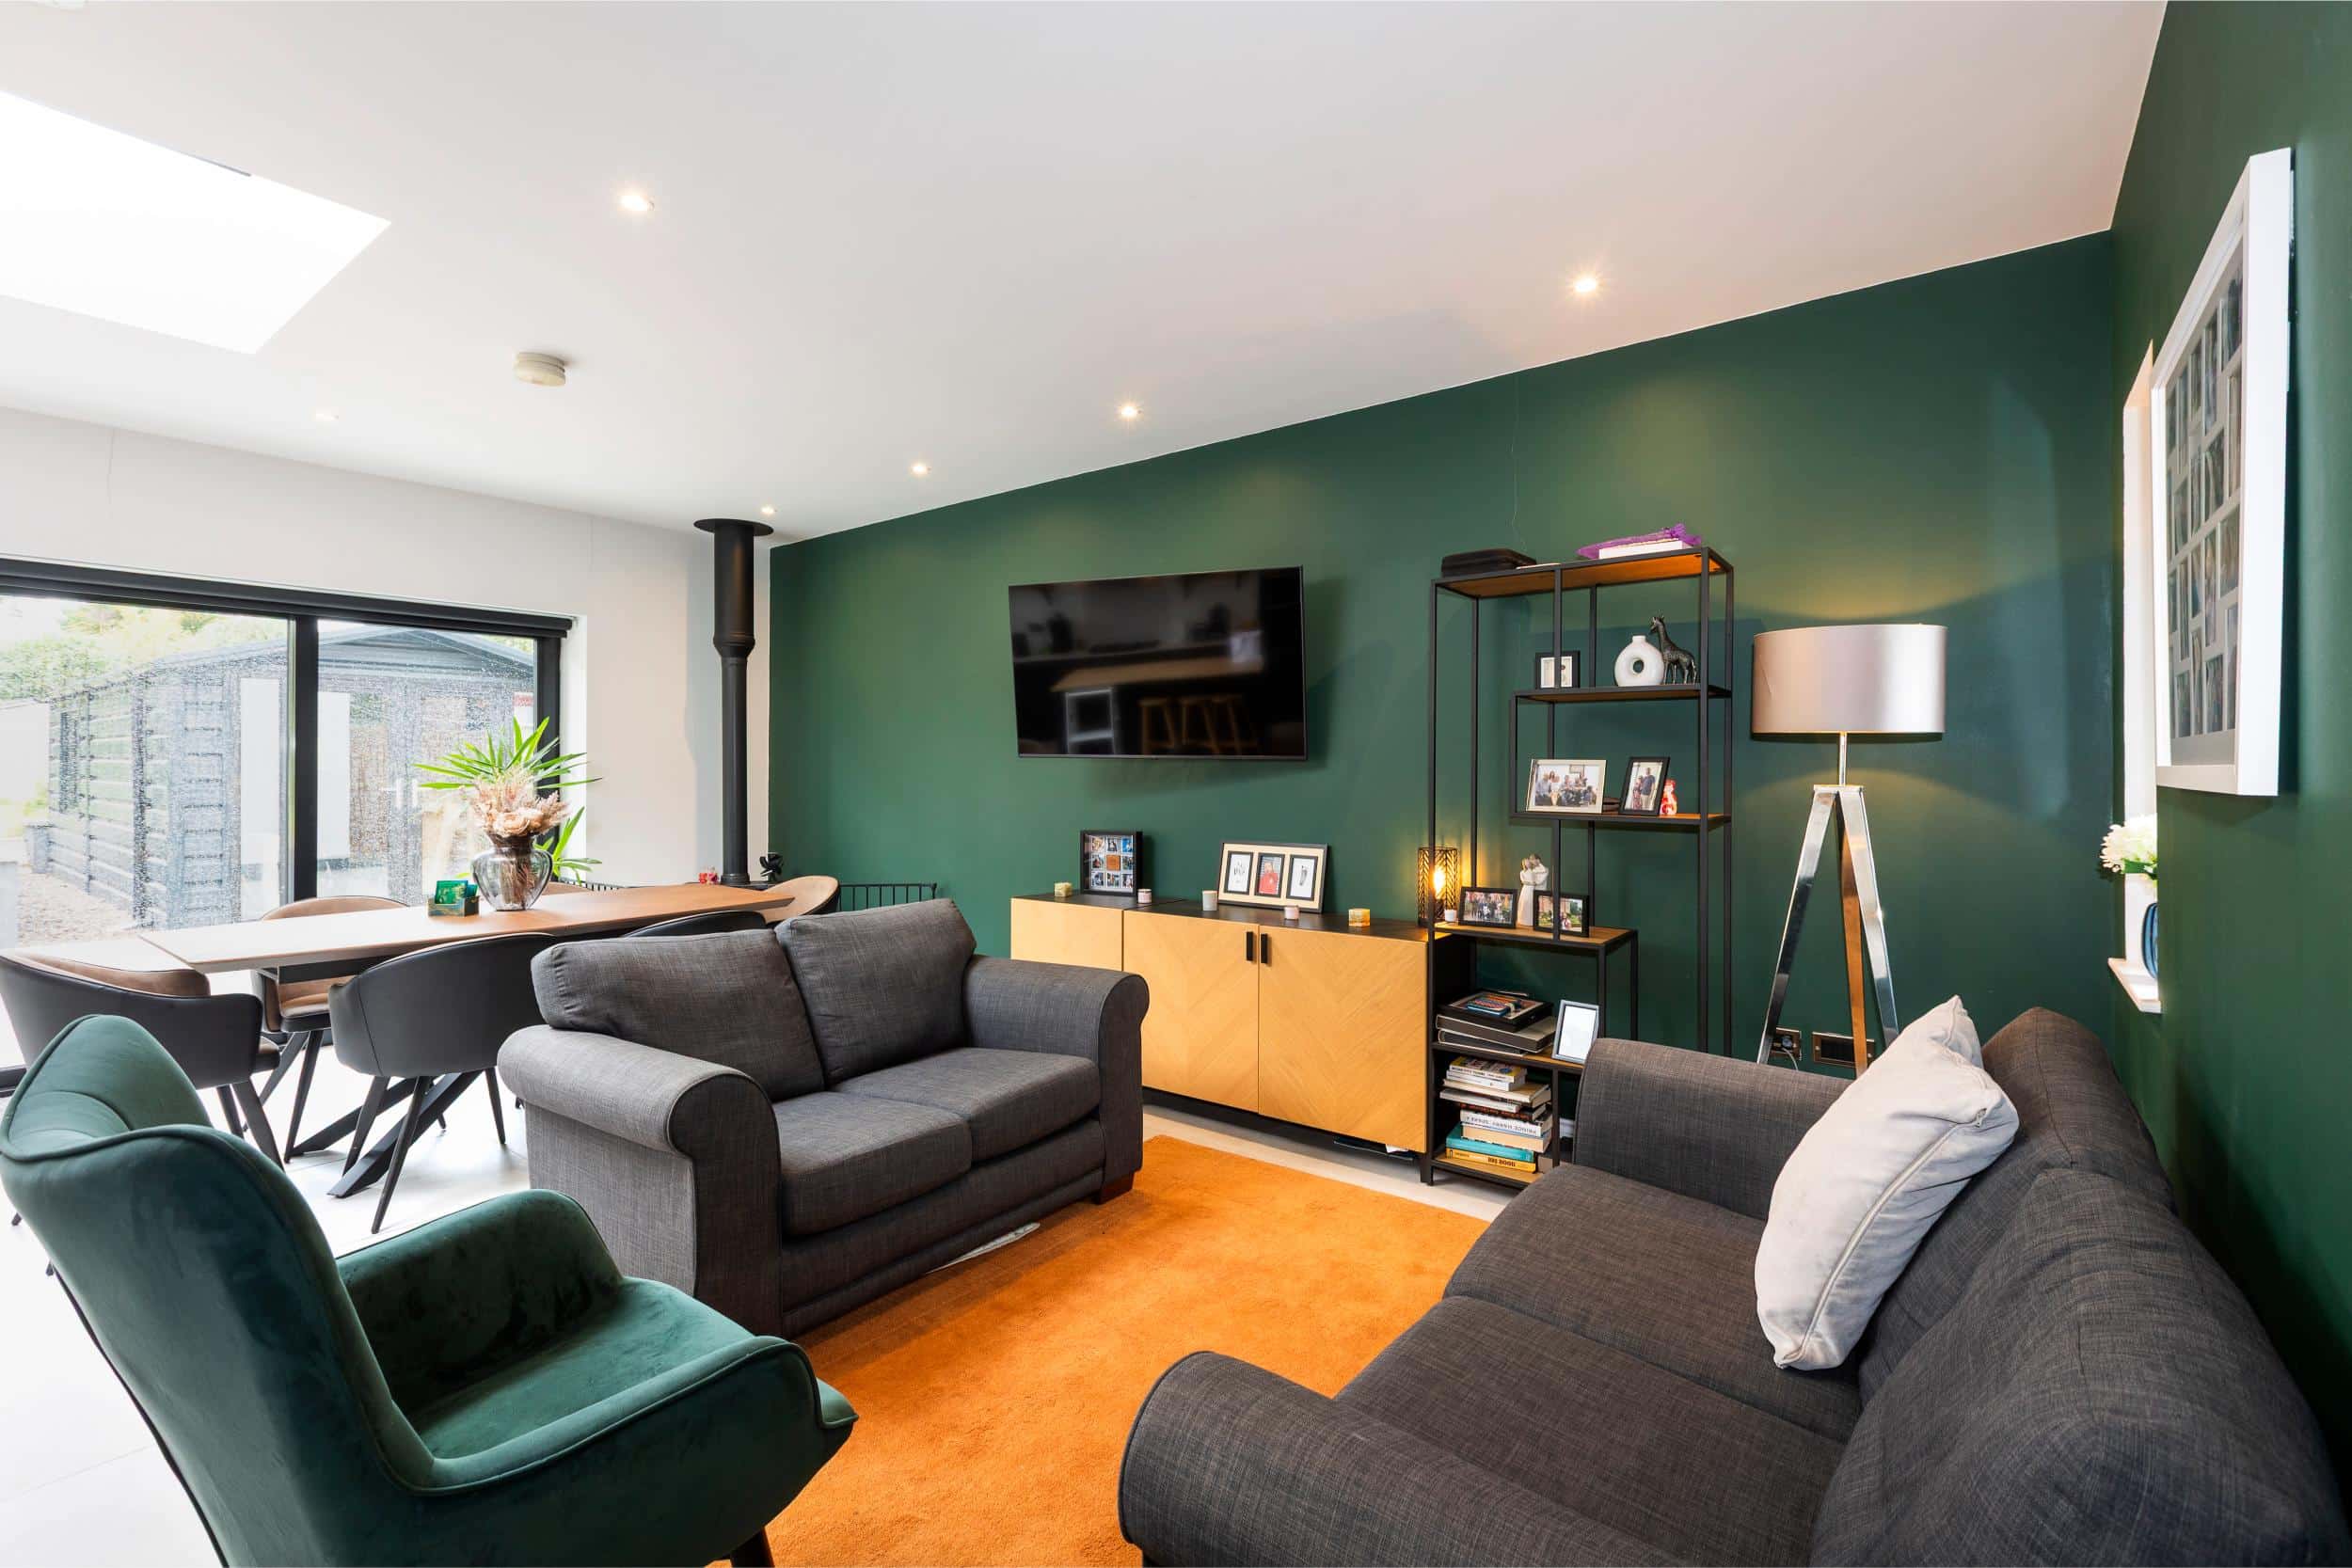
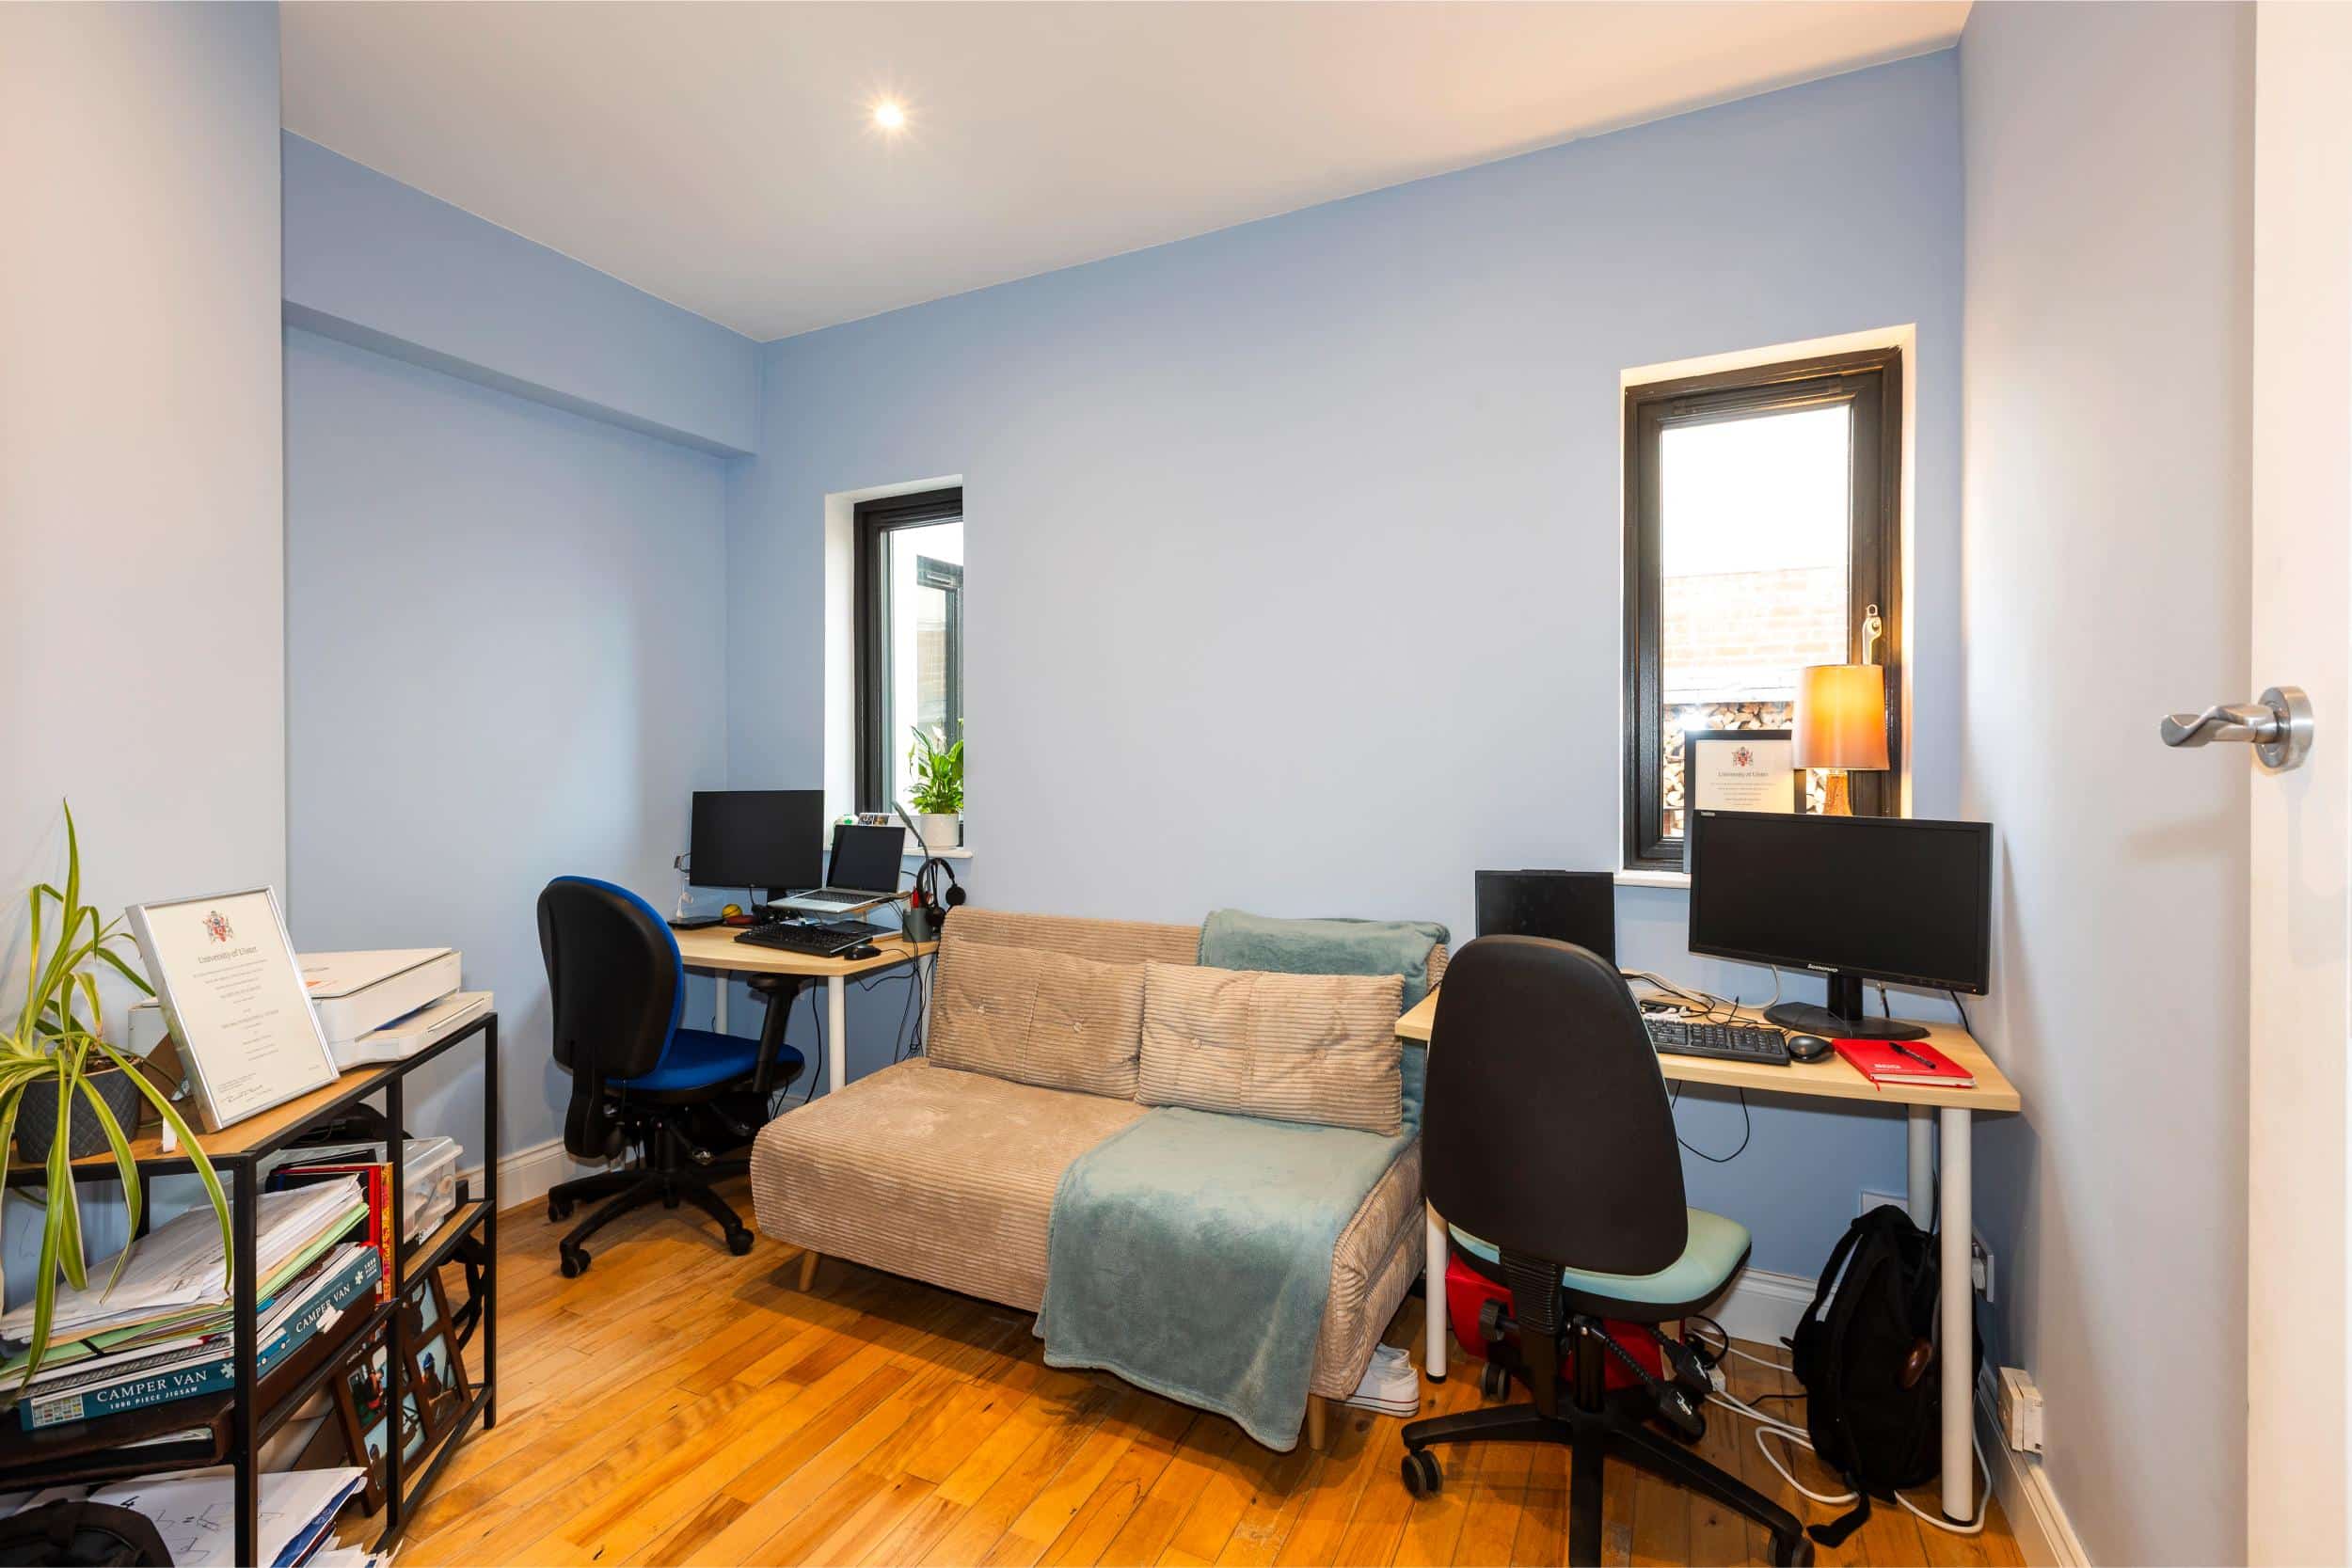
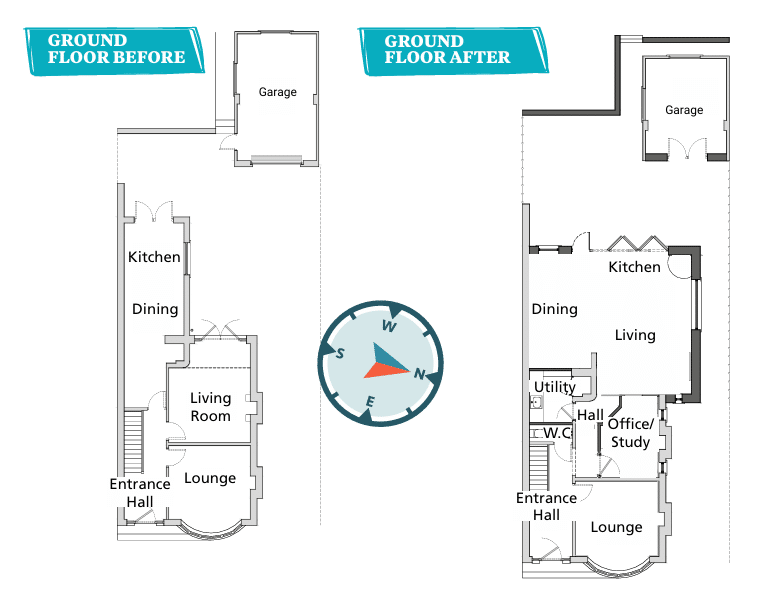
Their aim was to rework the ground floor to improve flow, functionality and comfort, while still holding on to some of the original character of the building. The plans included a ground floor extension to create an open plan kitchen, dining and living space, as well as reconfiguring existing rooms to include a home office, utility room and downstairs toilet.
“We wanted to keep the character of the original house,” says Judith, “but it needed to work better for how we live now, and in later years. It was really about futureproofing it, since we plan to stay here long term.”
The planning permission process went fairly smoothly, thanks in large part to having their architectural designer involved early on. “He handled the detailed spec for the planning permission and took care of all the building control bits too. That kind of support was really valuable — it just took a lot of pressure off us and made the whole process smoother,” says Phil.
When it came to finding a contractor, Ronan helped by recommending a few builders to consider. “We also found another builder ourselves to compare, and in the end, we chose the one we thought was the best fit, who happened to be one of Ronan’s recommendations,” Phil adds.
Building better
The project was originally planned as a four-month build, with completion slated for January 2022. Apart from a three-week delay to allow for glazing installation, the timeline stayed largely on track.
However, as with most renovations, there were unexpected structural issues along the way. One was with the old garage, which sat almost flush against the house. “The original plan had been to remove the front of the garage to shrink its size and create more patio space. But once the work started, it quickly became clear the garage was in much worse condition than expected,” says Phil.
Top Tips
Live on site during the renovation, if possible. It helps with monitoring progress and means you can make immediate decisions to builder’s questions.
Find the expertise. Work with professionals who understand heritage properties.
Foresee the unforeseen. Be prepared for additional work – expect unexpected structural discoveries.
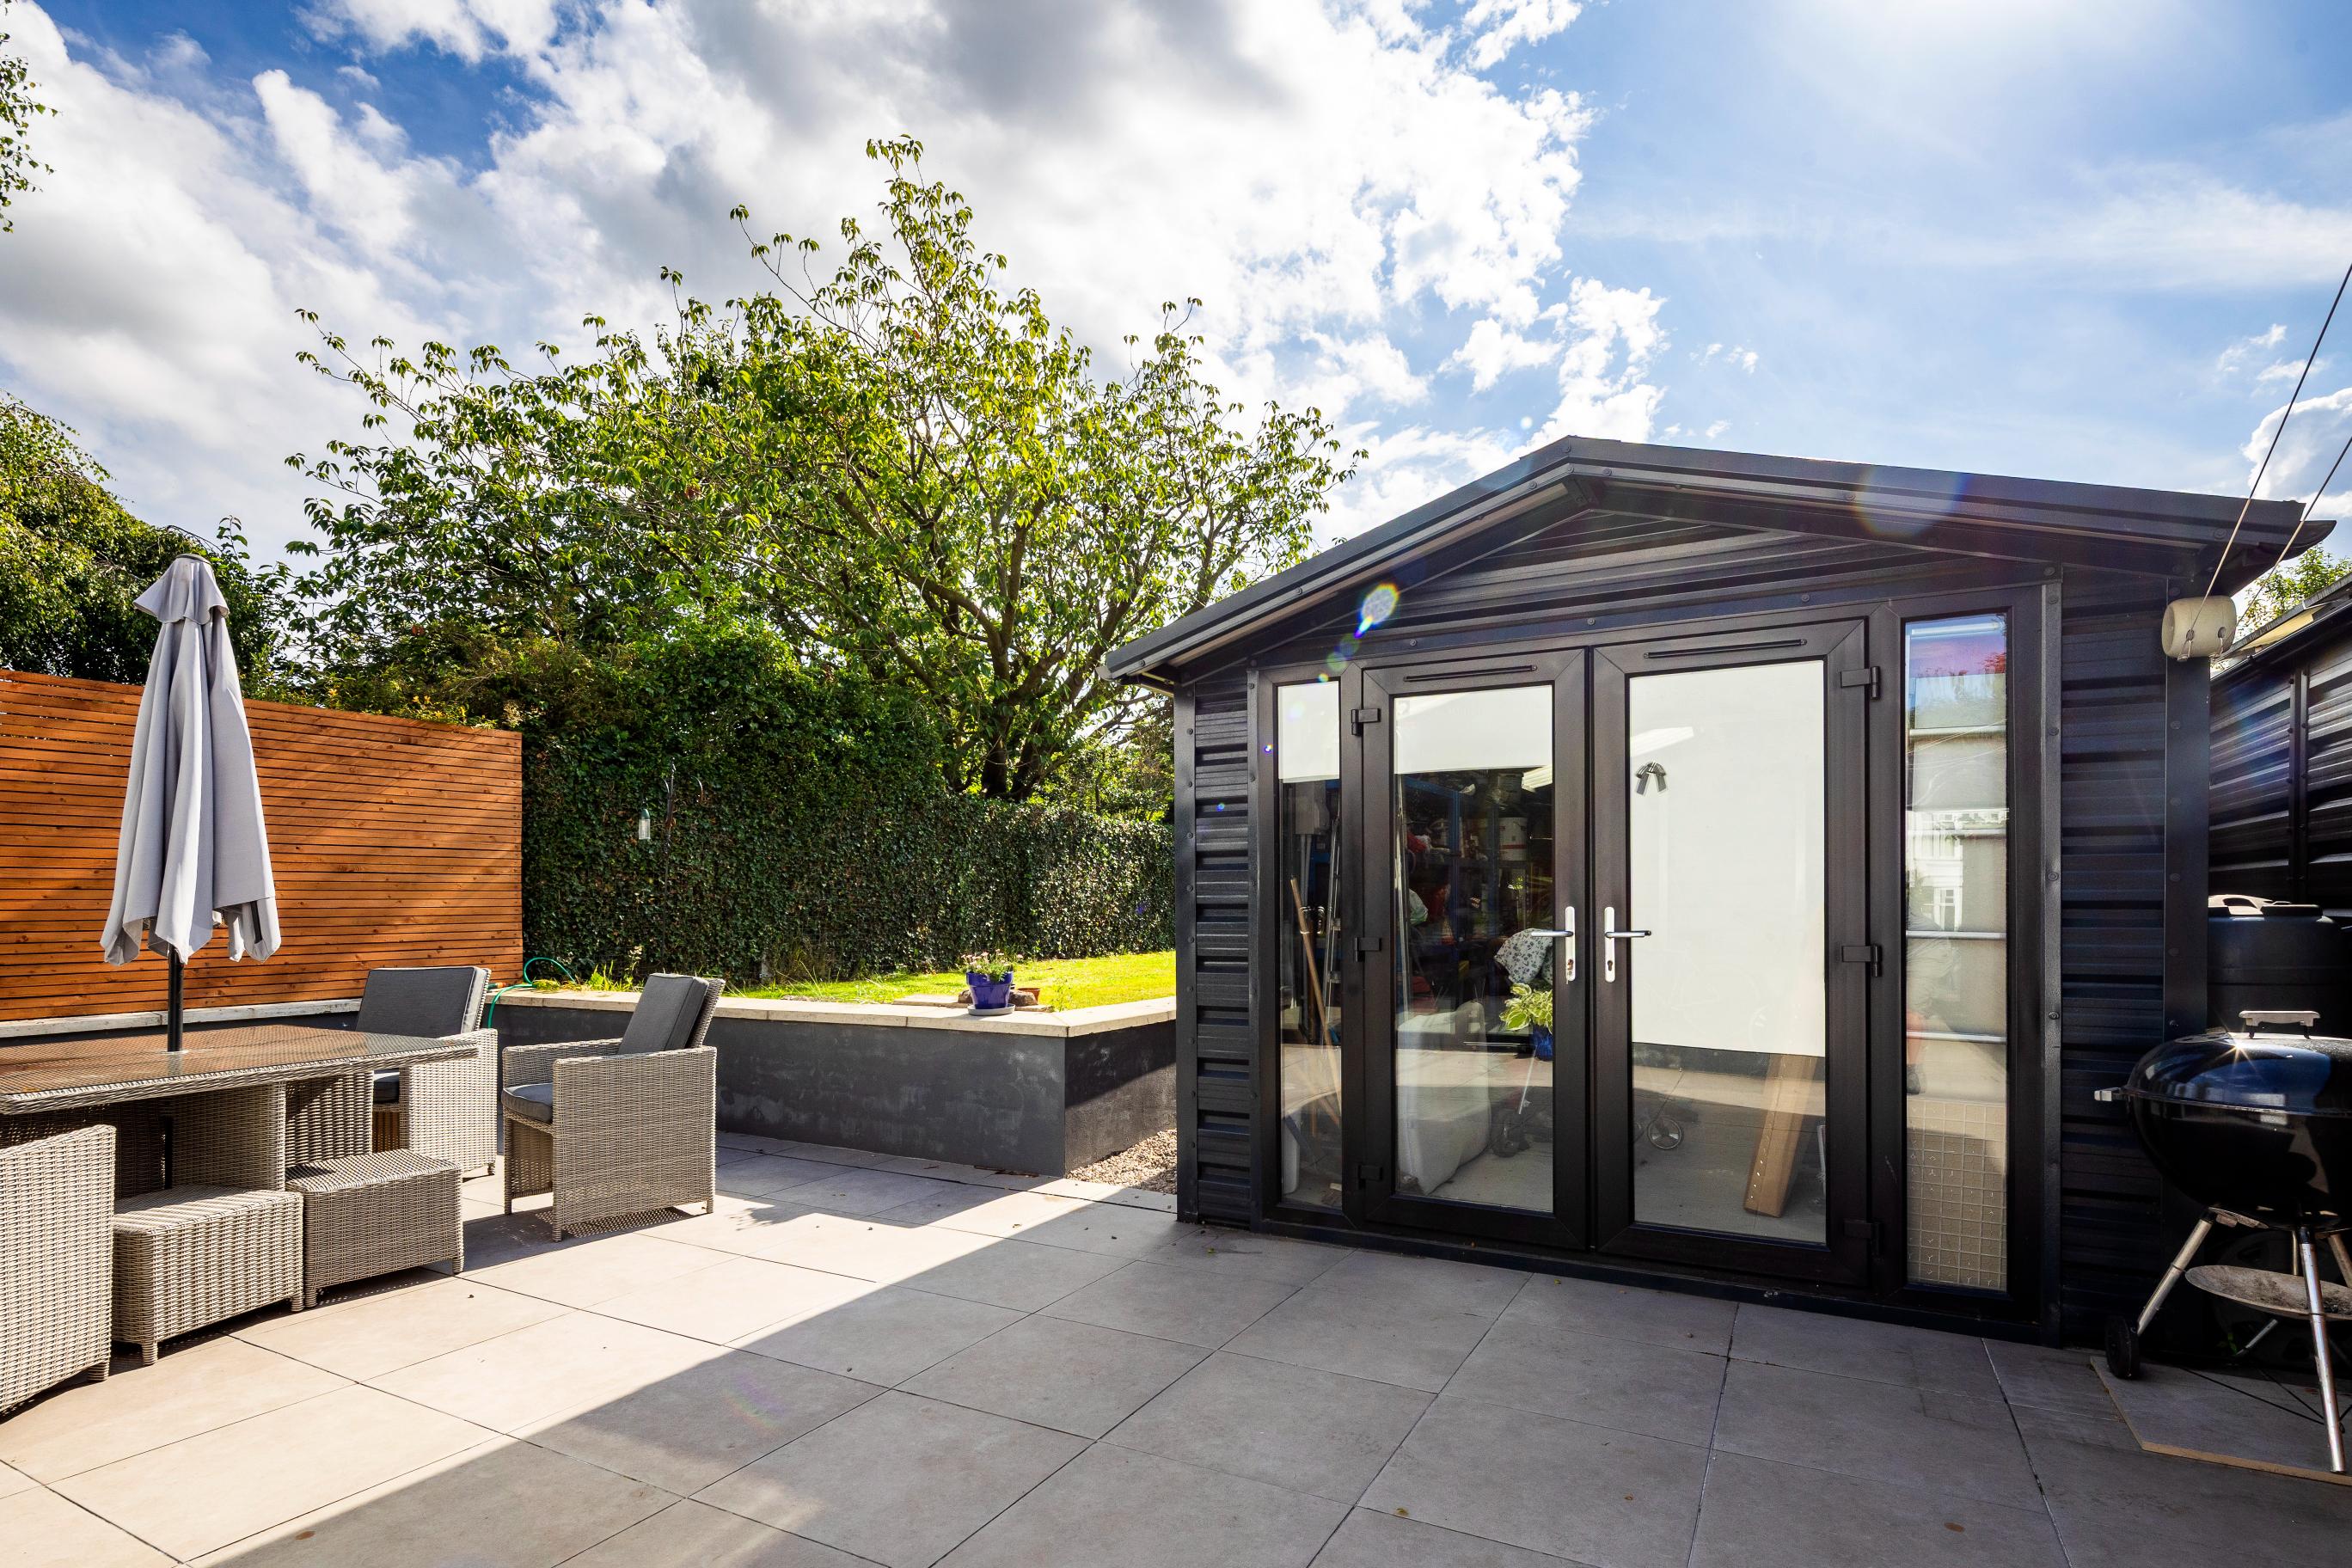
“We had to demolish it completely and replace with a new steel garage which added time and costs to the project. But, this has worked out better than our original plan, as we have more space in the patio area.”
“Also, there was a really old, small kitchen extension on the back of the house. Once we started opening up the rear of the ground floor the builder discovered that the extension hadn’t been built properly and that we’d need to put in steel for extra support. This meant altering one part of the kitchen unit plan to accommodate the structural support.”
While their architectural designer was involved in the detailed planning stages, the homeowners found themselves communicating directly with the builder during the actual construction. “He was very easy to communicate with, and as I was able to visit on site nearly every day, it was easier just to work with him directly.”
The couple briefly stayed in the house during the first few weeks of the renovations, but once the work really kicked off, it just wasn’t doable. “The whole existing house was stripped back: all the plaster taken off, the whole place re-skimmed. It would’ve been impossible to live here through that,” explains Phil. “So we stayed at both my parents’ and at my in-laws’. Luckily they’re both close by.”
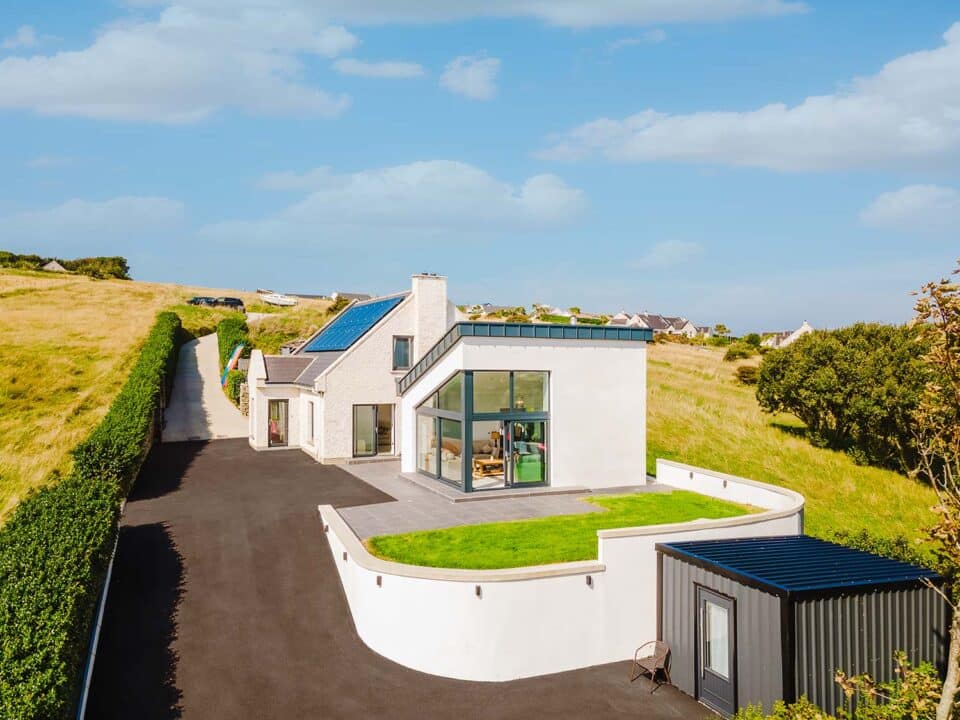
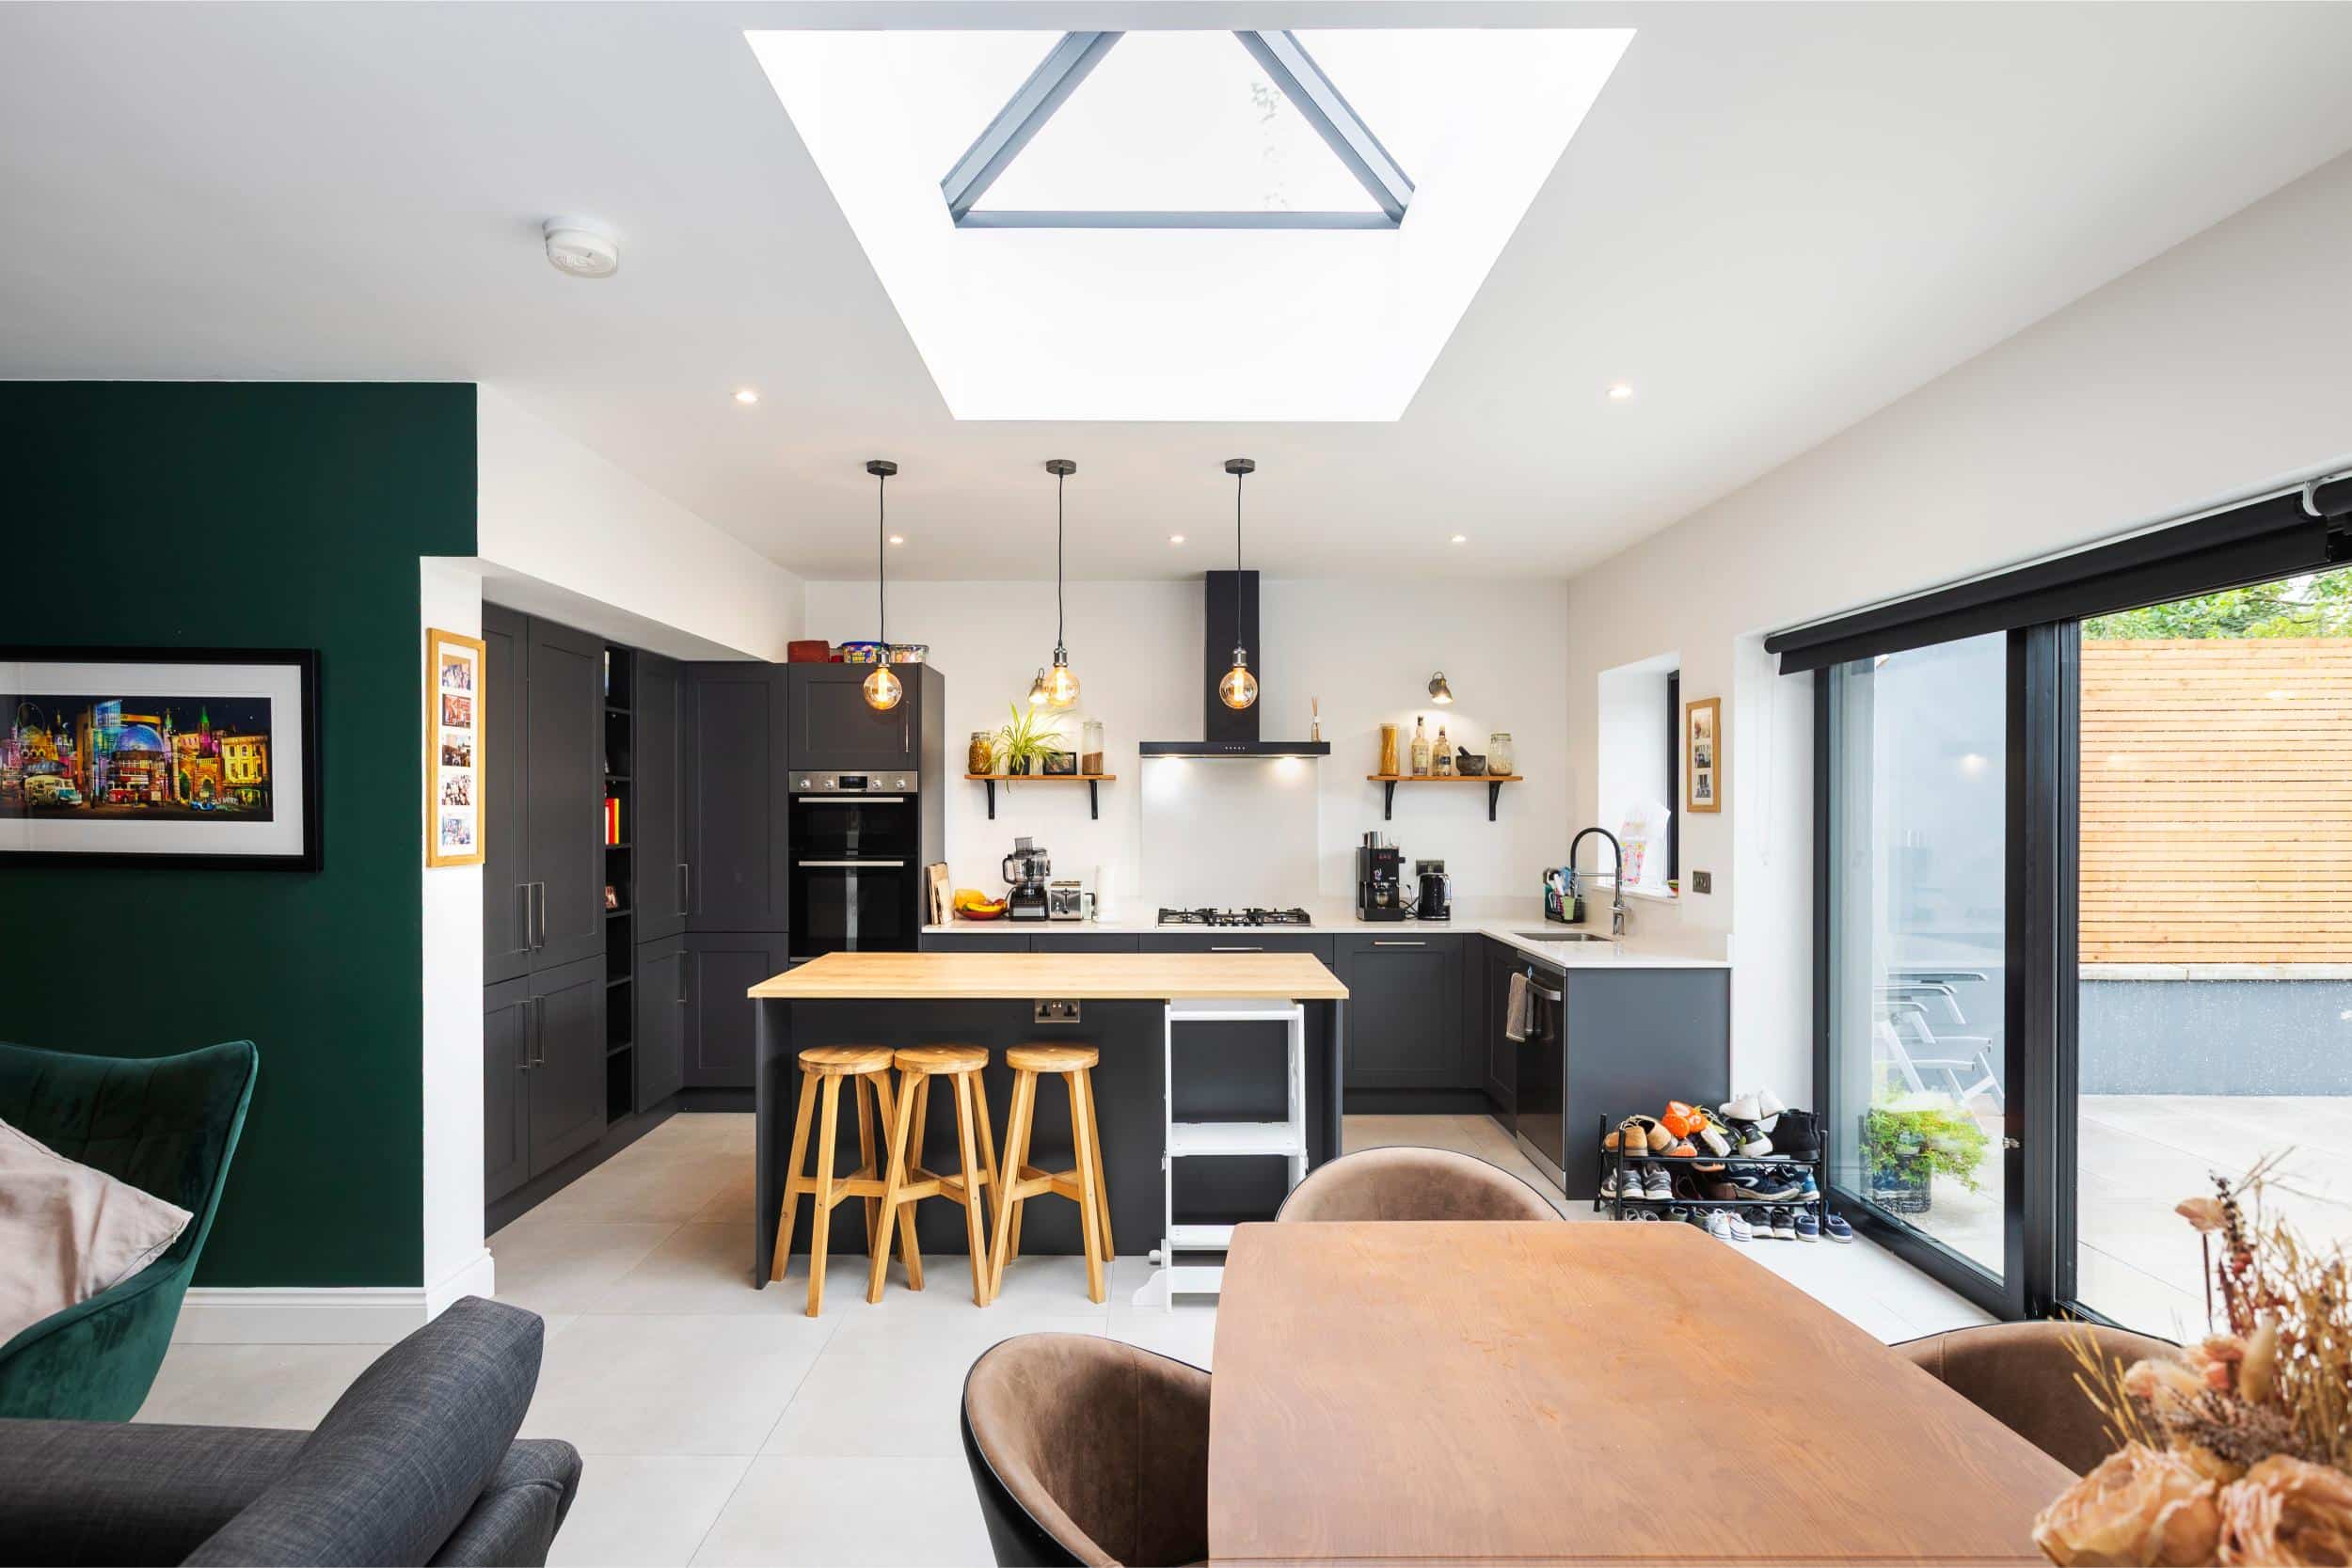
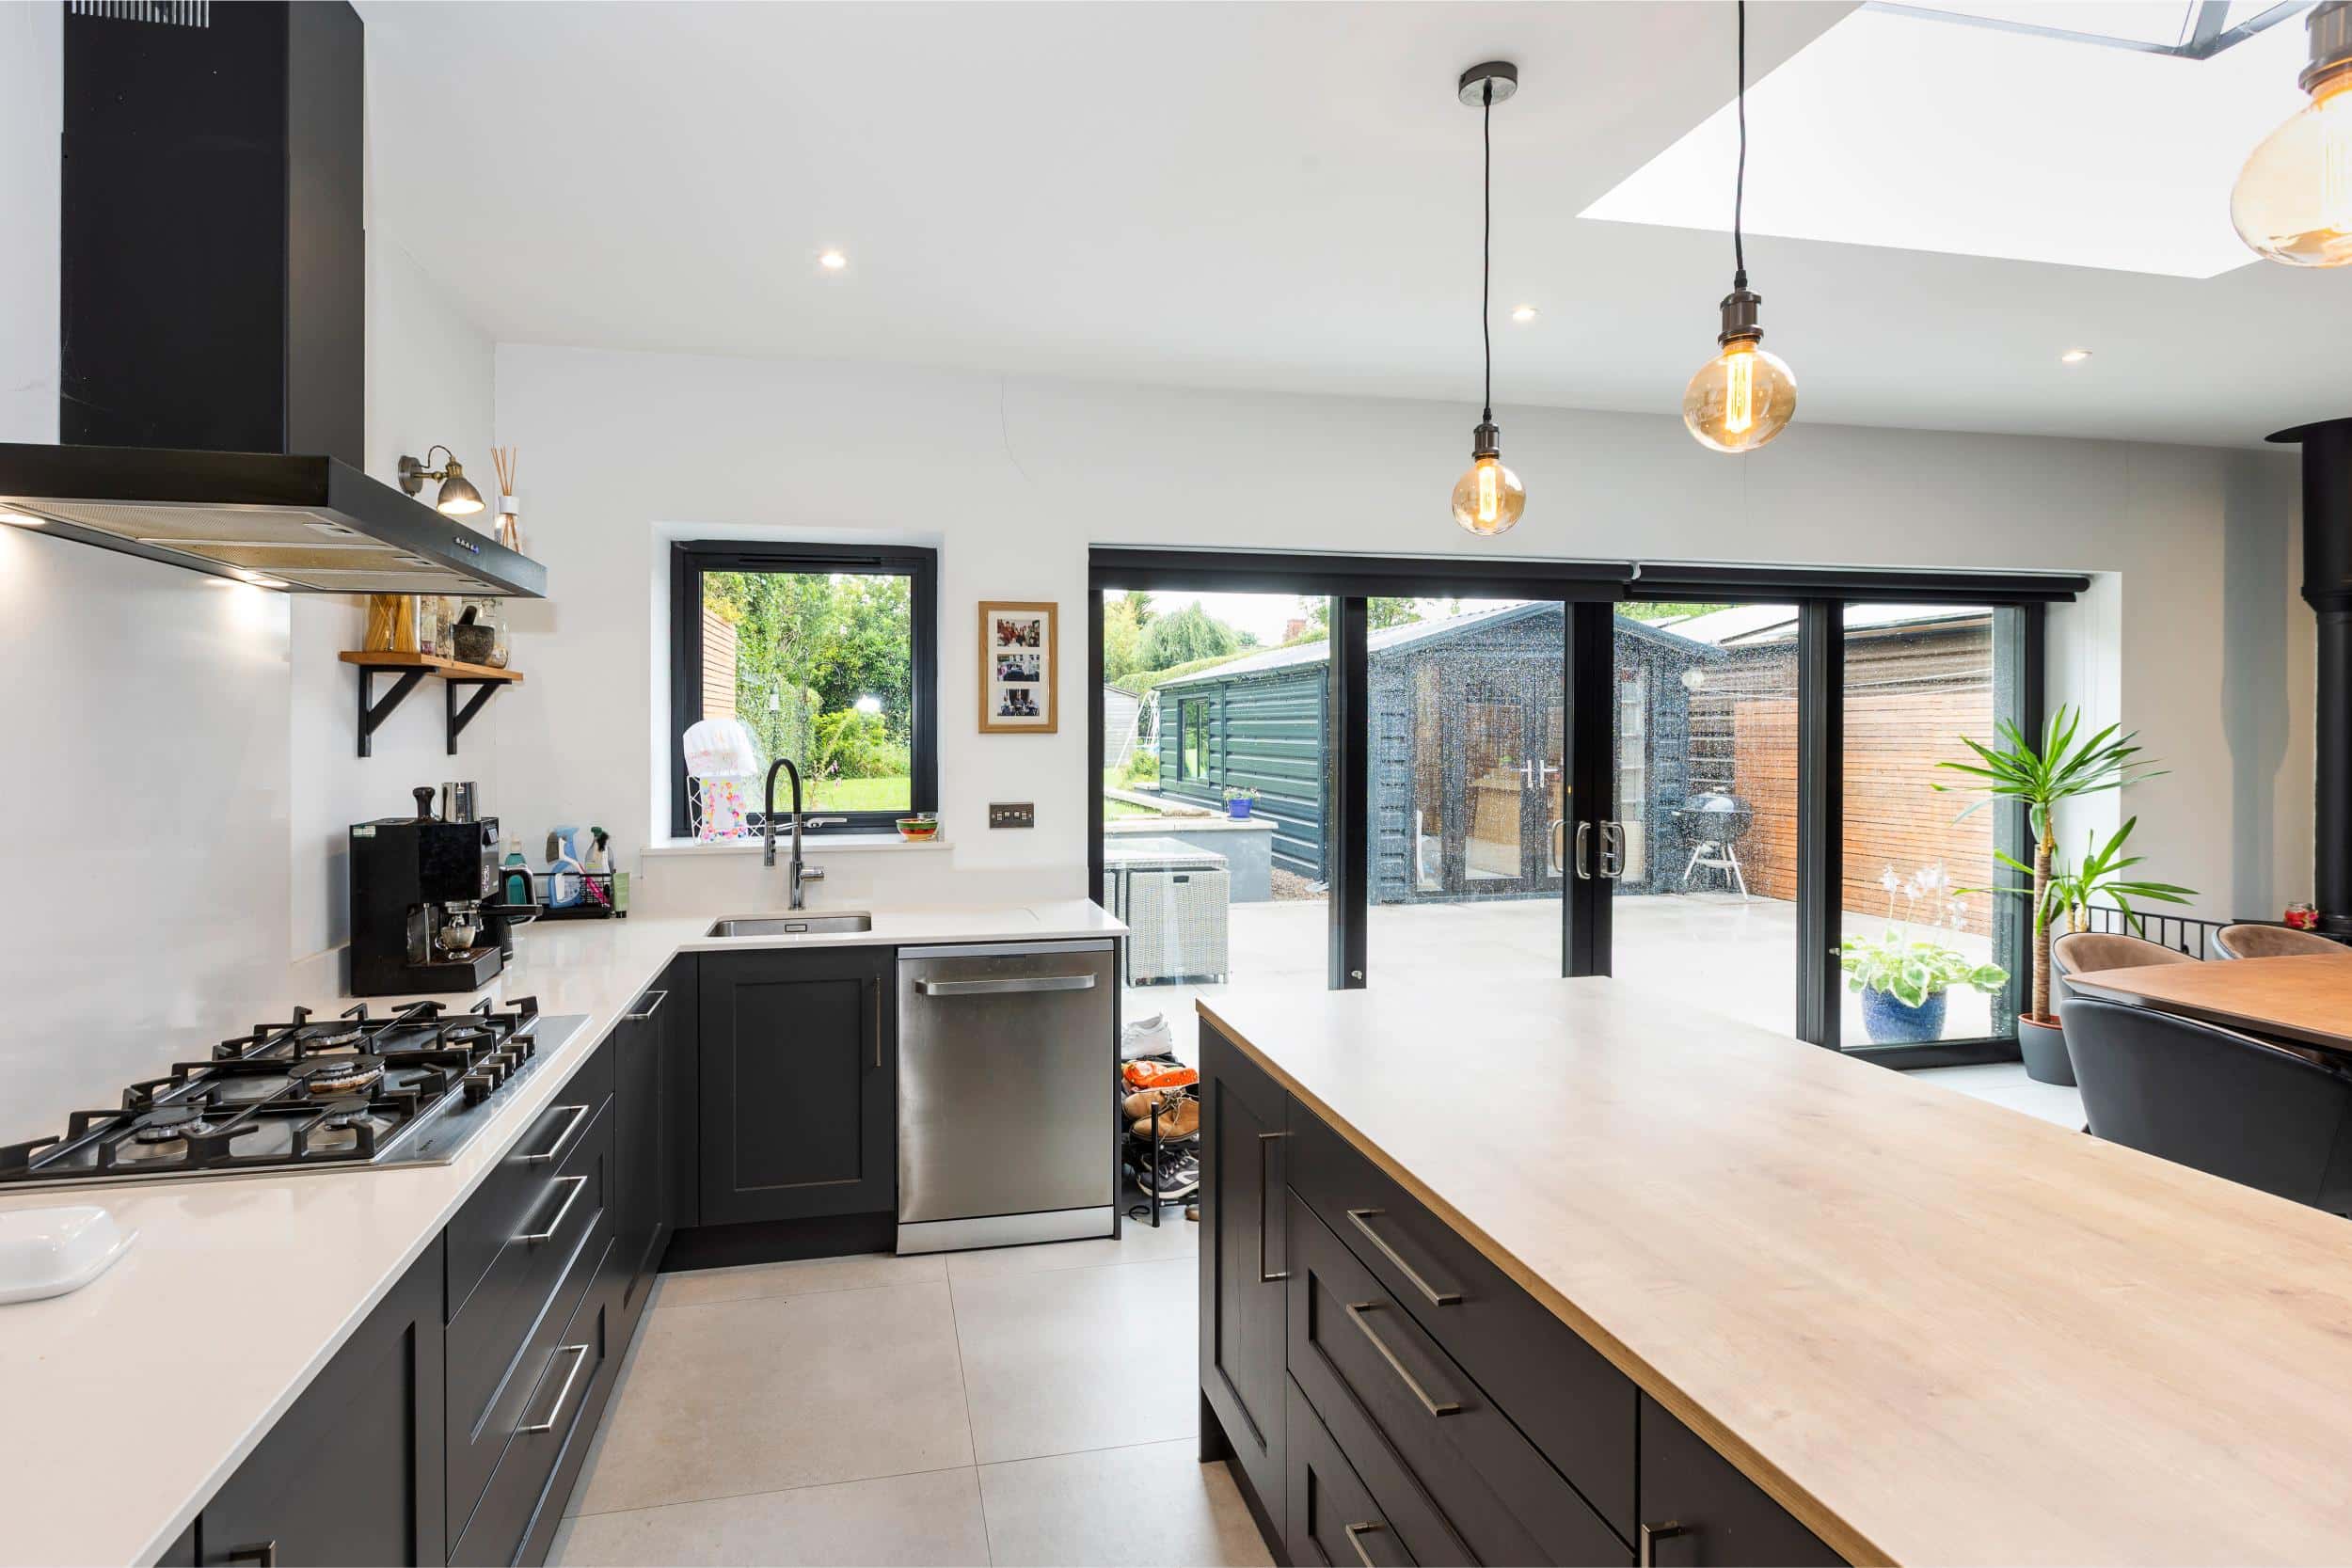
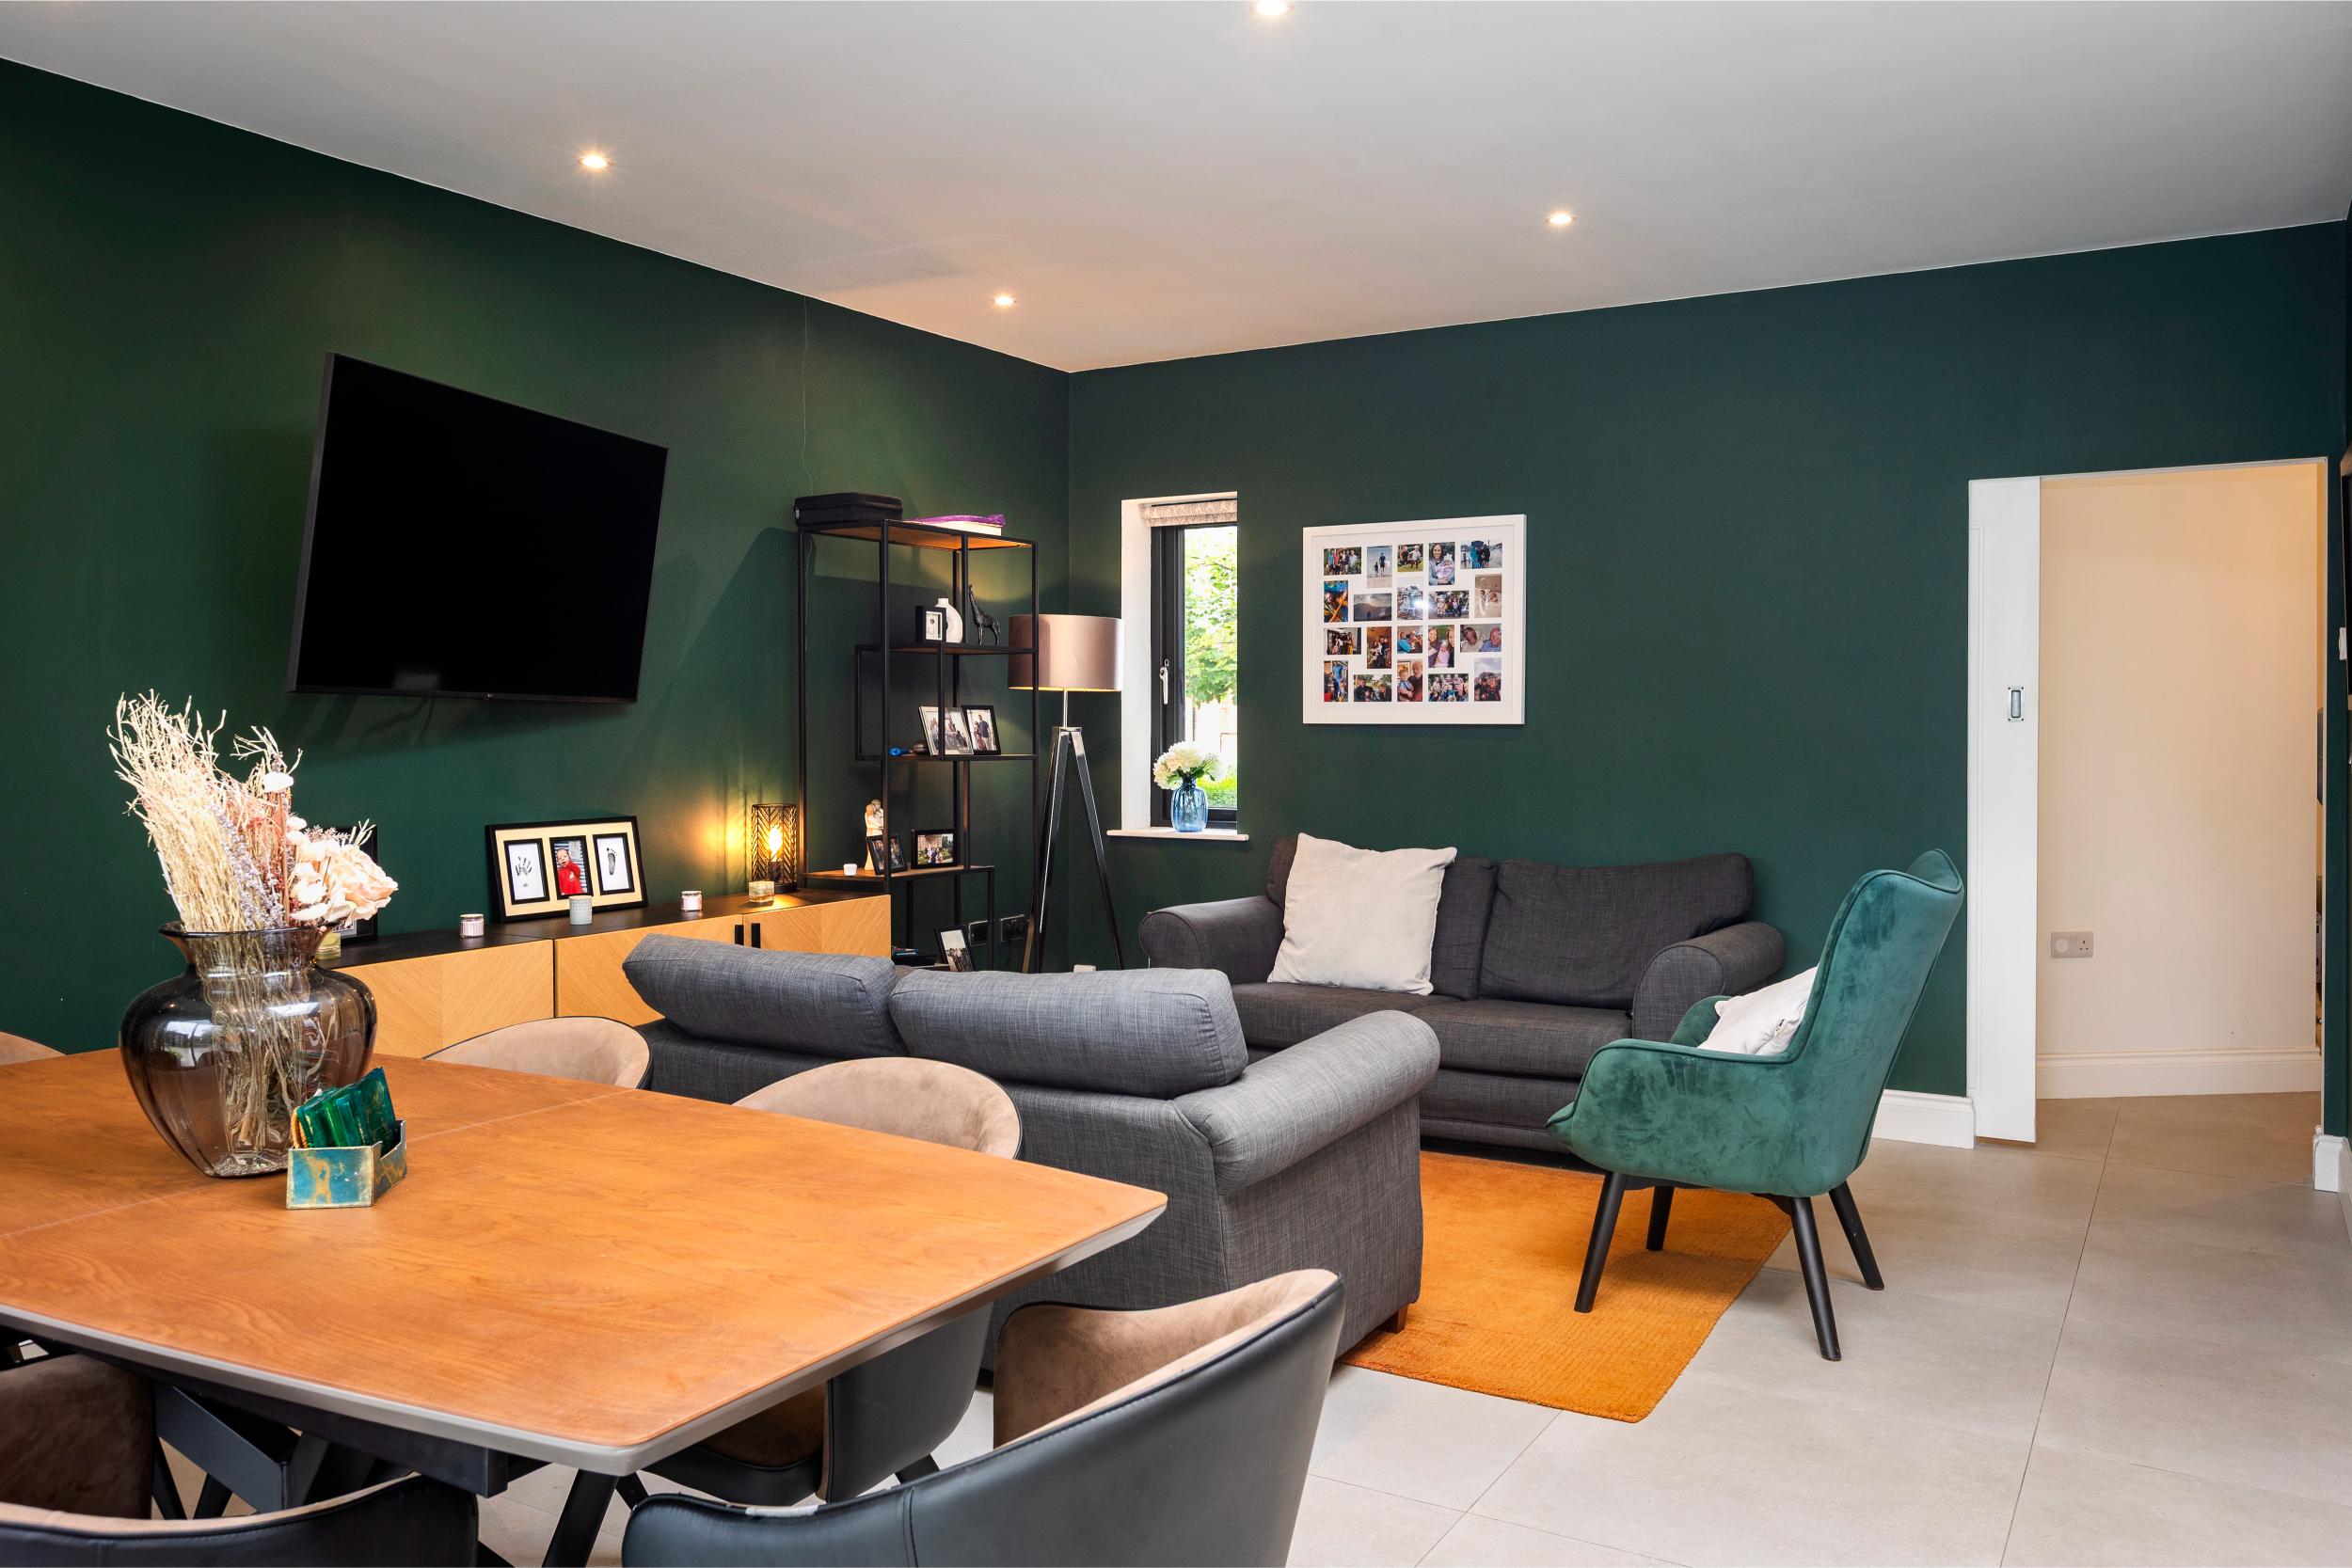
At the back of the house, they created a spacious open plan extension, opening things right up with full height sliding doors stretching across the entire back. The idea was to flood the space with natural light and make the most of garden views, so they went for lots of glazing.
They also opted for a flat roof, using a high spec, single piece system designed for energy efficiency and airtightness, keeping things warm without wasting energy.
Inside, they kept their existing boiler but moved it downstairs from the bathroom to the utility room. They added underfloor heating in the new extension for extra comfort.
Energy efficiency was a big focus throughout. They installed internal solid wall insulation in the older parts of the house, fitted triple glazed windows at the rear, and made sure the floors and cavity walls were highly insulated.
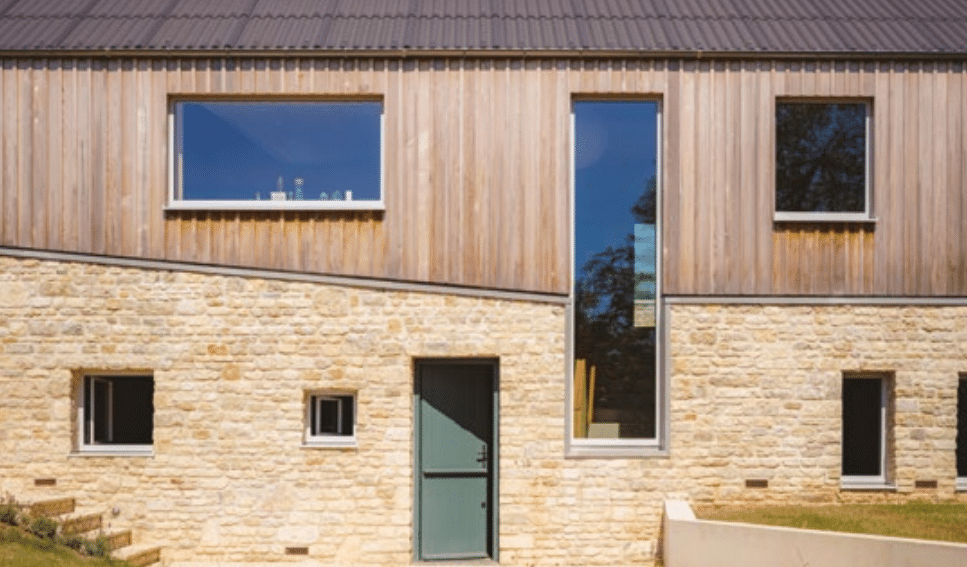
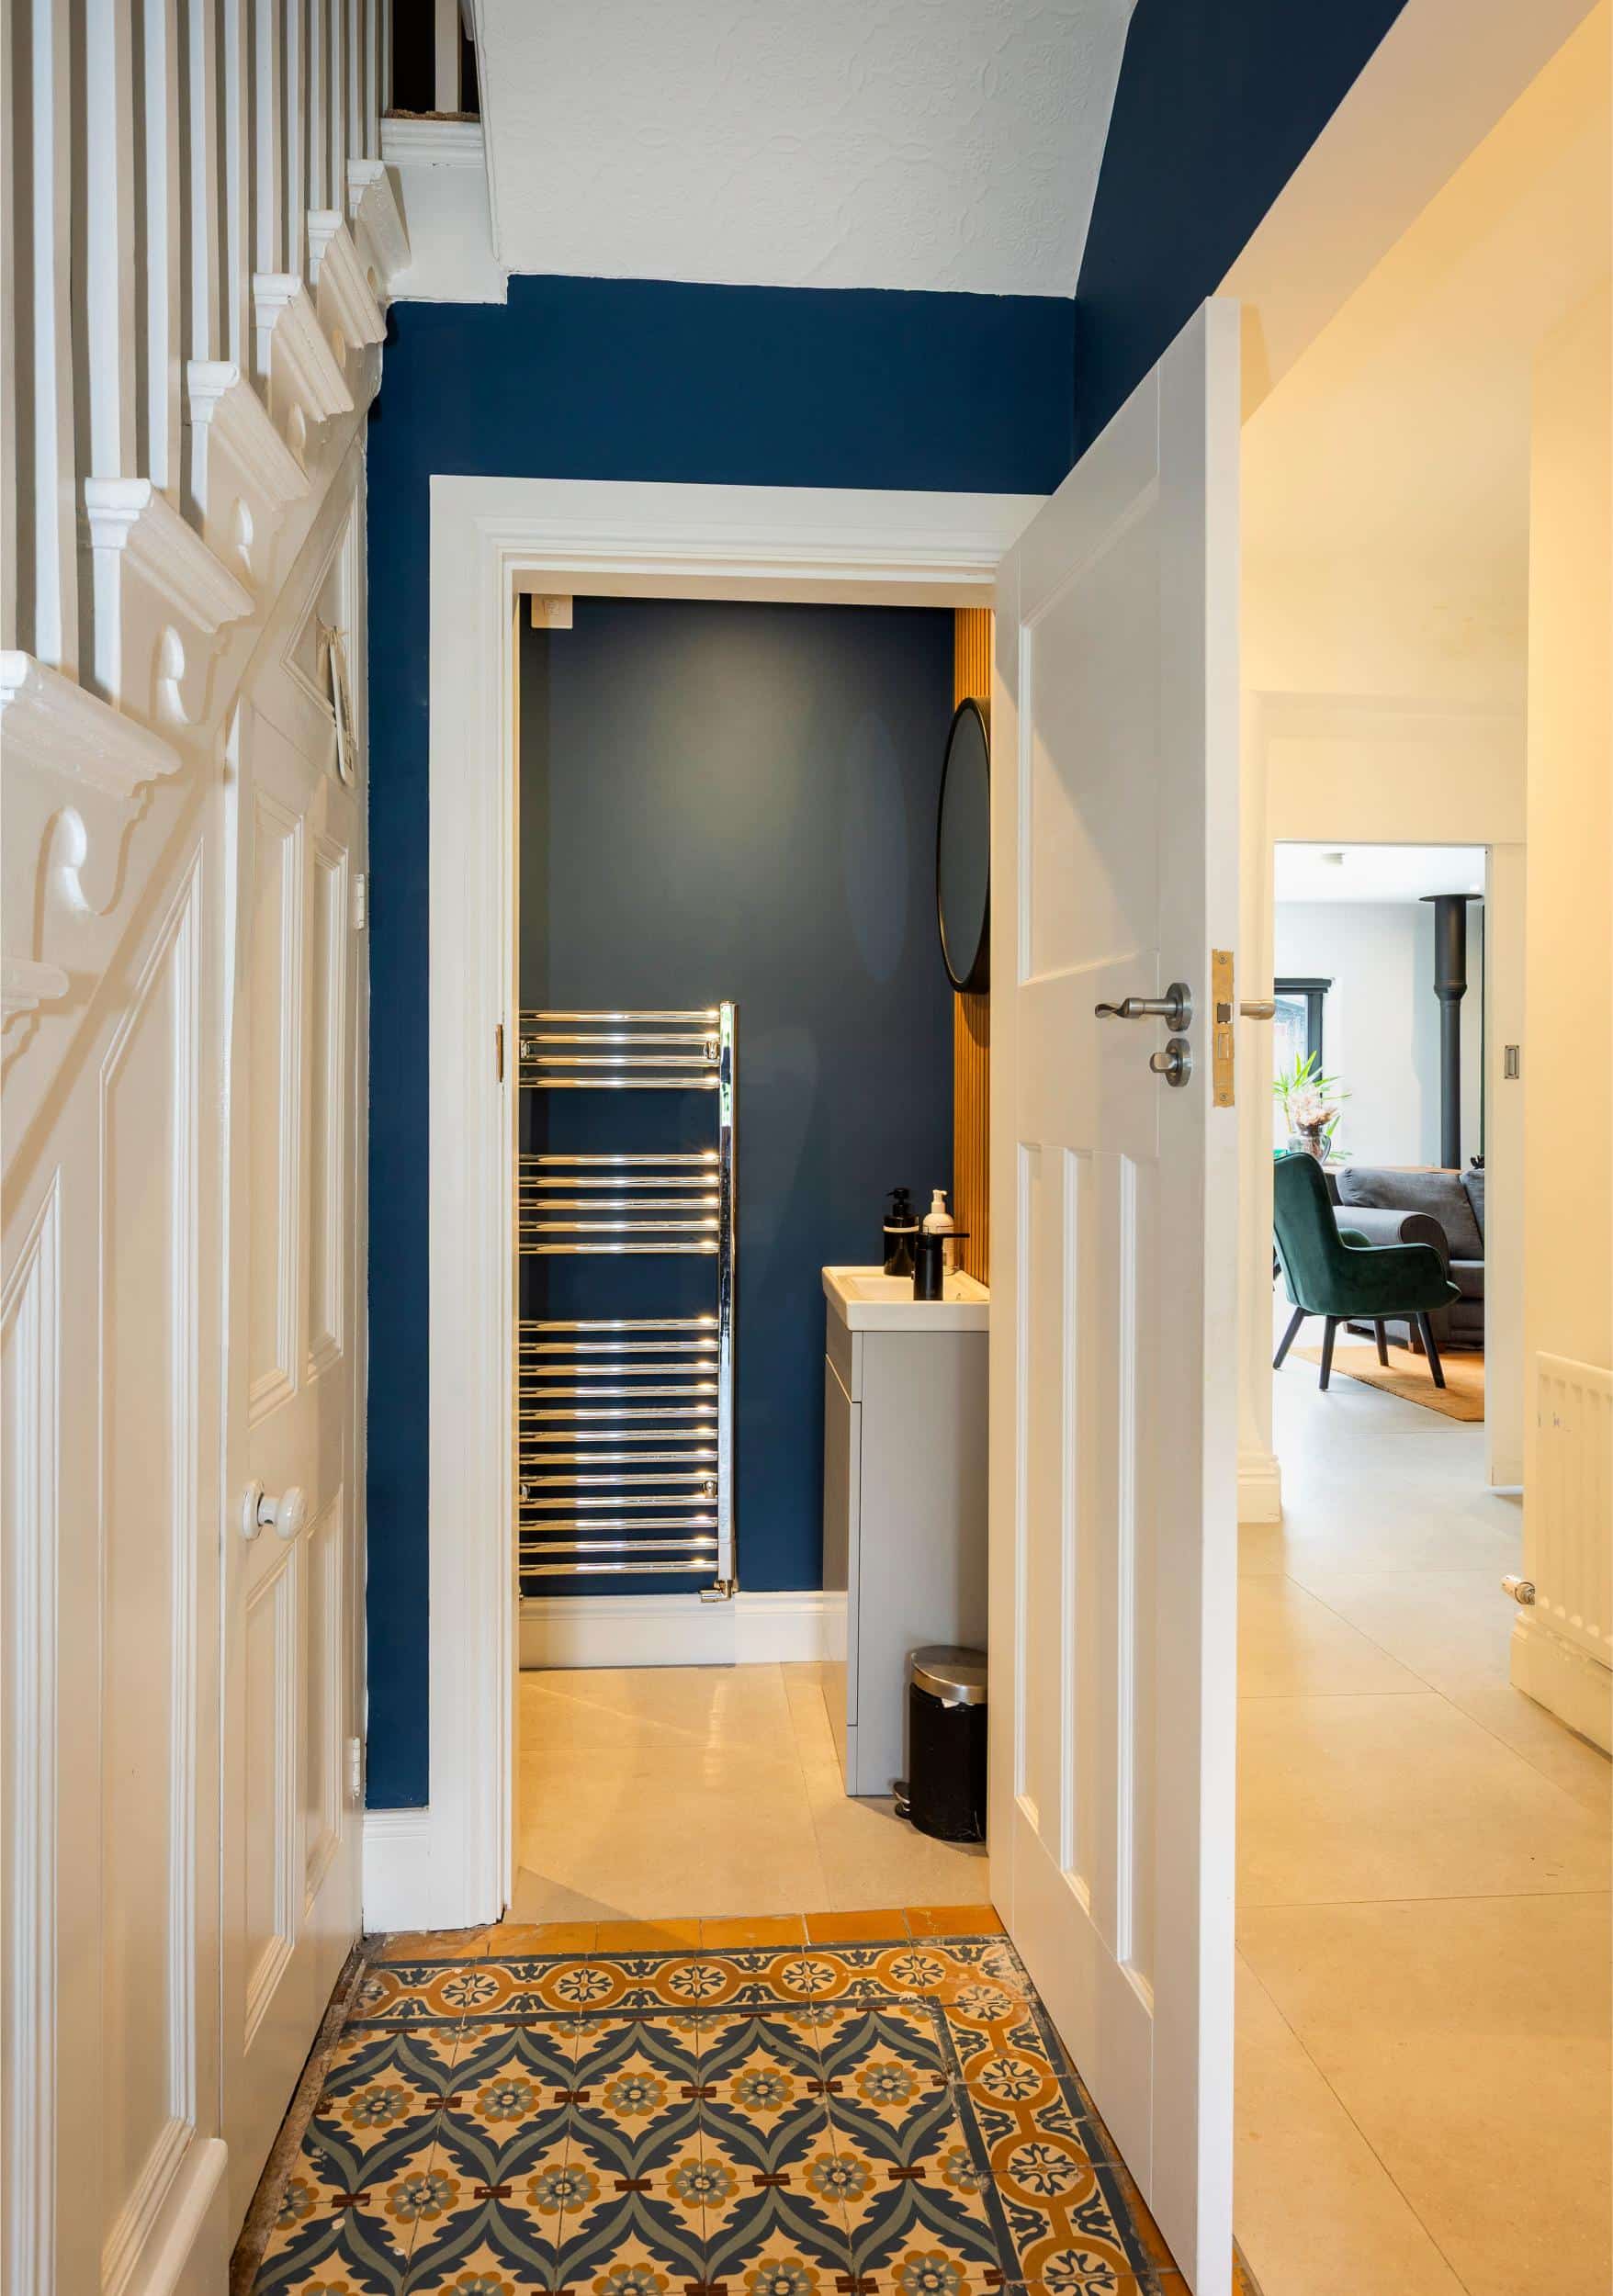
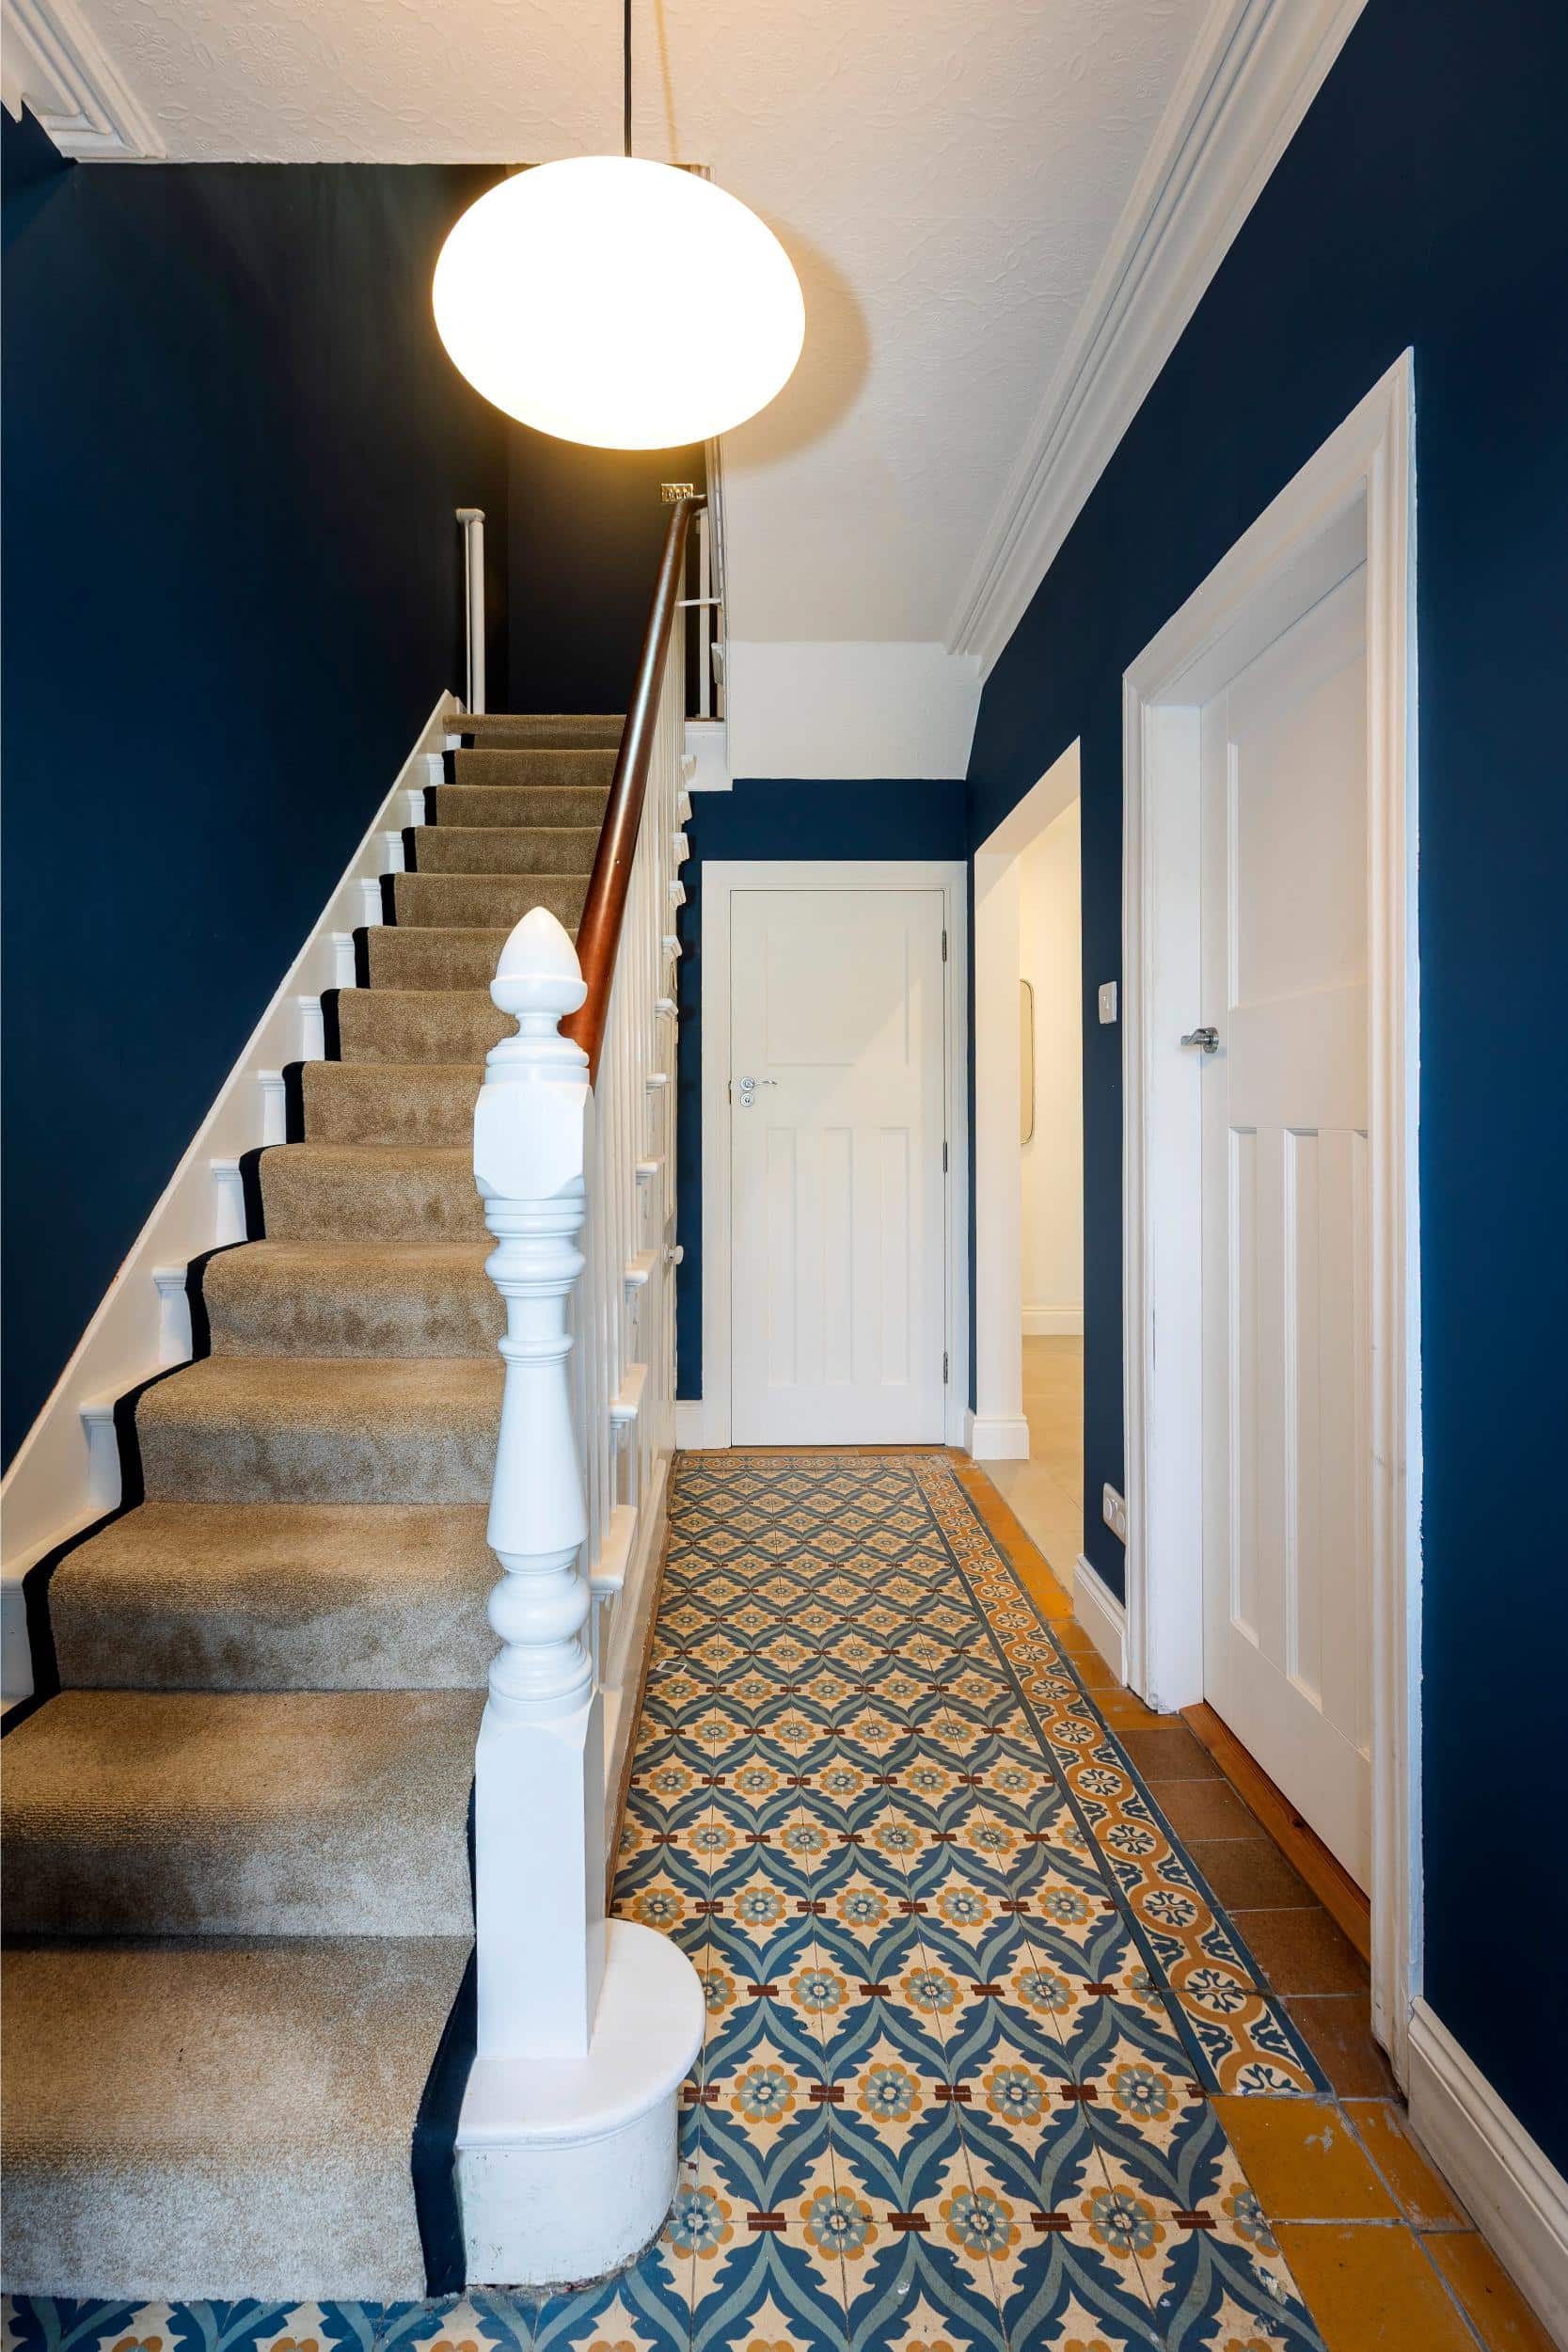
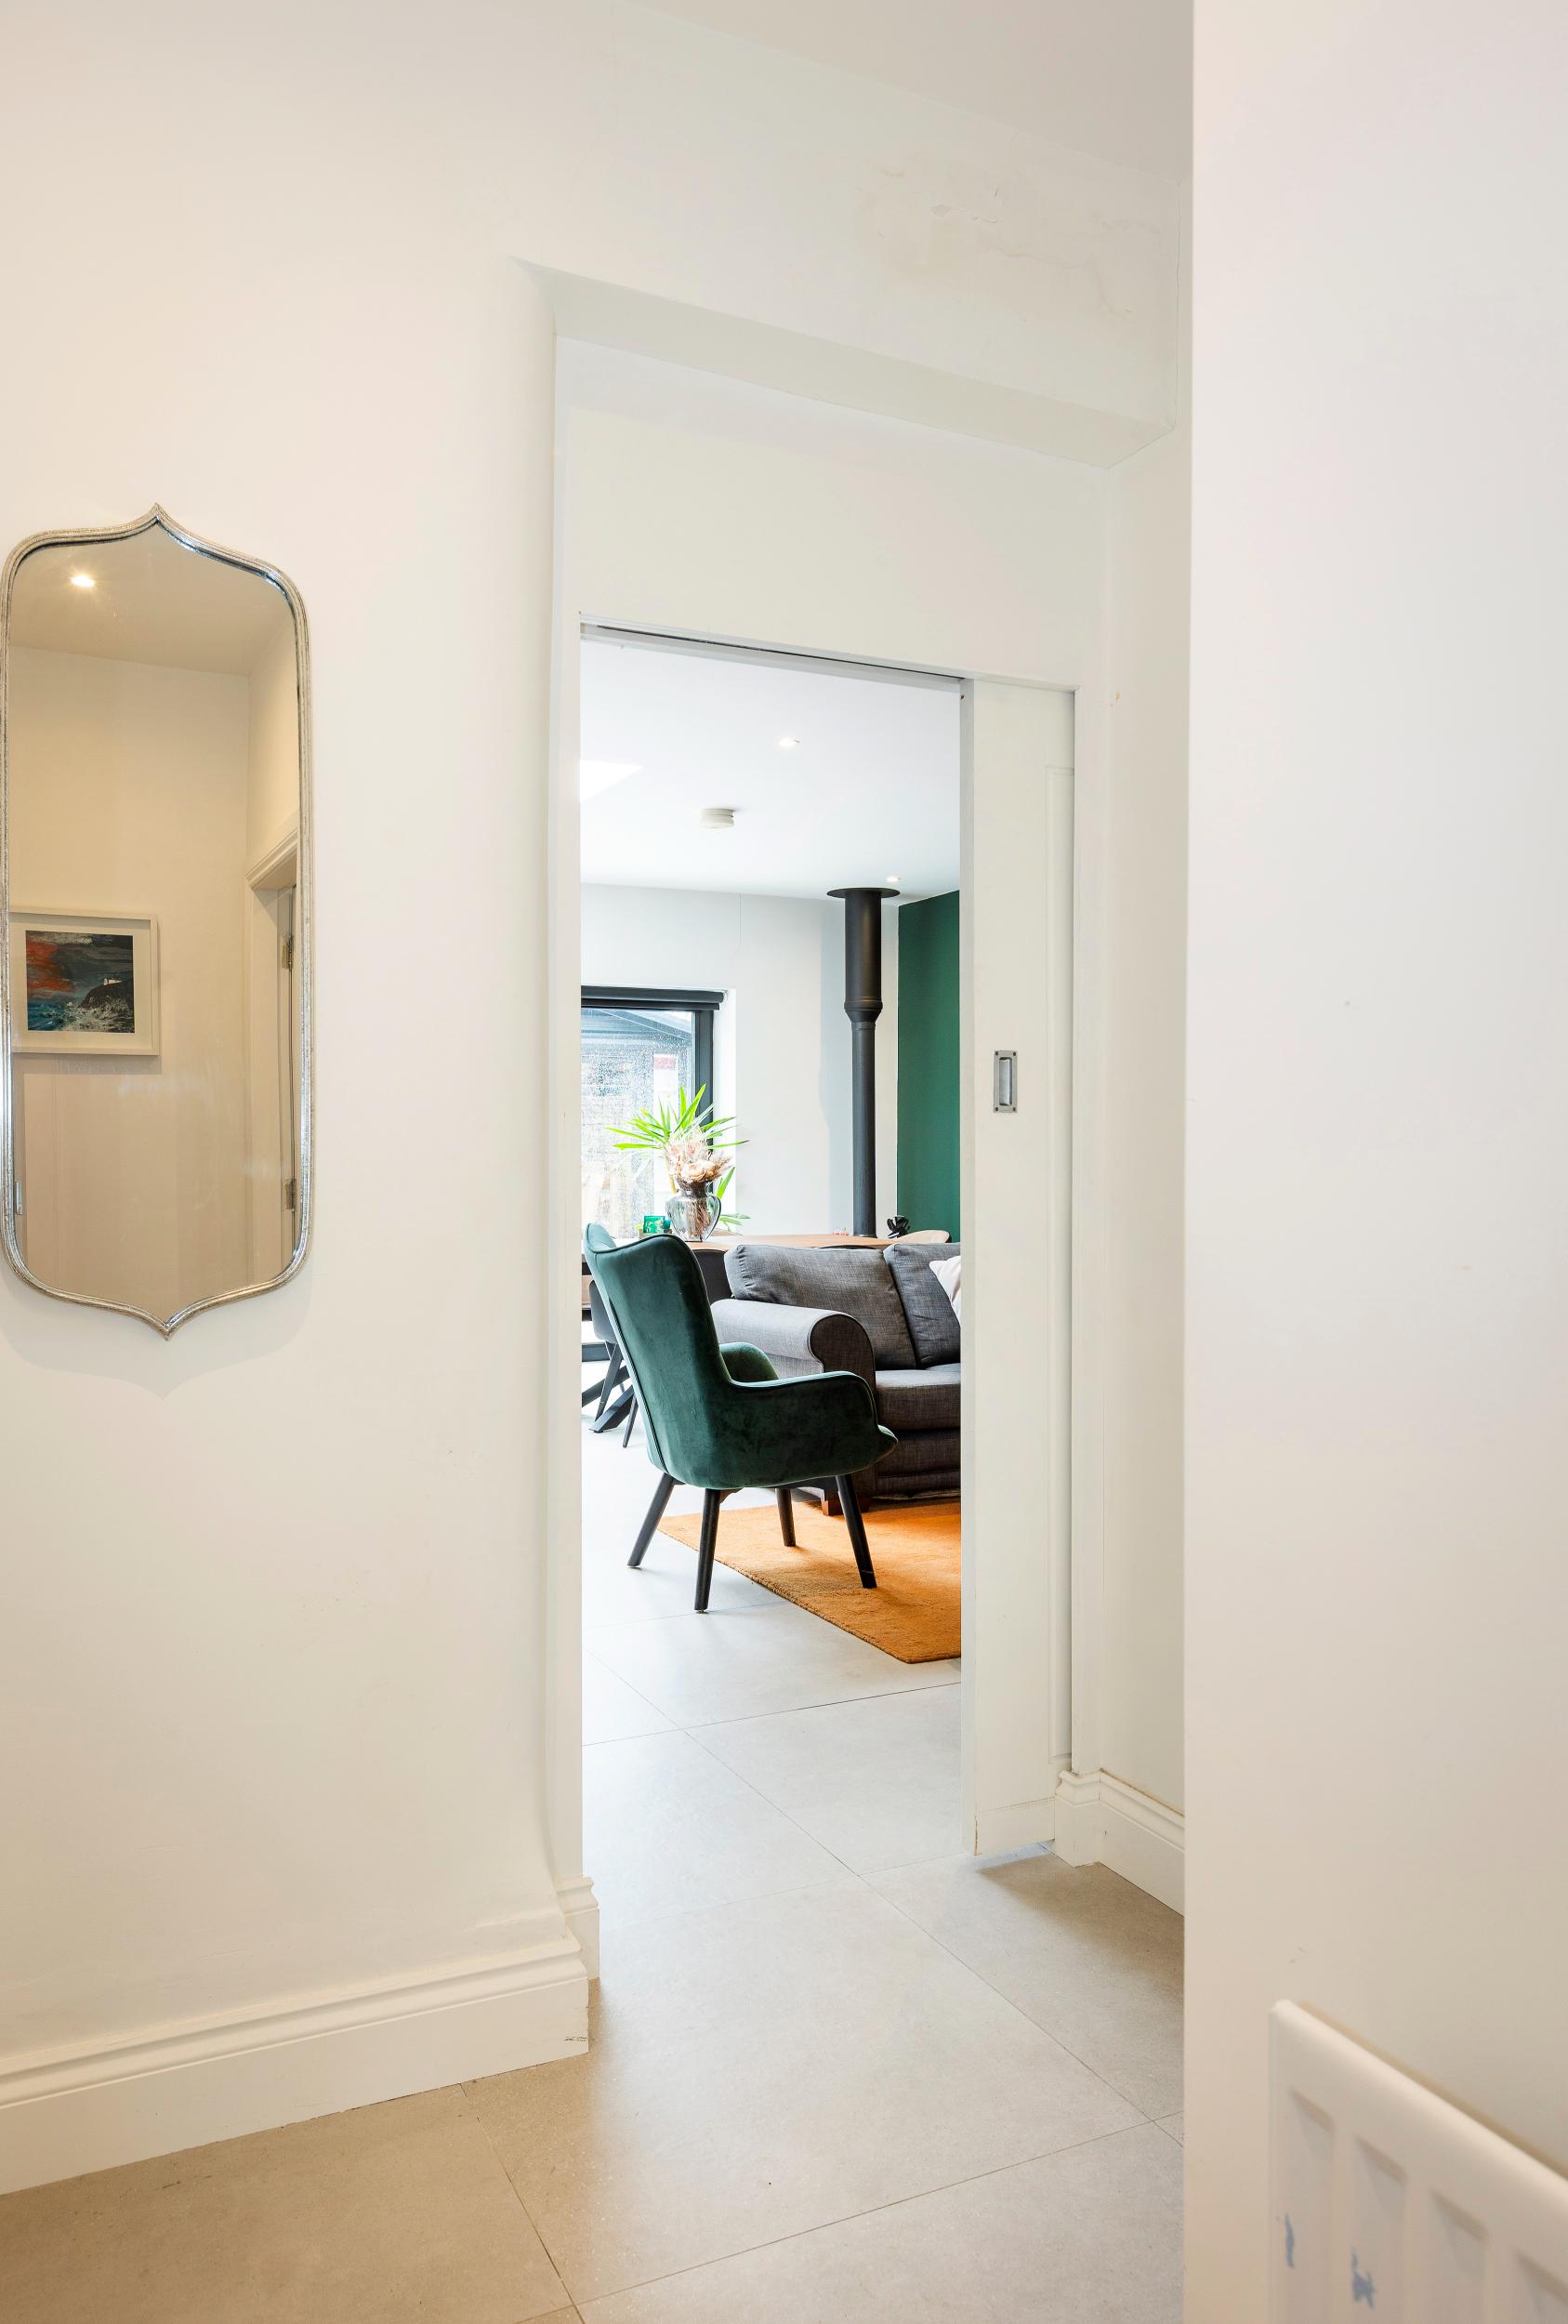
They were also careful to preserve the house’s original character wherever they could, keeping features like the cornicing and the painted tiles in the hallway. For new areas, they chose porcelain ceramic tiles and designed the flooring to flow seamlessly from inside out onto the patio.
Being relatively new, they decided to keep the existing double glazed windows at the front of the house but changed up the look, a cost effective way to refresh the windows without starting from scratch. “The original windows had wood-effect uPVC frames, but the new extension glazing was framed in black,” says Phil. “
To keep everything looking consistent without the expense and hassle of replacing all the windows, we decided to have the old frames re-sprayed black instead. It worked so well, a few of our neighbours asked where we’d gotten the new front windows from. They were convinced that we had replaced them.”
A home that grows
Lighting and interior finishes were well thought out from the beginning. They worked closely with their architectural designer to plan out every detail, down to the light switches. By locking in all those choices early on, they avoided last minute decisions during the build. Having a detailed spec from the start meant everything was priced clearly and upfront, giving peace of mind and helping the project run smoothly.
The kitchen was designed with a dark grey colour scheme and features a wooden topped island at its centre. “Phil is the main cook, so he had the biggest input into the layout, but I drew on a lot of examples on social media for the overall look and finish,” explains Judith. “Although it’s quite a minimalist style, it was important that it felt like the heart of the home.”
There’s a quieter space at the front of the house, originally planned as a grown up retreat, that their young son has claimed it as his playroom for now.
For the flooring, they kept the original decorative hallway tiles, which are typical of the house’s period style. Elsewhere, they went with porcelain tiles that are large format and work well with the underfloor heating.
Upstairs, the external walls were stripped back, insulated and reskimmed. “This gave us the chance to redecorate as well,” says Judith. “But to be honest, apart from the insulation and a fresh coat of paint, we didn’t make many changes up there.”
Judith’s Tips
Give yourself time. There are so many decisions to make when you’re building, more than I ever expected. The important thing is not to feel like you have to make every decision instantly, and don’t be afraid to change your mind. We changed quite a few things along the way, and we’re so glad we did – because life changed a bit during the build, and our needs shifted too.
Factor in a contingency. Not just in your budget, but in your timeline as well. Things will crop up, so it’s good to have a bit of breathing space built in.
They tackled the landscaping at the same time as the main build, deciding it made sense to get the builder to put in the patio and new wall while he was there. The original patio had been small and a bit tired, so they extended it significantly, creating a large, open space that now f lows from the back of the house into the garden. “
We used similar tiles inside and out,” says Judith, “so even though the outdoor ones are designed for exterior use, it feels like one continuous surface. It really draws you out into the garden.”
They also got stuck in, putting up the fences, new garden path and painting the exterior of the house themselves.
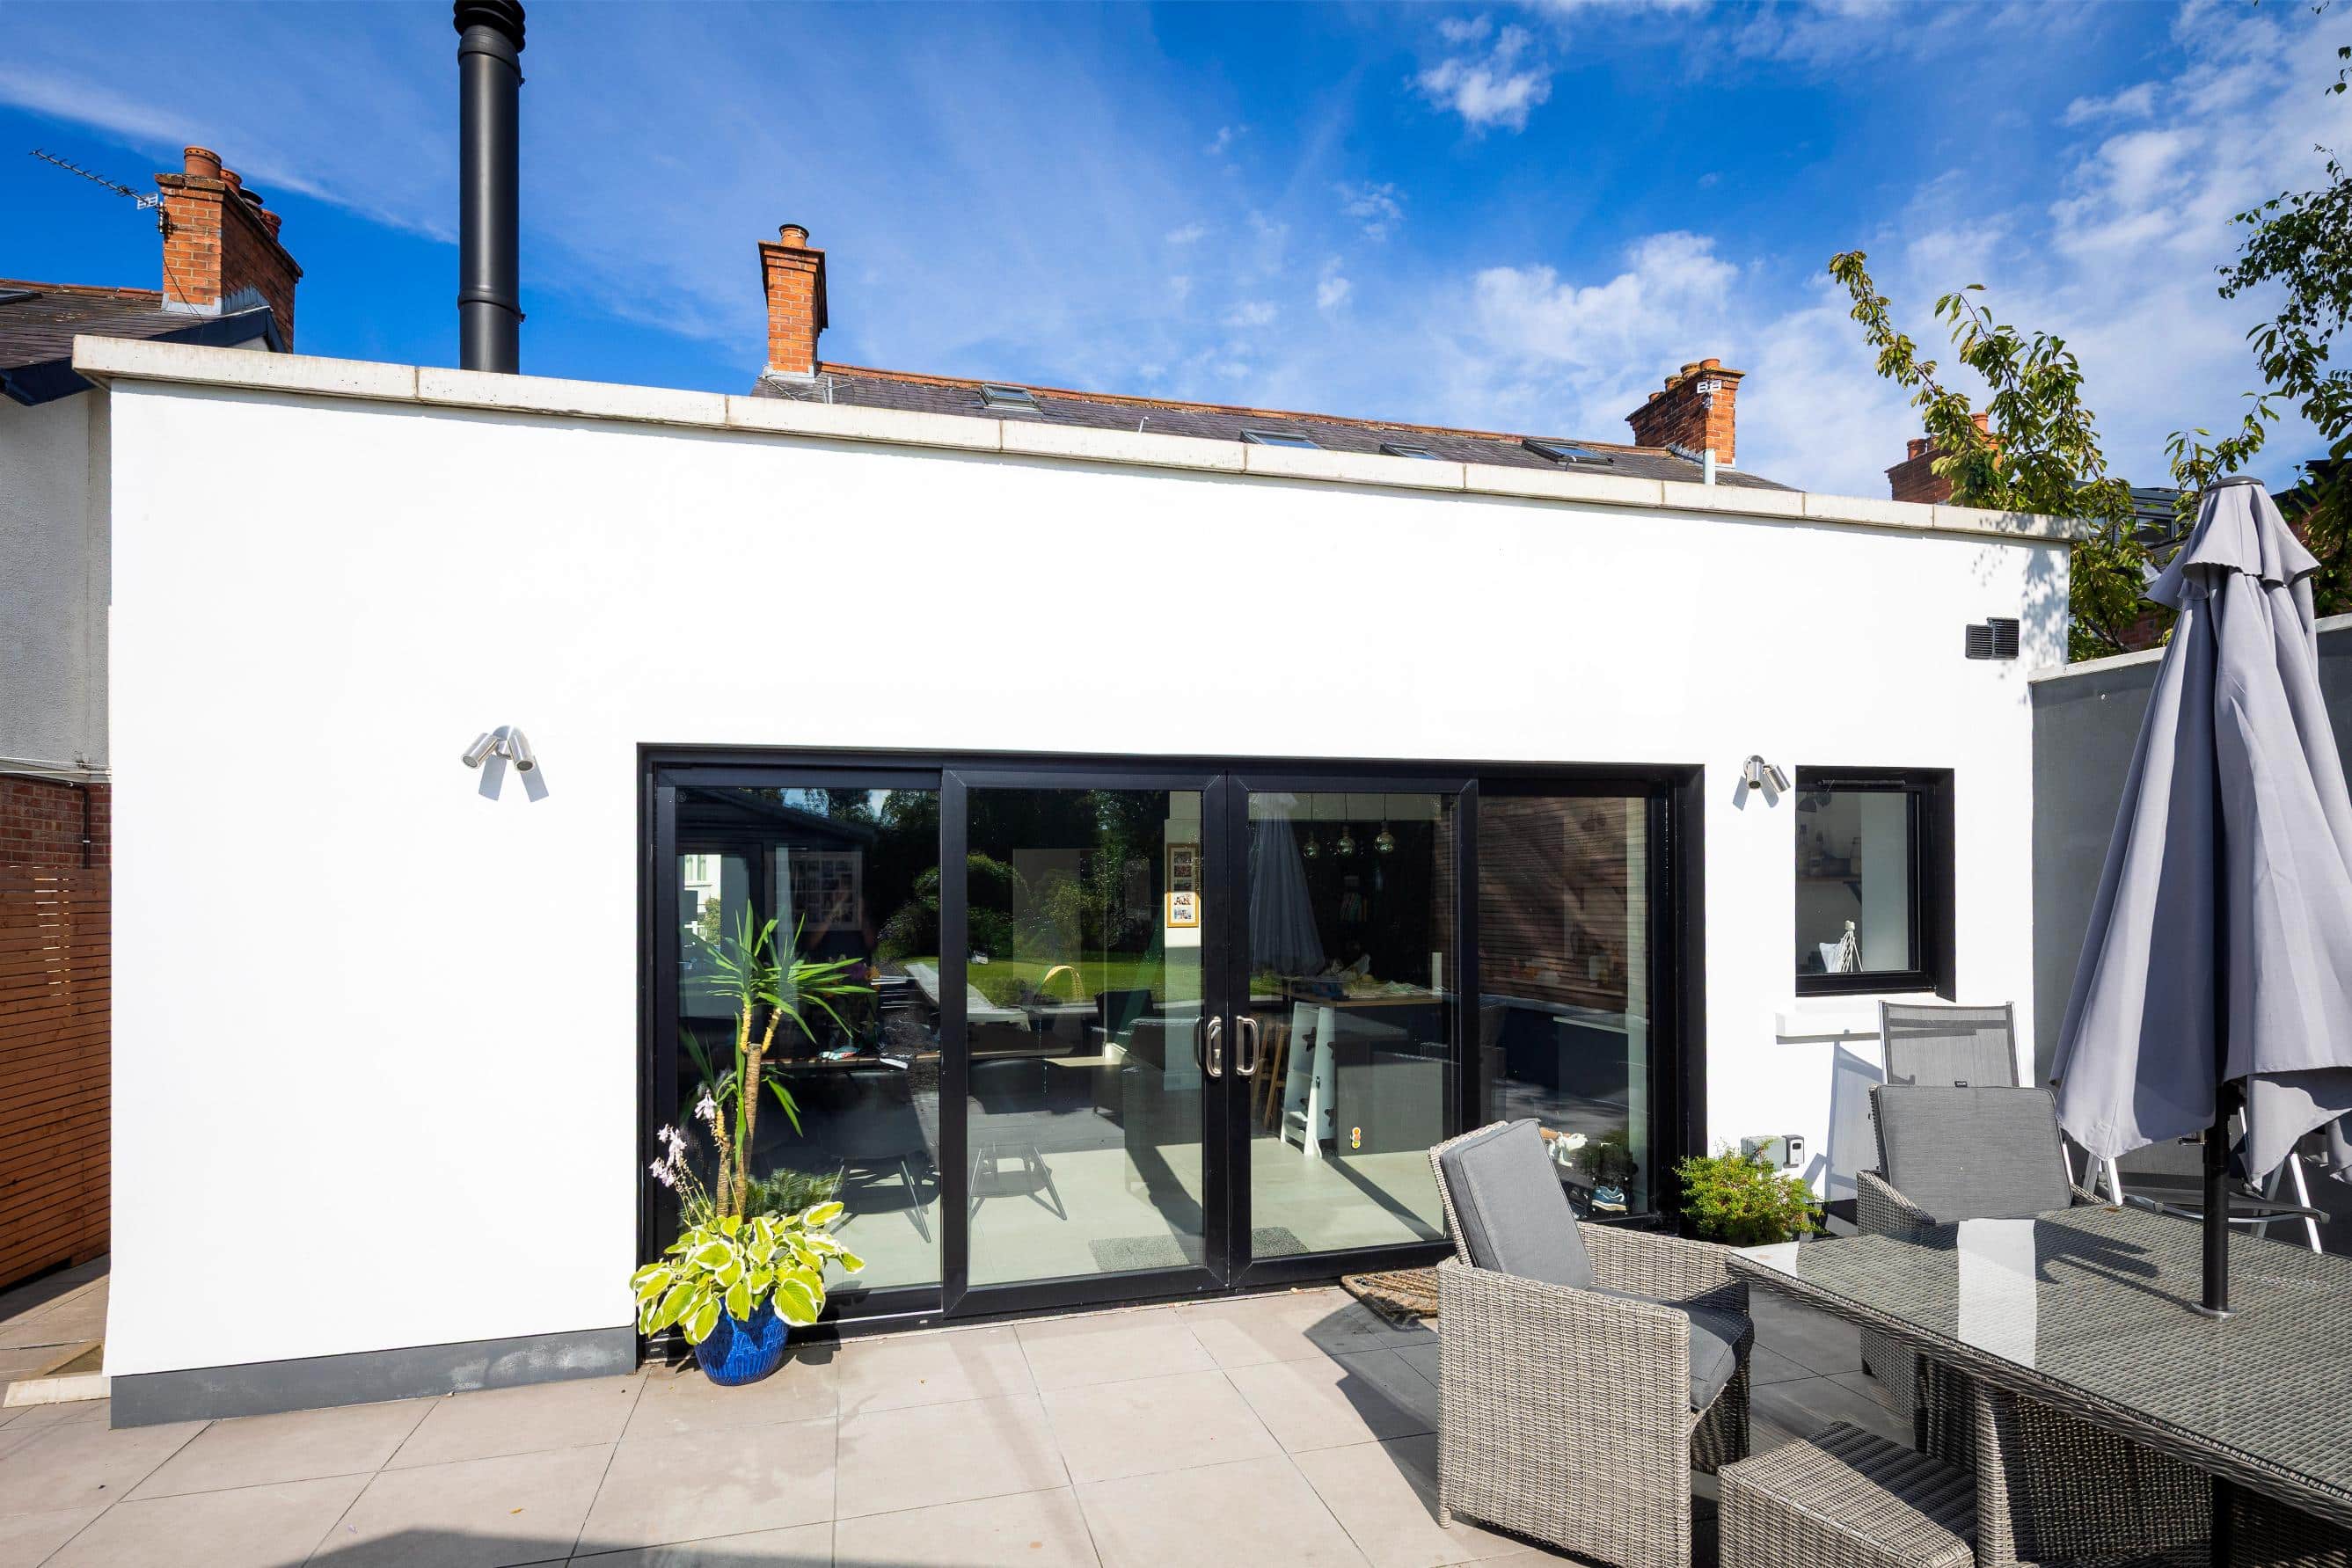
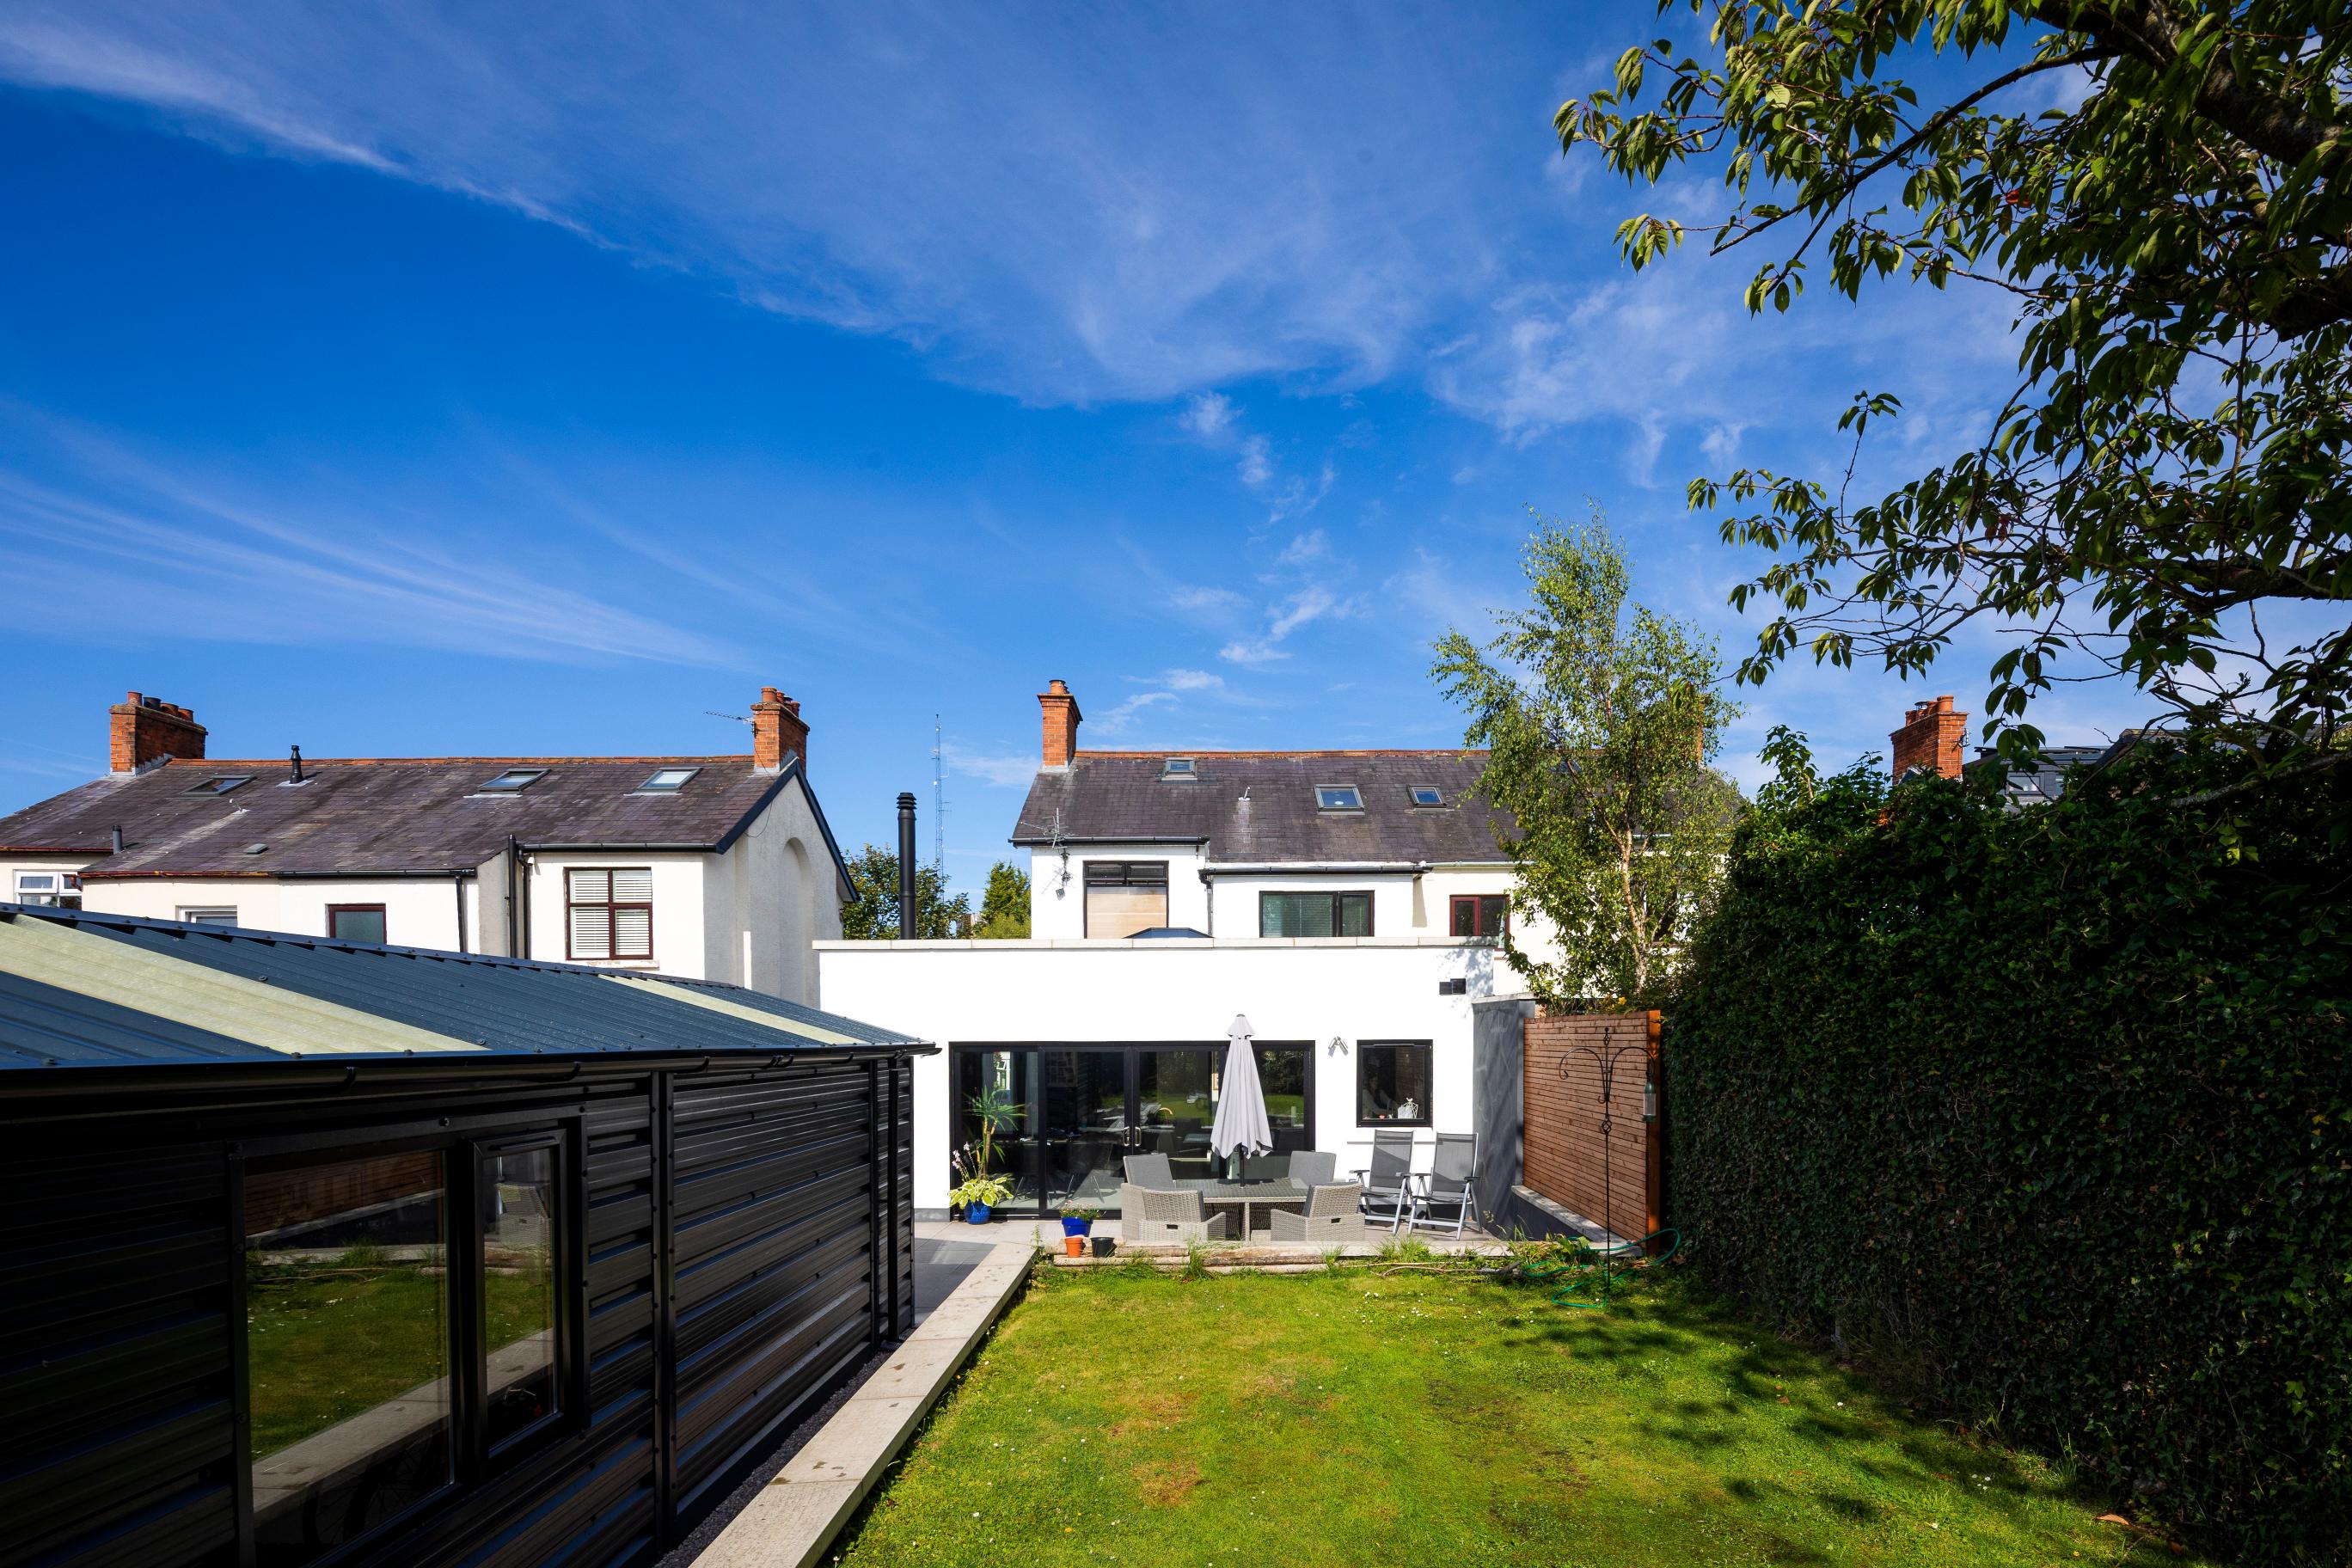
This connection between indoors and outdoors has made a big difference to how they use their home. “We can just open the sliding doors and let our little one run in and out,” she adds. “It’s really changed the feel of the house, it’s so much more open and social.”
Phil agrees. “On a sunny day, there’s nothing better than having the doors f lung open, sitting out with a barbecue. It’s exactly the kind of inside-outside living we wanted,” he says.
Looking back, they believe the effort they put into planning at the start of the project has paid off.
“The house has worked out even better than we imagined,” says Judith. “When we first started planning the renovation, our main goal was to create a home that would grow beyond what we needed as a couple at that time. But living in it now, with our young son, and another on the way, we’re genuinely amazed at how perfectly it suits our day-to-day life.”
“I can’t picture how we’d have managed in the old layout. The new extension has completely changed how we live. I’ve got a proper workspace now where I can shut the door and focus, there’s a play area for our son that doesn’t take over the whole house, and the open plan kitchen that flows into the living and dining areas just makes everything feel connected.”
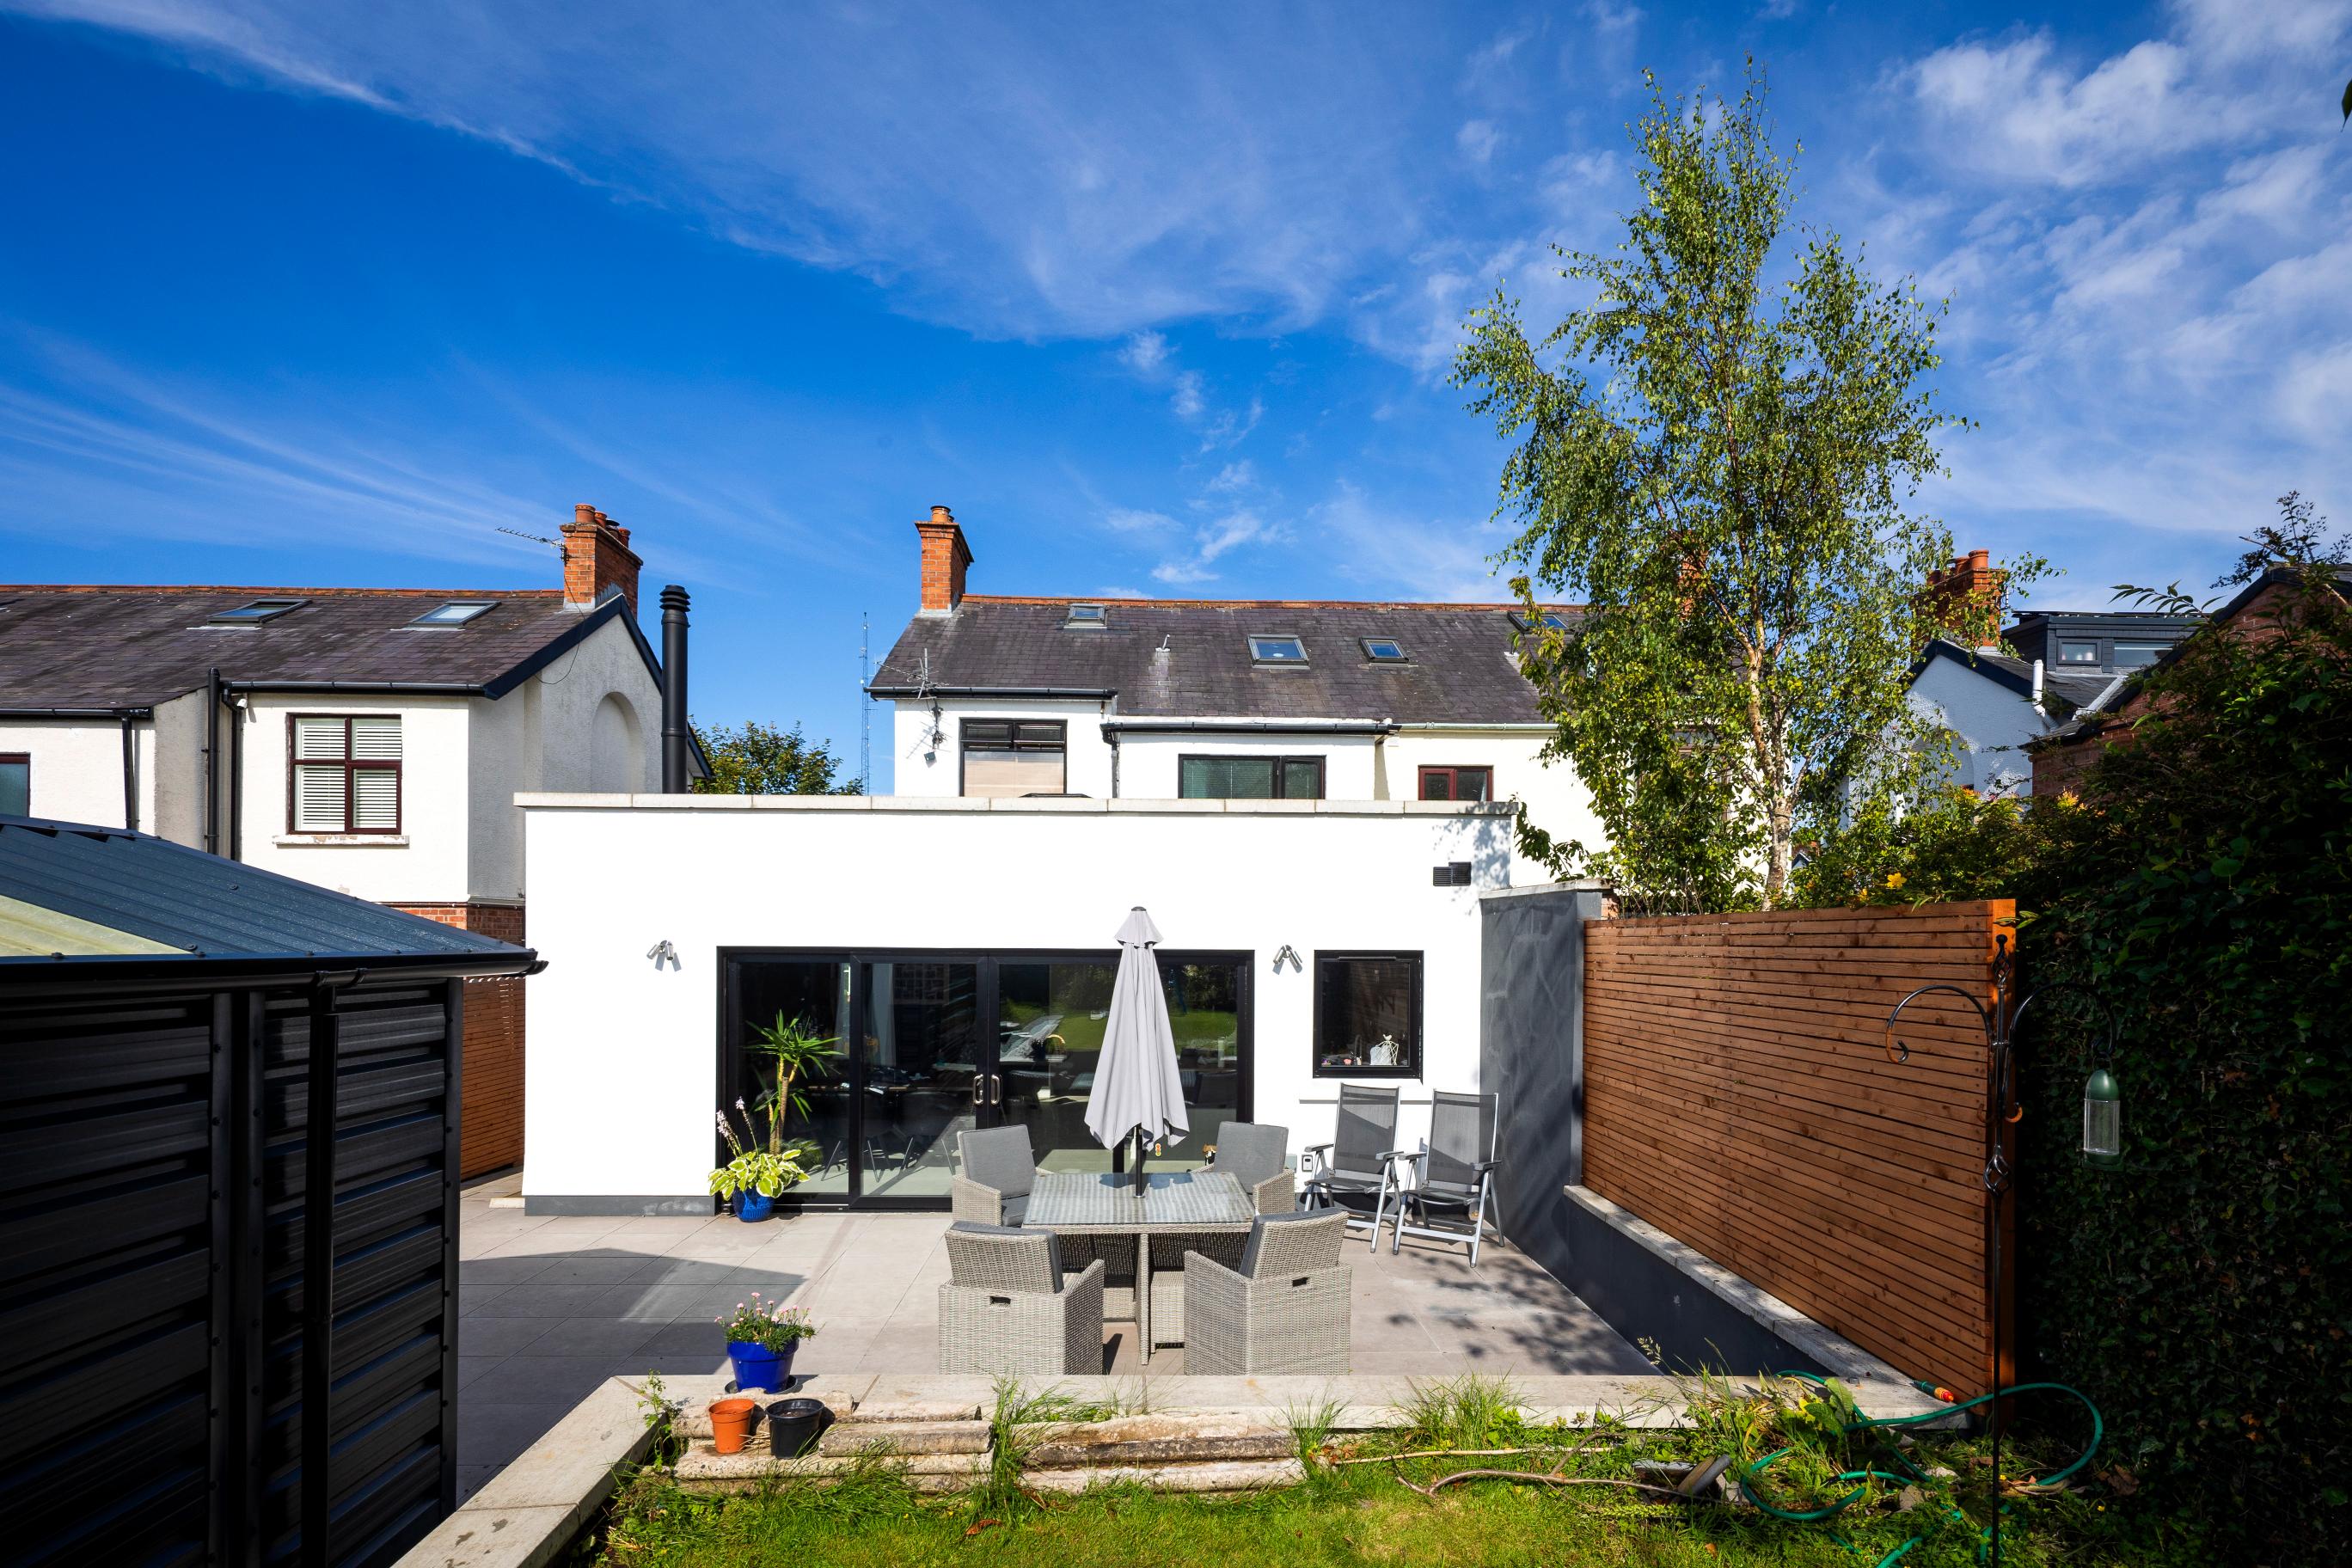
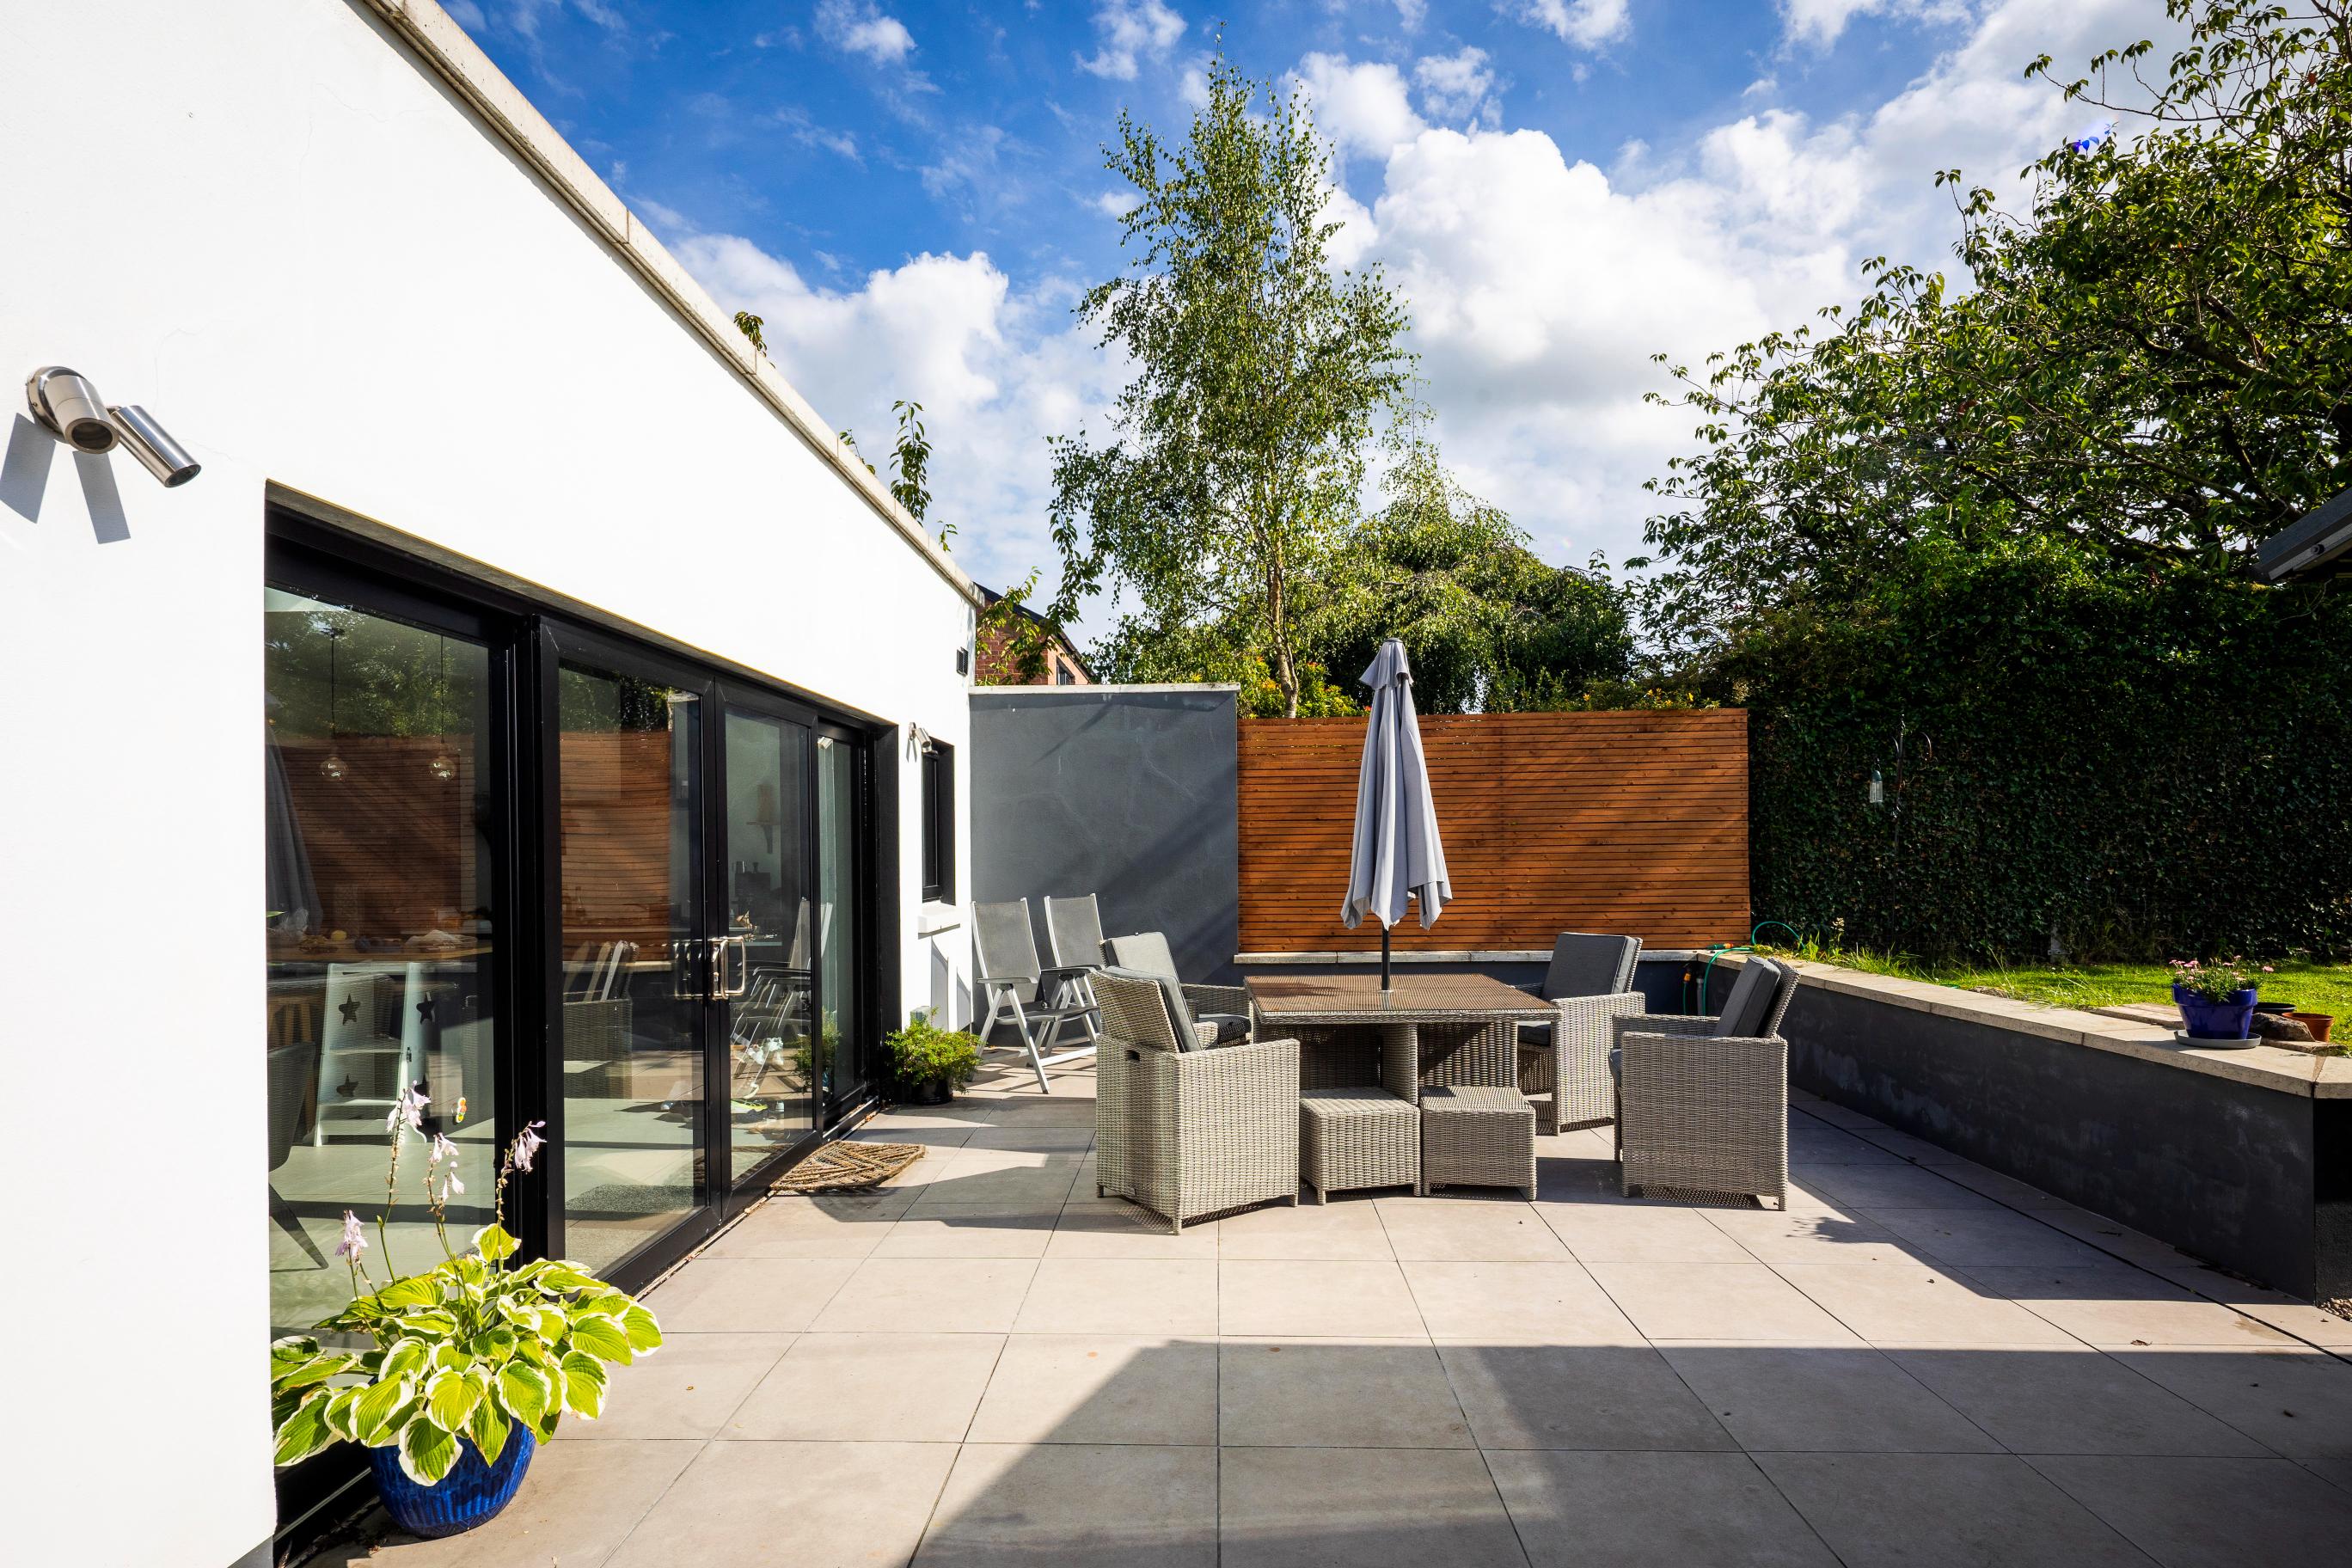
“And with all the glazing, we’re always looking out onto the garden. It brings in so much light and really lifts the whole house.”
If they were to change anything, they say it would be more about things they haven’t gotten around to yet. “Like we’ve always talked about updating the bathroom,” says Judith. “But there’s always something else that needs doing, and at the time we had to draw a line somewhere. Otherwise, we’d have ended up trying to do everything all at once.”
Q&A with Judith & Phil
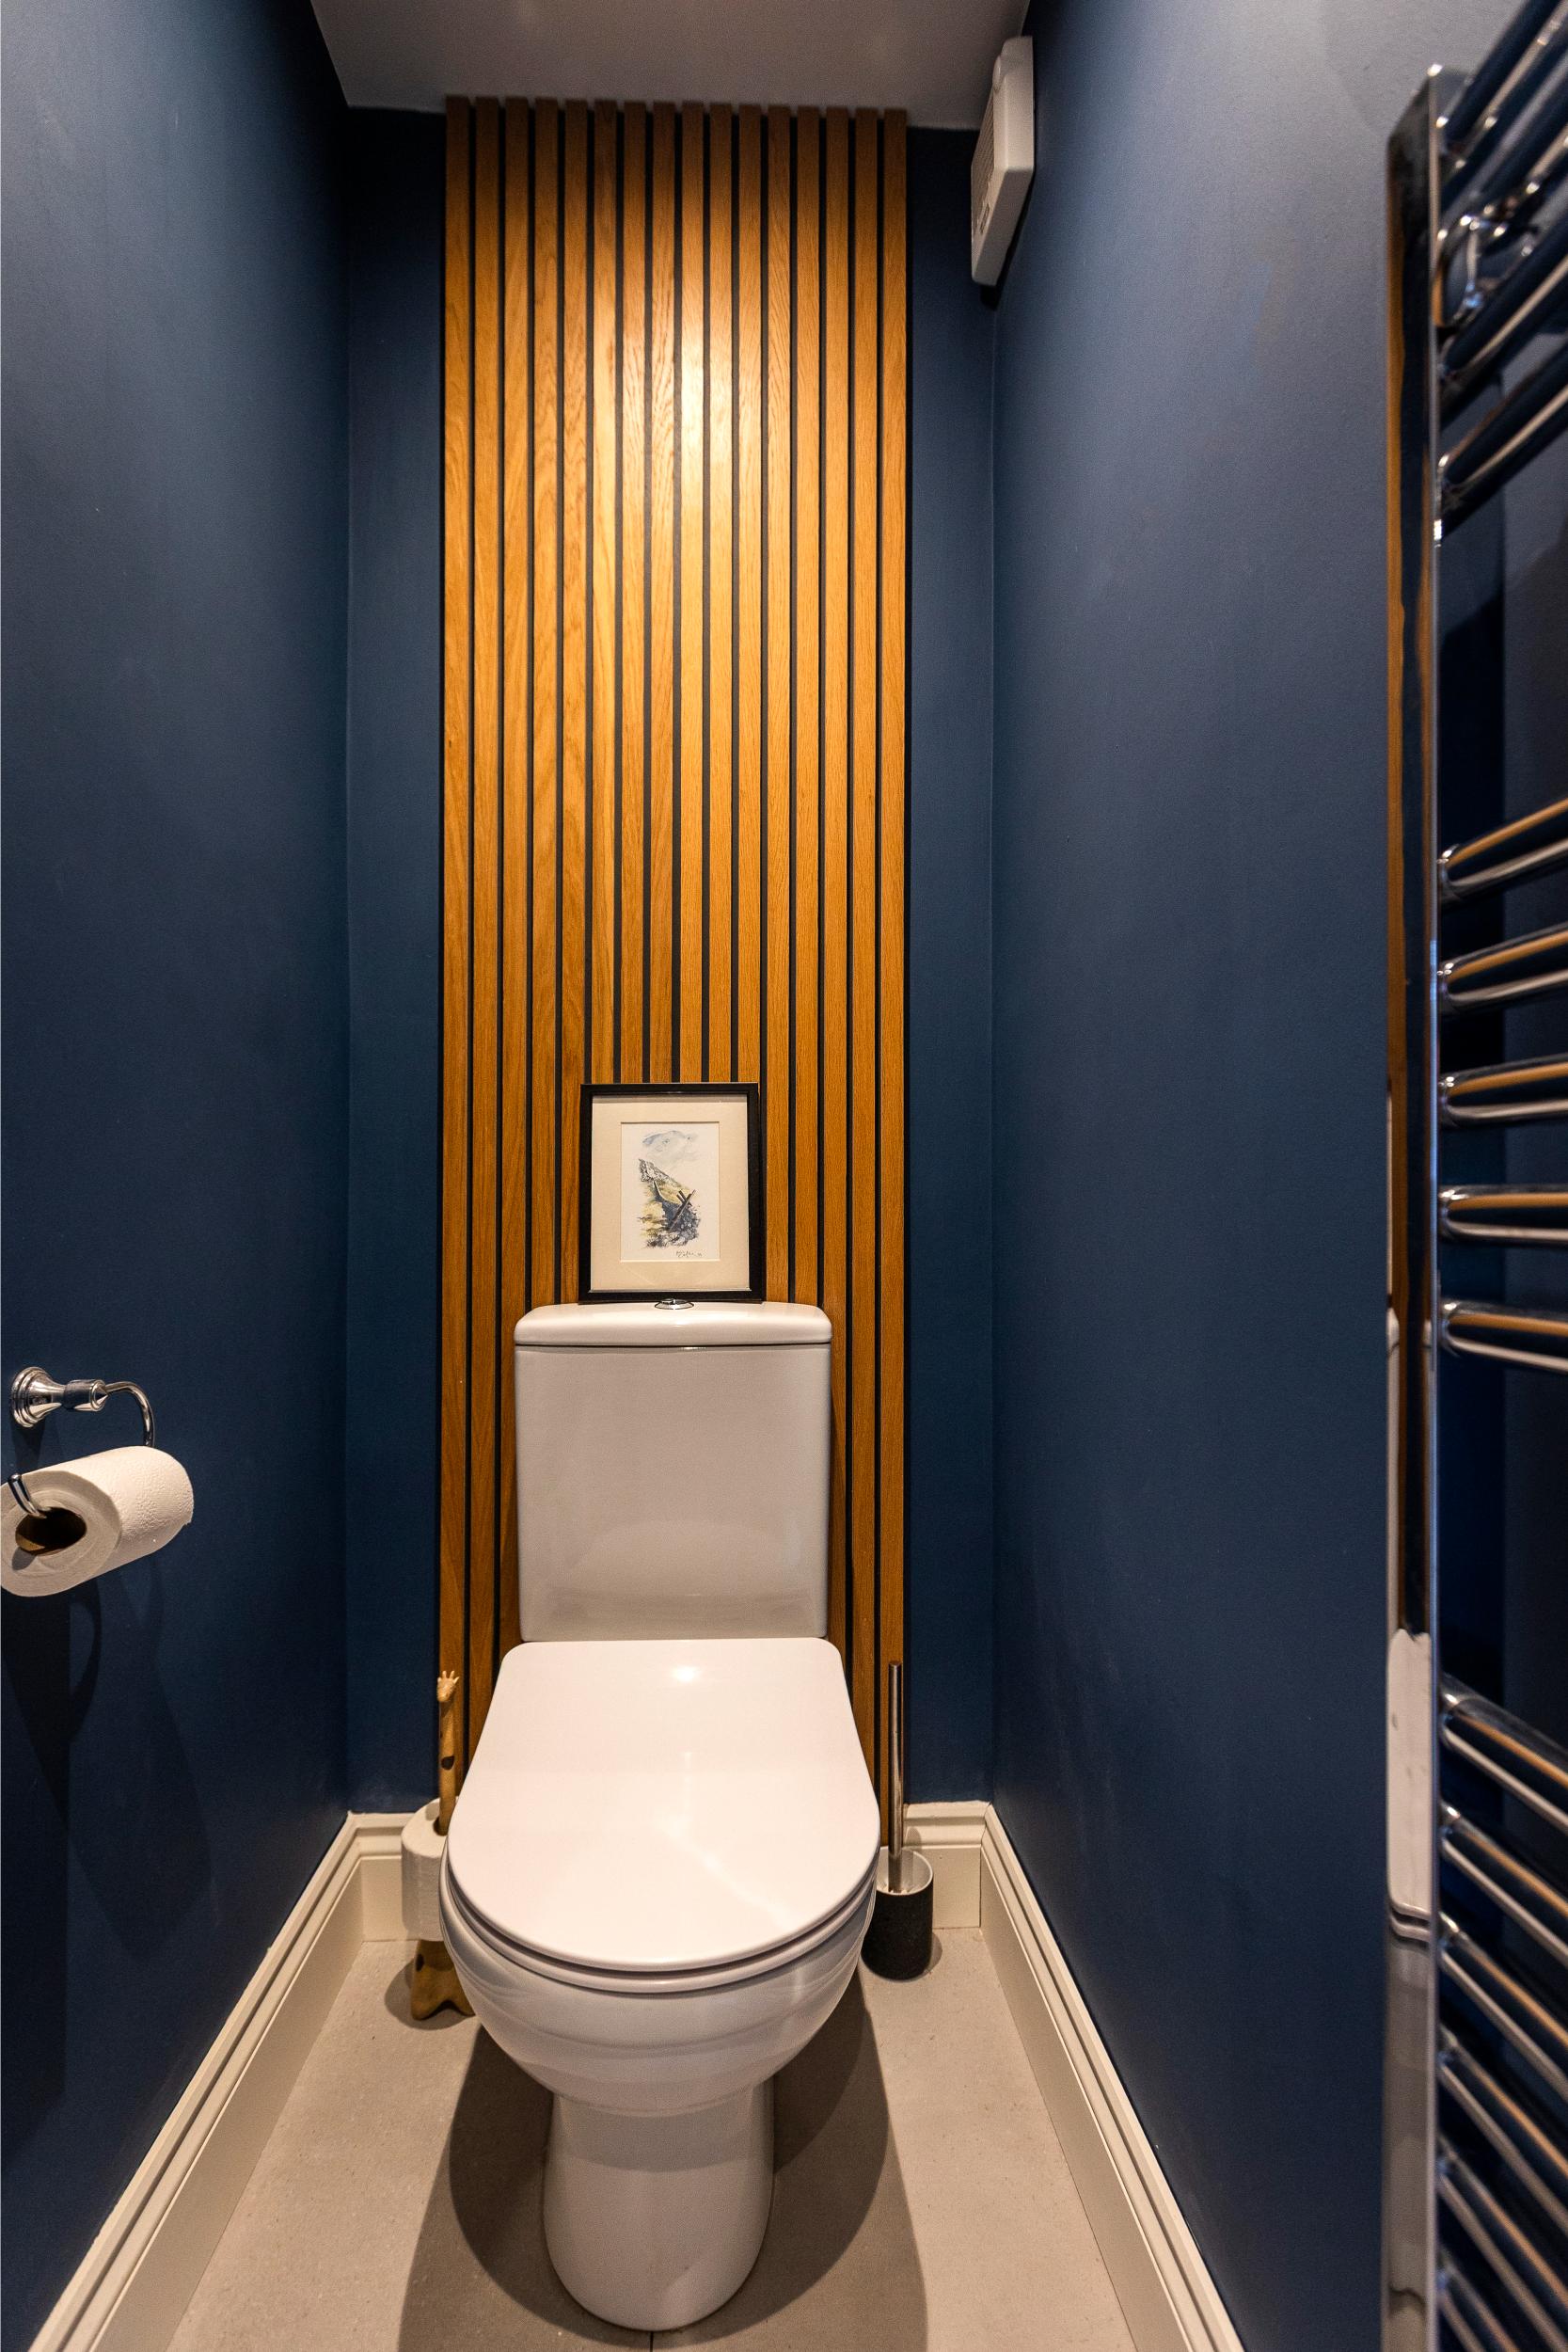
What is your favourite design feature? Judith: The kitchen, dining and living area. It just works so well together – everything flows, and it’s the heart of the home. I also really love the downstairs hall. We managed to blend old and new there – we kept some of the original features like the cornerstone and tiles, and added wooden panelling in the bathroom, which really ties it all together. Phil: For me, it’s the back patio. On sunny days, I love throwing the doors wide open – it gives that great inside-outside living feel. I can be out there barbecuing while still being connected to everything going on inside. It’s just a brilliant space.
What surprised you? Judith: I knew going into the build that it would be a complex process, with lots of decisions to make and moving parts. But what really surprised me was just how many people were involved. I hadn’t quite grasped the sheer number of trades and professionals it would take to build a house – there were builders, electricians, plumbers, the gas installer, the window fitters… it felt like a scene from Grand Designs or DIY SOS at times. I was never so grateful that I didn’t have to coordinate all of that myself. Having someone there to manage all the logistics and keep things on track made such a difference.”
Would you do it again? Phil: I’m not sure we would’ve gone ahead with it at the very beginning if we’d known just how much it was going to cost. It definitely ended up being more than we expected. But now that we’ve done it, I think we’d be much more open to doing something like this again. We’re happy where we are now, so there’s no rush to move, but if we ever did want to take on a full self-build in the future, it wouldn’t feel as daunting. We’ve learned a lot from this process.
Judith: We’d go into it much more experienced next time. The process has taught us a lot, and I think we’d feel more confident about taking it on again.
Belfast semi-d refurb House Plans
Suppliers
Architectural design
FMK Architecture Ltd, fmkni.com
Builder
G P Scullin Construction
Lantern skylight
Keylite
Windows and sliding doors
Baskil
Window spray painter
Technicoat NI PVC Spraying
Wood burning stove
Flames and Fireplaces
Photography
Paul Lindsay, paullindsayphoto.co.uk
Thermal and airtightness products
ECOHomes Store, ecohomesstore.co.uk; Products used: thermal detailing at door thresholds 75mm thick Almavert, thermal detailing at roof lantern upstands 75mm thick Almavert, Conizo and Vara seal airtightness tape to windows and doors
SPEC
Walls: 375mm cavity wall construction. 100mm concrete block outer leaf, 175mm full fill EPS beads, 100mm concrete block inner leaf. U-Value 0.18W/sqmK.
Floor: 75mm sand/cement screed on 500 gauge polythene vapour barrier on 1 no. layer of 100mm then 1no. layer of 50mm PIR Insulation on 100mm sub floor concrete with 1200 gauge DPM. U-Value 0.12W/sqmK.
Roof: Protective fleece/PVC layer on 1.5mm roofing membrane on 150mm PIR insulation on breathable membrane on 18mm marine plywood on tilting fillets on 150mm x 50mm flat roof joists with 12.5mm plasterboard below. U-Value 0.14W/sqmK. Thermal detailing to all junctions. Windows: Triple glazed, uPVC, black. U-Value 0.74W/sqmK. Roof lantern triple glazed, aluminium, black. U-Value 1.0W/sqmK. Sliding door triple glazed, aluminium, black. U-Value 1.1W/sqmK