In this article we cover:
- Design brief and budgeting tips
- State of house and how renovation was tackled
- Roof and wall upgrades
- Creating the open plan area
- Window choices
- Underfloor heating install
- Favourite features and surprises along the way
- Scandi inspired interiors
- Garden design
- Top tips for others taking on a similar project
- Before and after floor plans
- Supplier list and specification
- Professional photographs
- Timeline
When Elaine Andrews and her husband bought their 1970s T-shaped bungalow in the summer of 2020, they knew they were buying into the setting as much as the house. Tucked away in a quiet cul-de-sac of just 12 homes, most still in the hands of their original owners, it met their brief of location, spacious site yet in walking distance of the village centre.
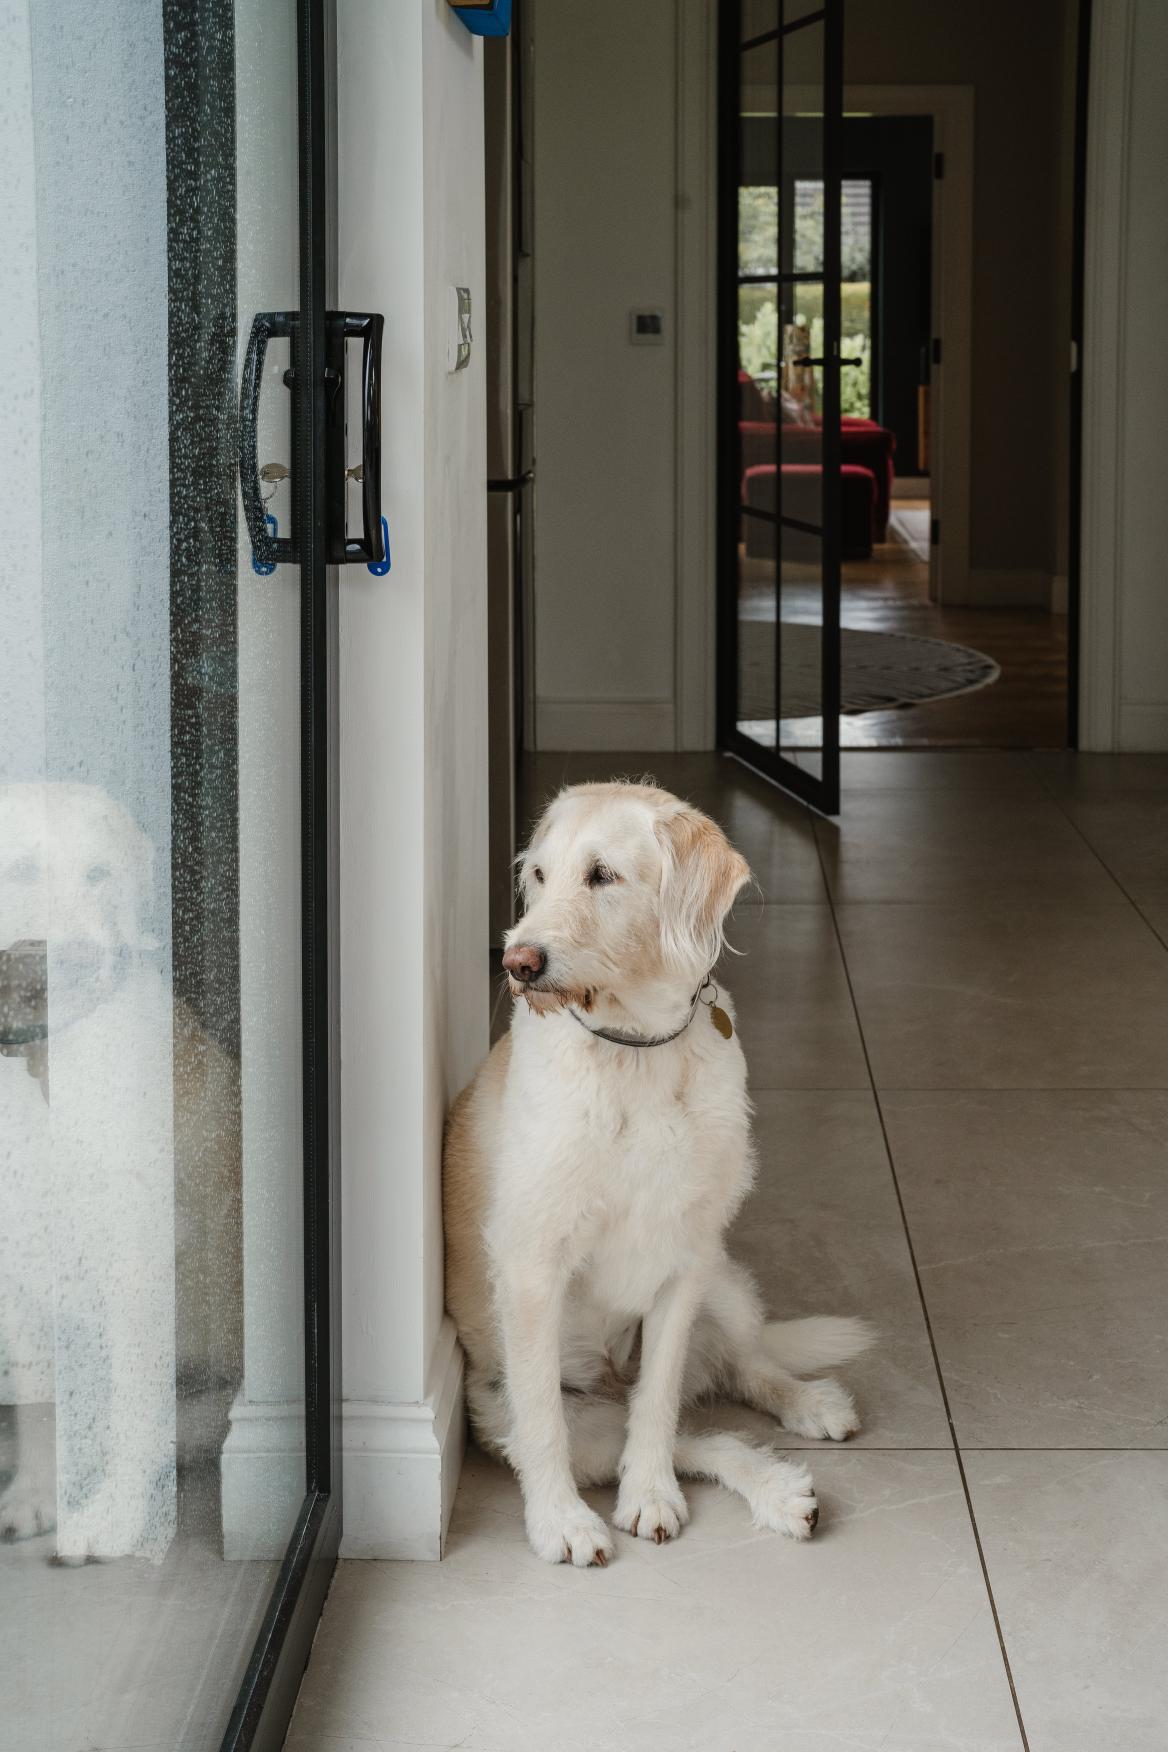
“After spending lockdown in an upside-down townhouse with two kids under five, a puppy and no garden, the decision to move to a bungalow with a large garden was an easy one.” Elaine recalls. “We knew it would need a lot of work but as soon as we walked around the house and saw the back garden, we saw the potential to make it our dream home”.



They spent 18 months living with the dated styling, mahogany window frames (even extending to internal walls), classic Axminister carpets, tired bathrooms and a damp problem while working out what they needed from the house. Having lived in much smaller properties in London which they renovated to maximise space, they knew a few things for certain: they wanted light, space and an open-plan heart to the home – and they wanted to plan it properly before anybody lifted a hammer.

Plot size: ¼ acre
House size before: 4,000sqft
House size after: 5,500sqft
Bedrooms before: 4
Bedrooms after: 5
Heating system: Oil boiler
Ventilation: Natural
Build method: Blockwork
A clear brief
With experience in large projects through their day jobs, the couple were methodical. Having researched their dream space for some time, an architect who featured on their Pinterest board also came recommended by a relation, so they got in touch and together they shaped a clear brief.
At its core was a generous open-plan kitchen, dining and living space where everyday family life could unfold. They also wanted a separate lounge, a quieter evening room and space for both of them to work from home without disturbing each other.
The original house design had a boarded-out attic but was narrow and dark. Her husband had grown up in a two-storey house and wanted to sleep ‘upstairs’ again, so the solution was to convert the attic into a proper storey and-a-half layout, creating real bedrooms rather than loft storage.
At the top of the ‘T’ on one side now sits a generous main bedroom suite. “My dream was for it to feel a bit like a hotel suite,” Elaine says. “In reality, we have prioritised finishing other rooms and we’re still working towards that vision.” At the opposite end are their children’s bedrooms with a shared bathroom between them.
Downstairs, the layout has been reorganised around a large kitchen living-dining space, with a more formal sitting room to the front, two soundproofed home offices, a playroom and a guest bedroom with en-suite.


The original rear of the bungalow, a sequence of inter-connected rooms, was completely altered. “We thought about keeping some of it, but in the end, it made more sense to knock it down and rebuild.”
Once the back was opened up, it made sense to square off the footprint and push it out by a little – just a metre. A small gain on paper, but it made a big difference to the feel of the new open-plan space.
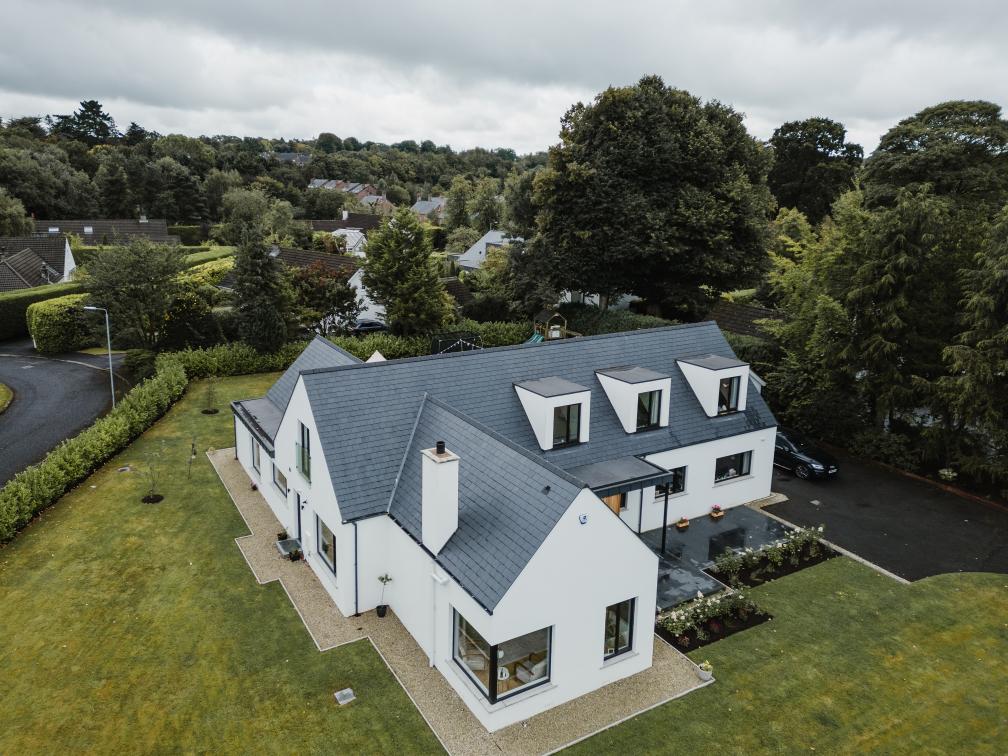
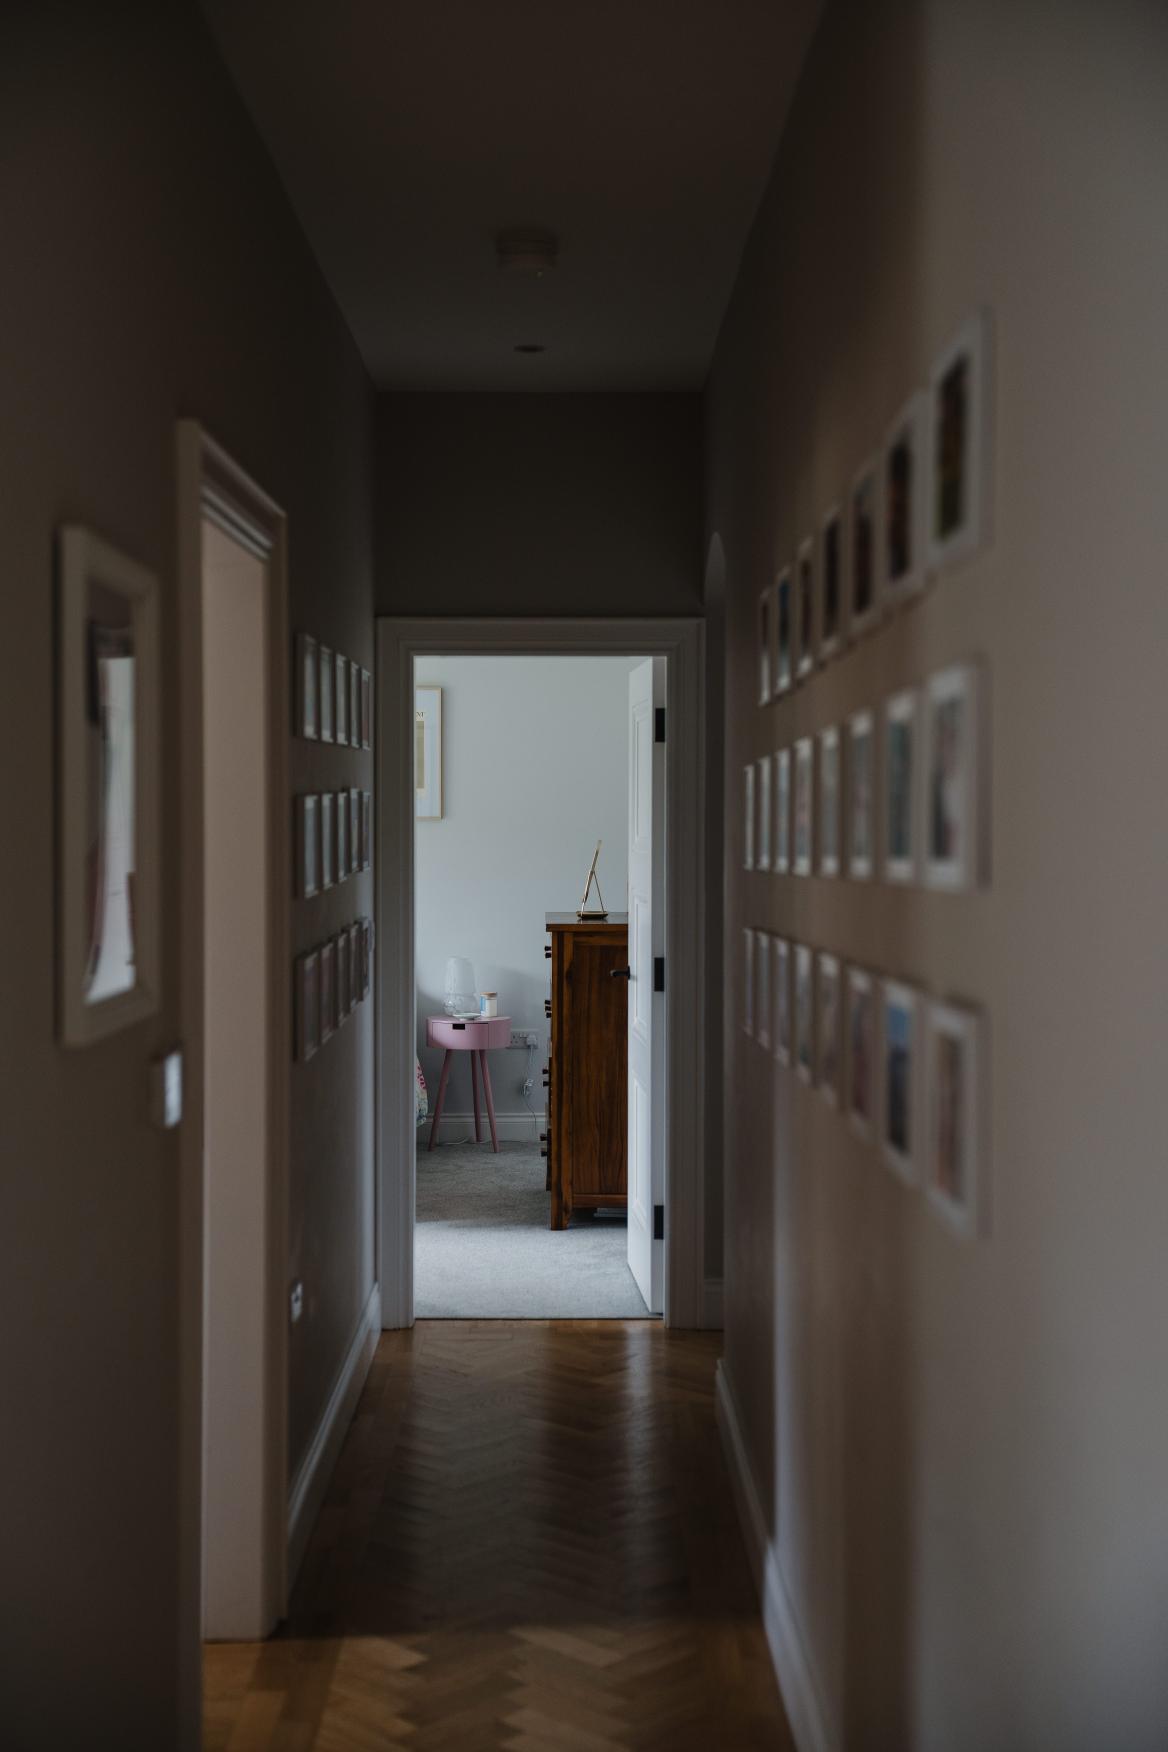
The roof was stripped off entirely and replaced with a new structure, allowing them to install modern dormers and create ‘proper’ upstairs rooms. The interior of the long ‘leg’ of the T was re-worked: walls were removed; door positions changed so they opened against walls rather than into awkward corners and old 1970s light wells above doors were filled in.
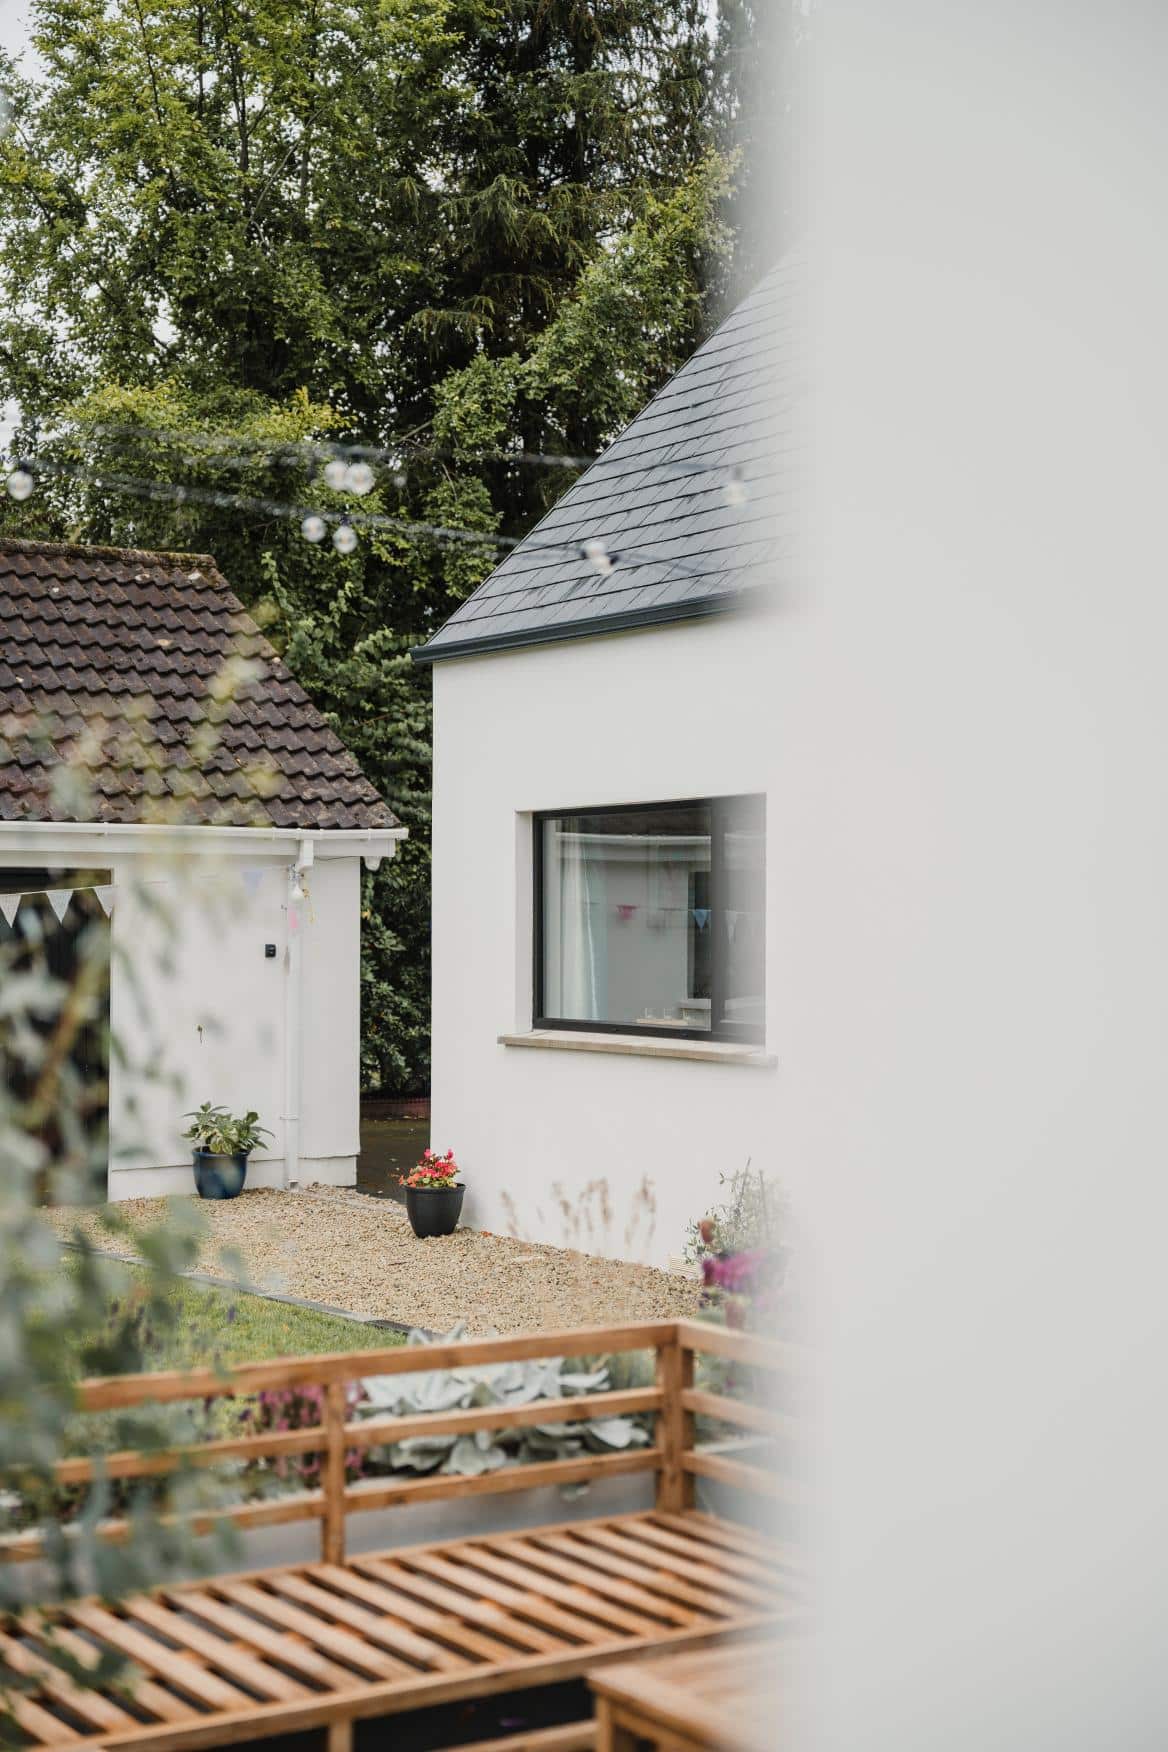
The house’s original roof tiles were swapped for Spanish slate in a Bangor blue shade, which was a deliberate upgrade. “The slate cost probably 20 to 30 per cent more than a composite tile,” she says, “but we wanted that sharper finish, and the 100-year guarantee. It’s essentially a lifetime roof.”
Steel, light and space
Structurally, the open plan heart of the house is carried on substantial steelwork. “In the main living area it’s pretty much all steel,” she says. “Elsewhere it’s more conventional; upstairs is all timber trusses.”
A family friend who owns a truss manufacturing company helped them unlock even more space upstairs. When they sent over the initial truss designs, he pointed out that the collar height was relatively low. Because the couple didn’t need attic storage, they were able to lift the collar height, gaining precious headroom.




“ The result is that our ceilings are about 2.90 metres downstairs and 2.70 metres upstairs,” she says. “In a storey-and-a-half bungalow, that’s quite unusual. Even better, this change meant our bedroom now leads to a walk-in wardrobe and ensuite instead of loft space.”
Glazing was also carefully thought out. The couple added large new openings and opted for high-performance double glazing with acoustic upgrades rather than triple glazing. “There’s a road nearby, not very busy but with a bit of morning traffic. The soundproofing has made a difference,” she says. “Would triple have been better? That’s hard to say now, but what we have works well for us.”
Around 70 per cent of the ground floor has underfloor heating – all the main circulation and living areas – with the remaining smaller rooms on a separate radiator zone. “In hindsight, we probably should have put underfloor heating everywhere downstairs,” she admits. “But at the time we were looking at each extra £1,000 and asking how important it was.” The suspended floors that remain have been densely packed with insulation.
The couple also tackled the walls. Cavity insulation had been injected in the 1990s using early polystyrene beads, but they were unconvinced by its performance. One of the few firms in Northern Ireland willing to reverse and redo cavity insulation was drafted in.
“They sucked out all the old insulation – we found crisp packets and cans in the cavities.” she says. “We checked the wall ties to make sure there wasn’t mortar bridging the cavity, which is a big cause of damp.” Once cleaned and checked, the cavities were refilled with new beads.


In the new sections of the house, they increased the cavity depth and used thicker insulation, supplemented by rigid boards in the roof build-up. Externally, research – and family experience – led them away from thin, one-coat renders towards a traditional sand-and-cement render. “We were advised that some modern systems perform better in drier, warmer climates,” she says. “We decided to go traditional and accept that we’ll need to repaint every few years.”
Q&A with Elaine
What is your favourite design feature?
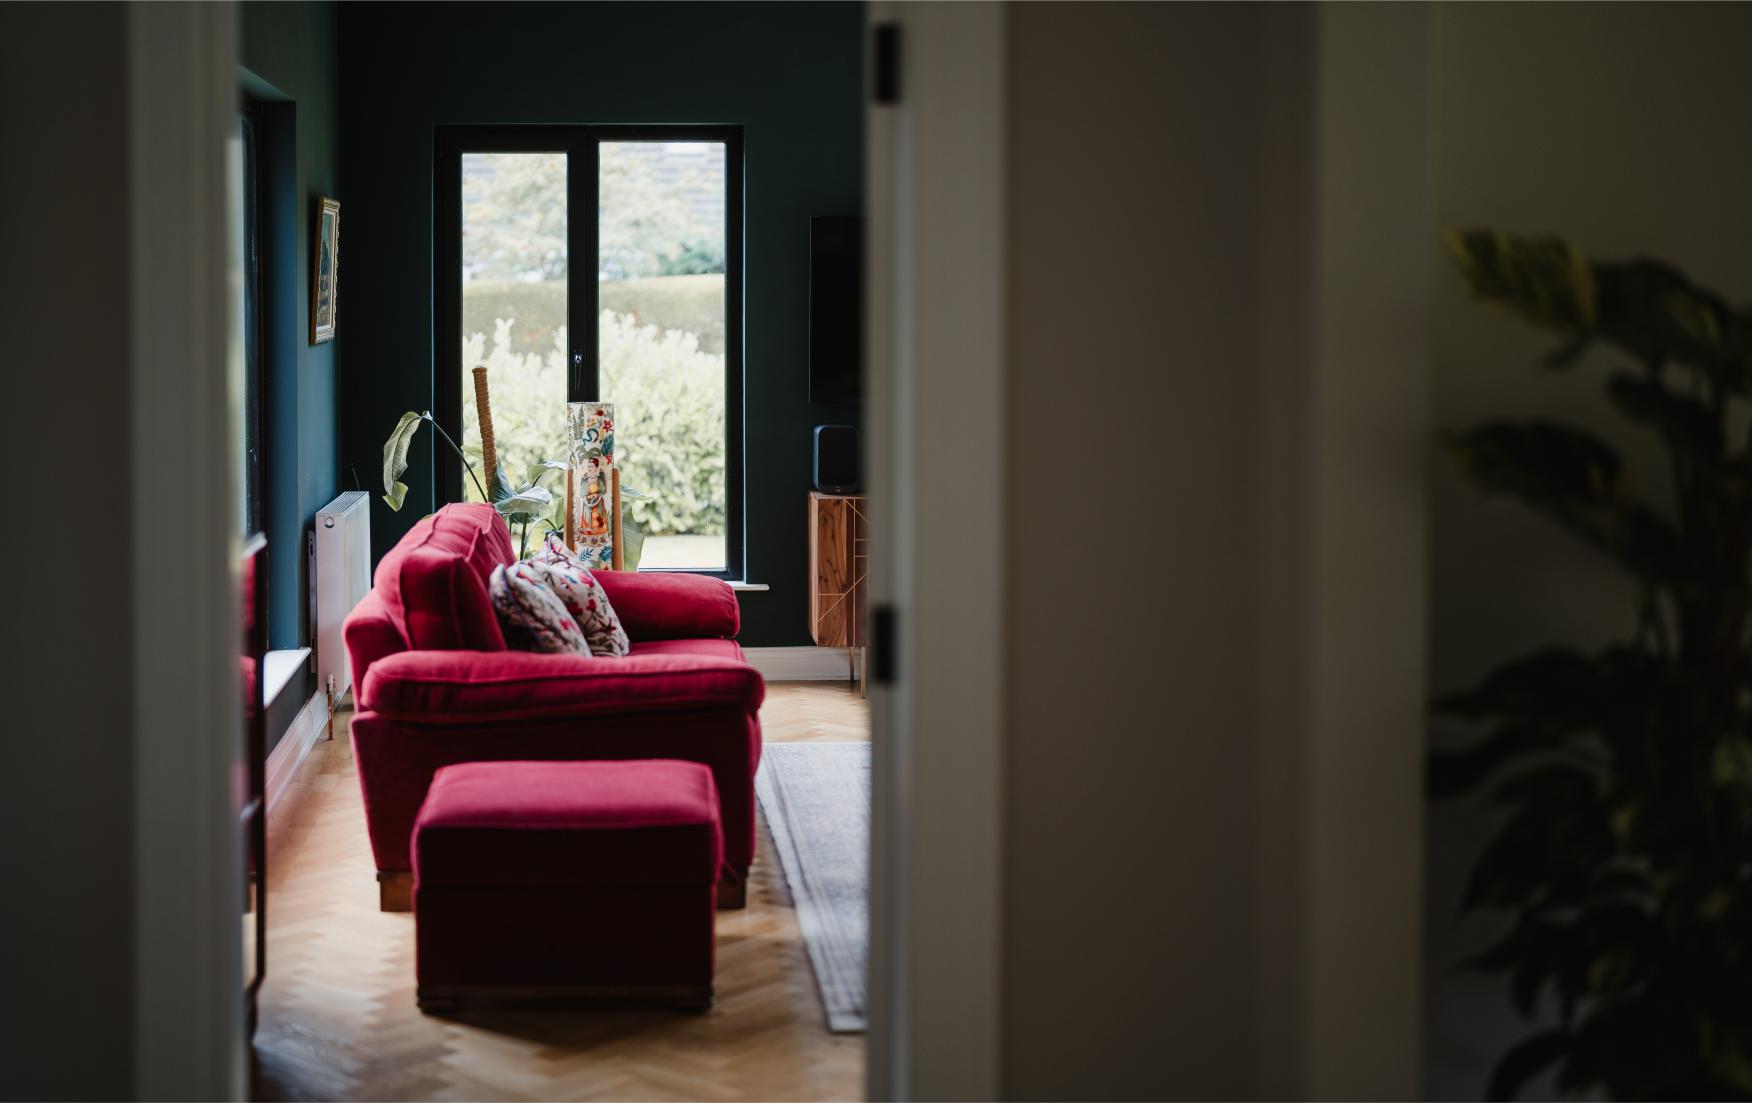
In winter, the front lounge comes into its own. It feels like a warm embrace and it’s exactly where you want to be when it’s dark and cold outside. In summer, life shifts to the open plan kitchen/living/dining area and when it’s not raining, we’re out on the patio with the outdoor sofa and barbecue, listening to music.
What would you change or do differently?
If I were doing it all again, I’d involve the builder during the design phase rather than after the plans were largely finished. In an ideal world, it would be: architect, builder, back to architect. That way, we could have sanity-checked details and costs and simplified a few elements before they ever got to site, instead of course-correcting during the
build.
What surprised you?
Nothing massively surprised me on the build itself – I run big projects for a living – but what did really hit home was how important it is to bring your neighbours with you on the journey. The goodwill you build up there is priceless.
What single piece of advice would you give a budding renovator?
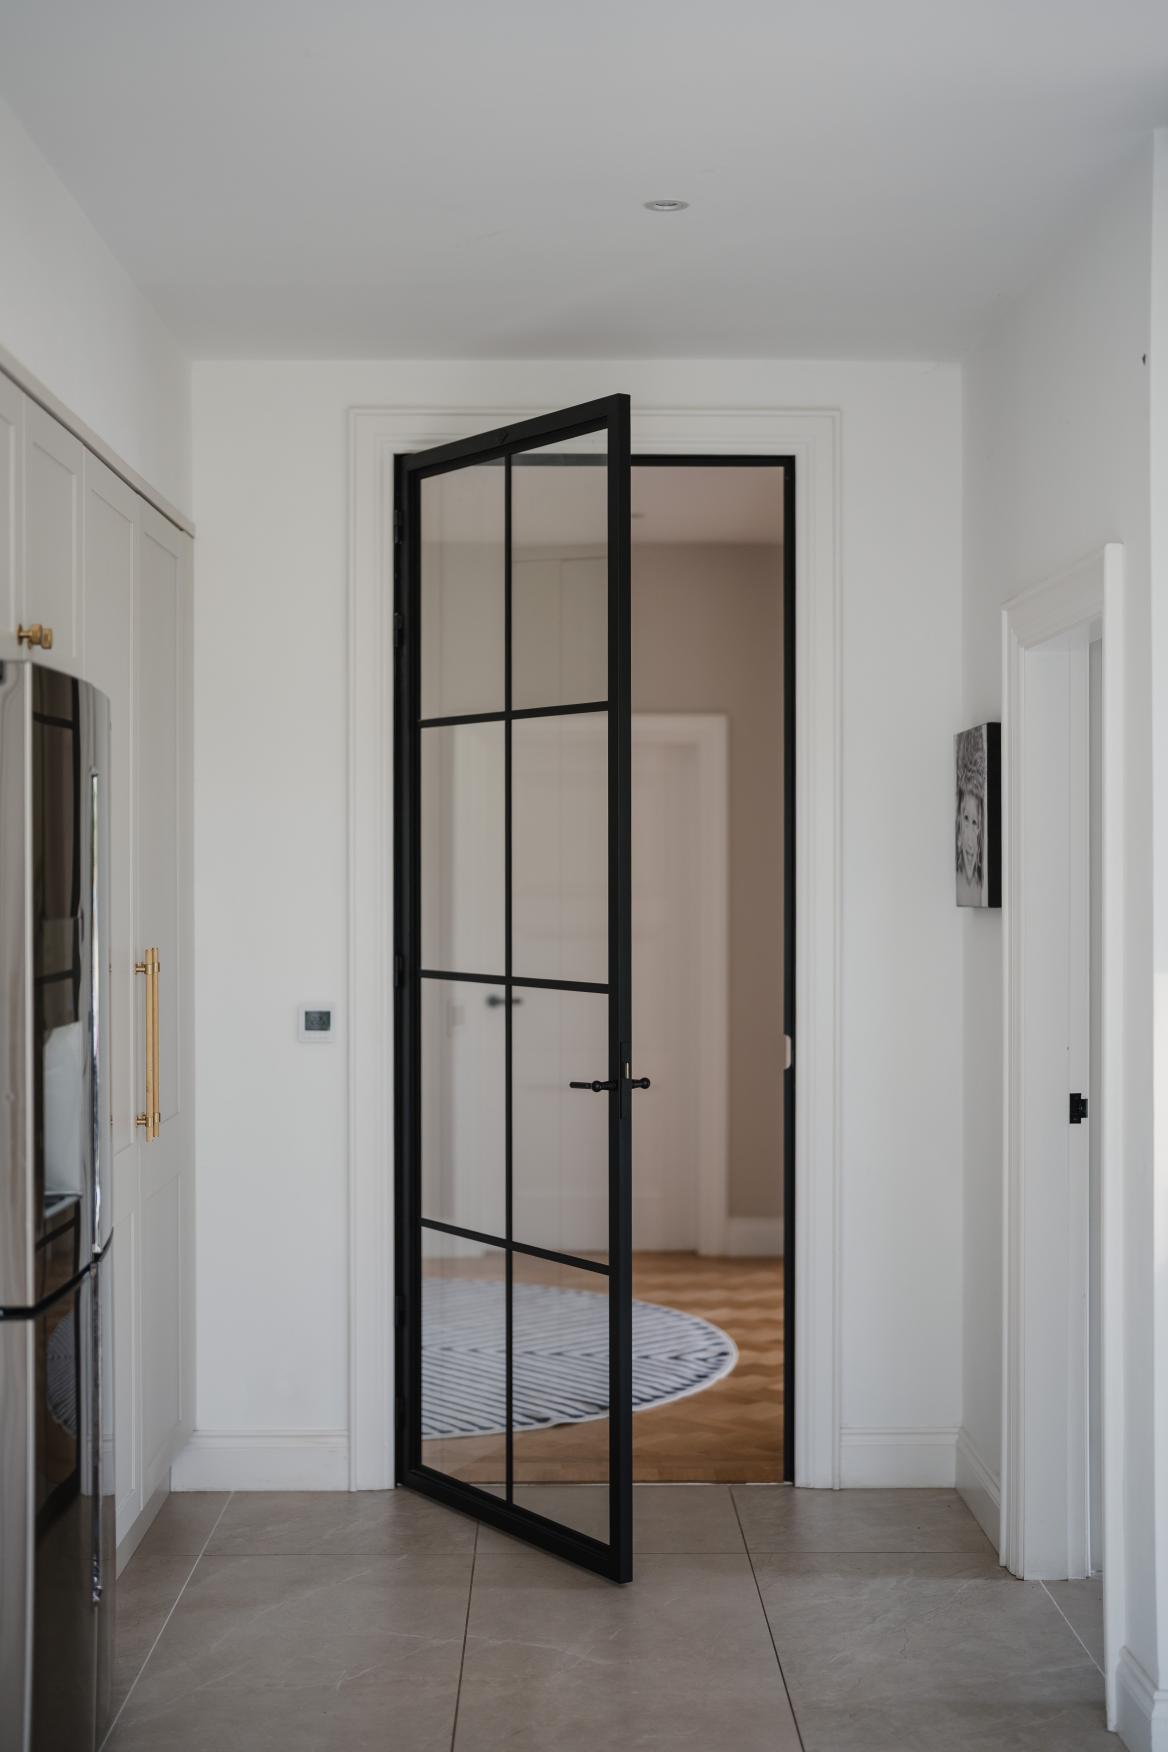
Spend longer on the design than you think you need to and involve your builder in that stage. Live in the house for a bit (if you can) to really understand how you use space. Our 70s mahogany glazed dining room was something we instantly planned to remove, but after using it for a while, we saw the benefit of the space and the ability to gather at dinner whilst keeping an eye on what the kids are up to. So, for now, we have the space, minus the glass wall but plan to install glazed doors
like we have leading to the kitchen.
Scandi-inspired interiors
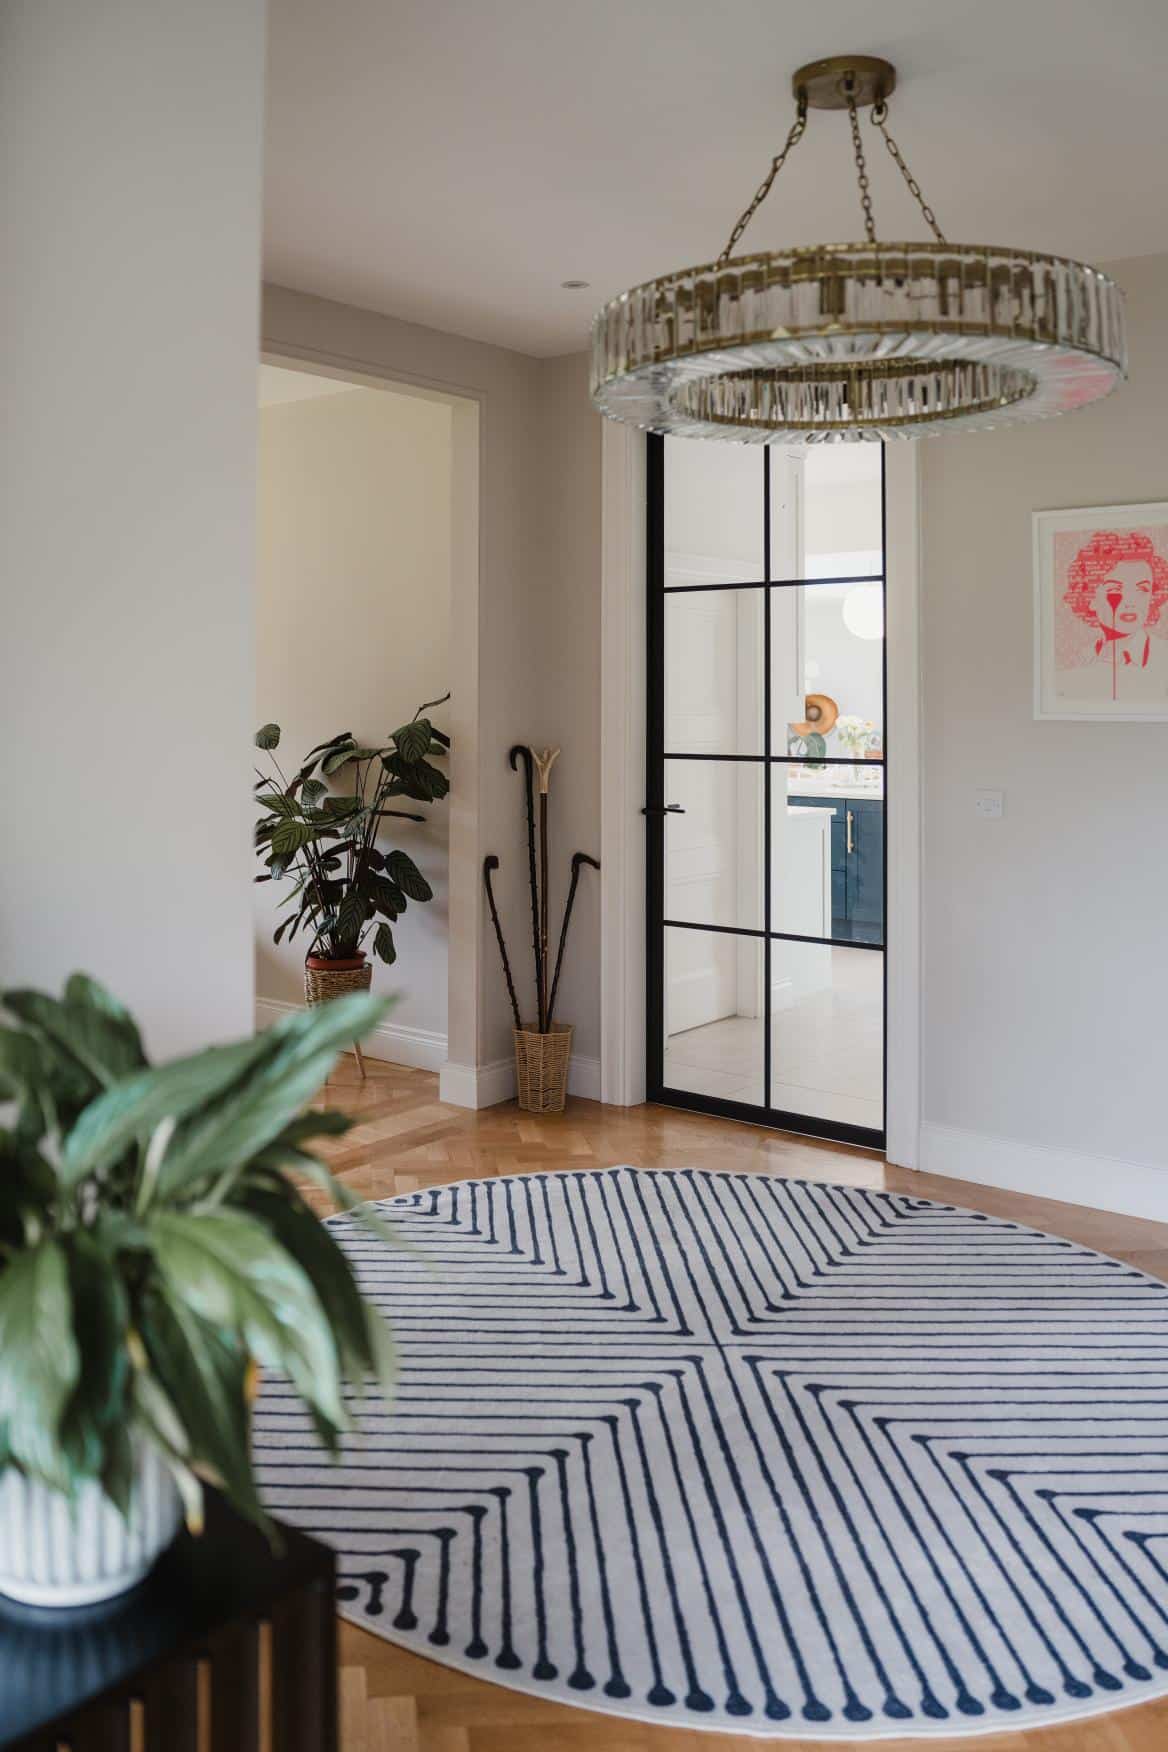
Inside, each room has its own personality. “I would say we’re eclectic,” laughs Elaine. “We both love minimal and Scandi-inspired design but I’m definitely a maximalist, so we chose clean lines and Scandi styling as a base, adding pattern and personality through lighting design, art and my absolute obsession, tiling.”
Bathrooms were self-designed and they knew of a tile company specialising in distinctive patterns from walks along East London’s Columbia Road market. Tiles for the downstairs cloakroom were ordered from them; the tiles themselves cost less than the shipping from England to Northern Ireland, but the couple felt the character they brought was worth it.





Sanitaryware is mostly German, chosen for quality and longevity, particularly for parts concealed within walls.
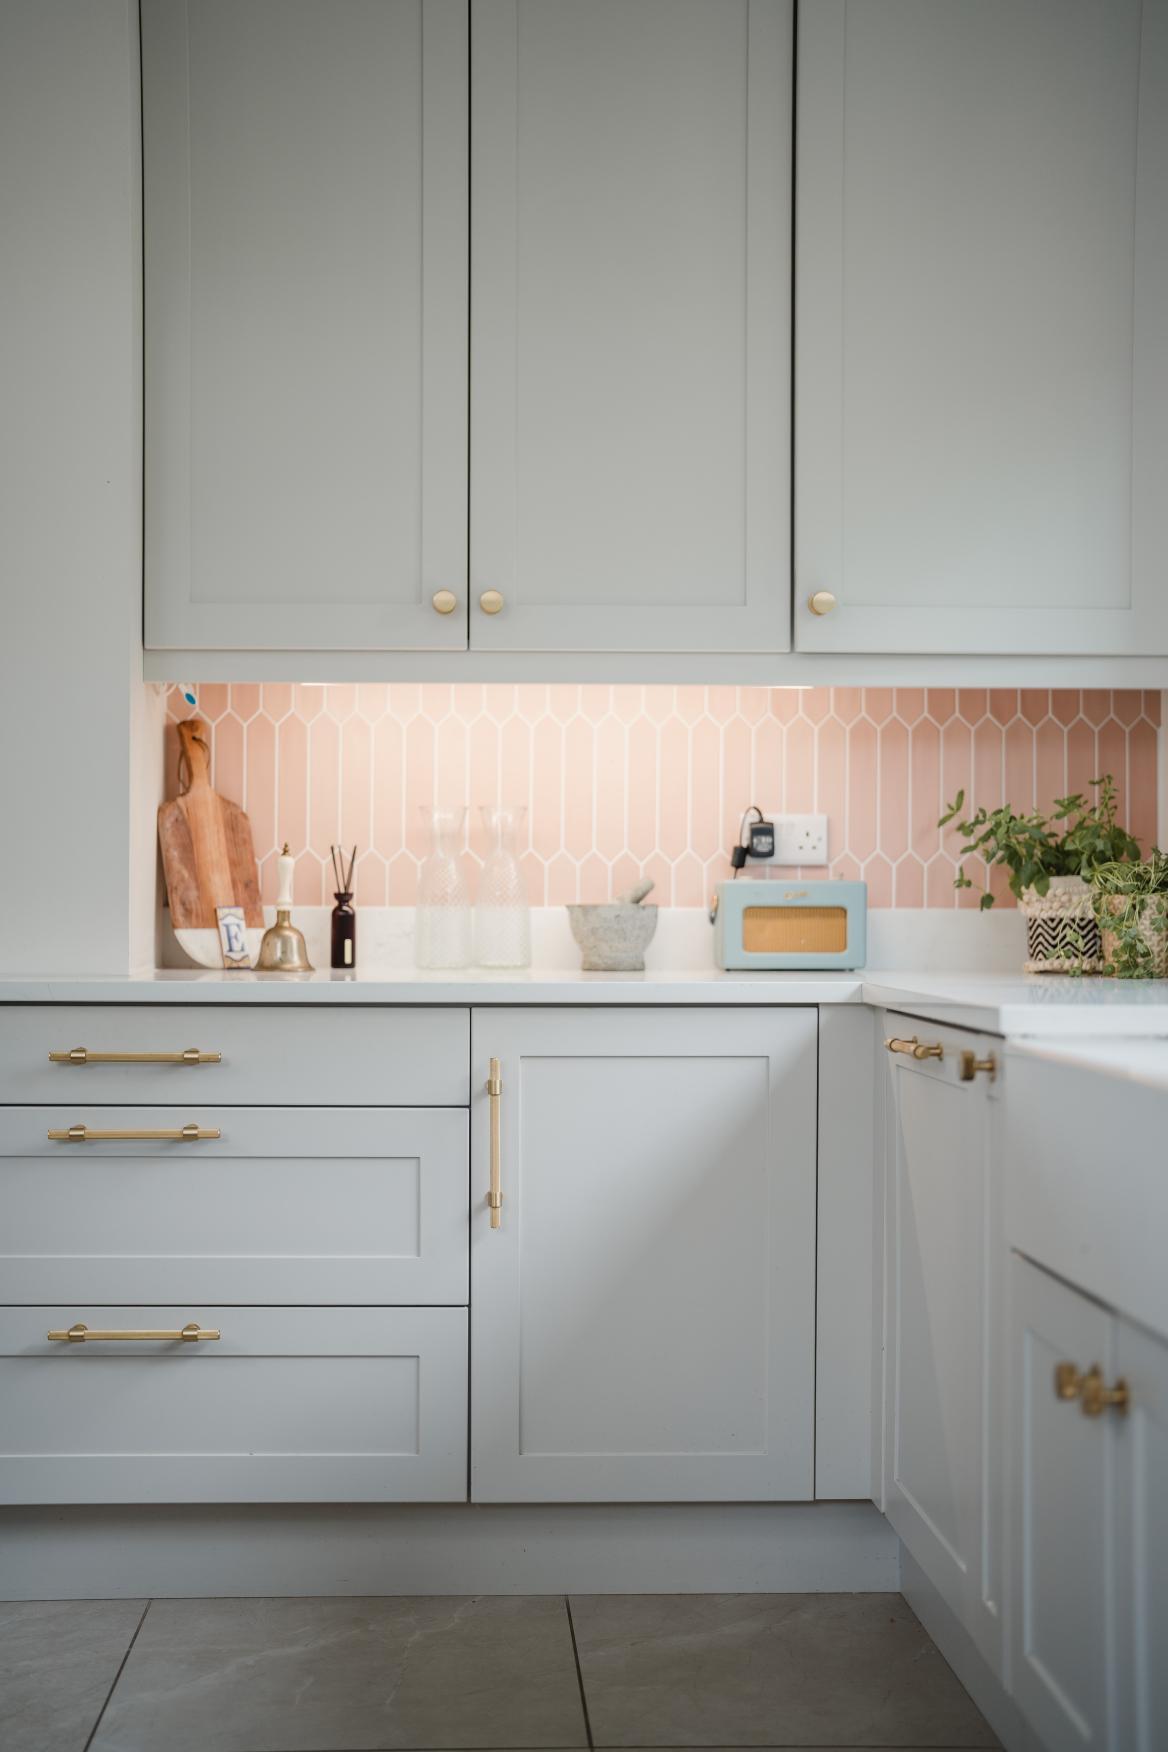
The kitchen, along with several pieces of fitted joinery, was designed by a local kitchen specialist. What made the biggest difference was not just the cabinetry but the 3D modelling she provided. “My husband had a vision for the rooms, but having the visuals really helped ensure we were on the same page.” Once the kitchen designer produced 3D mock-ups of the kitchen and a few key rooms, it all clicked. “We could agree where the sofa goes and where the TV would be, so we knew we needed sockets here and a lamp there. It made the electrical planning far more intelligent.”
Outdoor living
Outside, the couple inherited around 100 metres of dead Castlewellan Gold hedge, three metres high and vital to the sense of privacy. With guidance from David’s green-fingered parents, they made the bold decision to remove it and replace it with a laurel hedge, which is now reaching a comfortable two-metre screen. Mature trees were pruned and refined and deep planting beds introduced.


At the rear, the new patio forms an outdoor extension of the main living space, with lounge seating, barbecue and a music system installation. “We wanted a space that allowed family life and entertaining to flow seamlessly from inside out. Again, lighting was key for us in creating the atmosphere we wanted, when we put the music on and have a drink under our string lights we can pretend we’re on holiday.”
Equally important were the neighbours, some of whom had already modernised their homes.
“One of my biggest bits of advice would be: bring your neighbours on the journey,” she says. Before work began, Elaine wrote to everyone in the cul-de-sac explaining what they planned, naming the builder and sharing their phone numbers. “People appreciated being kept in the loop,” she says. “There is a lot of disturbance during a build and we wanted to minimise any impact to them, they’ll be our neighbours long after the build is over.”
Controlling costs
The couple went in with a clear budget and any overspends were deliberate upgrades – the solid French oak parquet floor downstairs, for example or the Spanish slate roof – rather than uncontrolled overruns.


They navigated a volatile market, with material prices – particularly steel – changing rapidly. Detailed monthly reviews with their builder helped keep everything on track, weighing every upgrade against possible savings elsewhere. Towards the end, her husband rolled up his sleeves to help on site, cutting down labour costs and freeing budget for finishes they cared more about.
“Cash flow is critical,” Elaine says. “If you can’t keep cash moving, you can’t keep the build moving. We always knew what was coming in and going out.”
Financially, the numbers add up. “The combined cost of buying the house and renovating it is still significantly less than the current value,” she says. “From my husband’s point of view that’s a successful outcome, however we won’t see any return anytime soon as we don’t plan to sell.”


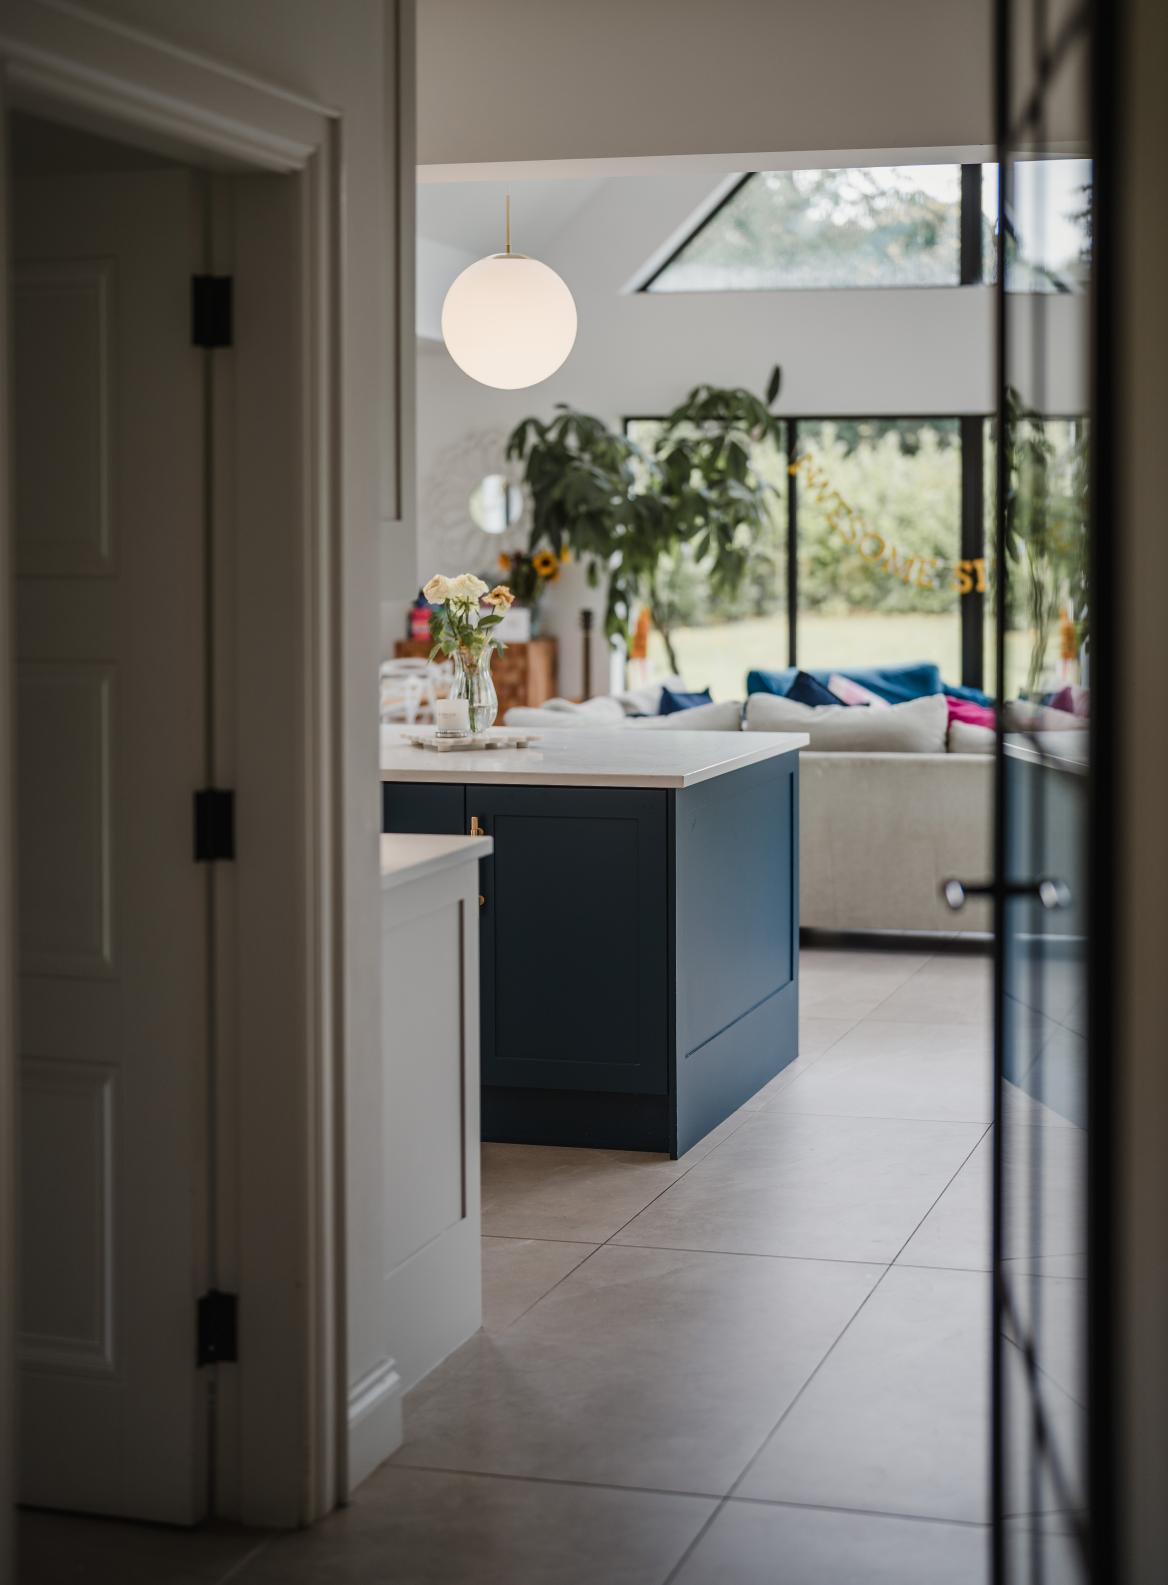
Even though the couple are the first to admit there is still plenty to do, with each year bringing a new mini-project such as finishing ensuites and bedrooms, Elaine remembers standing in what is now the kitchen when it was just a shell, chalking out the island, sofa and table on the bare floor while imagining the children doing homework and the TV murmuring in the background. “That was the dream,” she says. “And we’re there now.”
Top tips
Decide where to invest. Upgrade where it really counts and accept compromises elsewhere.
Don’t expect to ‘finish’ everything at once. Give yourself permission to phase things. It’s okay, maybe even healthy, for a house to keep evolving.
Focus on the fabric of the house. Especially insulation and damp treatment. It’s not glamorous, but fixing those fundamentals – insulation, damp risks, air-tightness – pays off far more than another fancy light fitting.




Spec
Pitched roof: Spanish slate roof tile, timber 38x50mm battens, breathable membrane, 50mm ventilated air gap
maintained over the insulation, 100mm PIR Insulation between trussed rafter and 50mm PIR Insulation below trussed
rafter, VCL installed above plasterboard, 12.5mm gypsum plasterboard and skim. U-value
Flat roof: Proprietary single ply membrane applied over specialist manufacturer fleece, 150mm PIR ply, softwood firring pieces laid to a min. 1 in 60 fall, C24 flat roof joists @400ctrs, 12.5mm gypsum plasterboard and skim. U-value
Walls: Render, 100mm medium density concrete block, 100mm PIR cavity insulation, 100mm medium density concrete block, 12.5mm gypsum plasterboard and skim. U-value
Floor: 100mm sand and cement screed on a VCL, 150mm PIR insulation laid in 2No. layers w/ 25mm perimeter insulation at screed level, 1200 gauge DPM below insulation turned vertically walls to meet & bond w/ VCL, 150mm
concrete sub floor on min. 225mm non water or sulphate soluble compacted hardcore, foundations laid in satisfaction of building control. U-value
Suppliers
Architect
Slemish Design Studios and Architects
Builder
Oliver Morton and the team at Harlo Construction
Kitchen
Strawhill Kitchens
Appliances
Dalzells of Markethill
Plumbing and Heating
Alan and the team from CA Services
Tiles
Claybrook, Ceramica Etc in Bangor for the kitchen splash back tiles and bathroom tiles
Parquet flooring
Wilson’s Auctions
Sanitaryware supply and design
Soaks Belfast
Vanity
Lusso Stone
Lounge paint
Neptune Constable Green
Internal glazed doors
Steelit doors supplied by Neptune Belfast
Fireplace
Portadown Fireplaces
Photography
Steven Hanna, stevenhanna.co.uk