In this article we cover:
- Reasons for taking on a self-build
- Top tips for novices considering going down this route
- How they financed the build
- Site and design considerations
If someone asked us where we began with building a house, we’d probably say it started with a conversation during Covid. At the time we had been living in Cork and Dublin for several years, both working in busy jobs.
Like many others, we suddenly found ourselves working from home. That shift made us question why we were still based in the city if remote work was possible. We both grew up in the countryside and wanted to be closer to our families again.
Around the same time, the housing market had become extremely competitive. Houses were selling almost immediately after being listed, often well above the asking price. The thought of buying a house that wasn’t quite right and paying more than it was worth didn’t appeal to us.
That’s when we began seriously considering the idea of building our own home. While it wasn’t necessarily the easier option, especially with construction costs increasing, it meant we could design a home that suited the way we wanted to live.
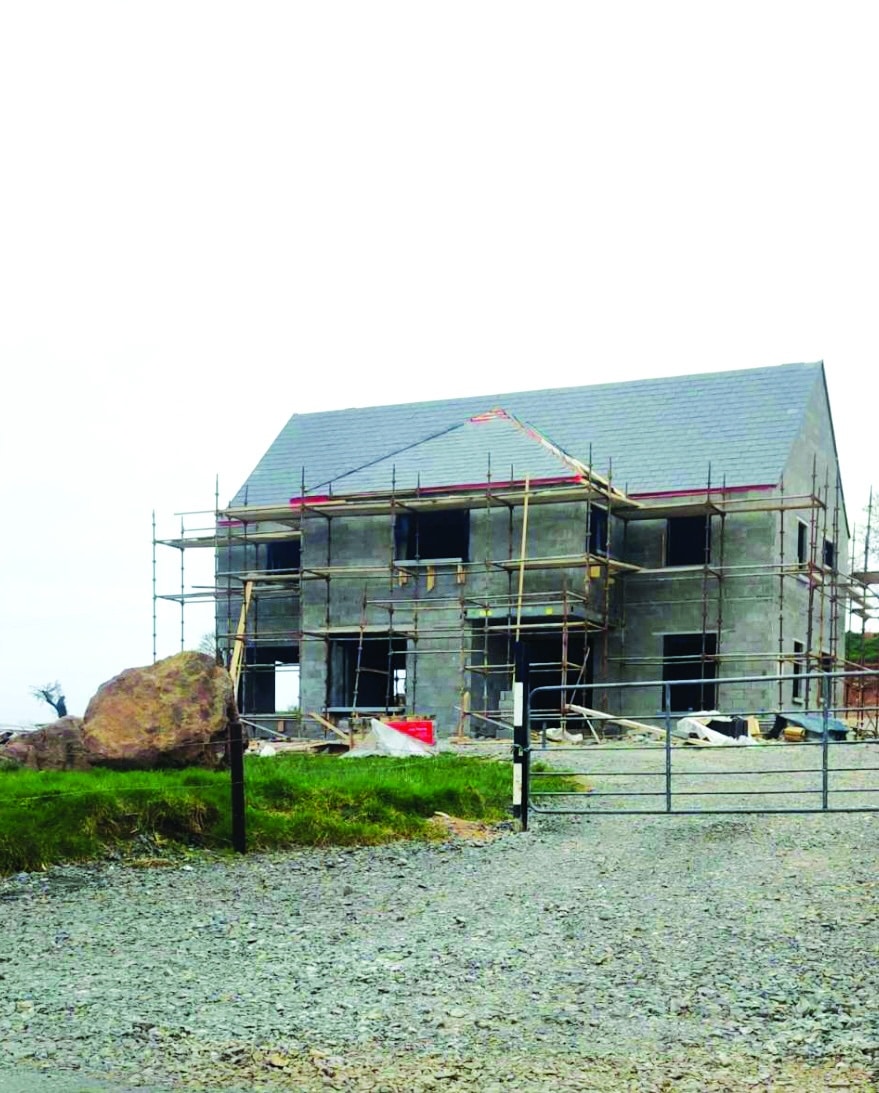

The site
The first major step, and probably the most important, is securing a site. We were fortunate in this regard. Una grew up in Tipperary, and her parents offered us a site on their land. It also worked well because Laura’s family live nearby, meaning we could be close to both sides of the family.
However, having access to a site doesn’t automatically mean you can build on it, which brings you to the next challenge: planning permission.
Planning permission in Ireland can feel like a rollercoaster. Our original site choice was refused due to ribbon development rules, which limit the number of houses that can be built along a short stretch of road. It took several months of communication between our architect and the local council before a solution was found.
Eventually we had to relocate the proposed house to another field that complied with the ribbon development guidelines. This new location was much more elevated than the original one and required additional landscaping, which increased our costs, but it was the only way to move forward.
When planning permission was finally granted, it felt like a major milestone and made the project feel real.
The design
Planning permission entails submitting house plans, and we worked with a local architect on the house design. We had a general vision in mind, something modern but still rooted in a traditional style. Like many people, we spent plenty of evenings browsing social media, saving ideas for both the interior and exterior.
We also created a wish list outlining the features we wanted in the house. It’s helpful to separate this list into non-negotiables and nice-to have items because it’s rarely possible to include everything.
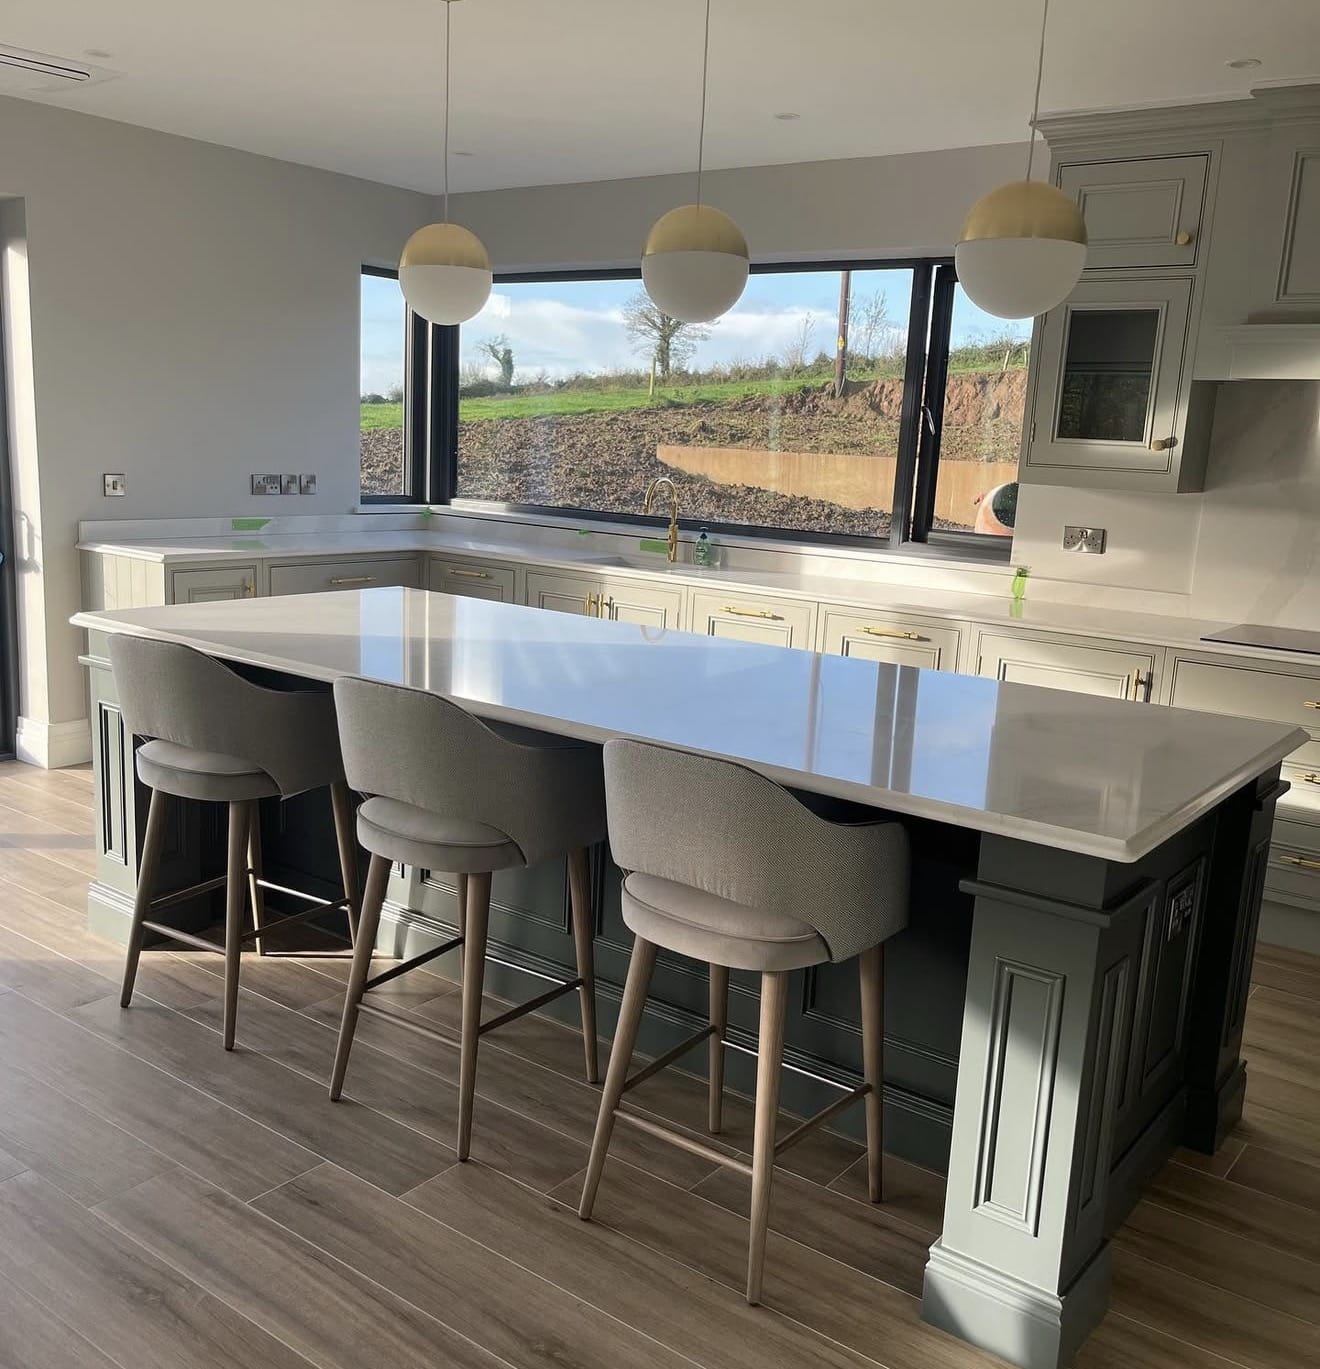
It’s also essential to set a realistic budget from the start; there’s little point designing a house that costs more than you can afford to build. Some of our key interior non-negotiables included two separate home offices for remote working, a large kitchen with a pantry, a spacious master bedroom with a walk-in wardrobe and ensuite, a boot room, and a separate utility area.
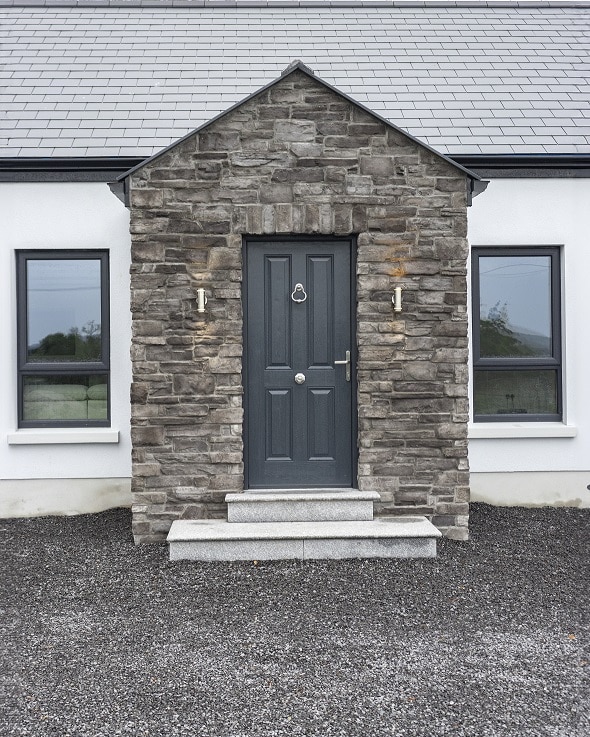
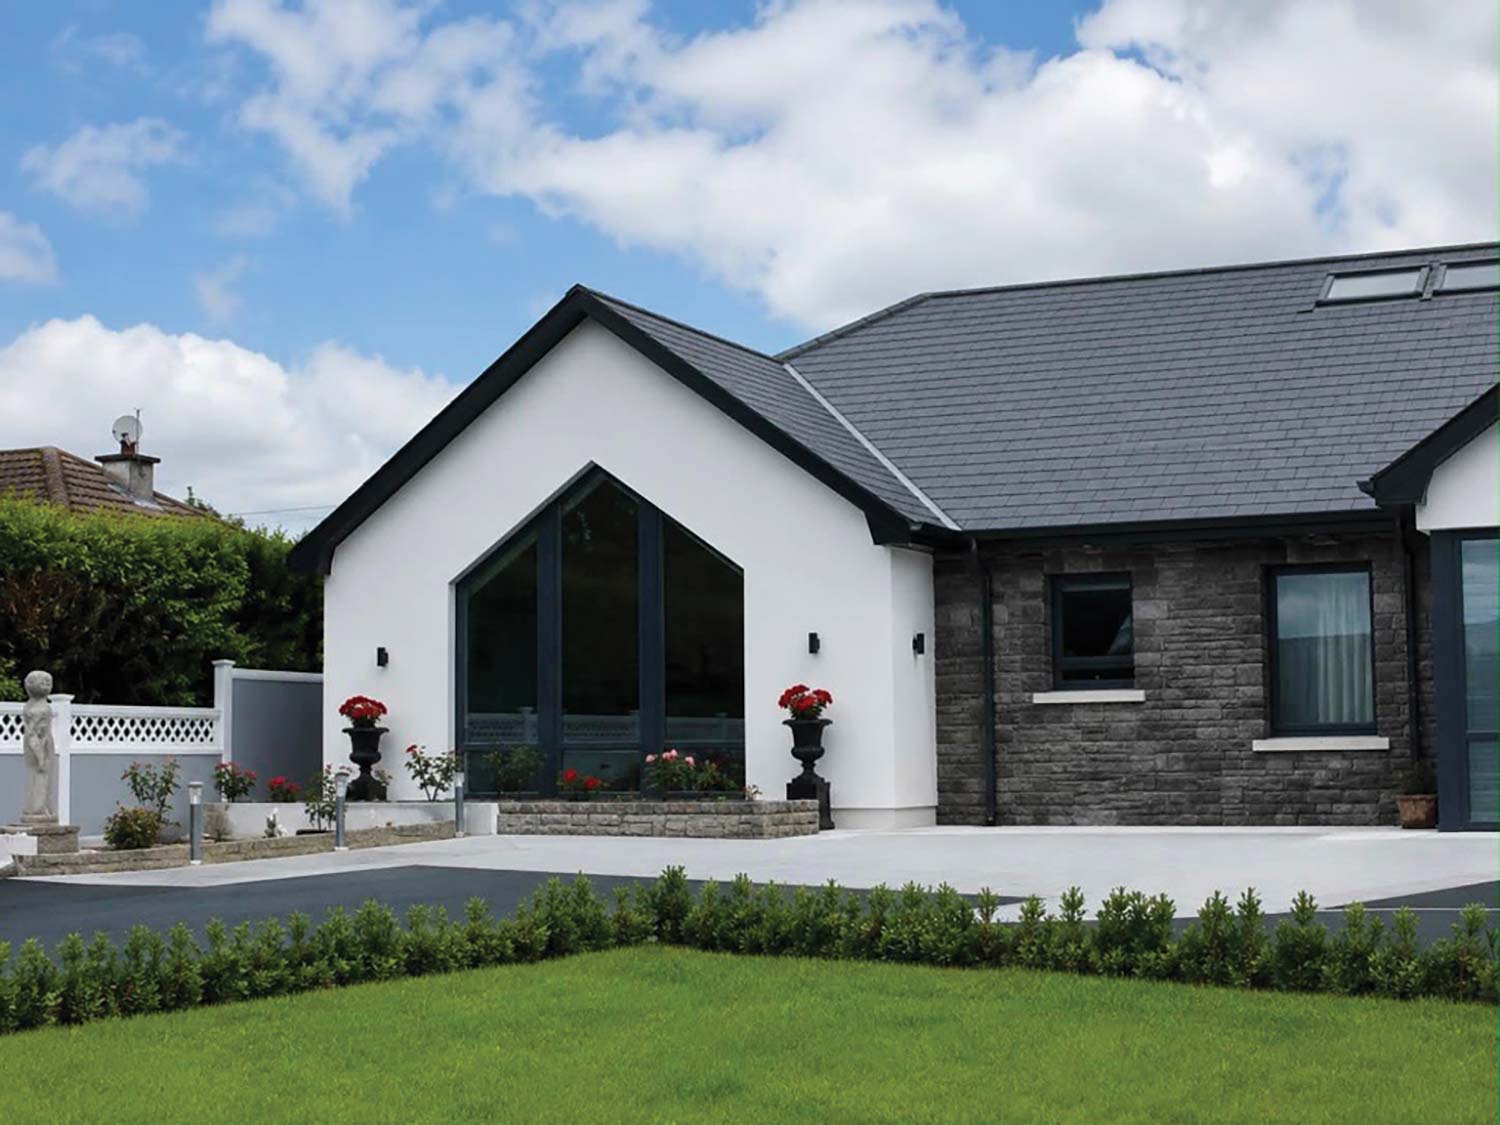
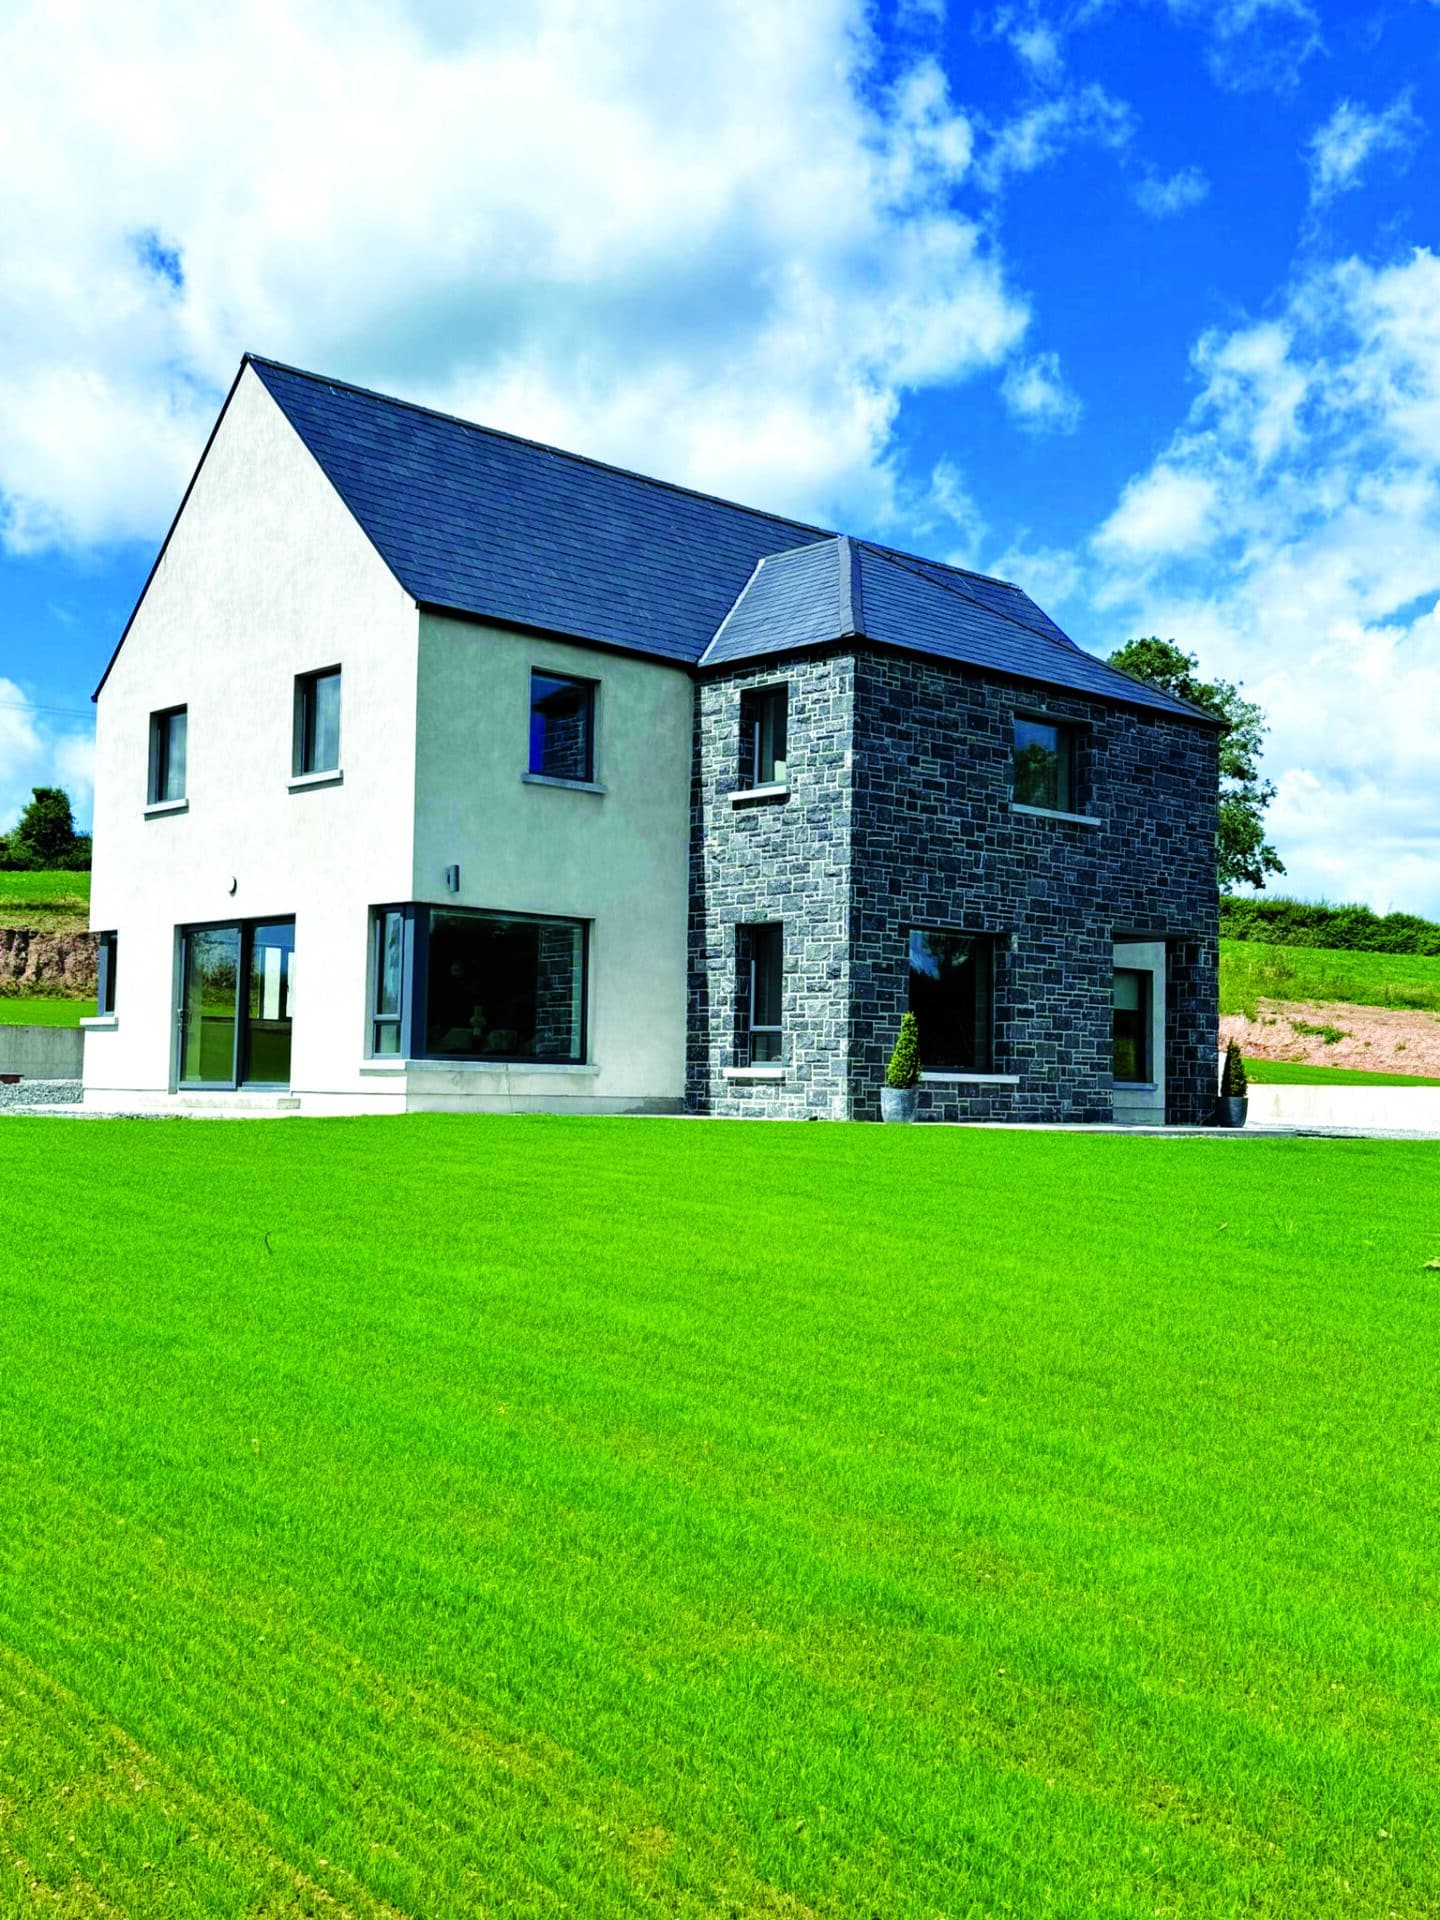
For the exterior, we wanted features such as limestone detailing on the house and garage, a two storey layout, grey windows, slate roof tiles, and an overall traditional design with a modern twist. Our architect helped turn these ideas into detailed plans and provided several layout options for us to consider.

One piece of advice we would give at this stage is to take your time with the design and avoid rushing the process. It’s also important to work with an architect who understands the local planning requirements. You need to think not only about your current needs but also how the house will work for you in the future.
As this was intended to be our forever home, futureproofing the design was very important to us. Before finalising the plans, we also worked with a kitchen designer to map out the exact layout and dimensions for the kitchen, pantry and utility areas. This ensured everything on our wish list could realistically fit within the space.
Making changes on paper is far easier than altering things once construction has started. In total, it took four months and five different design drafts before we finalised the plans. One important thing to remember throughout the process is that it’s your home. Everyone will have opinions, but ultimately the design should reflect what works best for you and your lifestyle.
Financing the build
Once planning permission was granted, we sent our plans to builders for tender and began the mortgage process with the bank. We had heard from several sources that using a mortgage broker can sometimes slow the process because you’re not dealing with the bank directly. Our bank also offered a cashback incentive, which made the decision easier.
To receive approval in principle from the bank, we had to provide detailed documentation, including six months of bank statements for all accounts, six months of payslips, employment verification, the mortgage application form, a site valuation report, house plans, estimated build costs from the architect or engineer, and confirmation of site ownership. It took around 10 days to receive approval in principle, which was valid for six months.
Because we had no construction experience, managing a full self-build where we would be hiring the tradesmen wasn’t really an option for us. Instead, we chose a contractor-led build. One thing that surprised us was how much the quotes from builders varied; some differed by €50,000 to €60,000.
To ensure a fair comparison, we sent the same set of plans out for tender so we could compare like-for-like quotes. In the end we chose a local builder with a strong reputation, and that decision made the entire process far smoother. They guided us through each stage and helped us understand what decisions needed to be made next.
Once we had selected the builder and agreed on a commencement date, we contacted the bank again to proceed with full loan approval. That process took about two weeks.
From the date of approval, we had six months to make our first drawdown; otherwise, the loan offer would expire, and we would need to restart the application.
Budgeting was another eye-opening part of the journey. One of our biggest recommendations is to track every cost in a spreadsheet. At the beginning you might assume certain items will cost a few hundred euro, but very quickly you realise that many things are closer to a thousand. Those costs add up fast. Having a clear budget and more importantly a contingency fund is essential because unexpected expenses are almost guaranteed to arise.
Yes, building a house can be stressful and there were definitely a few sleepless nights along the way. But when it’s finished, standing in a home that you designed and built yourself makes all the challenges worthwhile.
Top Tips
Do your research. Take time to choose the right site and understand the planning rules in your area.
Finalise your design before construction begins. Everything happens quickly on site; you’ll be glad to have decided on most things early on.
Get multiple quotes from builders and choose someone you trust.
Track your budget carefully and always allow for a contingency
fund.
Bring a measuring tape when visiting family or friends’ homes to get a better sense of room sizes.
Share your plans with family or friends to get a fresh perspective.
Work with a kitchen designer before finalising the plans to ensure the kitchen, pantry and utility spaces include everything on your wish list.
For more information on Laura and Una’s home, check out their Instagram account House by Luna here.