In this article we cover:
- Build costs and how to keep budget for your build
- Design stage tips
- Hiring the trades with top tips
- Pros and cons of project managing your own house build
- Blueprint for managing your own build
- How costs are behaving today and how to hedge them
- How the house is performing
- Changes he’d make
- Landscaping plans and tips
- Favourites and what’s next on the to-do list
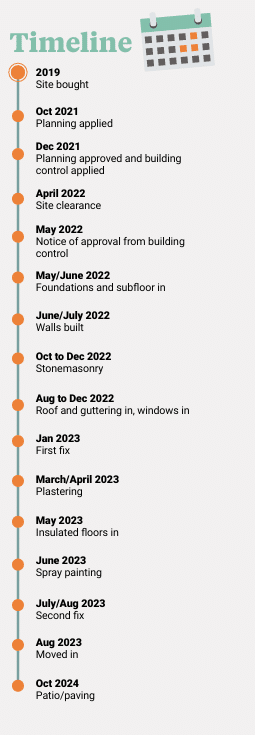
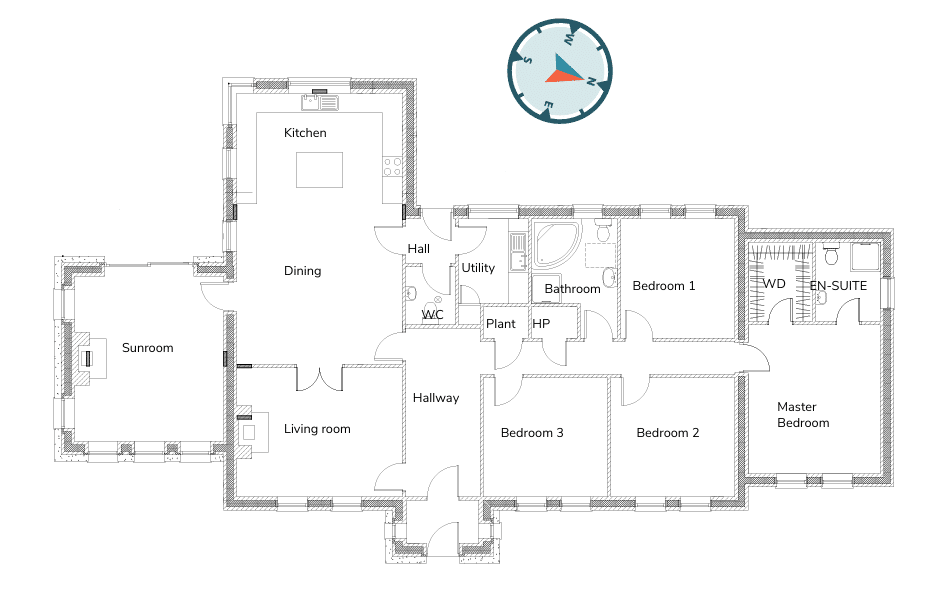
- Timeline and floor plans
- Professional photographs
- Specification and link to diary with supplier list
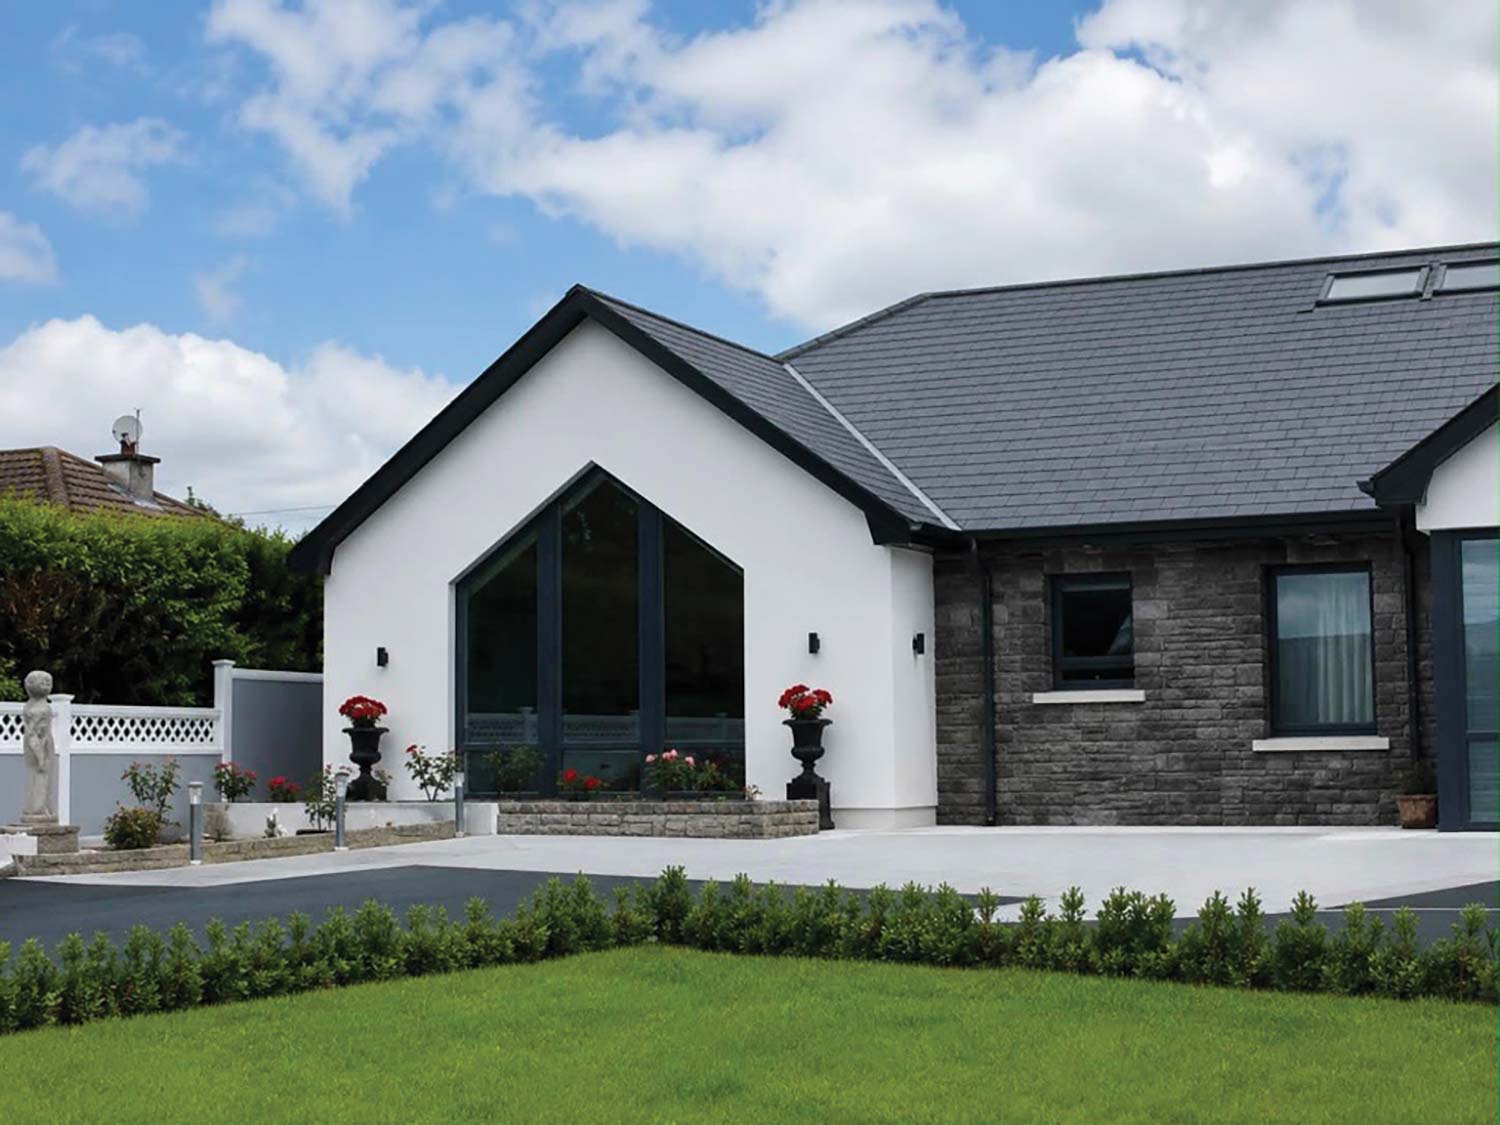
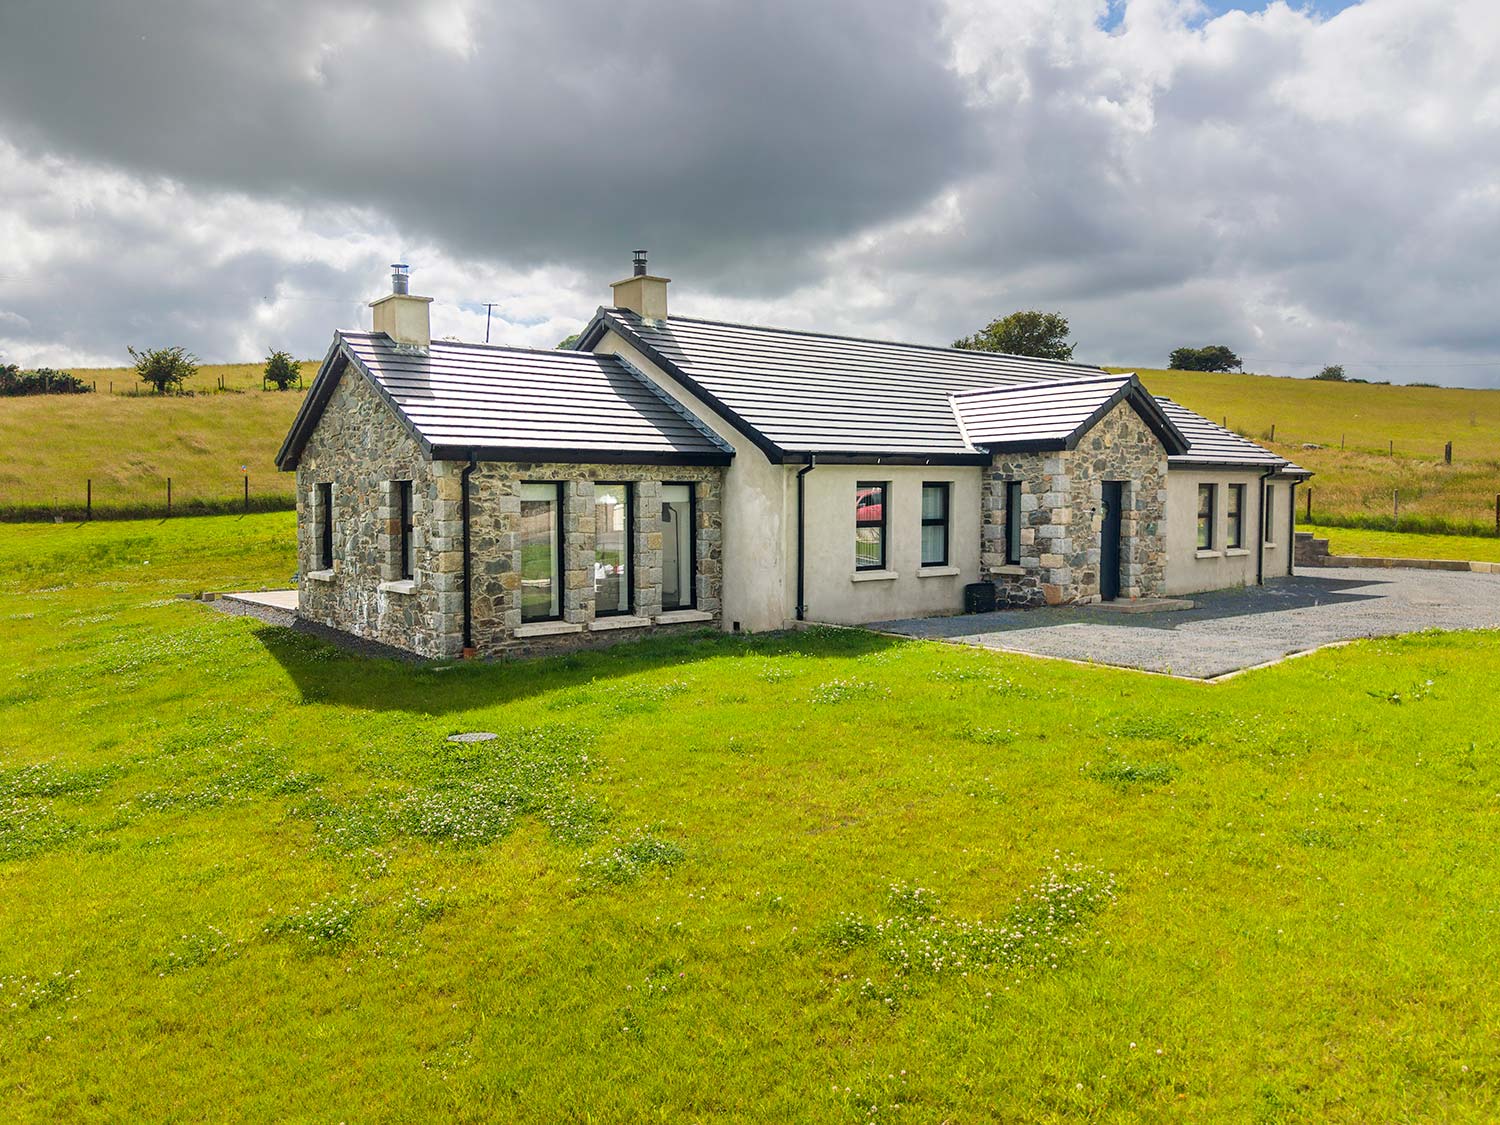
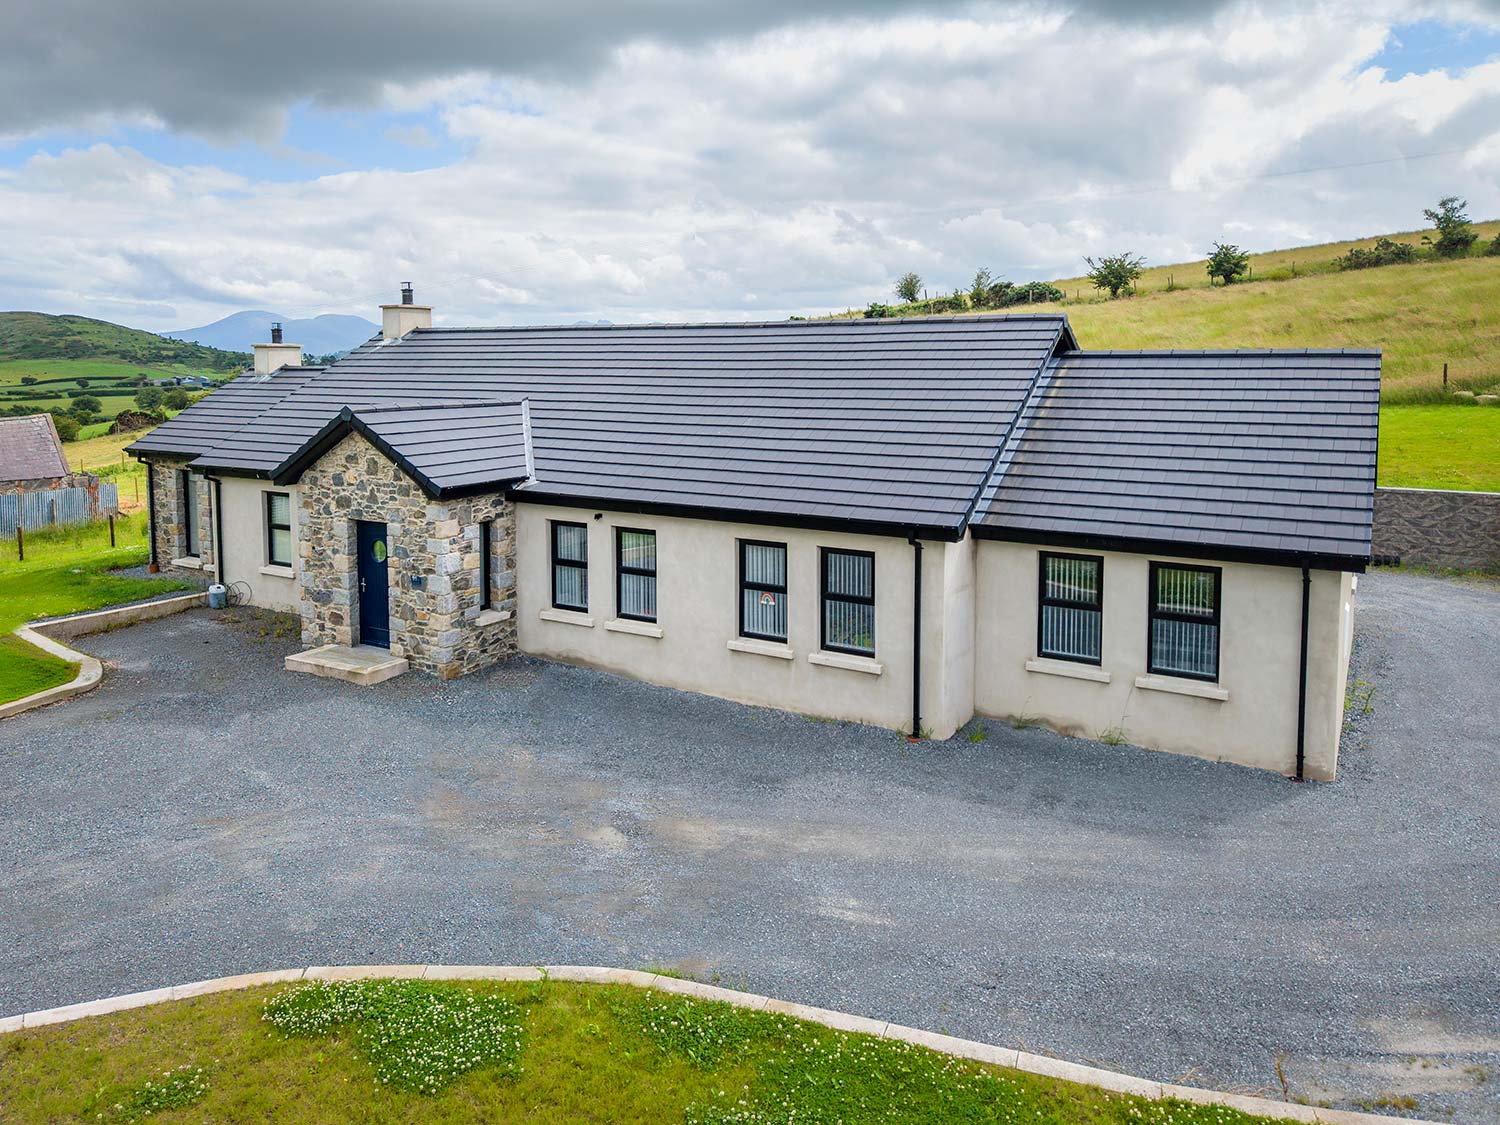
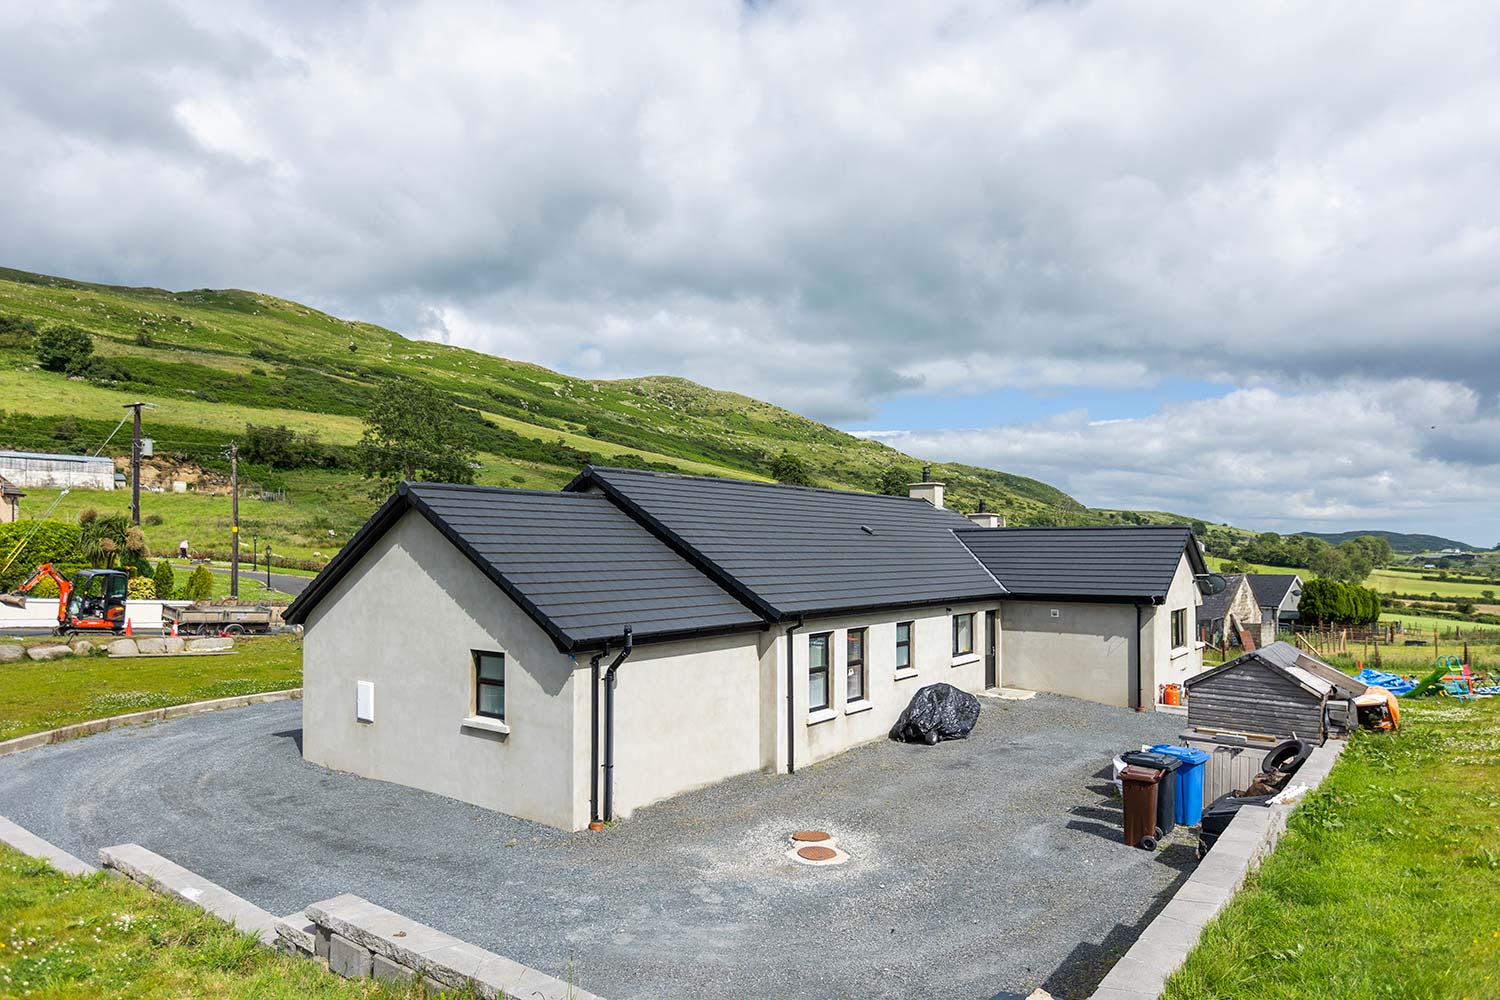
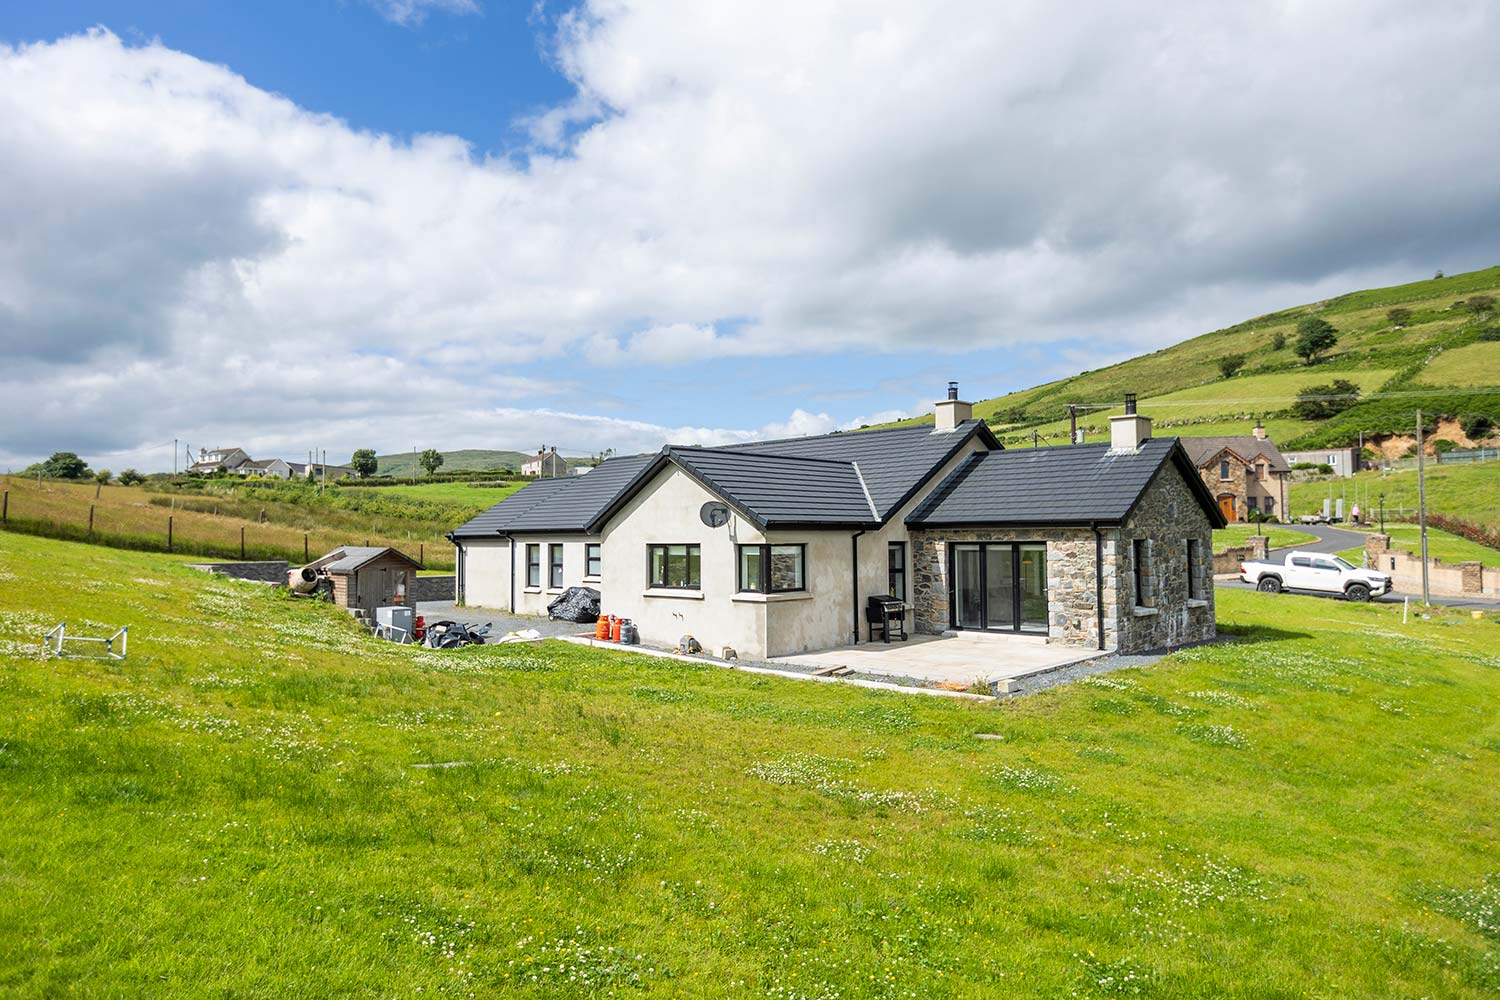
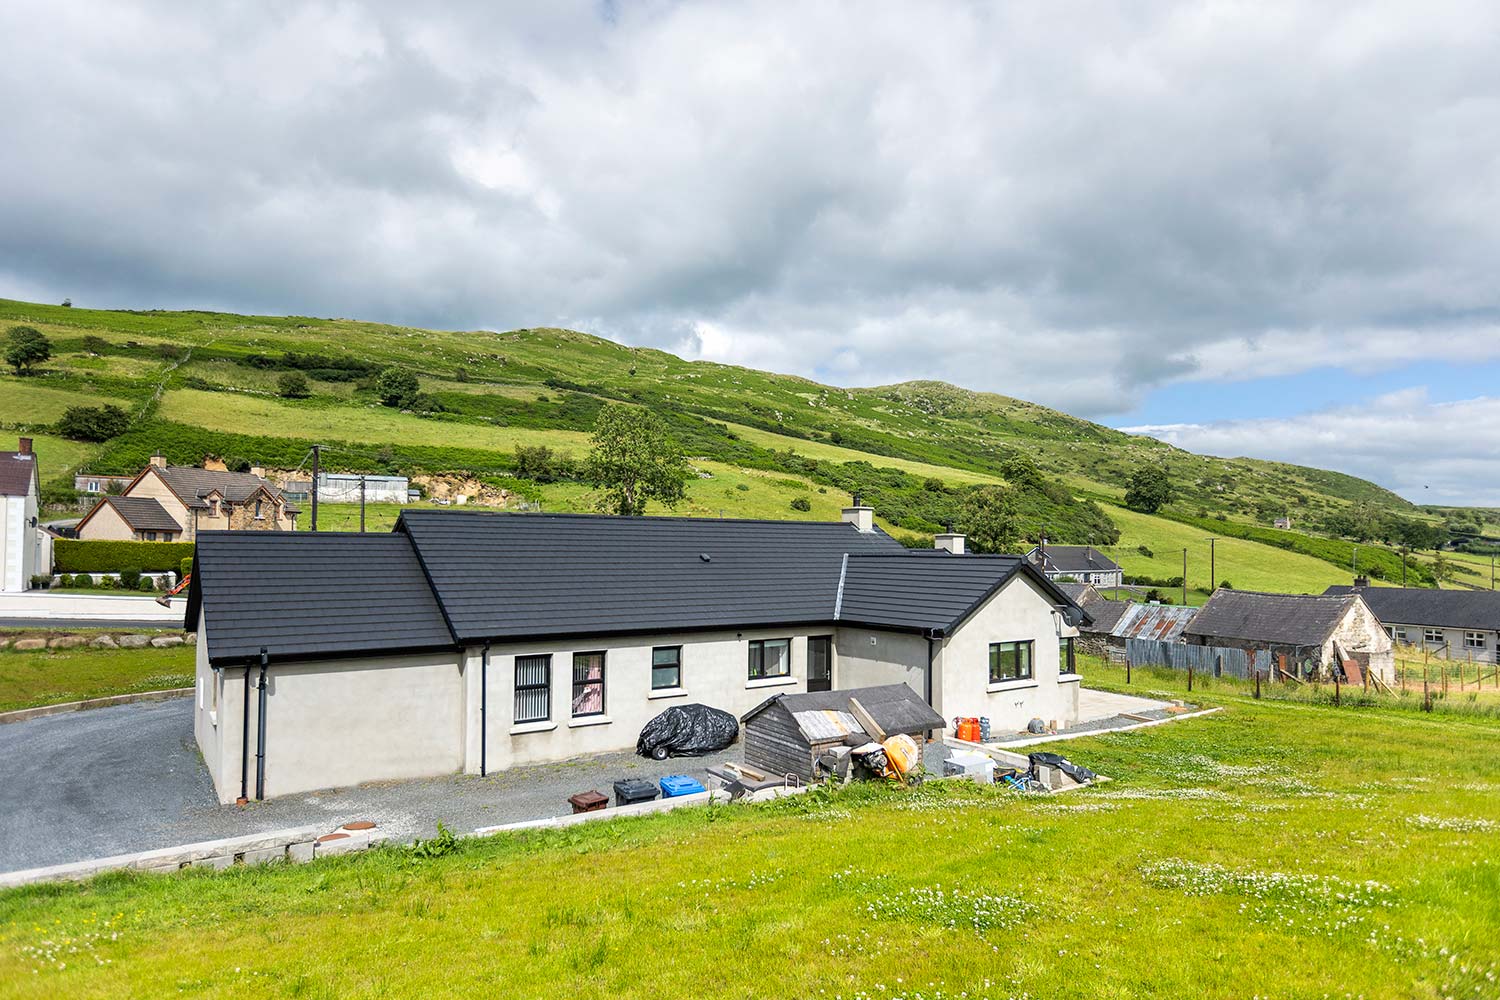
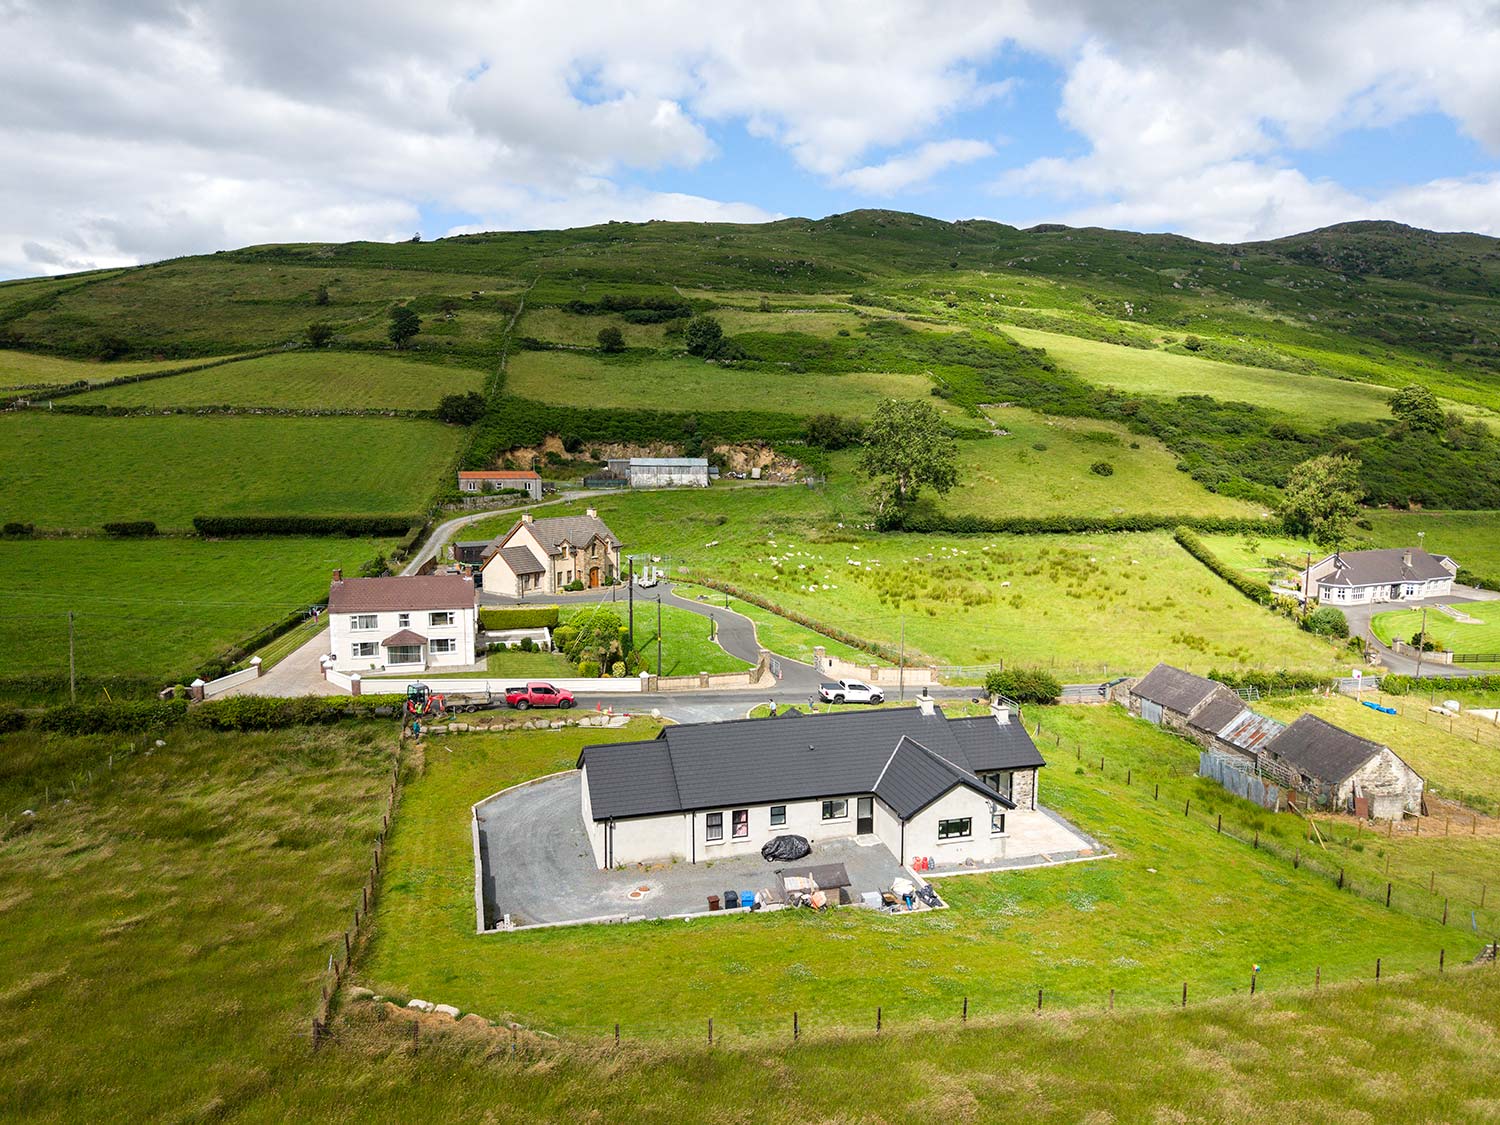
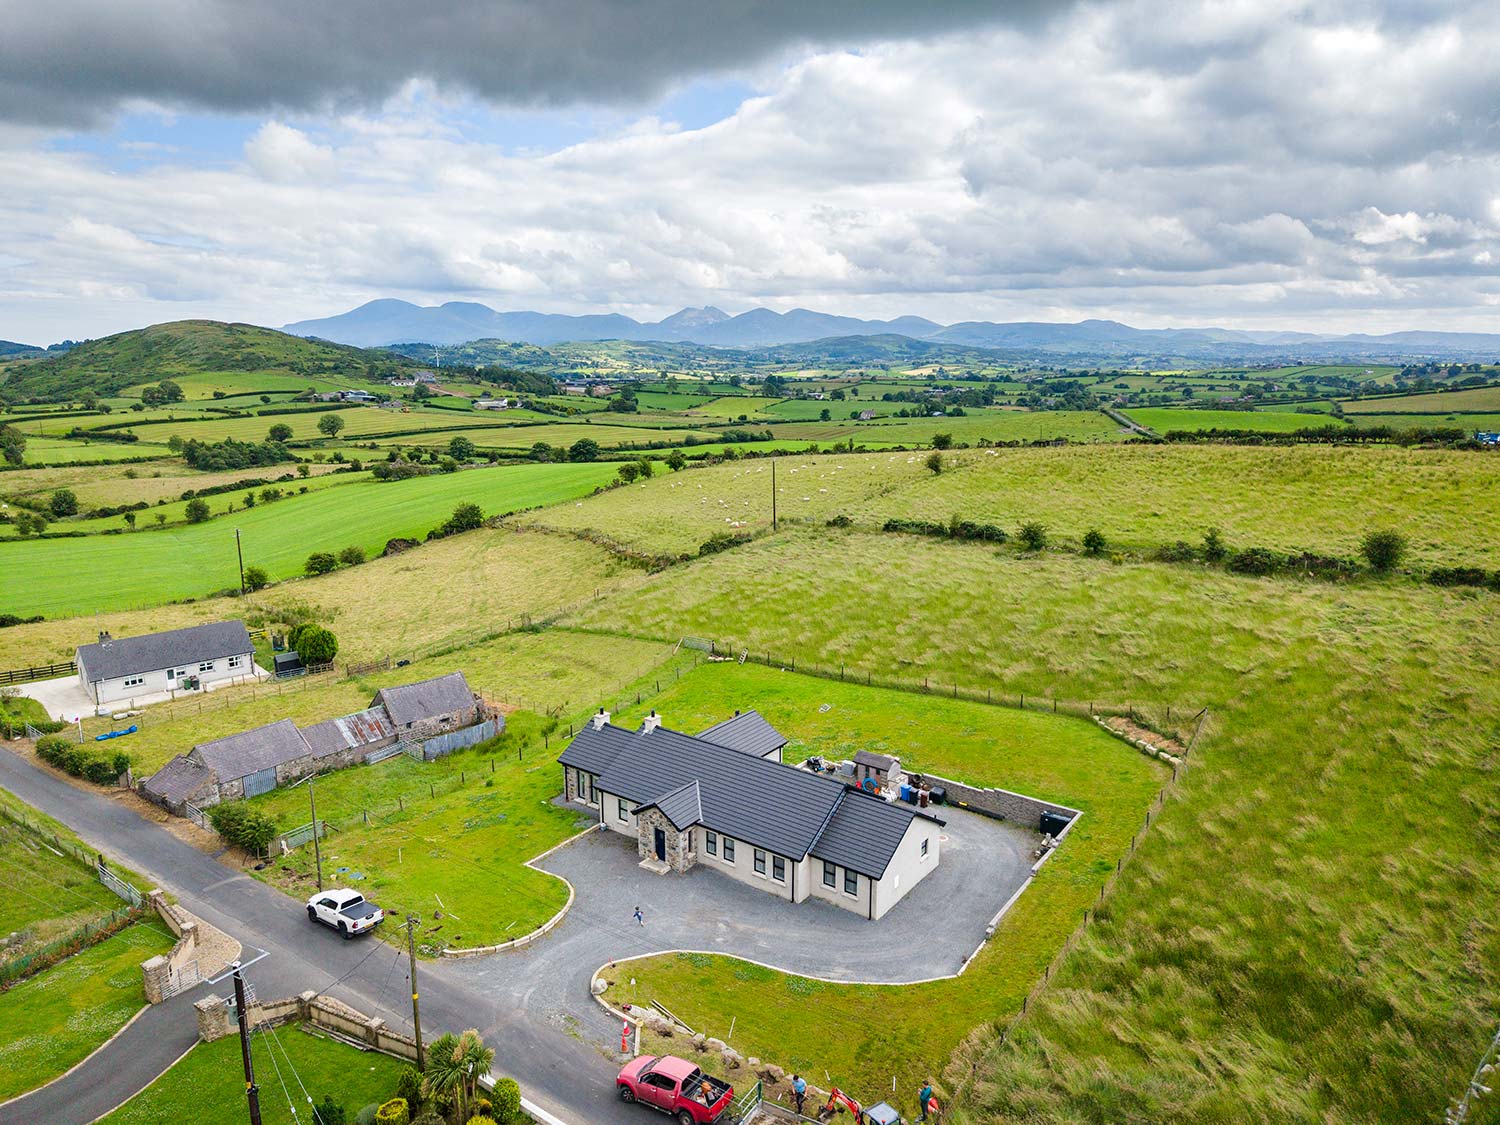
After nearly three years living in their traditional self-build bungalow in Co Down, Gavin Connolly says the biggest confirmation of success is simple: the house still works exactly the way the family hoped it would.
Built using the direct labour route and carefully planned from the earliest stages, the project was shaped by practicality, budget discipline and a determination to avoid unnecessary compromises.
Here, Gavin reflects on the build process, managing costs, what he learned along the way and how the house performs now that the dust has settled.
House size: 205sqm
Bedrooms: 4
Plot size: 1/2 acre
Construction: cavity wall
Heating: oil fired boiler
Ventilation: positive input ventilation
EPC (SAP): B (84)
How did you manage the design stage?
I’m a firm believer that good organisation early on sets the tone for the project. So we spent a lot of time at the start looking at plans and figuring out how we actually lived day to day. We didn’t want to just build a house that looked good on paper. We wanted something practical that would work for family life long term.
We tried to keep everything straightforward and functional. We looked at loads of house plans before settling on our own layout. There were a few things we consciously wanted to avoid as well, such as dead space or rooms that wouldn’t actually be used. Every room needed to have a purpose.
Once we were happy with the plans, we stayed very disciplined and didn’t make many changes after that. I think that was one of the reasons the build went well. We knew what we wanted early on and we stuck to it. Changes on site are what cost money.
How did you plan for the build?
We started long before we broke ground. Trades were lined up early, materials were priced in advance, and a clear sequence of works was established. This meant that once construction began, progress was steady, with fewer of the delays that can often disrupt self-builds.
The construction followed a traditional cavity wall approach, with practical decisions made to improve efficiency where possible. Things like precast concrete flooring – easy to manage and it helped speed up the programme.
I also kept records of everything; drawings, changes, costs, and kept folders with photos as I went. This was important for building control especially, but also for me to look back on. Photos are a good way to keep track.
Keeping control of the budget from the beginning meant there were no surprises. Small changes were adjusted as we went.
Cost Breakdown
Site cost: £72k
Total build cost: £250k
Plumbing and heating: £18k
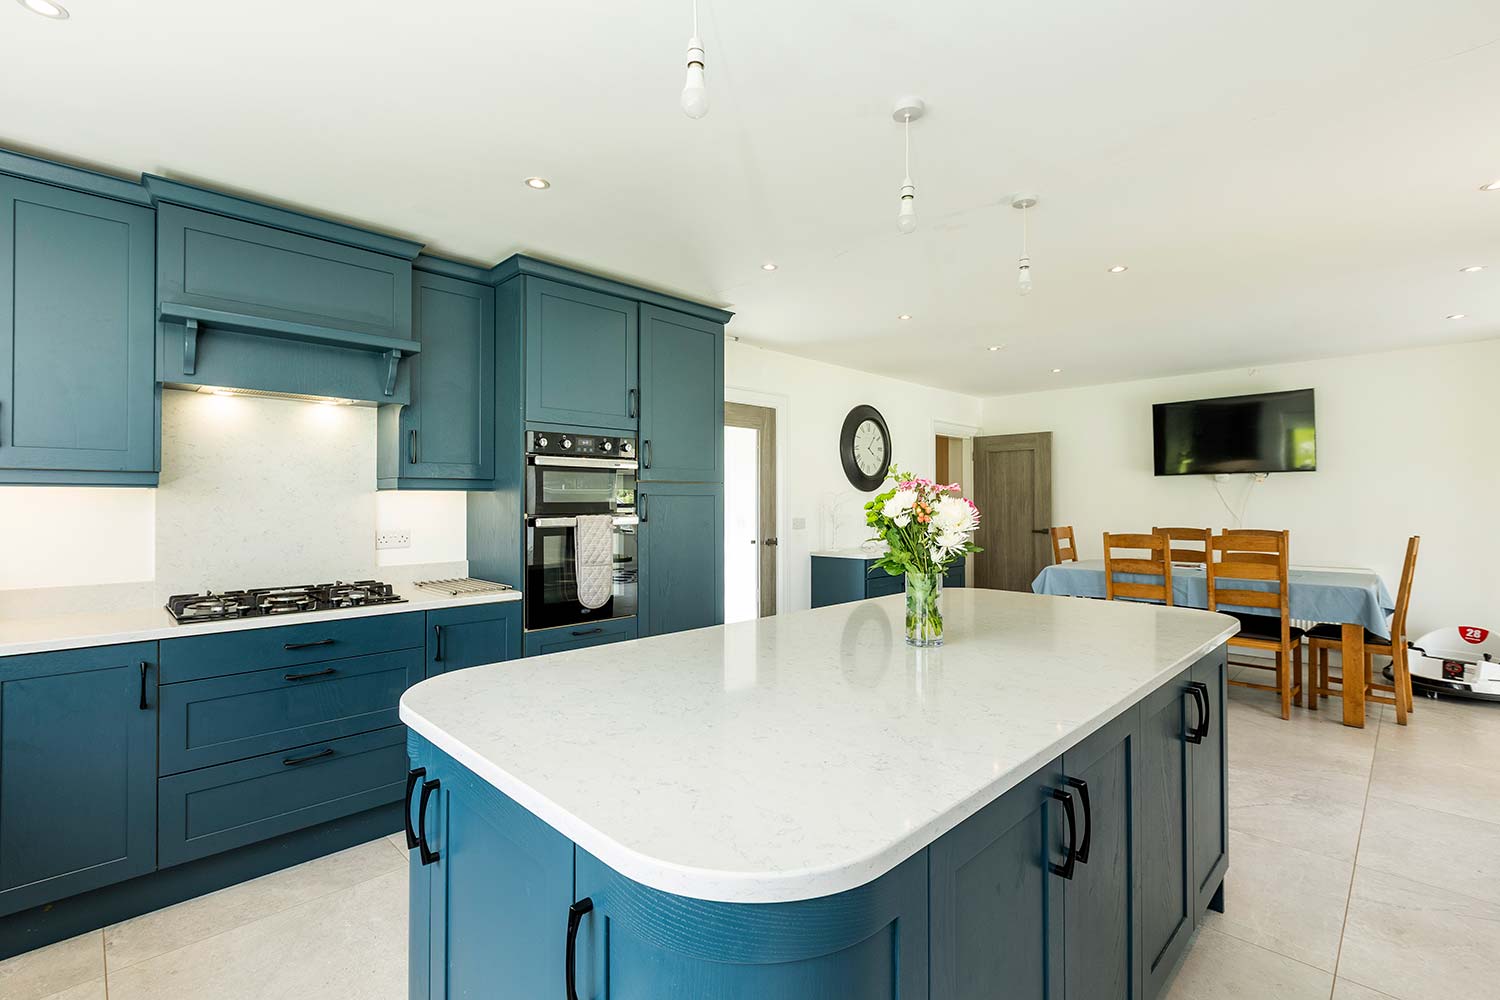
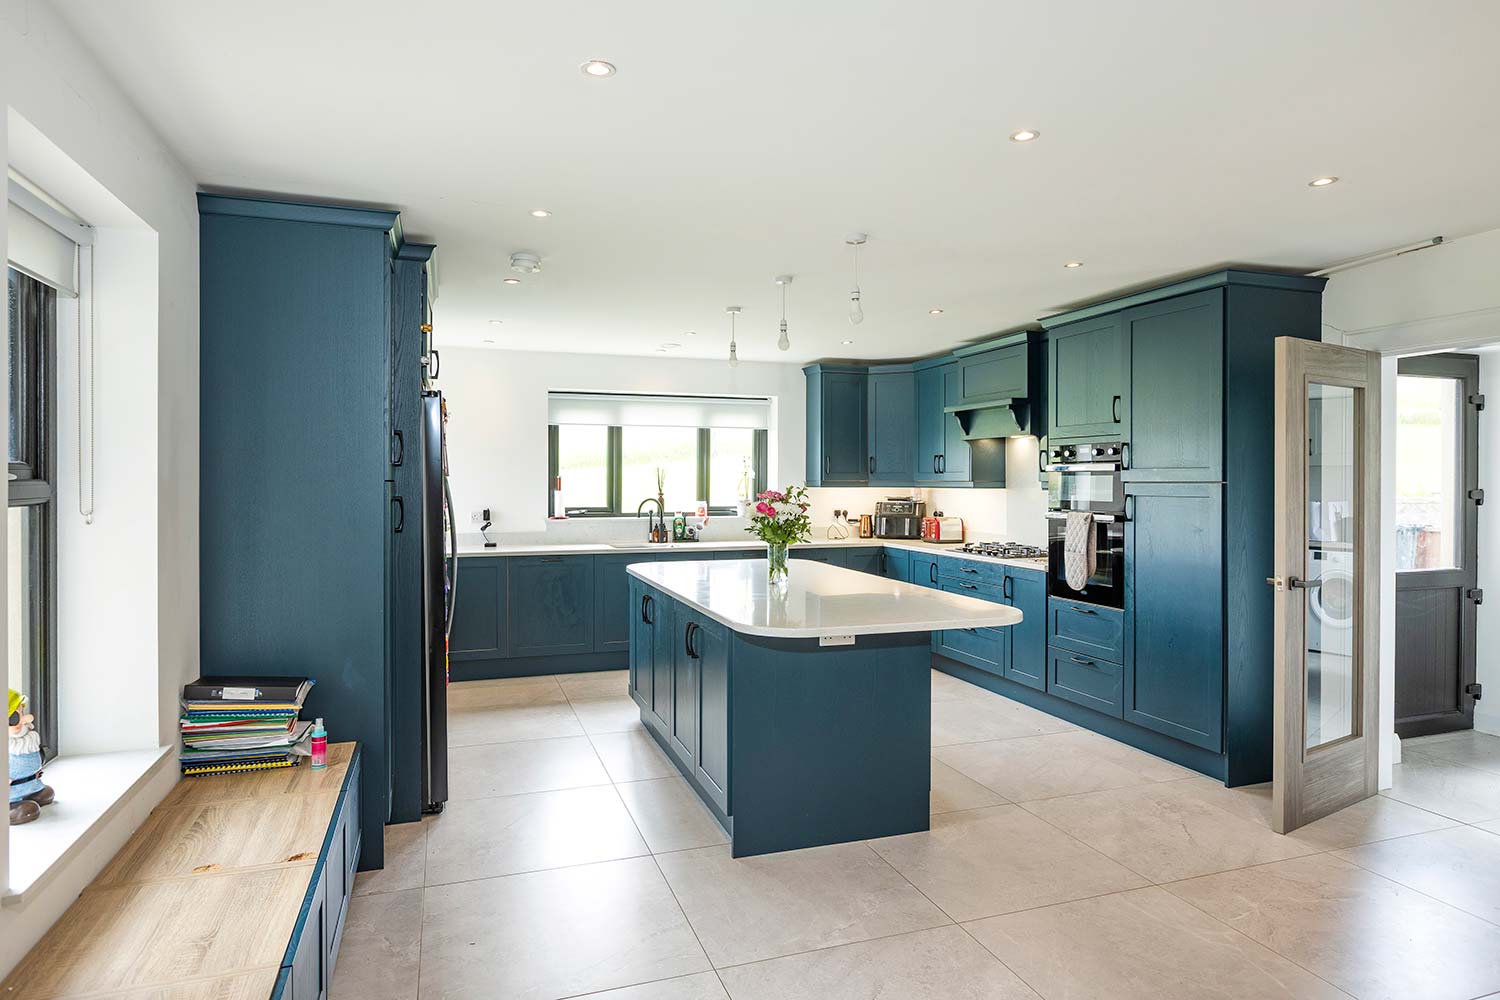
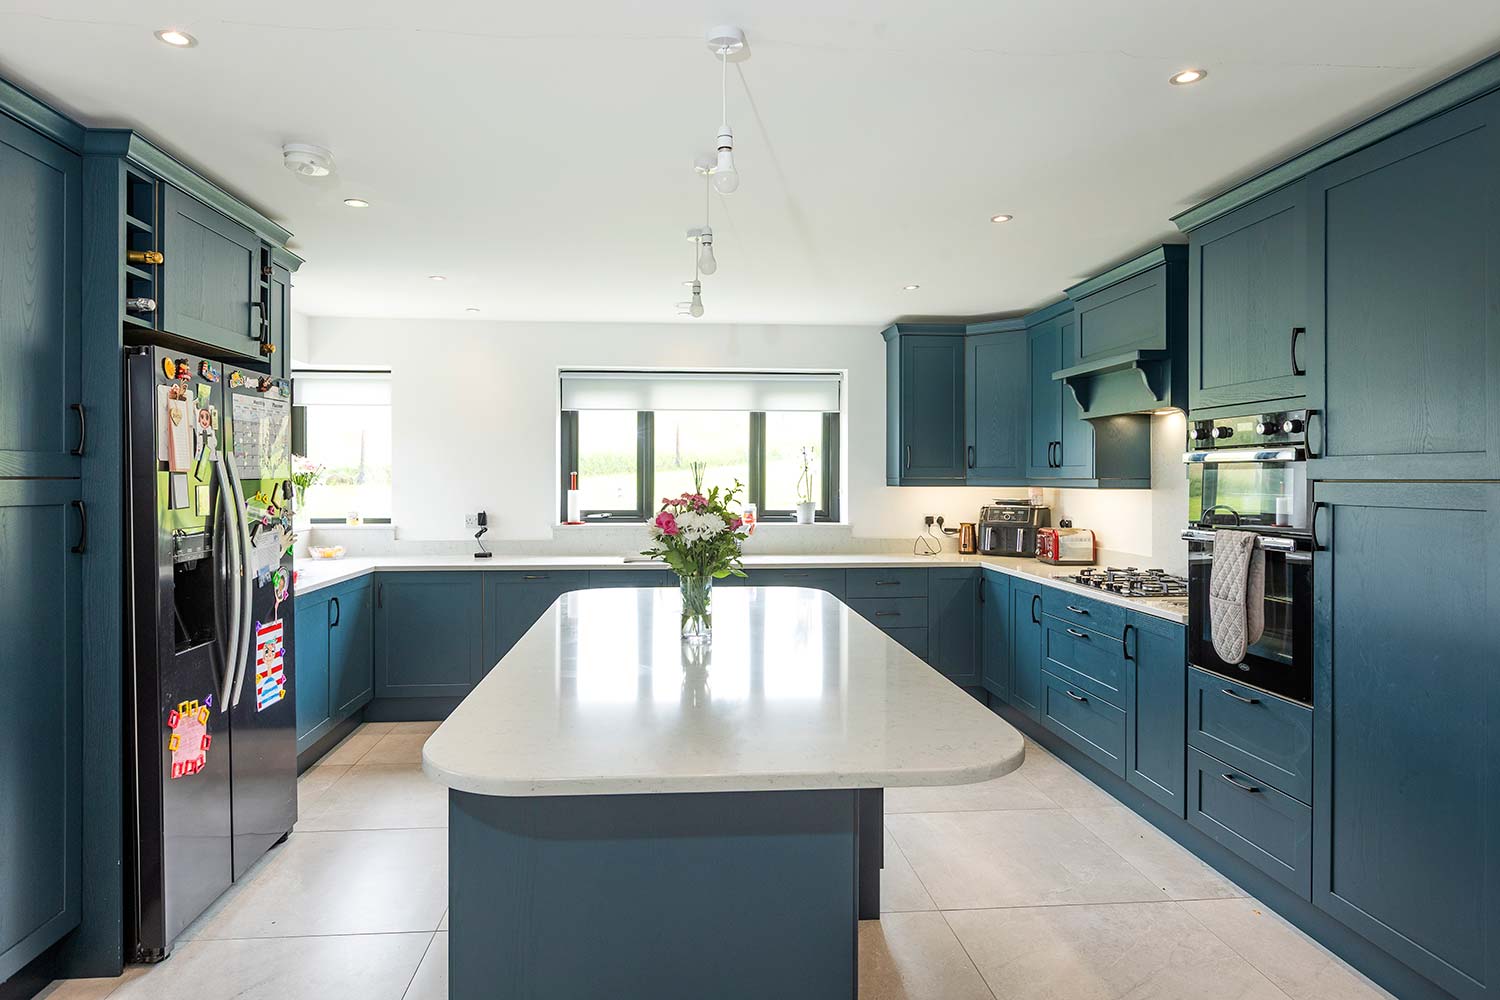
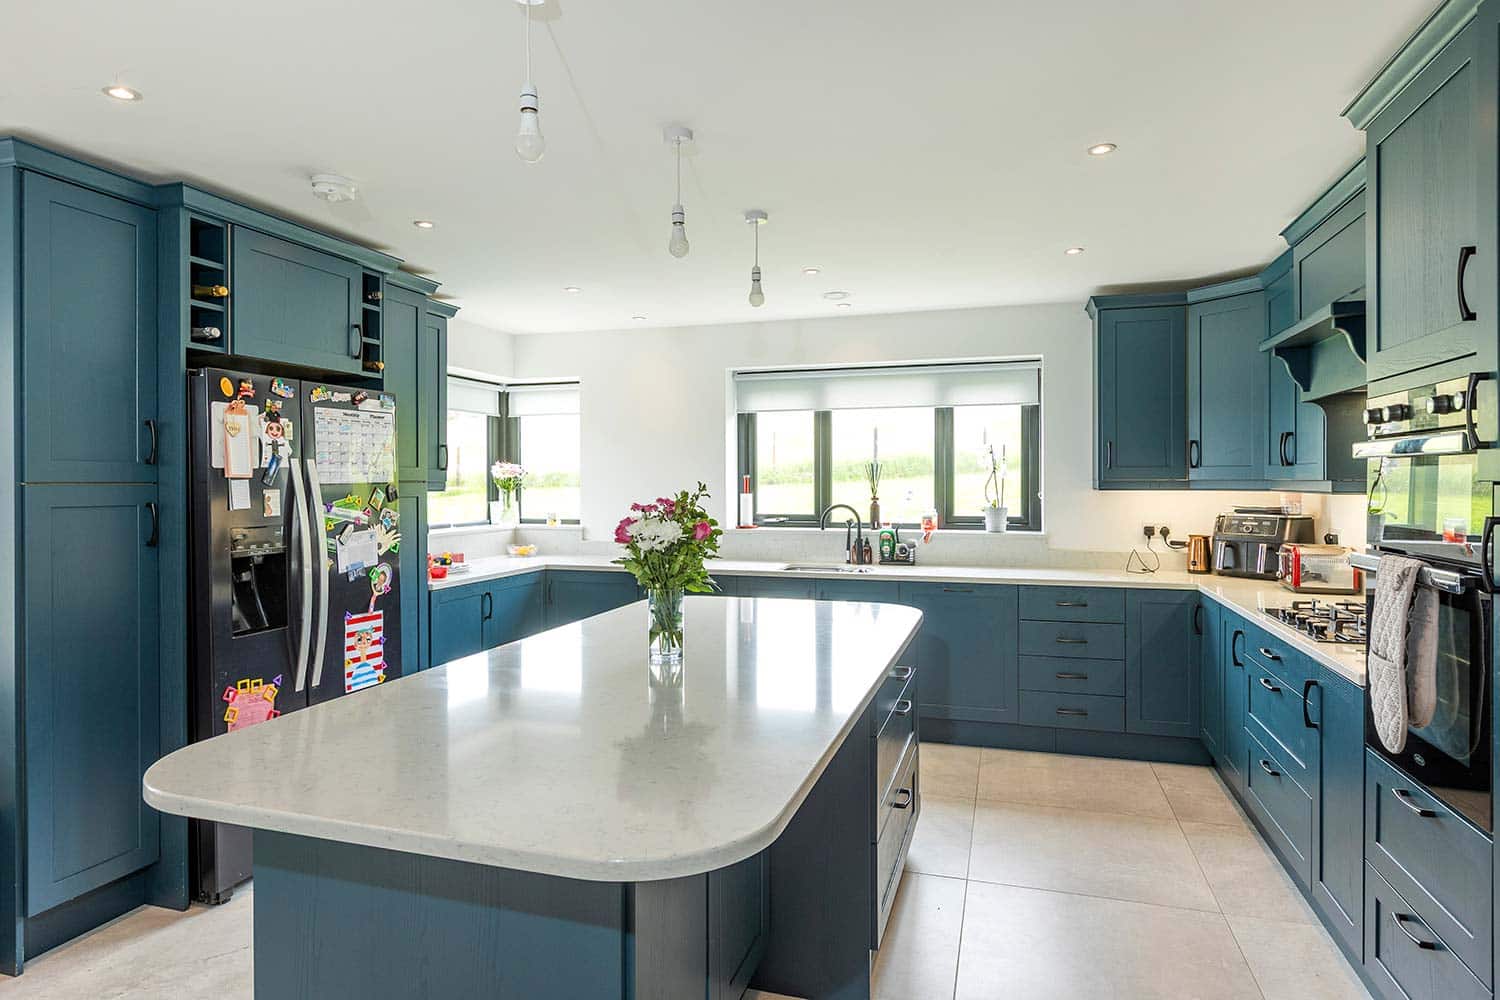
Kitchen (incl. appliances and utility room): £16k
Windows and doors: £10k
Insulated floor screed + screed: £9k
You project managed the build, what were the benefits?
A lot of it came down to cost, obviously. I gave my time for free, and I made savings hiring the trades directly. We’ve equity in the house now, which is a big motivation for anyone who’s building their own house.
Another reason was control. I treated it like any job I would do – the same mindset, same level of organisation and planning. I wanted to make sure it would be built right.
Also, doing bits and pieces myself gave me an outlet. My day-to-day job is more mentally challenging than physically challenging, so being able to go to site at the weekends or evenings gave me something else to look forward to.
It did stretch the days out, but it was therapeutic all the same. I’d be up there on my own, there was no phone signal. And walking out of it, I’d always see progress. It was rewarding to see that as it went along. So even though it was demanding, it was rewarding as well.
People can be hard to get on site, how did you manage that?
If you’re going direct labour, preparation is massive. You need trades lined up early and be ready to hit the ‘go’ button. A common mistake is to go looking for someone when you need them. That’s too last minute.
You also need to stay on top of sequencing because if one thing slips, everything behind it can slip too. You just have to stay organised because nobody else is doing that part for you. If materials aren’t there or decisions haven’t been made in time, trades can end up standing around, and that costs money.
So a lot of it for me came down to planning ahead and communication. I had people lined up well in advance so there wasn’t downtime on site waiting for someone to become available.
It’s important to keep in regular contact with people. Even if a trade wasn’t due on site for another few weeks, I’d still be checking in with them so everyone knew where the job was at.
I was lucky to have a network I could rely on, in that I had good tradespeople around me. Once you have good people and clear communication, it makes the whole process much smoother.
Good trades and good advice make a massive difference. And if you get people in, get it down on paper. That’s hugely important. Don’t leave things vague because misunderstandings later can become very expensive.
Leave it under no uncertain terms what the process is, and what’s expected of all parties. That doesn’t mean there won’t be disputes but you need something to go back to, that you both agreed to, to get a resolution.
What advice would you give a novice managing their build?
Get acquainted with the process and get reputable people on board. You need good support, good tradesmen, and know who to ask when you have a question. I see it all the time, people asking for advice in the wrong places, such as social media.
You need to take control of a project like this, take charge of organising it, it’s not something that can be done piecemeal. Most importantly, stay on top of your costs from day one. If you lose control of the budget early, it’s very hard to recover later.
This means not paying out money when you shouldn’t be. You also need to know how much you’re paying and what you’re paying it for. A couple hundred here, a couple hundred there, it all adds up – to the point where you don’t have money left.

How did you manage your costs?
I kept a very close eye on everything. You need to know how much you’re spending and what you’re spending it on. That’s actually one of the reasons I developed my own cost control spreadsheet afterwards, because I could see how easily people lose track during a self-build.
If you don’t monitor costs as you go, you can get to the later stages of the project and realise there’s not enough left for finishes or landscaping.
For the interiors, we didn’t go with basic finishes but we didn’t go for the high-end stuff either. We went somewhere in the middle. We wanted good quality products that would last, especially in the high frequency, high use areas like the kitchen, bathrooms, and also for flooring. We wanted materials and finishes that would stand up to everyday use.
We definitely felt the effects of rising costs when we were building too, so I had to manage that as well.
You could see prices changing week to week at one stage. It was hard to plan around, but we kept a close eye on everything as we went. Steel, insulation, concrete: everything seemed to be moving. You could price something one week and it would jump the next week. That’s why cost tracking is so important. People think small changes don’t matter but if you make 20 small changes during a build, suddenly you’re way over budget.
How are costs behaving today in comparison?
The context for building has shifted significantly since my project. There’s even more cost volatility now which adds a layer of difficulty when planning a build.
Materials are up and they’re not as stable as they once were. We see cost increases on a weekly basis for things like insulation. It went up twice in a week; it went up in April and then again as soon as it hit May. It’s hard to plan under those circumstances.
At the minute it’s insulation and bituminous materials, for the likes of tarmac, that are hit. Anything with cement in it isn’t far behind.
Also comparing now to 2022, when the war in Ukraine broke out, we’re starting at a much higher price point. Costs might row back a wee bit if the situation in Iran calms down, but they haven’t come back to what they were pre-Covid and I don’t expect them to.
Once prices rise, it’s rare to see them come back down. As for labour costs, it’s on a fairly level playing field but rates are starting to creep up too.
How is the house performing now?
It’s performing really well and everything has settled into its natural rhythm. There were a few early teething issues with balancing the heating system, where some radiators were heating up more quickly than others, some not coming on at all.
Our plumber came back to rebalance the heating system and it’s working perfectly now. You have to give things time to bed in. The house is really comfortable and easy to heat.
We did spend a lot more on oil than envisaged; we’d never fully fill the tank so it’s hard to know exactly but for 500 litres we’d get eight to 10 weeks. It’s in part due to working from home and heating the house all day during cold winters.
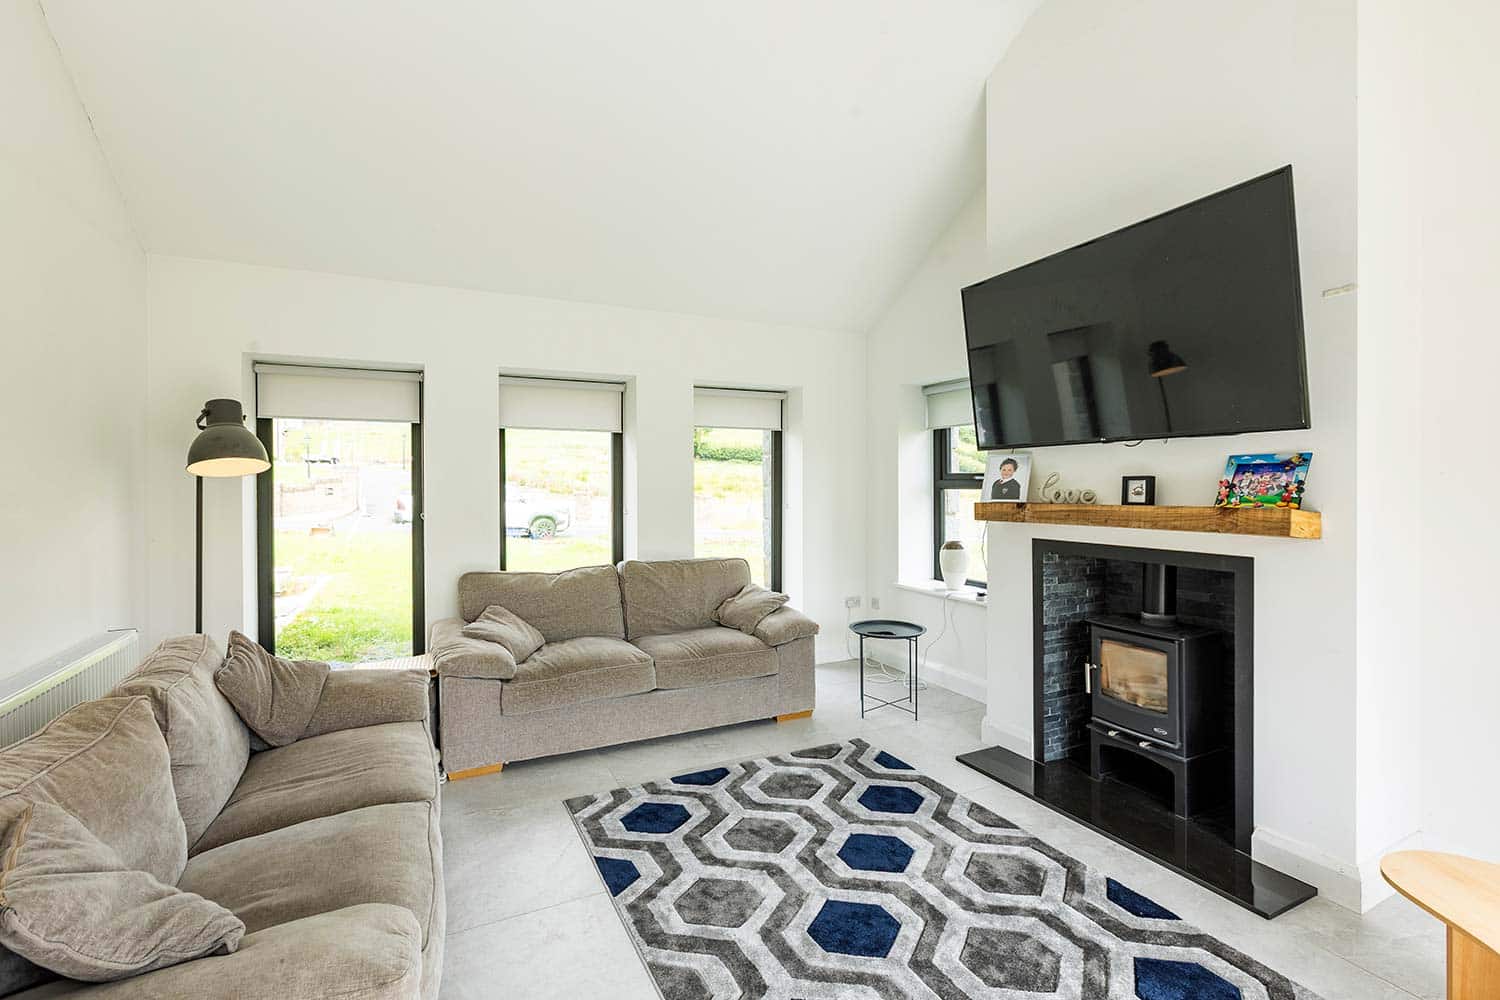
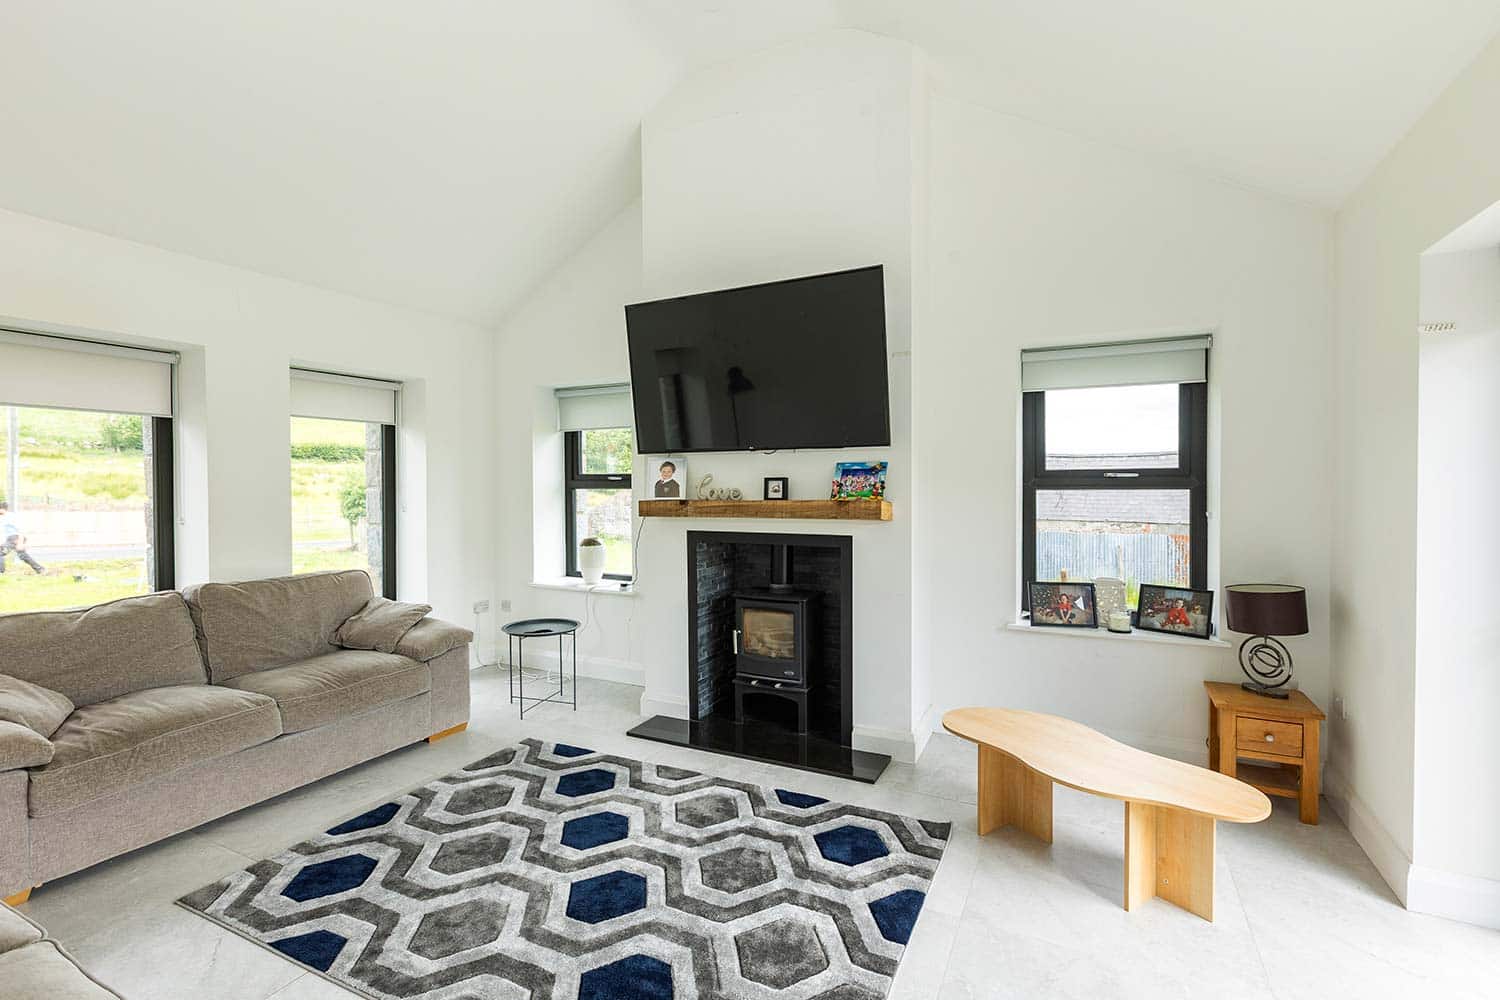
We have one stove in the sunroom, we plan to add one in the living room, and it does add a fair bit of heat about the place. And atmosphere.
What would you change?
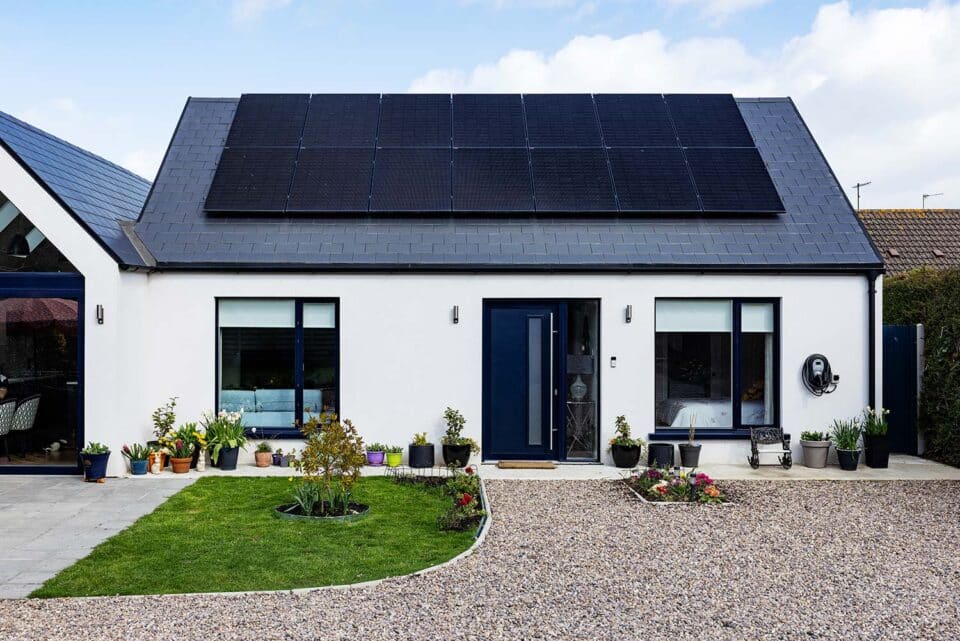
With hindsight, if I’d had the budget, I would have put in solar panels to generate electricity or at least the containment for it. At the time it just didn’t stack up for us financially, but long term it’s definitely something I’d consider adding. Especially if oil keeps going the way it’s going, having that backup would benefit in the long run.
We also have good storage upstairs in the attic; I floored it out recently but I do realise the more storage you have, the more stuff you keep that you’ll never use.
How did you approach landscaping?
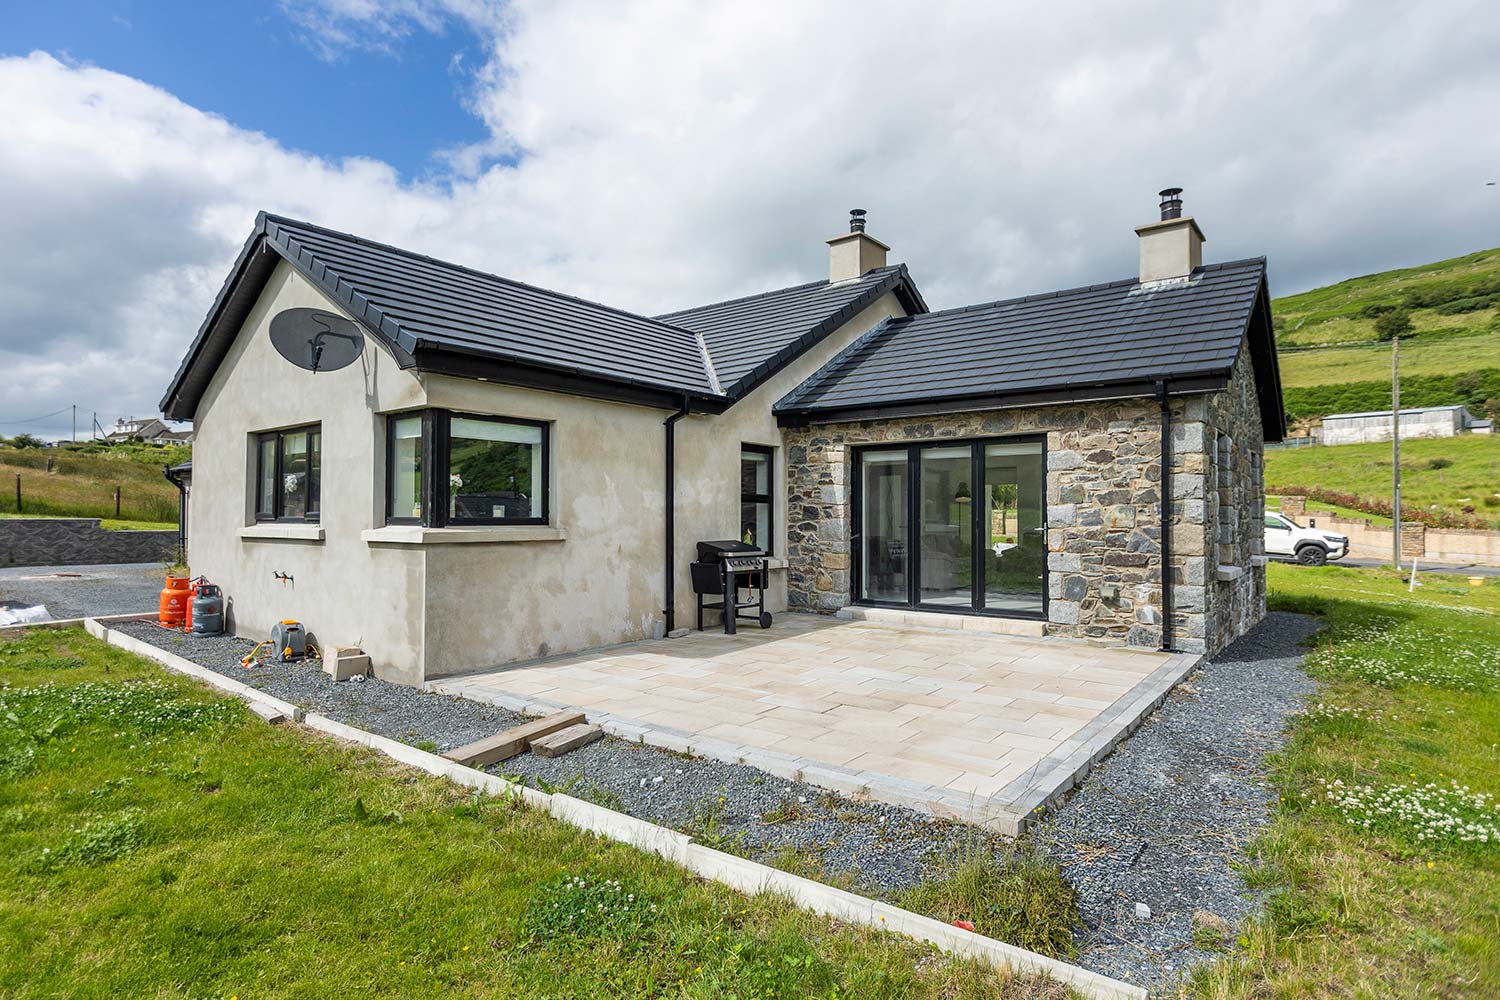
We did the garden gradually because landscaping can swallow up money very quickly. I did a lot of the work myself; patios, drainage, kerbing and bits like that. I also put in the retaining wall, which we needed because of a difference in levels. That helped spread the costs and also meant we could take our time with it.
We levelled the garden at the time of building, while the diggers were on site, and made the outdoor area safe. We seeded but some of the grass didn’t take at the time. You can lose so much money in the garden and see very little for it.
The garden is only really starting to mature now and feel established. That’s one thing people probably underestimate; it takes years for the outside to fully come together.
What’s your favourite part of the house?
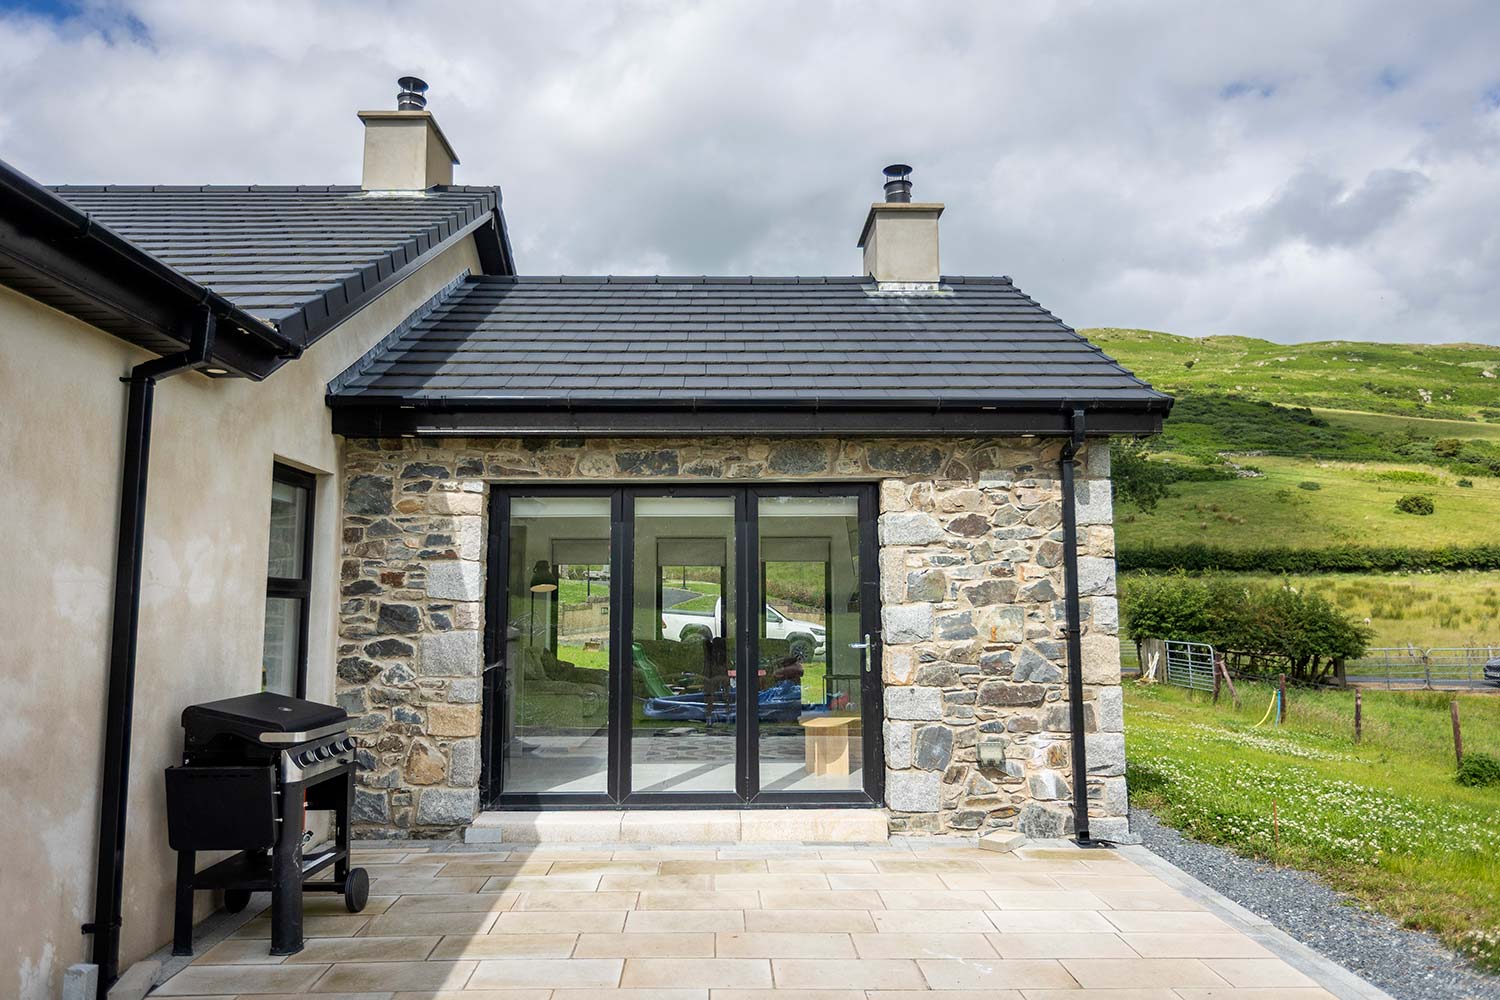
The sunroom, definitely. We nearly cut it during the design stage to save money, but I’m so glad we didn’t. It’s probably the room we use most now.
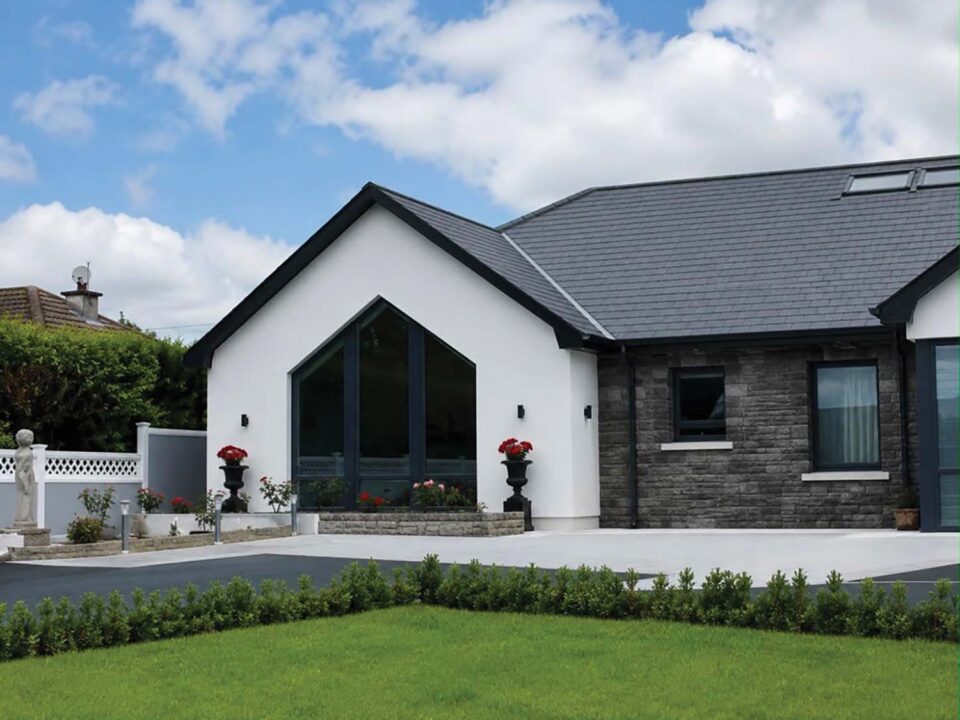
We’ve got large bifold doors opening onto the garden and views towards the Mourne mountains, and it just gets great light throughout the day. In the summer especially, it completely changes how we use the house. It’s quiet and we really enjoy it.
Would you build again?
Not for ourselves. I don’t see us moving from here. We’re very happy where we are.
It was a great experience, but it takes a huge amount of time and energy. If I were to build another house, it would be to sell it on.

What’s next on the list?
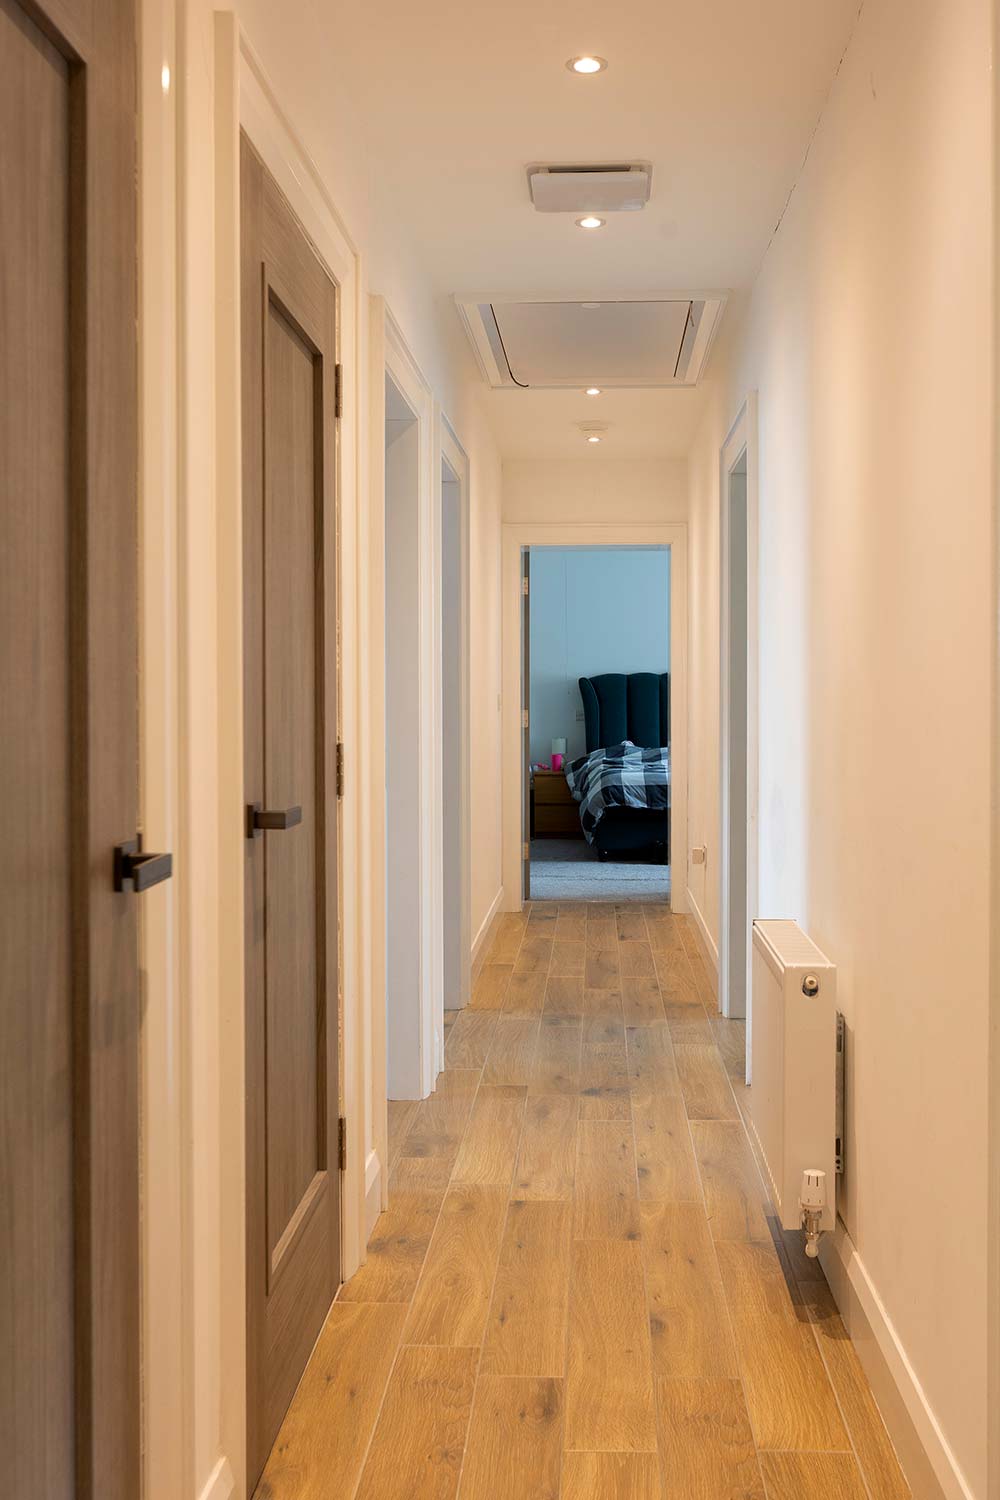
Our approach was to focus on the house first and foremost, because we didn’t want dust about the place after moving in. That has paid off in that we didn’t have a big to-do list when we moved in, it was a turnkey finish.
But we also knew that we would need to give the house time to settle. There was some minor cracking early on, which is completely normal with a new build, especially during the first couple of years.
So we are now ready to put the money in for the final decorating jobs. Doing it earlier would be like throwing bad money after good. Outside, the next job is to add a fence.
Follow along the entire project journey via our homeowner diaries.
Spec
Walls: cavity wall construction, 200mm wide cavity insulated with pumped EPS beads, closed off with insulation at head, 25mm PIR at reveals, U-value 0.16 W/sqmK
Roofs: insulation 200mm fibreglass, between joists, 50mm insulated (PIR) plasterboard beneath, U-value 0.15 W/sqmK. Sunroom roof: 150mm PIR below rafters, 12mm ply underside with 50mm insulation and plasterboard, U-value 0.17 W/sqmK.
Floor: usual build up from subfloor, insulated screed 15.5mm with 55mm screed on top, U-value 0.19 W/sqmK.