In this article we cover:
- Build cost breakdown
- What is SIPs
- Site selection
- Design and build process
- Choice of outer skin
- Project management route
- SIPs turnkey contract details
- Changes during the build
- Budgeting tips, splurges
- Favourite features and surprises along the way
- Heating, ventilation and other choices
- Insulated foundations
- Timeline, specification and supplier
- Floor plans and photos
Overview
House size: 193 sqm
Bedrooms: 5
Plot size: 0.077 acres
Cost: €265k
Heating system: air to air heat pump: immersion heater tank for hot water powered by solar
panels
Ventilation: centralised and decentralised demand control
Build method: SIPs
BER (from design stage): A1
Cost Breakdown
Foundations: €33k
SIPs: €180k
Internal fit-out: €100k
Kitchen/Utility: €22.5k
Bathrooms (three with walk-in showers plus one wc): €12k
How did you get the site?
It was a dream of ours that we would, someday own a new build. Realistically, with being priced out of the housing market, a self-build was the only option.
It so happens there was a small plot of land across the road from where we were living; I spoke to the owner one day and it turned out it was for sale, so we put an offer on it. It was all done very quickly with some very instinctive decisions.
The plot came with planning permission so there was little choice at the design stage. It is also quite a tight site so that also dictated the style
“One of the huge positives about going with a modular build was that they also provide the windows and doors”

What were your next steps?
After we bought the site, we found out there was a public sewer line running through and it took Irish Water eight months to move it. We had to get our engineer to plan and draw up the diversion. We had to bear the cost of the work for the diversion too, which was about €2,500 with Irish Water billing us €900 for approving the plans.
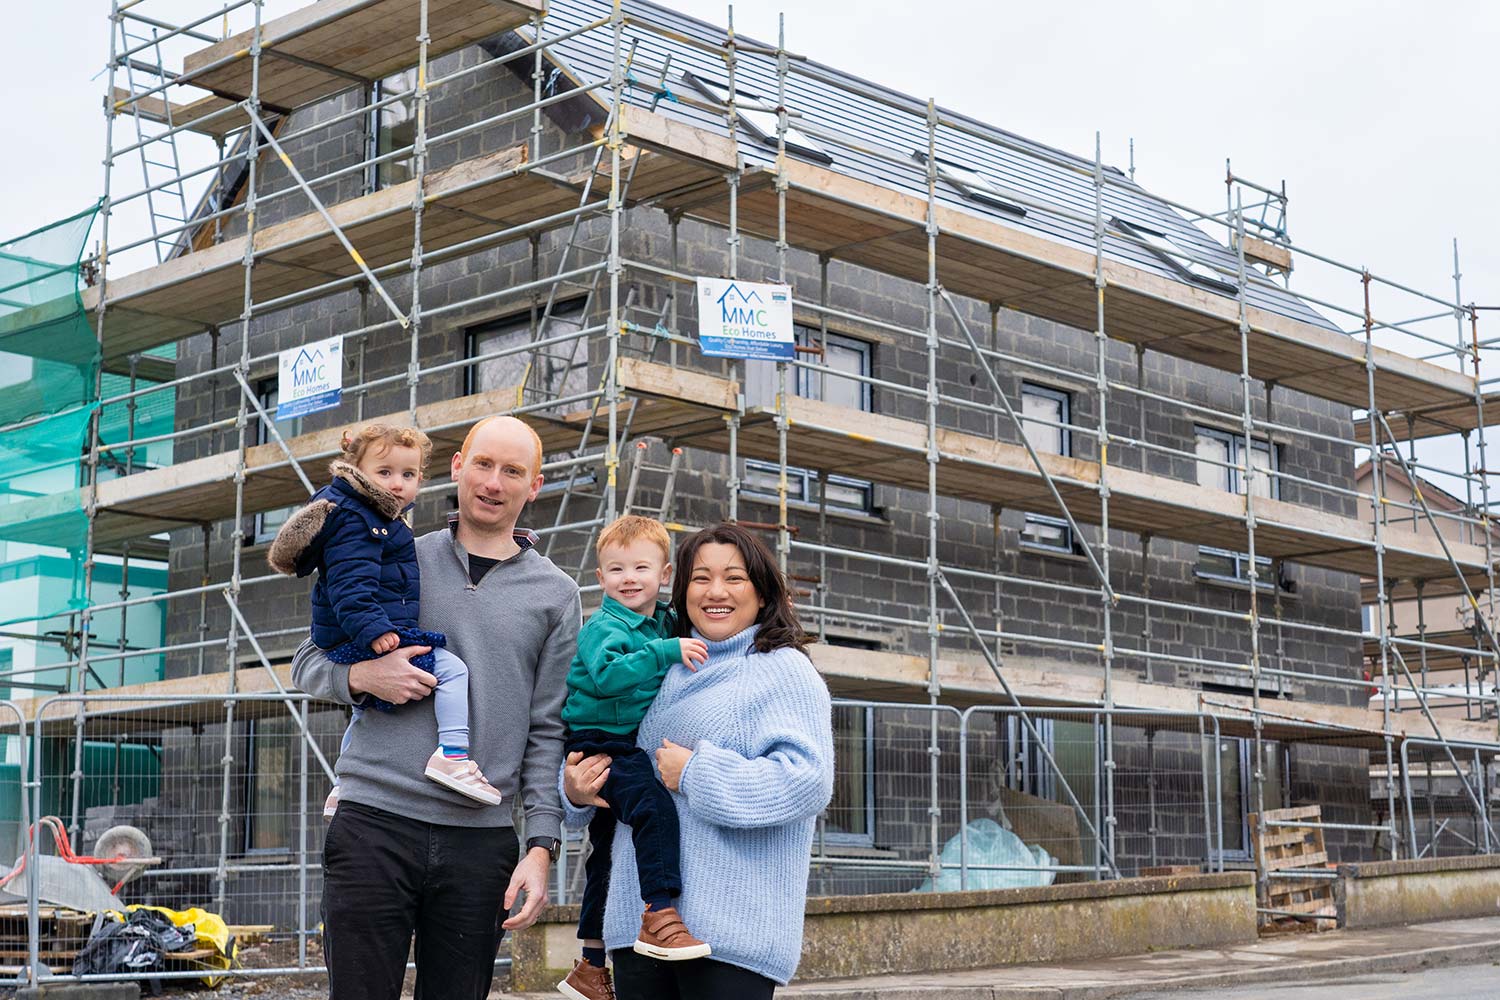
Then my dad spotted an article in the local paper about a SIP company, the method of construction we were interested in going with. We had done our own research and spoken to other SIP companies so when we met Ciaran and he showed us one of his houses we knew what we were looking for, and Ciaran was able to answer all our questions.
Seeing the product, and the attention to detail that was involved, are the reasons we engaged with Ciaran’s company early on to build our home.
We gave Ciaran our plans and he advised us on some changes that reduced the amount of steel required in the build, saving us approximately €15k. These adjustments were not major, which meant we did not have to reapply for planning permission. Our engineer submitted the non-material changes to the council and the planning section approved them promptly.
Why did you choose to go with a blockwork outer skin?
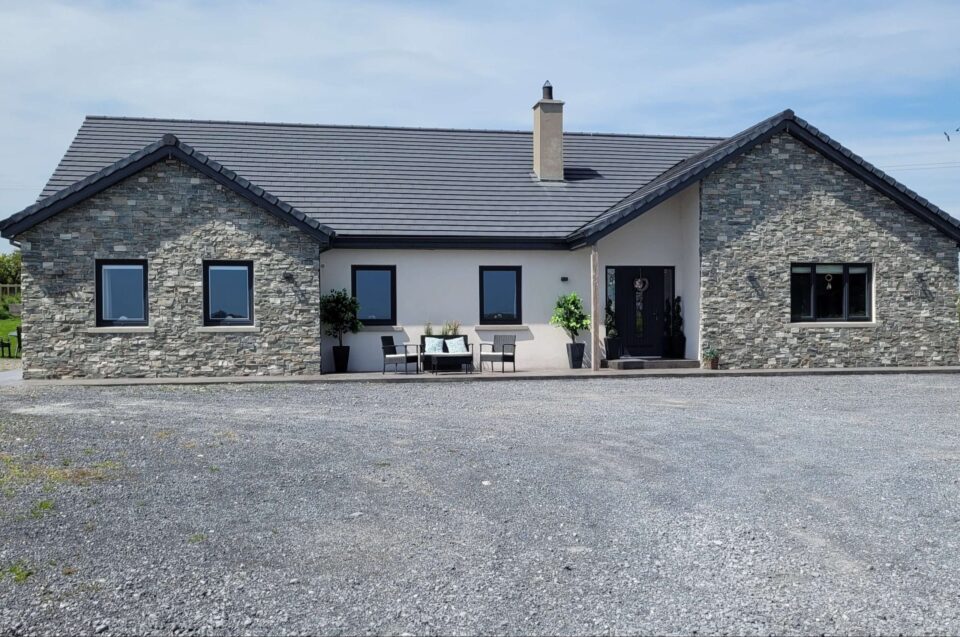
The blockwork skin was a mortgage requirement. We live approximately 500m from the Atlantic so we wanted it ourselves. The sea air rusts everything so we felt this was the best option.


How was the project managed?
Danielle is on a career break and is at home with our two young children. Fortunately, this meant she was able to essentially act as the project manager. I made certain phone calls and answered emails, whilst she was on the ground dealing with tradesmen or visiting showrooms and ordering materials, so between us we managed it.
We also had an amazing builder who we leaned on for advice; with him at times becoming a de facto project manager. The engineer was also heavily involved, especially at the foundations stage. Once the foundations were in, he came in to do two inspections; once after the house was erected and the second time once the internal plastering was done to sign off on the build.
Because our children were one and two years of age at the time, we didn’t get to do much DIY. I would have loved to have done more but my involvement was limited to painting and tidying up in the evenings and weekends.
What work did the SIPs company do?
They supplied the walls and roof sections in panels, including the windows and external doors with all the necessary taping. The conduits for the electrics and internal plasterboard were also in place. The company also supplied rockwool and additional plasterboard for the ceilings, and all of the internal partition walls.
We signed a contract with them to supply all of the above and got a builder separately to complete the build. Our builder had done a previous job for the SIPs company so it was easy to manage. The builder organised the order in which things were shipped to make the erection of the building as easy as possible for him.


What is SIPs?
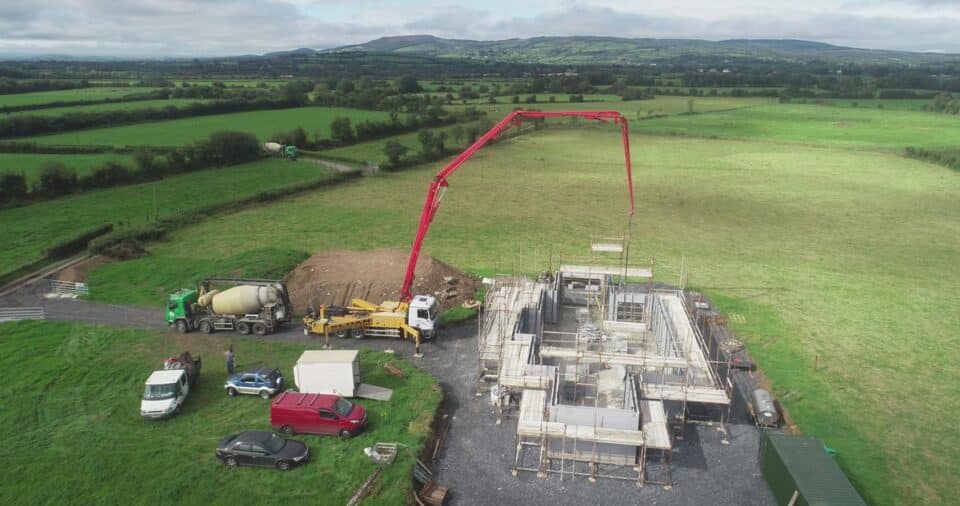
Structural Insulation Panels (SIP or SiPs or SIPS) is a modular construction system whereby timber frame wall panels are made in a factory, with elements such as windows, insulation and plasterboard in place. The wall sections are then craned into place on site in a matter of days.
Did you make any changes during the build?
There were two changes we made as the building was being assembled. There was a small storeroom that we removed, in order to increase the size of one of the bedrooms.
We also changed the roof material after the SIPs panels had been assembled, from standard slate to solar roof tiles. But as the building is watertight as soon as it’s erected, this didn’t impact our ability to continue work on the inside while waiting for the solar tiles to arrive.
How did you budget for the build?
Deciding to go with our SIPs provider meant that we had a definite number for so many elements of the build.
One of the huge positives about going with a modular build was that they also provide the windows and doors. They come already installed in the panels. We had the usual selection of colours and chose triple glazing.
With those numbers locked in before we even broke ground afforded us more flexibility in the budget for the rest of the build. After that, it was about chasing people for quotes and then deciding what level of finishing we could afford in the different areas.

What was the construction phase like?
Intense. As we were working on an extremely short timeline there were days that were hectic. There was one day where we had 16 different workmen on site covering four separate trades. Trying to juggle these was intense but also great, as it meant so much work was being completed at once.
The trades were very good, we had built up the relationships to the point that we could trust them. There was plenty of troubleshooting too. Thankfully the decisions were generally easy to make as more often than not, there was only one logical choice available.
For example the plumbers advised that we should make provisions to move the pumped tank to the shed once it is built. Then they plumbed everything to make that very easy whenever we finish the shed.
We moved in two days shy of a six month build. We could have made it in at the five-month mark if the ESB Networks connection hadn’t been delayed by seven weeks due to the big storm.
Top Tip
Plan ahead. Know what you want so that decisions can be made quickly. Finishes for the kitchen and bathrooms, even lighting, are such an individual choice. Fortunately, we knew some people who had recently self-built and others who had completed renovations. We used them as inspiration and then took advice from the experts. At the end of the day, it’s only a house. Once it is done, it should make your life easier and happier, that’s the most important thing to achieve.
What did you do for heating and ventilation?
We chose an air to air heat pump system for heating. With new builds being so efficient, we felt that having units that can both heat and cool will prove their worth in the coming years. We have used the cooling function so far and it has been amazing on those really hot, sunny days. We have lived abroad where AC was essential and wanted to have that option in our home too.
We have demand control ventilation, centralised for the kitchen and bathrooms and then in the bedrooms and sitting rooms the vents are standalone, a direct link between indoor and outdoor. So far the house has been so lovely and warm I can’t say how well the system is working; we’ve had the windows open pretty much every day since we moved in.
Tell us about the insulated foundations.
This is probably the biggest gamble that we took. We decided to go with insulated foundations instead of a traditional raft foundation that you then have to insulate. Ciaran was excellent at providing an insight into costs that we had not accounted for.
You essentially have to pay for the insulation anyway, you just do so after the foundation has been poured, before you put in your screed.
As there is no need for a screed when using an insulated foundation, there is no wait time for this to dry. While you can do underfloor heating with the insulated foundations, we choose not to as we have the air to air heat pump system.

Q&A with Padraic & Danielle
What surprised you most about the process?
The amount of time that you spend talking to people on site. They all have stories to tell and love a chat. After that, the speed at which the work happens with a SIPs build. It’s the lulls between trades that eats up the time and slows you down.
Biggest splurge?
Solar roof tiles and batteries were a bit of a splurge however, we felt that it was worth the extra bit now, rather than a retrofit later on.
Favourite features?
We are very happy with our kitchen layout. It was a huge problem in our previous homes, so we spent a long time looking at the problems we had and how we could avoid repeating them in the design. The countertops in the kitchen worked out well for us; the quartz is really easy to clean and maintain.
Specification
Floor: insulated (EPS) foundations
Walls: 150mm SIP panels, U-value 0.14W/sqmK
Roof: 200mm EPS panels, U-value 0.15 W/sqmK
Windows and doors: triple glazed, U-value less than 0.92W/sqmK
The five-month build suppliers
SIPs
MMC Eco Homes, mmcecohomes.com