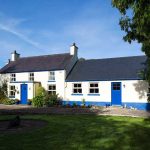
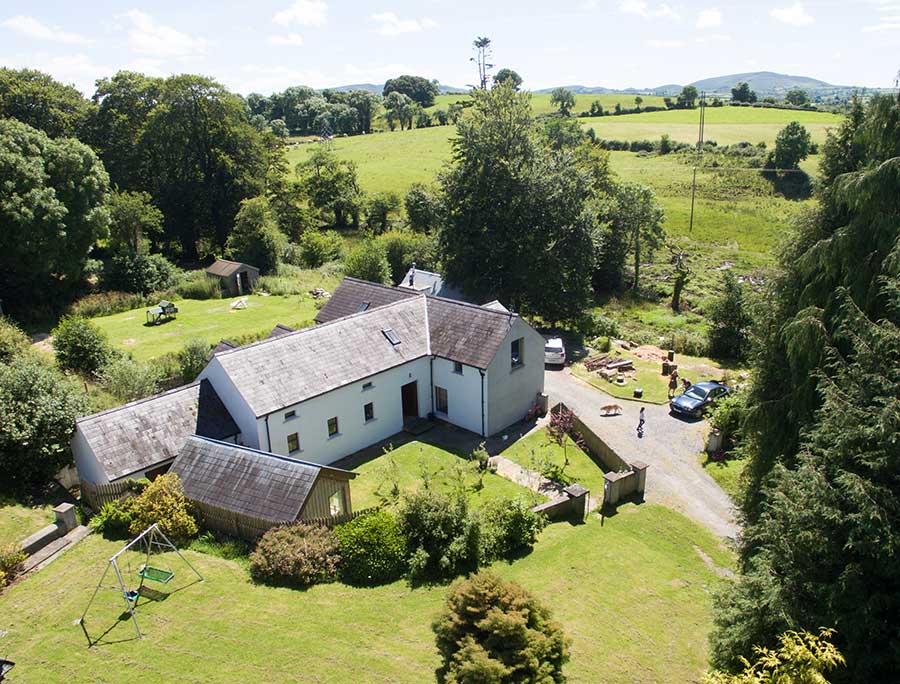
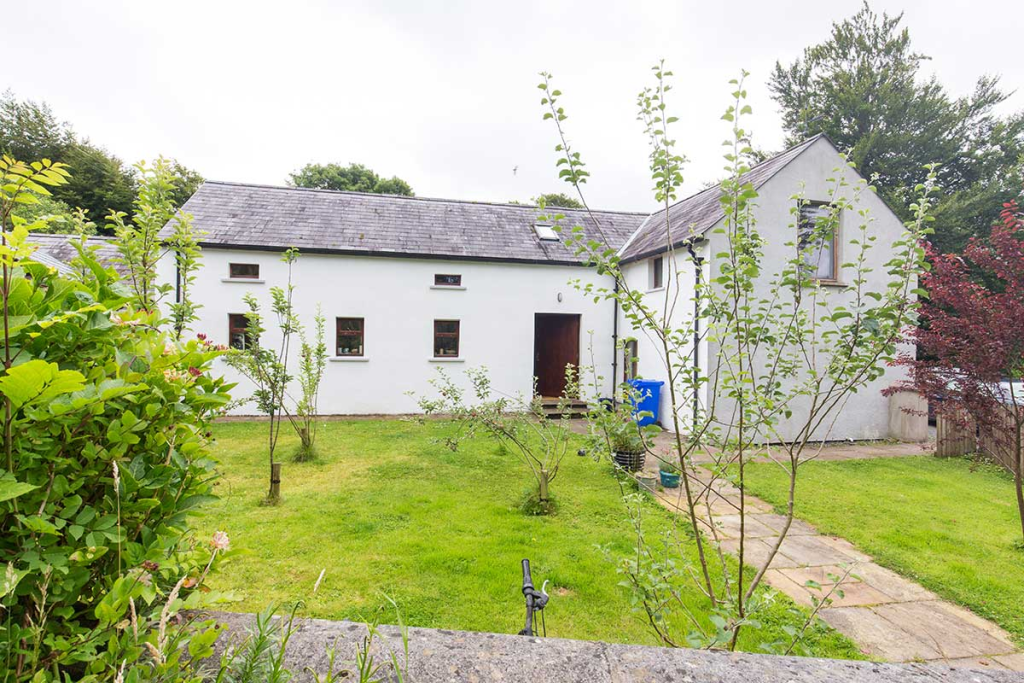
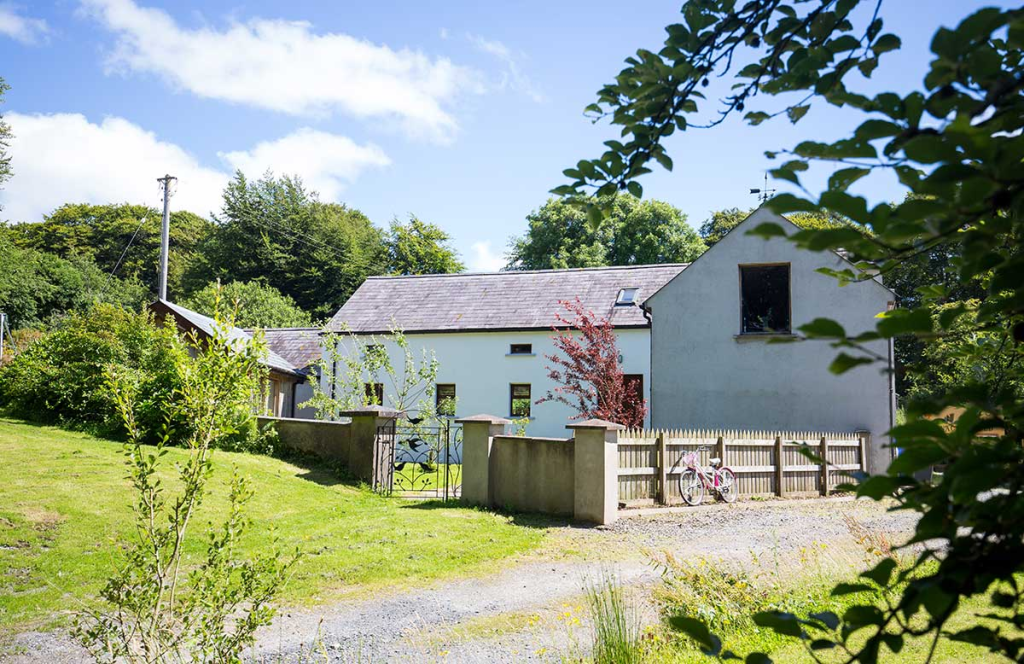
An 1860s concrete shed is an unusual choice for a renovation project but Imelda and Matt Jones of Co Sligo were the perfect couple to take on the challenge.
Self-builders are in many ways key drivers to innovation, often seeking the most environmentally friendly and cutting-edge solutions to their home building projects, almost always going above and beyond the building regulations requirements. Matt and Imelda are a perfect example of this phenomenon; when the couple moved from Wales to Ireland back in 2005, they embraced technologies that were hard to come by, yet nowadays are run-of-the-mill.
Their challenge was to convert an old stable, cattle shed and hay loft into a dwelling. Imelda grew up in the adjacent parochial house, which her parents had turned into a family home in the mid 1970s.
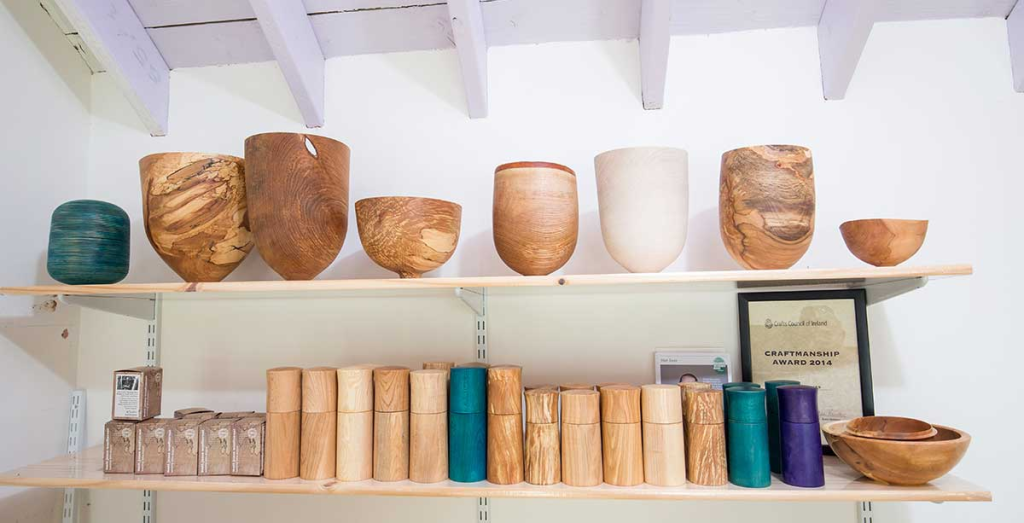
“Sometimes it helps not knowing what’s ahead,” jokes Matt. “If I’d known how hard it would be I probably would have chosen to build a new house instead.” But Matt did have some expertise under his belt; in Wales he’d renovated his Edwardian semi-detached home, learned to plaster and got acquainted with carpentry. Matt is in fact a professional wood turner so has a way with timber.
In the early days, his interest in ecobuilding had originally led him to investigate straw bale construction. “Every building has a carbon footprint,” he explains. “It doesn’t matter what kind of house you build, building new always has an environmental impact. So instead with this house our aim was to salvage as much of the original structure as possible and reuse materials from the site.”

Tech savvy
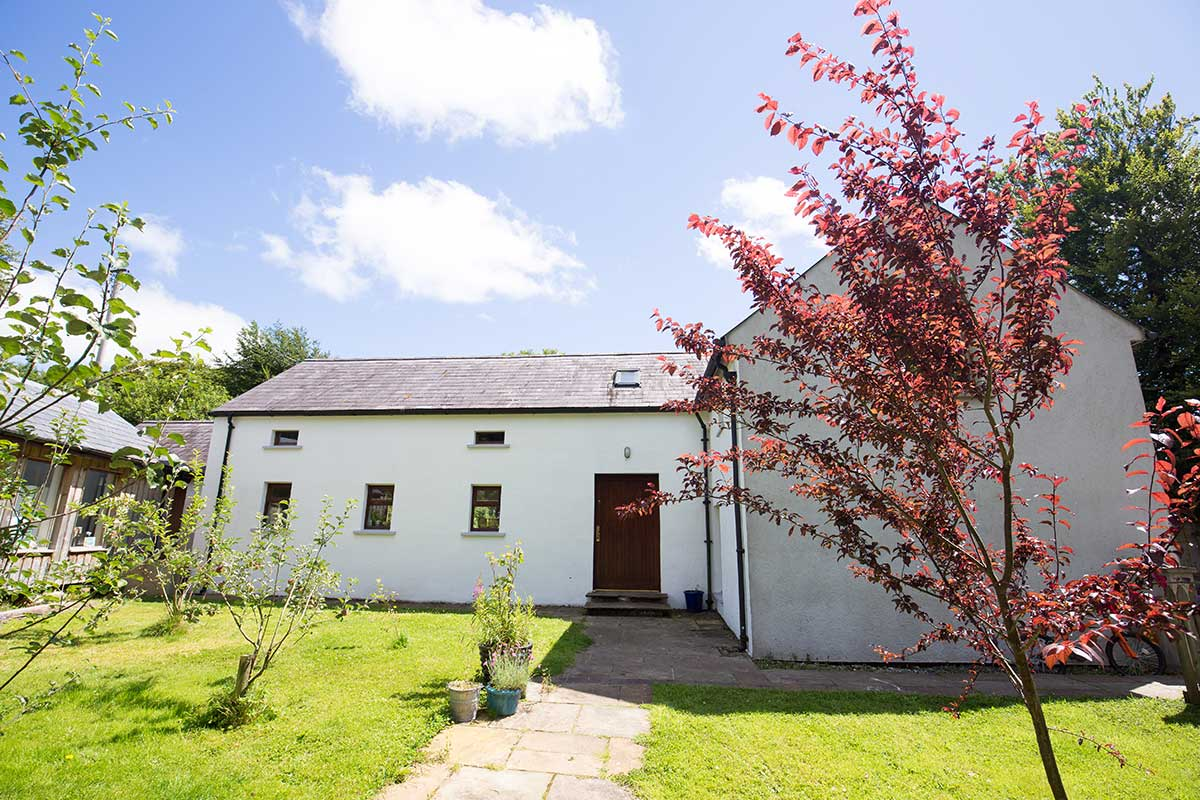
Matt and Imelda’s choice of external insulation led them to import many of the materials they would need. The build-up consists of three inches of phenolic board topped with a polymer render sourced in America. “It has a heavy texture, the topcoat is a mix of cement and lime rendering – the house had originally been plastered in lime. I fixed the panels and did all rendering work,” explains Matt.
The windows were taped up to provide a continuous airtight layer and vents were installed in each of the main rooms for fresh air. In terms of heating, as the garden was deemed too small for a horizontal collector, they originally decided to go with boreholes. “We hit shale within a couple hundred feet and the hole kept collapsing. The contractors bailed out after two days. So we had to install a horizontal collector.”
“The difficulty with that is the site is on different levels and of an odd shape, but we still managed to get the pipes laid. We had to pull them across the entire site, very close to the house. We were lucky that at the time a leading practitioner in the country, Alex Byrne, was living down the road from us so he was able to source everything we needed and provide advice.”
“We dug one meter down into the ground – the hardest part was figuring out where to put the mounds of soil as we were excavating the entire garden. The heating system is by far the most expensive thing we have, it cost us over €20,000 including the unit, underfloor heating upstairs and down. But it works beautifully, never had any trouble with it.”

Segal inspired
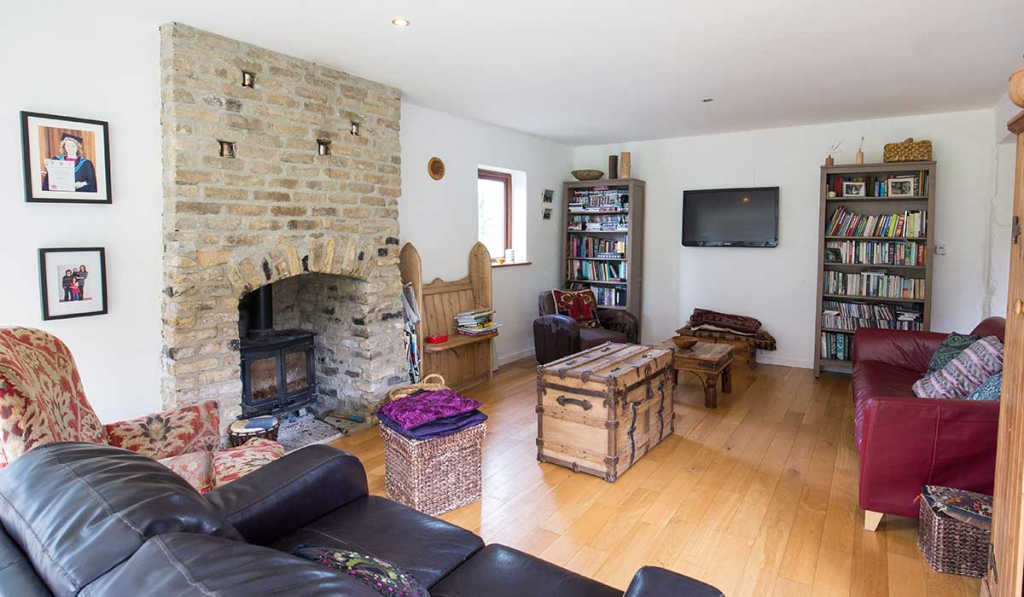
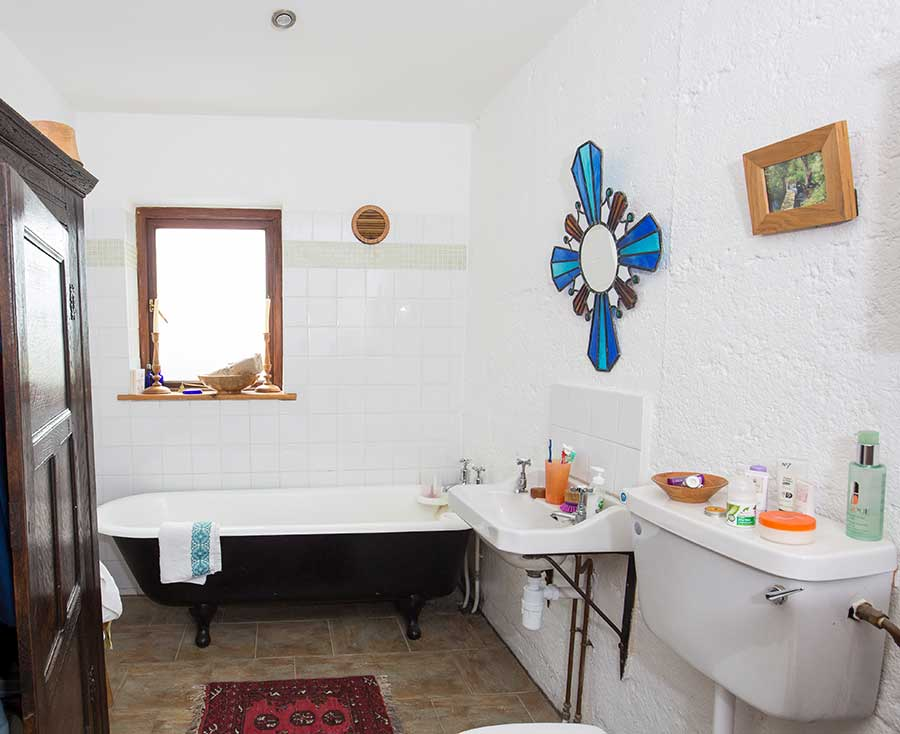
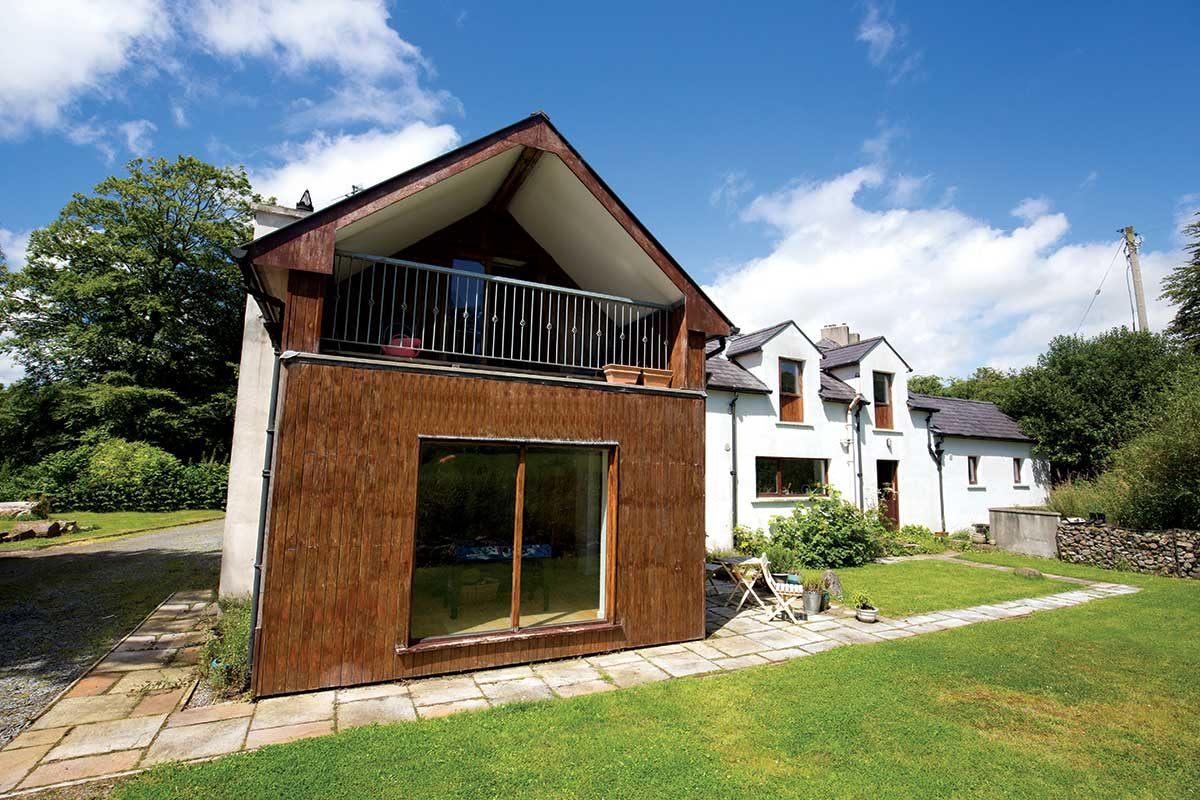
The outbuilding was L-shaped which the couple originally thought would provide enough space for them. “After we cleared out the stable section, which was divided in four, we came up with a second draft which included an extension. It just made more sense to put the living room to the south facing side of the house and this had knock on effects on the overall design. There wasn’t an awful lot we could do because the internal walls are structural, In the original plans the sunniest room was the bathroom,” adds Matt.
The extension turned the L into a T. “The mass concrete walls date back to the 1860s, which is when the building was erected. It’s probably an early example of the use of mass concrete in Ireland. The walls are 12 inches thick (300mm) and were built in layers of 18 inches,” continues Matt. “As a result nothing is plumb or straight, the walls are either leaning in or out.” The structure of the original building had started to show its age but was watertight; cracks in the walls, one above a door and the first floor timber floors were rotten through.
“We saw some signs of subsidence, the wall that leaned with a large crack was repaired with new blockwork. We didn’t try to add foundations to the house as it has been standing for 150 years. The potential rising damp was dealt with by tanking the walls.” For guidance on detailing, Matt sought out an expert. “I looked around for an architect with an eco bias and found Colin Bell. When we met him we knew he was the guy,” recalls Matt.
There were no issues in securing planning permission. “It took us a full year to get the integrity of the shed back to where our architect was happy for us to build the roof,” continues Matt. “The building was used as a cattle shed and stables so many of the new windows had to be cut, which we did with con saws and a kango. The few original windows had small cracks above, so we added three lintels to give 12 inches of support.”
It was very heavy initial work, removing tonnes of material. “5mx5m sections of concrete had to be opened up in the corner for the extension. All the rubble was used as hardcore on site. It was myself and my brother in law Ed employing mediaeval means, propping steel on timber. The back of the building was buried and we had to clear it out too. So a lot of digging involved.” Then came the arduous task of putting a roof on top. This had to be done on both old and new at the same time so the erection of the timber frame structure was done in parallel to the site clearance.
“We’d priced the timber shell but the quotes that came in were too expensive. At the time, timber frame wasn’t as commonplace as it is today so we were probably getting charged a premium because of it. I ended up building it all by hand and Colin helped with the airtightness specification.”
Then came the first floors, to make the roof building stage easier and safer.
Hats On
To build the roof, Matt took down the existing rafters, each of which he lengthened individually to get the eaves to extend over the external insulation. “It took some figuring out, using the original rafters as a template on how to build the roof. When I made a mistake, I went and did another. I bolted a 3ft piece of wood onto the end of each rafter, I made them extralong and cut them to size when the fascia board went on.”
“Colin advised that instead of collar ties we use a flitch beam – steel sandwiched between timber – that runs underneath the ridge board which is in turn supported by posts on beams. This required some engineering as we had to sit it in the wall at first floor level. It was a trial and error operation and the only time we had a crane on site.”
The day the crane came Matt, Imelda, their friend Ciarán Donnelly and Ed worked together to ensure it all went according to plan. “We had friends from London visit at different stages of the build,” relates Imelda, “to lend a hand, which was wonderful, but the day of the crane sticks out most in my mind. When we got the steel in place, with help from Ciarán and Ed, the feeling of gratefulness and relief was enormous.”
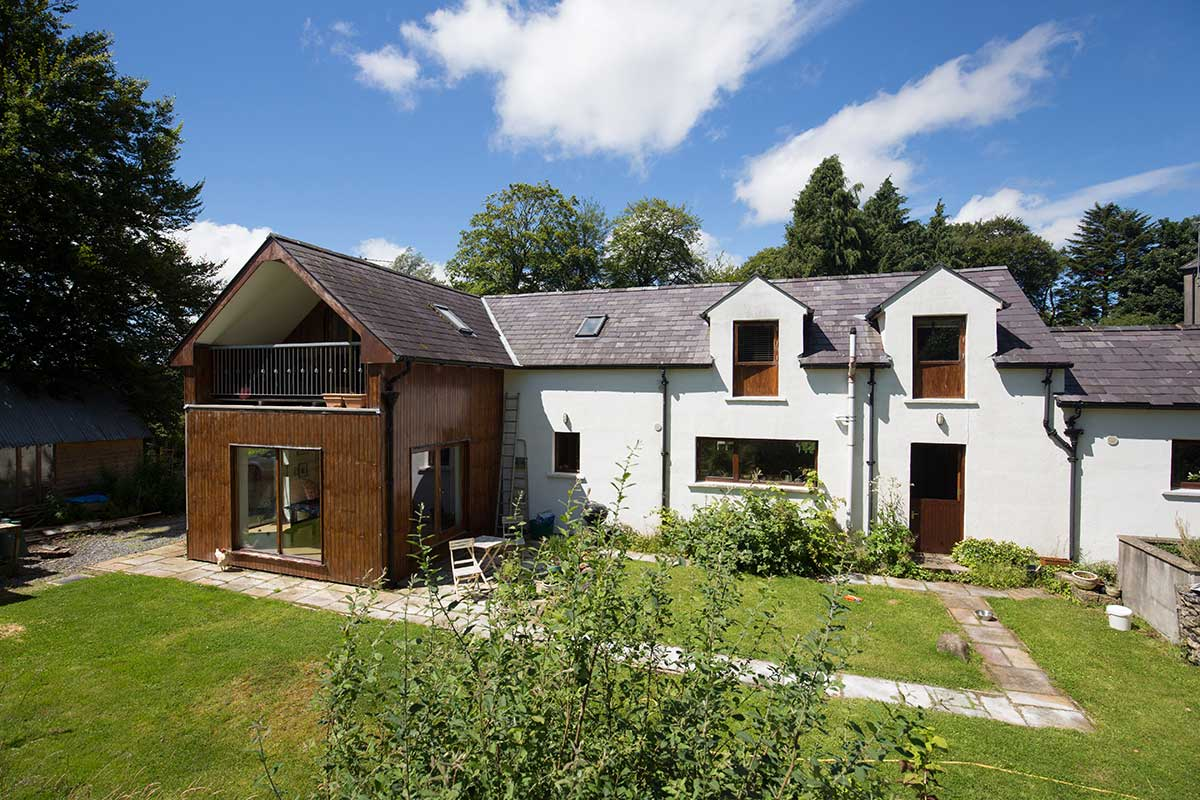
A lot of time, and care, meant that when Matt got to the roof plate it was in line and reasonably straight. “But if I were to do it again I would use new timber entirely.” “Looking back my approach to salvage as much as possible was probably overkill but I was really keen on reusing as much as we could.” Matt also kept the original Bangor blue slates from the building and bought a reclaimed batch from a salvage yard to match.
“We had to get 200 to 300 Bangor blues at €7 a slate, we’d managed to salvage three quarters of those on site. Despite the cost, it still came in cheaper than a new fibre cement roof covering.”
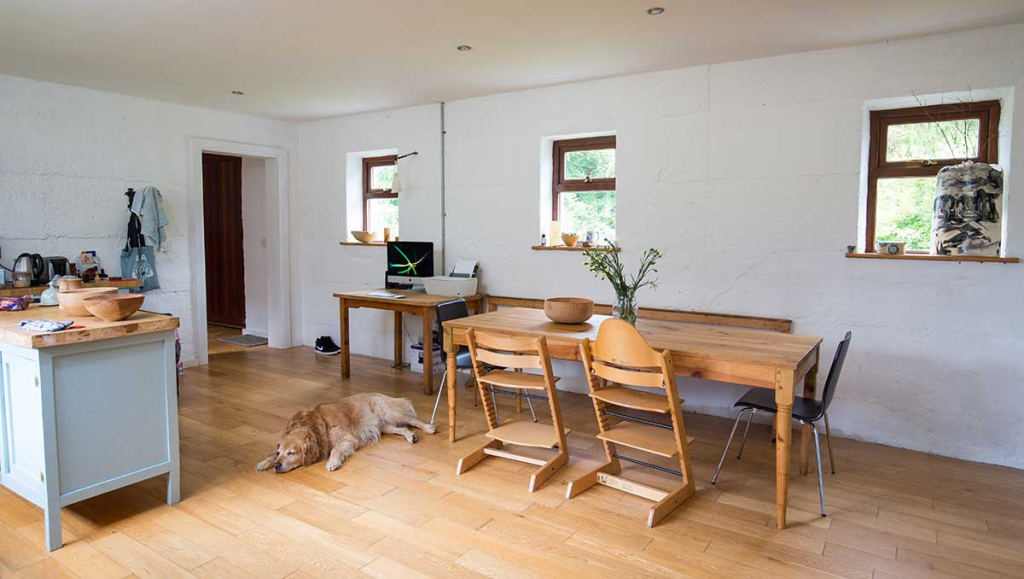
1860s Concrete Shed Renovation – Settled in
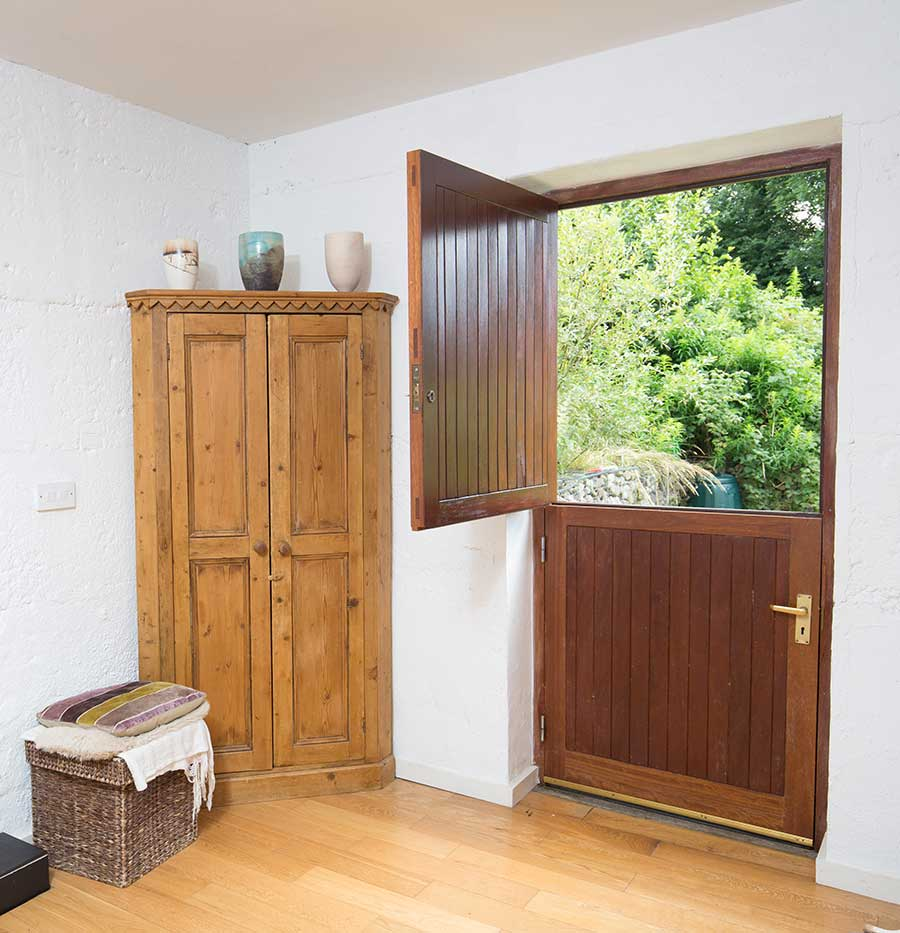
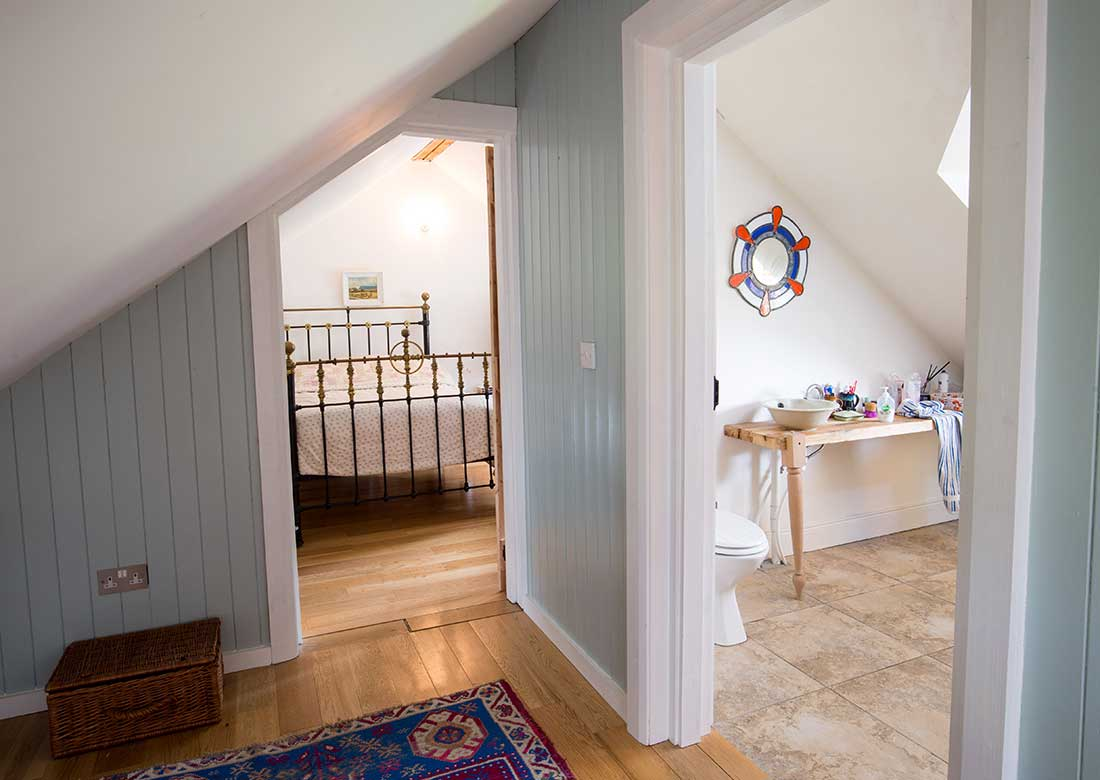
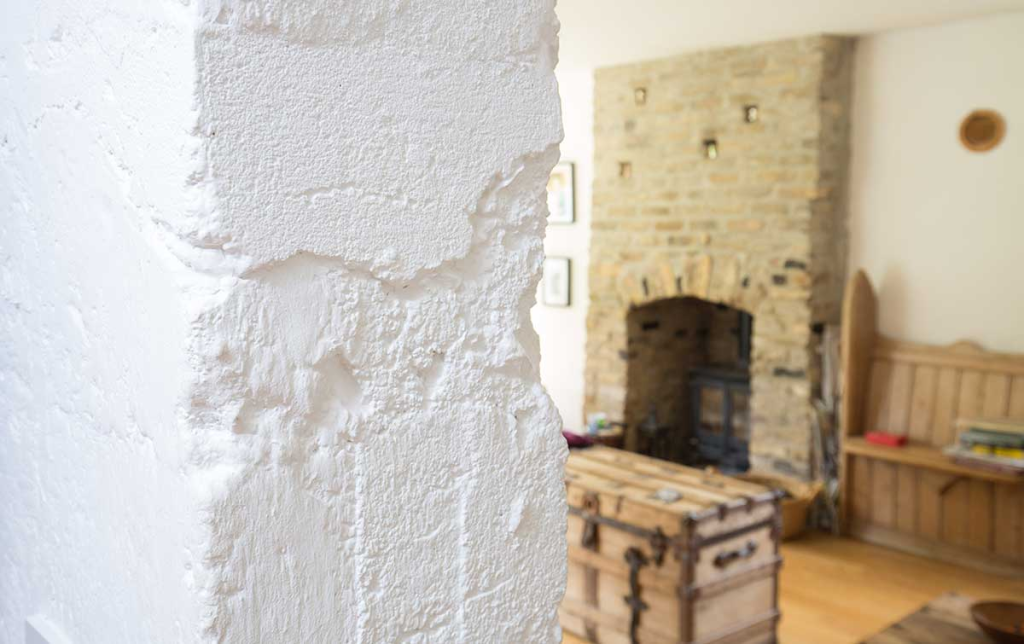
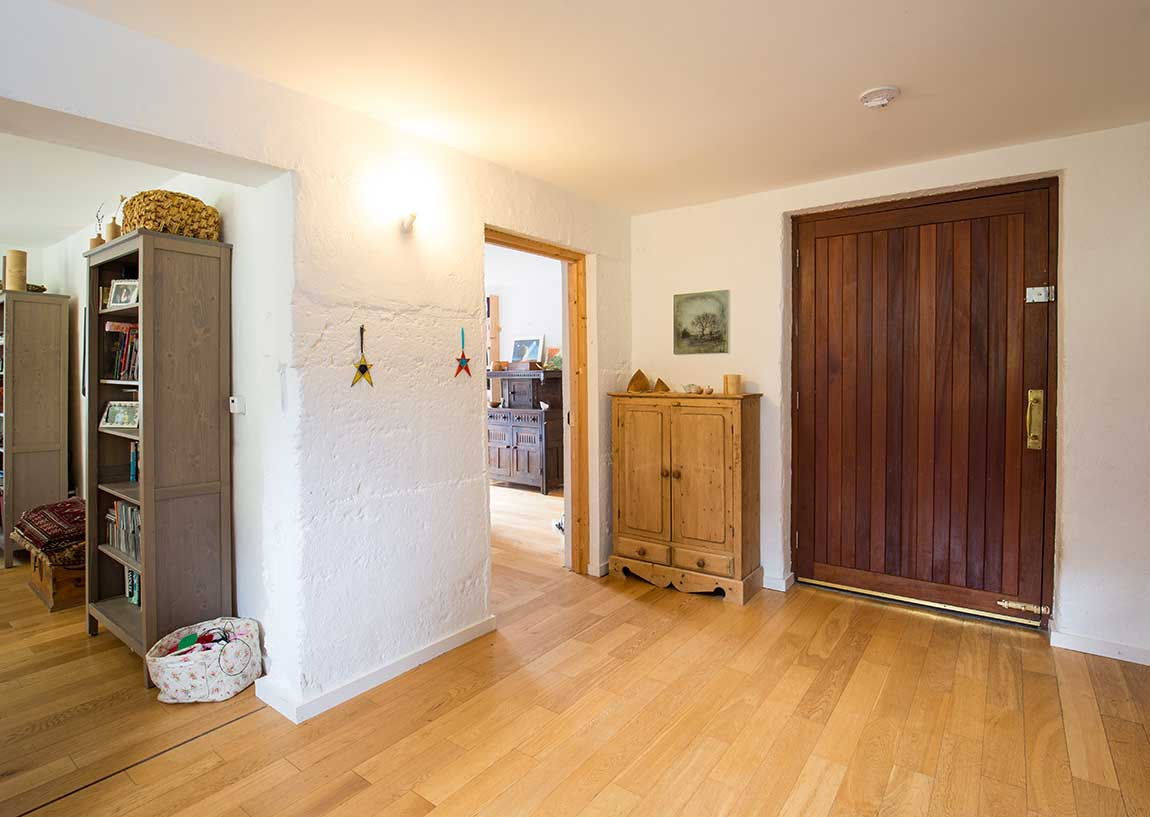
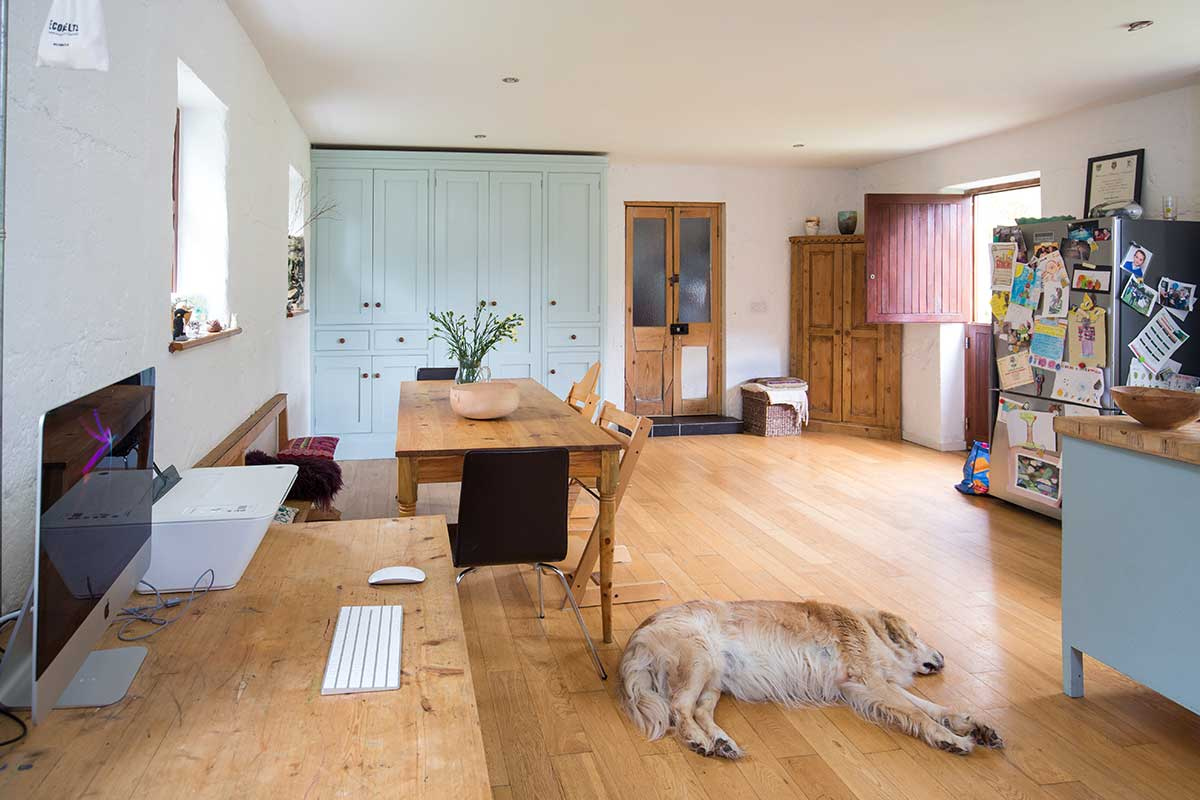
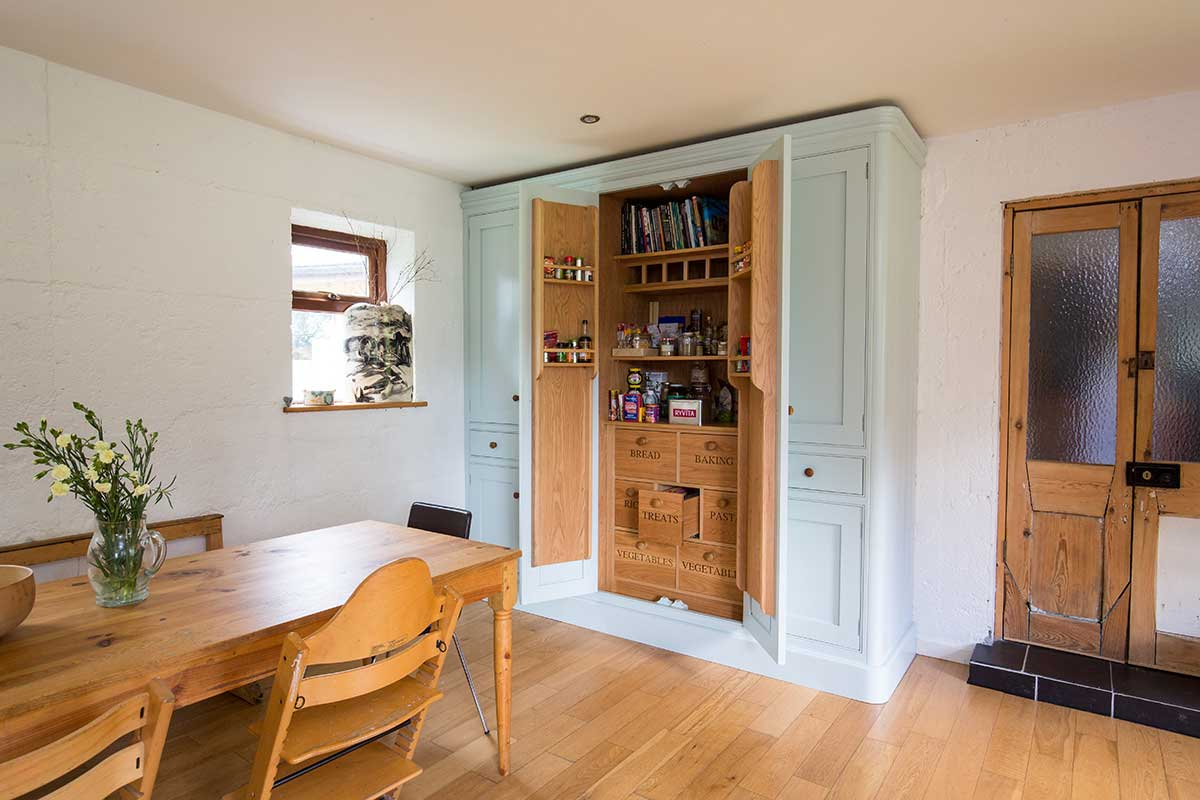
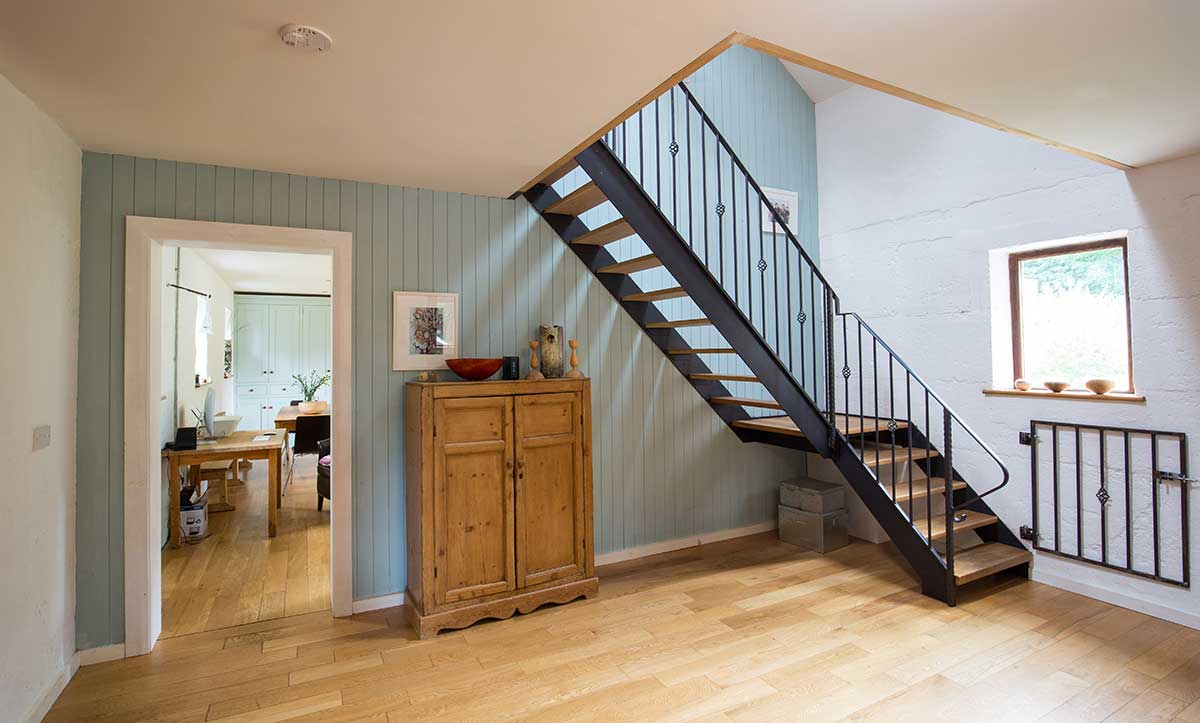
During the construction Matt and Imelda were renting a home in the village, so coming home, so to speak, was an important milestone even though work was still ongoing for a year in the house after that. Thanks to the external wall insulation the internal cast concrete walls are left beautifully exposed, with no flat surfaces and the bonus of acting as a storage heater. “We painted them and don’t have much hanging on the walls, partly because it takes forever to drill. There’s a lot of stone in those walls. As a result we don’t have any kitchen presses above head, most of the furniture is freestanding,” says Matt.
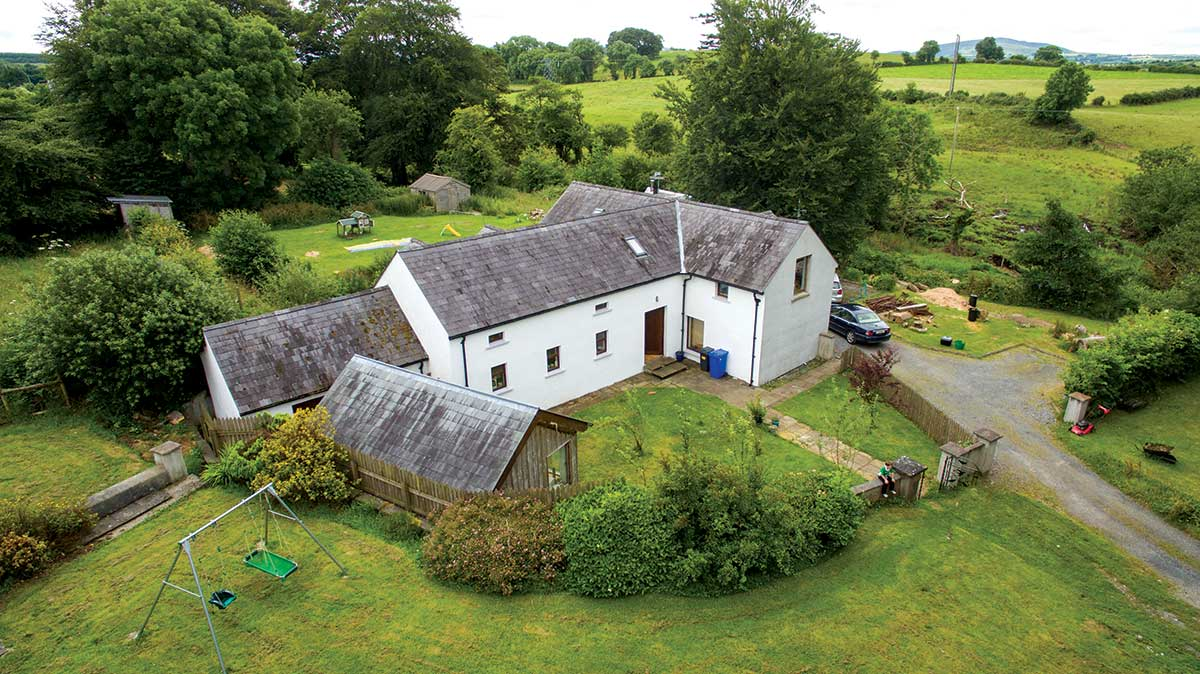
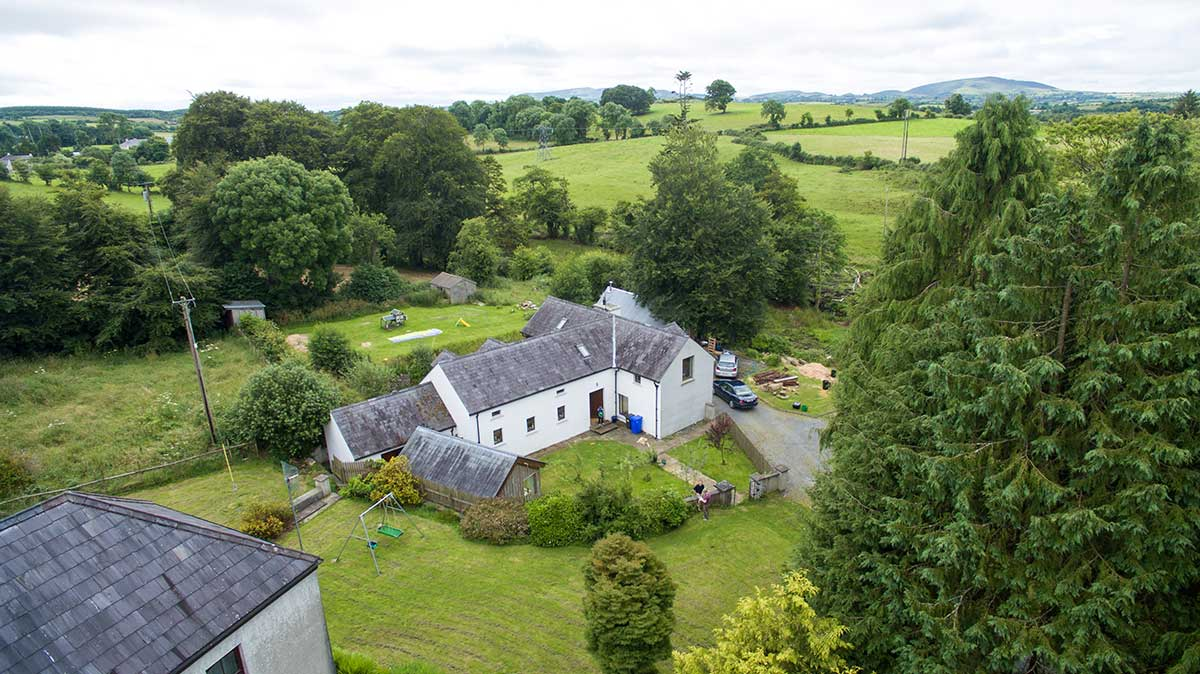
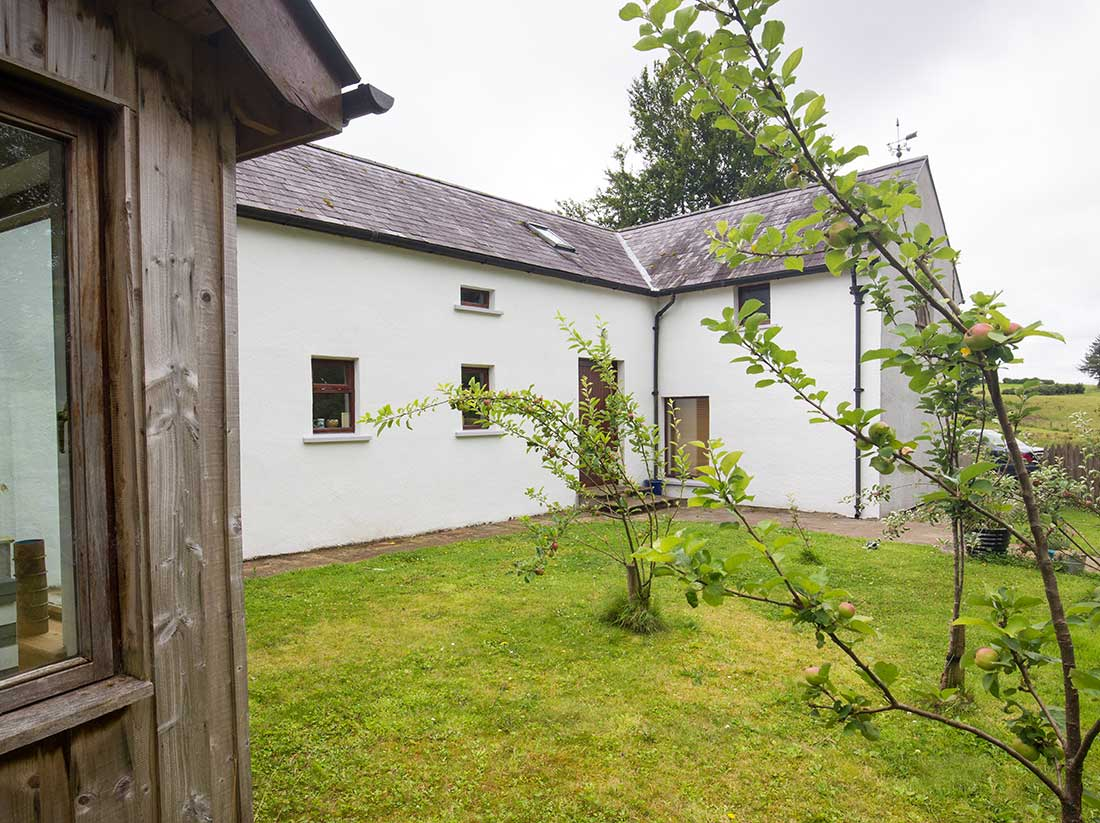
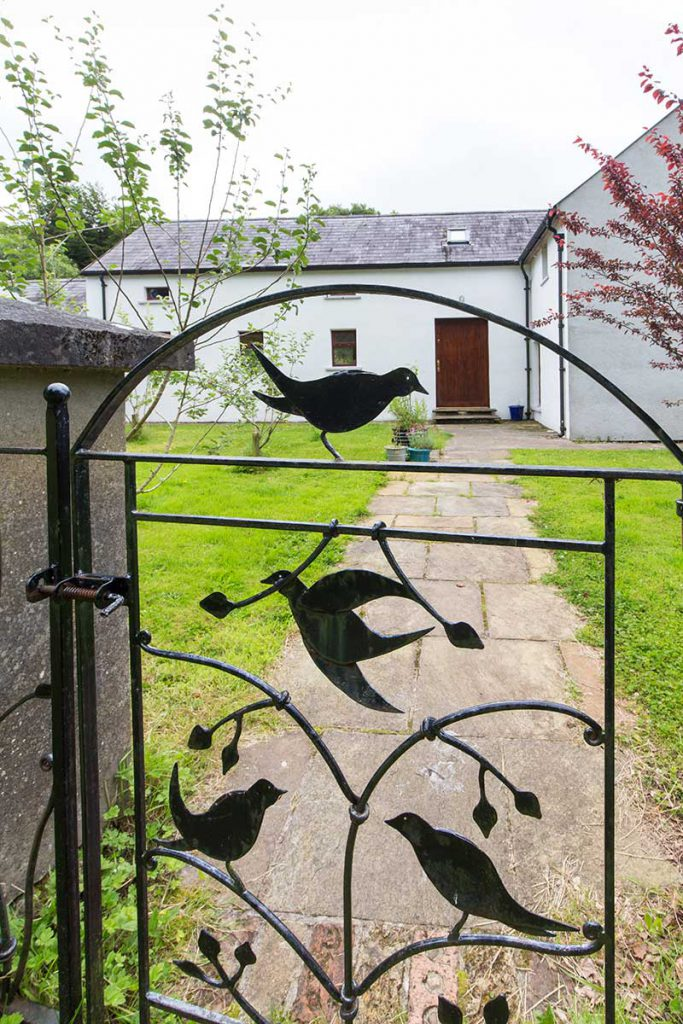
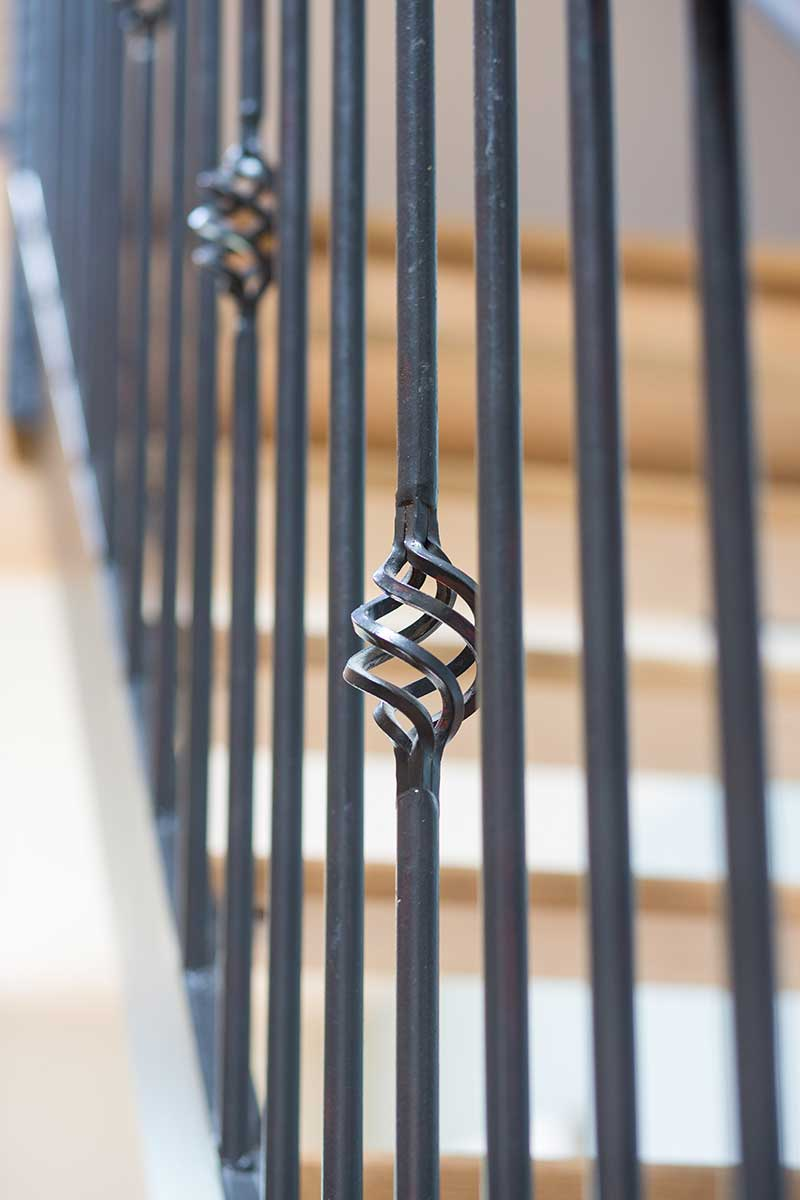
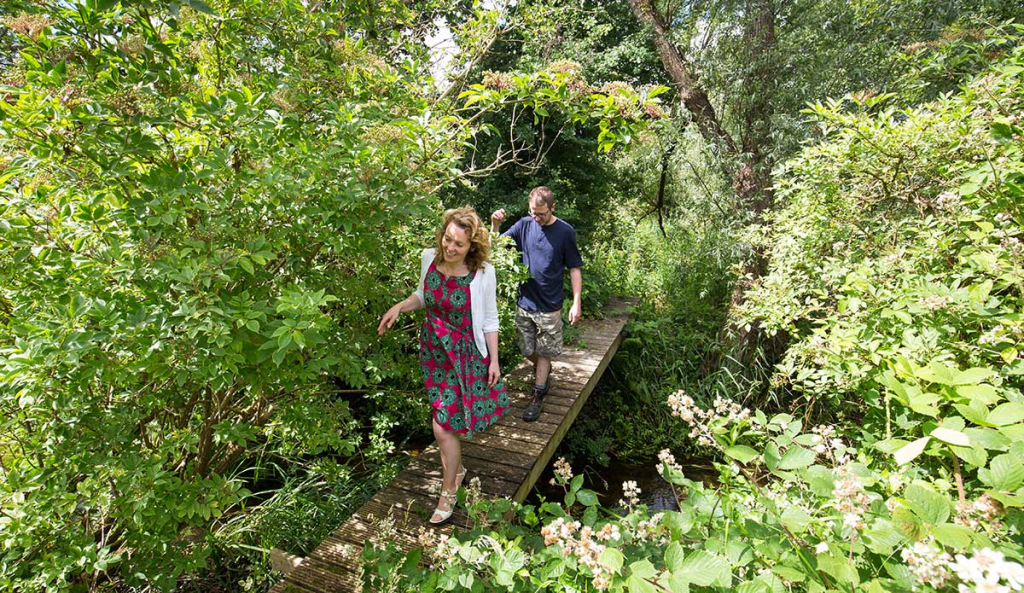
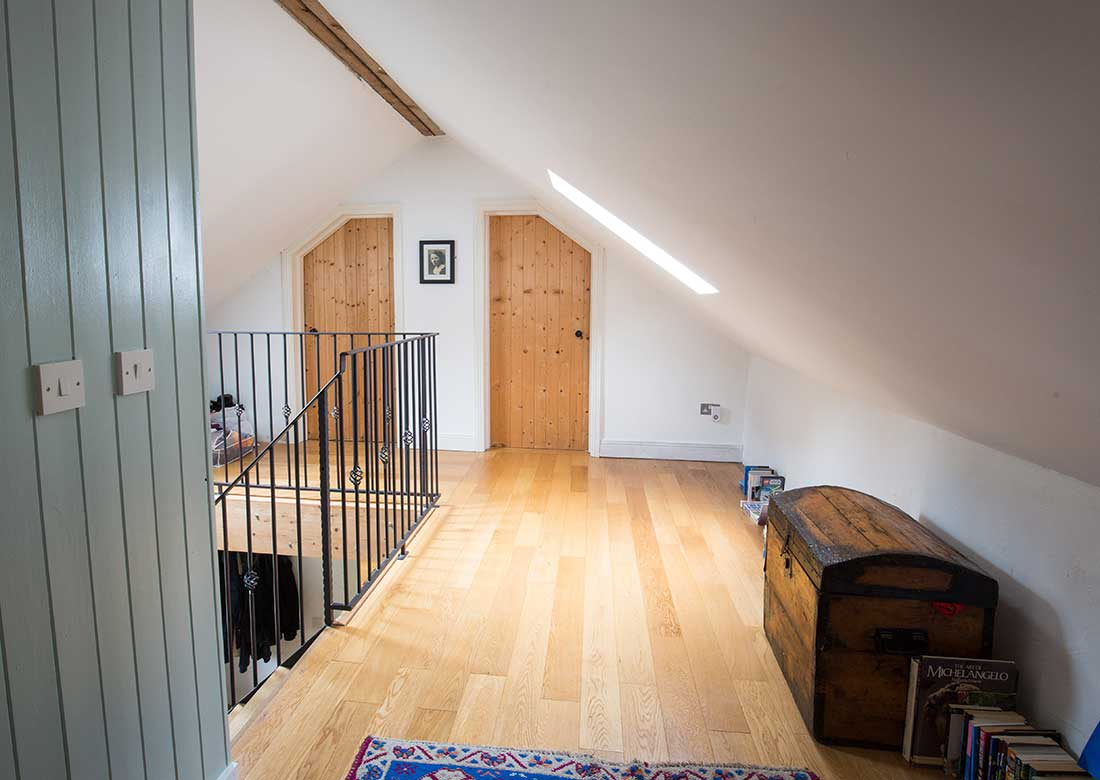
As can be expected Matt did all the tiling and internal timber work. “I made the doors and the panelling to provide a straight run for the stairs. We also salvaged some doors that originally came from Imelda’s family home and from the local church.” The sense of place you get in the house, and out, is exemplary. “The back garden is man made with veg plots and a utility garden.
At the front we left it the way it was when we first came although we added an orchard. We are surrounded by mature hedges and trees.” Thanks to Matt and Imelda, this unusual building has been given a second lease of life. This is what restoration and preserving the vernacular is, in many ways, all about.
At the front we left it the way it was when we first came although we added an orchard. We are surrounded by mature hedges and trees.” Thanks to Matt and Imelda, this unusual building has been given a second lease of life. This is what restoration and preserving the vernacular is, in many ways, all about.