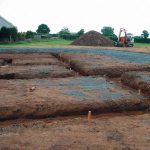
A bird’s eye view of the construction stage of your project.
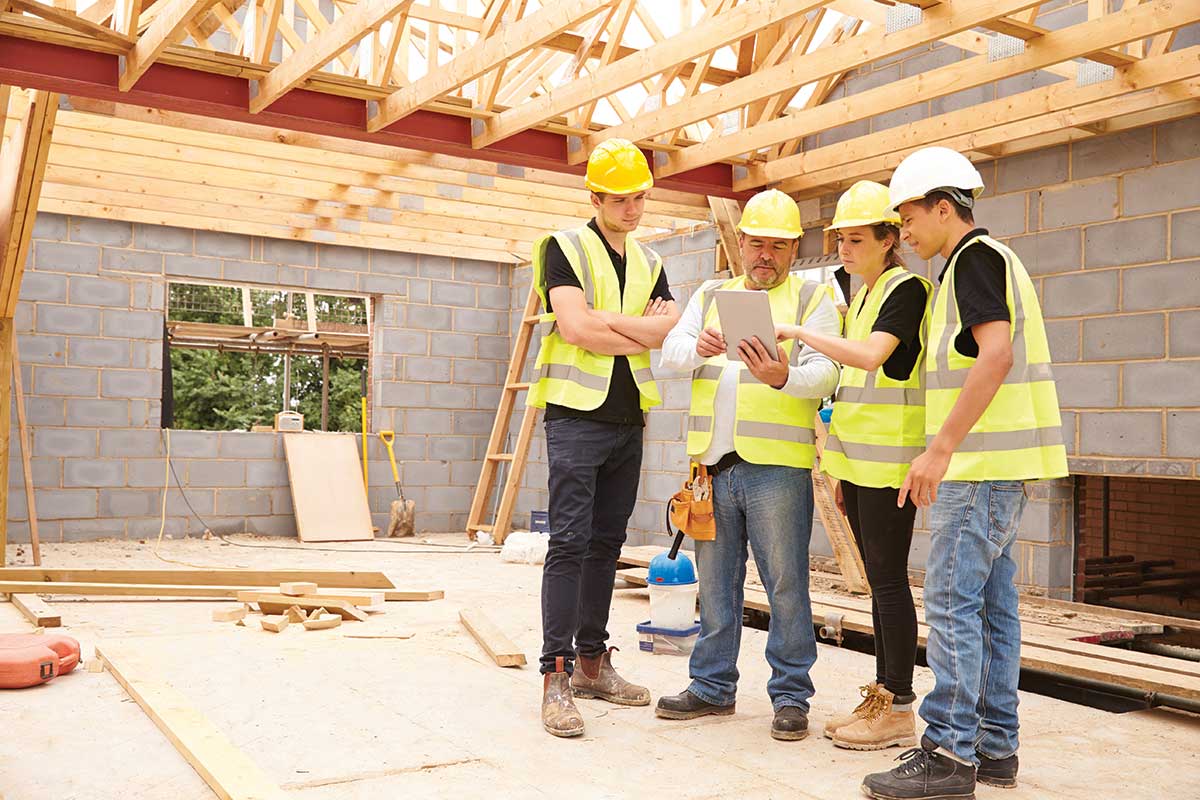
Depending on your budget, time, ability and interest you will decide on a project management route, whether architectural designer, main contractor (building contractor), project manager or direct labour.
Even if you are taking a hands-off approach keep a diary of everything that you are aware of happening, and of every phone call you make. With direct labour take photos at least once a week to keep a record.
The first thing to do is apply for services – you will need electricity and water so make sure this is in place before you begin, even if it consists of a temporary supply. If you have to apply for a permanent connection, you may need an outbuilding first to house the new services. You will also need a wc which can be hired (portable).
Your permanent wastewater solution may consist of a connection to the mains or an onsite wastewater system. This should be part of your groundworks. At the same time you’re digging trenches remember the need for broadband – you should register your site six weeks before works take place on site.
Choose your windows and doors early to give you the time to compare prices and specifications, as well as allow for the average six week delivery timeframe once the order is placed.
Contact network operators to ensure there are no services on site/ to locate them if there are; the checklist of what needs to be organised before you get on site is available here and the day-to-day here.
You also need a designated project supervisor for the construction stage (PSCS) and a health and safety plan. There are Building Control requirements too (opt in/out options in ROI, and NI Building Control application and inspection stages).
1.MATERIALS
Having agreed a price and a date to begin, the next task is to set up accounts with at least two local builders merchants, the rationale being that if one doesn’t have what you need, the other will and so work on site will not grind to a halt.
Keep in touch with lead times for items not in regular stock, and check everything carefully when it arrives on site for damage, incorrect quantities or the wrong materials. Obtain VAT receipts (NI only) for everything, and store them carefully as you can only make one application to the VAT office to claim it all back at the end of the build.
As soon as you begin to store goods on site, secure the area against theft. Alternatively, if you can, even better is to sequence events so that the materials arrive when they are needed. This has the added advantage of keeping the working area free of clutter.
2.GROUND FLOOR
Arrange for groundworks machinery and a skip, which are expensive to hire so good scheduling will keep them working. Remember to do as much landscaping as you can whilst they are on site. Plant trees early so they’re semi-mature by the time you move in. With the site marked out using pegs and string, trenches for services can be dug and piping laid. Marking out the foundation levels and correct wall lengths is one of the most critical areas of the build because it sets the base upon which everything else sits.

On top of the foundations the footings are built to the engineer’s specification. Check that the concrete is the mix specified, making sure the builder did not weaken the mix with water to make it easier to work with. The area between the footings is the ground floor of your house and nearly everyone, as they walk around it, is gripped by a sense of panic, feeling that it is far too small. The only antidote is to compare it to your existing dwelling, which will help to give you a sense of scale. This area has had the topsoil removed (if you can, have it spread over what will be the garden to prevent double handling), and is filled with hardcore which is then compacted, followed by finer gravel or a sand bed, on top of which is laid the damp proof and radon membrane.
A radon membrane is not essential in NI, you will be advised by your local building control officer, in ROI it is mandatory. Finally comes the concrete slab which can be poured or precast using either beam and block or hollowcore slabs (these have to be craned in, a more expensive option).
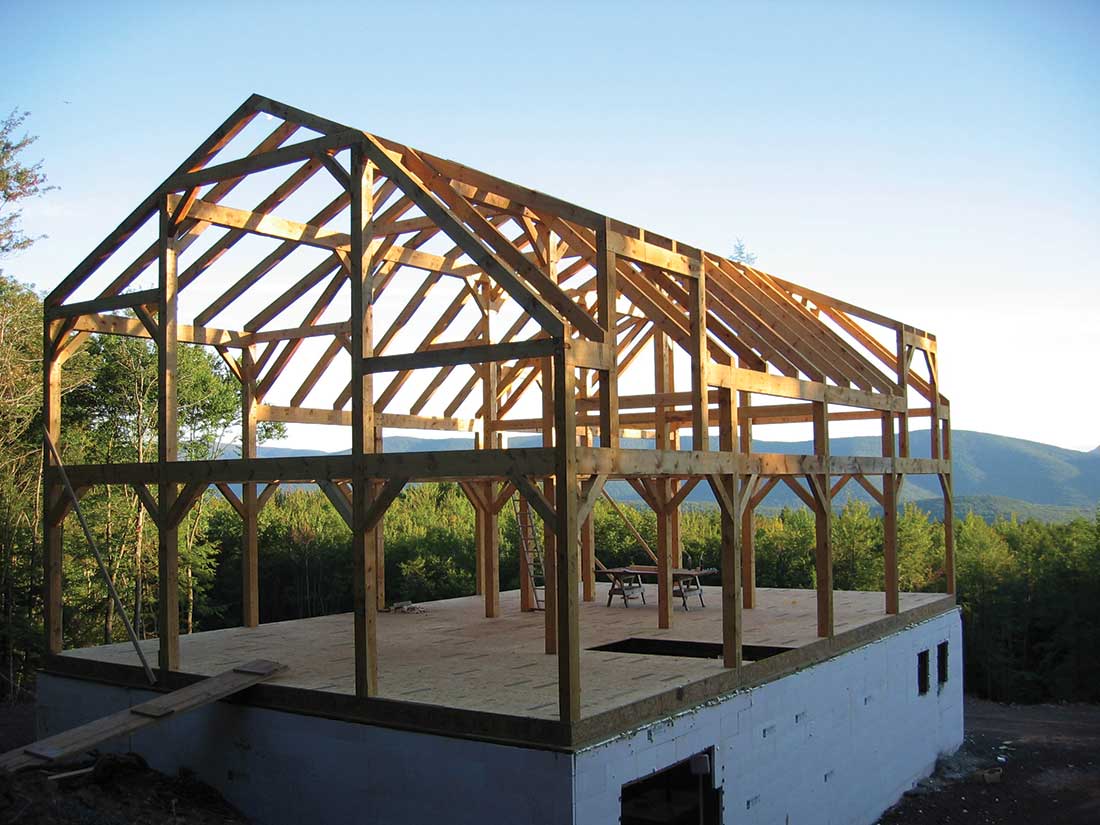
3.GOING UP
We have now reached the point at which you will need scaffolding, always an irritating expense because the money you spend on it is not actually going into the house, but you need it to build the walls and then the roof.
Again good time management (and weather), will keep the hire period to a minimum. Ensure that it is erected by a company that is qualified and with all certificates up to date, and that the scaffolding is tagged to reflect this. Most falls on building sites are from scaffolding; negligence may be proven on your part if you supply the scaffold.
Therefore consider having your builder take responsibility for providing it. Due diligence on your part, as the owner, is always necessary. In a cavity wall construction, both walls are built simultaneously with insulation and wall ties placed as the height rises.
In timber frame construction houses are delivered in the form of large sections to a ready prepared site. Building the timber frame yourself (stick build) will require the input of an architectural designer or engineer with previous experience.
4.TOPPING OF
Quickest of all is to buy prefabricated roof trusses, or you may have opted for a cut roof made on site; it will be structurally designed with purlins etc. If you intend to use the roof space, and it has a sloping ceiling, the ceiling joists of the floor below will be heavier to carry the weight. Any roof trusses will be of a ‘room in the roof’ type. With a ‘cold’ roof construction the insulation lies between the ceiling joists, a ‘warm’ roof has the insulation between and over the rafters.
The chimney, if you are having one, is the final piece of building work on the roof, hence the ‘topping out’ ceremony signalling the completion of the house envelope. Whilst this is being done, windows may be fitted, also facia boards to protect the rafter ends and support the lower line of tiles, providing also a fixing for guttering. Barge boards may be used at the gable ends to close off the roof slopes. The soffit board closes off the underside of the roof overhangs.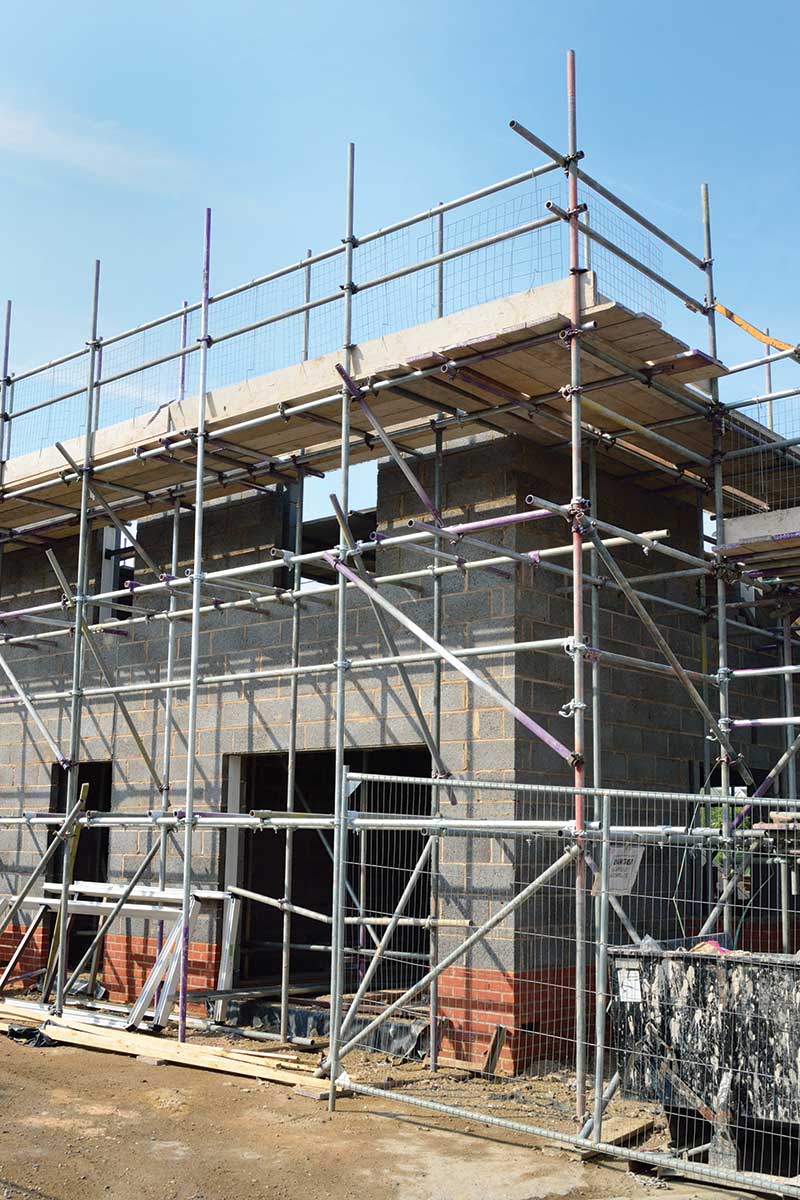
With all of these in place and any finishes applied to the external walls, at last the scaffolding can be taken down and plastering/ plasterboarding of walls and ceilings can begin, followed by second fix electrical and plumbing work.
Second fix is when all the internal fittings such as light switches and sanitary ware are fitted, following completion of most of the plastering work.
5.SIGNING OFF
In NI, Building Control will make a final inspection visit and, if they are satisfied that you have followed all their requirements (which cover everything from heating systems to fire escape), will give you a Completion Certificate.
The snagging list is the last major hurdle, but if you have kept a watchful and competent eye on proceedings to date, then this should not be a major headache.
Disclaimer: This article is for information purposes only, always seek the advice of a building professional for your specific project.
 Subscription Offer: Subscribe to the latest Selfbuild Magazines for €4.50/£3.90 every quarter with FREE Postage & Packaging.
![]()