Choosing how to light your home will take more time than you might at first expect. You will need to decide well in advance where all of the switches, sockets and light fixtures and fittings will go – not to mention which luminaires to use! Doing this in advance will save considerable time as you may hold up your electrician if you haven’t made up your mind by the time the first fix is underway. Here are some house rules to help you with your lighting schedule:
Light switches are usually fixed by the latch jamb of the doorway, so they are easily accessible to anyone entering the room. Don’t fit them behind a swing door. Know that the ‘gang’ refers to the number of switches on the light switch plate – a single gang switch has only one button.
Two way switching: one light can be operated from two switches. Do you want this in the hall/landing or in a bedroom? Don’t fit a light directly over a stairwell or you will need a ladder to change the bulb.
Double lights: two lights operated from one switch. You might want this in a large room.
Dimmer switches: standard dimmers used to only work with tungsten/incandescent bulbs but special dimmers are now available for fluorescent, halogen, CFL and LED. They do not use any less power when used in dim mode although ‘smart’ dimmers have come on the market which claim they do. In the case of LEDs make sure the dimmer is compatible with the type of bulb you will be fitting (check there’s a partnership between the manufacturers). Because dimmer switches require a deep box, it’s a good idea to always put one in so that in the future you can change to this type of lighting easily.
Wall Light Sockets: make sure you have plenty of these as you may wish to change the layout of the room at some future date. It also means you can put on a number of lamps from a single switch at the doorbut know that socket outlets used solely for the connection of standard lamps or table lamps always require 30mA RCD protection on the circuit.
A PIR (Passive Infra Red) sensor is often used to automatically switch on an exterior light. Some lights are supplied with built-in sensors, but a separate sensor may be better for you as optimum position for good detection may be different from the ideal location for the light. It also allows any exterior light to be used, giving a much wider range of styles; it doesn’t have to be an unfriendly halogen. Some sensors give all round – 360deg – coverage, and a corner of the house is a good place for one of these. Others detect in a 120deg sector. The range can usually be adjusted, up to about 12 metres normally, though it is possible to find sensors with a longer reach if needed. The duration of the ON interval can also be adjusted.
A PIR sensor does not emit radiation (as opposed to some fire detectors); it reacts to changes in the infrared radiation, i.e. heat, which falls upon it due to movement by a person, vehicle etc. or horse (see later!). You may want a PIR light wired so that you can override the sensor switch. It is sometimes helpful if you can switch the light on continuously (when you want to welcome guests or work outside on a dark night), or switch it off continuously. Horses in stables overlooking a yard can soon learn that a shake of the head over the stable door produces a very satisfying light show!
Fixtures and fittings
Here’s a list of the most common ones you’ll come across.
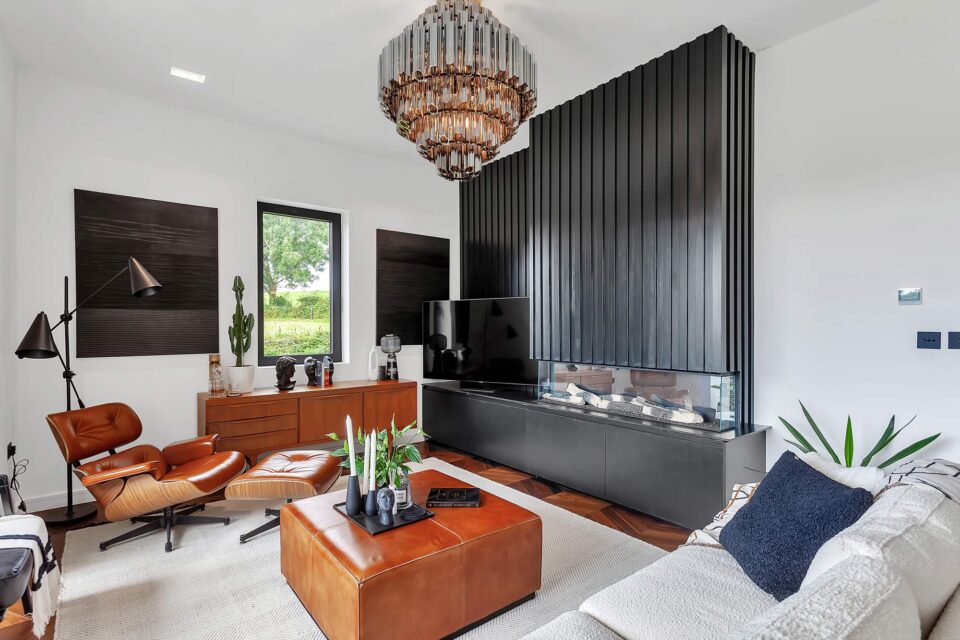
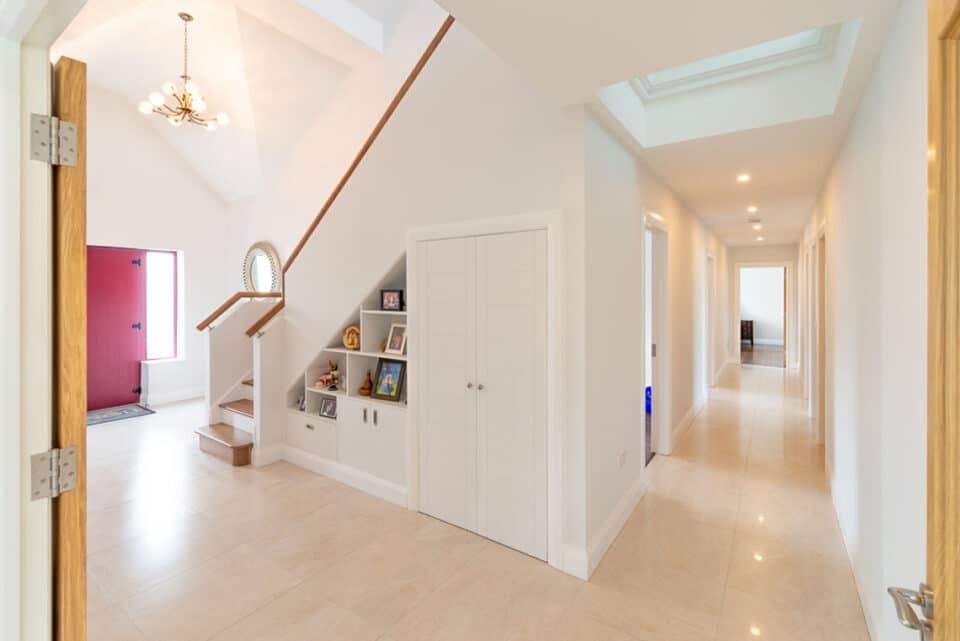
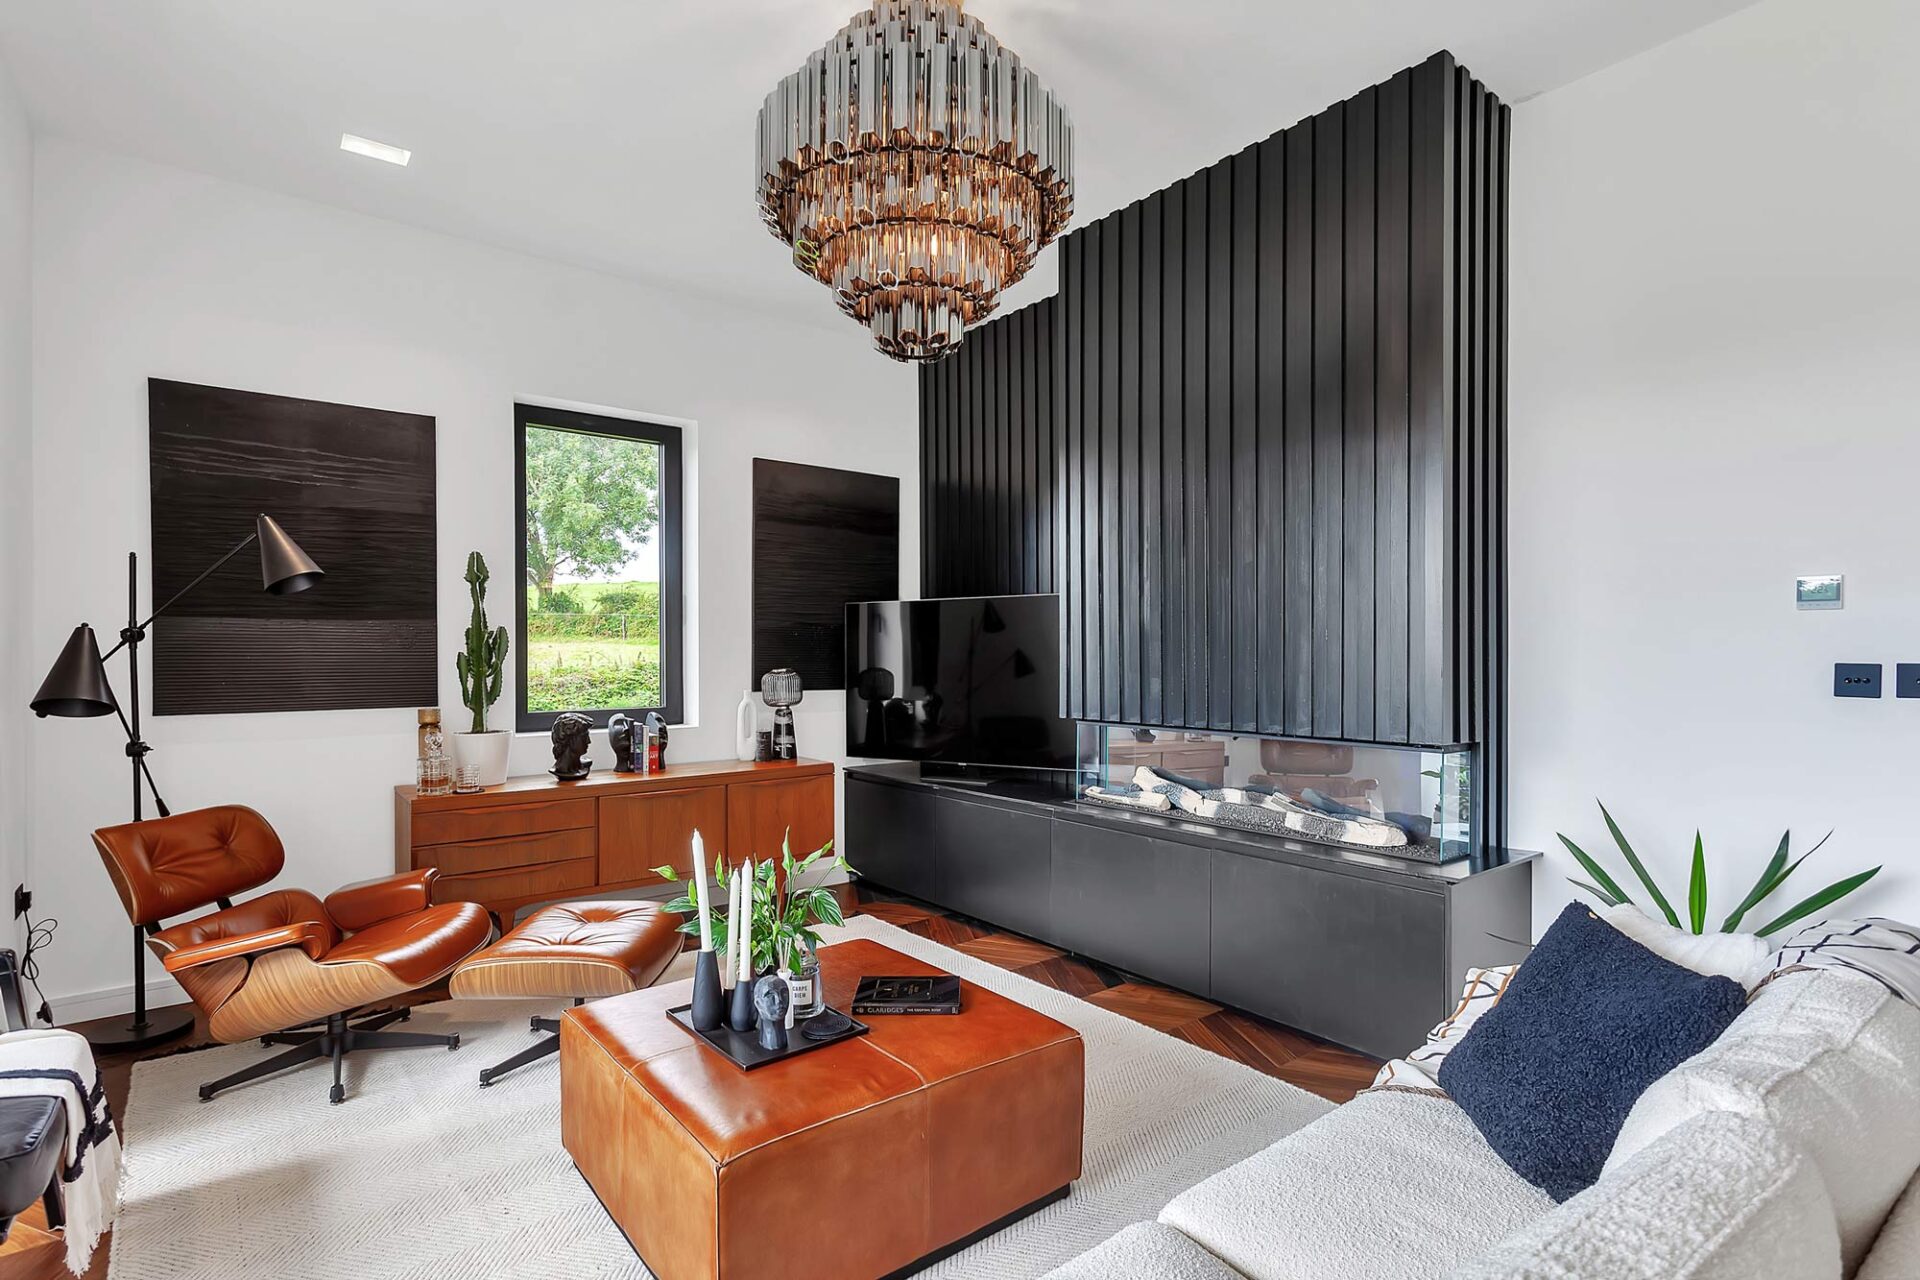
- Central pendant lighting or ‘drop’: The standard and most efficient way of distributing light into a room, providing ambient background lighting. Additional light sources are required for activities such as reading. If this is a central rose type, pre planning with your electrician is essential. A heavy fitting such as a glass chandelier or brass may require a bridging piece between the joists to carry it. If you are in a two-storey house and the rose is in a downstairs room, retrofitting is a major operation involving cutting through the ceiling.
- Spotlights: An excellent way of highlighting a picture or object in a room, or for illuminating a work area, they can be turned to change the angle, or small numbers of individual ones used on tracks to provide flexibility. Reflector lamps and spotlights (i.e. all “directional” lamps) are not affected by the EU’s ban on inefficient lighting as of yet (see below).
- Downlighters: Concealed in the ceiling and because of this can blend in with any type of décor. The concealment reduces their output and so lots are needed to get a reasonable amount of light. Not all direct the beam downwards, some types can provide an angled light. Most often used with low voltage halogen lamps, but now also available with CFLs and LEDs. Where downlighters are fitted in top floor ceilings, the loft insulation should be removed from a radius of at least 150mm around them, and you should also make sure that they do not come into contact with stored items . Where loose insulation has been poured between the joists, the top of the downlighter should be covered with a fireproof enclosure. Similar precautions are required for downstairs ceilings. If you can’t access the ceiling void by lifting floorboards from above, you can buy flexible downlighter fire-protection covers that can be pushed up through the hole below. Just pushing a downlighter into a ceiling void from below represents a serious potential fire risk as they can get very hot.
- Sidelights and table lamps: As long as you have a socket nearby, these can be moved around the room to suit your task or change the function of an area of the room.
- Track lights: Fixtures attached to a rail through which, most commonly, a low voltage current passes. These have improved in popularity in recent years as they are convenient in the context of home improvements or for use in rooms with high ceilings. They come in various shapes and sizes, and can be placed on ceilings or walls, providing ambient lighting. The heads can also be orientated to suit your needs at different times of the day.
- If you’re buying light fittings from an antique dealer, make sure that they have been rewired by a qualified electrician and ask to see the certificate. An incorrectly wired fitting could cause a serious fire.
Your light fittings and fixtures all need to have a CE mark on them, at the bare minimum. You should also check if they require an earth wire; and where the fitting is for outdoor use, check for the weatherproof rating. Oftentimes you will find that the fittings specify a certain wattage, e.g. 40W or 60W, which means that the bulbs cannot exceed that limit. This precautionary measure was set up to deal with incandescent bulbs as they build up a lot of heat, which can clearly be dangerous. Low wattage bulbs, such as CFLs, can be used in these fittings, allowing you to get more light out of them than was possible with traditional bulbs. So a 25W to 30W CFL is fine for a 40W fitting and it will give you much more light than a regular 40W bulb – the equivalent of 100W in fact!
Bulbs
First off, a word of warning. If you are fitting incandescent or halogens bulbs into your house while building works are still going on know that movement (in this case vibrations from hammering/drilling etc.) will weaken the filament. This is likely to lead to them blowing quickly after you move in. It’s therefore usually best to put the bulbs in last, after all works have been completed. Also note that incandescent and halogen bulbs will last longer if they’re not constantly turned on and off as this too will damage the filament.
As for light fittings, always use a bulb with the correct wattage; too much and it will burn or damage the holder and the cable.The bulb will emit a ‘warm’ (orange-ish glow you get from the old school tungsten bulb) or ‘cold’ light (blue-ish light you’ll find in offices) – most light bulbs can give you a warm light but make sure to check as there are still many LEDs being sold that emit cold light. Also check the amount of light emitted for the wattage you’re given, which is measured in lumens. Also check the warranty and be wary of overly optimistic ones.
‘Traditional’ light bulbs, including incandescent and halogen, base their life declarations on how long the bulb will last for (50% survival rate). In the case of CFLs and LEDs there’s an added focus on light intensity as this is likely to be a limiting factor before the bulb actually fails. The ‘L value’ indicates at which point the lumen output falls below a certain level so L70 at 50,000 hours means that after having been switched on for 50,000 hours the luminosity will have fallen by 30%.
LEDs have come a long way since their introduction on the market; on new builds they have become a preferred option as they save on time and money (maintenance and electricity costs) and manufacturers have come up with LED bulbs for virtually all applications and light fittings.
The best advice is to certainly consider them but make sure to buy from a reputable manufacturer, especially if you order over the internet.
The best LED systems run on mains voltage which avoids the need for transformers that can cause problems. There are LED fittings available but these can be expensive; if cost is an issue invest in the bulbs first. As seen above, in the case of dimmer switches you will need to check that the LED bulb you buy is compatible with the switch.
The EU has introduced a ban on certain types of bulbs, and this will ultimately have an effect on the type of fixtures and fittings you will be able to buy.
The current ban is on frosted bulbs (LEDs and CFLs are the only exception) and “non-directional” bulbs (i.e. spotlights are exempt) which means that it is advisable, when purchasing new, to buy fixtures and fittings that go with low energy bulbs because eventually only low energy bulbs will be allowed to be sold, i.e. primarily LEDs and CFLs.
In the end ‘good lighting’ simply means approaching each room as an individual unit, the result of the scheme should be aesthetically pleasing, light the room correctly, be electrically safe, complement and enhance the interior decoration and, finally, fit your budget!

