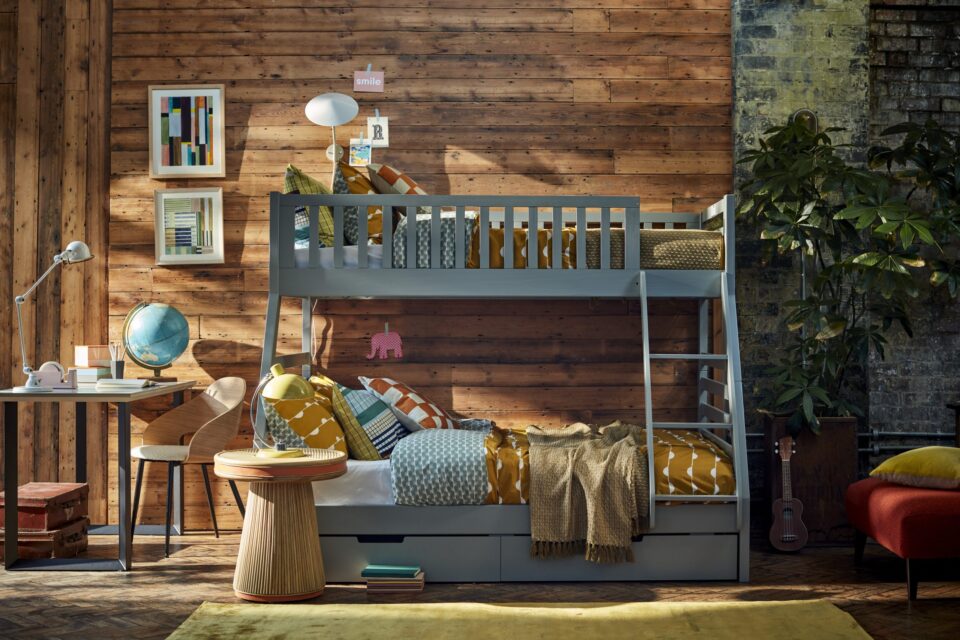
Stone is a defining feature in any room and adds instant solidity, luxury and grandness from a marble bathroom wall to a simple round basin. Although stone is an extremely tough material once installed, you must always take special care to see the delivery and installation process runs smoothly.
Dirt from foot traffic or a careless knock from a power tool could lead to an expensive repair bill. Keep the room clean and tidy, check larger items such as a stone bath, can fit through a door entrance (you may need to leave off architrave/frames to allow extra room). The weight of stonework also means that it should be planned in at the design stage as load-bearing joists may need to be increased in size, or even doubled up to cope with the weight.
Preparing floors
A new concrete screed is the perfect base for stone floor tiles, as long as the concrete is fully cured. New concrete should be at least six weeks old and show no signs of remaining moisture. You may need to use a thin screed of self-levelling compound to even out any low spots. Again, leave the compound to fully cure before tiling.
If you’re working on new flooring grade T&G (tongued and grooved) chipboard panels, double check the edges are fixed at 300mm centres and tile onto the surface with a flexible adhesive. All the trade adhesive manufacturers have powder mixes specifically for timber flooring. For a restoration project, never try and tile directly onto old floorboards. Instead, create a new sub-base with 15mm exterior grade plywood, screwed down at 300mm centres with stainless steel screws. Stagger the board joints and adjust any uneven floorboards before starting work. Coat the boards with thinned PVA (polyvinyl acetate) to seal the wood.
Old cork and vinyl floor covering should always be pulled up. Check the floor beneath is dry, flat and strong enough to support the new stone tiling. If the original covering is of quarry or ceramic tiles, it is possible to tile directly over the surface as long as it is flat and there are no signs of damp, cracking or movement. Prime the old tile surface to give the adhesive a ‘key’ for bonding and make set out your new tiles so that the grout gaps aren’t aligned with the existing floor. The exceptions are shower or wet room walls that should be lined with a waterproof lining panel to provide the tile base.
Installing real stone tiles
The porous surface of many natural stone products makes them more vulnerable to staining than glazed tiles. Check the manufacturer’s instructions for precise laying instructions and always seal the surfaces of the tiles, if recommended, before fixing – it’s all too easy to spill adhesive on a tile and not notice. Open the tile packs and work from several packs to evenly distribute any colour variation between packs.
Tiling a floor
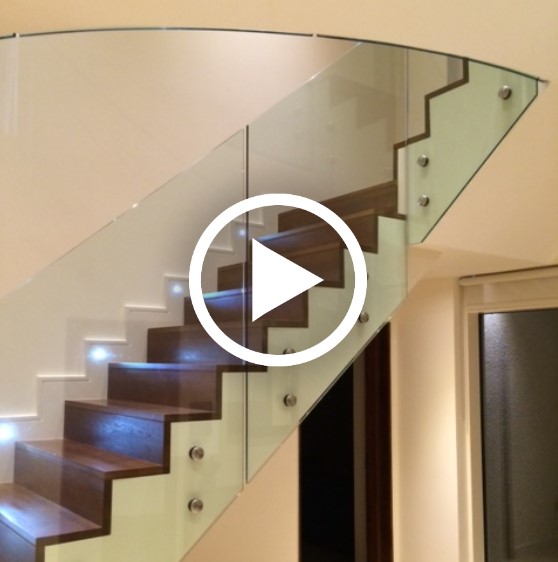
With a little planning and careful setting out, dramatic stone flooring is as easy as tiling a wall. There’s usually less cutting around awkward shapes than with wall tiles and you’re not fighting against gravity. Remove skirting boards and door thresholds before starting work. In the setting out stages, it’s important to make sure the tiles look straight from the entrance to the room. Often walls are bowed or out of true so check your measurements in several places along each wall. It costs slightly more, but a powder mix rapid-setting adhesive is the best option for most floors. It will reach full strength in as little as 24 hours so the rest of the build isn’t delayed.
Finally, plan in any movement joints required. These are 6/8mm wide and filled with flexible filler that allows for movement and prevents tile damage. These joints are normally installed where flooring abuts walling, steps, columns or other hard objects on large floor areas and over structural movement joints. Floors less than four metres between walls will not normally need movement joints.
Wall tiling
Natural stone tiles add a touch of luxury to any room. There’s no special trick to finding out how many tiles you will need, just measure the height and width of the area and multiply these together to give the area to be tiled. Divide this figure by the area of a single tile (e.g. a 10x10cm tile has an area of 100cm) to give the number of tiles you need. Add 10 percent for cutting and wastage.
Installation is the same as for ceramic tiles, but you will need an electric tile cutter with a diamond wheel and the capacity to tackle your chosen depth of tile. Most natural stone is easier to cut than ceramic. The extra weight of real stone should also be considered; use strong battens, at least 50mm wide and screwed to the wall, to support the base line of tiles.
Use a tile saw to cut a tile to fit around an awkward shape such as a pipe or architrave. If you need to cut a curve, to fit around the side of a basin for example, make a card template the same size as the tile. Make cuts at around 10mm spacing along the curve edge and press the template into position. Trim the 10mm strips to fit exactly around the curve and transfer this shape to the tile. Remember to leave at least 2mm for grouting.
TIPS
- If you’re tiling around an acrylic bath, half fill with water to make the rim flex to its maximum extent before filling the gap with a bathroom sealant.
- Make screw holes for bathroom accessories with a masonry drill bit. To stop the bit slipping and damaging the surface, stick some masking tape over the area to be drilled.
- Buy all the tiles you will need at one time if possible to avoid any differences between batches.
- If you want to form a pattern, draw a plan of the room on graph paper to make sure the pattern will look in proportion and symmetrical.
- To tile a room that has to be used everyday, tile one half of the area at a time so you can still walk across the bare floor while the tile adhesive sets.
- If you find you are working slowly and the adhesive is beginning to set, only spread around half a square metre at a time. It’s essential the adhesive is still wet when the tiles are being fixed.
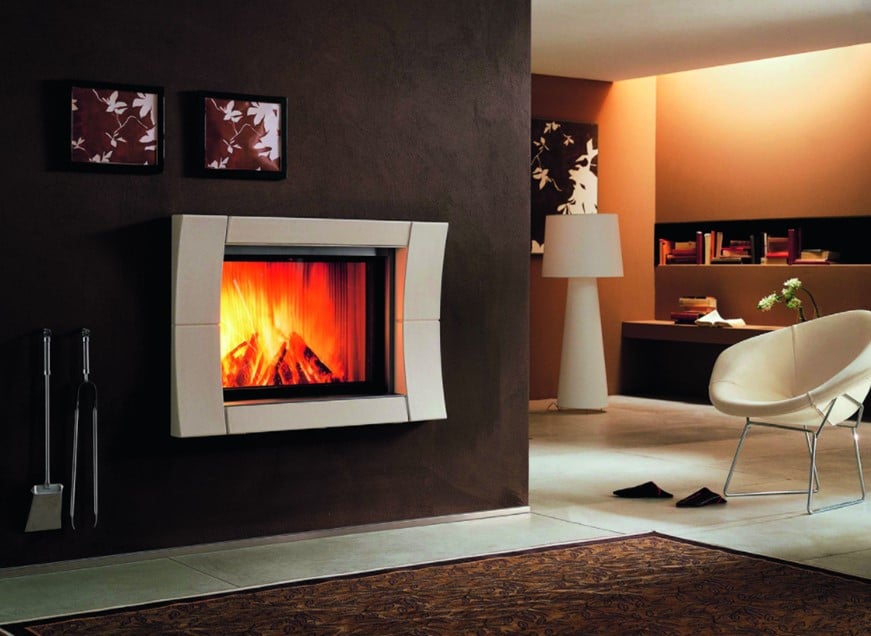
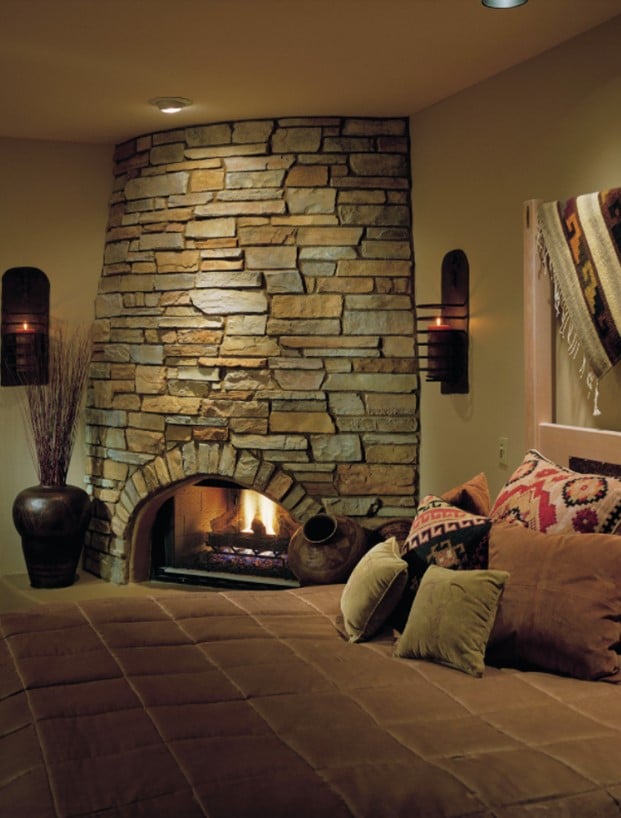
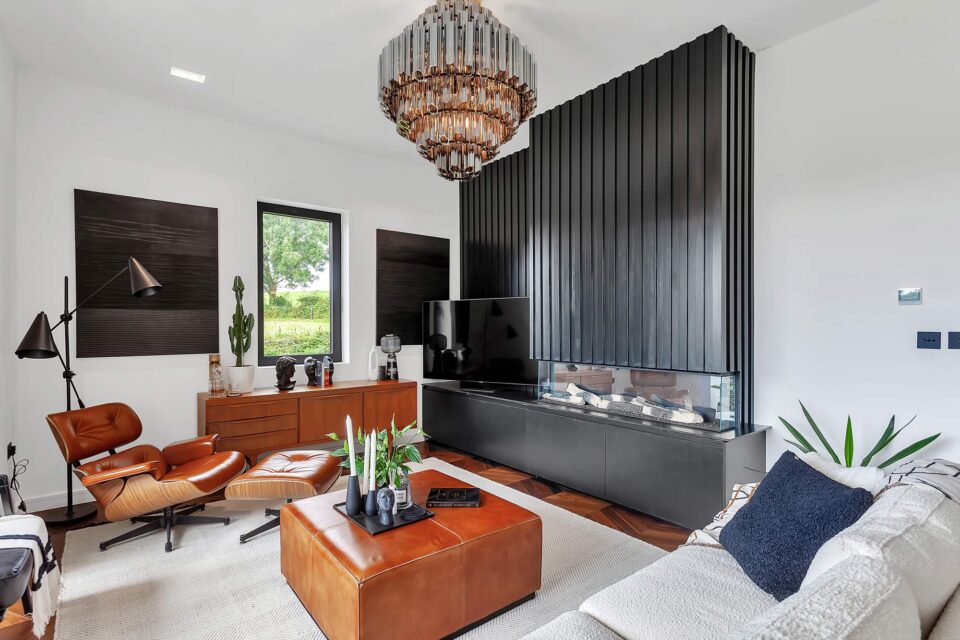
Fireplaces
Stone fireplaces are a very attractive and defining feature for a lounge or dining room, making a perfect frame to a wood, coal or gas fire. Of course, any chimney linings should be pre-installed during the build and the surround really does come at the final stages. Most companies offer a design and install service that’s worth the money for such large and expensive objects. Otherwise, check your builder is happy to take on the job. It may need extra lifting equipment but the installation process isn’t complicated. You can choose anything from the clean lines of a contemporary fireplace to a reproduction Regency style, or contact an architectural salvage yard for a genuine period piece. Most yards will also undertake restoration work on stone and marble fireplaces.
Baths and basins
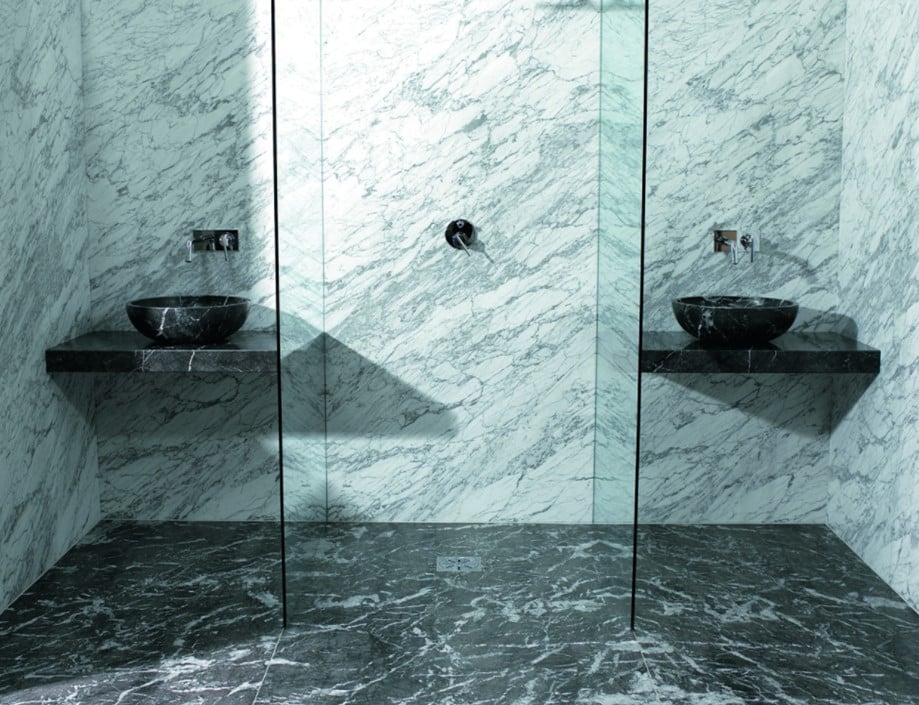
Baths, basins and washstands can be either stone resin or solid stone. There is a wide range of colours available from off-whites to reds, browns and blacks. Bear in mind the loading on a suspended floor , baths can weigh from 200 to 500kg or more.
As well as the luxury of a solid stone basin, some of the modern designs can also be breathtaking, with open wave forms, travertine mosaic and deceptively thin slab designs.
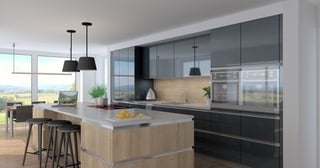
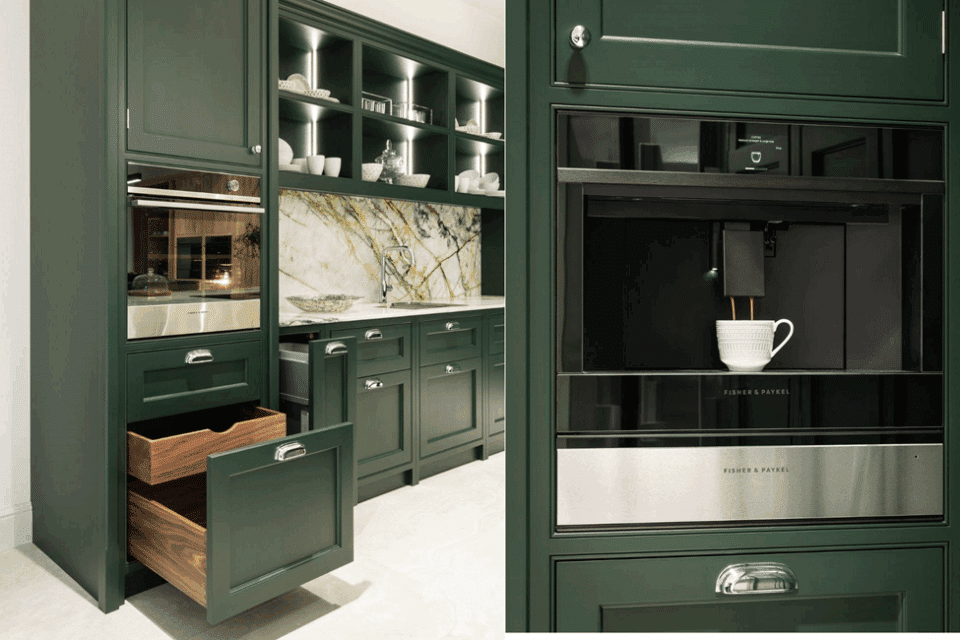
Worktops
Granite is the most popular of the natural stonework surfaces. It’s easy to clean and contrasts well with lighter wood carcases. Marble and limestone look good but are softer and can scratch or stain. When you plan your kitchen, make sure the runs of floor cabinets can withstands weights up to 90kgs per square metre, the average for a 30mm solid granite top. You can also specify 40mm tops, made from two 20mm layers with a ply central insert to reduce the weight. Your kitchen supplier may need to alter the design and add extra support around sink cut-outs and appliances. The suppliers will also need a clear work area so all sinks and hobs should be removed and kept clear of the work area. If you can,
don’t install the wall sockets until after the worktop is fitted – this will avoid any accidental damage as the stone is slid into place over the units. Depending on the shape and size of each component part, the suppliers may suggest extra joints in solid granite worktops as the grain structure can be very vulnerable to cracking if there’s any stress over longer lengths or around narrow cut-out areas. Don’t forget to order matching granite upstands for the walls. These are around 100m high with polished surfaces and edges. Colour-matched silicone sealant is used for the jointing.
As with sanitary items, composite quartzite can reduce the price of the kitchen but still give some of the solidity and feel of a real stone. It also has the advantage of grain consistency and a wide range of solid reds, blues, greens and more neutral tones to choose from.
Stone options
The stone you choose will depend on your budget, colour choice and the suitability of the material. If you can, visit local suppliers or ask for samples to check the colour, grain and surface texture is right for your project.
Granite: This hard natural igneous rock can be used for high wear areas such as floors, kitchen worktops, stairs and externally. Scratch resistance is good. The colour range goes from dark and medium pinks through a wide range of greys to solid black. The lighter the colour, the more obvious the large grain structure of the material, which can make it look too ‘busy’ for a room with lots of other background colours. If you have lightwood cabinets in a kitchen, a grey to black granite worktop will provide a good contrast but remember that solid black will have to be kept clean as smears and grease stains are very obvious against the polished dark surface.
Marble: Marble is a metamorphic rock and started life as limestone, which has been crystallised by heat and pressure. Mineral and chemical elements in the stone result in the most dramatic surface patterning, with veins and grain structure that can’t be reproduced in a factory. However, it is relatively soft and should not be used in high wear areas. In other words, an upstairs en-suite bathroom floor could be tiled with marble, but a downstairs cloakroom may be too vulnerable to wear. Colours range from a rich selection of browns, through greens, pinks, greys and whites.
Composite stone: The most common use of quartz composite is in worktops for both kitchens and bathrooms. The major producers including Silestone and Duropal, make a full spectrum of colours, from solid blues, greens and pinks to greys and blacks. The grain structure is smaller and more uniform than granite.
Slate: This is really metamorphosed shale, made up of silt and clay, that’s similar in composition to sandstone but with finer particle sizes, giving a solid, dense feel. The shale has been formed into slate by the earth’s heat and pressure. It is a relatively inexpensive option for high wear flooring areas and tiles can also be used on the wall. As well as the standard charcoal grey, there are green, multi-coloured and sandy tones available.
Travertine: Often confused with marble, this is a sedimentary rock, made up of layers of calcite formed from the accumulation of organic matter. The stone has a honeycomb structure, where water has flowed through it. It’s a very strong stone, which when cut into tiles exposes the small holes on the surface. These holes can be left to give a totally natural texture or resin-filled in the factory. Bear in mind that wet rooms or shower areas using this material will need regular cleaning as water will fill the larger voids and can form a green discolouration. The holes will also attract dirt so travertine is best for lighter/medium traffic areas. Colours are fairly neutral creams and browns.
Limestone: This is a sedimentary rock. It’s made up of layers of calcium carbonate formed in the same way as travertine and compressed by the earth’s movement over millions of years. Colours are usually shades of cream. Tumbled limestone has been mechanically ‘worn’ to remove the hard edges and, used as tiles; it gives a room a rustic, aged feel. The surface texturing also makes it less slippery than a travertine or marble floor in bathrooms.
Sandstone: Often relegated to exterior hard landscaping, sandstone is ideal for fireplaces and larger architectural features in a self-build. It’s formed from grains of sand bonded over millions of years. Grain texture and subtle light brown to off-white colour variations mean that you should always ask for samples if you’re trying to match an existing feature in a restoration project. Sourced from UK, Europe and Asia.
Cleaning and maintenance
Keep a copy of the care and maintenance instructions provided with your stonework as sealants and care procedures vary. Granite surfaces such as worktops don’t need too much specialist cleaning as the surface doesn’t absorb stains in the same way as a softer travertine stone.
Wipe up any spills as quickly as possible, especially acidic liquids like juices and alcohol. Fine grit is the big enemy of natural stone flooring as ground in particles cause striations than eventually dull the surface. Use a mop, soft brush or vacuum to collect the dirt. A neutral pH detergent and warm water will remove grease and other light stains, but make sure the floor is dried with a soft cloth to prevent residues building into a film.
Stone should only need resealing every 3-5 years and some products will never need it. After installing a natural stone, it’s essential to clean up any mortar/adhesive residue straight away as the resin-based adhesives ‘bond’ the stone surface and are extremely difficult to remove when cured. For kitchen and bathroom installations, avoid using any wax or soap cleaners for at least the first six weeks. Otherwise, the stone pores will become clogged and restrict the evaporation from the mortar/adhesive.


