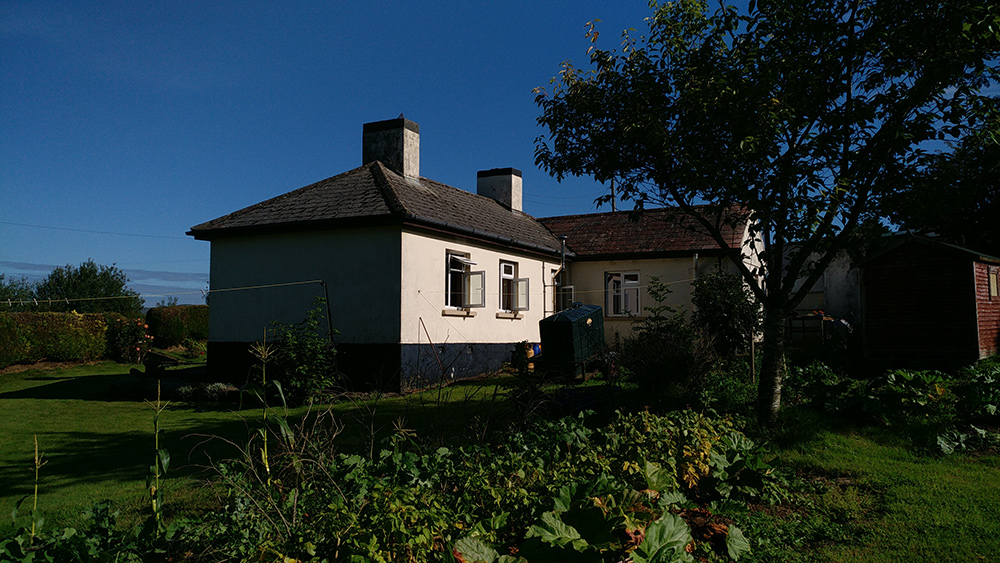
This 1940s cottage Co Waterford went from a G to an A3 energy rating thanks to a full insulation and systems upgrade.

In this article we cover:
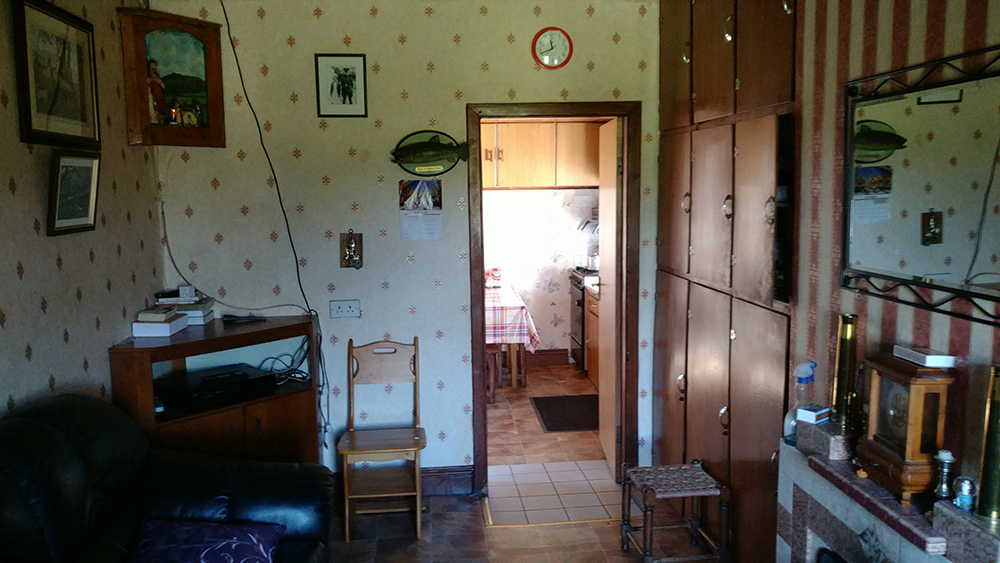
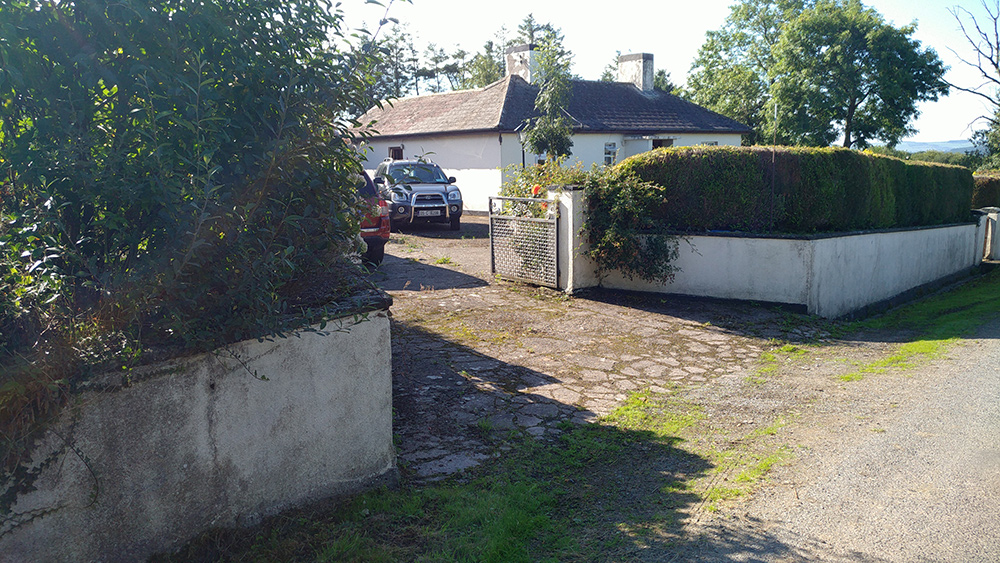
- What the cottage was like before the renovation, including pictures
- How the homeowners decided to upgrade the house
- What insulation they put in
- What airtightness strategy they adopted
- What systems they put in
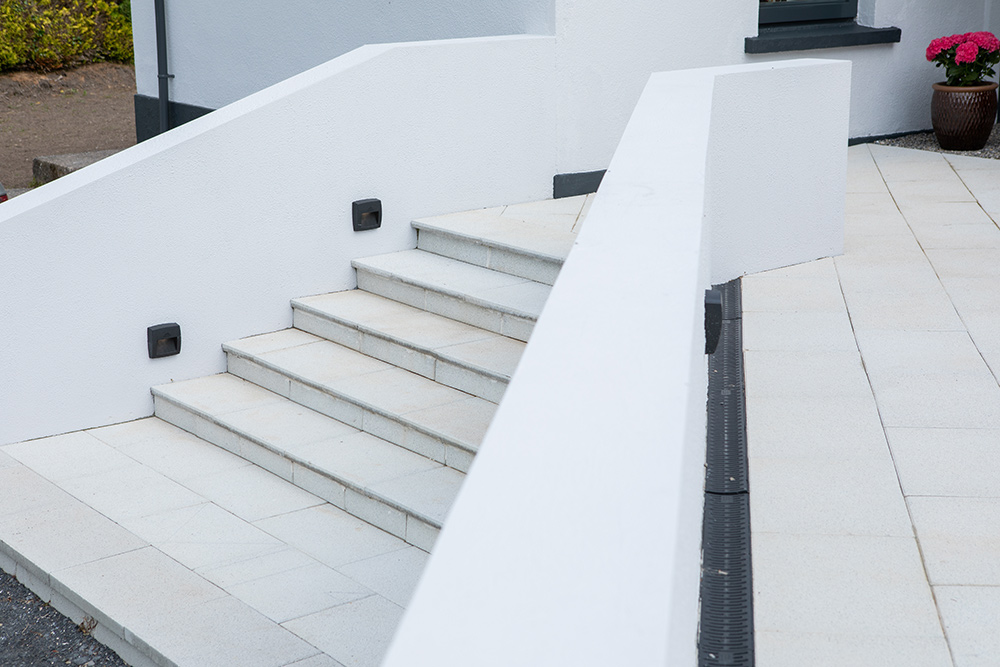
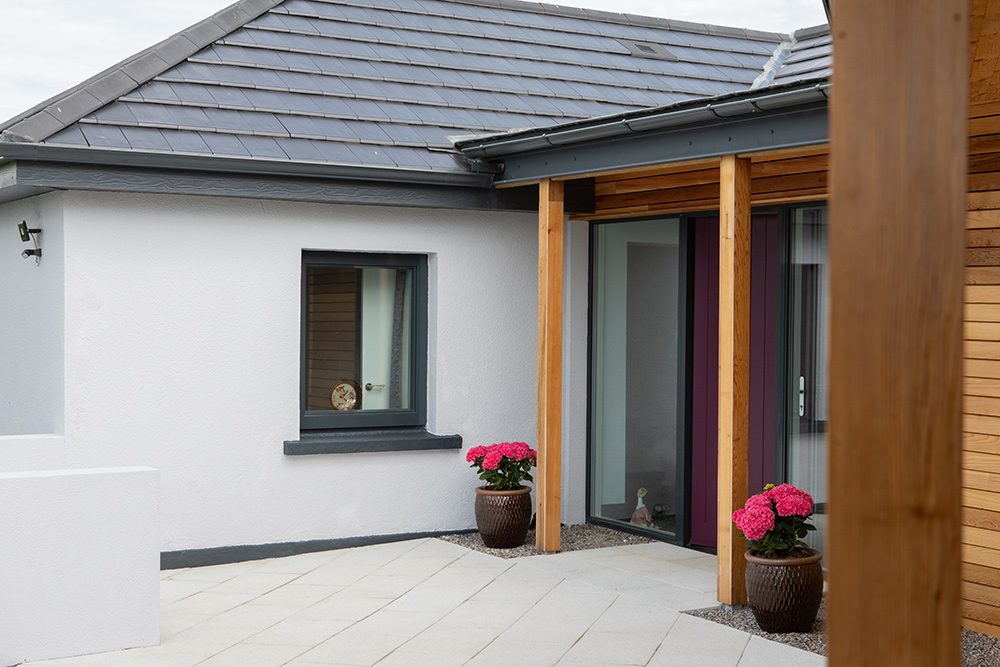
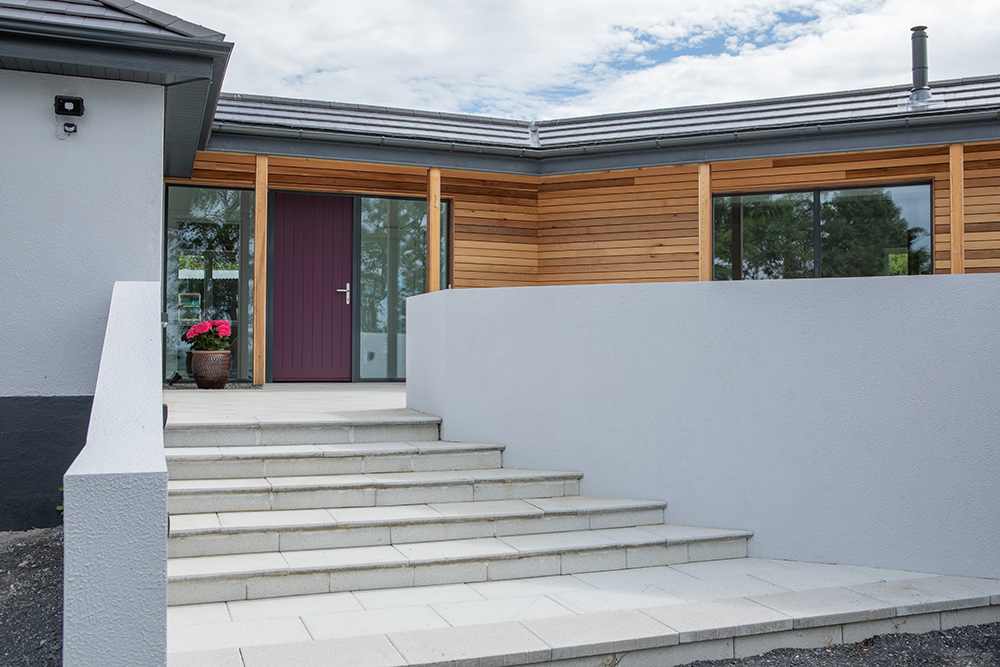
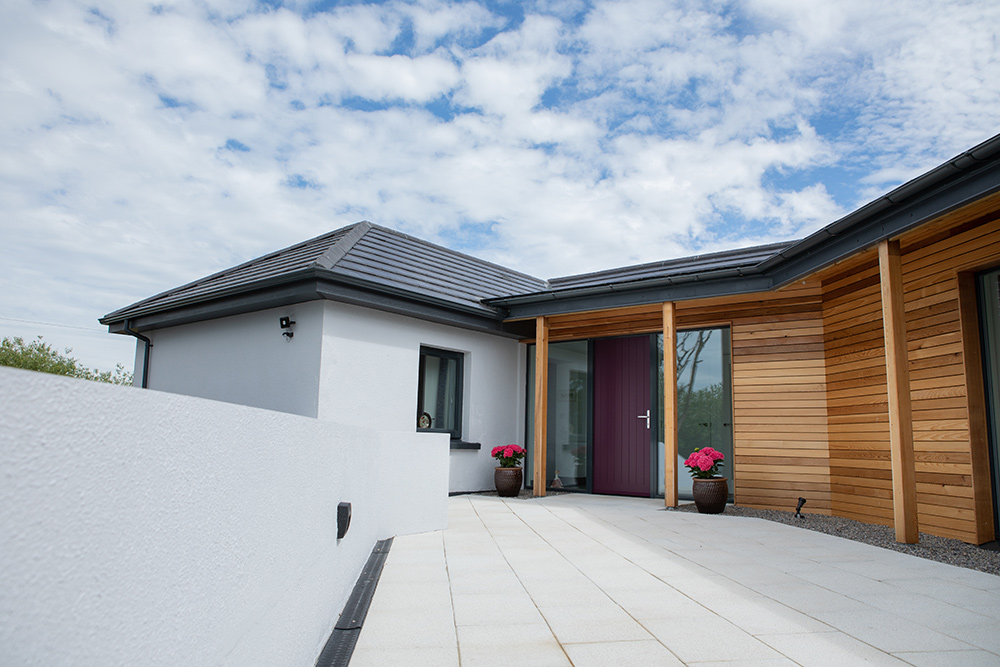
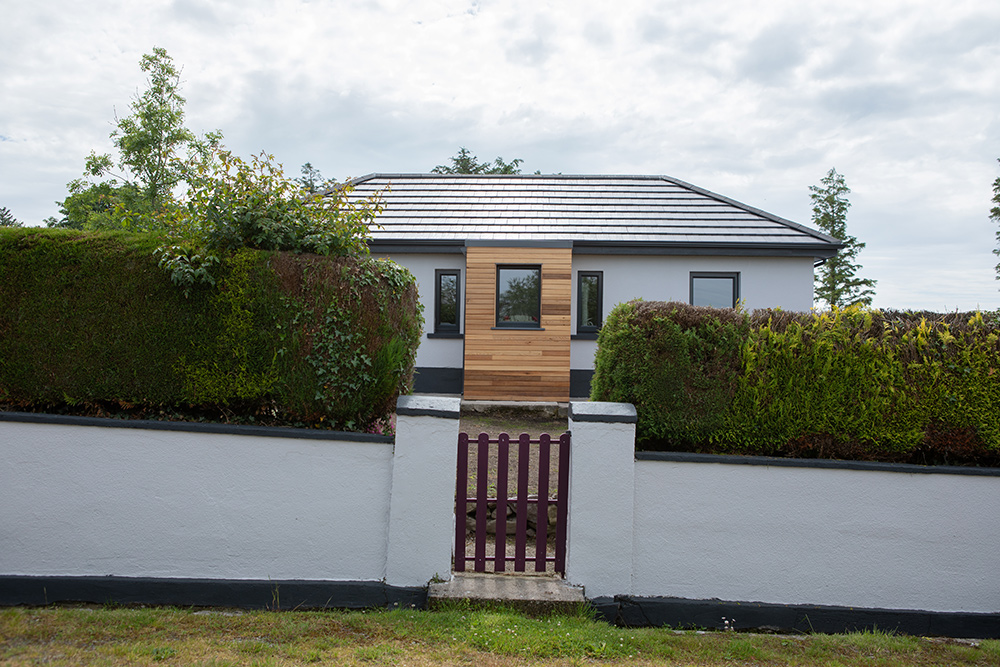
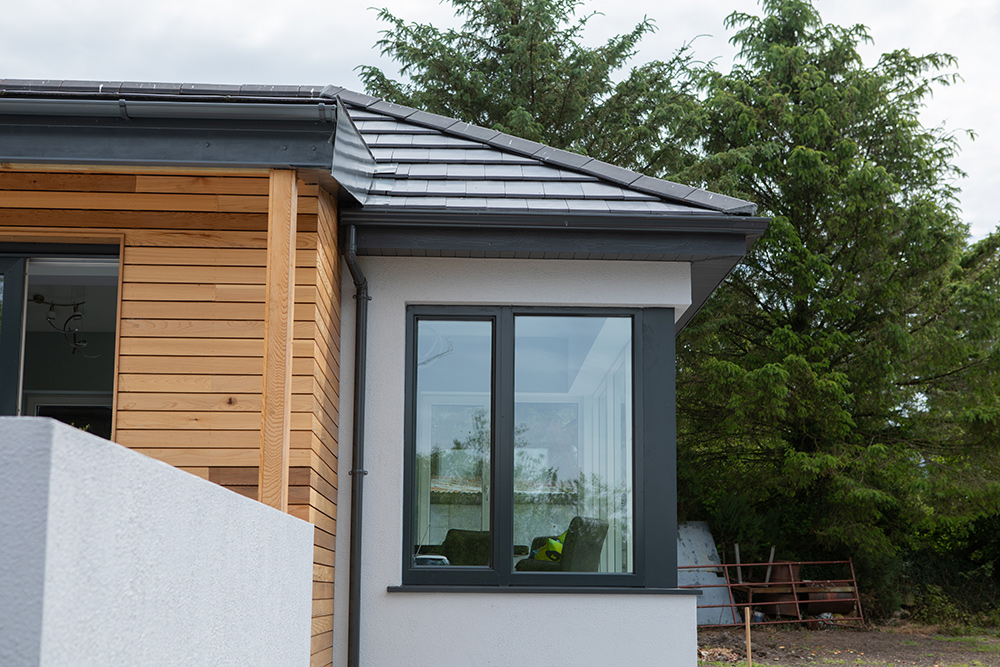
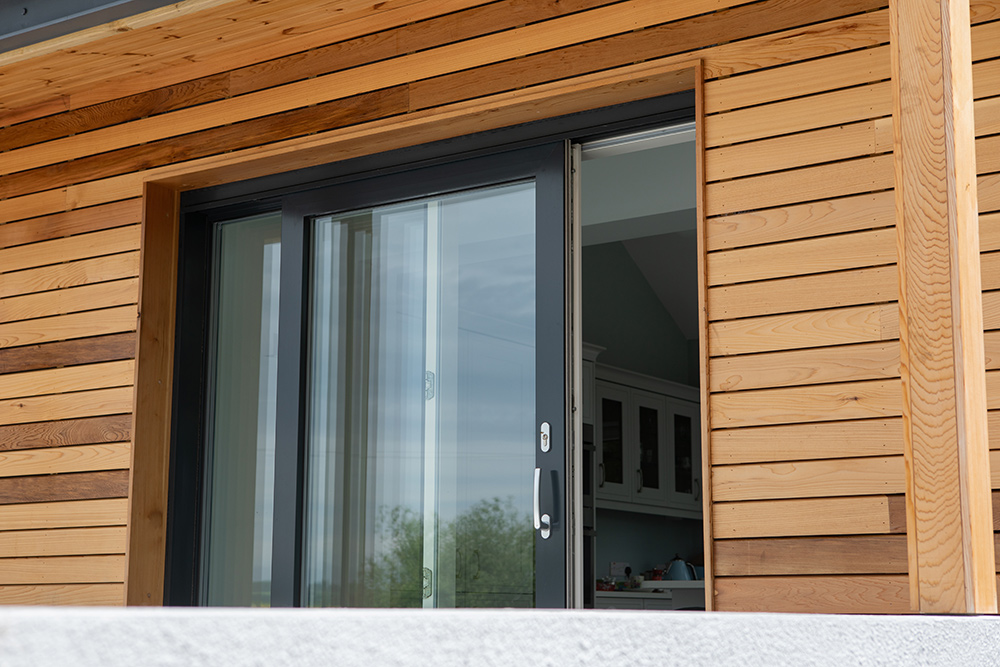
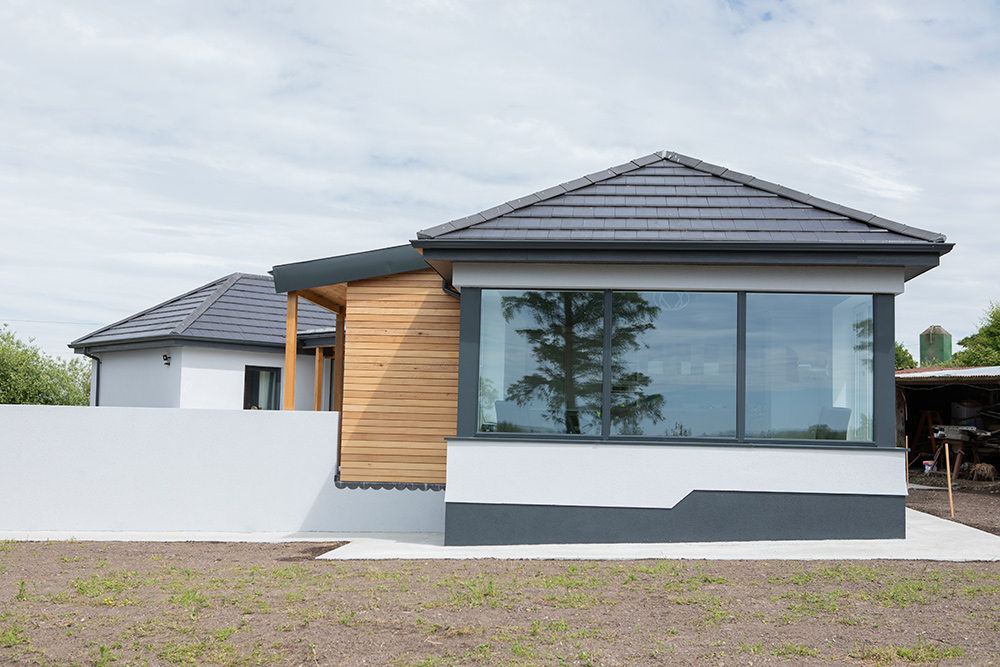
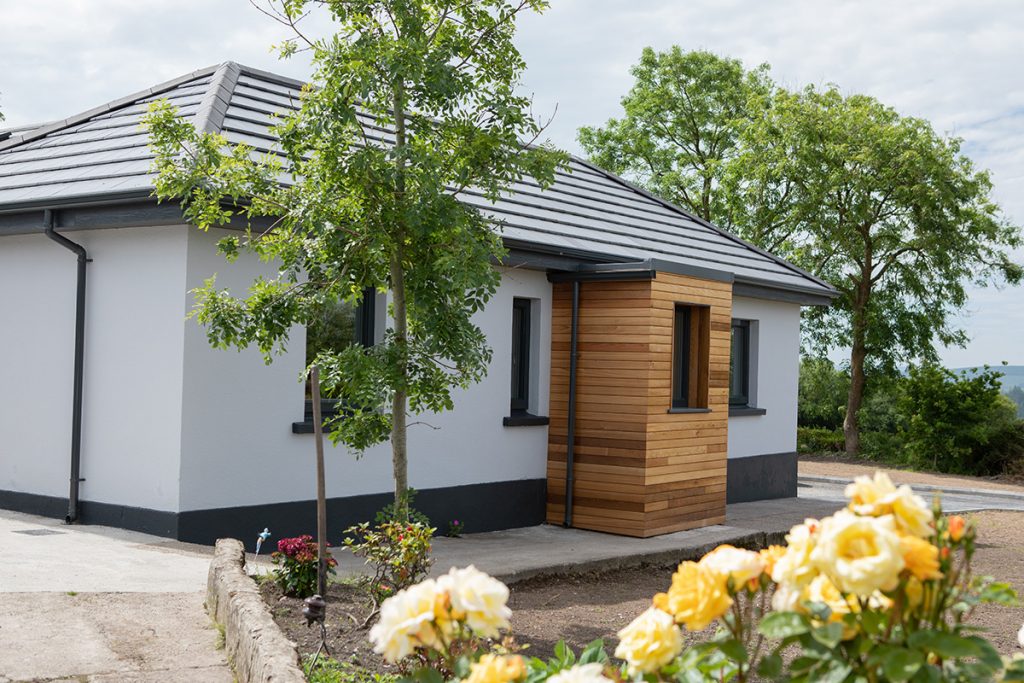
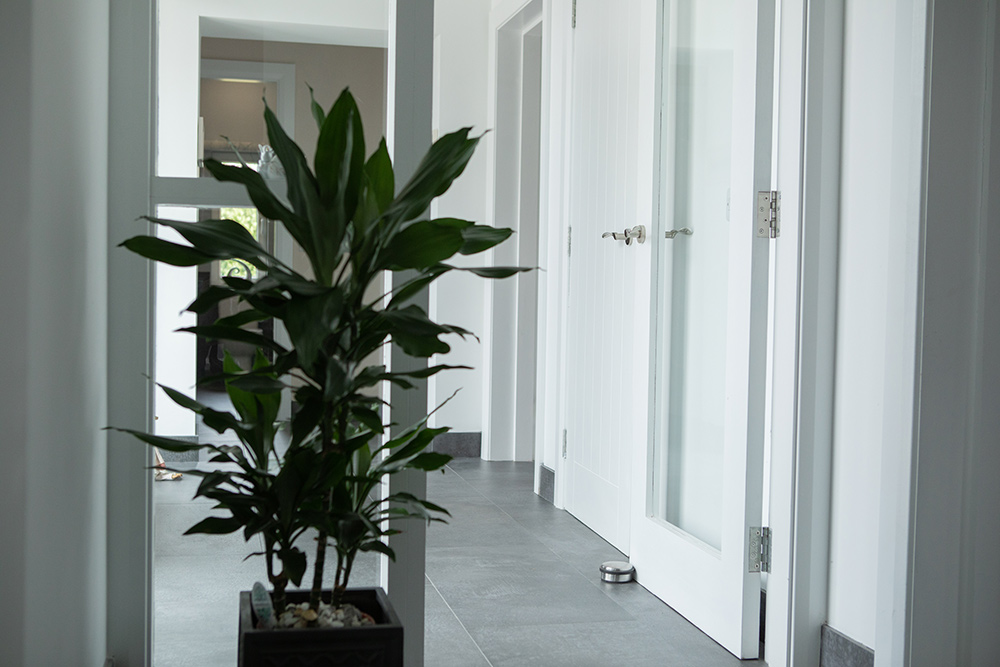
- Photographs of the finished house
This 1940s Co Waterford cottage was upgraded to become a super energy efficient home in 2019. The renovation was such a success it won the Sustainable Tipperary NZEB Design Competition.
Most people don’t decide to heavily invest in upgrading the energy efficiency of their home unless they have bigger plans, such as, say, adding an extension.
Their motivation also tends to be quite clear. They may have just bought a house, wanting to make it comfortable for their family. Or they may want their existing home to be more comfortable and maintenance free.

James and Phil Hallinan are a case in point. Nearing retirement, the couple inherited an old cottage which they decided to do up by increasing the floor area. To make the house warm, healthy and efficient to run, they also invested in an energy upgrade.
The extension
The house was an L shaped cottage containing three compact bedrooms, a living area and previously added extensions with small kitchen and bathroom.
The concept of the redesign was to orientate the living spaces around a south to west facing patio, which would also act as a new entrance to the home.
Budget constraints, and not wanting the extension to be visually obtrusive meant the couple agreed to incorporate the circulation spaces, where possible, within the main living areas. Therefore the size, and costs, of the extension were kept to a minimum.
From a G to A3 energy rating: Insulation strategy
There was no insulation at all in the existing cottage.
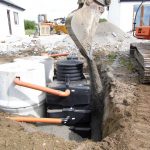
For the walls, the most efficient and cost effective solution was to insulate internally with a proprietary insulation system which included 100mm rockwool. The existing timber floors were removed, with a new concrete slab and fully insulated (150mm PIR board) floor screed on top.
The roof was stripped back to the existing rafters, luckily providing good ceiling heights, and a new warm roof (insulated with 70mm PIR and 150mm mineral wool, and made airtight, at rafter level) was installed.
“Mineral wool is typically the only thing we use between rafters,” says Alan the architect. “We would always use warm roof construction so having a good quality product that you know won’t shrink is important.”
“My preference would always be external insulation if the budget and design suits,” adds Alan. “We did actually externally insulate the old porch with PIR and used a vented rainscreen detail over.”
The extension, for its part, was built to passive standards with thermal breaks and cold bridges detailed out.
For the extension floor, a standard build up was the most cost effective consisting of 150mm PIR insulation with screed over, and thermal blocks to the perimeter.
Then a 200mm full fill cavity with EPS beads turned out to be the most cost effective to achieve a good quality insulated wall, with 30mm insulated plasterboard internally to negate the issue with wall ties causing thermal bridging.
When using some rigid boards in the cavity wall, installation is critical to get the U-value you are aiming for. “Unless they are specifically trained, block layers should not be installing insulation,” opines Alan.
“The other advantage of the bead is that there is no waste and it helps with airtightness; we would usually expect an airtightness result of 1 to 1.5m3/h.sqm at 50Pa on a new build. Anything under 2.5 is usually respectable on an existing extension refurb.”
Airtightness strategy
Preliminary air tests showed results of approximately 2.4 m3/hr/m2 for the whole house, achieved by careful and thoughtful design, and meticulous construction procedures.
The existing fireplaces and chimney stacks have also been removed, drastically reducing the opportunities for air leakage by infiltration.
Junctions and details were kept as simple as possible, to provide clarity for the contractors, and to reduce the possibilities of unintended air leakages.
Before and during the construction process, all trades involved were made aware of the intent to make the house as airtight as possible. Regular on site meetings with the contractors allowed for continuous monitoring of the construction standard.
This ensured that mistakes could be avoided, and that the contractors could be advised as to how to properly construct details and junctions. By doing this, the airtightness could be maximised as much as possible, and construction processes that would have led to air leakage were avoided.
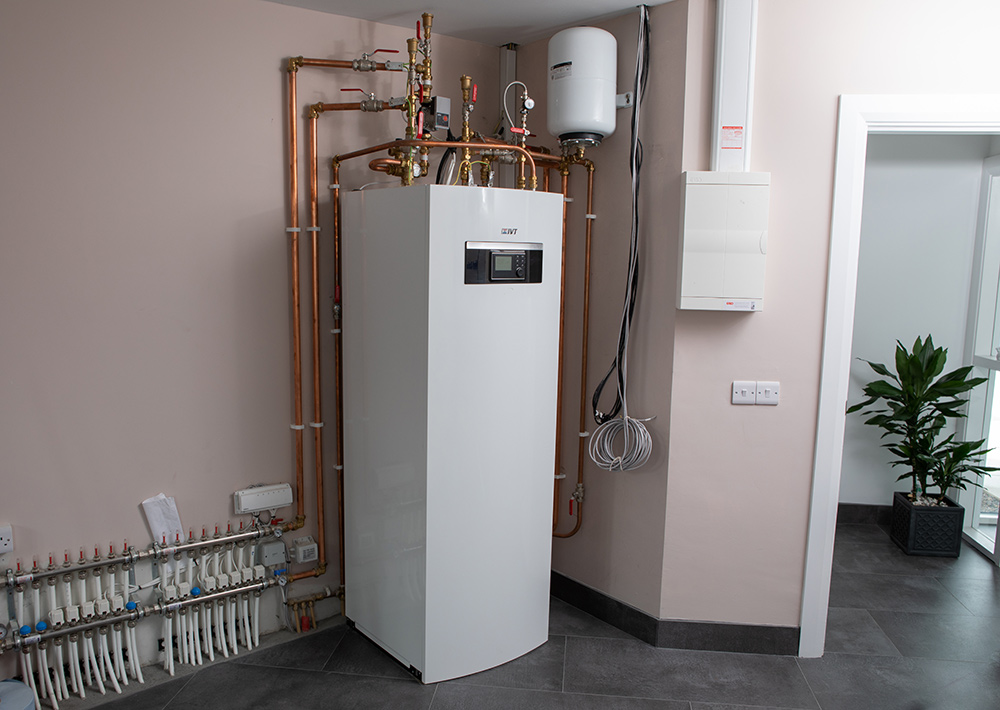
Systems
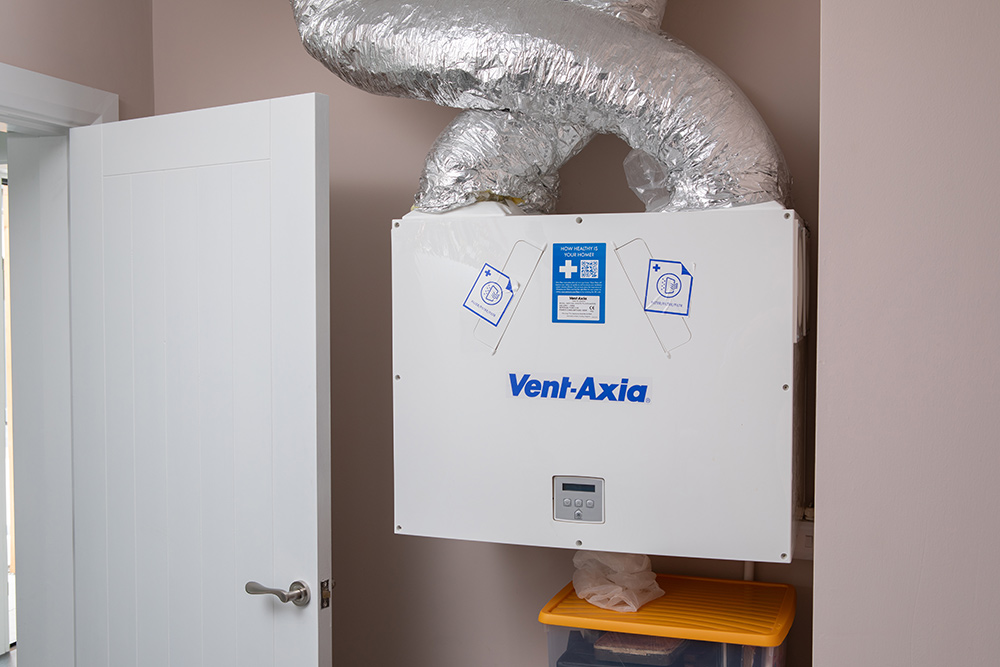
For ventilation, the house relied on the opening of windows and doors for air changes. As the energy upgrade made the home airtight, a new heat recovery ventilation system was installed to provide ample fresh air and keep the indoor environment comfortable for the occupants, without the need for opening doors and windows.

All the main living spaces have ceiling heights in excess of three metres, which allows for greater air movement and greater control of the internal environment. A rooflight purges hot air on very warm days. Shading is provided to the South West facade, to control solar gain.
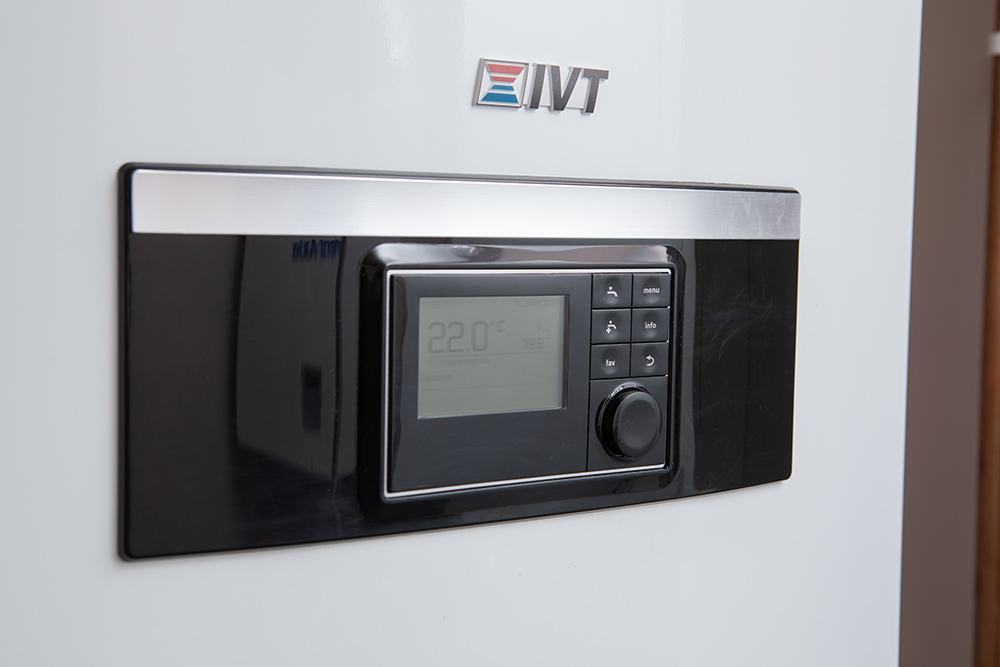
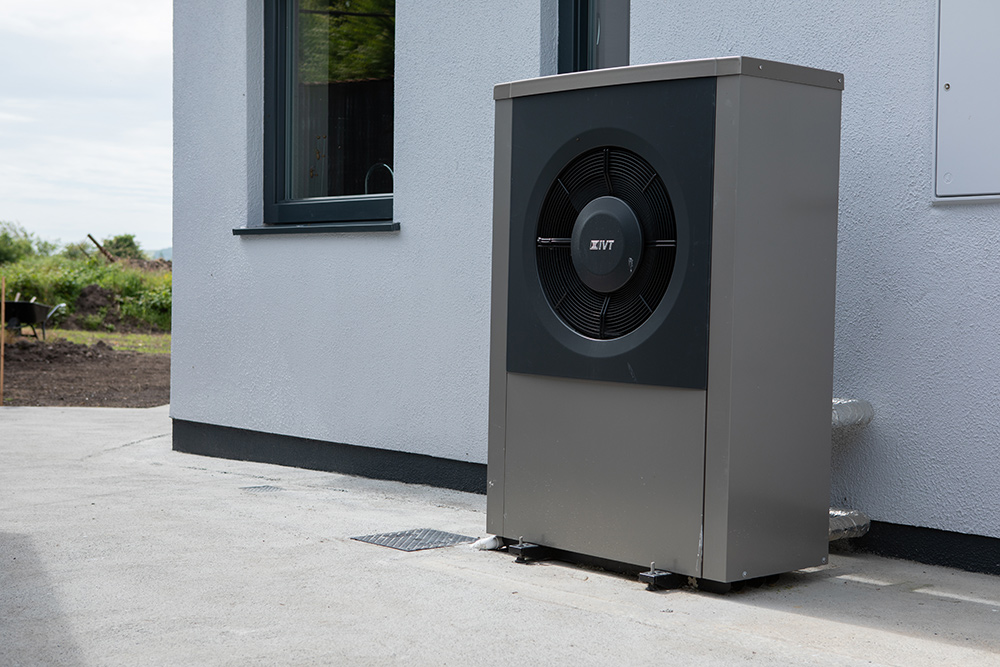
For heating, the existing 1920s house had an oil boiler with radiators throughout the house. Secondary heating was provided by two fireplaces, which as outlined above were removed. These were replaced with an air to water heat pump, as well as underfloor heating throughout. Further heating is now also provided by a wood burning stove, with dedicated supply air, located in the new living room.
Grants
Despite the amount of insulation that went into this renovation-cum-extension project, there was no grant available for the insulation upgrade when they looked into it in 2019.
“I did speak to Superhomes, which is a one stop shop energy upgrade centre run by the non profit Tipperary Energy Agency,” says Alan. “But as the grant would only cover works to the existing house, and because the extension was larger than the house, it would not qualify.”
“We then looked at the basic Sustainable Energy Authority of Ireland grant for insulation upgrades, but for some reason the grant would not cover the warm roof detail – they wanted us to insulate at ceiling level/on the roof space floor.”
“For the walls, older buildings have difficulty availing of the scheme because solid stone walls do not compute in calculating the BER,” he adds. Phil and James are however in the process of applying for their heat pump grant, which they are thankfully eligible for.
“The advice we would give to others thinking of going down a similar route is to check what grants are available before starting the project,” says Phil. “Ensure you go over every detail with the contractor before works begin. And have everything completed before moving in, this includes the landscaping, lawns, fencing and entrance gates.”