When it comes to plasterboard, you have two main finishes to choose from, board and skim or taping and jointing.
Signing off on the first fix is a significant landmark on your self-build journey. With the skeleton and inner workings of the house complete, you can start adding the fixtures, fittings and decorations that will transform it into a home.
But before you can proceed to that second fix, you need to cover up your internal walls. Plastering is the most common method; in the case of blockwork (cavity walls) this can be done with a cement render or a gypsum based undercoat and skim finish directly onto the wall or with plasterboard, which may or may not be insulated depending on the thermal performance of the rest of the wall. For timber frame, plasterboard is most common as the studs are already there.
Plasterboard comes in a variety of different sizes and formats with either square or tapered edges. Contractors tend to prefer tapered edge boards for both the board and skim method, and the taping and jointing method as it makes producing a flat surfaced wall easier.
There are three basic board thicknesses: 15mm, 12.5mm and 9.5mm with 12.5mm being the most commonly used. Recent changes in the ROI building regulations have resulted in increased sales of 15mm to meet fire requirements in some residential build situations.
Various high-performance boards offer acoustic improvements and fireproofing. Some are moisture-resistant, ideal for use in wet areas and as tile backers, others are fibre reinforced to hold up things like TVs.
In fact fibre reinforced plasterboards, which are typically twice the price of traditional plasterboard, can be jointed more easily and being tougher allow you to attach most fixings to it.
Board and skim
This is where the plasterboard is fixed to the wall – either screwed or glued with dot and dab – then covered with two coats of skim plaster, each approximately 1mm thick. Three layers can be applied but it’s not common to do so.
To dot and dab, apply adhesive directly to the wall and press the board on to the sticky surface. The adhesive needs to be applied at a thickness of 25mm so you will end up creating a small cavity between the plasterboards and the wall.

Some argue this introduces a thermal issue. In order to minimise this risk, apply a continuous line of plasterboard compound around the perimeter and skirting of the wall, of the services and openings for optimum airtightness. Dabs should cover a minimum of 20 per cent of the plasterboard area.
That gap between the board and wall can also cause problems when it comes to fixing things to the wall, particularly heavy objects like a flat-screen TV bracket.
This is why oftentimes wood battens are fixed to the wall and the plasterboard is then anchored onto them using drywall screws. Insulation can be put into the cavity. Screw heavy items into the battens, which can be located with a stud finder.
Once fixed to the wall, cover the plasterboard joints with paper tape and a jointing product.
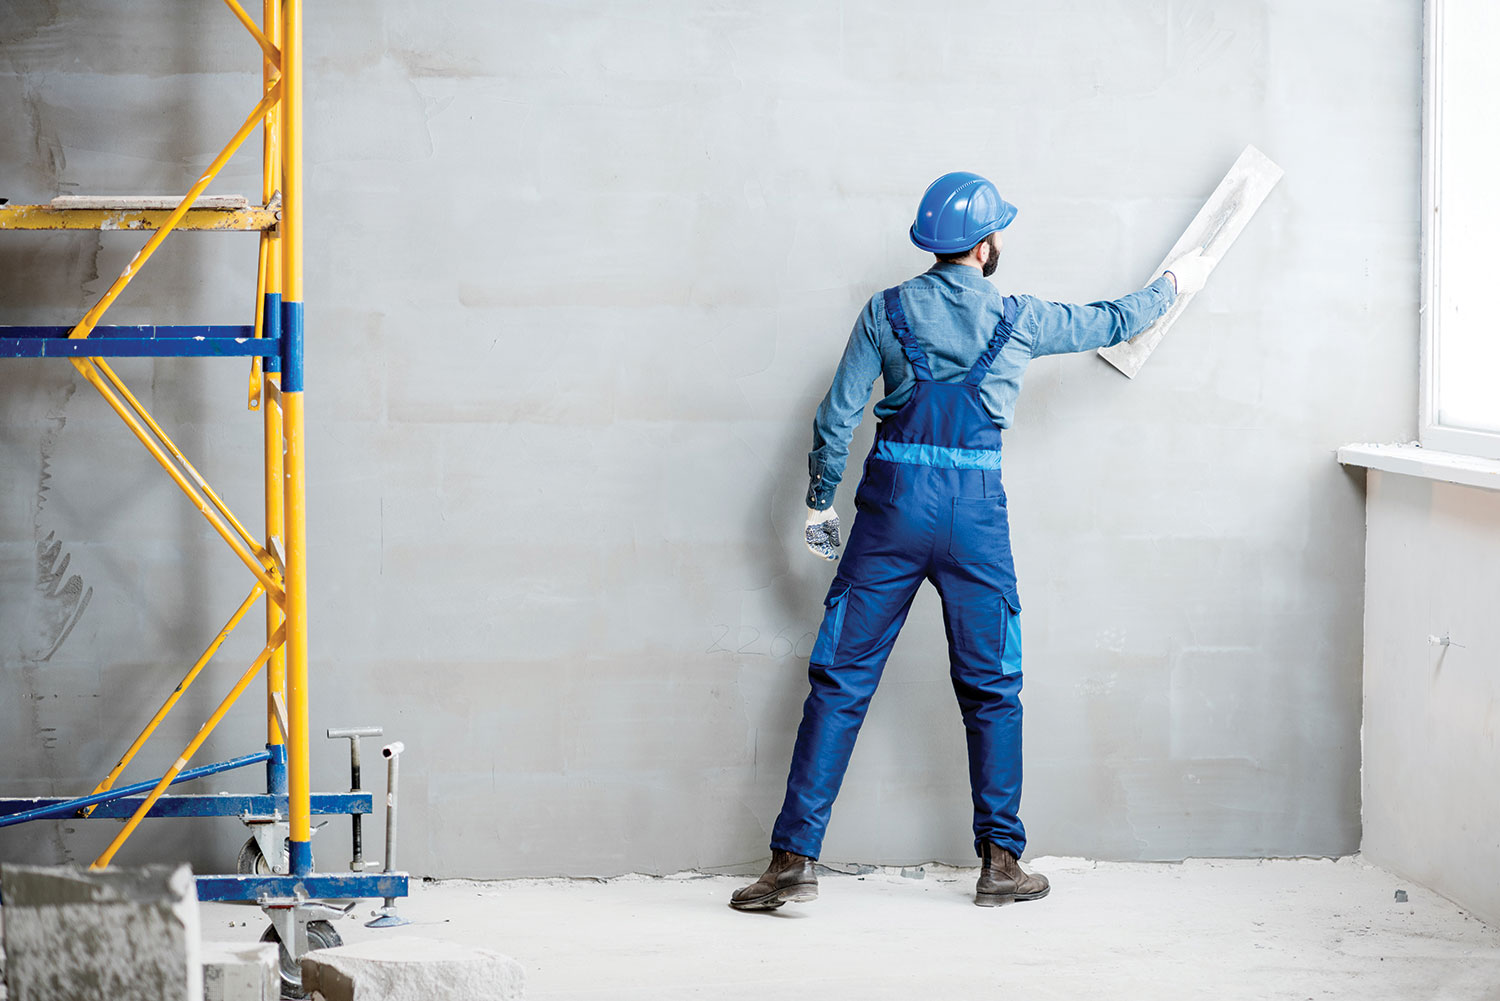
The plasterer’s two skims are applied in opposite directions, i.e. one skim horizontal and the other vertical, to iron out any imperfections. After a 15 to 20 minute break comes the ‘flattening’ rub. When the skim has ‘gone off’ water is applied on the final trowel to get a perfect finish.
After finishing three walls — commonly called a set or gauge — work can begin on the next three walls. Three sets a day is an average output for a good plasterer.
There’s a widely held belief that a skim finish provides a better airtight seal than plasterboard on its own, although others insist that the difference is negligible. It’s clear though that a traditional plaster finish gives a uniquely smooth result and is incredibly durable.
The biggest downside of wet plaster is the cost and time it takes. Plasterers spend years training to hone their skills as apprentices before working independently. And, as is the case with many trade skills these days, good plasterers are in short supply.
Also consider the plaster needs roughly two weeks to dry (depending on weather conditions) before being paintable.
Having a go at plastering a wall or room yourself is not recommended. The possibility of ending up with an uneven finish and cracks where the plaster has dried isn’t worth the risk.
Of course no matter how good your plasterer is, if the building structure itself moves the plaster is likely to crack – no matter the precautions taken – hence the importance of build quality. By using paper tape, the risk of cracking is reduced when compared to scrim tape.
Indicative cost: NI £7 per sqm / ROI €10 per sqm (for materials and labour).
Taping and jointing, aka drylining
Drylining can be tackled by the DIYer as it involves taping and strengthening the joints between plasterboards prior to painting. However you will need to practice to hone in your skills as the paint won’t hide any of the mistakes you make.
Choose tapered edge boards and if the budget allows, soundproof boards to lessen the hollow sound often associated with drylining.
First, fix the plasterboard to the wall using either the screw or the dot and dab method mentioned above.
Then use jointing compound and tape to cover the joints between the boards and fill the screw holes with compound. You may need to add another layer on the joints in the corners, where the walls meet, around windows and where the boards reach the ceiling.
Once the final layer is applied, sandpaper all the joints and filled in screws, and then you’re ready to paint.
Typically, a skilled tradesman will complete the drylining of a house in around five days. Leaving one day’s gap midway to allow the compound to dry out.
The task of taping the joints of the boards together is time consuming, but there are hand-held tools specifically designed to simplify the process.
This method can be completed far more quickly than the plaster option, is easier to master and tends to be cheaper. There’s less mess as the amount of ‘wet’ materials is reduced. Drying time is substantially less, which means you don’t have to wait long to start decorating.
But, once painted, the finish can appear rougher and duller than a skimmed wall. Indicative cost: NI £4 per sqm / ROI €10 per sqm (for materials and labour).
The verdict
The difference in cost between the materials involved in board and skim
and tape and jointing isn’t huge, but it takes double the time to skim the boards, increasing labour costs. Drying out time will add to the process, especially in winter.
So, if speed and cost are the most important motivating factors in your project, taping and jointing is probably the better option.
However, wet plaster gives a shiny, smooth surface that is perfect to paint
and covers up a multitude of blemishes, making for tidy junctions in windows and doorways. The caveat is that you’ll need to find a skilled plasterer and also accept that some cracking is possible.
ECO OPTION
Plaster alternatives
Plaster that is used internally is traditionally made of gypsum but materials that were used by our ancestors, principally lime mortars and clay plasters, are experiencing a resurgence.
These tend to be more expensive and used by people interested in natural materials or with a desire for breathing wall designs which regulate humidity and indoor temperatures.
In restoration work, there might be a requirement to use more historical plastering methods for ceilings as well, with the use of chestnut laths and plaster. Horsehair was the original additive to lime plasters to reduce cracking when drying out, but now manmade fibres tend to be added instead.