Whether you just want somewhere safe to keep your garden furniture, bikes or lawnmower, or if you’d like a comfortable refuge or even a home from home, a garden shed could add a whole new dimension to your life.
In this article we cover:
- Planning permission: what restrictions are in place if you plan to add a garden shed in NI or ROI
- Types of sheds with pros and cons, from metal to timber
- Choosing the right location for your garden shed
- How to build a garden shed: step by step guide
- Details of how to build a concrete foundation for your garden shed
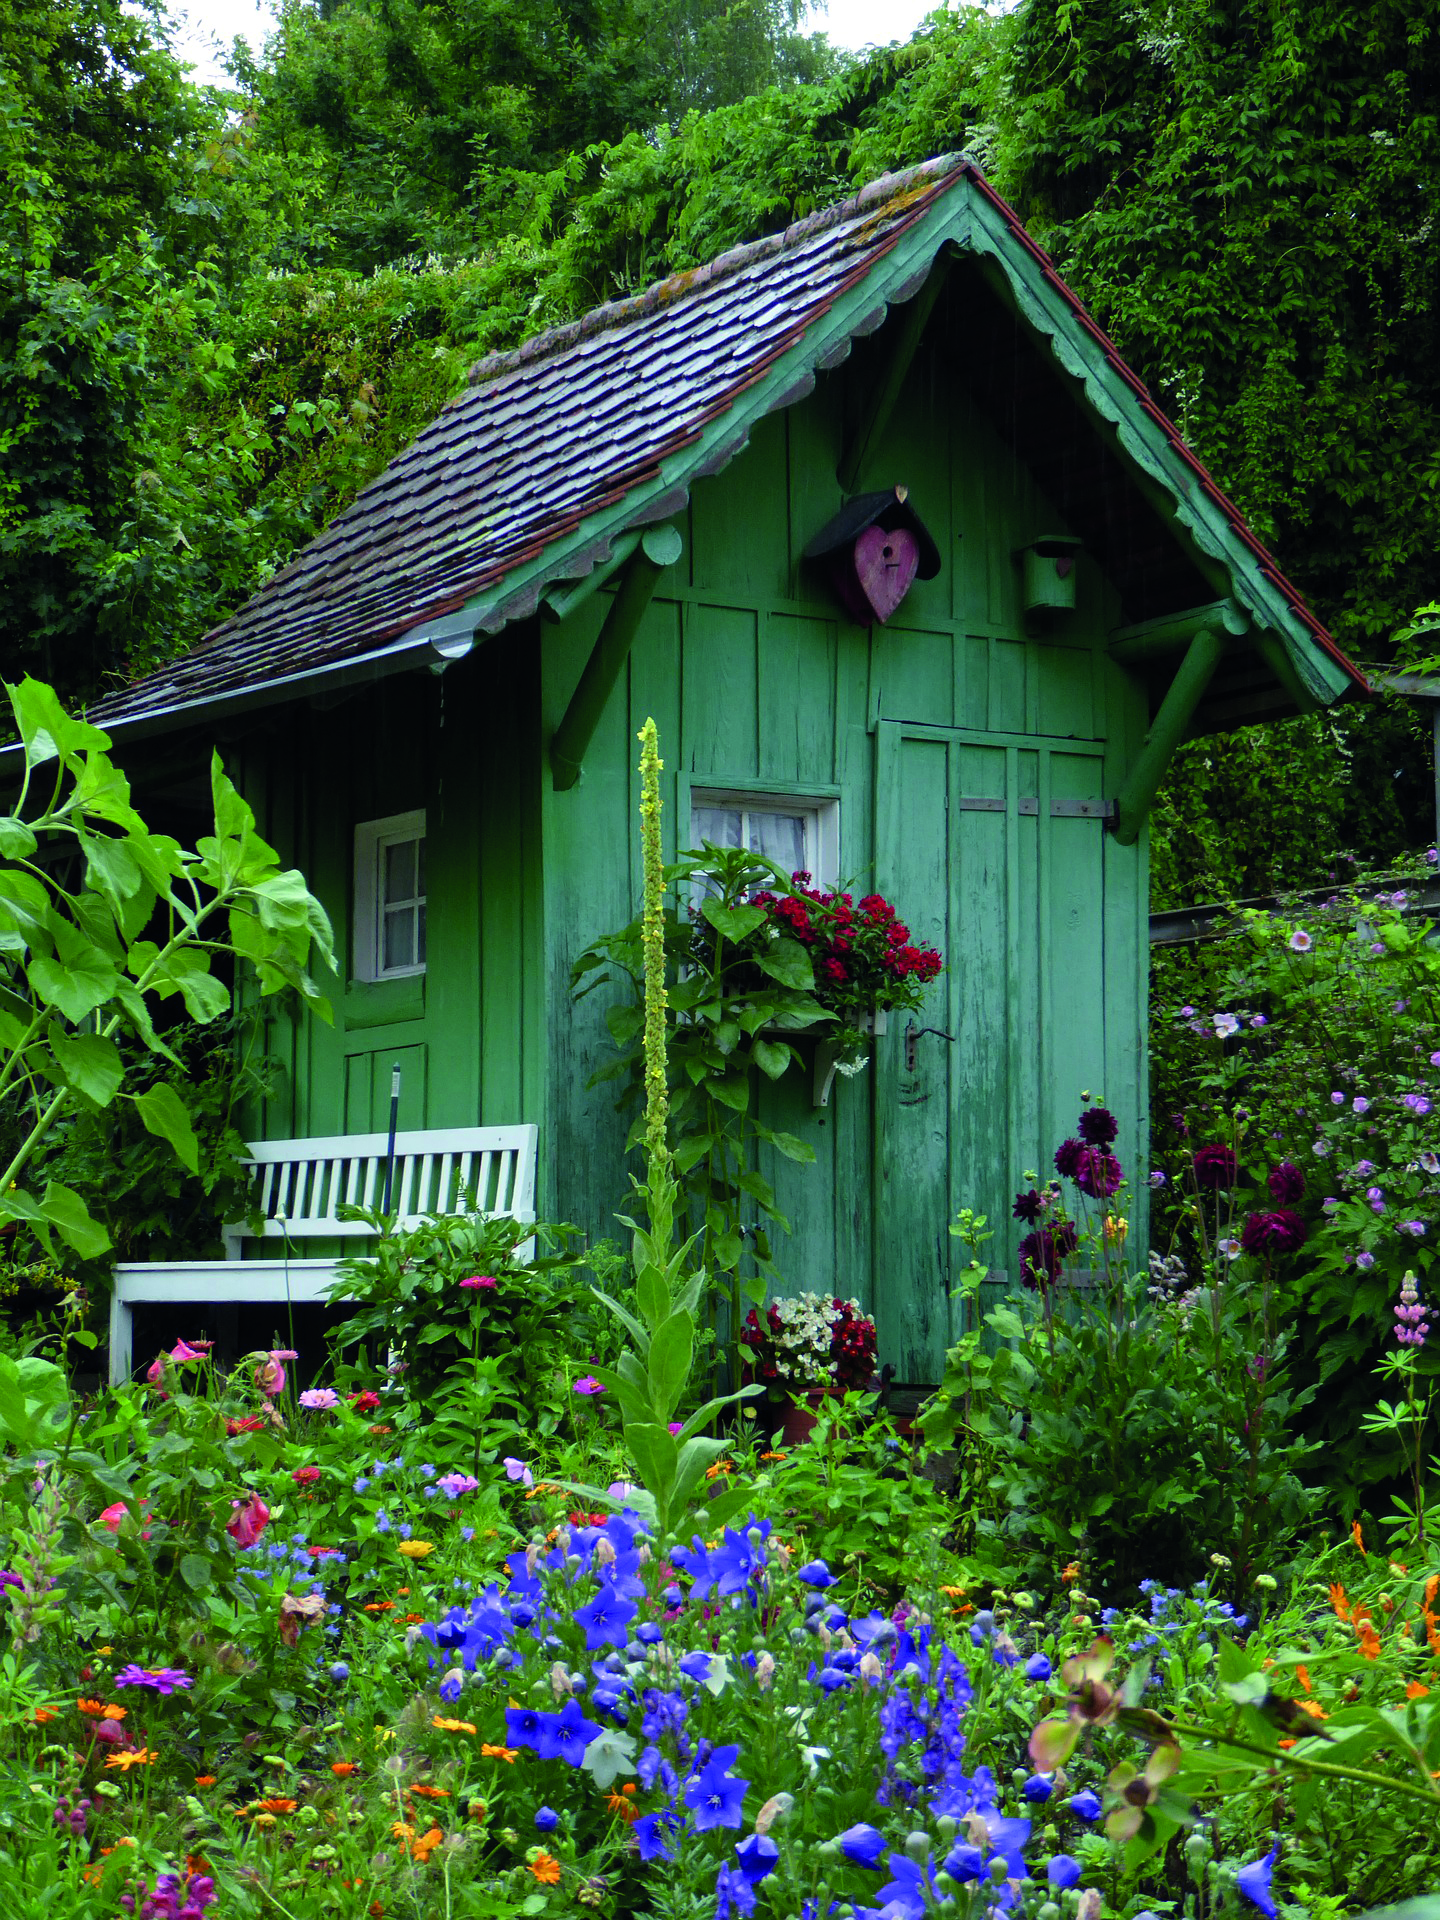
The garden shed, once a cheap, simple, functional outhouse in people’s gardens has taken on an almost iconic status in the minds of many. Because for some a shed has become a refuge from the world where they can escape, the cult of shed owning has spread around the world. There are websites, clubs, magazines and books on the subject that 50 years ago would have seemed improbable, or even preposterous.
But buying the right shed takes a little thought, so it’s worth taking care before dashing off to an eager salesman keen to close a deal.
Do you need planning permission for a garden shed?
Planning permission is not usually a problem if the shed has a floor area of less than 30sqm (NI) / 25sqm (ROI) but as always with new buildings, it’s best to check your local planners’ views as these vary across the island.
Don’t make the mistake of thinking that because you’re replacing an existing shed with a similar-sized one you’ll be OK. You may not be, as regulations may have changed over the years. If in doubt, always ask before you build. In general, a shed should:
- Only be single-storey.
- Never be placed in front of the main building line.
- Be no higher than 2.5 metres at the eaves.
- Be no higher than 4 metres, for a pitched roof with a ridge (3metres for a mono-pitch).
- No higher than 2.5 metres if placed less than 2 metres away from a property boundary.
- Not be erected without permission within the curtilage of a listed building. If you live in a Conservation Area or an Area of Outstanding Natural Beauty always speak with the planners.
- Be used only for leisure or family purposes. If you intend to use it for business, especially if this will entail visits by members of the public, then you must get planning advice. In ROI garden sheds are not to be used for keeping animals.
- Be a reasonable size. In theory ‘no more than half of the area of the land around the original house can be covered with additional buildings’. This constraint rarely proves to be a real issue. In ROI the floor area cannot be more than 25 sqm without planning permission.
- Comply with full building regulations if its floor area is larger than 15 sqm or it has sleeping accommodation.
Garden shed types
Sheds are generally made of one of three materials.
Metal sheds are built from thin sheet metal (galvanised steel, aluminium or corrugated iron) attached to a metal frame. They’re relatively inexpensive compared with timber versions, are easy to assemble, are very secure, come in many colours and need little maintenance. Their walls are thin, though, and can be easily dented. In cold climates they are not strong enough to carry much of a snow load. They are also at risk from high winds as they are so light compared with timber sheds. For this reason, they are usually bolted to the ground in exposed situations.
Plastic sheds come as kits using heavy moulded plastic such as uPVC and polyethylene. These UV-resistant polyethylene components make plastic sheds stronger, lighter and more durable than timber equivalents and they’re also more resistant to chipping and denting than timber. They need very little maintenance.
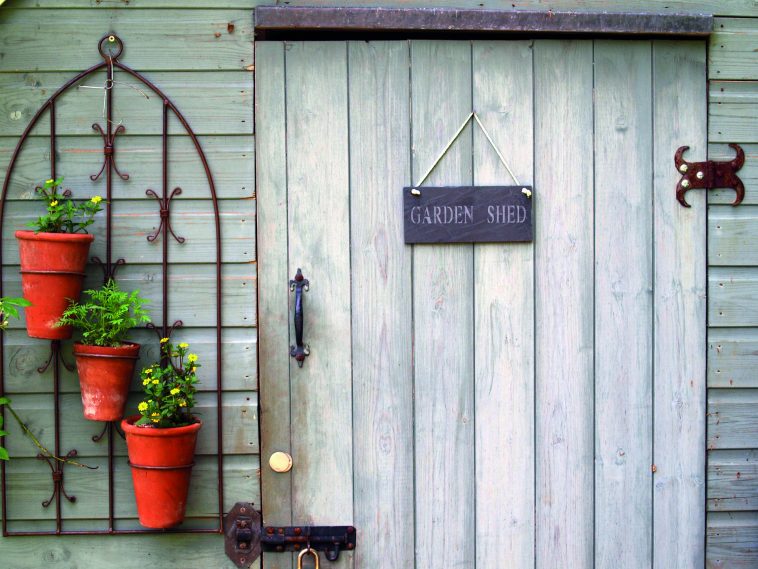
Timber sheds are, to many people, the most aesthetically pleasing type partly because they look like small houses. They blend in well with their natural surroundings. However, over time the wood can warp, rot, split, discolour, and sustain mould and moss growth. They need regular maintenance. You’ll need to keep the walls and roof free from vegetation, ensure the roof drains well away from the walls, that the base is not resting in water, and so on. Sheds made from pressuretreated timber, well looked after can, however, last for decades. Some suppliers offer modular shed kits that allow you create an almost bespoke layout.
Once you’ve decided on the looks, style, and material of your shed there are only two other things to consider. First: The walls. Planks that overlap one another look traditional and more rustic but aren’t as effective at keeping water and wind out. Tongue-and-grooved timber walls are better built and more weathertight but more expensive.
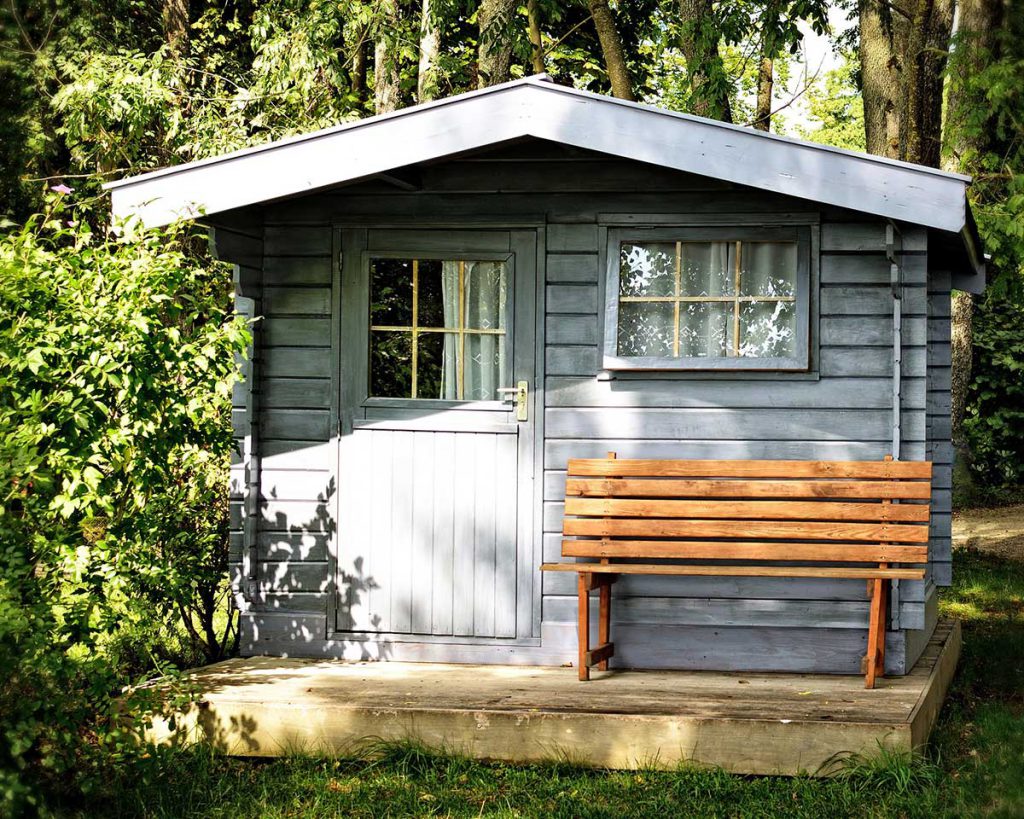
Second: The roof. This makes a huge difference to how the shed will look in your garden. A roof with an apex (like a house) looks best and means there’s space for storage up there, allows you to stand tall items on the floor, and is more comfortable if you yourself are tall. Mono-pitch roofs drain water off very effectively and can be more pleasant for your neighbour as you can start this type of roof at the same level as their fence top. Flat roofs are best avoided as they tend to leak and reduce the headroom.
Where to put your shed
Choosing location and shed go hand in hand. Decide first what kind of structure you want, what its function will be, how you’ll access it in bad weather, how you’ll get electricity and broadband to it (if necessary) and where it could go. Then look at what’s available for a price you can afford. Preferably see it in the flesh, as things can be very different in reality from how they appear online.
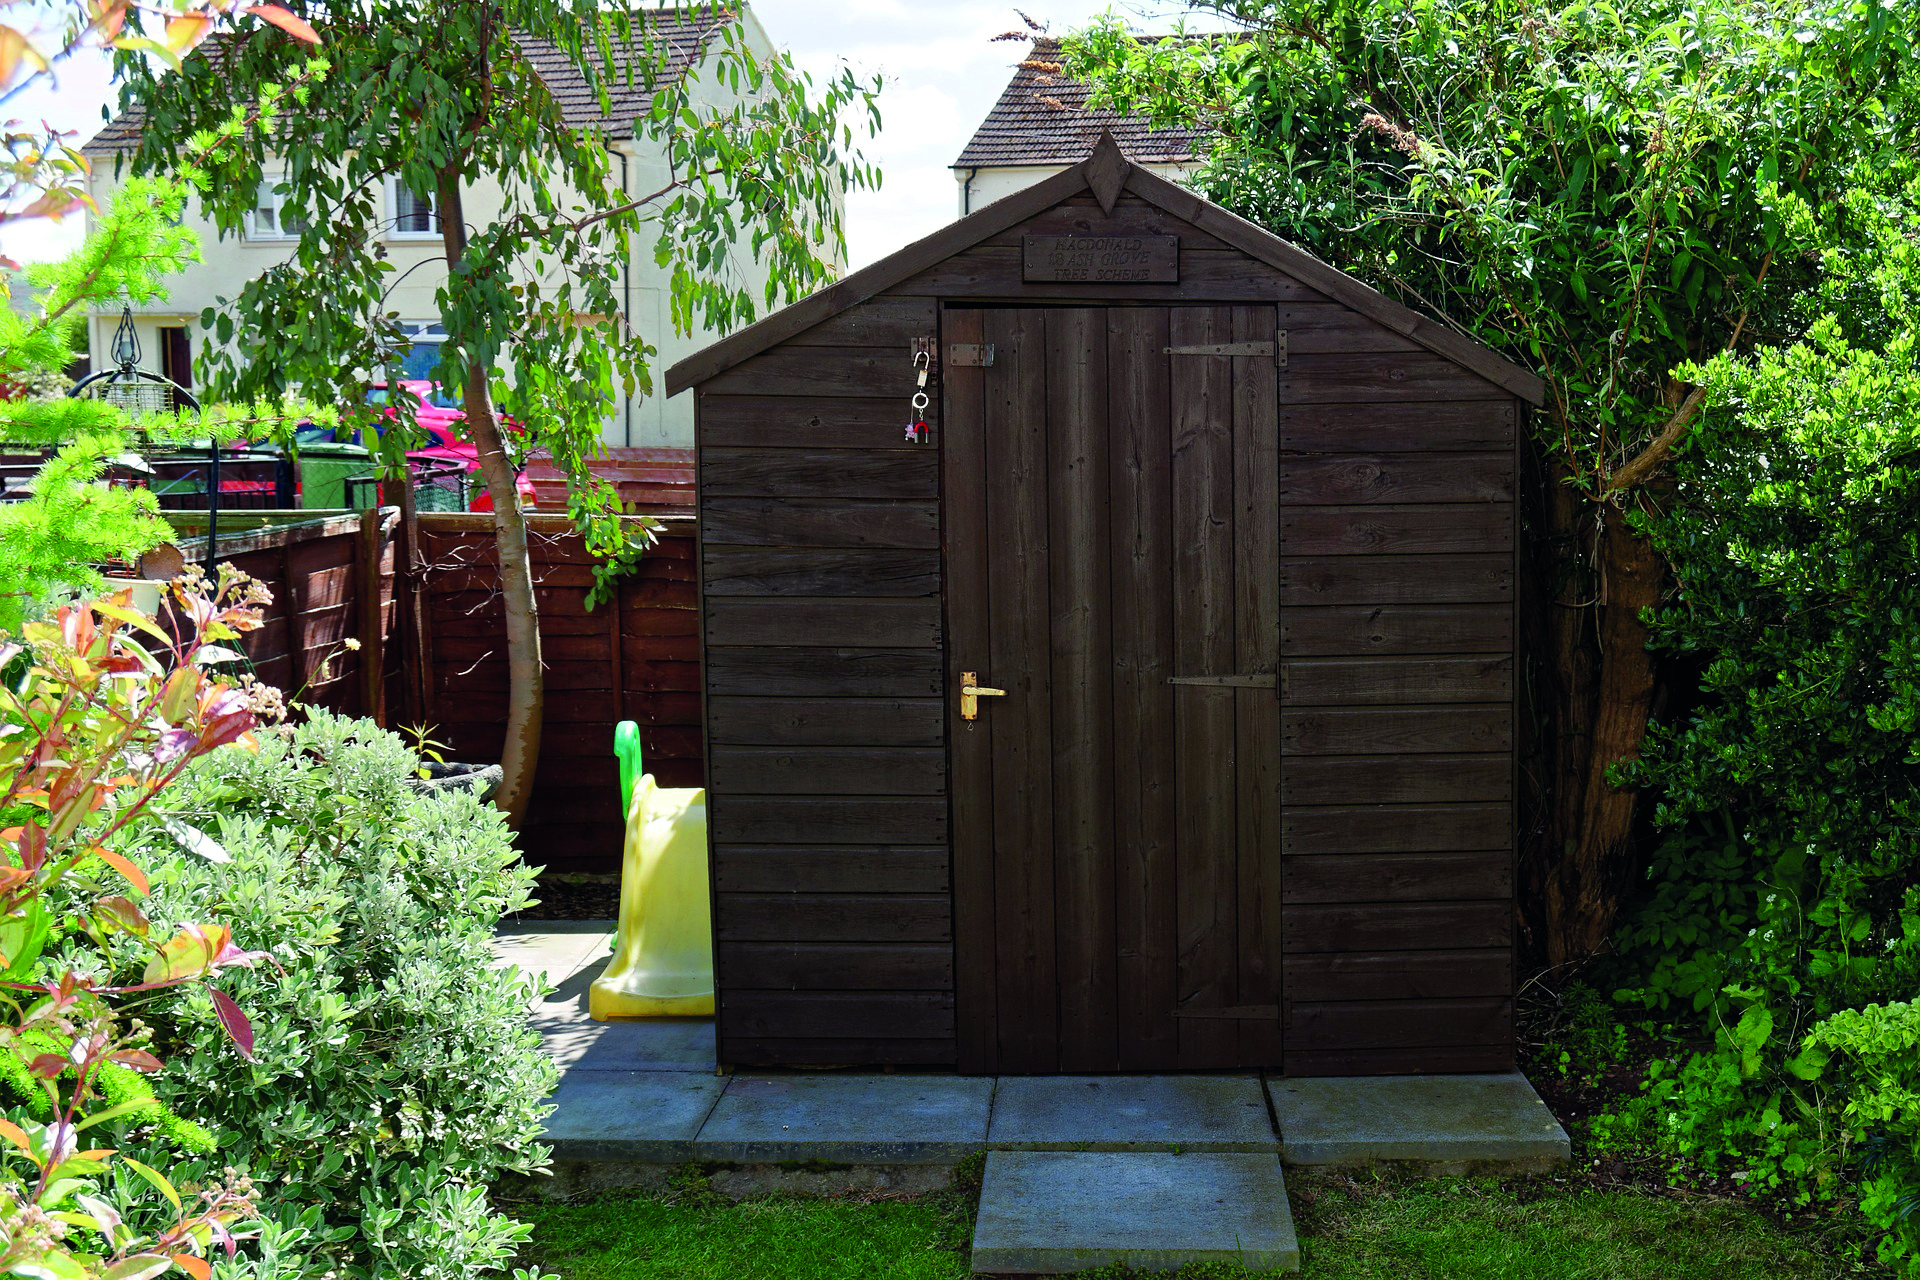
Choose your site carefully, before starting. Most people like to tuck their shed away in a corner so it doesn’t intrude too much on their garden’s aesthetics. Obviously if you are aiming for a high-end, summerhouse or a ‘garden palace’ you’ll site it where this makes most sense.
Avoid land that is poorly drained as this could create stability problems later. Be aware of what could happen as overhanging trees grow over the years. Allow plenty of space (about a metre should be fine) between your shed and surrounding boundaries, for future painting of the shed and easy access to fences, walls, hedges and so on for their maintenance. Siting the shed in the lee of an existing wall, hedge or other protecting structure can help lengthen its life.
If you intend to put your shed up against a boundary, talk with your neighbours to get them on side.
Construction
Like any built structure, your shed will need a foundation. Depending on what you intend to use it for this can be any simple, stable, flat surface, but for best results it’s sensible to create a new base that’ll not only support the structure safely but could even form the floor of the final shed. You’ll need to have decided on your shed and know about its structure before you start any sort of base work. Some sheds come with an integral base or base kit.
Timber sheds with a timber base need to be raised above the concrete or other base so they don’t get water-logged. Whether you assemble your shed yourself or have the supplier do it for you, you’ll need a sound base on which to work. Some good suppliers also offer a base construction service. For large log cabins or summer houses this could be a wise move.
At the simplest level, making your base could be achieved by laying concrete paving slabs on a properly prepared (a compacted shingle, then sand) base taking the slabs well outside the final dimensions of the proposed shed. It can make sense to extend the base in front of the entrance door to make a pleasant, mud-free area.
For larger sheds that require a proper concrete base, the method is simple. If your shed would benefit from (or actually needs) bolts to fix it down then it makes sense to have the shed’s base to hand so you can plan where to site your foundation bolts as you make the concrete slab on which it’ll stand.
- Mark out the area with strings and dig out to a depth of 150mm. Increase the depth to 250mm around the edges for a width of about 150mm to create an ‘edge beam’.
- Once you are certain of your dimensions (allowing for a good safety margin around the base of your proposed building and perhaps even a small extra area by the front door) and have checked everything is square, get your timber merchant to cut lengths of timber to make the ‘box’ edging that will contain your concrete.
- Install the edging boards, checking all your dimensions again, ensuring they’re well pegged to keep them stable.
- Cover the whole area with 50mm of small stone or large gravel and compact it well. Unless your shed is going to be very small it makes sense to use a steel mesh to strengthen the concrete slab. Talk to your builder’s merchant about what gauge this should be for the size of your building. If it’s only a small shed, chicken wire will do.
- Place the mesh on small blocks of brick or stone to raise it above your gravel base by 30-50mm then pour your concrete. Make sure the concrete isn’t too wet as this reduces its strength. Tamp down the concrete using a long stick across your edging boards (this may need two people), ensuring that it fills all the corners, and scrape the surface nice and level.
- Now’s the time to set your anchor bolts into the concrete, guided by the exact positions you’ll have calculated from having the base units of the shed with you already. These bolts will need pushing into the concrete while it is still wet.
- Allow at least 24 hours for the concrete to cure, then gently ease off the edging boards and allow the whole thing to dry out for another 48 hours before doing anything on it.
- If you’re expecting sun or frost, cover the concrete while it cures.
Although it’s possible to have a carpenter design and build a shed from scratch, to your exact dimensions, window sizes, exterior detailing, door openings and so on, the vast majority of sheds today are sold as kits that can be assembled in a very short time by the customer, the supplier, or a tradesman by following the instructions.
If in doubt, always have a helper with you for safety as you lift and install the panels, especially when you’re doing the roof. Many people who will never build an actual house get a huge delight and a sense of real achievement from building their shed.