In this article we cover:
- Why they undertook a kitchen renovation and insulation upgrade
- Details of how the house was built and decades old windows upgrade
- Unusual choice of insulation material
- How they installed the aerogel insulation
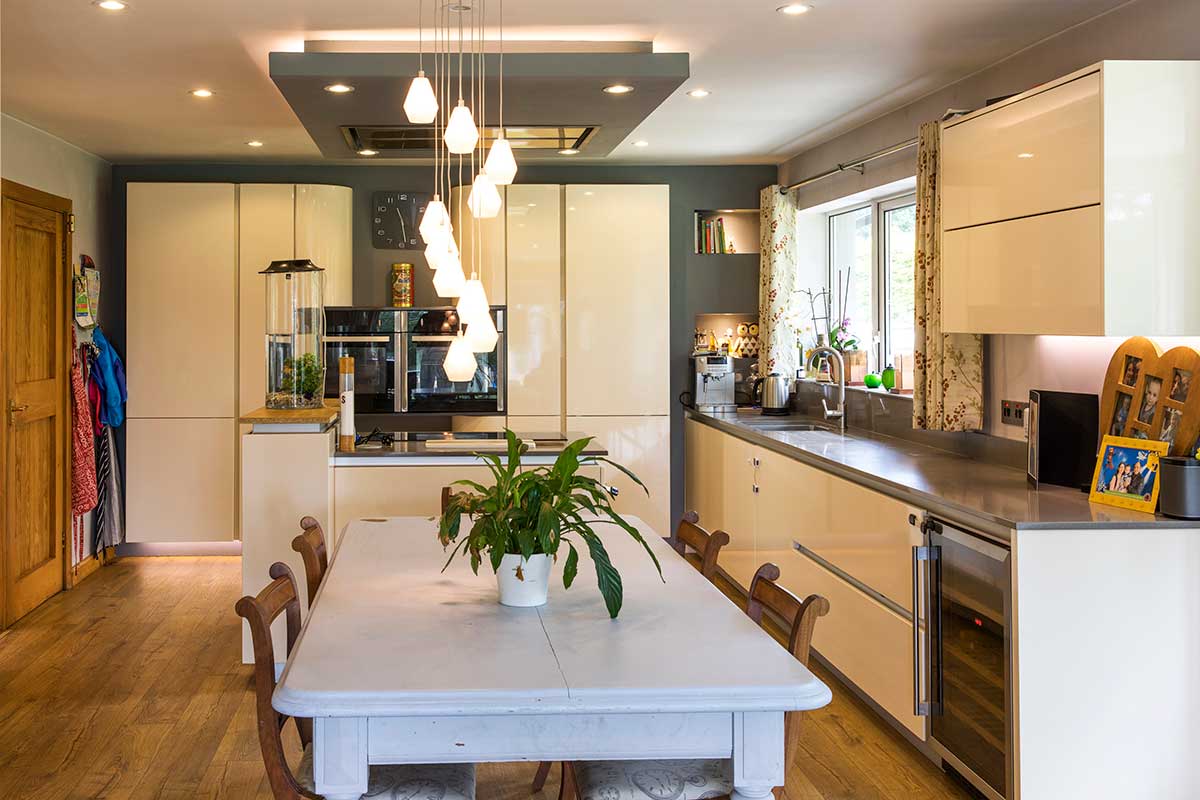
- Kitchen open plan design and storage solutions
- Uncovering defects as they went along and how they tackled them
- Kitchen design for family life
- Budget friendly finishes in the kitchen for durability
- Top tips for a successful kitchen remodel
- Timeline, supplier list
House Size Before: 119 sqm
House Size After: 144 sqm
Plot Size: 530 sqm
Building work: replace and insulate floors, insulate walls, replace kitchen, knock down wall between kitchen and living room
Insulation: Aerogel wall insulation 10mm to achieve a U-value of 0.8 W/sqmK
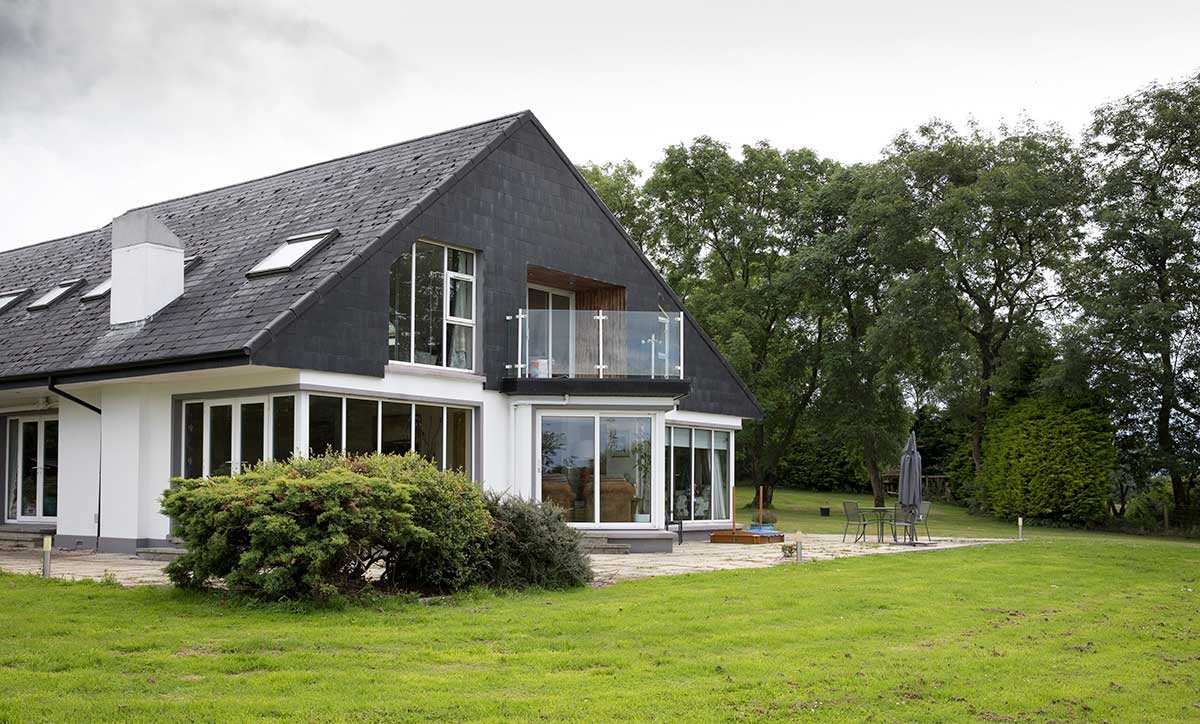
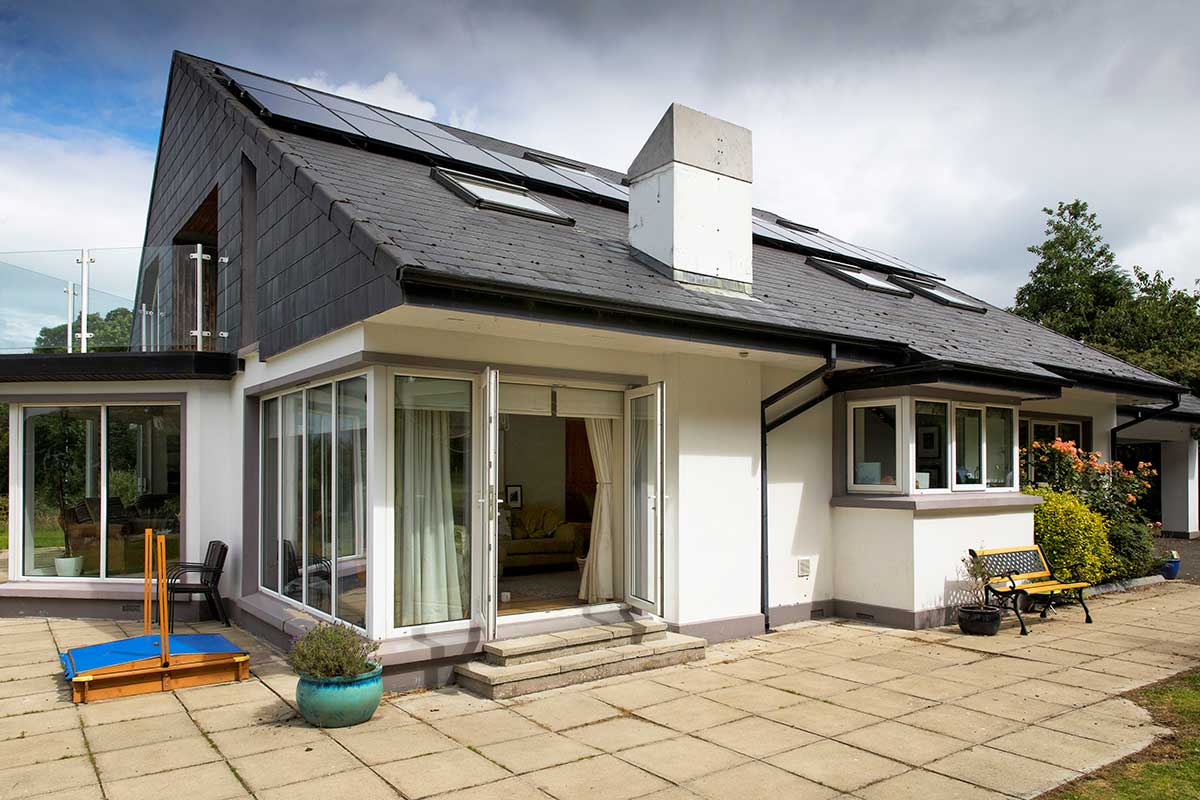
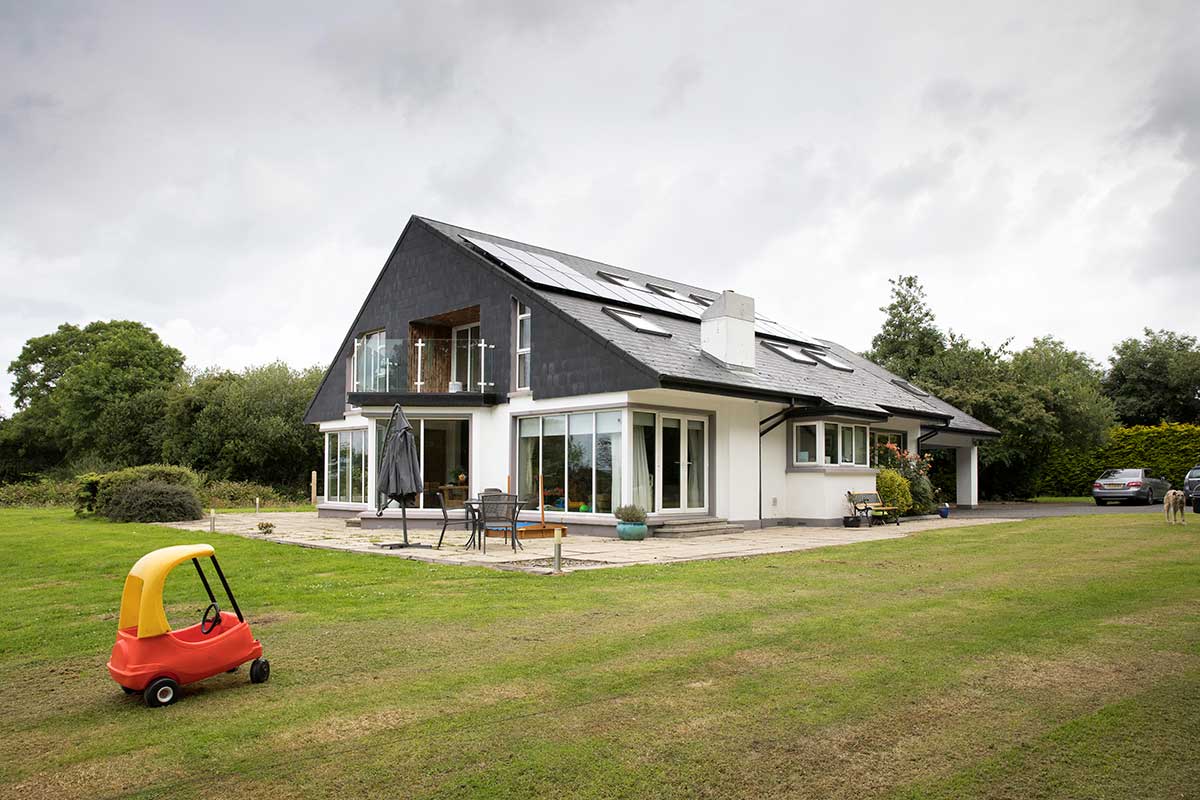
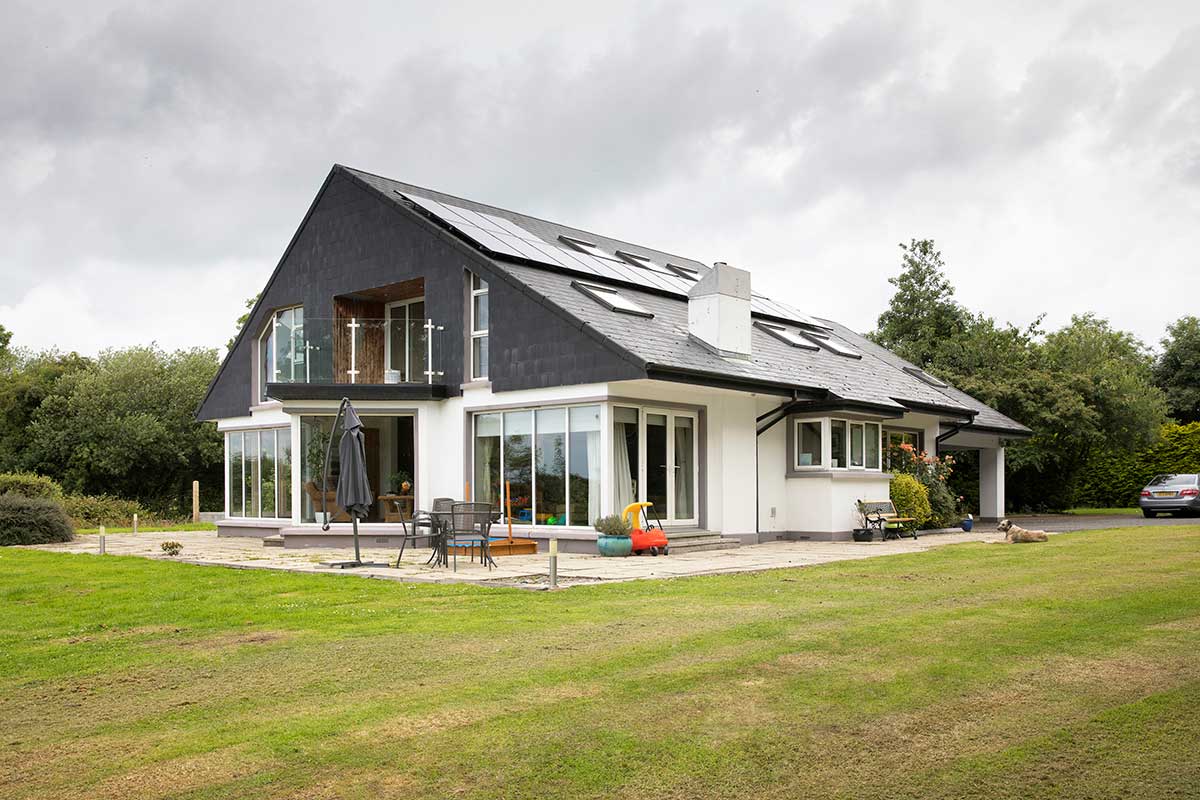
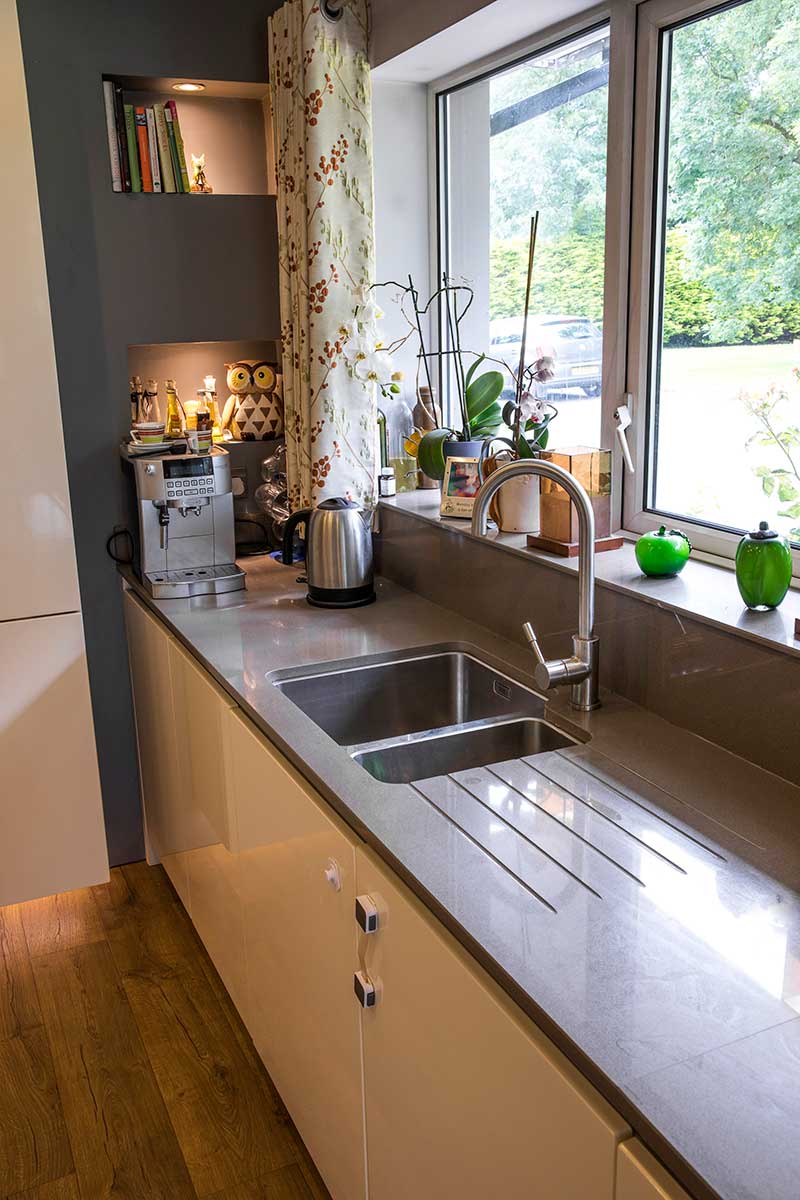
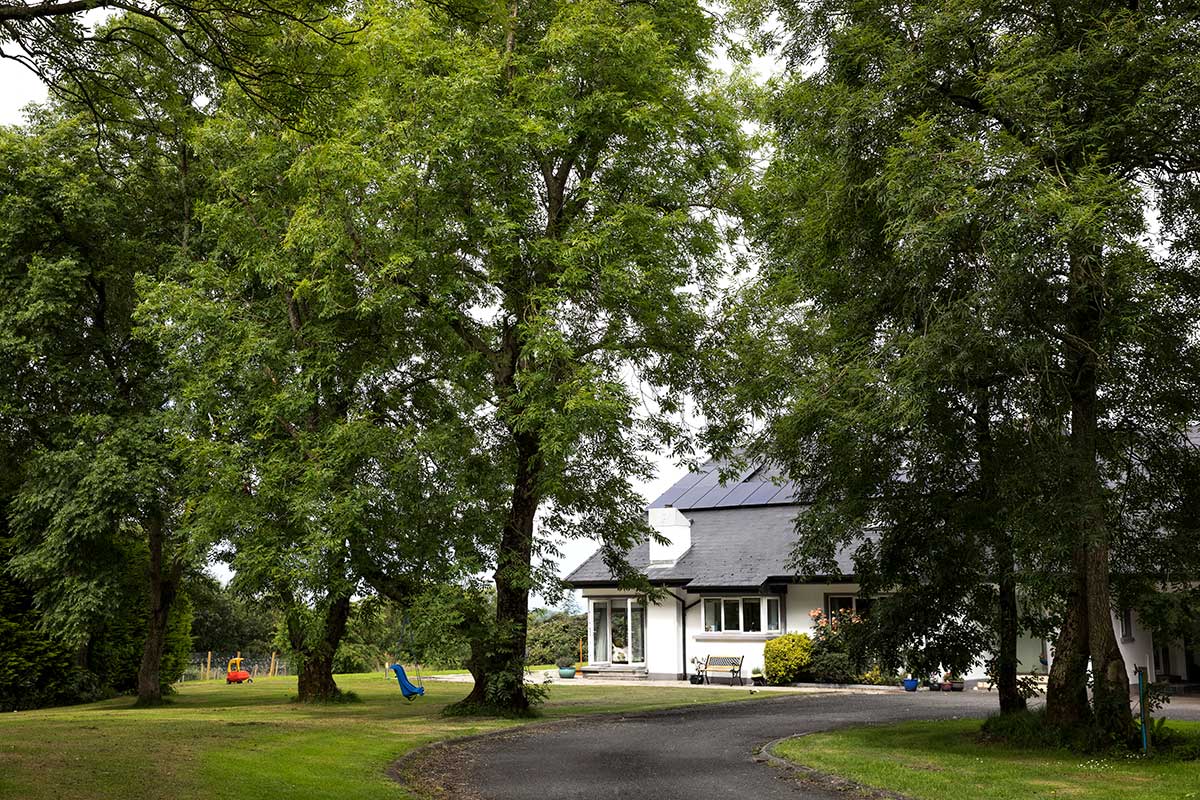
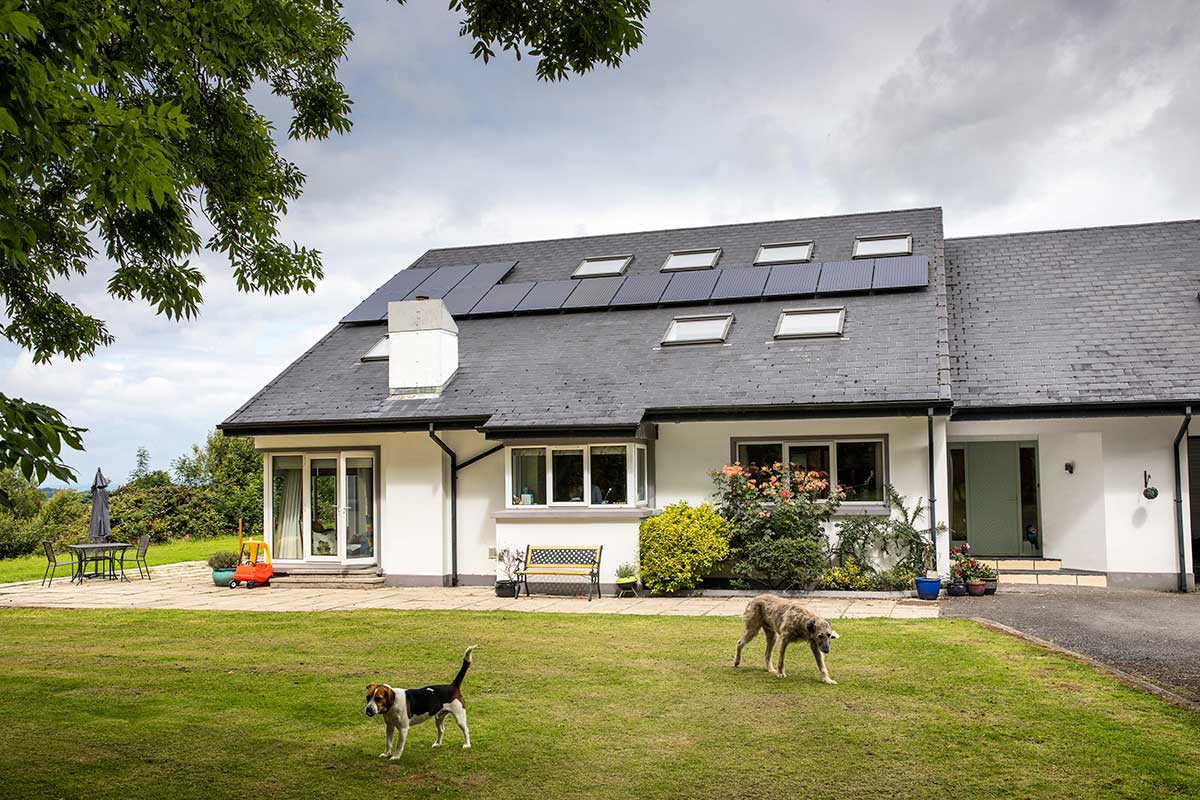
“The kitchen used to be very cold,” explains Grainne McCloskey. “That part of the house wasn’t well insulated and the windows seemed to be contributing to that feeling. They were installed when the house was built in 1991, and there are a lot of them, all double glazed. Our concern was the cost associated to replacing them all, it would have been prohibitive.”
“So we decided to keep our original windows and insulated the walls instead,” adds her husband Connor. “This helped us keep the costs down and made a huge difference to how comfortable the space now is.” Connor and Grainne found their insulation supplier at Selfbuild Live – the solution consisted of aerogel instead of pumping beads into the cavity walls or insulating with mineral wool, PIR or PUR. “It’s so good it’s used in outer space,” says Connor.
In a roll form it’s flexible, thin and able to go around corners to reduce cold spots or thermal bridges. It also comes in sheets of insulated plasterboard which makes installation easier on long stretches of wall. Applied on the inside walls, the couple also had to invest in redecorating and took the opportunity to put in new flooring too. Aerogel was used under the new floor without having to significantly alter the doors doors and it was also and it was also used on the ceiling without having to worry about losing much height.
‘We looked at magazines and attended expos such as Selfbuild Live.’
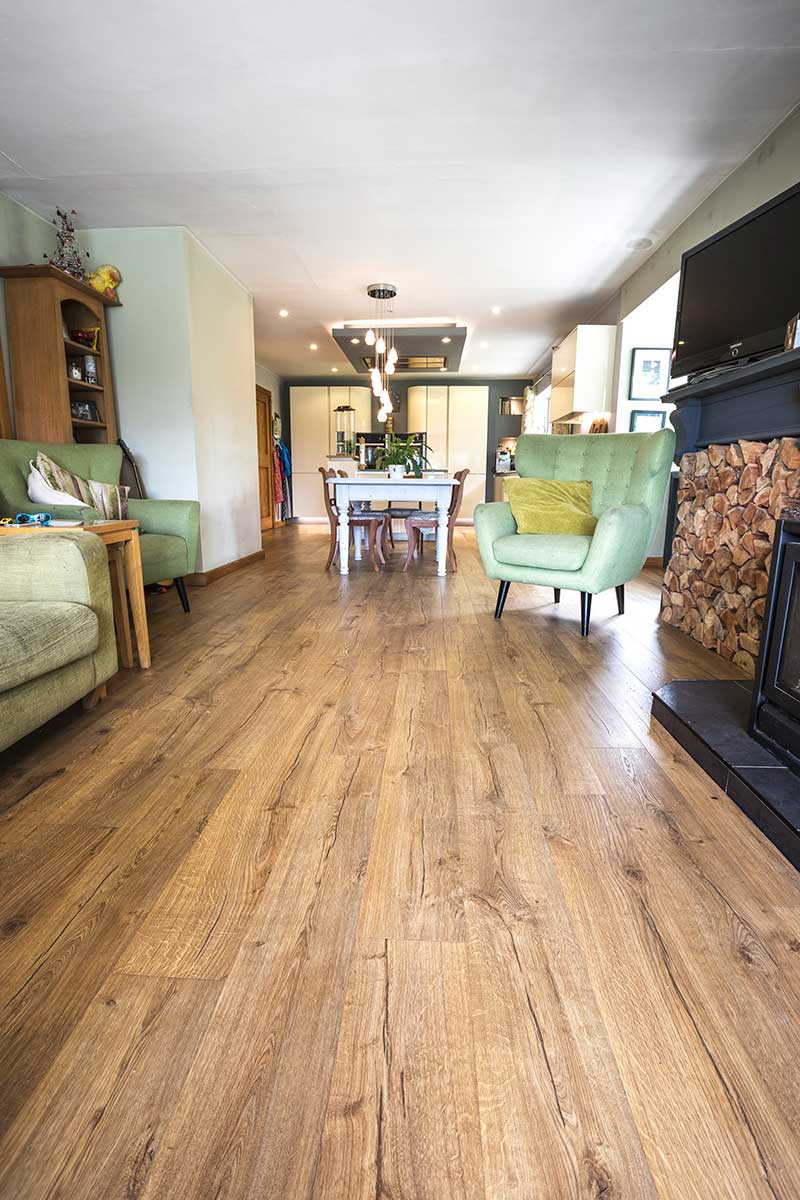
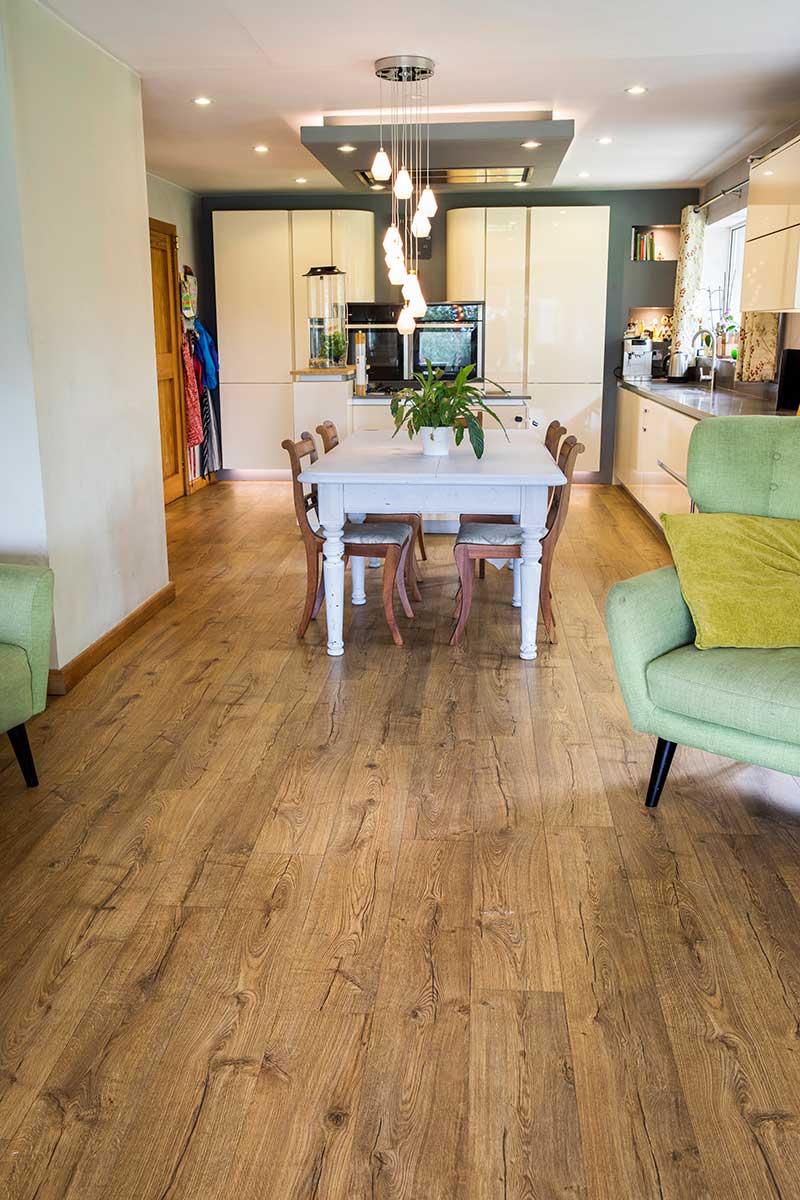
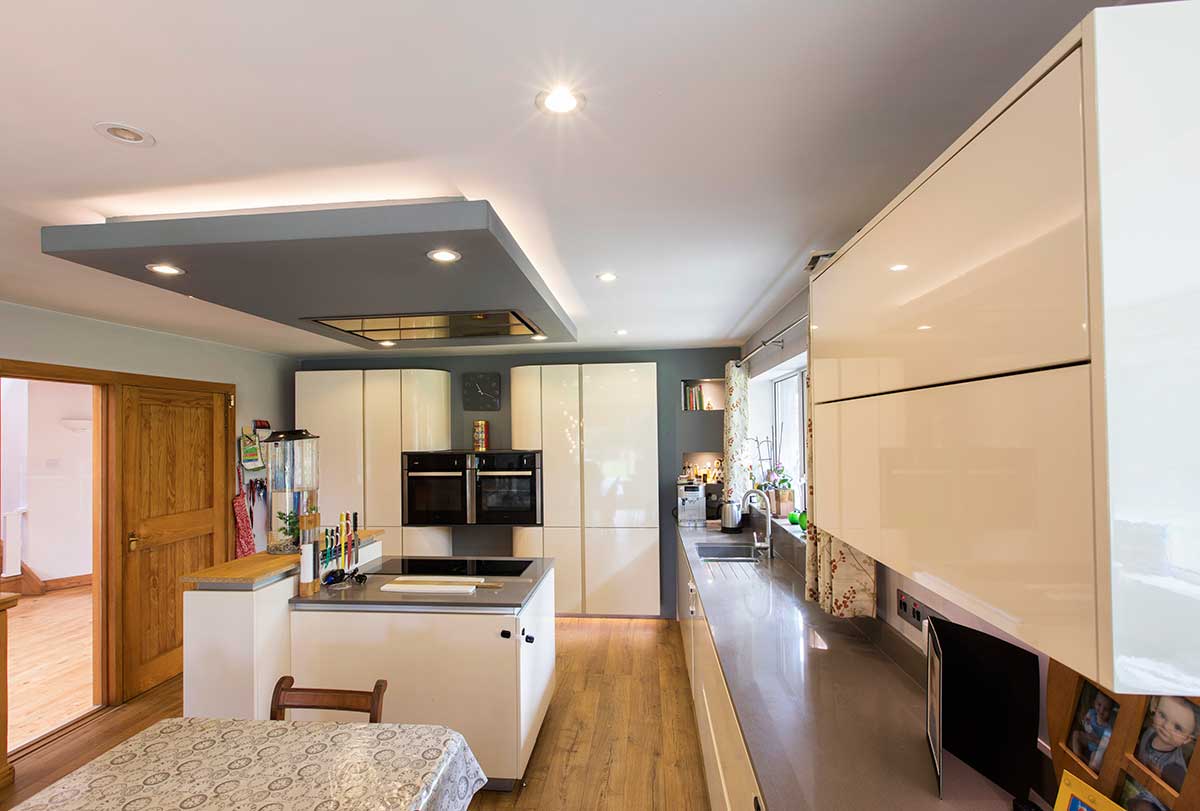
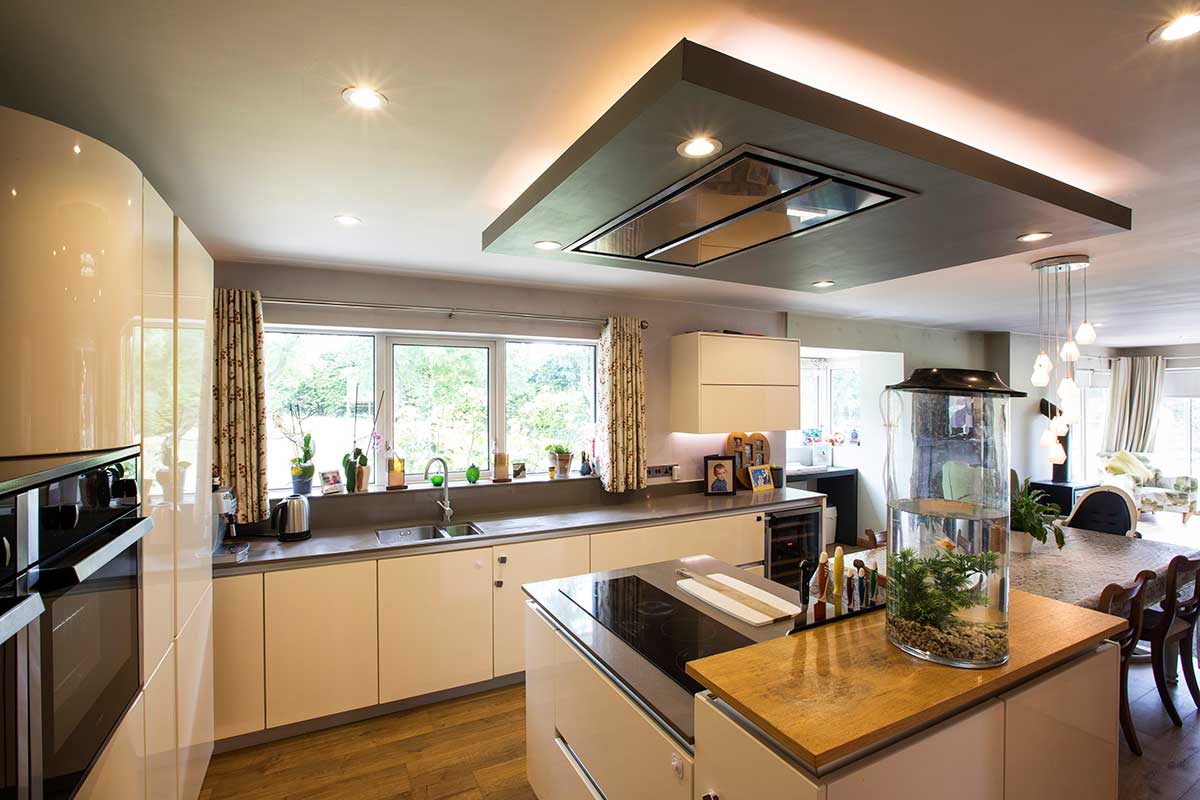
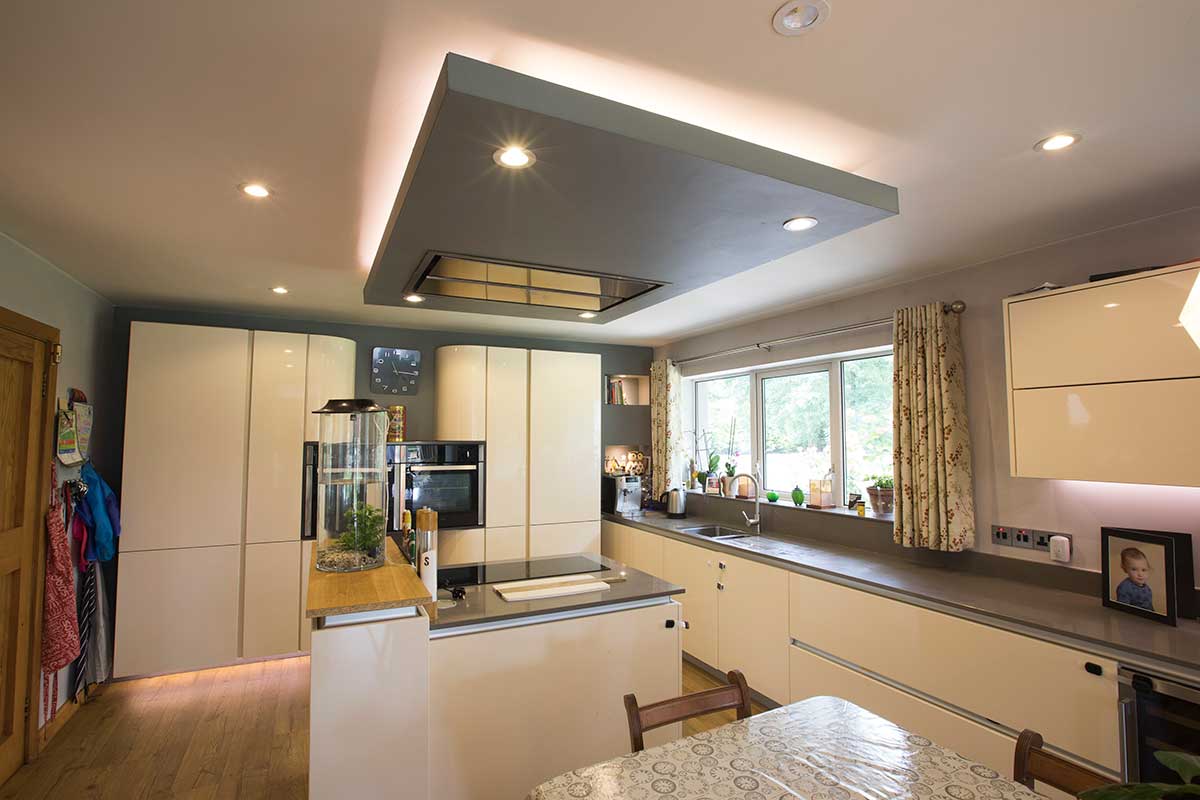
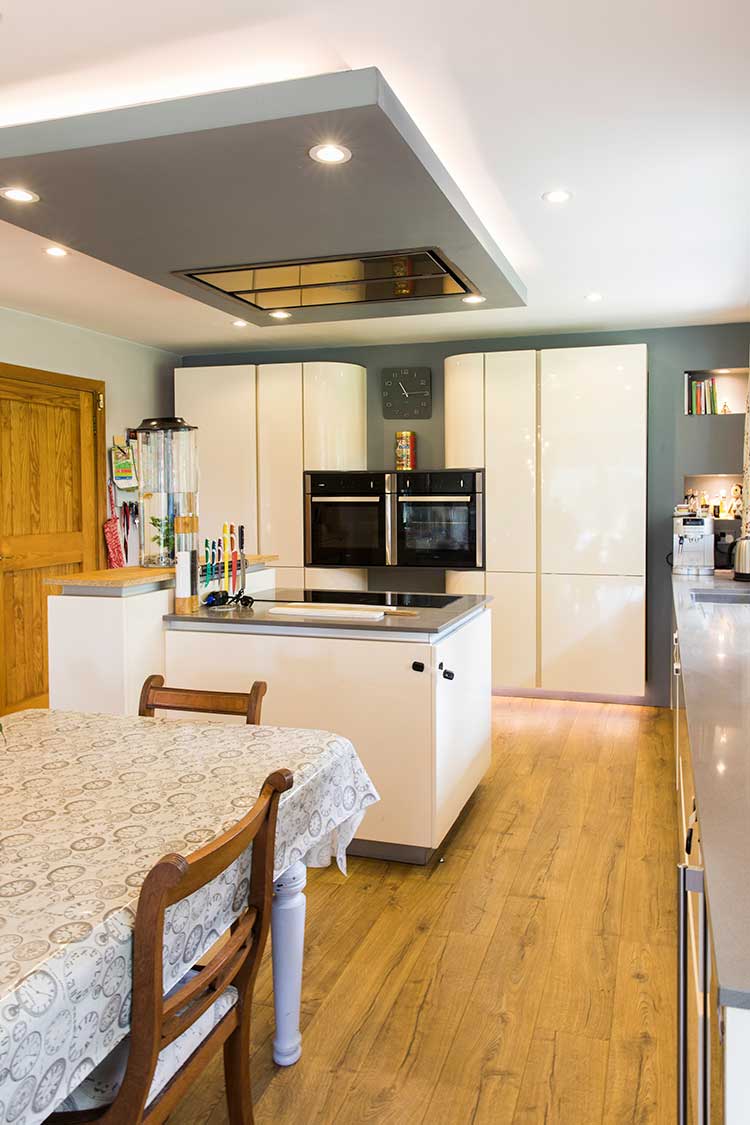
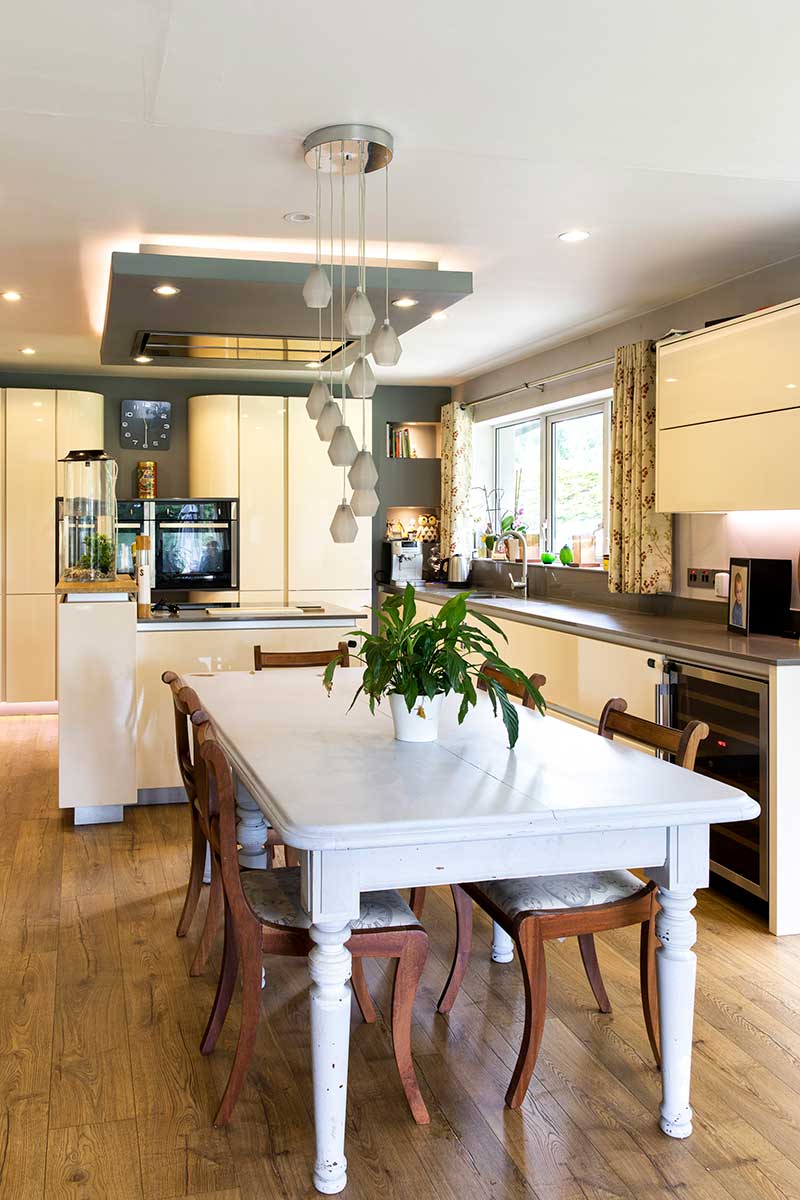
Connor owns a specialist insulation installation company which carried out the upgrade. But at the core of the project was not an insulation upgrade. Instead what drove their decision to remodel was, as is often the case, changing needs. “With the family expanding we wanted a more inclusive living/dining/ kitchen area so the idea of knocking down the wall between the living room and the kitchen made the most sense,” continues Grainne.
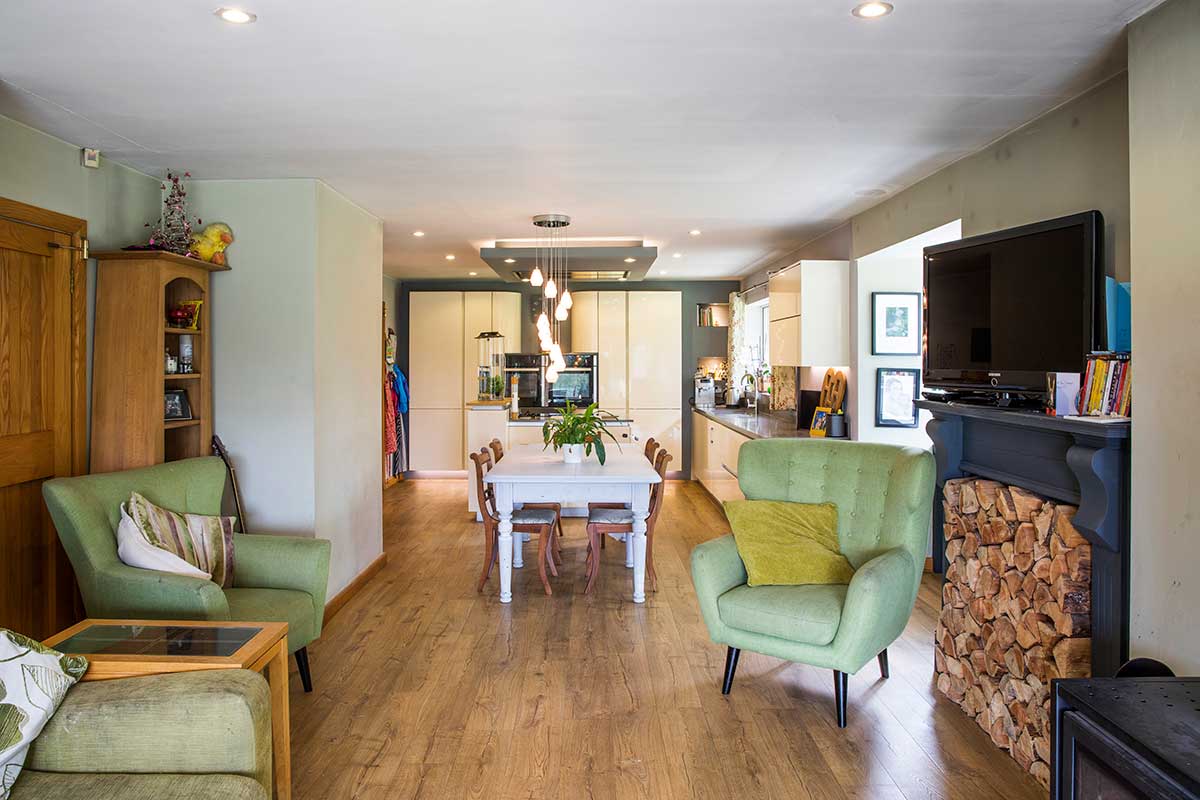
“We have a separate dining room for formal dinners, because with the open plan you do get the cooking smells when you’re sitting down to eat. We felt we could get the best of both worlds with this set up.” “We knew what we wanted in terms of the layout, it was just a question of finding the right person to do the kitchen design,” adds Grainne. “We looked at magazines and attended expos such as Selfbuild Live.”
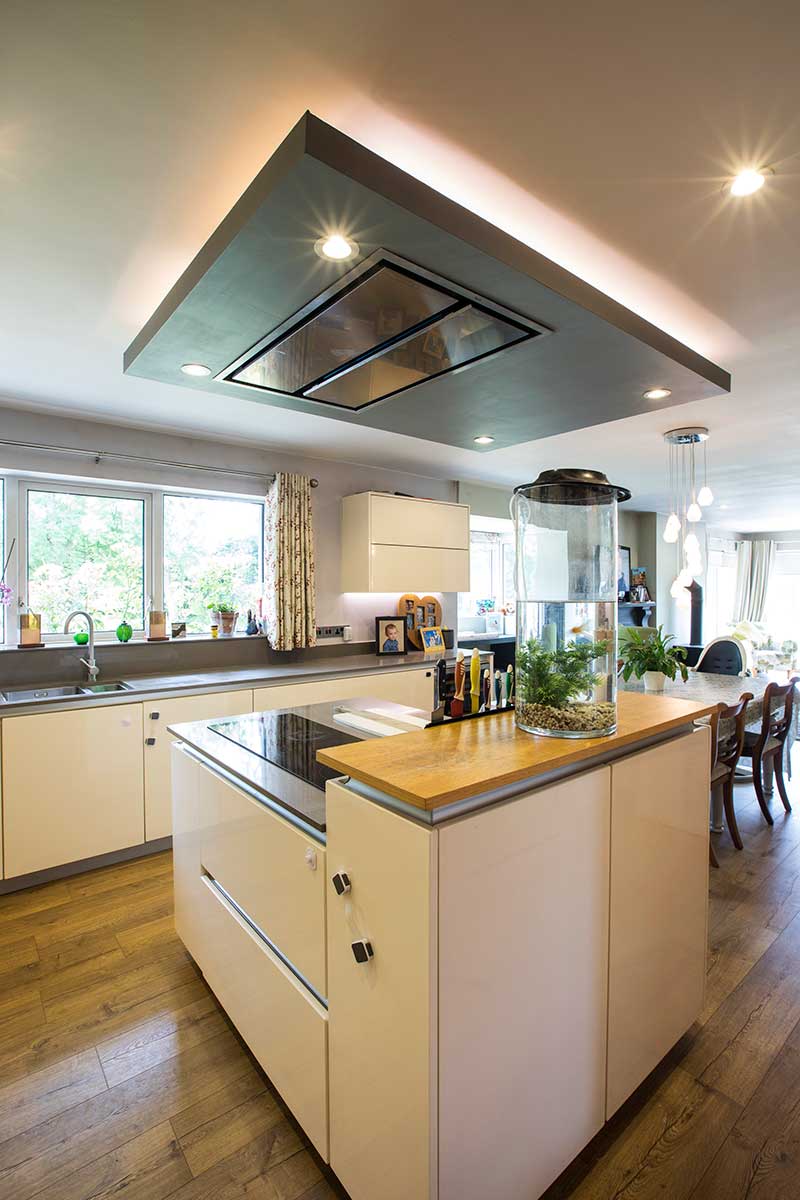
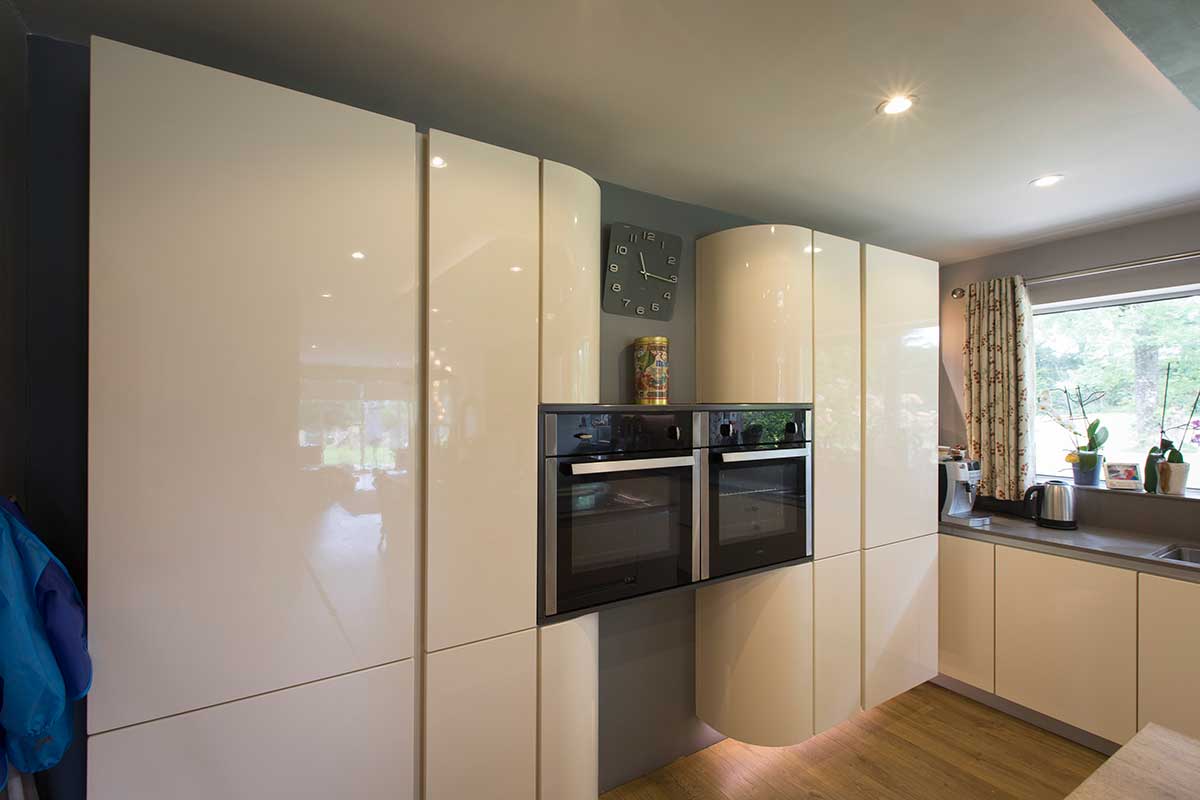
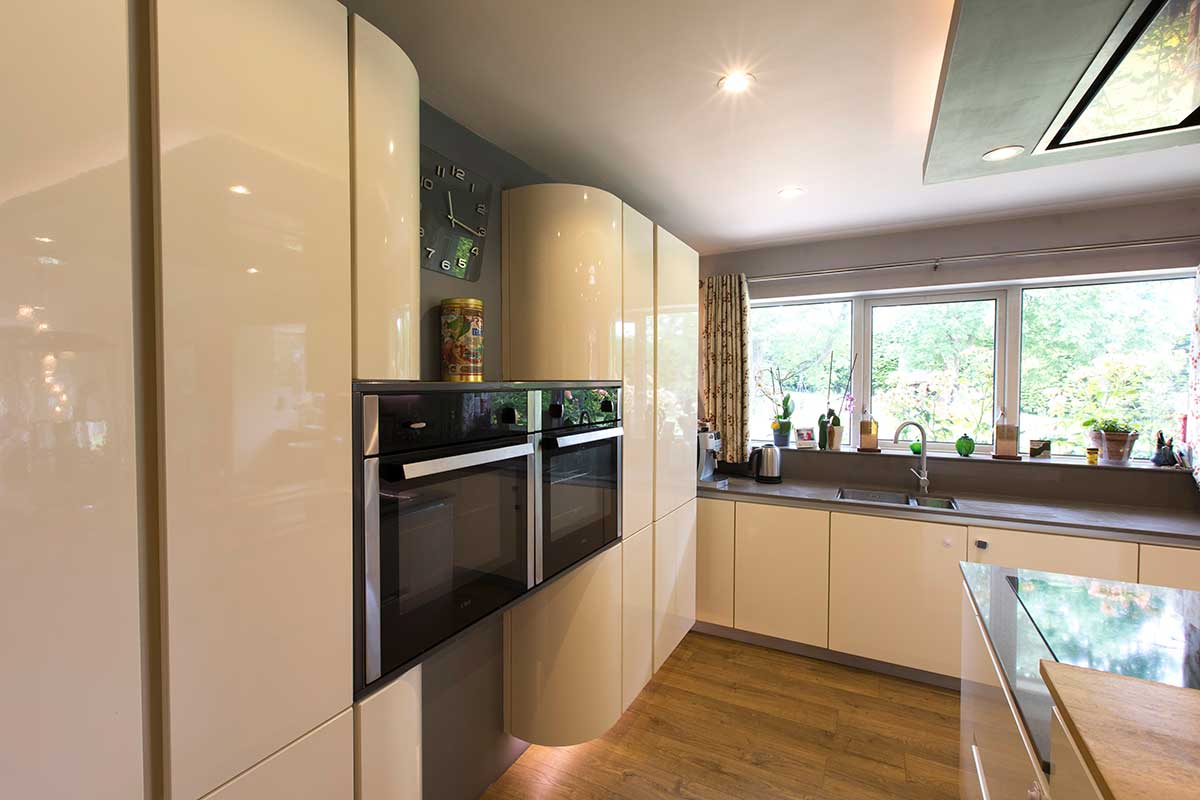
We wanted things that were easy to clean and keep the colour scheme as light as possible. We also went for robust finishes with little children in mind and their scooters knocking into walls.”
“The open plan also really works looking in from the front hall, it makes a greater visual connection to the garden and generally flows better. The children actually now run around a lot more in that space.”
The house that Jack built
“The thing with a refurb is you never know what you’ll uncover,” says Grainne. “In our case we kept finding things to fix before we could get on with the build. The house was well designed but not very well built.” From the start Grainne and Connor had decided to keep their heating system. “The radiators are original to the house, and the pipes not terribly efficient but it would have been quite expensive to do a full upgrade”
“We did however have to move the immersion heater outdoors to make room for the units on the wall, which required some amount of plumbing.” “We also had to do some rewiring in order to move the aerial to the other end of the house, this is when we uncovered random wires going nowhere, which had to be addressed.”
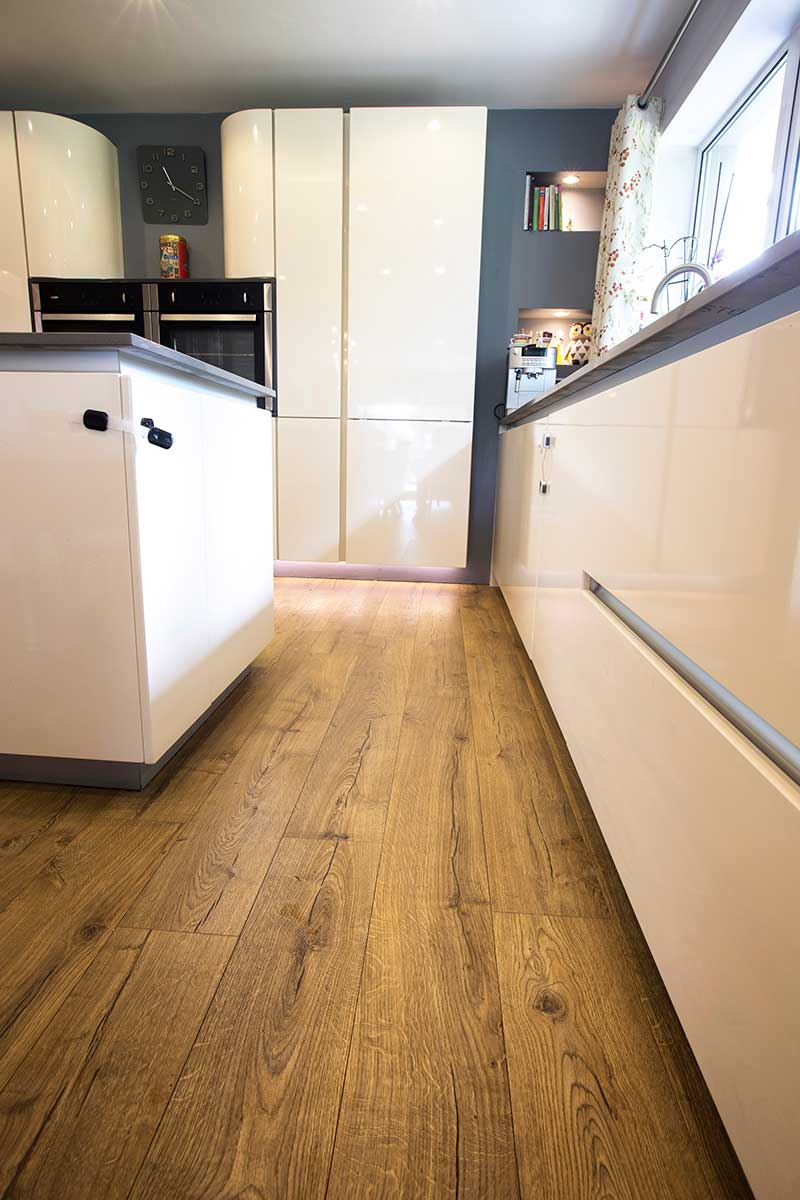
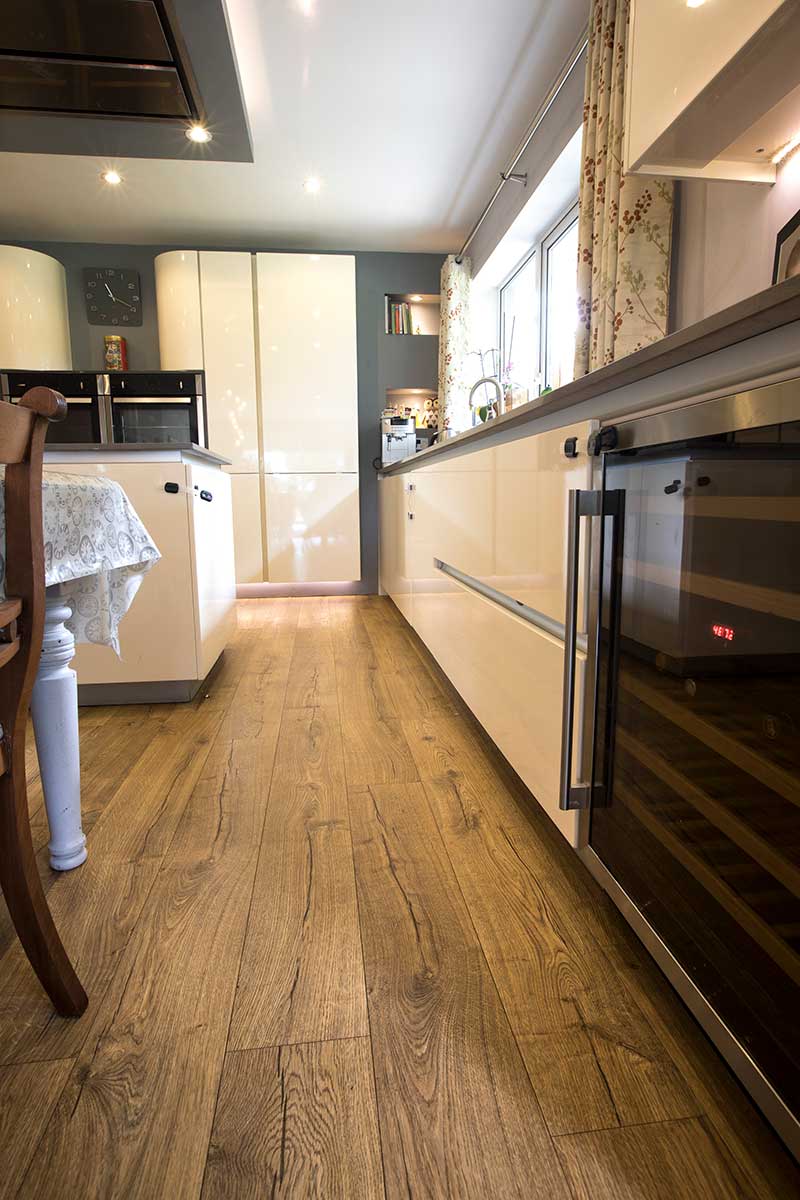
The couple tracked the walls for electrics to help keep costs down. With regards to the floor, they have a friend who sells wooden flooring so they had their supplier all picked out. “We chose an engineered oak finish. We took up the old flooring, put in a layer of screed, levelled it and got the floor installed.”
In total the building phase took about six weeks. “We mostly ate with dinner plates in our hands,” recalls Grainne. “I was pregnant at the time and friends would come around and bring roast chickens. We didn’t really mind that much as the work got done quickly.” In the summer of 2015, the transformation was complete.
Designed for Family
But how did the design come to life? “We saw a kitchen we really liked at Selfbuild Live in Belfast and ended up hiring the designer,” says Grainne. “He came to our house to discuss our specific plans; he had a look around and asked what we liked. We showed him photos and he drew up a few sketches.”
“In many ways, we replicated a combination of two kitchen designs we’d originally fallen for and adapted it to our space,” says Grainne. “The only thing we changed was the dining room table, the one we had originally wasn’t big enough for the six of us.”
The kitchen company was able to take down the dividing wall and take down the ceiling, liaise with Building Control, alter the wiring and plumbing to suit the new layout, and then plaster the room afterwards. “This saved us having to find separate contractors and coordinate the work, Harvey did it all for us instead. The project started and finished on the timescale discussed with the minimum of fuss.”
In the living area Connor and Grainne decided to add a fireplace. “We went to a salvage yard to buy a surround we liked for £35. We just spray painted and latched it on to the wall for effect.” It proved to be especially well adapted to the stove they chose to put it in. “We went with as big a glass as we could get to let in as much light and heat as possible. Although now I admit it can get too warm when fully lit, but then all we have to do is open the door to the hall.”
At the design stage Grainne had in fact wanted to keep a portion of the dividing wall between the kitchen and living area. “We’d marked our first daughter’s growth on it, she had brain damage and died when she was four so getting rid of the wall was difficult. I came to terms with it.” Now the open plan is at the heart of their bustling family life. “We’re always in that space and very rarely in the rest of the house,” comments Grainne. “We really enjoy it.”
Kitchen renovation top tips
Figure out how much work needs to be done.
With an unlimited amount of money you can upgrade the entire house but on a limited budget, it’s important to focus on what will work for you and for the house. For us, insulating the walls was the most important thing to do from an energy point of view. This means we didn’t need to change the windows and were able to invest in the kitchen.
Check credentials.
The aerogel insulation we used is fully BBA certified and the people we hired we either knew or, in the case of our kitchen designer, we checked previous work and spoke to previous clients.
What’s your favourite feature?
I love the fire and looking outside, down to the bottom of the garden. Seeing the children play in the sandpit and enjoying the space out there, while keeping an eye on them, is fantastic. I also love the quality of light we now get in the one room.
What surprised you?
Despite the repeated warnings, no one can prepare you for the amount of dust a building site generates! And the fact that it always takes more time to do things than you’d expect.
Would you do it again?
In a heartbeat. We now spend all of our time in the open plan area, it was well worth the effort.
What would you change?
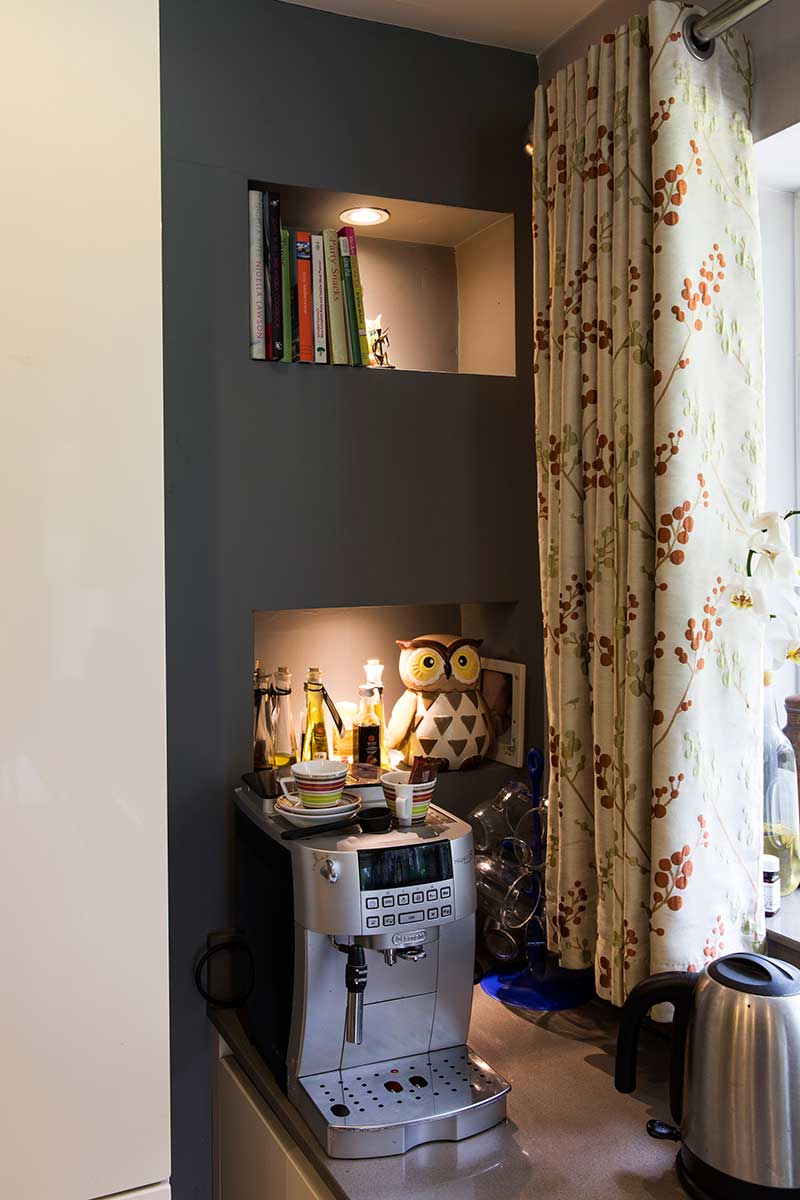
I wish we had gotten a hot water tap to keep the kitchen worktop freer. I might also get pull-out racks for the full height sunken presses at the back wall. It would be more practical than having to reach at the back of the shelf as the cupboard is quite deep.
What advice would you give to someone looking at a similar renovation?
Expect a lot of mess and there to be problems. After that you can’t be disappointed!
Co Antrim kitchen renovation suppliers
Kitchen: Co-Design Interiors, Belfast, co-designonline.com
Insulation: Enviroform, Warrenpoint, Co Down, enviroform-insulation.com
Thermal upgrade contractor: Fabric First Construction,
Photography: Paul Lindsay of Christopher Hill Photographic, scenicireland.com

