In this article we cover:

- How he found the site
- Choosing an architectural designer
- Creating a Values Statement for his architect
- Guiding principles for the house and how that affected design decisions
- House size and budgeting for the build
- Cost details on key elements
- Rainwater harvesting system details
- Top design tips and ideas for a compact home, including storage
- Building methods: exploring the options from volumetric to ICF
- Choice between direct labour and main contractor
- Getting the space right
- External finishes
- Kitchen and bathroom design
- Mechanical and electrical design
- Connecting to services
- Timeline and supplier list
- Floor plans
Contents
Part 1 – Pre Design stage: Part philosopher, part engineer – Skip to Part 1
Part 2 – Design stage: Compact design – Skip to Part 2
Floor plans, specification and suppliers
Part 1 – Part philosopher, part engineer
As published in the Summer 2024 edition of Selfbuild magazine.
Approaching retirement, construction veteran Louis Gunnigan finally got to realise his dream of building his own home. Here he chats about how he got on at the Pre Design stage.
My wife Gaye and I were in rented accommodation and fast approaching retirement. As the rented accommodation market is volatile, we needed to own our home when we reached retirement. And having worked in construction for so many years, building a house was something I’d always dreamed of. It was one of those bucket list projects.
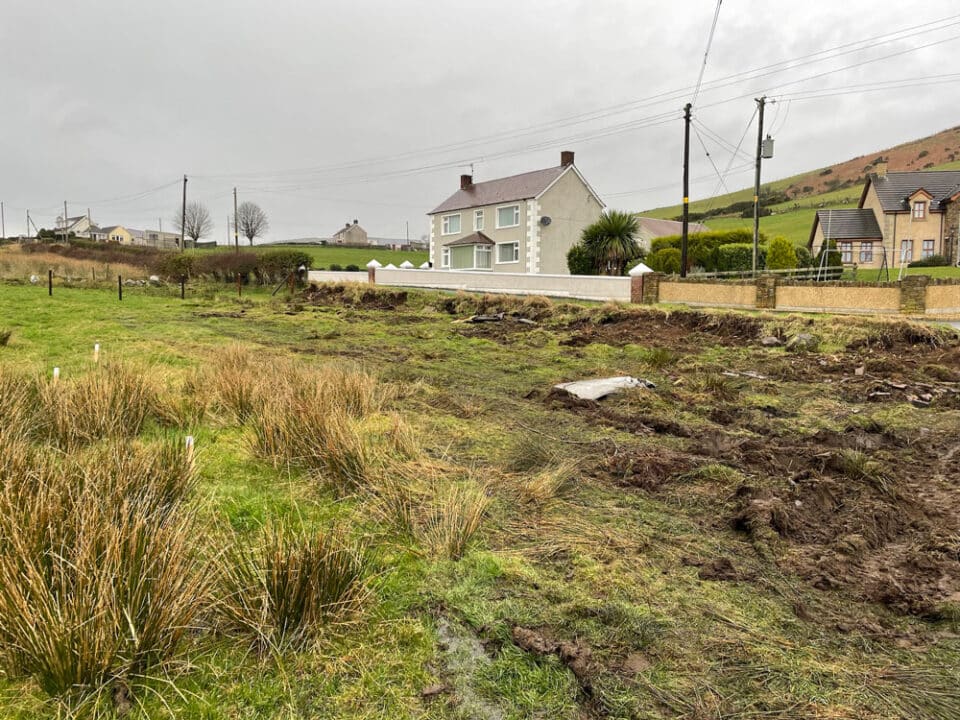
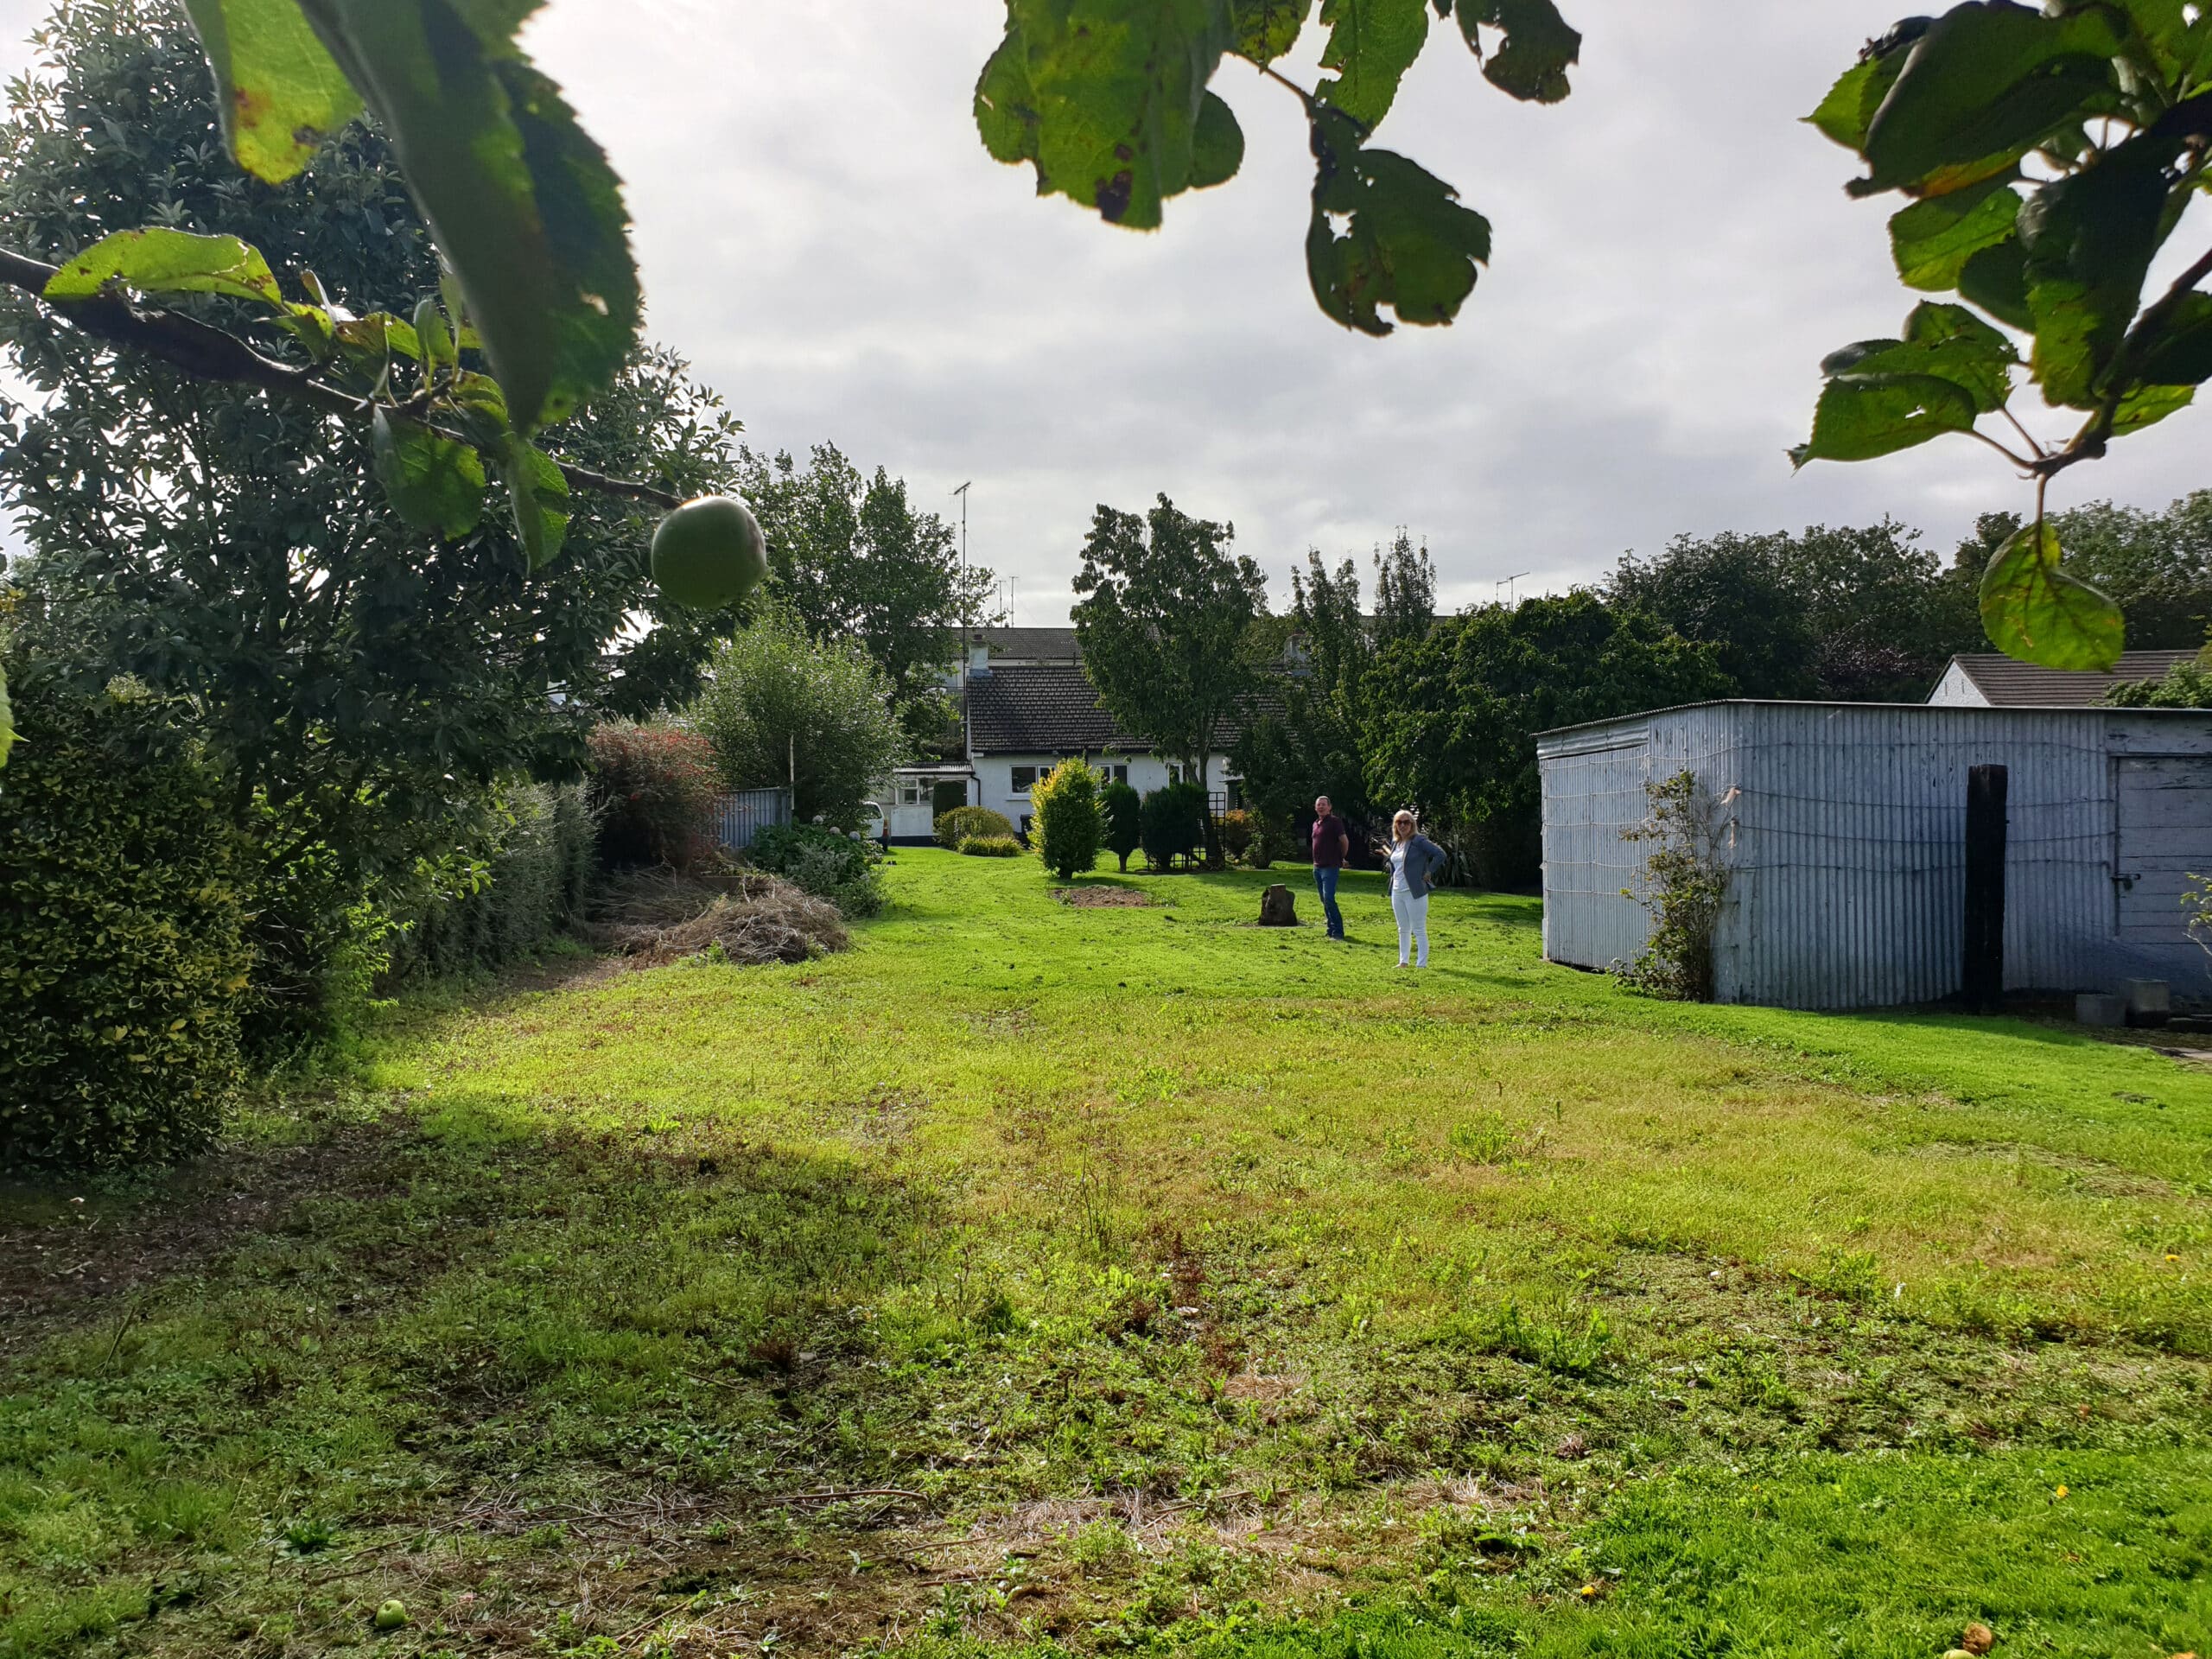
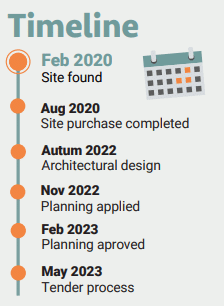
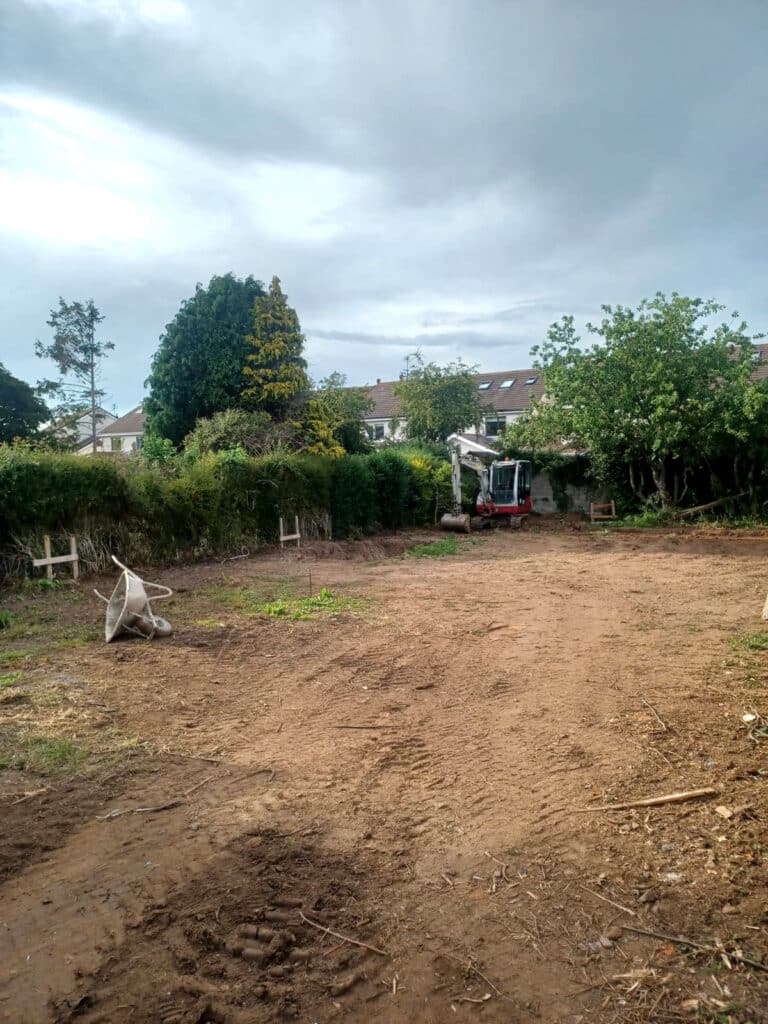
Just before the pandemic kicked off, we found the site. It was Gaye’s daughter who spotted it and had us go look at it as soon as it came up for sale.
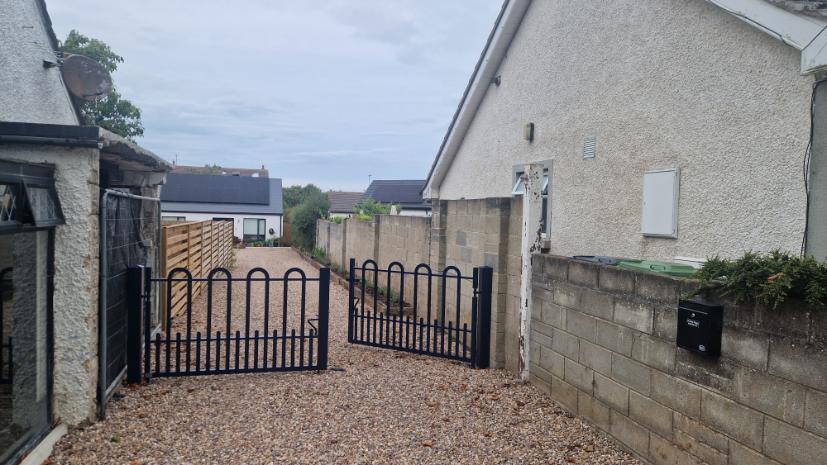
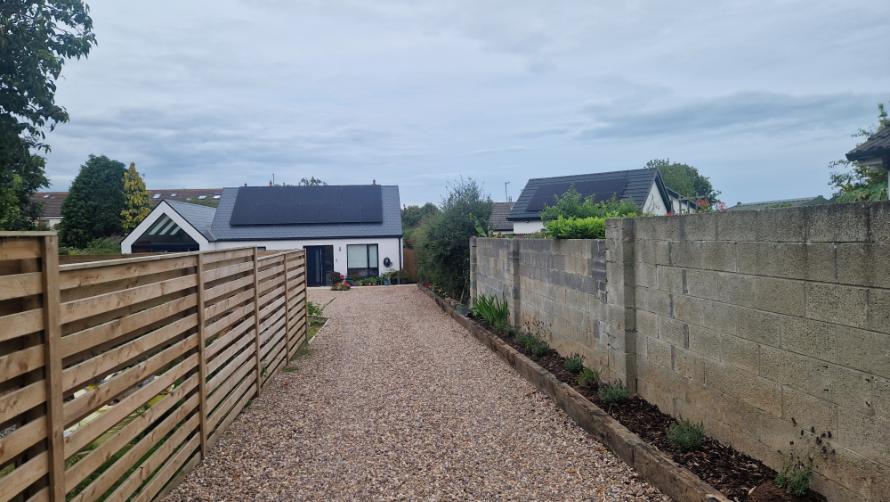
It was a plot at the back of somebody else’s house, with a direct entrance onto the road. Three minutes from the railway station (with regular trains just 25 minutes duration to Dublin city centre),15 minutes from the airport, 5 minutes from shops, and it’s a 10 minute walk to the beach. The dream.
Choosing a Architectural designer
I had a lot of connections in the construction industry with people who are very innovative in design and I asked one of them to look at our options. The narrow site was tricky to work with and this first architect gave us some of what we wanted but not all. It became very clear to us after a short amount of time that he wasn’t the person to go with.
The main takeaway from this experience is that you have to know why you want things, not just what you want. Because if you don’t express that to your architect very clearly at the start, they will give you what they think you want. And that’s not necessarily the same thing.
So we spoke to the architect about it, and he said he didn’t think he could design the house we wanted on this plot, and we said fair enough. We left it at that and then went to another architect, a local architect, who had designed lovely houses in the area. And he was a perfect fit.
The dream home to retire to: Values Statement
When we bought the site, we didn’t have all the funding secured yet to build the house, which meant we had a bit of time to look at our design options. And even though the site came with planning permission, the house that had been approved didn’t suit us, so we had to start from scratch.
I wrote a Values Statement for our architect; half a page to state who we are and what is important to us. It included our circumstances – two people approaching retirement who need a home to suit us as we got older. Low running cost and maximum accessibility were important. This would prompt an accessible design – ideally a bungalow, maximised use of space, and high energy efficiency.
We wanted to maximise the use of the building plot to suit a retired lifestyle, but we wanted this achieved in the most planet-friendly way possible. Whilst this home would be for two people, it would need to be designed so that future generations could adapt it into a family home.
Between us Gaye and I, from our previous marriages we have six children, and two grandchildren as well, so we wanted a space where we can entertain people and also have the kitchen run seamlessly to the garden and south facing patio.
The issue of accessibility, specifically around thresholds was a big thing for us, as we had both witnessed our ageing parents struggle with steps as they entered old age. We were both conscious that in 20 years’ time that’s where we’re going to be. Being an engineer, I also gave the architect 10 pages of a technical brief of what I wanted. He said the Values Statement could have been written by a philosopher but the technical brief was definitely written by an engineer, such was the level of detail provided.
House size
We were initially looking at a bigger house than what we ended up with. When we spoke to the architect, he said ‘to maximise the use of the site, a smaller house is better. And remember there are only two of you; do you want to clean rooms you don’t use?’ Those two arguments were enough to convince us.
Energy efficiency, airtightness and the environment
At the design stage, we realised the building energy rating (BER) was an A2 but right on the margin of A1.
We got it up to A1 by adding more insulation. We maxxed out on insulation everywhere and for the walls upgraded the specification from 330mm to 350mm EPS and added more solar panels. We’d planned for six initially and in the end went for 14. That brought us down even further and very close to passive standard.
Rainwater harvesting
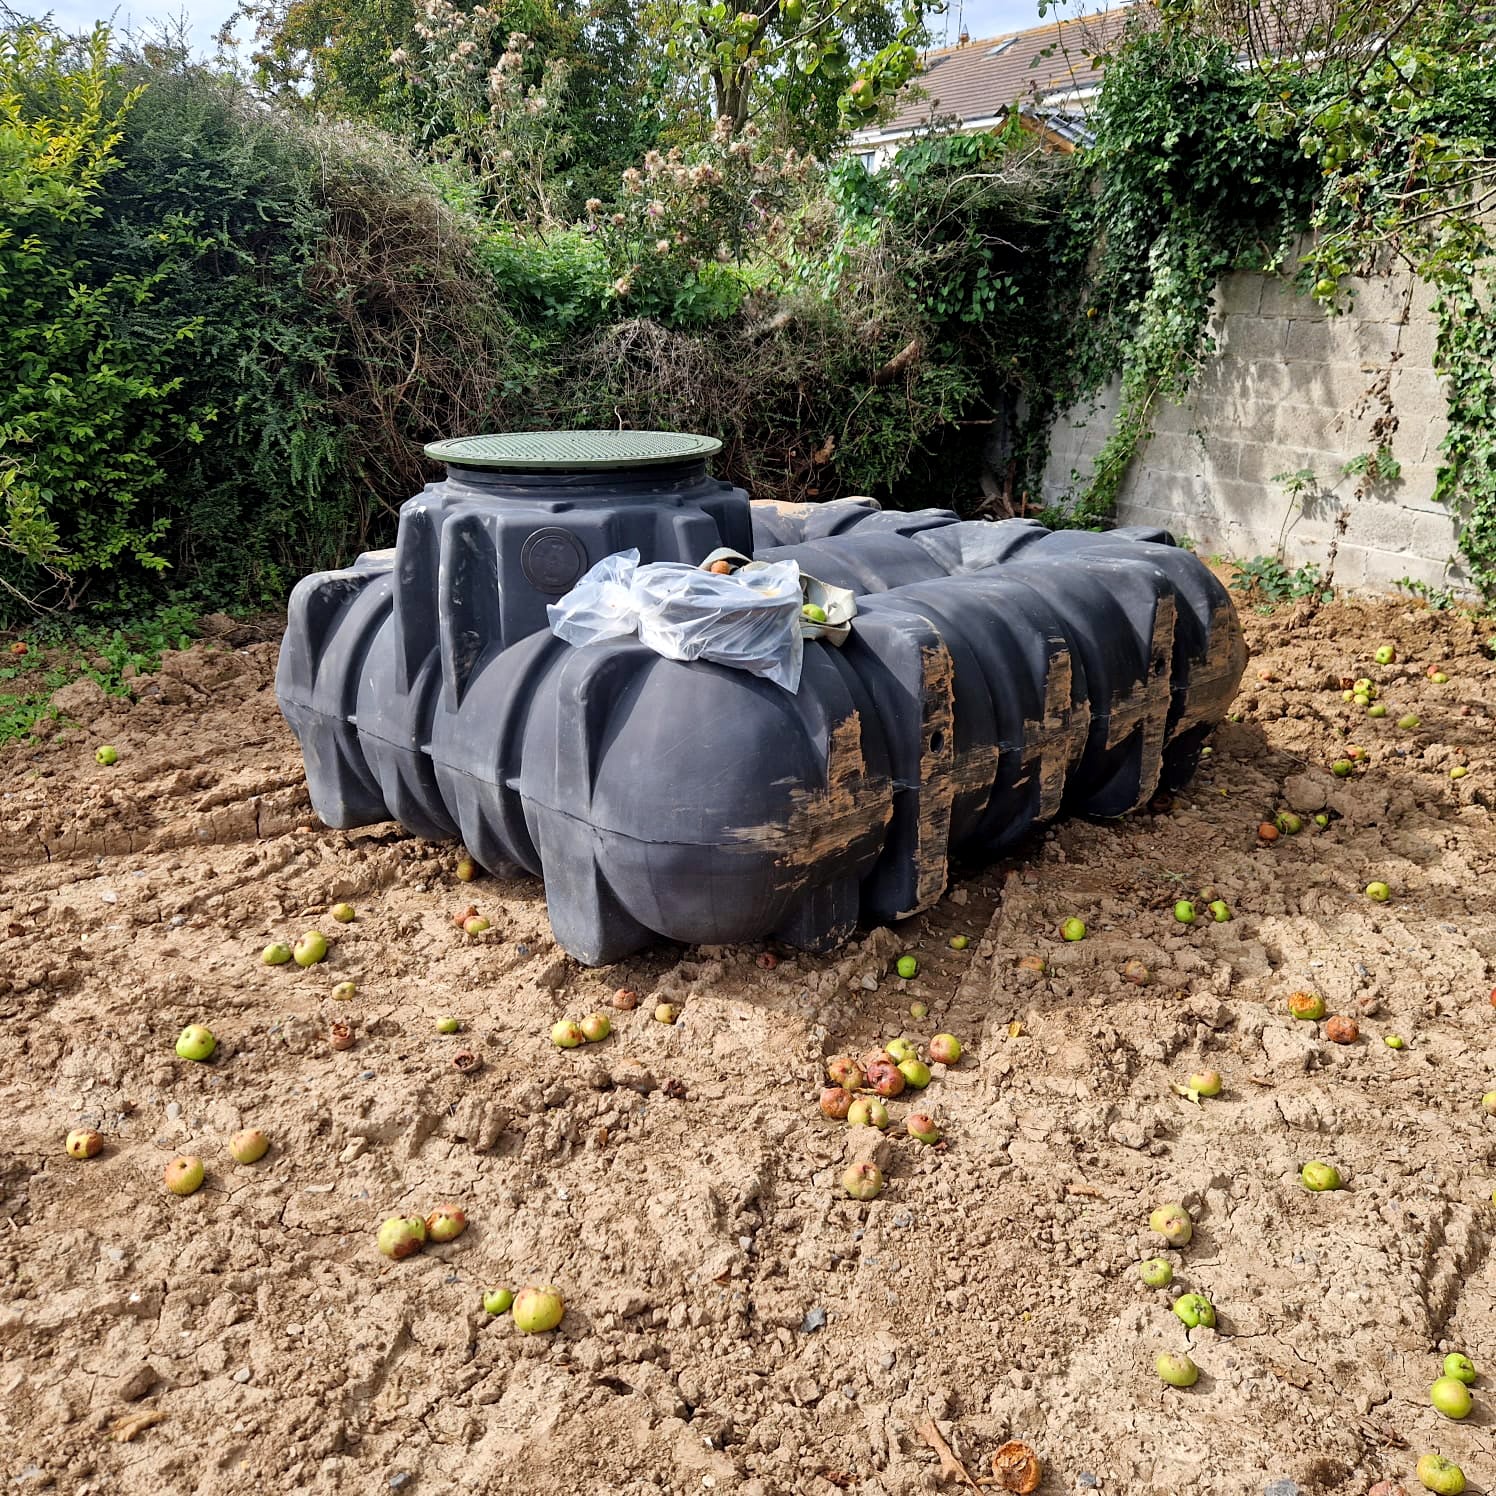
I could never understand the logic of flushing your toilet with potable water and to avoid this we insisted on the inclusion of a rainwater harvesting system to provide water for toilets and laundry.
We put a 3,000 litre tank in the back garden, so that’s more than enough. We bought the whole thing for €2,350 (tank, pump, header tank, etc.). As an overall percentage cost of the project, it was small. While we won’t save money from it, maybe we will in future as water charges may have to be paid at some stage
Solar gain
From an energy point of view, because the site is on a North South axis we had to put the windows on the south side, which meant we also had to look into how to control the solar gain to prevent overheating.
Budget
We went for a high spec house because we wanted to do this only once. We quickly became aware that building a house can cost you anything from €2,000 per sqm to €4,000 when you take into account the site, landscaping and everything.
And we knew we were going to be on the upper end of that. We told the architect straight off that’s where we’re going to be.
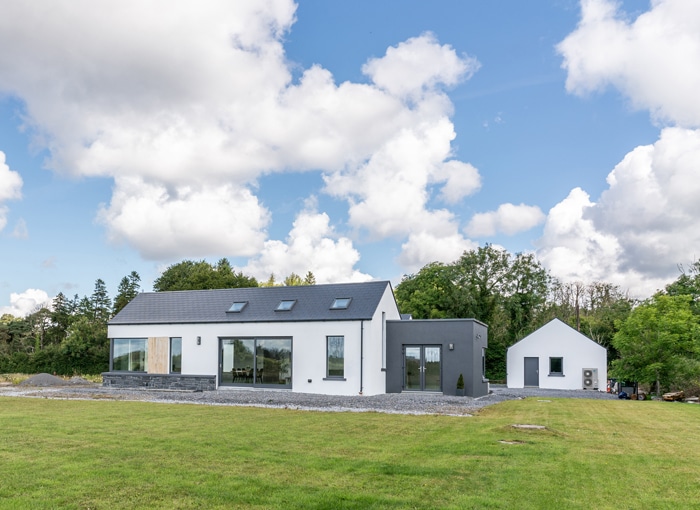
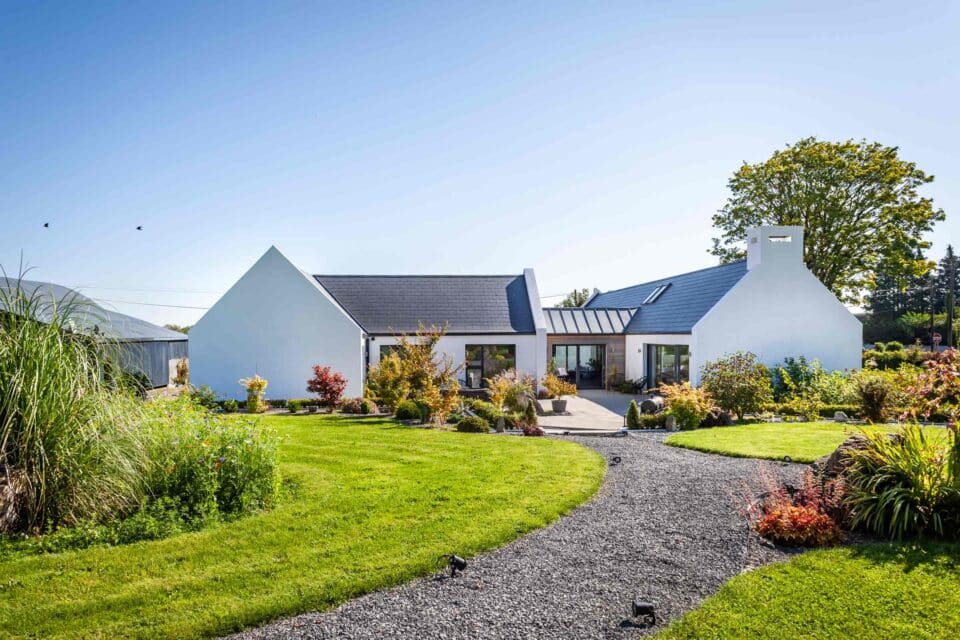
Taking into account our budget and the narrow site, he designed a 95sqm bungalow. It might seem small but that’s the size of an average three bedroom house on two storeys. In our house every square inch of space is usable apart from the entrance hall which is the only circulation space. A brilliant result.
With the builder we went with a fixed price; we had both a bill of quantities and schedule of rates. The schedule of rates built up a final sum but we were aware some of those could shift – for example we took out a door and put in pocket doors as well as swinging doors – and we changed the insulation.
From all of this I had a fair idea what it was going to cost, as the design was tailored to our budget. We had a price initially of €300k including VAT, but then building costs skyrocketed with the pandemic and that was the main reason we ended up with an inflated final figure.
We made a big saving thanks to the development contribution waiver; we weren’t charged any development contribution levies. For the Irish Water connection we had to pay the fees upfront and were entitled to a refund on completion of the house.
Exploring building methods
If you are going to go with a modern building method, you have to get the architect to talk to the people who provide the different options. Because there are things they can and cannot do. You might design something of a certain size, and they’ll say ‘no we can’t do that with our manufacturing process’. Whereas if you designed it slightly differently they could.
We looked at volumetric construction first, because it would be quick and more cost effective. The cost was about 30 per cent lower than any other method of construction, even bringing it in from Latvia.
We were going to get the entire house built in three or four sections in a factory in Latvia. The architect designed the house so we could do that, according to their module sizes.
We’d spoken to a logistics company about how to bring it here – you can bring a load 10.3m long at the back of a truck and 3.2m wide so everything had to be built to modules of that size. It was going to take them 12 weeks to build it in the factory, and then it was going to take them three weeks to put it together on site.
There was a lot of to-ing and fro-ing to make sure it was built to Irish standards; I was quite confident that with my experience in construction and the architect’s experience that we could do that.
We shortlisted three factories in Latvia and when we looked at the finer details, we realised we couldn’t do it. While we could get the modules over here, to our road, there were so many overhead wires coming into the site that we weren’t going to be able to get it from the road to its final location.
What is volumetric constrcution?
This modern building method entails building the entire house in a factory, including the vast majority of finishes – from sanitaryware to floor coverings. The house is build in modules and each of them is transported by truck to the site to be craned in place. The modules are connected on site to create the finished house. Commonly used for commercial buildings
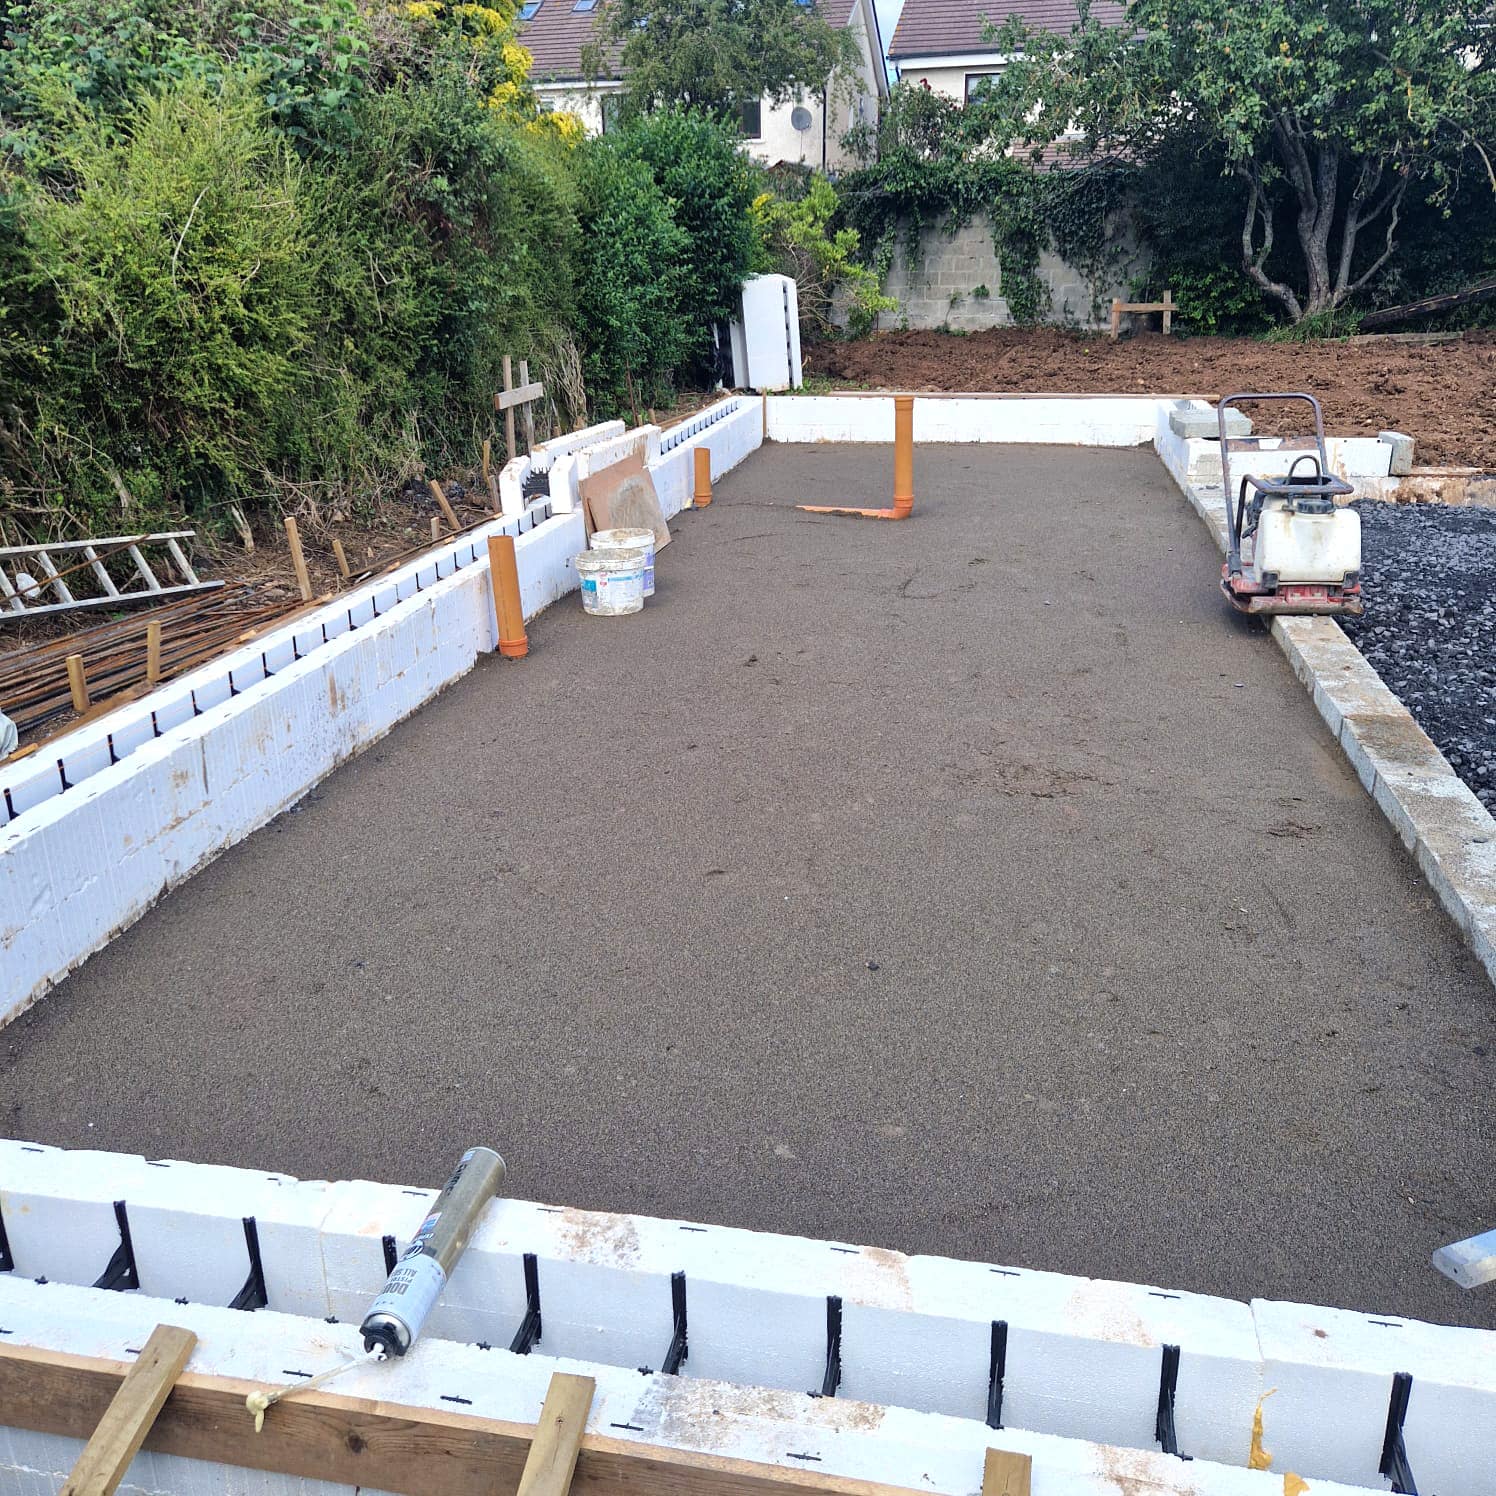
ESB Networks and Irish Water were also going to be problematic as this was being planned as a non-standard build. The timescales from both of these organisations were just too long for us. We would be ready for connections 15 weeks from starting but Irish Water eventually gave us a connection in week 39, whilst it took ESB Networks a whopping 49 weeks from application to power on.
This is a major issue for anyone considering using volumetric construction. You might get your house faster, but the utility companies are still working to a timescale that is only suitable to traditional construction.
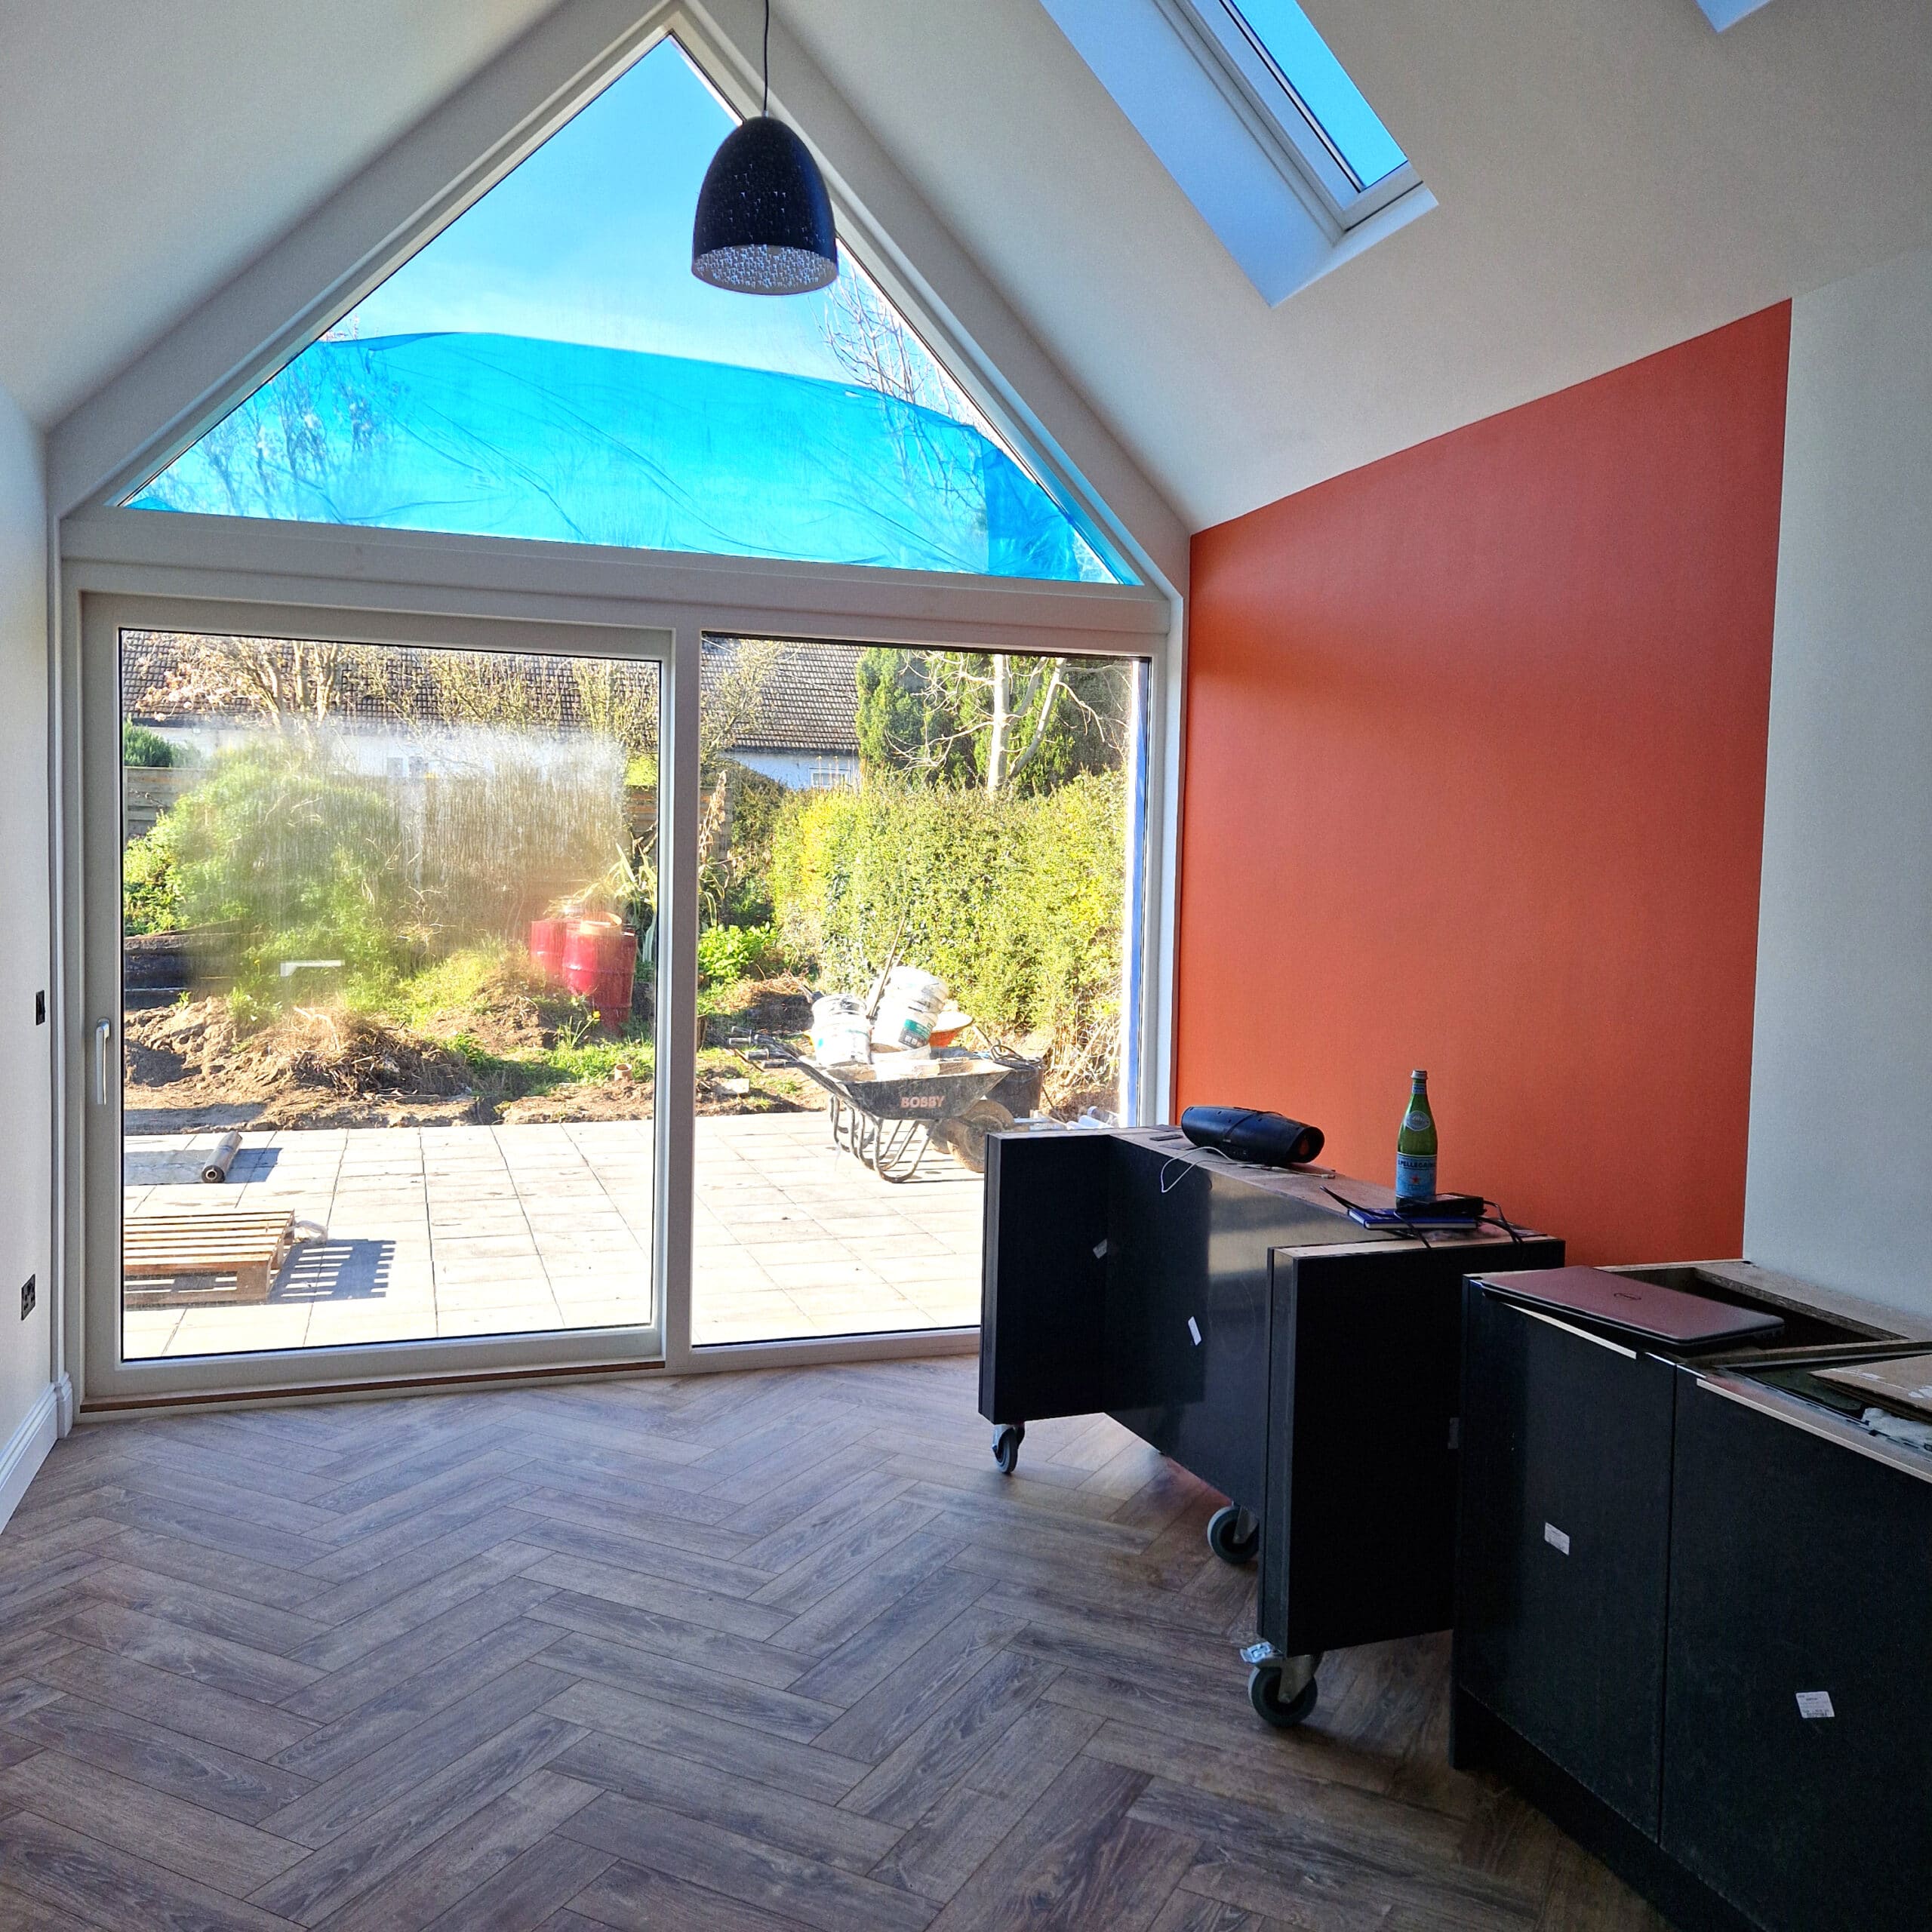
Another setback was that volumetric construction comes with flat roofs, and we were going to have to get an A frame roof. We wanted the A frame for the solar panels, and because we wanted it to look like a cottage. Which it did in the end.
What was interesting about going through this process was that it opened up a lot of other discussions about getting the finishes in early, and that really helped the build to go smoothly.
After that we looked at more straightforward timber frame builds but there was no huge cost advantage there. We ended up choosing Insulating Concrete Formwork (ICF) for its speed and the guarantee that
we’d get an airtight house at the end. It wasn’t any cheaper than the alternatives.
There are other perks with ICF, things like chasing walls are so much easier. And we could order the windows straight away as the window size was set from the construction drawings, unlike with a block build where the window company does a site survey to determine the window sizes.
Direct labour vs main contractor
I had looked into managing the whole build by direct labour myself, but I very quickly found out that the smaller builders in Dublin are really struggling to get people themselves, so I knew I wouldn’t be able to do it on my own with no history of dealing with those people directly.
Through the architect, we sourced a builder and negotiated the contract sum. I took a project management role to deliver the project.
Design Ideas & Tips
Moveable island for small kitchen. The house isn’t that wide which meant adding an island to what was a small kitchen wasn’t going to be possible. But we still wanted the additional prep space. I had the idea to put the island on castors; it’s quite small 1400mmx600mm but effectively it’s a movable breakfast bar. We move it outside for barbeques, which is easy to do as there are no thresholds.
Foldable banquette. We put in a banquette at end of the kitchen with a table that goes up against the wall and that saves you 300- 400mm in space every time.
Dog shower in utility room. Very simple thing to do when building, harder to retrofit.
Create garden areas. It’s important to give some thought to how you’re going to use the garden. I’ve the back garden for vegetables which is my passion, including a greenhouse and shed, and the front garden is for flowers which is Gaye’s passion.
Storage. With a house the size of ours we had to be careful about storage; we didn’t want to have to lug stuff up and down ladders and didn’t want to use up precious internal floor space for things like Christmas decorations. So I got a shed that’s 8sqm in size, half of it is insulated with a chest freezer which gives off a bit of heat. It cost €3k in total as compared to adding storage in a house that cost €2k/sqm to build.
Futureproofing. The attic space is big and ready for future development
Part 2 – Compact design
As published in the Autumn 2024 edition of Selfbuild magazine.
Louis Gunnigan explains how he went about finalising the design of his home built for retirement.
Getting the space right
For us, a big part of getting the space right was to have no circulation spaces apart from the
entrance hall. This means every bit of the house is usable space, making it feel bigger than it is. We also went for higher ceiling heights to add to that feeling of spaciousness, at 2.6m as opposed to the standard 2.4m.

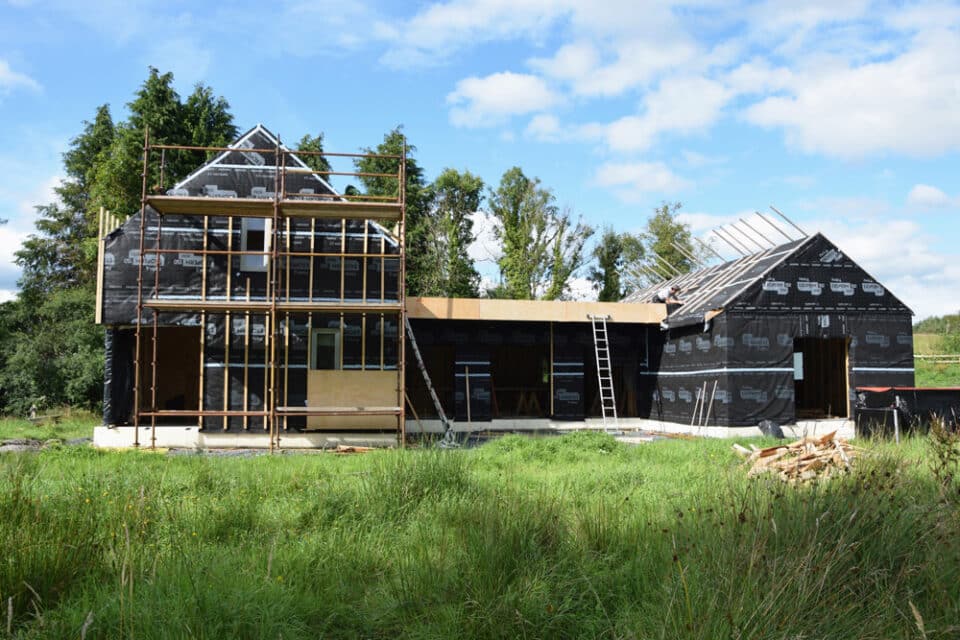
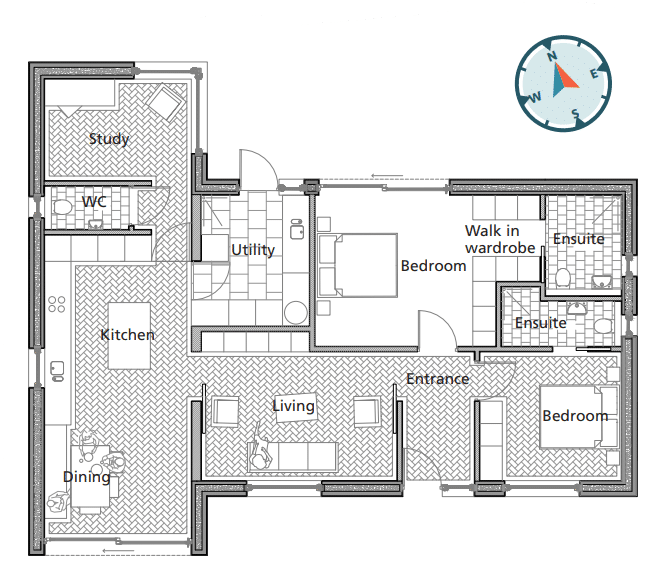
The house is T-shaped, with the kitchen/dining area and spare room in one section, which we’d originally specified to have as a flat roof. But we decided the kitchen would benefit from a double height ceiling in the form of an apex roof.
This created an attic above the spare room, which we decided to use as the plant room. We have the water tanks up there, for mains water and for the rainwater. The heat recovery ventilation unit is there as well.
In the rest of the house, above the bedroom area and living room, there’s a full attic space that can be converted into one or two spare bedrooms. There’s 40sqm of usable space; we used 9×2 rafters which means we have full ceiling height on it. We also put in the full depth of floor joists so anyone converting won’t need steel.
A knock-on effect of not having corridors is that each bedroom needs its own ensuite. For visitors, we have a toilet and wash hand basin beside the spare room behind the kitchen. This bathroom doubles as an ensuite if the spare room is ever used as a third bedroom.
This spare room is multipurpose; it’s most often used as a sitting room or playroom for the grandchildren, but it also has a sofa bed.
As for the statutory requirements, planning permission was straightforward with our architect. For the health and safety, our architect took on the role of Project Supervisor Design Stage which didn’t add much to his fees.
External finishes
Wall covering. Because we built with Insulating Concrete Formwork (ICF) we had to go with an acrylic plaster, the same stuff that goes on external wall insulation. One thing to remember with this system is that a satellite dish would need a fixing right through the insulation to the concrete. It wasn’t something that bothered us as we went for a TV streaming service via broadband.
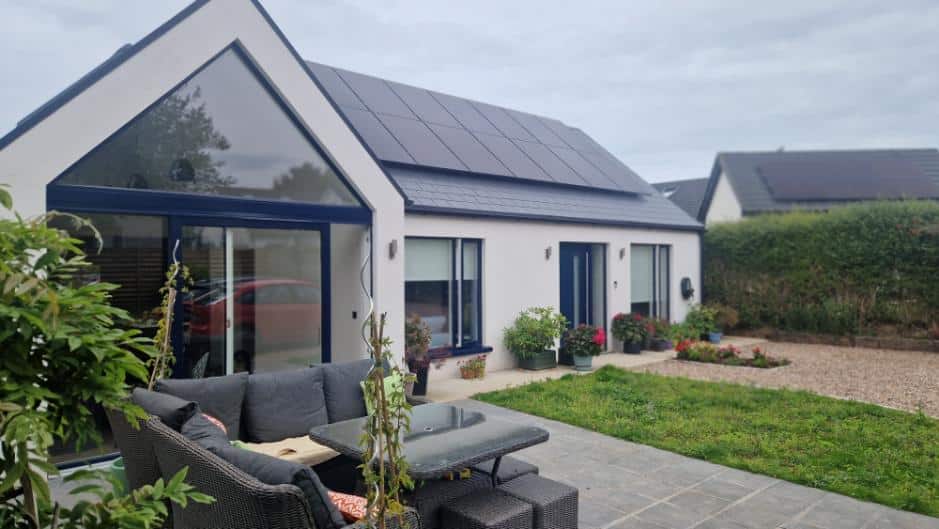
Roof covering. We chose a fibre cement slate that looks like a blue Bangor slate, as opposed to tiles and looking at it now, our decision was justified. The architect at the time said they’d seen both and had no recommendation either way. I think it’s worth the extra cost.
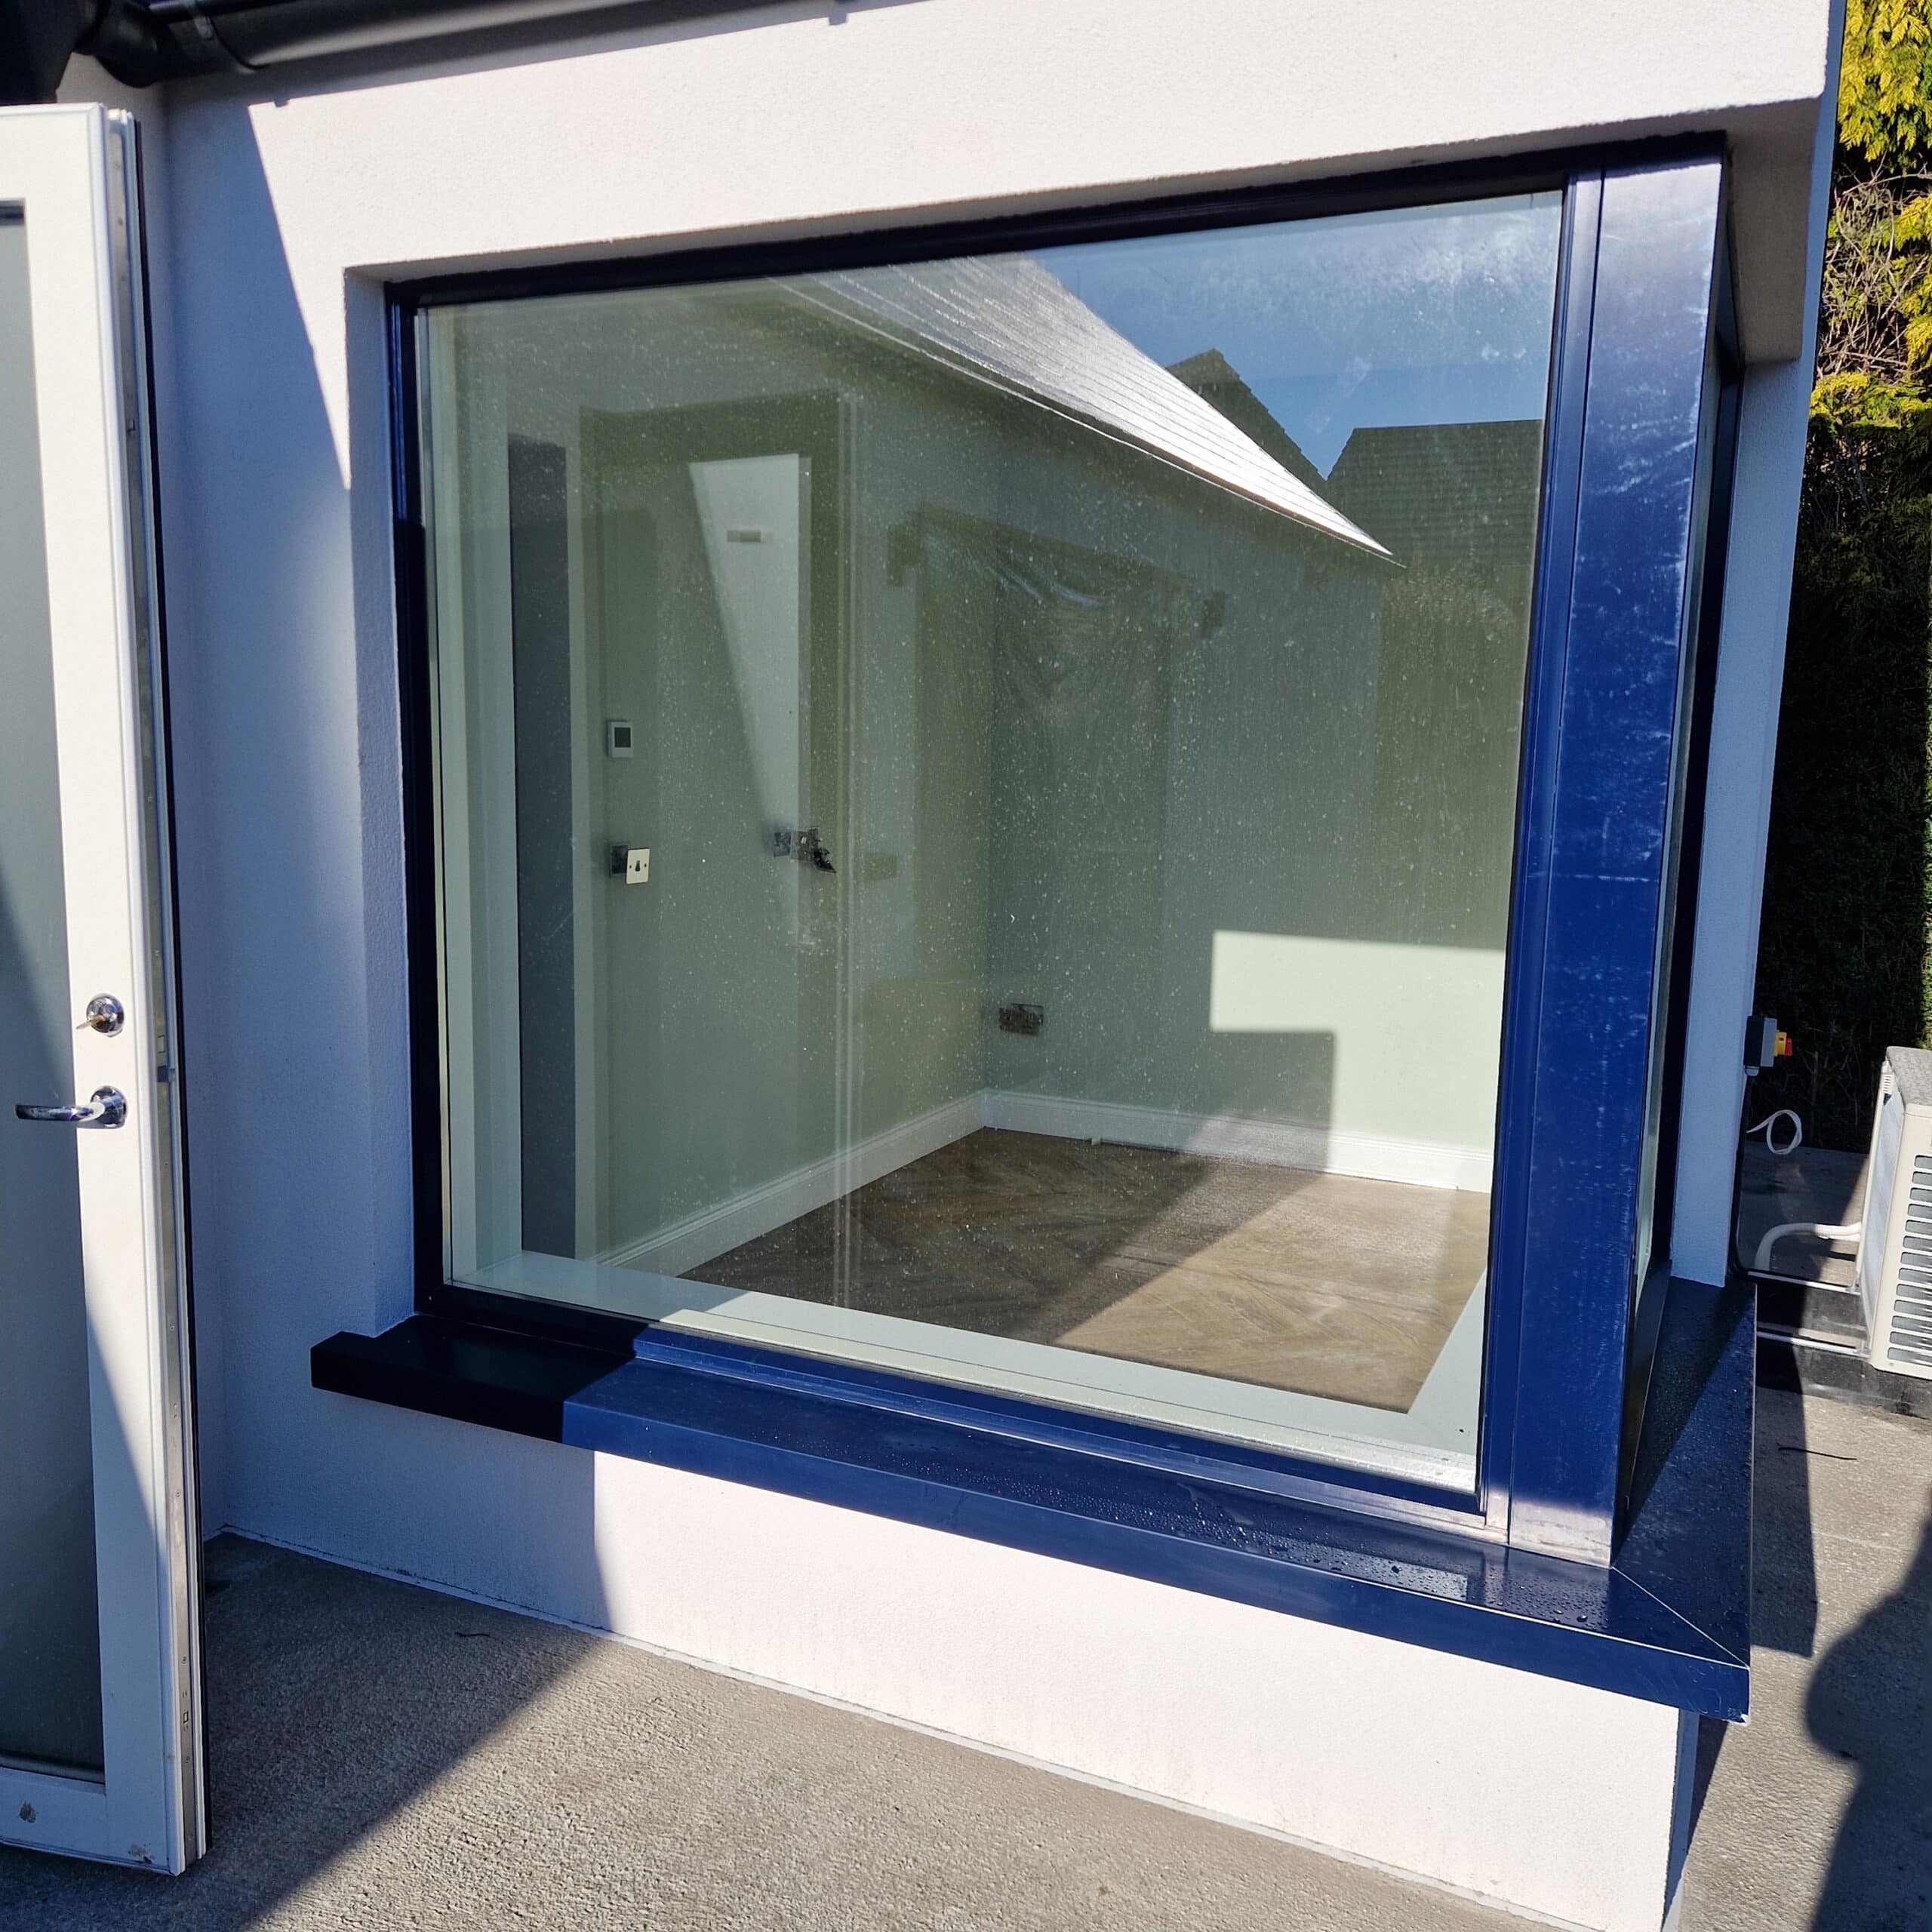
Guttering. The gutters and downpipes had to be aluminium because we’re less than three kilometres from the sea; we could have gone with uPVC but didn’t want to because of aesthetics. The standard galvanised finish that you see on most houses would only last five years here. Going with aluminium added a considerable amount to the project, about €2,500.
Trim. We have no fascia and soffit, and the slates come to the edge of the wall. The trim on that was expensive, well over €1k, because it also had to be aluminium. This added cost, due to our coastal location, wasn’t one we had expected. But it looks fantastic which makes it a worthwhile investment.
Kitchens and bathroom design
The kitchen was done by a subcontractor who usually works with the builder; he works out how many boxes (carcases) are needed and goes from there. He builds everything from 18mm chipboard, and the
back is 12mm, so the units are really solid. We chose the doors from a supplier that he works with. Then we sourced the quartz worktops ourselves and he worked with that supplier directly on our behalf.
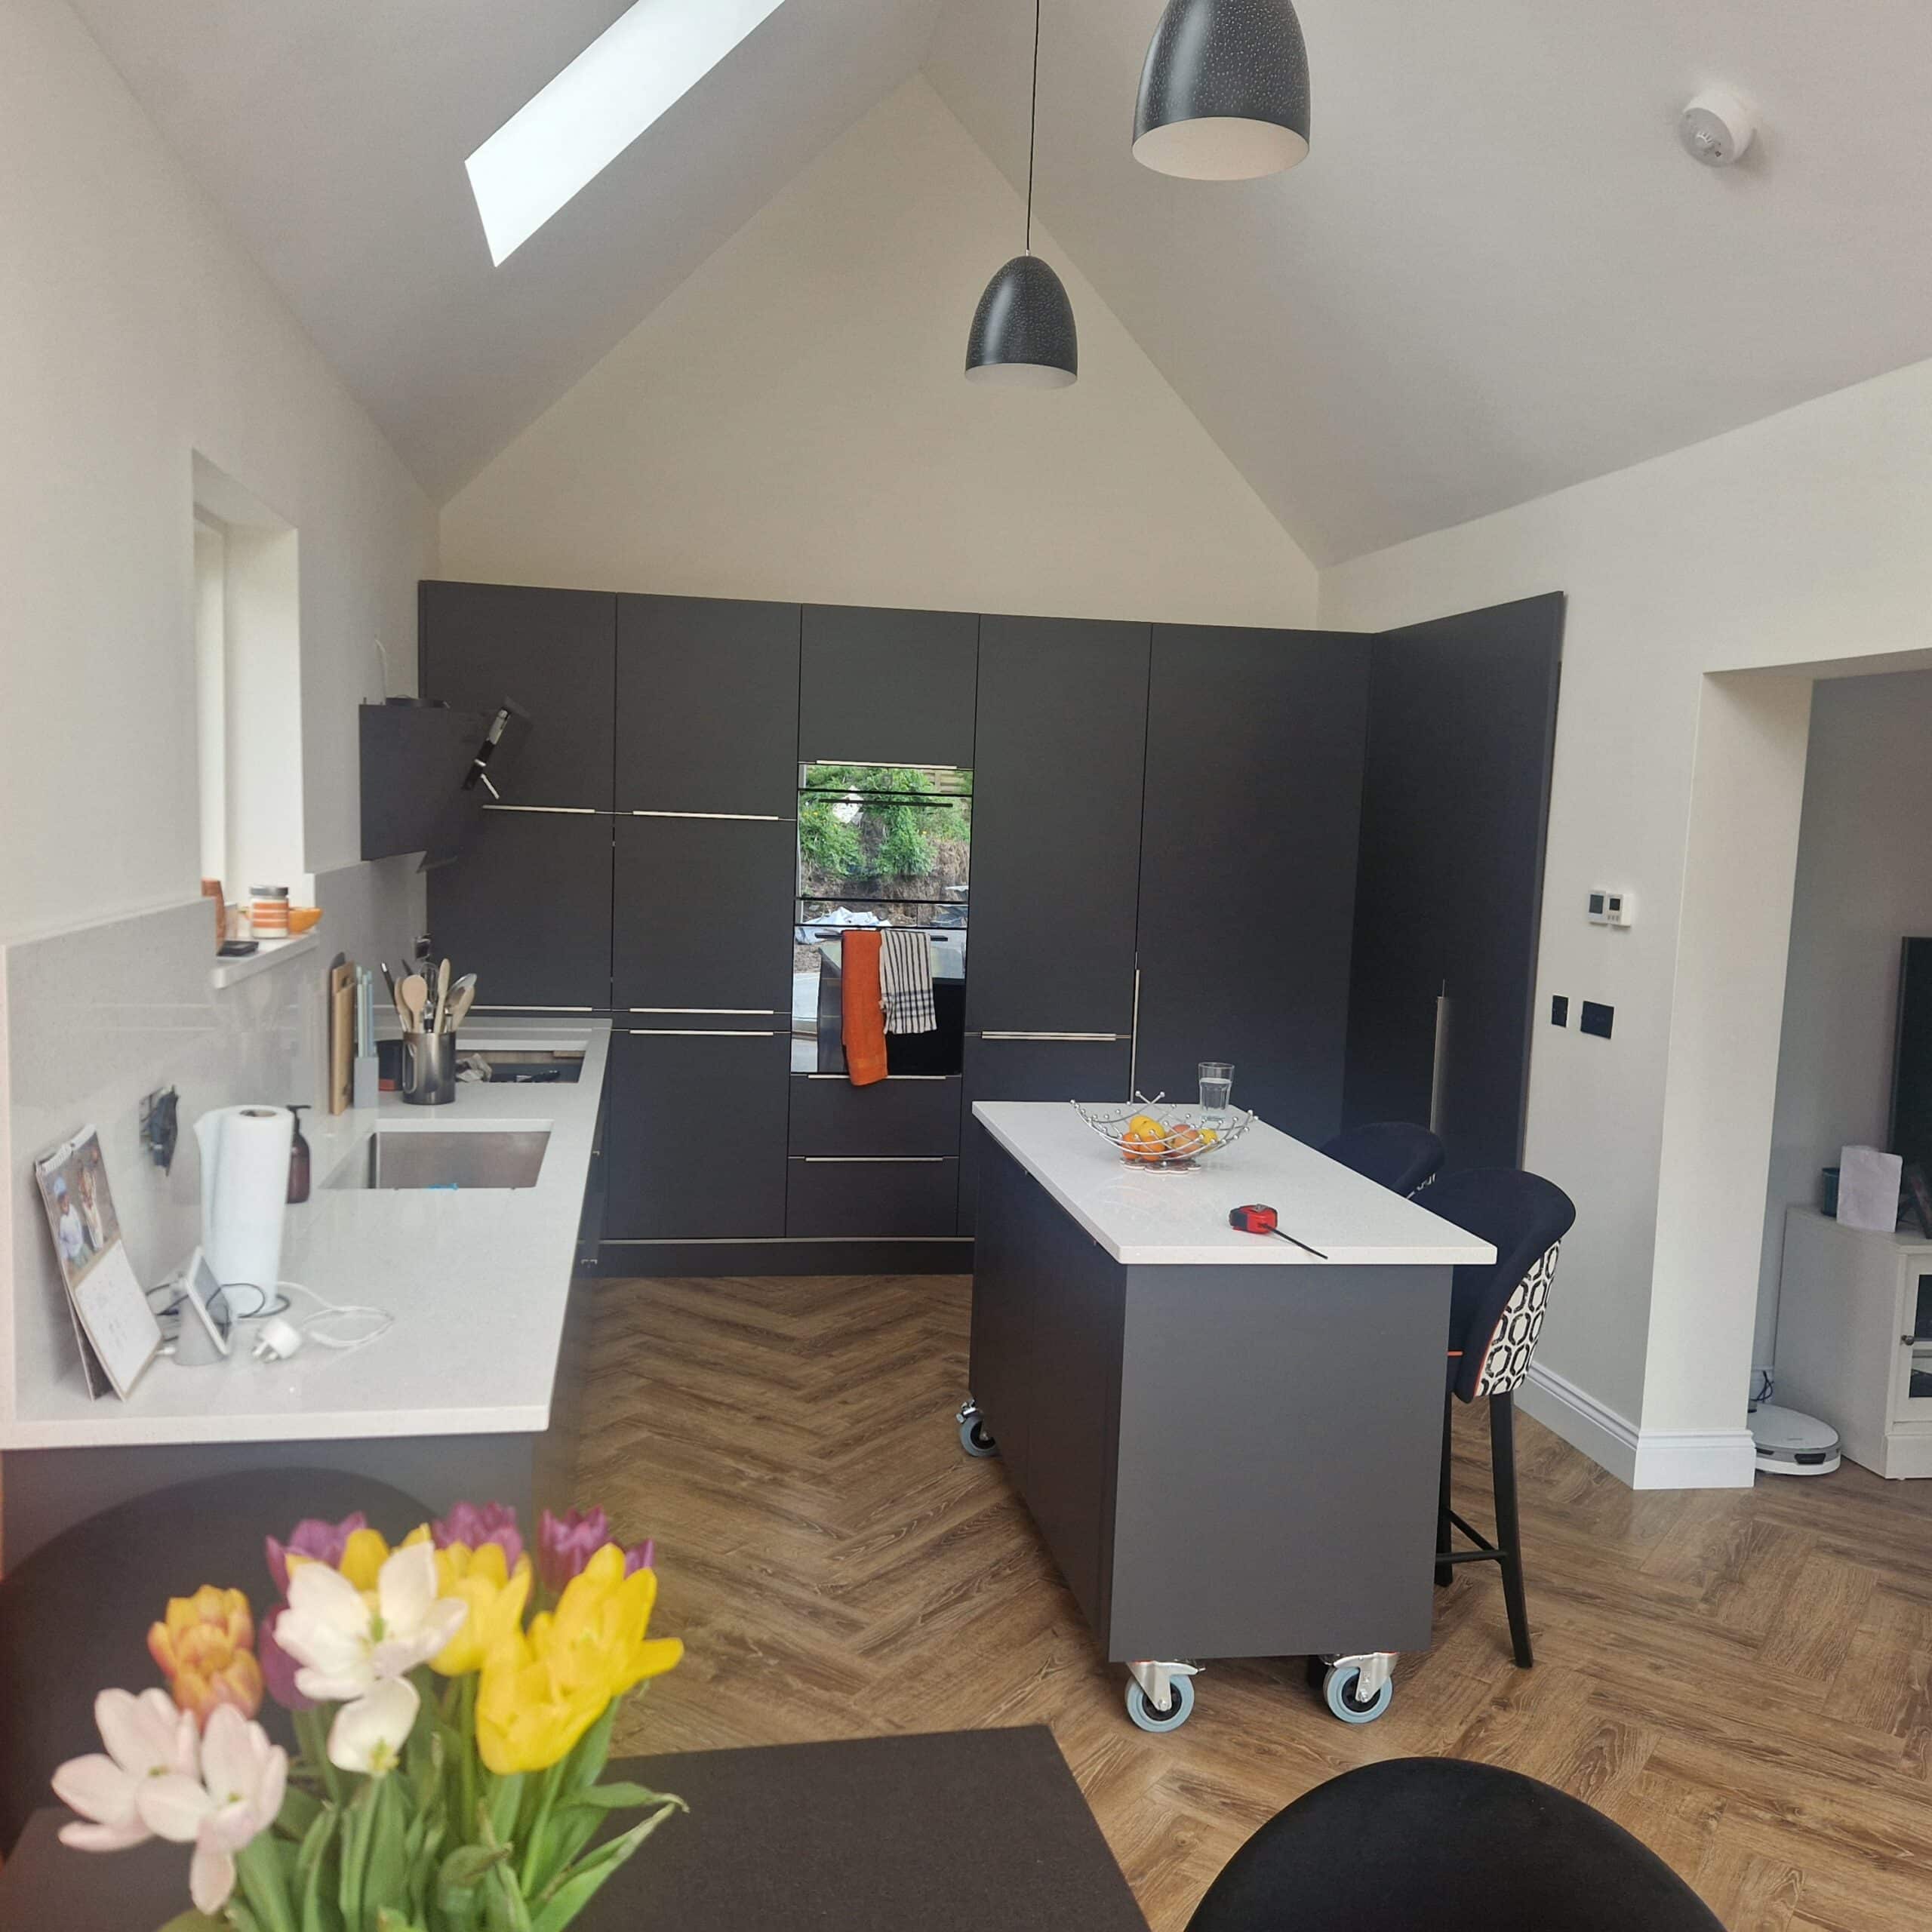
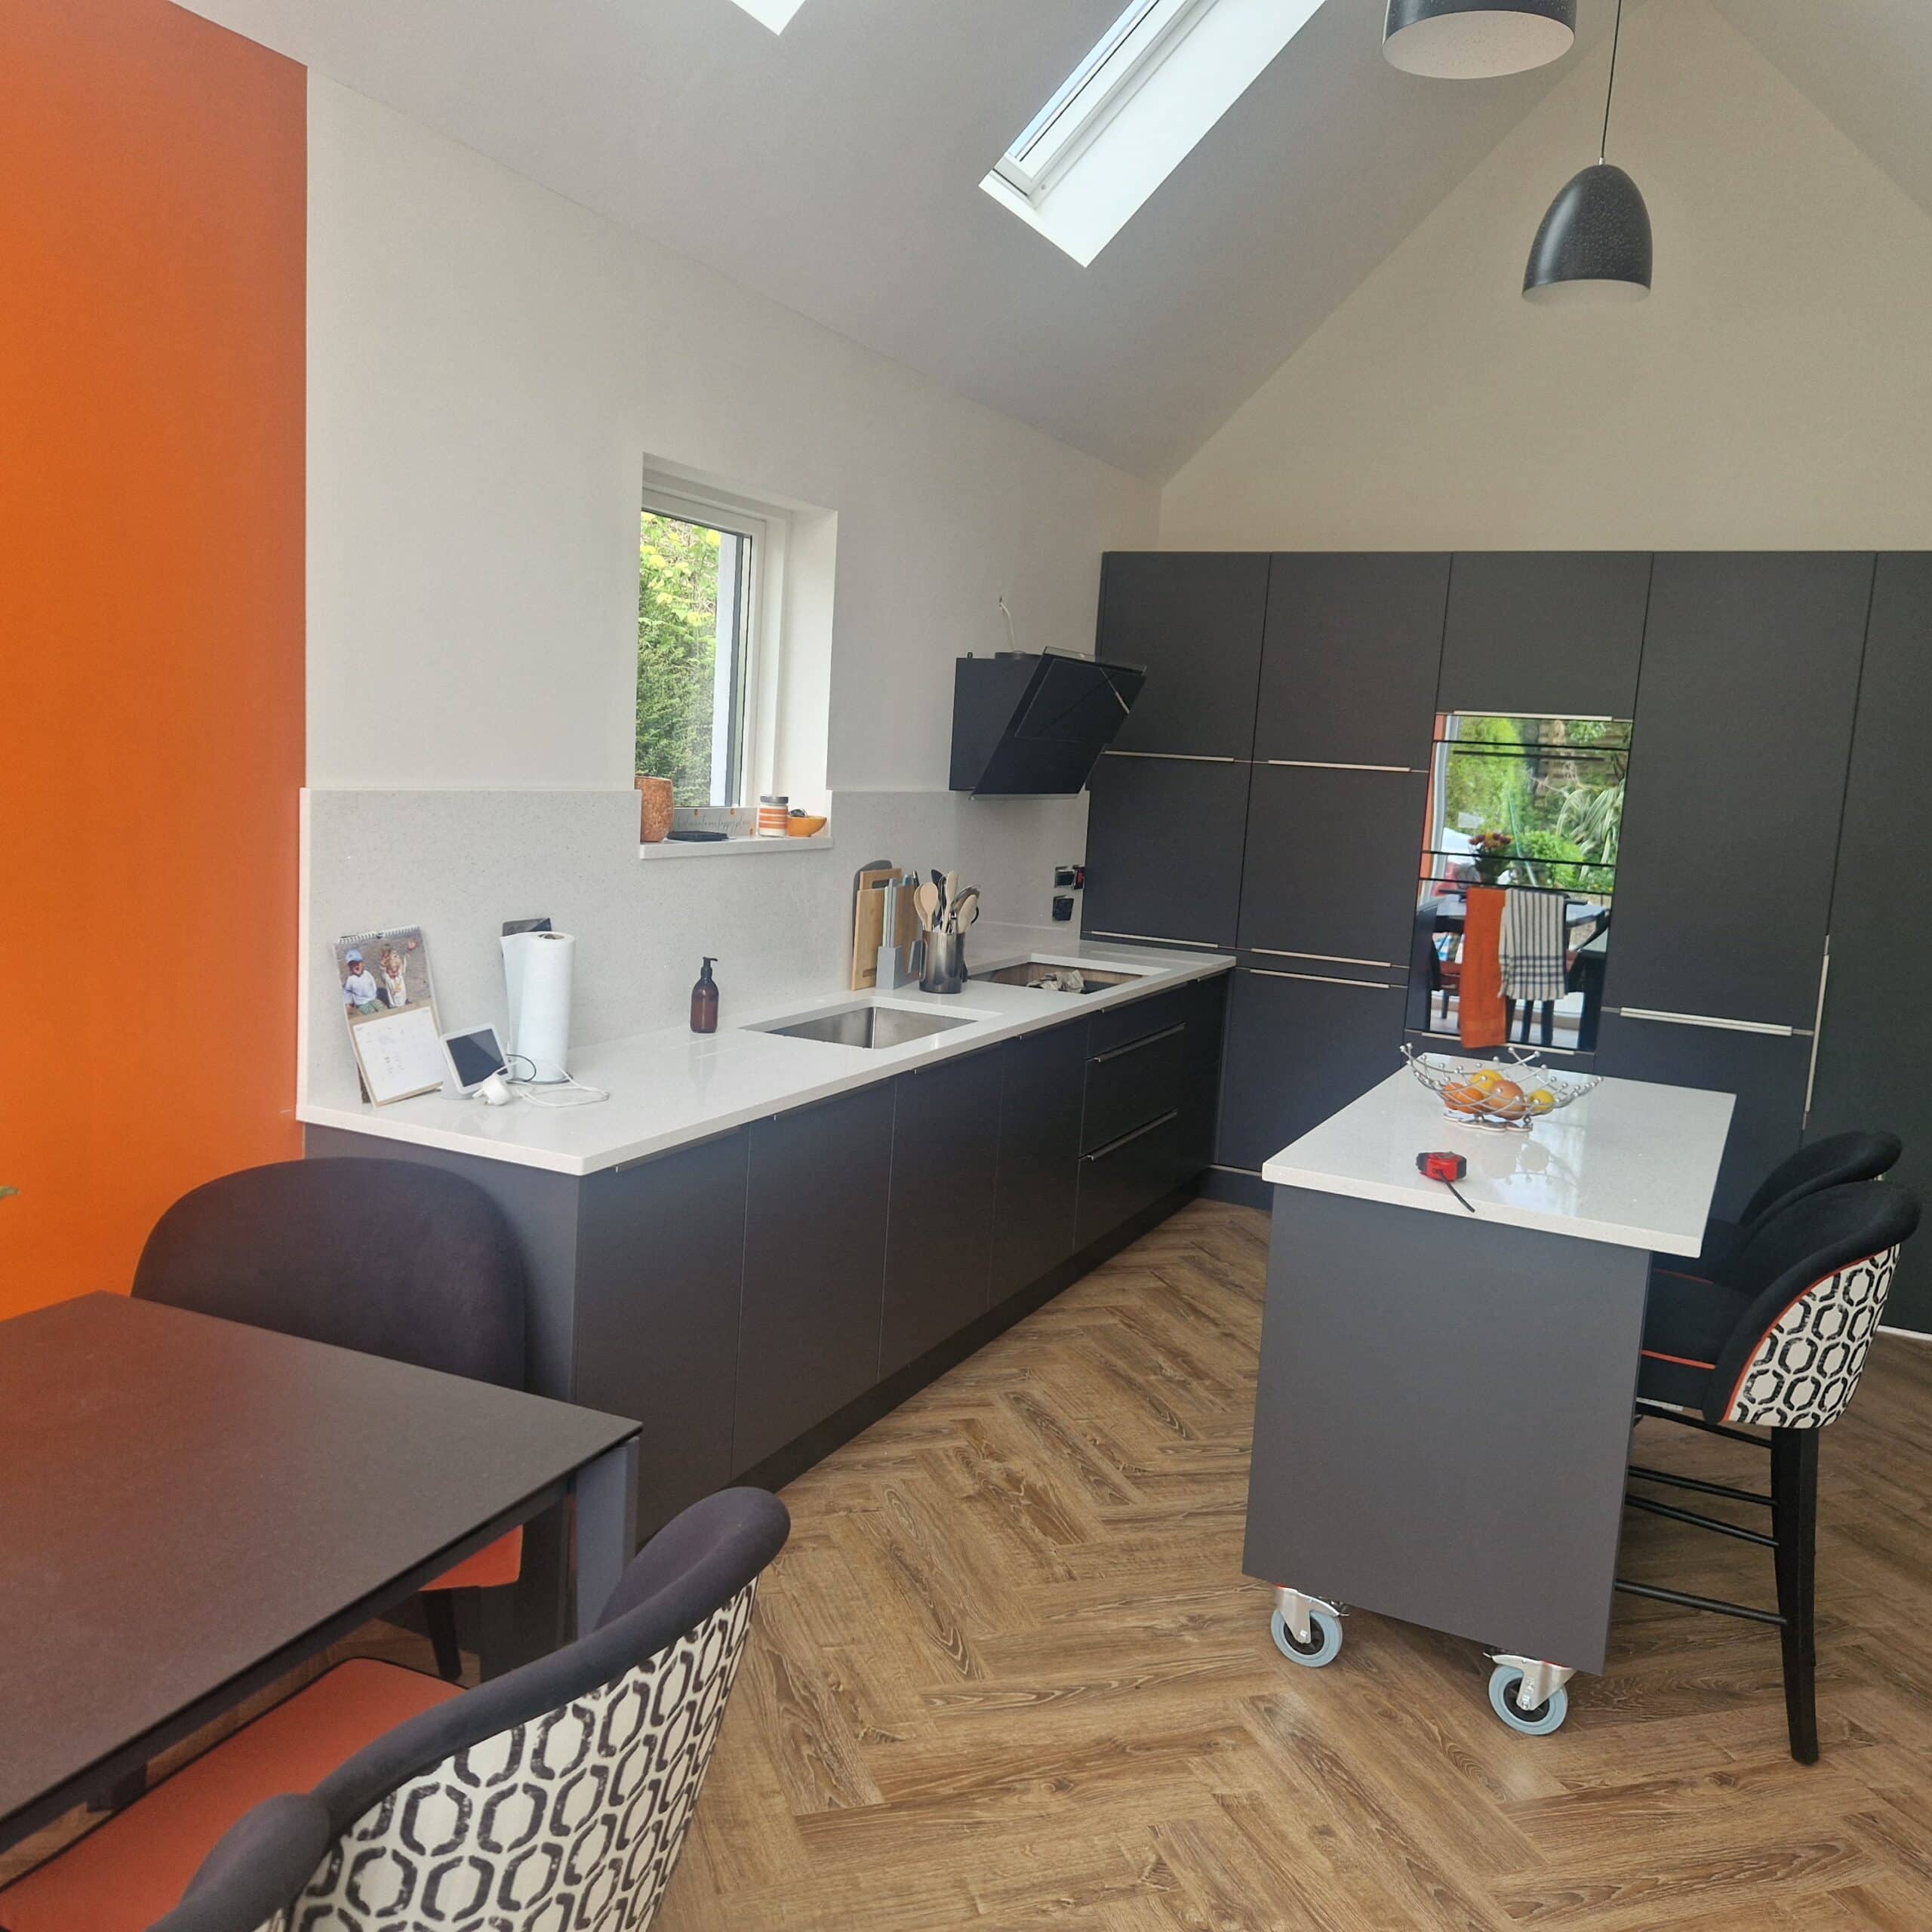
We had a couple of things we wanted to get right for the kitchen; it’s not a huge space with the two of us here. For one, the island on castors added huge flexibility. The U-shape came about then because there are two doors within the kitchen that lead to other parts of the house.
These doors are made to look like cupboards. There’s a great sense of hilarity sometimes when people get confused as to which opening is a door to another space and which is a cupboard.
There were a lot of discussions about the design to make sure we got it the way we wanted it. The coffee station is hidden with bifold doors and we also have a sliding pantry type of cupboard. It keeps everything very tidy; there’s nothing on the counters. We also have drawers for pots and a magic corner cupboard.
For the bathrooms, we went to as many different places as we could for ideas of what would work. We ended up getting all of the bathroom finishes from the same place, which means we have the same quality all the way through.
Mechanical and electrical
We went with the standard set up of heat recovery ventilation and an air to water heat pump with underfloor heating. We originally looked into exhaust air heat pumps but even though I was under the impression it could be used for a house that’s less than 100sqm, our supplier had only installed them in
apartments.
The thinking is that with other apartments around you, you don’t lose as much heat as a bungalow would. Our suppliers had never used it in a detached house and weren’t comfortable with it, so we went with an air to water heat pump instead.
The house is so well insulated, and the set up is so good, that when someone who’d come to repair something else forgot to turn the isolation switch for the heat pump back on, it took me four days to realise the hot water was not as warm as it should be.
At the time it was one or two degrees outside at night, but four days after the switch had been inadvertently left off, the heat level in the house hadn’t noticeably dropped.
The technology is great, and as we all move away from fossil fuels, using electricity on its own doesn’t make sense when you know a heat pump will turn one unit of electricity into three to four units of heat. It really is very cost effective to run.
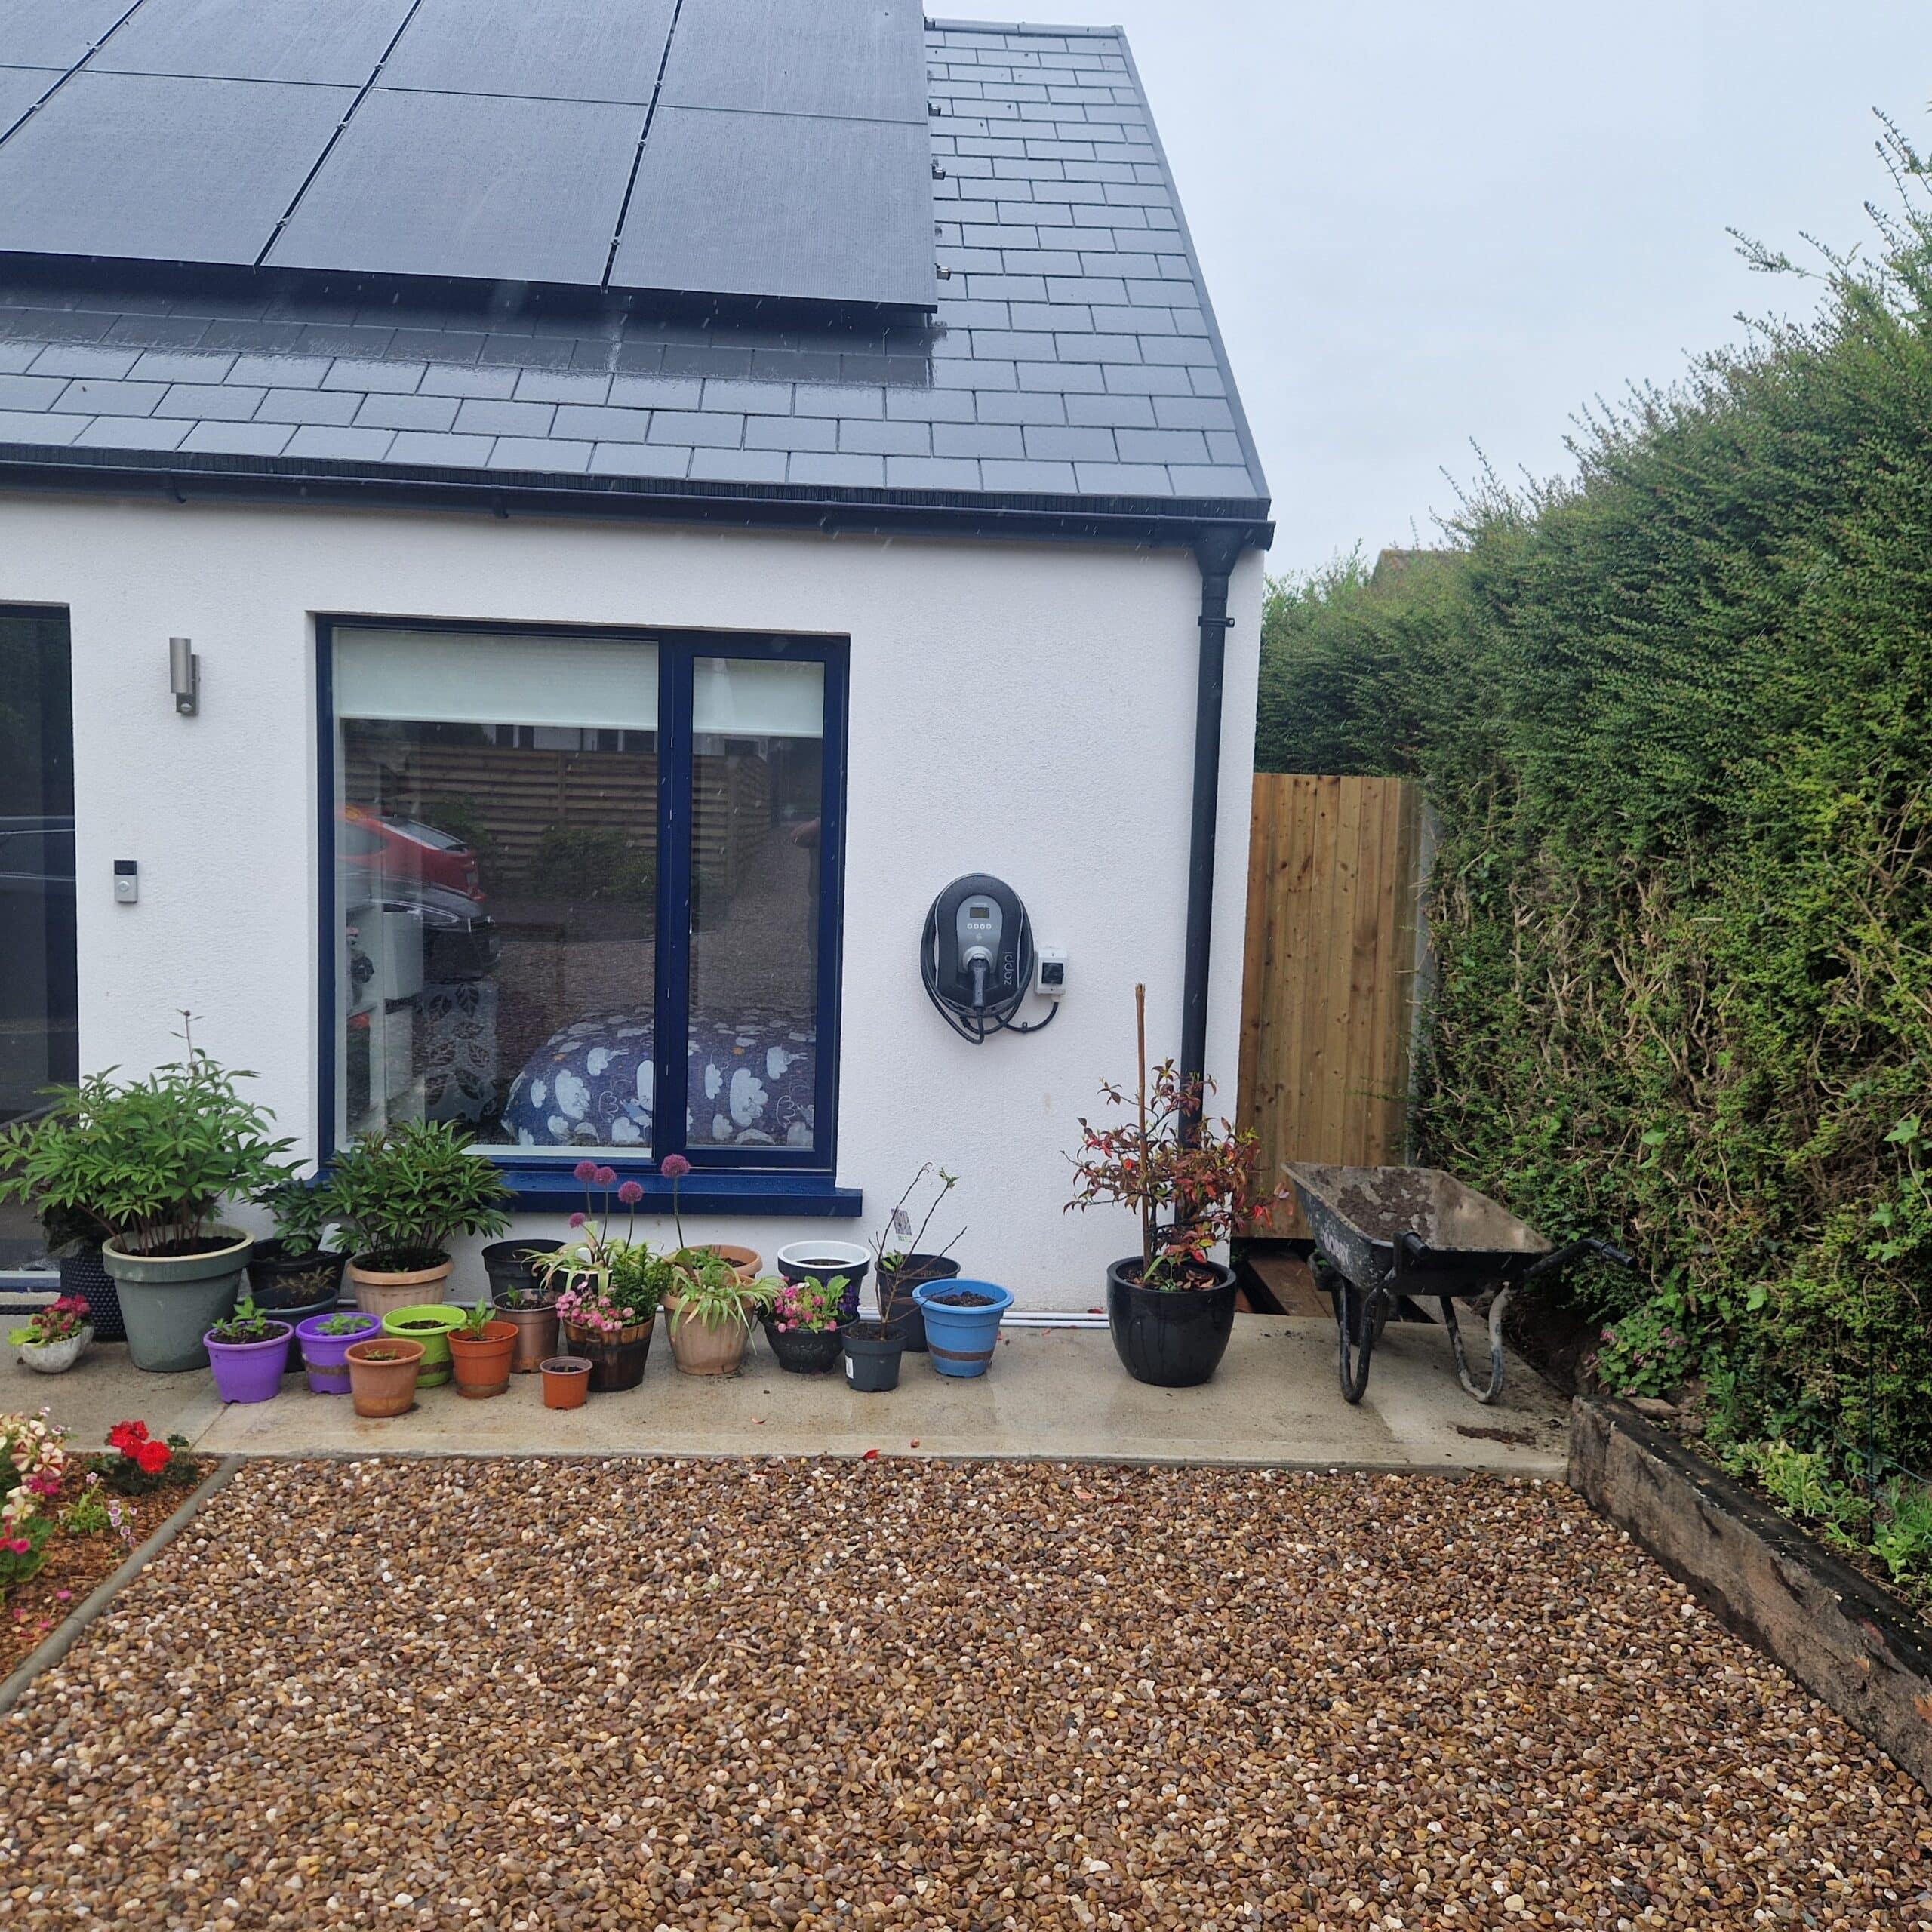
We also got a solar system with 14 photovoltaic (PB) panels with the capacity to generate 6.7kW of electricity.
This is paired with 10kWh of battery storage, so we are practically independent. Over the three months that we are in the house we have generate over 2MW from the panels, using what we need and exporting the excess.
Connecting to services
We live in a built up area so connects were available at the site boundary. I made the connection applications and handed over the relevant contact details to the contractor in the hope that direct contact between suppliers and contractor would speed things up.
However, the utility companies wouldn’t go along with this, insisting that they would only communicate with the person who applied for a connection. This resulted in a lot of time being wasted as I was relaying questions and answers in both directions.
Instead of notifying the contractor that they would visit on a specific day to connect up the house, I’d get an email saying can you ring the number provided, the person wasn’t in the office. It’s all a bit more complicated than it needs to be.
In the end, the water connection took 42 weeks and the electricity took 49 weeks. This is a crazy amount of time considering the mains water supply and the electricity lines were at the site boundary from the outset.
Top Tips
Remember it’s your house. My wife has a fabulous eye for colour and she chose a dark blue for our aluclad windows; the architect thought a grey might be better but we stuck to our guns and it looks fantastic. You’ll get a lot of advice and opinions, but remember that at the end of the day you’ll be the one living in the space.
Insulate the attic floor. The downside of having the equipment up in the attic is that in the back room, you can hear when the ventilation is running so we probably could have put a bit more insulation in the ceiling. If you were sleeping in that spare room, you would hear the water tank filling up as well. At some stage we will put in this extra insulation so that this room can become a quiet space like the rest of the house.
Floor plans, suppliers, specification
Site size: 740sqm
House size: 95sqm
Bedrooms: 2
Site cost: €170k
Build cost: €340k
Heating: Air to water heat pump
Ventilation: Centralised mechanical with heat recovery
Construction: ICF
BER: A1
Spec
Walls: 350mm ICF (Insulating Concrete Formwork) consisting of 100mm outer leaf EPS insulation, 150mm concrete core. 100mm inner leaf EPS insulation, U-Value 0.16W/sqmK
Floor: 150mm PIR inslation board in standard build up, U-Value 0.16W/sqmK
Roof: 150mm PIR between rafters, 62.5mm PIR under rafter, U-Value 0.13W/sqmK
Windows and doors: double glazed aluclad, average U-Value 1.2W/sqmK
Suppliers
Architect
JE Architecture, Dublin, jearchitecture.ie
Structural Engineer
MTW Consultants Ltd, Dublin, mtw.ie
BER/Environmental Engineer
Certified Energy Ratings, Dublin
Quantity Surveyor
Costing Construction Ltd, Dublin
Contractor
TMC Construction, Dublin, tmcconstruction.ie
Heating and ventilation
Pipelife, pipelife.ie
Solar panels
Solar PV Panels Ireland, Longford, solarpvpanelsireland.ie
Materials/Heating/Ventilation supplier
Brooks
Tiling
Tilestyle & LTB Tiles and Bathrooms
Lighting
JR Lighting Newry, jrlighting.co.uk
Insulation
Floor: Unilin Thin-R XT/PR-UF
Roof: Quinn Therm QR and Quinn Therm QL-Kraft
Windows and doors
Gama


