To complete the interior of your home (known as second fix) you will need decorative trimming/ finishing timbers; for your floor it’ll come in the form of skirting board and for the door surround, architrave. Beyond that, trimming/finishing can actually be applied anywhere to improve appearance and hide joints, edges, imperfections, or for protection. They can be used around windows, units, openings in walls and even framing on walls where pictures are hung inside. With careful measuring and accurate cuts, you can not only save money but add this to your growing list of DIY accomplishments… Ciaran Hegarty shows you how.
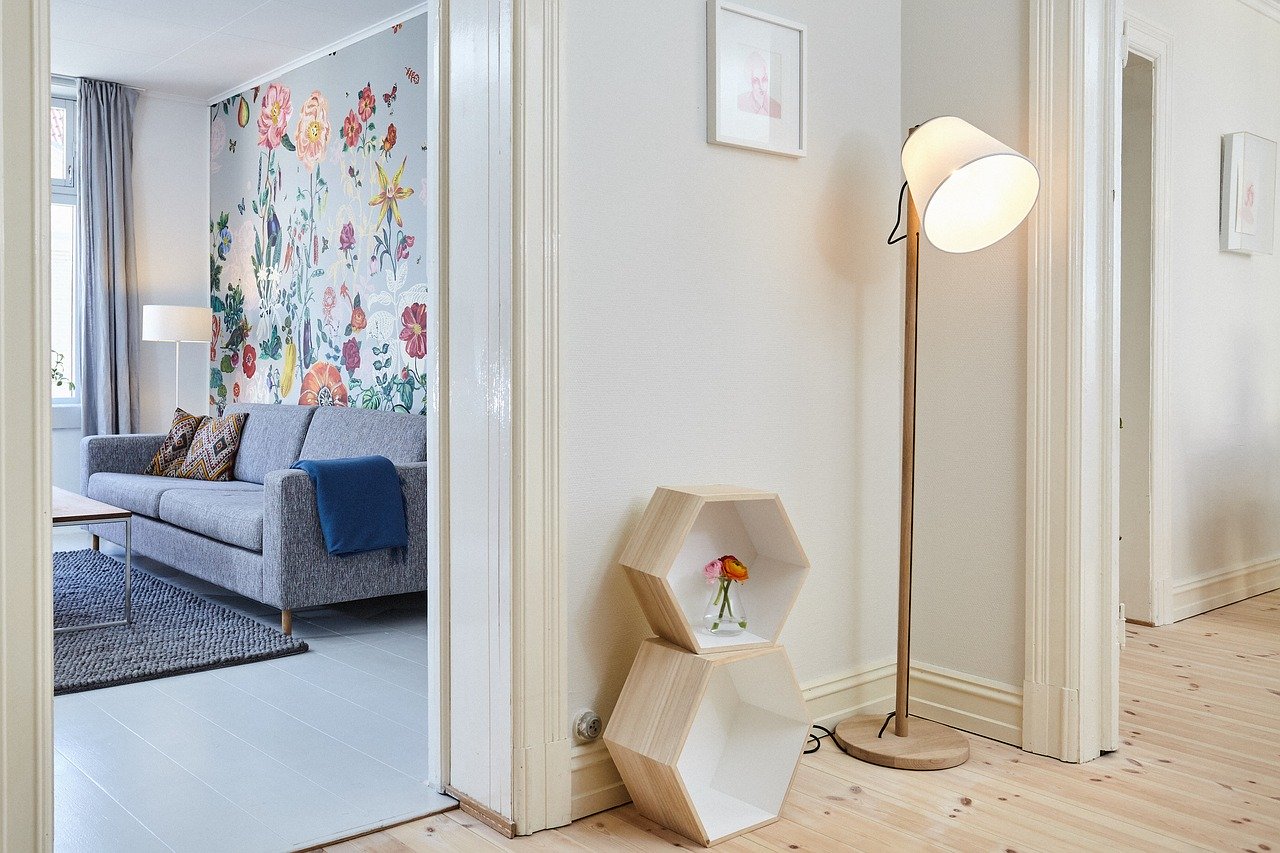
Trimming/finishing can be the difference between looking unfinished and making a project look really well. Have a look at the door opening nearest you (or the one below!) and try to visualise the decorative timber around it being stripped off. What you would be left with would be an unsightly joint between door frame and wall. This decorative timber is known as an architrave. It hides the unsightly gap and creates a visually attractive journey from wall to door.
The same logic applies to skirting boards. When laying timber floors a gap is always left between the wall and the floorboard to allow for expansion, which the skirting board covers. These boards also protect the lower wall from damage by animated kids playing on the floor, or even overenthusiastic house-proud owners vacuuming! They provide an aesthetic decoration/trim/finish around the base of the room by seamlessly uniting wall and floor with a moulded timber.
Materials, sizes and lengths
Skirting boards come in different shapes and sizes. The standard height is 119mm but you can get them from 60mm all the way to 250mm; the standard thickness is from 12 to 19mm but again they can be thicker. Architraves are a similar thickness and standard widths range from 80mm to 160mm.
The moulding style you choose is a personal preference, but a word of advice on materials.
If you choose to paint your skirting boards, I would recommend a pre-finished MDF board. This is significantly more expensive but will save you an awful lot of prep work. If you choose to paint a white or red deal (standard timber) skirting, you will have to treat the knots to avoid them weeping and staining through the paint, filling any defects or dents, priming and sanding the boards and then the final colour coat.
With MDF boards, there are no defects and some are prefinished with a white primer already. The price difference for the same 119mm high skirting board 2400mm long could be as much as €12-€18 or £15 per board. This can be a lot of money depending on how many you require. Ultimately the choice is yours, the process is the same for fixing them to the wall.
Once you’ve chosen which to use, you will need to work out how much you need. To do this, measure the length of all the walls in the room. Skirting boards and architraves come in length increments of 30cms, e.g. 2.1m, 2.4m, 2.7m, etc., up to about 6 metres max. For architraves, one length of 5.1m would do a standard door surround, including the two uprights and a head. For skirting boards you can get a good price when bulk buying. Sometimes they are available in packs of four to five boards which can work out cheaper than buying single boards. Always buy a bit extra to allow for off-cuts and mishaps!
Cutting the boards STRAIGHT OR AT 90°: mitre joint
Start with the longest wall first. If you think about any decorative moulding, the trickiest part of the process is where the two ends meet. If the skirting board were square with no moulding, joining the board in the corners would be no trouble, the two ends could be butt jointed and it would look fine. Unfortunately skirting is there to be aesthetically pleasing so mouldings will be present, which means we must join the ends into the corners using a different approach.
There are two ways of doing this. The first and probably the easiest is to mitre the two ends. A mitre joint basically means cutting the ends of two boards at a 45° angle so that when the two meet they form 90°.
You can use a mitre box or chop saw. A chop saw would be for the more professional or keen amateur worker, but there are great deals at the moment if you had more than this job planned (prices in the couple hundred euro/pounds).
A mitre box on the other hand is a cheap alternative and still gives accurate results. The mitre box has pre-cut slots at the desired angle. The board is placed inside this box and a hand saw is guided by these slots to cut the appropriate angle. A mitre box and saw would cost in the region of €30/£28, a mitre box on its own would cost approx. €10-€15/£12. With practice and good technique, this can be a very accurate tool to use.
Measure the length of the longest wall and transfer this to the skirting board. Remember that this measurement will correspond to the back of the skirting board as the front will be shorter due to the mitres. Measure twice and cut once!
- Pages:
- 1
- 2


