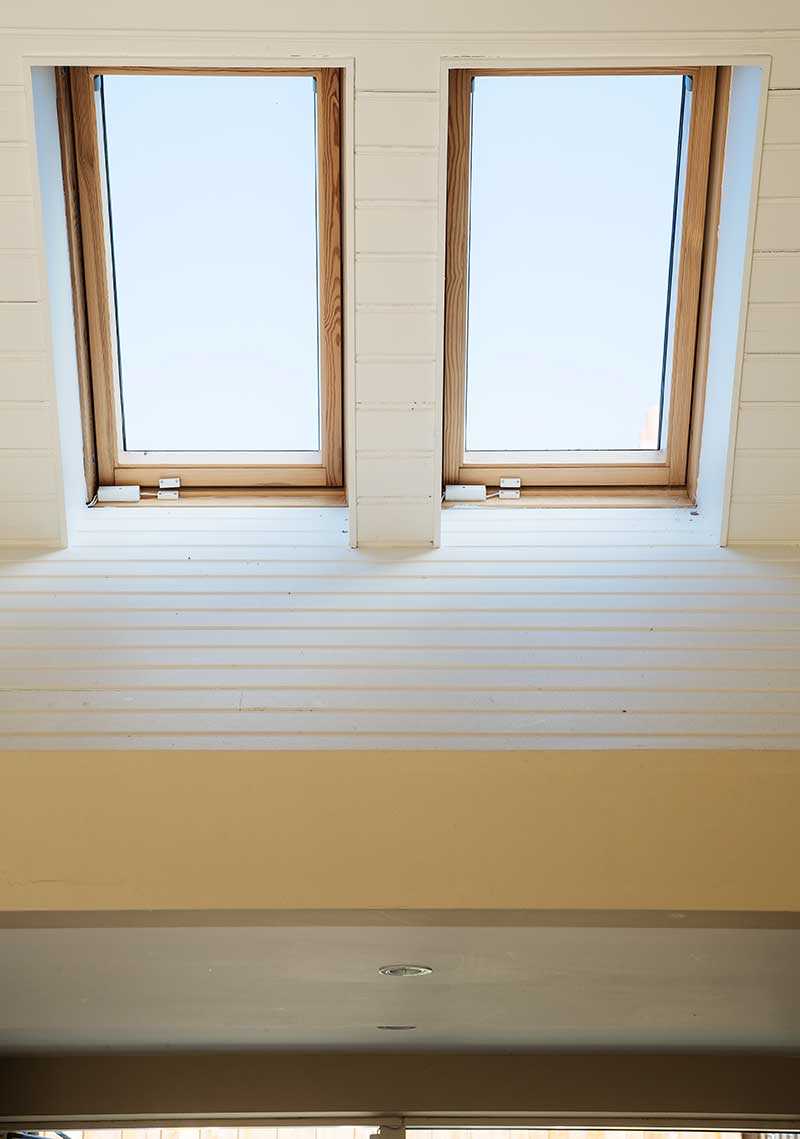
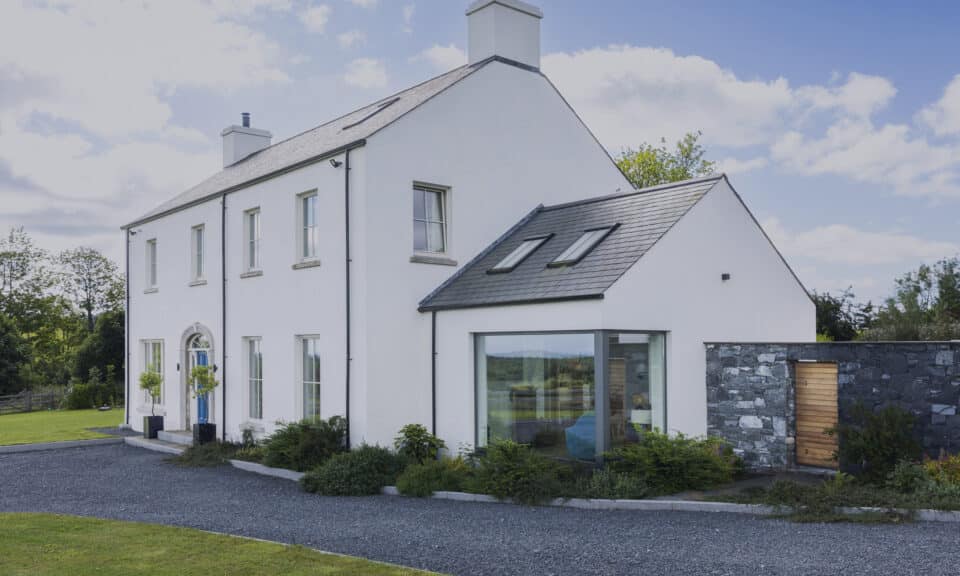
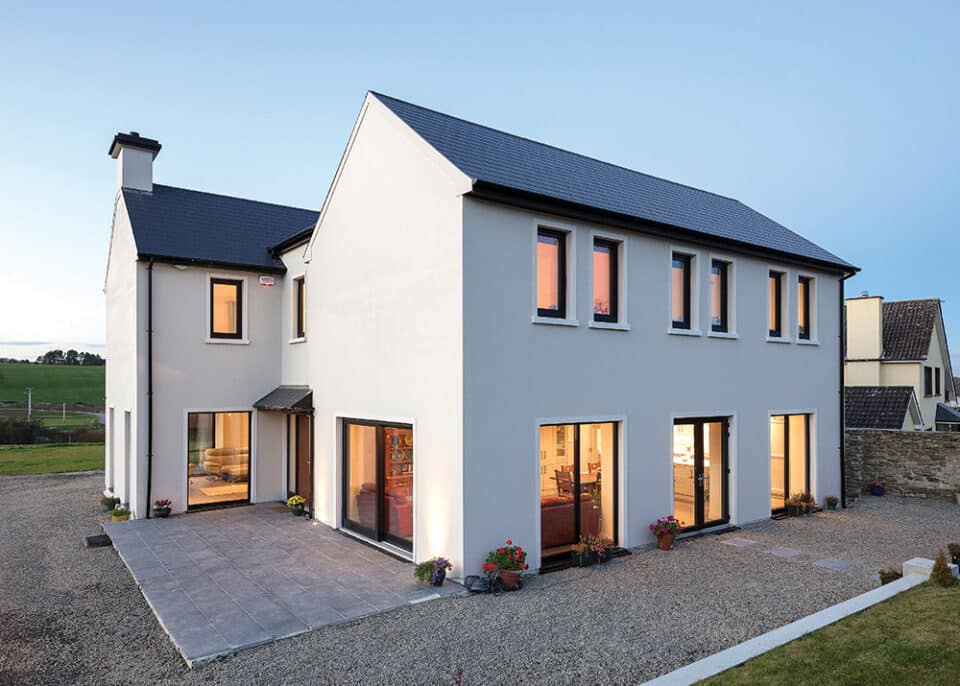
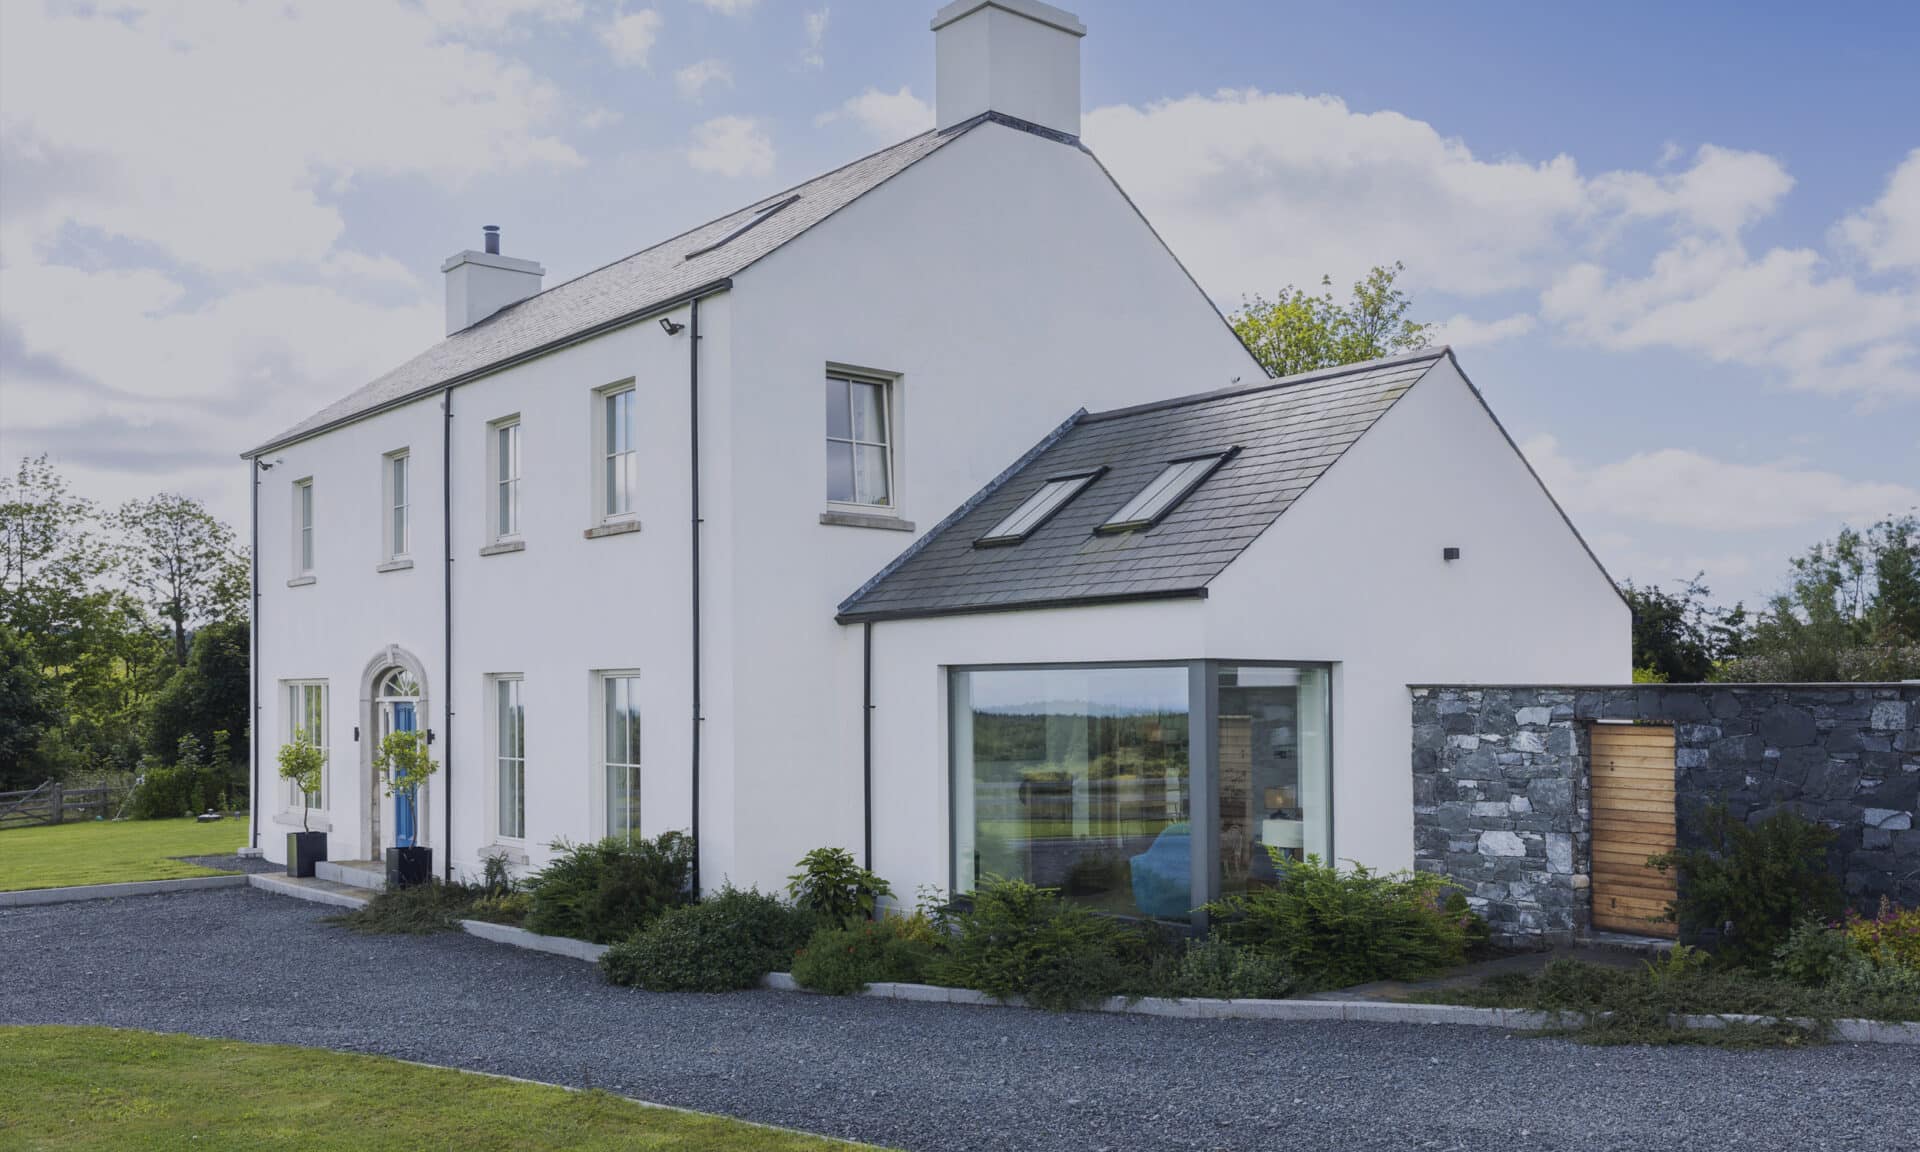
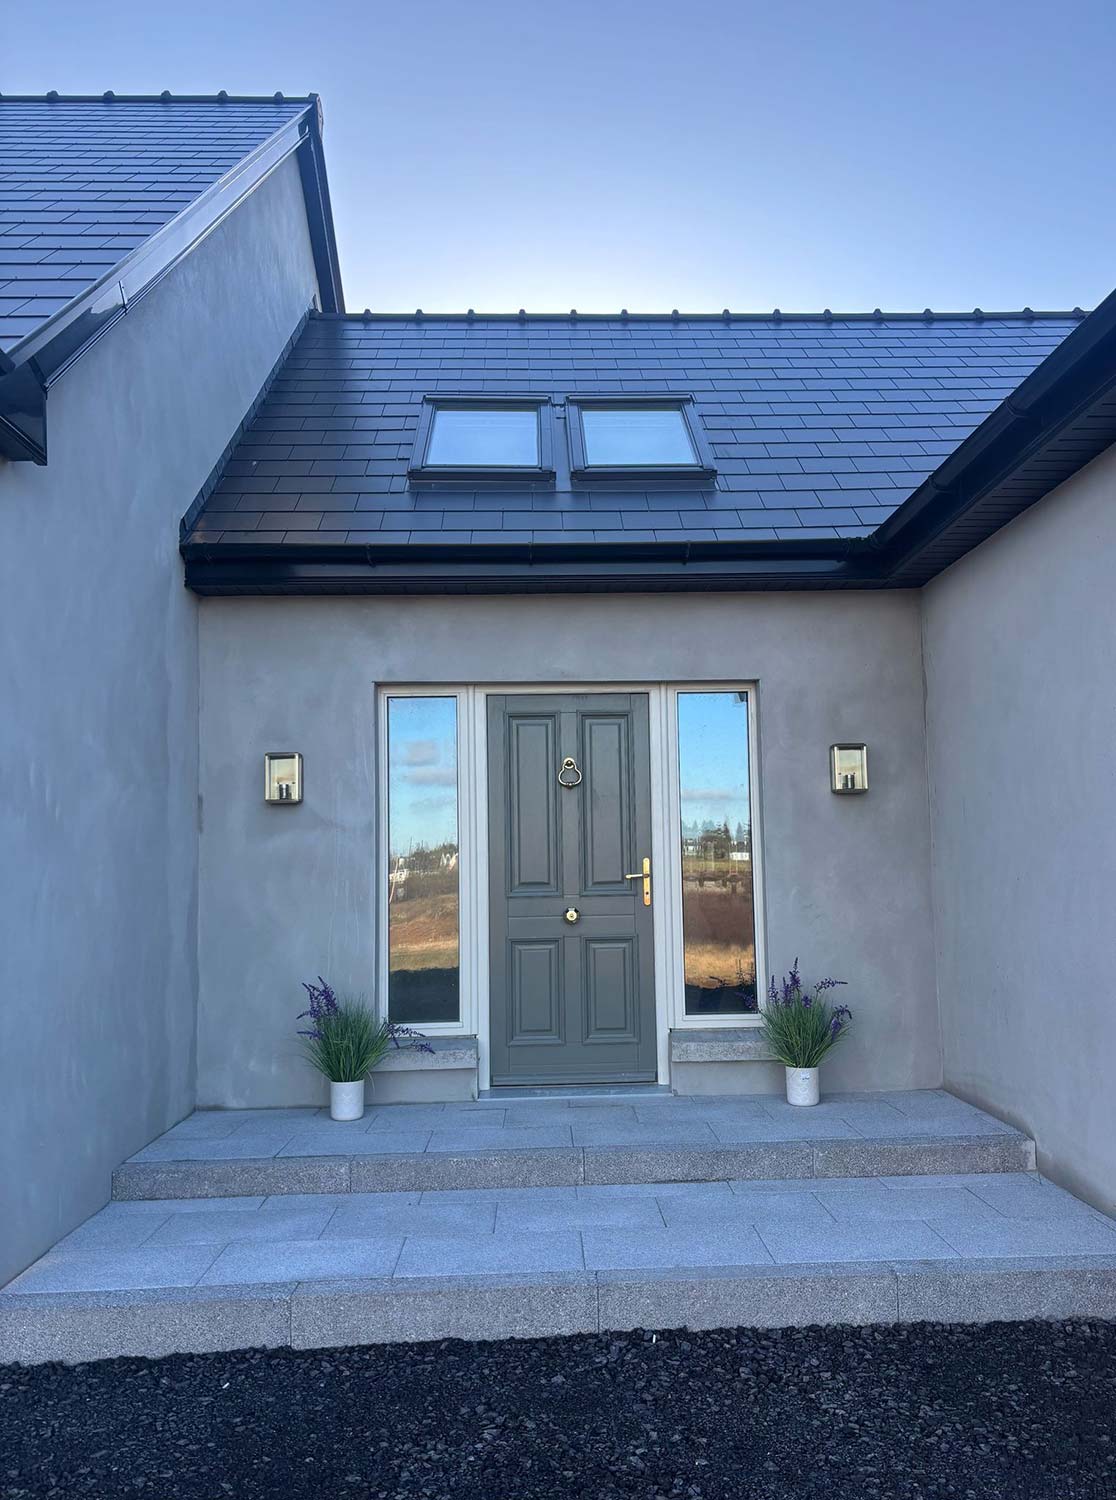
A roof space conversion can often be the most airy room in the house because a window in a pitched roof will let in up to half as much light as a normal window. In general the amount of window glazing should be at least 10% of the roof space floor area but, in the case of roof lights, no more than 20% (1/5th) of the slope on which they are located to avoid them dominating the look of your roof.
Several smaller windows will diffuse the light more evenly than a single large one and light coming from different directions is of a better quality, so it might be an idea to think of combining vertical (dormer, fixed windows) with roof lights.
When dealing with glazing there are always clear opportunities for passive solar gain, especially with a south facing orientation. By specifying high performing glass you will get warmth during the day and reduced heat losses at night. You may find blinds essential to control glare as well as heat; these may be either internal or external and remotely controlled.
To comply with Building Regulations at least one window must have an opening of 0.33sqm or more so that it can be used as a fire escape route. And remember to take care when positioning windows so that they are not close to chimneys or soiled vent pipe outlets with noxious fumes!
Fixed windows
Since a window that can be opened must be installed 0.8m to 1.1m from the ground, the only way a ‘regular’ window will be an option is if you can stand in your roof space at eaves level, which is unlikely. That said, if you have quite a bit of height at eaves level you could opt for a fixed window, but think of how much useful light will get into the space – a children’s corner could require low level windows but in most instances this isn’t practical. A more suitable option may be to combine a fixed window with a roof light above it.
 Dormers
If standing space is limited dormer windows are often recommended, usually at the back or side of the roof to enhance your chances of gaining planning permission (ROI). The dormer extends the useable standing room and makes the area feel much more like a normal room. However, a dormer window is much more expensive than a roof light.
Dormers are built by carving out a piece of the roof and building a new mini-roof. You can choose any roof style. In the past the most common was the traditional ‘A’ shape but nowadays ‘flat’ roofs are becoming quite popular, especially when clad in zinc or lead. However these are very expensive; a cheaper alternative is rigid fibreglass sheeting. Although they appear to be, these roofs are never fully flat as they must allow the water to run off.
In the case of a dormer the fall is considered best facing forward so the water is directed away from the building as opposed to being diverted back to the main roof. This is to prevent any potential leaks in the future. The new mini-roof and main roof are connected with flashing, usually lead, just as your main roof is to any connecting structure, e.g. walls. This diverts the water to the main gutters. Note that the addition of a dormer will often require an additional downpipe to be installed.
In terms of insulation, you should allow an air gap as you would in a traditional roof construction, for ventilation. This will prevent condensation and moisture to build up. A vapour permeable membrane is also advised but be especially vigilant at the window surrounds – as with any window opening this is where it’s most likely that you will get cold air coming in, creating a temperature differential that could eventually lead to mould growth. Proprietary tapes that are vapour permeable need to be used to seal the insulation around the window to prevent this.
As with any upper storey windows, consider the tilt and turn type (centre pivot) as this will make cleaning the external pane much easier! Windows that are ‘top hung’ (opening from the bottom out) can also be reversed for easy cleaning.
South Dublin Council provides a guide to what they consider permissible in their House Extension Design Guide available from www.sdcc.ie; these are guidelines that you can expect will generally apply to most local planning departments. If you plan a dormer design, book a pre-planning consultation and bring the options you had in mind with you. The planners should be able to give you an indication of whether or not your plans for a dormer are suitable.
Here’s an excerpt from the South Dublin checklist:
- Use materials to match the existing wall or roof materials of the main house.
- Locate dormer windows below the ridge of the roof, even if the roof has a shallow pitch.
- Locate dormer windows as far back as possible from the eaves line (at least three tile courses).
- Relate dormer windows to the windows and doors below in alignment, proportion and character.
- In the case of a dormer window extension to a hipped roof, ensure it sits below the ridgelines of the existing roof and matches the materials used in the main house.
- Do not obscure the main ridge and eaves features of the roof, particularly in the case of an extension to the side of a hipped roof.
- Avoid extending the full width of the roof or right up to the gable ends – two small dormers on the same elevation can often be a suitable alternative to one large dormer.
- Avoid dormer windows that are over dominant in appearance or give the appearance of a flat roof.
- Avoid the use of flat-roofed dormer window extensions on houses with hipped rooflines.
- Pages:
- 1
- 2

