
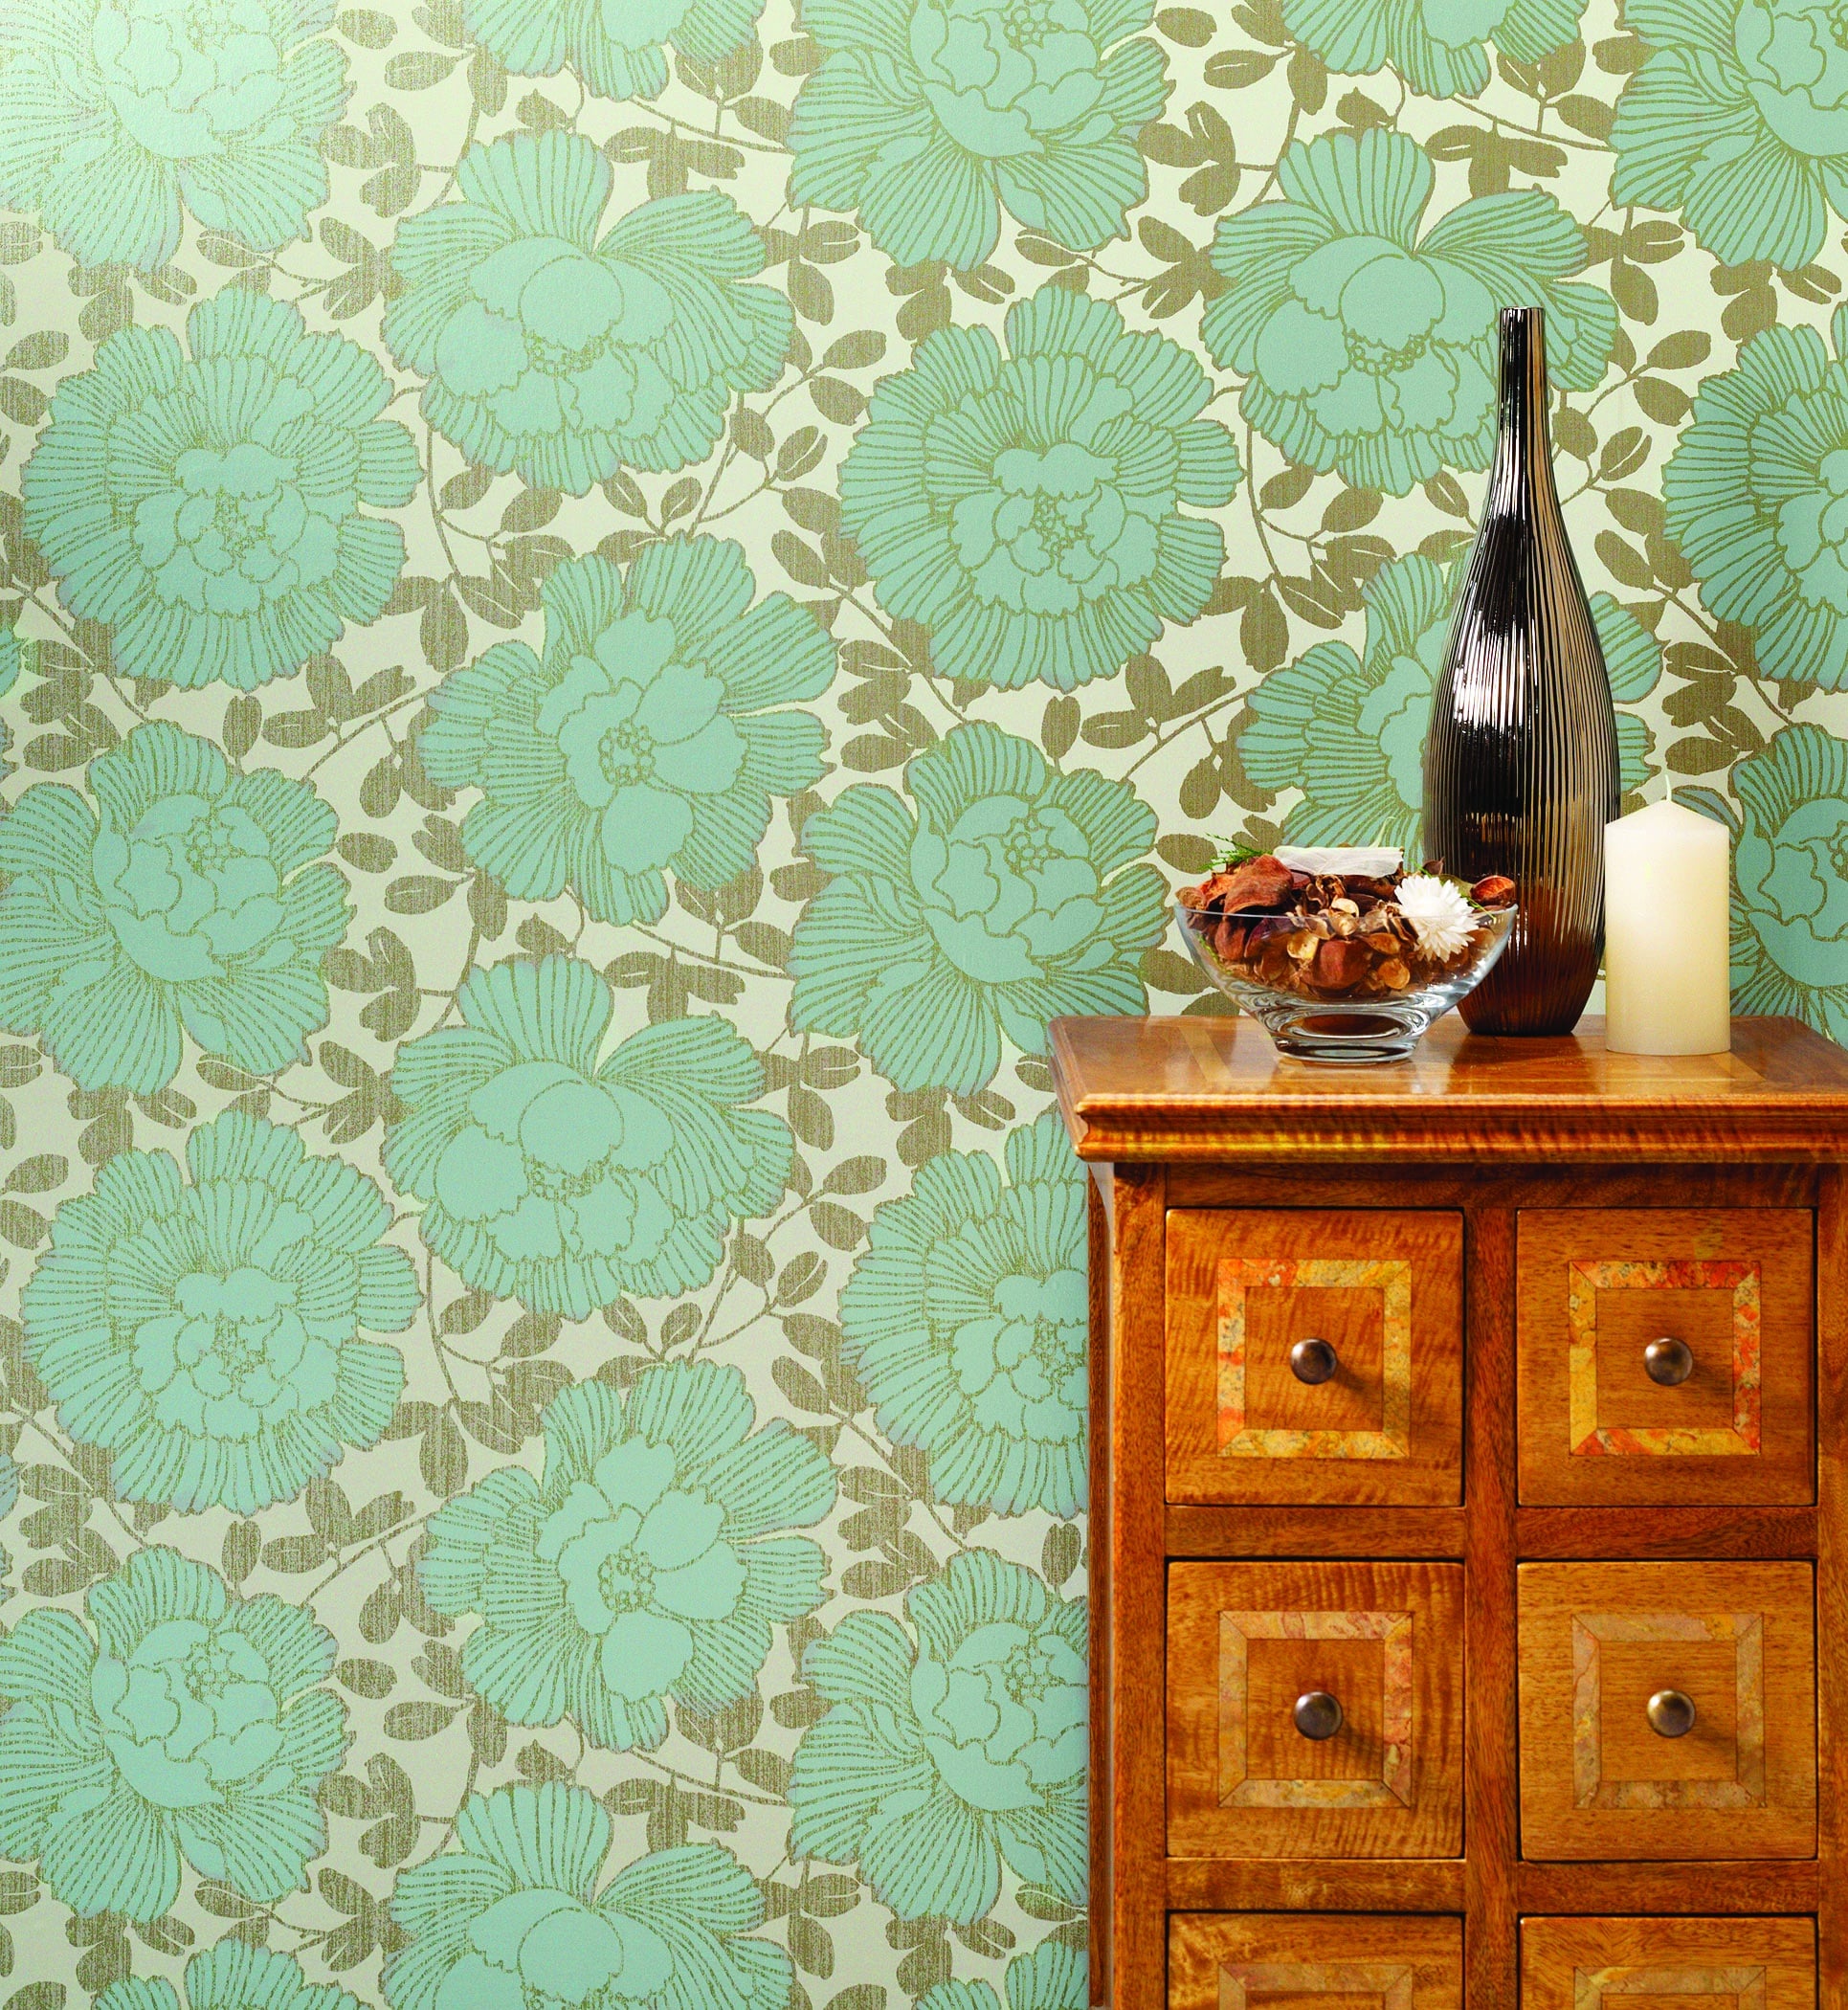
Oscar Wilde’s famous last words from his deathbed in a French hotel over one hundred years ago, are testament to the strong emotions created as a result of decorating our interior walls with coloured and patterned paper.
Fifty years earlier Napoleon Bonaparte suffered, as we now know, arsenic poisoning from the wallpaper on the walls of his prison on St Helena. Scheele’s Green, a colouring pigment used in fabrics and wallpapers from around 1770, contained copper arsenite.
In 1893 an Italian biochemist, Gosio, discovered that if wallpaper containing Scheele’s Green became damp and then mouldy, the mould converted the copper arsenite into a very poisonous vapour. It was this vapour that over a period of time gradually poisoned Napoleon and many others like him.
And yet wallpaper was hugely popular. The reason may be that originally it was not just a decorative addition but a vital part of the building fabric. The idea was that, in order to minimise cracking, each layer of wall covering should be softer than the one below it to allow for a degree of movement within the structure.
Following several layers of plaster, each with fewer and smaller cracks, came absorbent, flexible wallpaper masking the remaining hairline cracks.
The expression ‘papering over the cracks’ is misleading; wallpaper was meant to cover them, move with them and prevent them from showing through – providing of course that the cracks weren’t structural!
Here are some basic tools to make your wallpapering project a success by avoiding some common mistakes. Remember, to ensure you get the full life out of yours, keep it away from direct sunlight, humidity, damp or movement in the wall.
Walk the talk: terminology
Run number/dye lot A number printed on the roll and given to each batch printed at the same time. It is important to record this number in case additional wallpaper is required at a later date as it will allow you to ensure colour continuity between rolls.
Relaxing/Soak period The process of folding, without creasing, a recently pasted strip of wallpaper or border with pasted sides together. This allows the paste to soak into the wallpaper backing and prevents the paper from expanding on the wall which can create air bubbles.
Cross seaming/lining Installing the lining paper horizontally and the decorative wallpaper vertically, ensuring that the seams do not fall in the same place and resulting in a more secure adhesion.
Pattern matches Most wallpapers have a pattern repeat. The repeat is the vertical distance between one point on the pattern to the identical point vertically, and it is an integral part of the design. The repeat can range from an inch to as much as the width of the wallpaper or more.

If the wallpaper has a pattern, find out what type of pattern match it has. There are three main types:
Random match Where the pattern always matches, e.g. anaglypta papers and vertical stripes.
Straight across match A pattern whose design matches on adjoining strips. Every strip will be the same at the ceiling line, so some care is needed when cutting the paper from the roll.
Half-drop match Every other strip is the same at the ceiling line and the design elements run diagonally. It takes three strips to repeat the vertical design. If you numbered the strips consecutively, the odd numbered strips (1, 3, 5 and so on) would be identical and the even numbered strips (2, 4, 6, and so on) would match one another. In order to avoid confusion, lightly number (in pencil) on the back of each strip the order in which it is to be hung.
Multiple drop match This takes four or more strips before the vertical design is repeated and should be tackled the same way as the half-drop match above.
Get the basics right: wall preparation
If you already have wallpaper on the wall it will have to go! Sometimes you can rip it off the wall dry, starting at a corner, and all you will be left with is a small amount of paste residue which you can clean with stripping solution and a sponge.
Vinyl and other similar papers leave a paper backing on the wall. To remove, apply a solution of a little washing up liquid in water. Using a garden spray, brush or sponge, cover the paper and allow it to soak for at least ten minutes, re-wetting if necessary. Scrape off with a flat bladed tool. Soak stubborn pieces again – the more you soak, the easier the job will be. If not proving successful, try a mixture of two parts water to one part white vinegar.
If neither of these is working you may need something stronger, such as an enzyme based additive which will dissolve the old glue much faster. If you do choose this route, ensure that there is plenty of ventilation and perhaps wear a mask as the fumes might irritate your throat. Allow approximately 30 minutes for the glue to dissolve.
Another approach is to score the paper with a specialist tool or razor, but beware of being too enthusiastic and damaging the wall below. Scoring allows the solution to penetrate the old glue more effectively. Simply use the edge of the scraper to make a criss cross pattern, thus allowing the solution to work into the paper better.
For particularly stubborn papers, especially painted ones or those that have recently been hung (after all, most of them nowadays are manufactured to be waterproof!), a steam stripper is more than likely to be needed. You can hire these and it will fit in the boot of your car. The steamer consists of a small tank that holds and boils the water circulating in the steaming plate. Press the plate onto the wall forcing steam into the wallpaper, and paper and paste are softened immediately. Now remove the paper as usual with the aid of a scraper. Aggressive steaming can damage walls and, if the surface is old and not properly prepared when first papered, you could find the plaster and other surface coming off as well as the paper.
To finish the task, wash with hot water and a wall washing detergent, or use the wallpaper stripping chemical. This will remove any residual paste. Allow the wall to dry thoroughly and then sand lightly to remove any roughness. Remove the resulting dust by vacuum and your wall should now be ready for its new ‘clothes’.
Troubleshooting: learning from mistakes
The major cause of problems with wallpaper is poor surface preparation, imperfections in walls or human error in hanging. Happily, most are easily resolved. (Note that the list below outlines the most common problems, it’s not exhaustive of what can go wrong!)
Bubbles These are usually caused by not smoothing out a strip properly, hanging the paper in low temperatures, improper surface preparation or not allowing strips to fully soak out. This results in thin, elongated bubbles down the length of the paper and happens because the paper was put up too early and is continuing to expand on the wall. Paper should always be liberally pasted and allowed to soak out for the recommended time, normally 4-6 minutes for paper backed papers. The solution is to take a sharp single-edge razor or utility knife and cut a slit in the bubble. Using a glue syringe inject premixed wallpaper adhesive into the slit under the paper making sure that the adhesive is evenly distributed. Wipe gently with a damp sponge.
Seams opening Normally the result of either weak adhesive, poor or insufficient wall surface preparation, excessive heat during the drying period or a combination of these. Correct by lifting the edge of the wallpaper to inject more adhesive and then spread and smooth.
Curling or loose ends A lack of sufficient adhesive or improper wall preparation is usually the culprit. Re-affix using wallpaper paste.
Streaks on wallpaper If streaks appear on your wallpaper, it’s usually the result of failing to rinse the paper. Rinse with water or a cleaning solution, but check the manufacturer’s instructions.
Ragged edges Caused by a dull blade. Use a fresh blade with every strip to ensure a clean cut.
Shading Shading can vary according to the type of wallpaper used. Some slight variations may be natural in materials such as grasscloth, but, if the effect is very obvious, then reversing each strip by hanging every other strip upside down can minimise the problem. If the shading is due to the colour not being consistent from roll to roll, then the problem is likely to have occurred during printing and the wallpaper should not be hung. Contact the retailer or manufacturer for advice and assistance.
Show through happens when wallpaper is thin enough to be almost transparent, allowing dark images and shadows to show through. Avoid by priming the wall with a pigmented wallcovering primer or sealer. If the wall is in particularly bad shape and you have a semi-transparent wallcovering, apply lining paper underneath.


