Putting carpet aside and assuming the budget for real wood flooring, ceramic tile or polished concrete is just not there, what are your alternatives? There are three main types: vinyl, linoleum and laminate flooring.
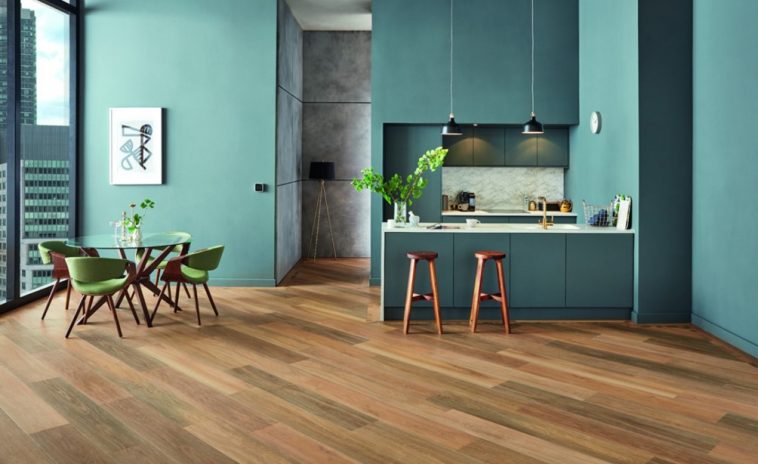
Along with wall and ceiling finishes, the floor coverings will set the tone of your rooms. The aim is that once installed, the floor should be a backdrop for carefully chosen pieces of furniture, rugs, pictures and artwork.
LVT and lino
If your choice is driven by a desire to be environmentally friendly, then lino could be a good choice. The ‘lin’ part of linoleum originally comes from the use of linseed oil. This is derived from the flax plant by pressing the seeds to extract the oil.
Mixing the oil with wood and cork flour and fixing to a flexible backing is the basis of producing the finished product. A process first developed by Mr Walton way back in 1863.
Of course, modern production methods and development produces a range of linoleum products that are readily available and affordable.
Using lino in an interior scheme offers great advantage for wet areas such as bathrooms where there are restrictions for wood flooring for example. It is also very durable due to its use for commercial environments. Creating interior schemes for homes pose many challenges but clever use of colour, light and layout could make for interesting results. Especially in children’s bedrooms and play areas.
While Mr Walton was busy creating his first linoleum, Frank Furness was also experimenting in using a new floor tile product made from polyvinyl chloride, known better as PVC. During the 1960s, luxury vinyl tiles (LVT) were developed further and started to become a popular choice.
Nowadays, LVT comes in many different shapes and sizes such as tiles and strips. The construction is generally layered to keep the product flat and the surface has photographic images fixed under a protective and durable wear layer.
Like lino, LVT can easily be used in bathrooms without an issue and this, combined with its durability makes it a good choice for areas such as kitchens and utility rooms.
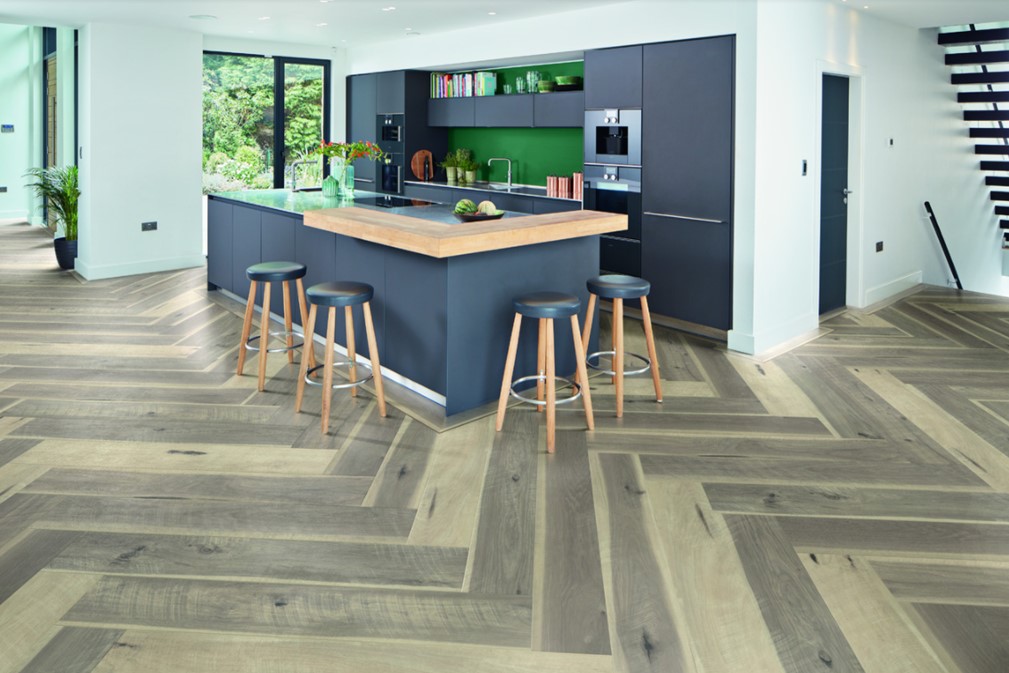
Many LVT products are based on more costly wood flooring designs such as herringbone and panelled floors with borders. Creating a similar look for a fraction of the cost.
Where wood flooring in cleaner grades may be the design brief, with LVT this can be achieved without any uplift in the cost as one image is simply swapped for another. Unlike real wood flooring which rises significantly in price when a knot free or ‘prime’ grade is desired.
LVT and lino installation
When installing over a concrete screed floor, it is important to make sure that the surface of the subfloor is flat and level and doesn’t have any pockets or craters that would ultimately be reflected in the final finish. It is worth considering using a levelling compound over the screed where the surface isn’t up to scratch, making sure that the compound fully adheres to the subfloor to avoid any delaminating issues in the future.
Another feature to check with any screed or compound is that it is fully dry before installing the LVT or lino. Check with your supplier on the requirements of the screed before their products can be laid. With linoleum, being a natural product, it is also important that the product is acclimatised before being installed. Again, following manufacturer’s instructions.
When your floor is flat and dry, LVT and lino need to be fully bonded to the surface. This means that the surface must be prepared for the application of the adhesive. Many adhesives are available on the market and are generally solvent free. Check with the supplier of the LVT or lino as to what product they would recommend.
Also check if your subfloor is porous and would need sealing with a PVA coat or other proprietary sealer before using the adhesive. Quite often, the cost of carrying out this work is cheaper and safer during the build than potentially having a problem later on.
Once all of this preparation work has been addressed, it is time to start laying the chosen product. Whether it’s sheet, tiles or individual pieces, preparation and thought as to where the joints and how the overall layout will look is the key to any successful installation.
Measure the room and put pen to paper and spend some time working out the best layout for the room under design. Key factors which will affect the layout include where the main source of light comes from in the room as any joints or texture to the floor will look better with direct light along their length rather than in shadow. Other factors include where the entrance and exit of the room are and how that will align with the design of the floor.
Laminate
Laminate flooring is made from a photographic design sealed with a resin top layer, (which is tough, durable and easy to clean), and high density fibreboard.
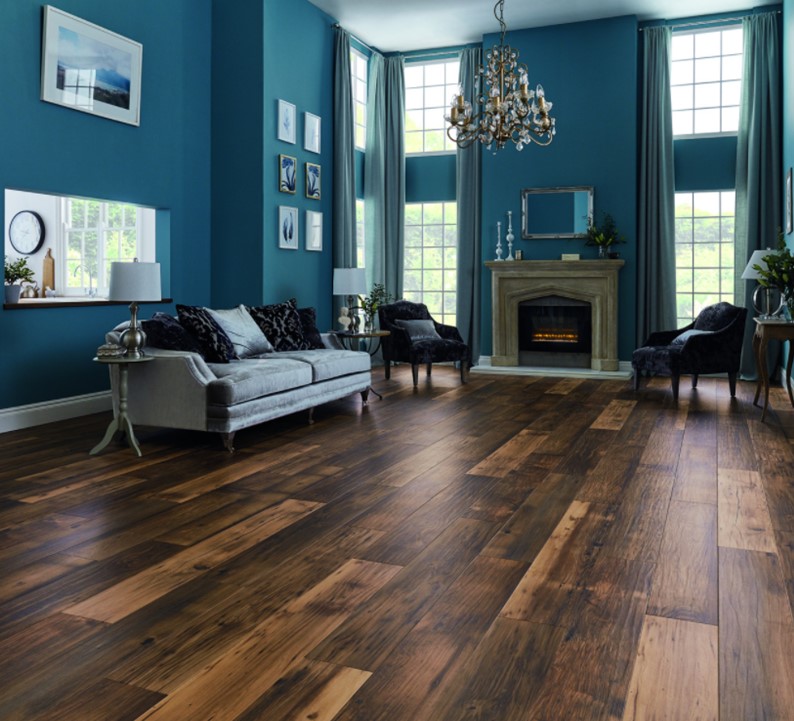
Laminate flooring offers a huge range of designs, shapes and sizes and textured finishes provide perhaps the closest alternative to real wood flooring.
In recent years, designs have become more sophisticated with high variation of the wood grain design. In the past, the repeating grain pattern gave away the fact that it was a laminate rather than a real wooden floor. Modern laminate floors have a high number of boards or planks with totally different grain patterns to closer reflect the overall look of a real wooden floor.
Installation is much quicker and easier than either LVT or linoleum. Each individual piece of laminate floor has a connecting edge which locks into the adjacent piece. Known as a ‘click’ system, this has virtually removed the need for glue to be used in the installation process. Floors are laid on top of an underlay foam which is rolled out over the sub floor.
Whilst it is still important to make sure that the screed is dry and flat, there is less need for a perfect “flawless floor” as the laminate will span over minor undulations in the screed.
Acclimatisation and checking on the humidity of the room where the flooring is to be laid is still an important factor in the preparation of laying a laminate floor. Check with the manufacturer’s instructions what each element needs and make sure the requirements are adhered to.
Also, thinking carefully about the layout is an important factor, direction of the planks should be along the length of the room wherever possible. Where the laminate floor meets the skirting board and architrave, beading which matches the floor can be used to cover the expansion gap that is normally required between the laminate floor and walls or other protrusions in the room.
Alternatively, for an even closer match to real wood flooring, the skirting can be removed, and the laminate floor run under the skirting whilst still leaving the required expansion gap. Most manufacturers also provide skirting finished to match the laminate floor.