In this article we cover:
- Finding an architectural designer
- How to join a Georgian design with modern back
- Efficient floor plan to reduce build costs
- Forward thinking with electrics and plumbing
- Planning application process
- Choosing a builder and setting up a contract
- How the day to day went: who the builder hired and who the self-builders hired directly
- How much DIY they did and lessons learned
- Playroom design with swinging elements
- Heating system choice
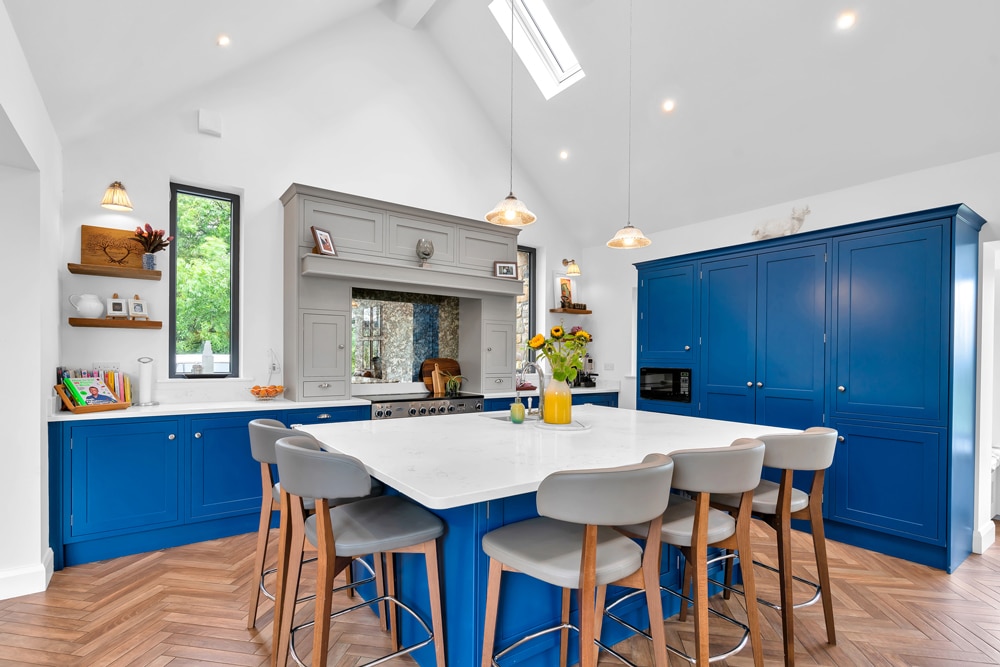
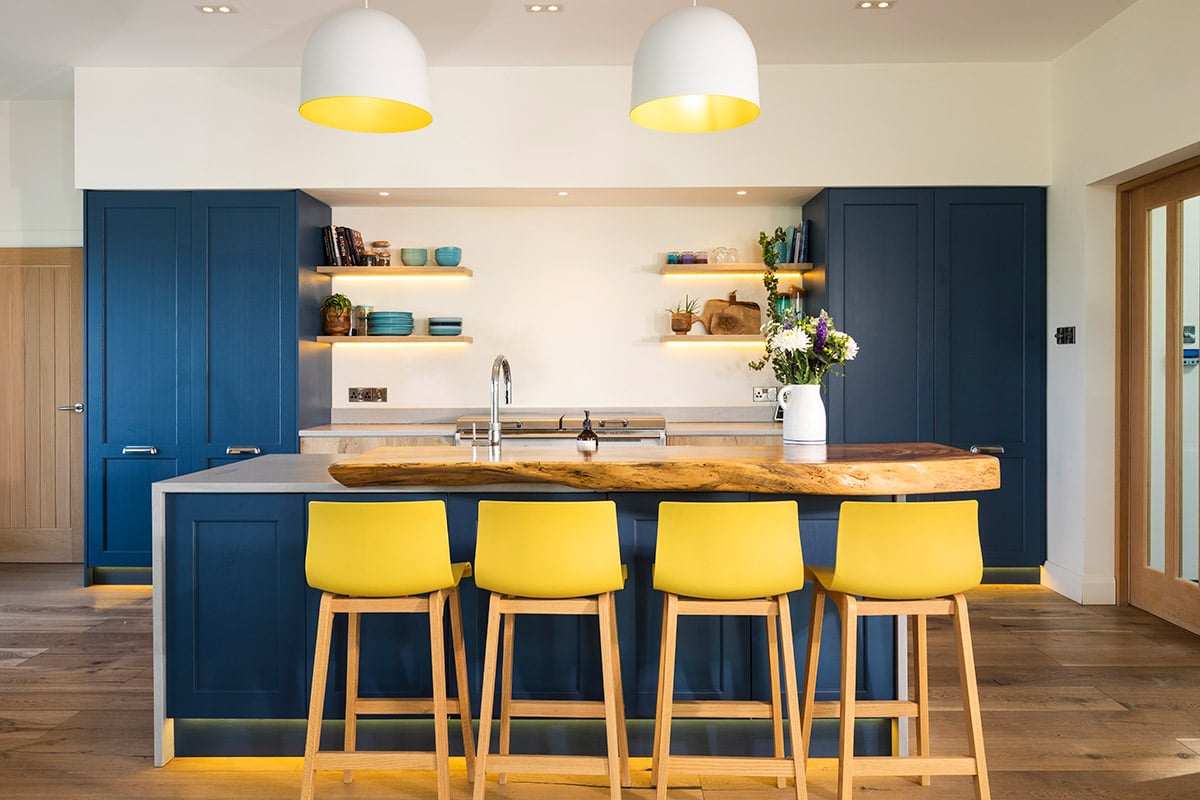
- Kitchen design
- DIY smart home design
- Landscaping details and how they saved on those costs
- Other budget saving tips throughout the build
- Window design and installation
- Internal design choices from lighting to flooring
- Specification, floor plans and supplier list
Overview
House size: 325sqm
Plot size: 1 acre
Bedrooms: 3
Heating and hot water:
oil boiler
Ventilation: centralised mechanical with heat recovery
Build method: blockwork (cavity wall)
EPC (SAP): B (81)
“We wanted to build a functional, modern home that could fulfil our family’s living needs every day. At the same time, it was important to us to respect and reflect the traditional farmhouse architecture that surrounds us here in rural North Down,” says Louisa.
“This is the area where Louisa grew up,” adds Chris, “so we have strong family ties here. It is also a very beautiful place with amazing and far reaching views – we can see Scotland on a clear day. Obviously, we wanted to enjoy those views as much as possible while we were inside the house.”
The couple keenly researched various architectural designers before deciding on Colin. They were impressed by his previous work which demonstrated how successful he was at combining the design aspects that were important to them.
“He completely understood our vision for the build and encouraged us to pursue the things that we wanted,” says Chris. “He was also great at advising on what would or wouldn’t likely pass through the planning stages.”
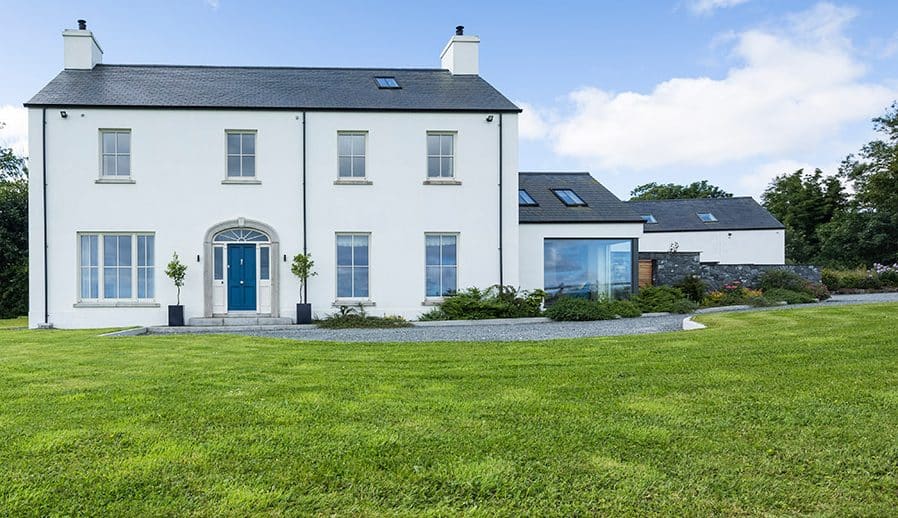
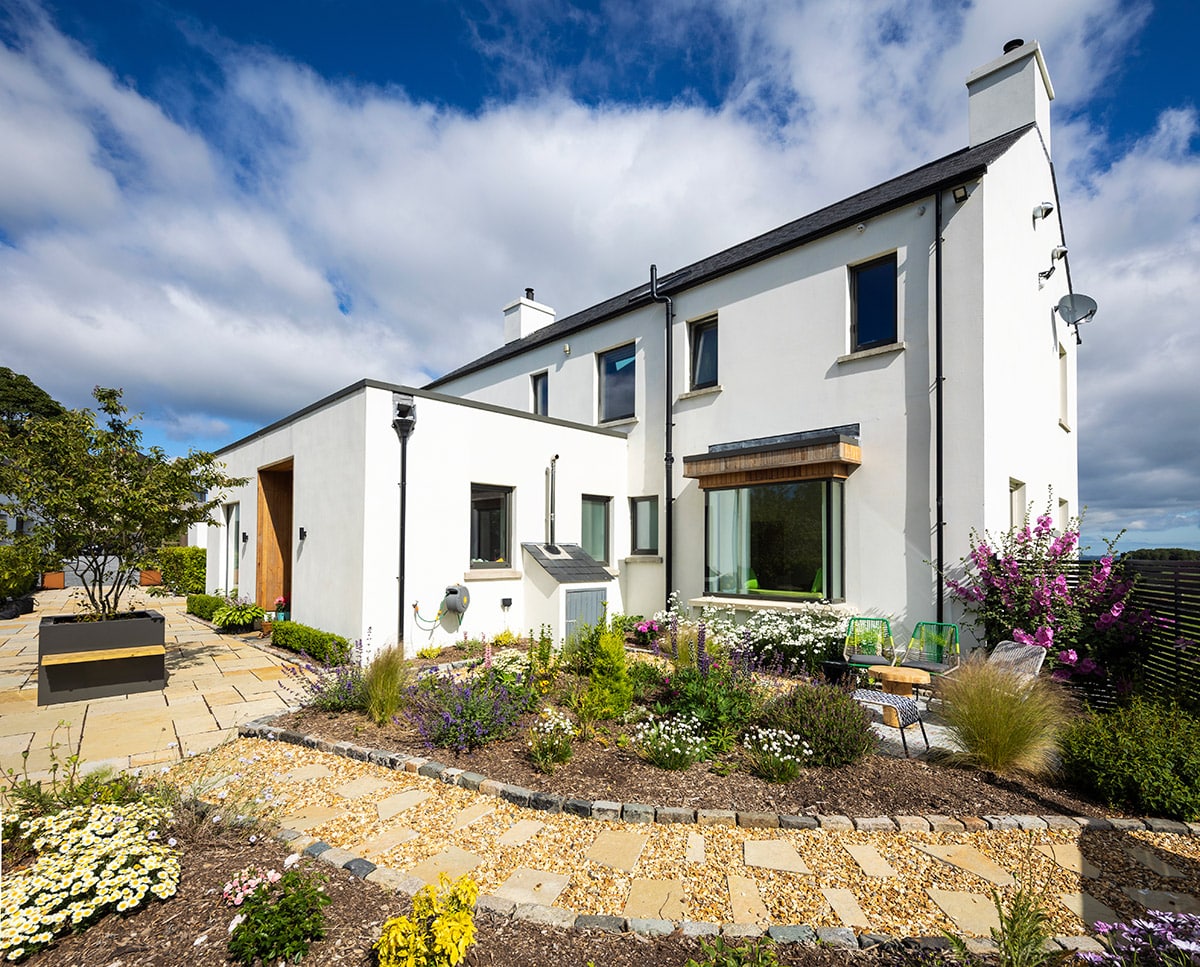
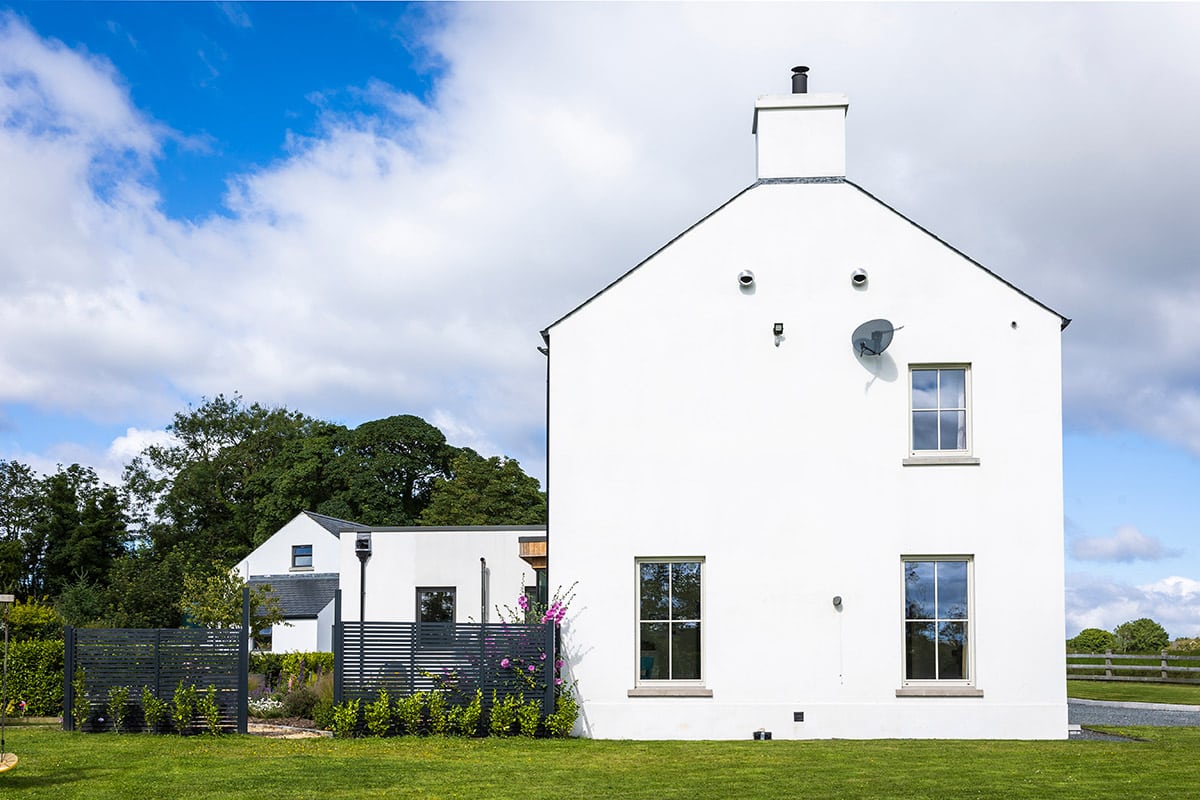
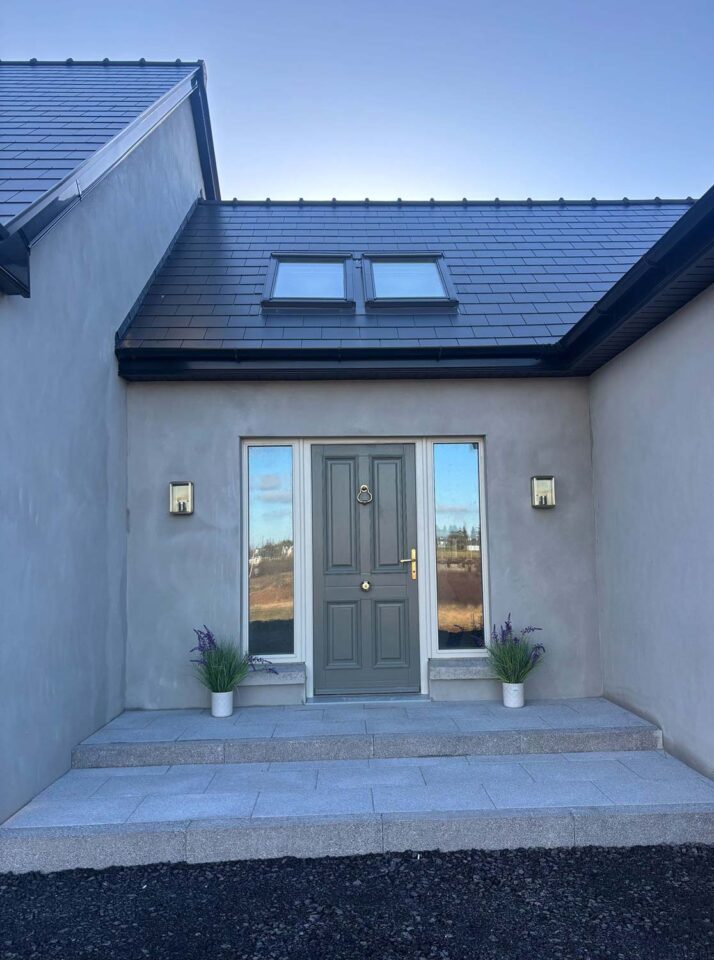
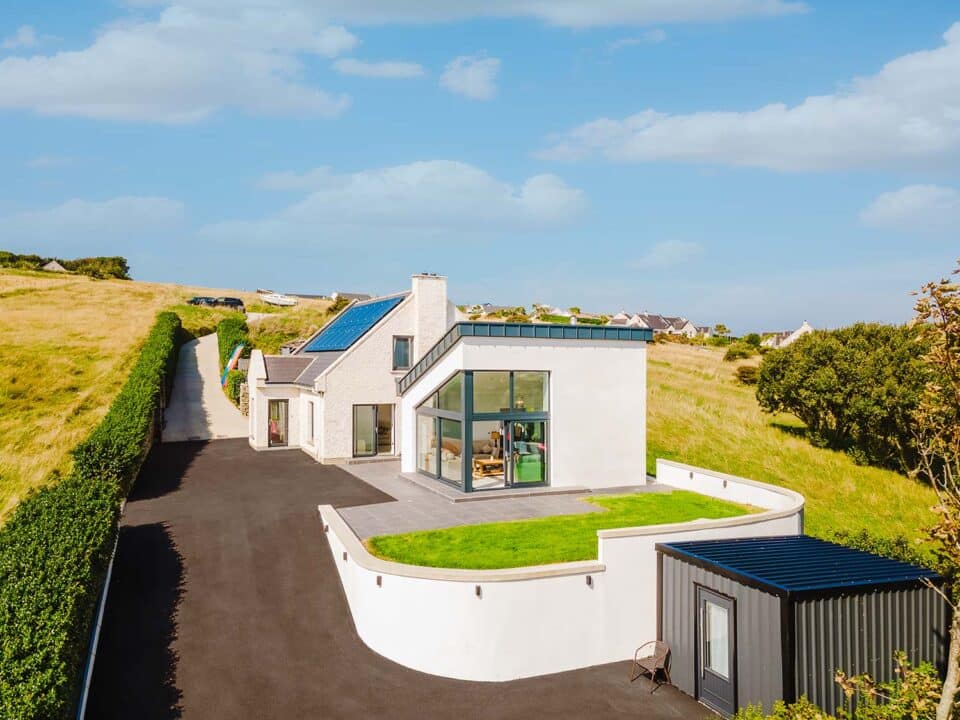
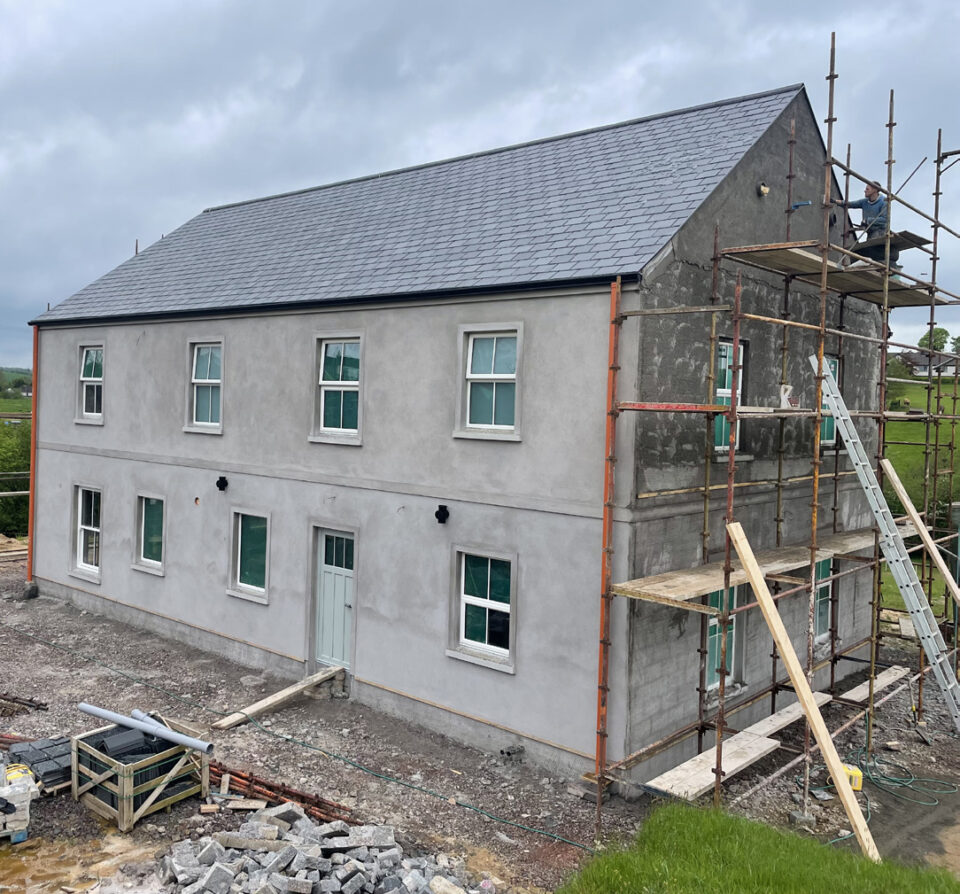
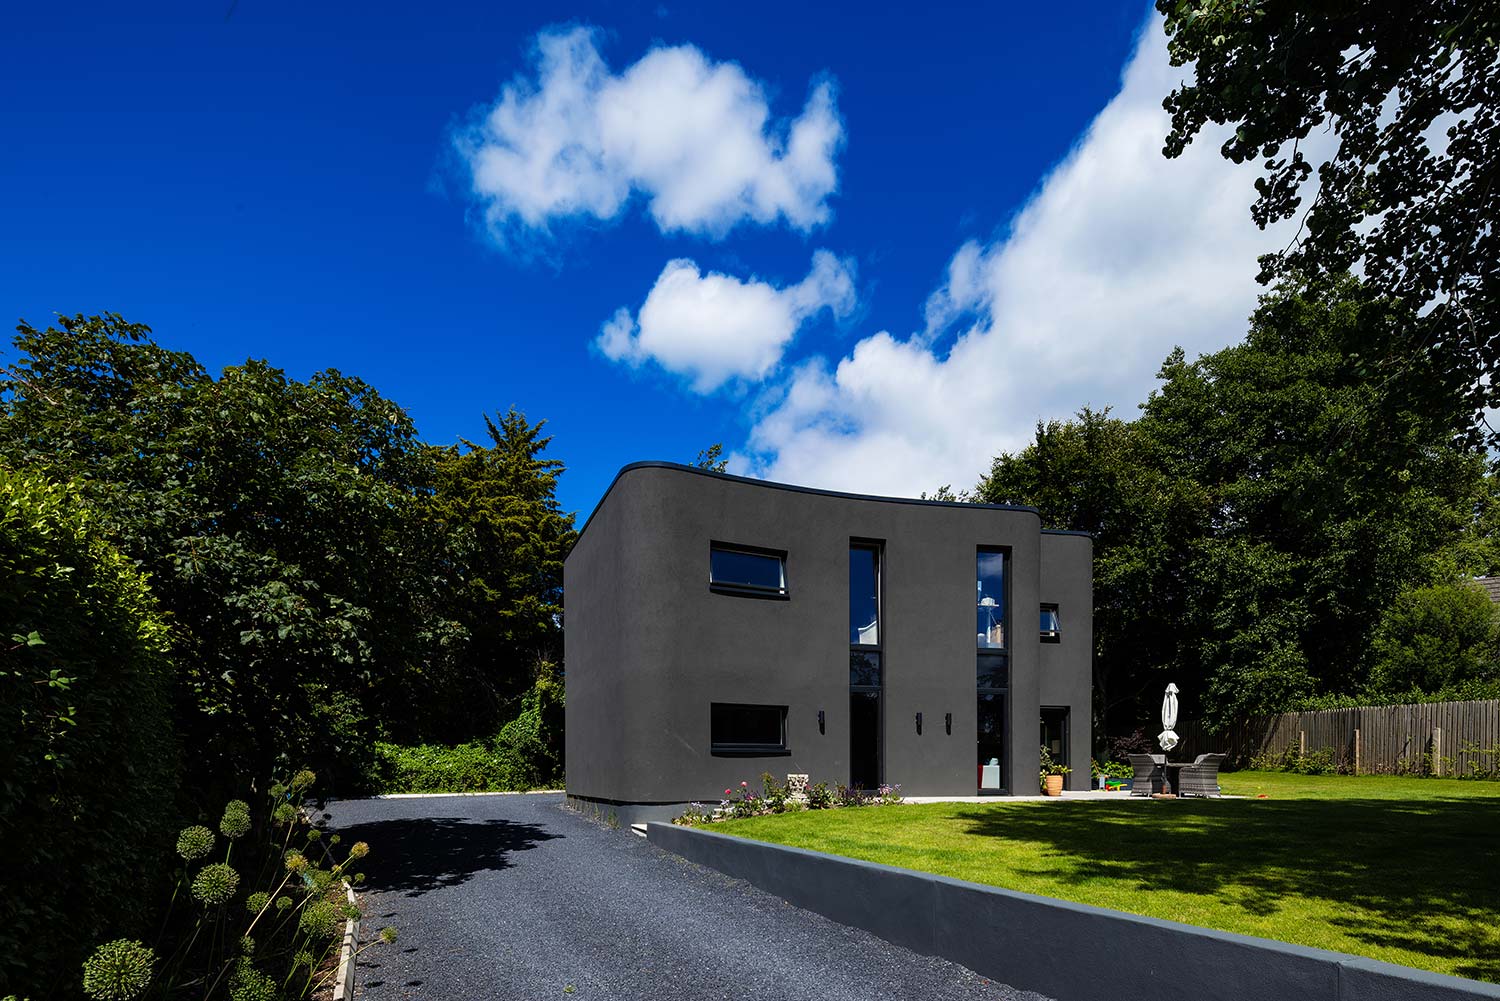
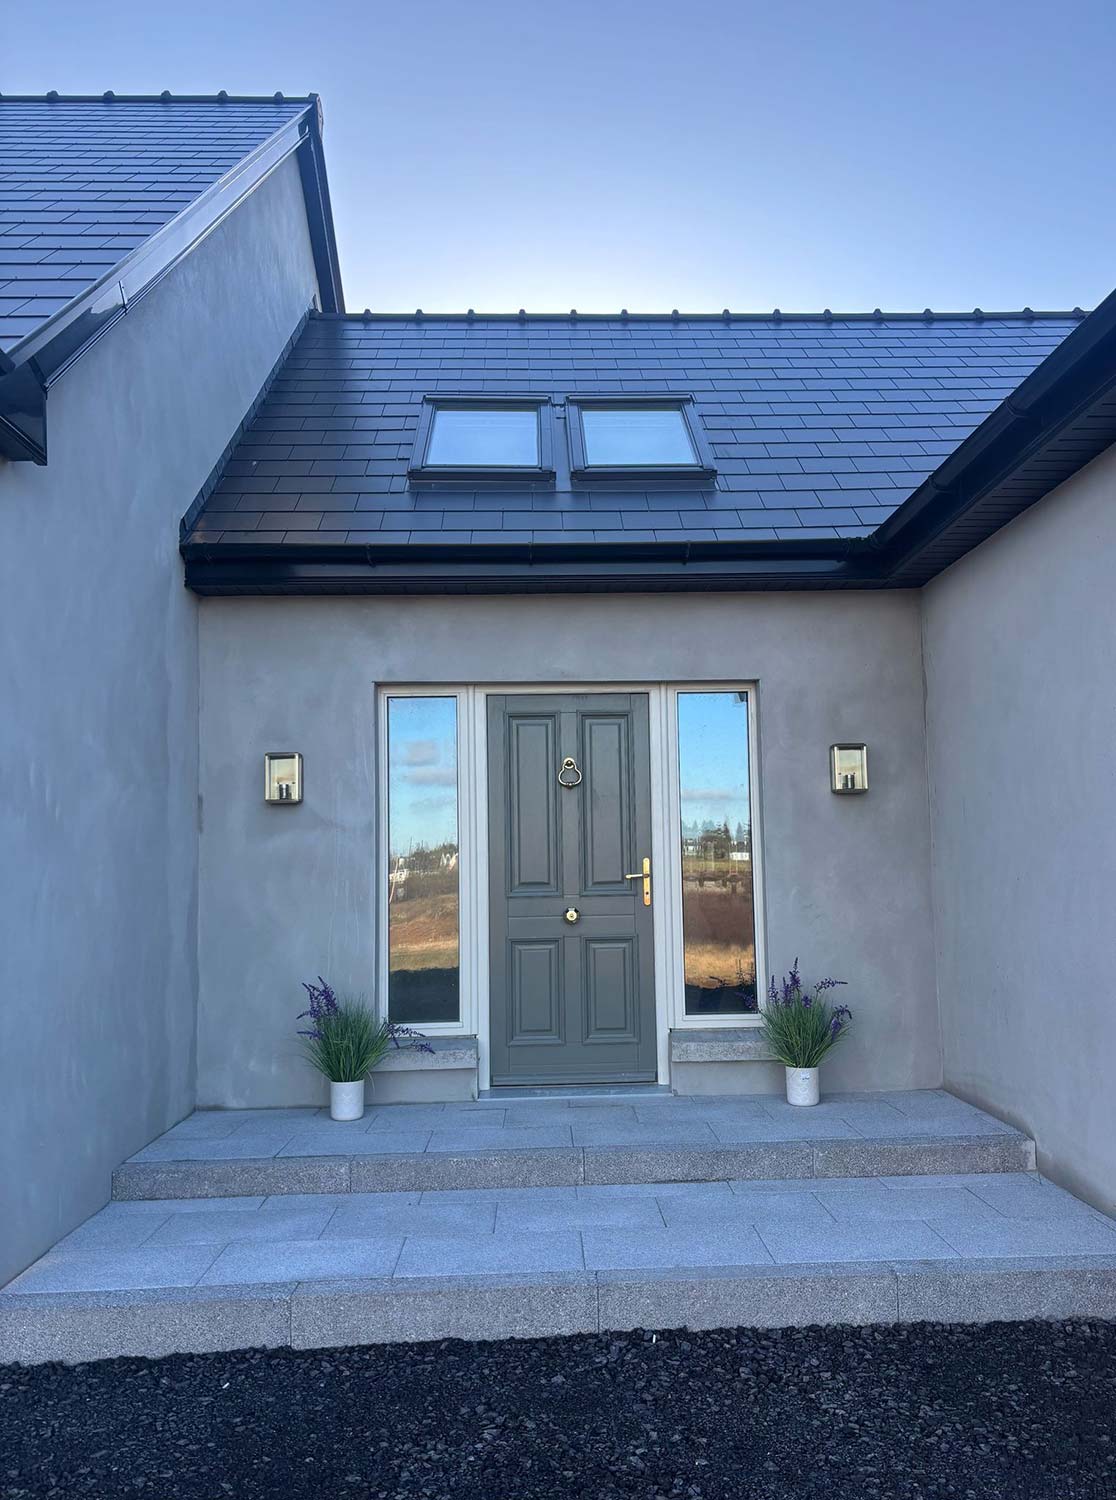
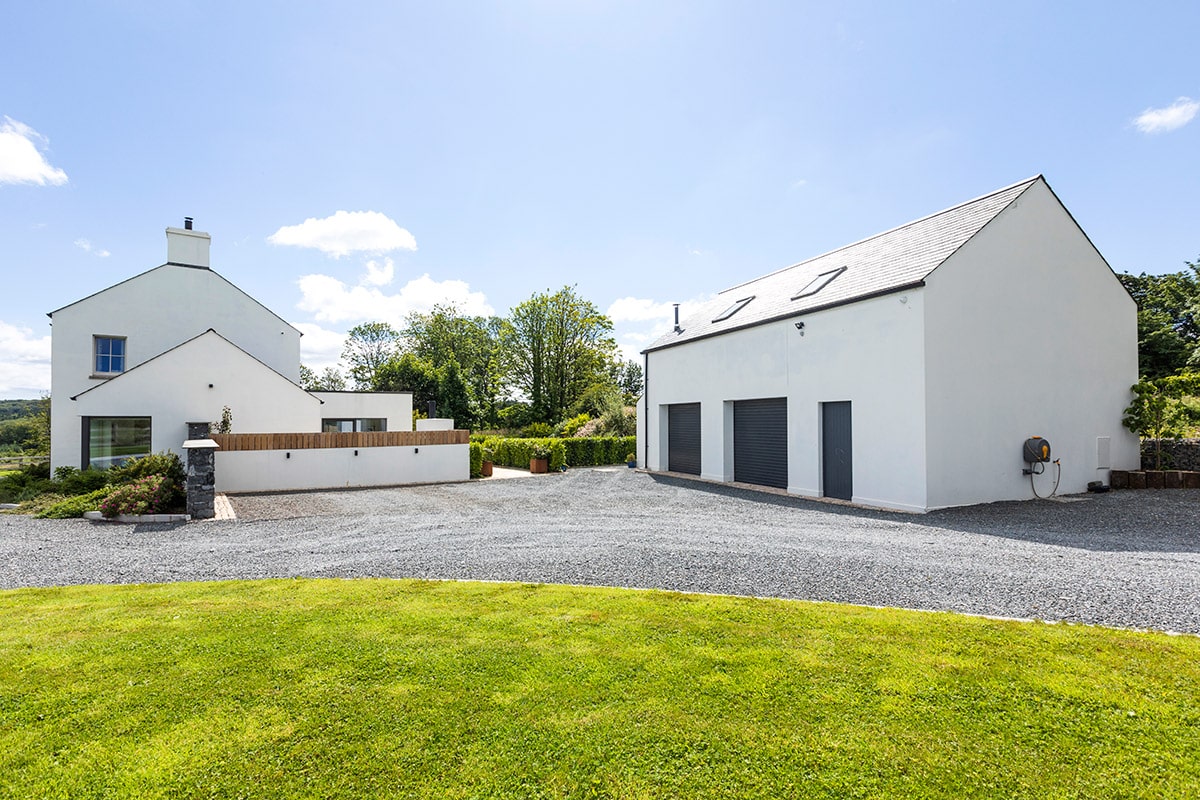
“The design that we agreed on was formal at the front, along the lines of a traditional Georgian farmhouse, and very modern at the rear with lots of glass and a flat roof extension.”
“We installed cream, sash style, aluclad triple glazed windows to the front elevation and large paned grey aluclad windows to the rear, also triple glazed,” says Louisa, “to contrast the two distinct styles.”
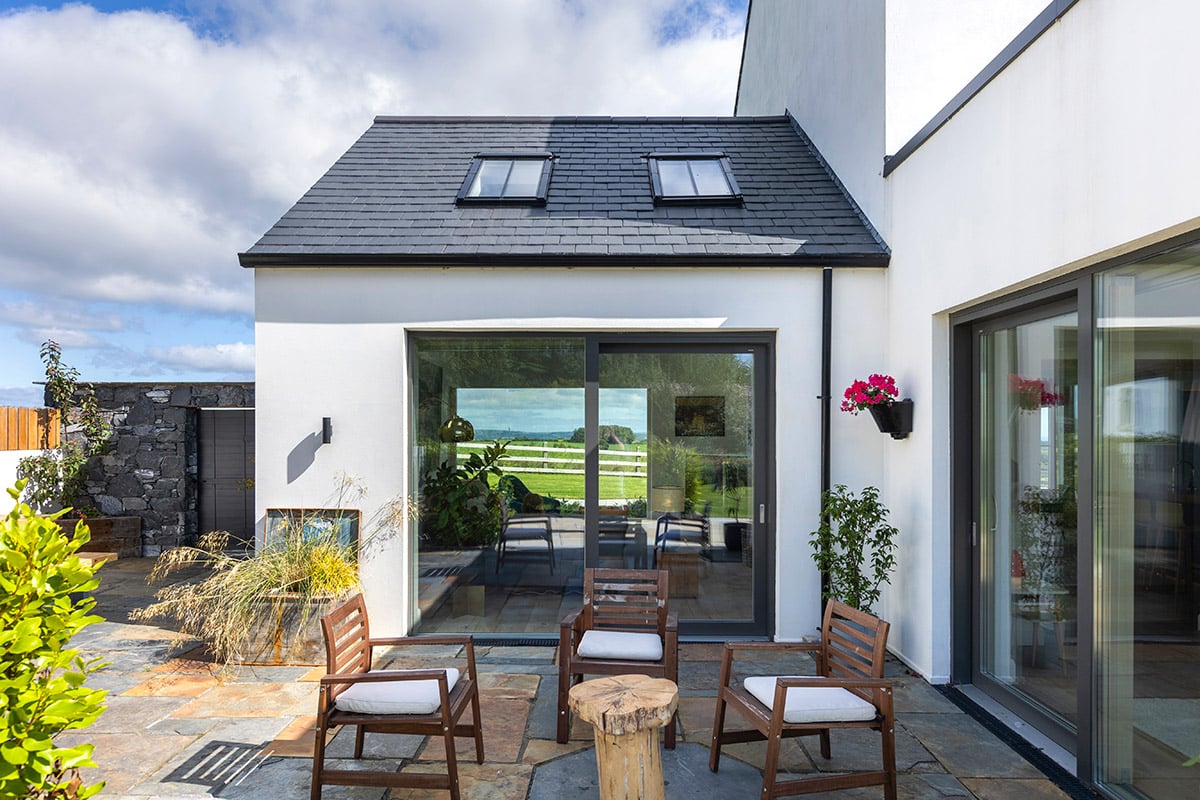
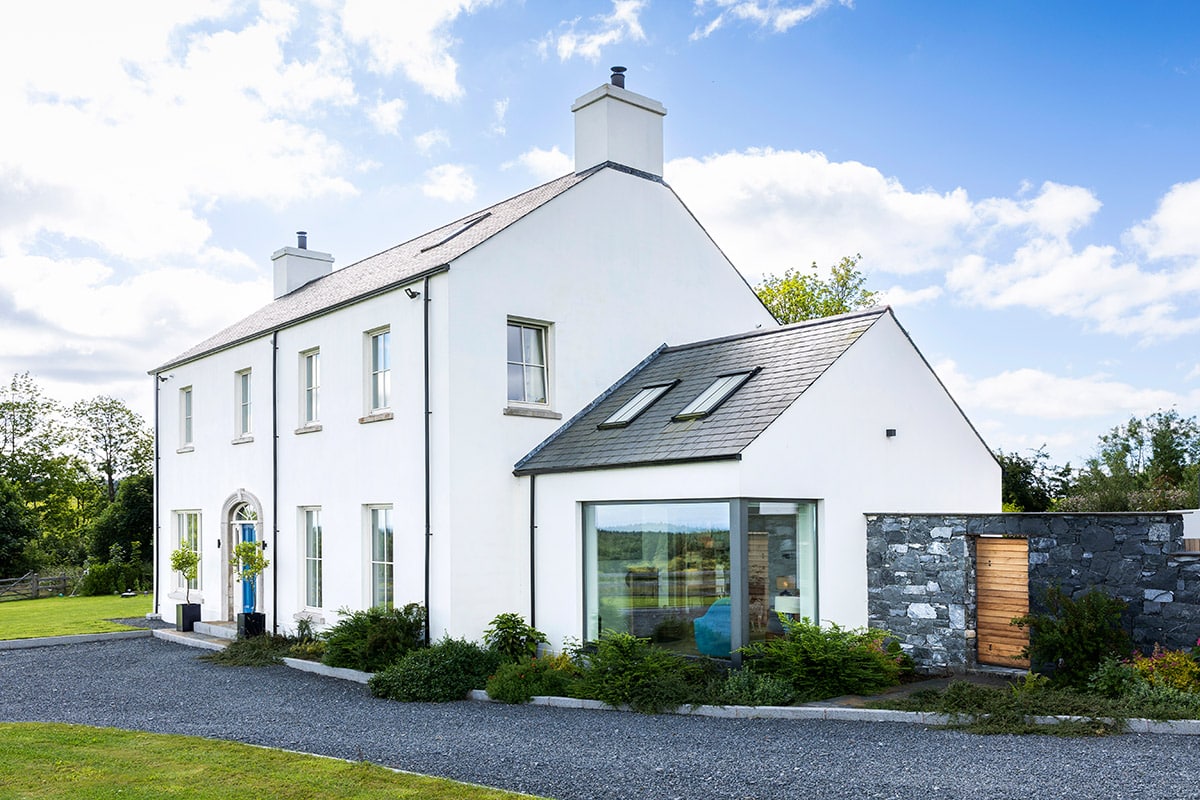
The rear extension is parapet flat, fibreglass roof. A Spanish slated, pitch roof extension to the side of the house bridges the conformity of style at the front and the more unconventional rear.
“In terms of how the house should work, Chris and Louisa were adamant that there was no room for dead space. “Our aim was to get away from the traditional format of a country home,” says Juila. “In my own childhood home, we had a ‘good’ room, dining room and a spare bedroom which were only ever used once a year at Christmas. We wanted to make use of all the space in our home, 12 months of the year.”
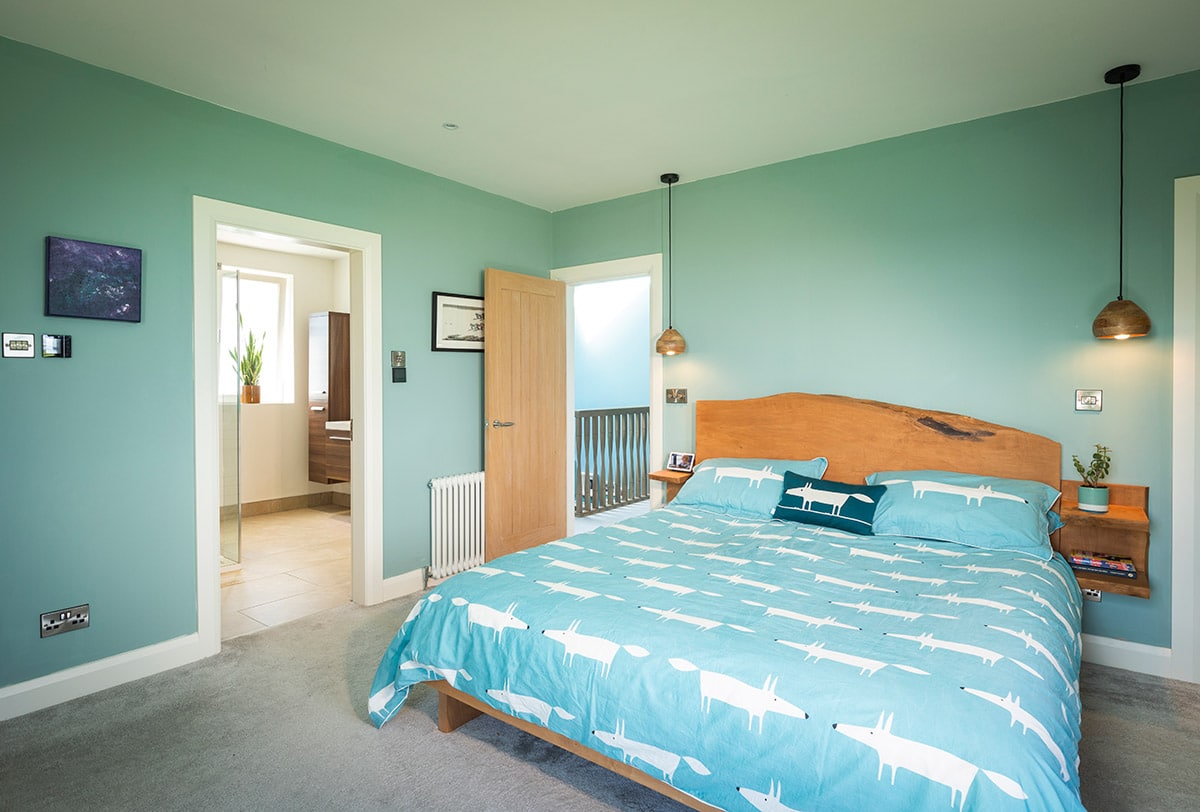
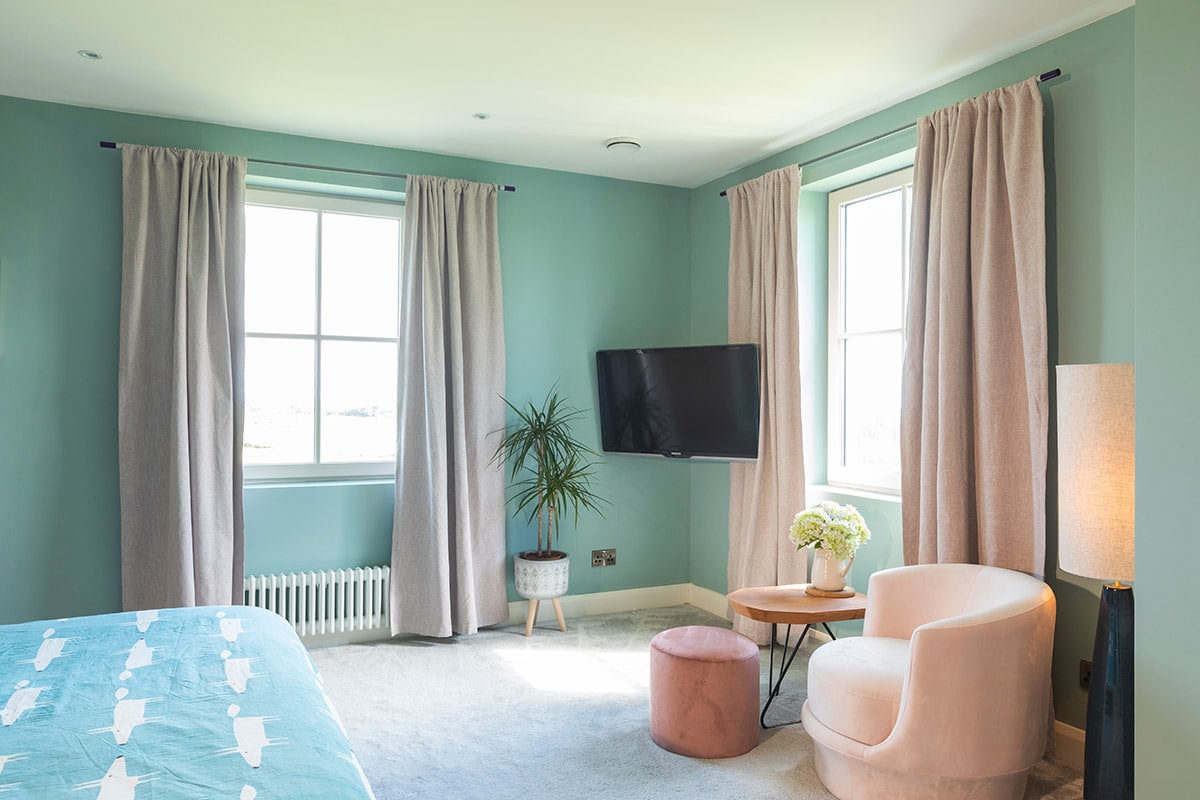
“That’s why we decided on having three generous sized bedrooms. Our two children have a bedroom each and Chris and I have a large master bedroom which includes two dressing rooms (his and hers) and a good sized ensuite bathroom. We could have opted for a smaller bedroom and added another even smaller spare bedroom, but for us, the space just works better this way.”
To futureproof, Chris continued the electrics and plumbing services up into the roof space just in case there is a need to convert the attic into further accommodation down the line.
Building the modern home dream
The planning process was a long, drawn out but straightforward affair, says Louisa. “We had been concerned that the modern style at the rear might generate some pushback from the planners, but thankfully this was not an issue. The only stipulation was that we plant certain indigenous trees on our plot.”
In choosing a builder, the Russells considered recommendations from family and friends, and, following tendering the project out to a few builders, they chose Trevor. “He has been so easy to work with, and extremely flexible,” says Chris. “I have previous experience in property development and I’ve acquired quite a few site skills, so I decided to project manage the build. However, due to my work commitments at the start of the project I asked Trevor to manage the first three months of the build, before I could take it on.”
The builder brought his own team of blocklayers. For all other trades Chris directly employed workmen, again following recommendations from family and friends and also contacts made at the Selfbuild Live show. “We spoke to a lot of self-builders and asked them about their experiences with various trades people and we are delighted with the quality of work delivered by the ones we chose in the end.”
As project manager – bar the first three months – Chris ordered all materials following painstaking research. Being practically minded, he was also hands on during construction. “I put in all the systems myself,” he says, “and then had them commissioned by the relevant certified trades people.”
Chris and Louisa opted for oil fired underfloor heating on the ground floor with cast iron radiators upstairs in combination with a heat recovery system. “We had considered bringing the underfloor heating upstairs with a concrete floor, but we felt the extra cost and weight of this wasn’t justified. We went ahead and fitted 12-inch floor joists, which also made it a lot easier for me to run the heat recovery system pipework through.”
“We have thermostats in every room so we can control heat individually, which obviously saves on energy usage. The heat recovery system also helps by redistributing warm air throughout the house. It also ensures there is a constant supply of fresh air coming in; effectively we don’t ever need to open a window!”
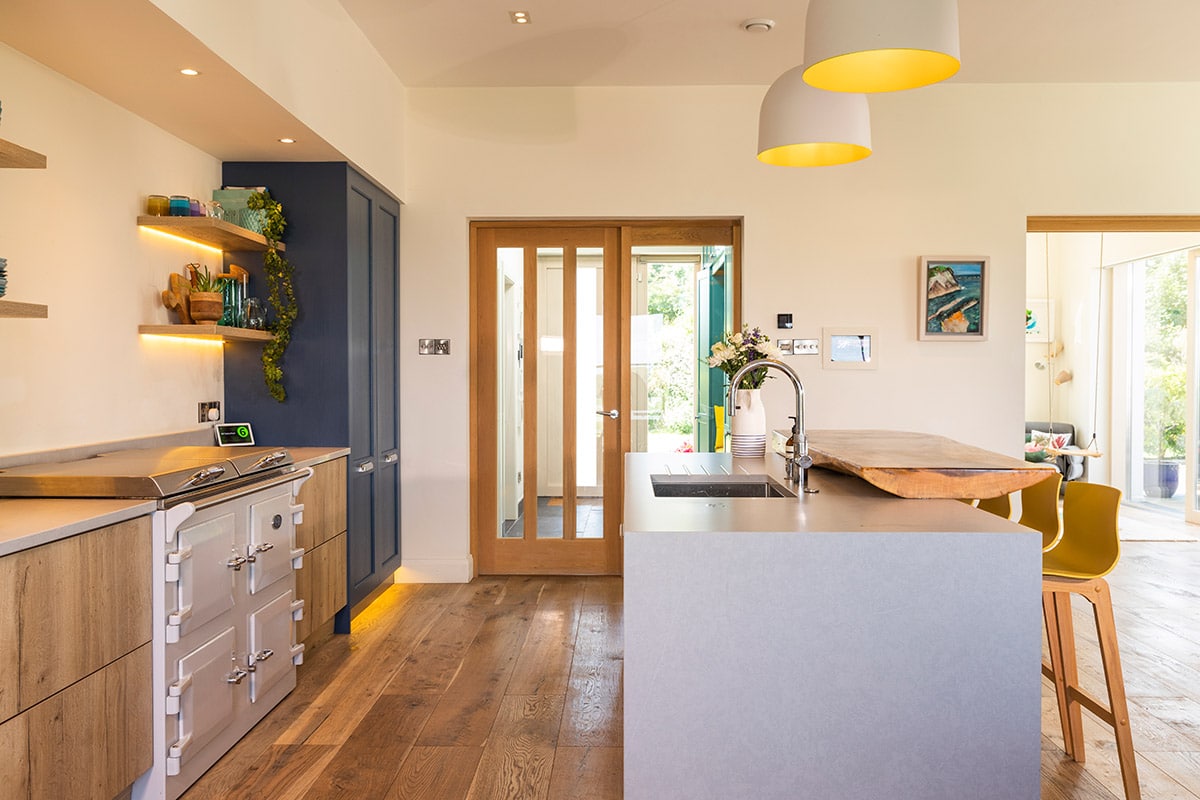
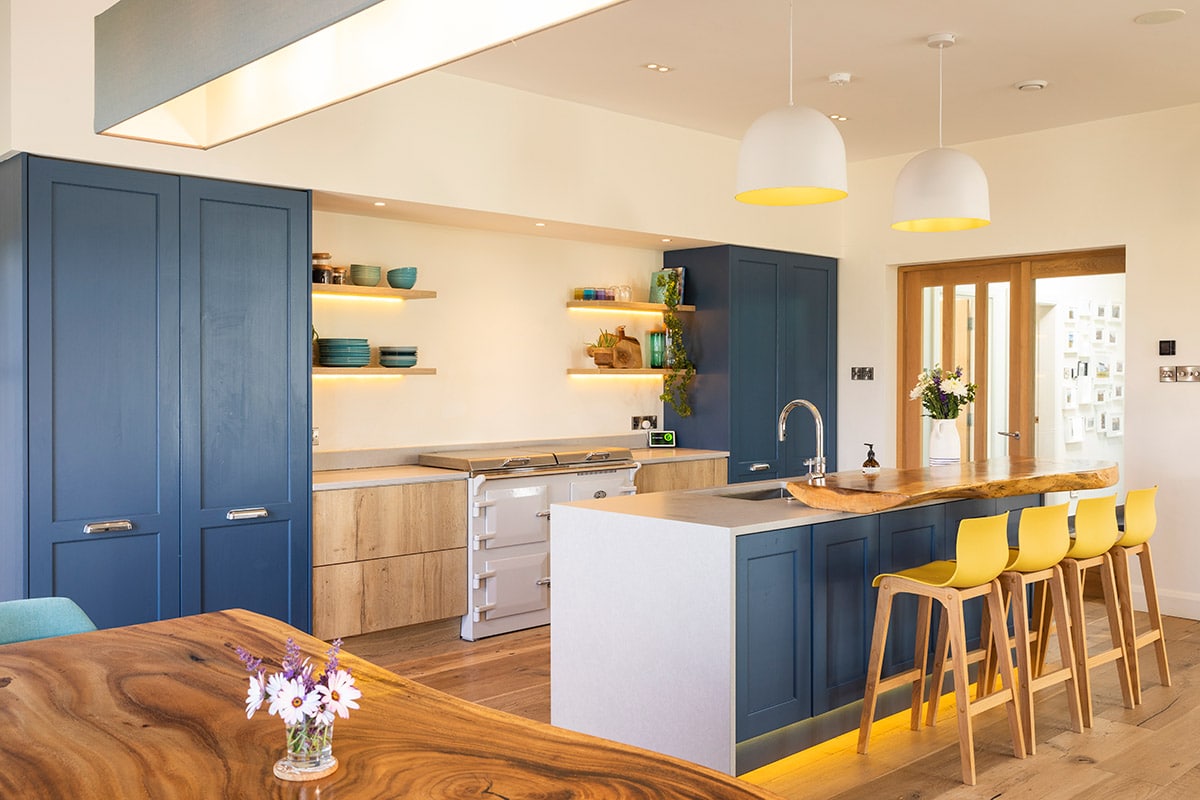
A range in the kitchen provides continuous heat during colder months. “But we can programme it to different temperature settings. During the night, for example, it’s turned right down. It’s far more efficient than a traditional range.”
Grounded
The house is at the end of a 150m lane which had to be laid at the very start to allow access to the site. To make the most of the diggers when they were there, the electricity and water supplies were laid during those works. “I was lucky to have the use of heavy machinery which allowed me to carry out all the groundworks , with the help of family, during the entirety of the build, which saved a lot of money,” says Chris.
A precast concrete septic tank was installed. “I did a lot of research on septic tanks. This particular model has an electric pump and an effluent quality of 99 per cent treatment efficiency for BOD5. In theory the irrigated wastewater is drinkable – not that we are keen to try that out!”
The irrigated wastewater then soaks away. “There is no smell at all, and we don’t need to empty it. We chose a concrete tank over a plastic one as we are on a hill and it can rain a lot here. We knew of plastic tanks in locations similar to ours that had popped up out of the ground during really heavy rain conditions, so naturally we didn’t want to risk that happening.”
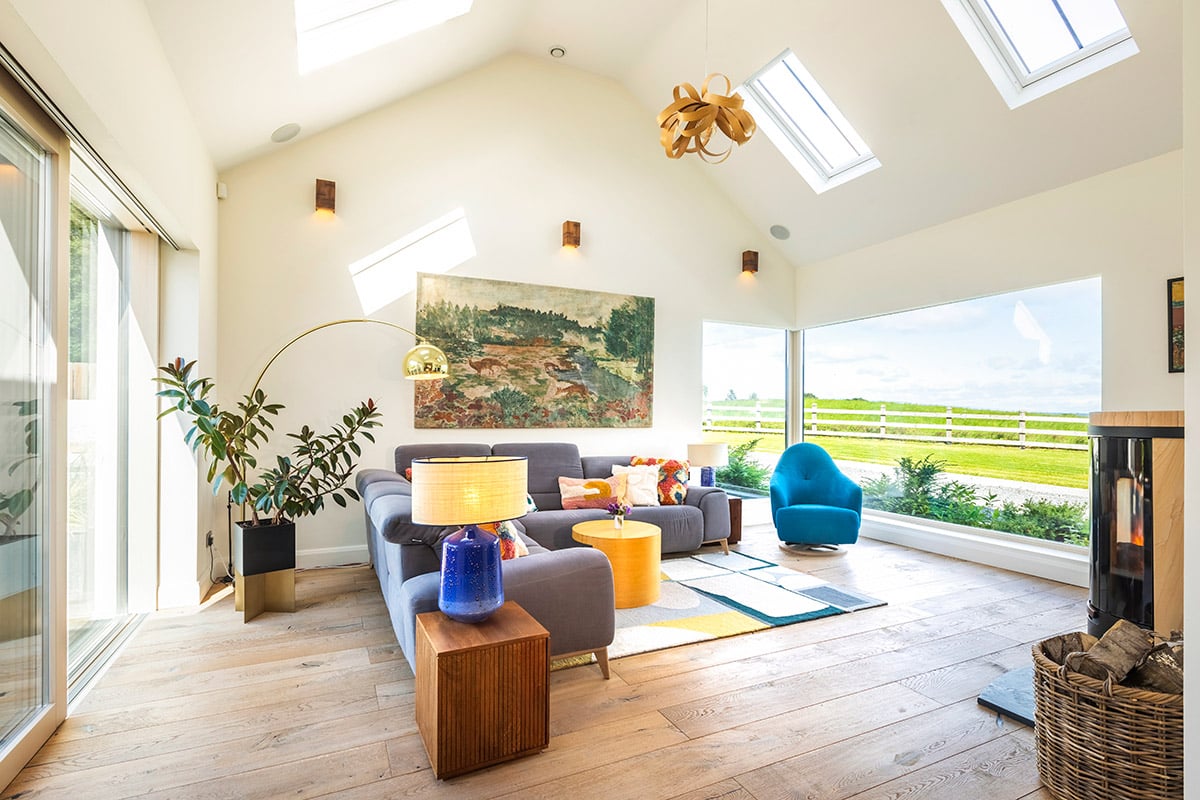
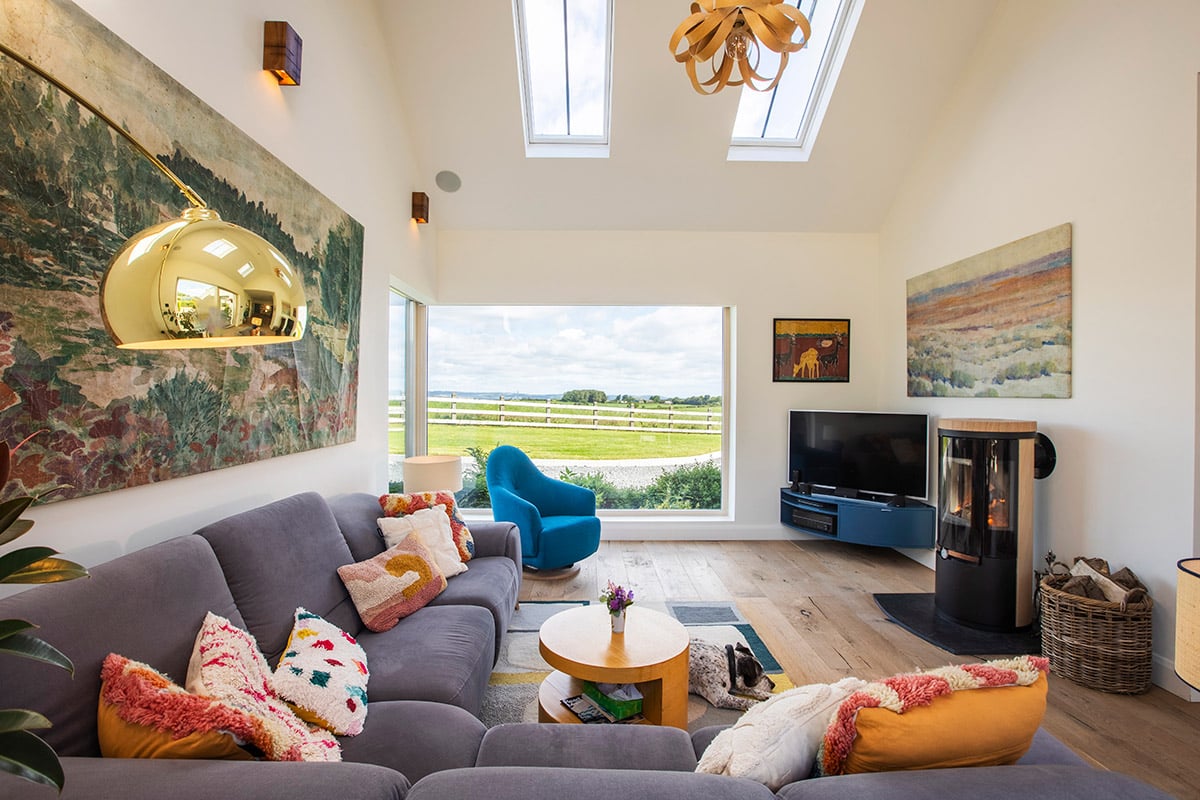
“The views at the front of our home are incredible and we wanted to continue to enjoy them from our living area without interruption. To do that we installed a single, 3.5m x 3m, window pane, which proved extremely difficult to source. I could only find one supplier capable of offering an opening of that size,” says Chris. “We originally wanted a floor to ceiling window, but the weight of the pane would have been far too heavy for its surrounds. So instead, it starts just four inches above the floor level and extends to ceiling height. To be honest, this works perfectly well for us.” A corner window provides the open plan living area with even more light and views.
“Our preference was for hardwood sash style windows at the front of the house, in keeping with the Georgian style,” says Louisa, “but because we are quite exposed to the elements in this location, we opted for cream aluclad frames, which are far more durable than full timber.”
Natural style
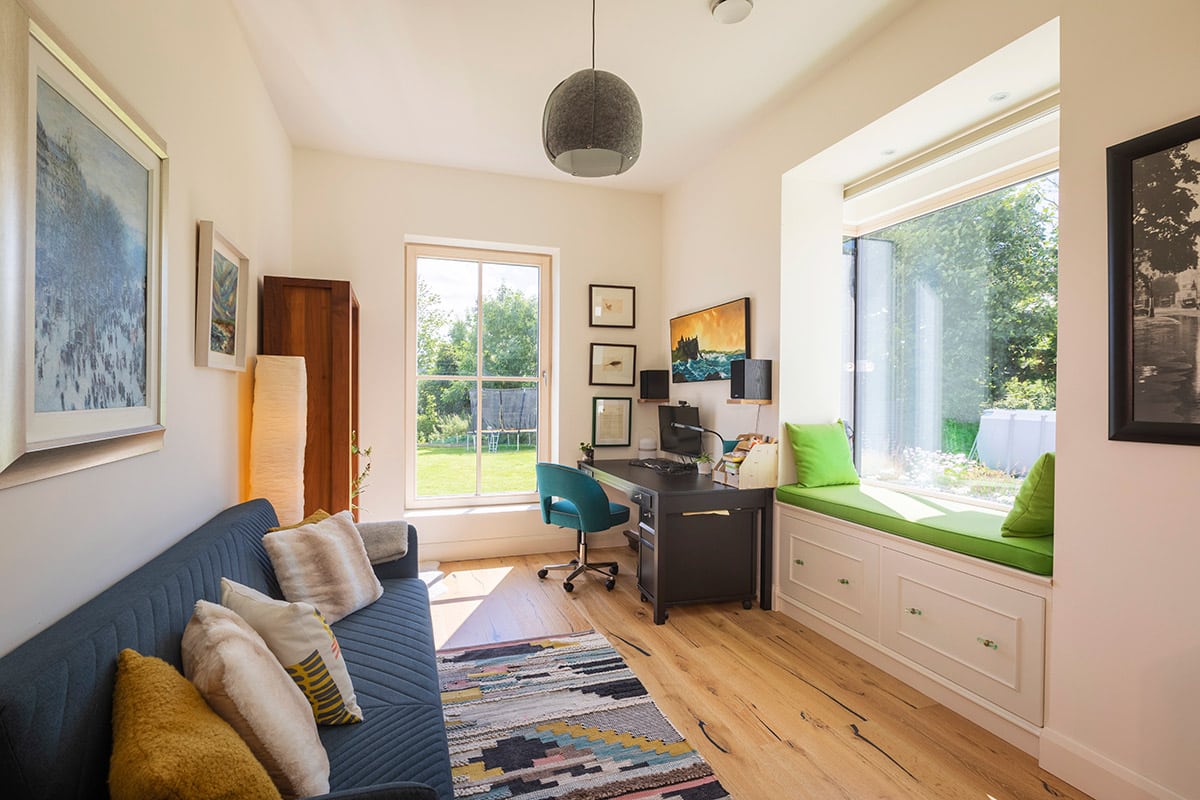
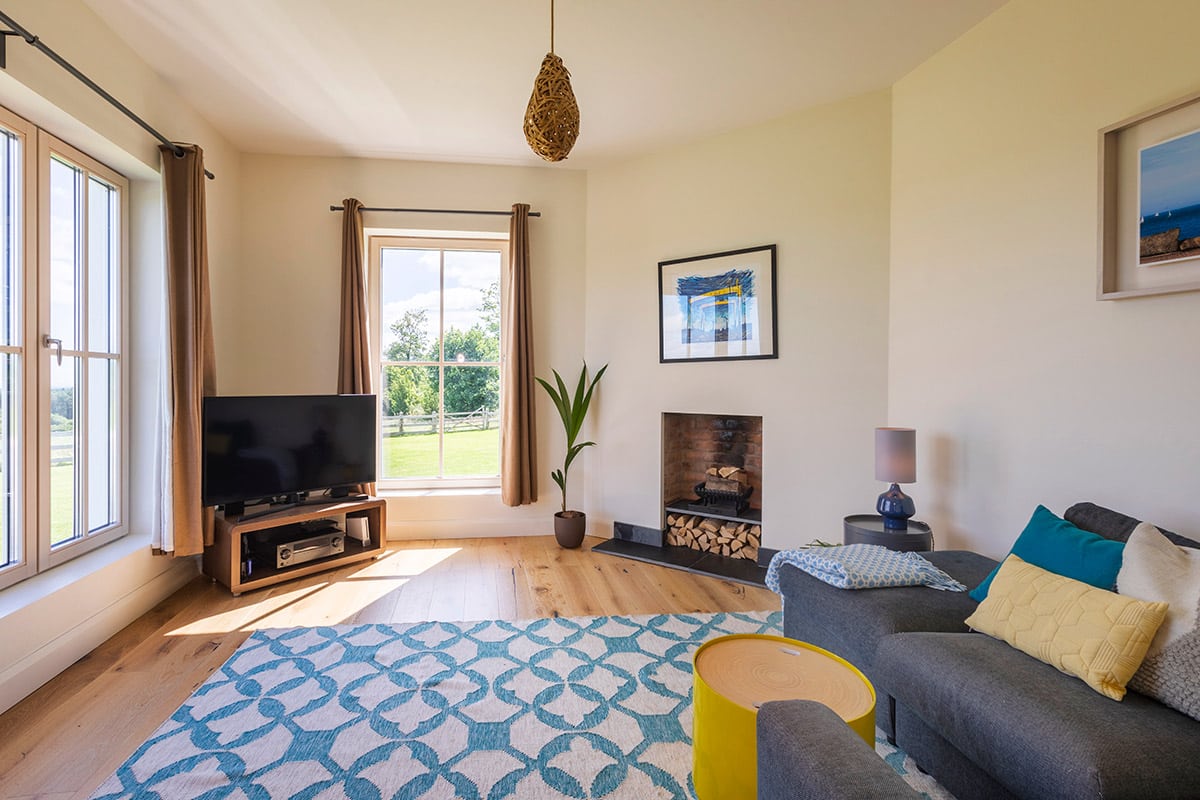
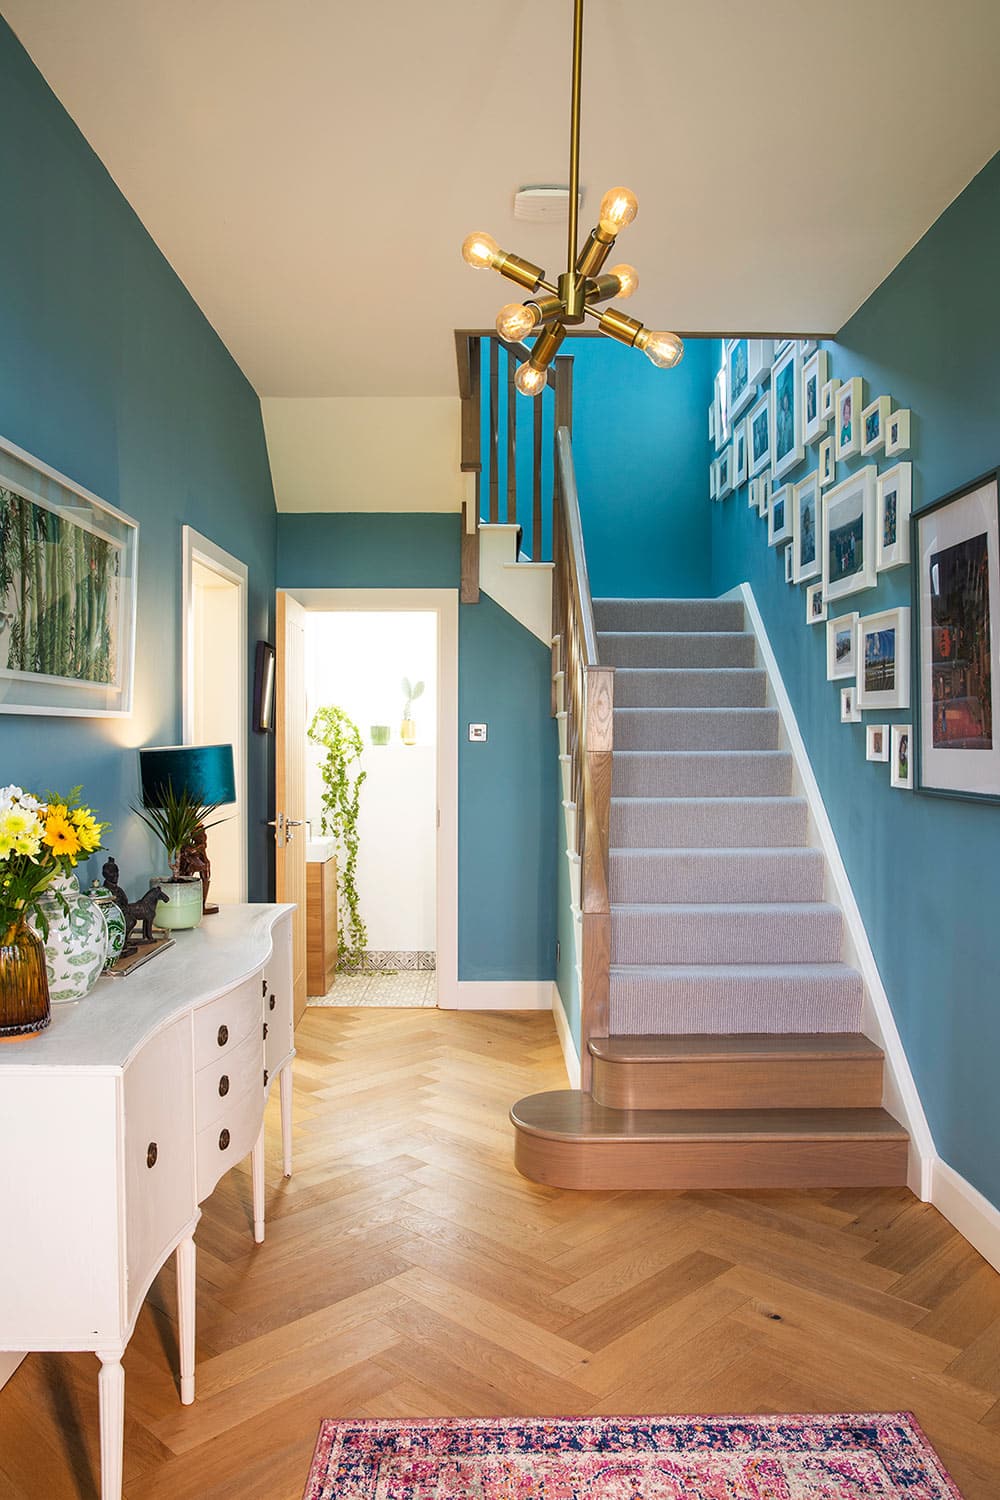
While Chris project managed and helped build their house, Louisa was the driving force behind the internal design scheme. The décor and fixtures are modern, reflecting the family’s contemporary lifestyle.
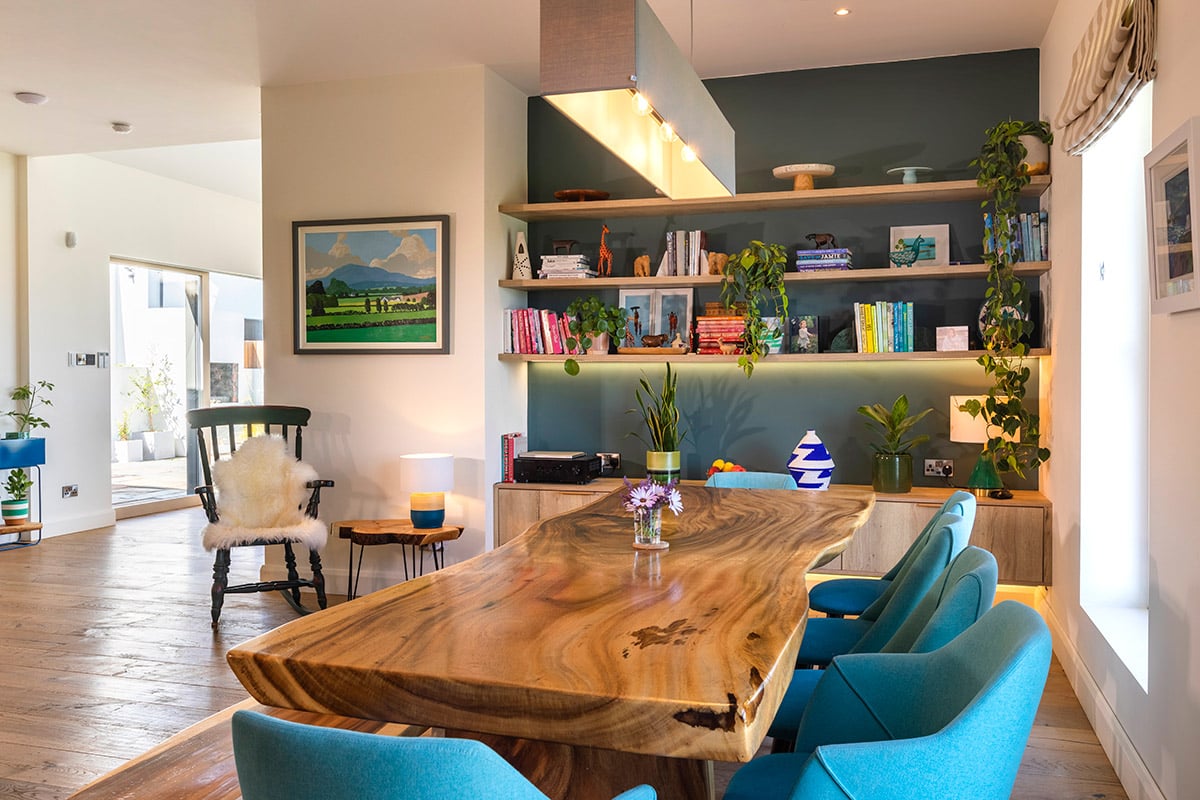
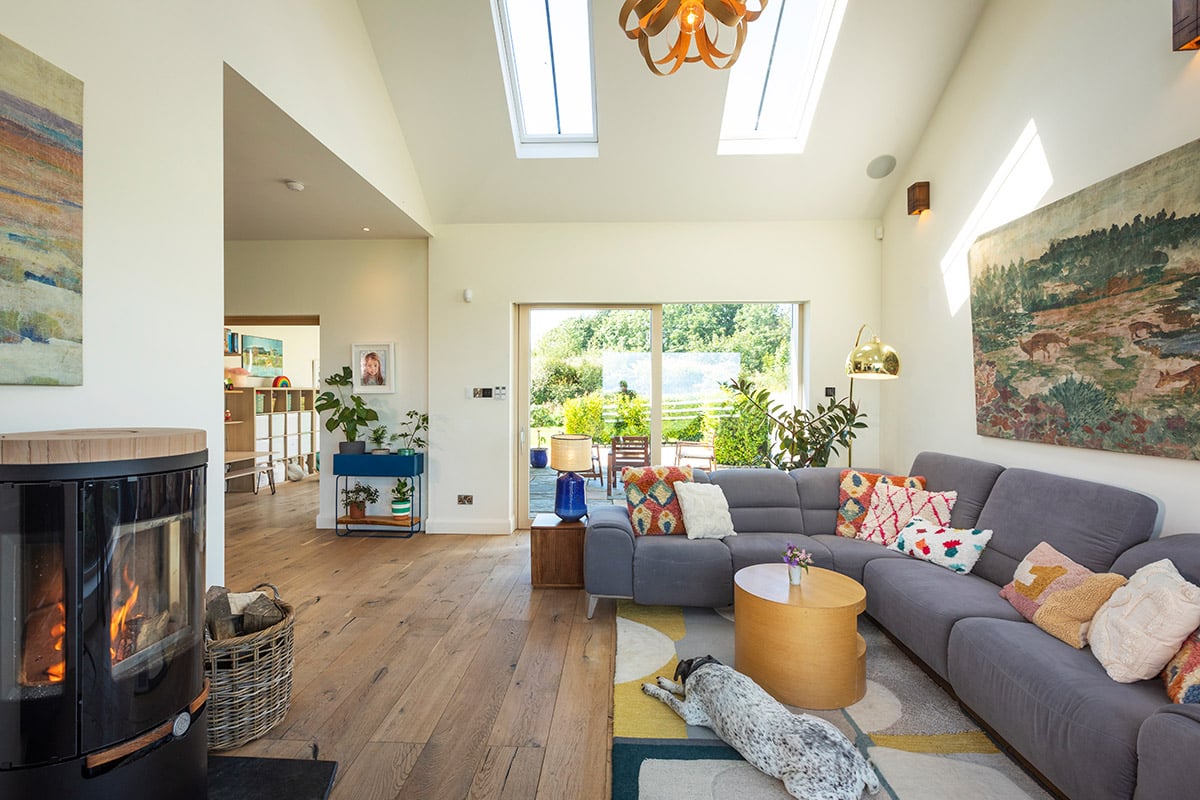
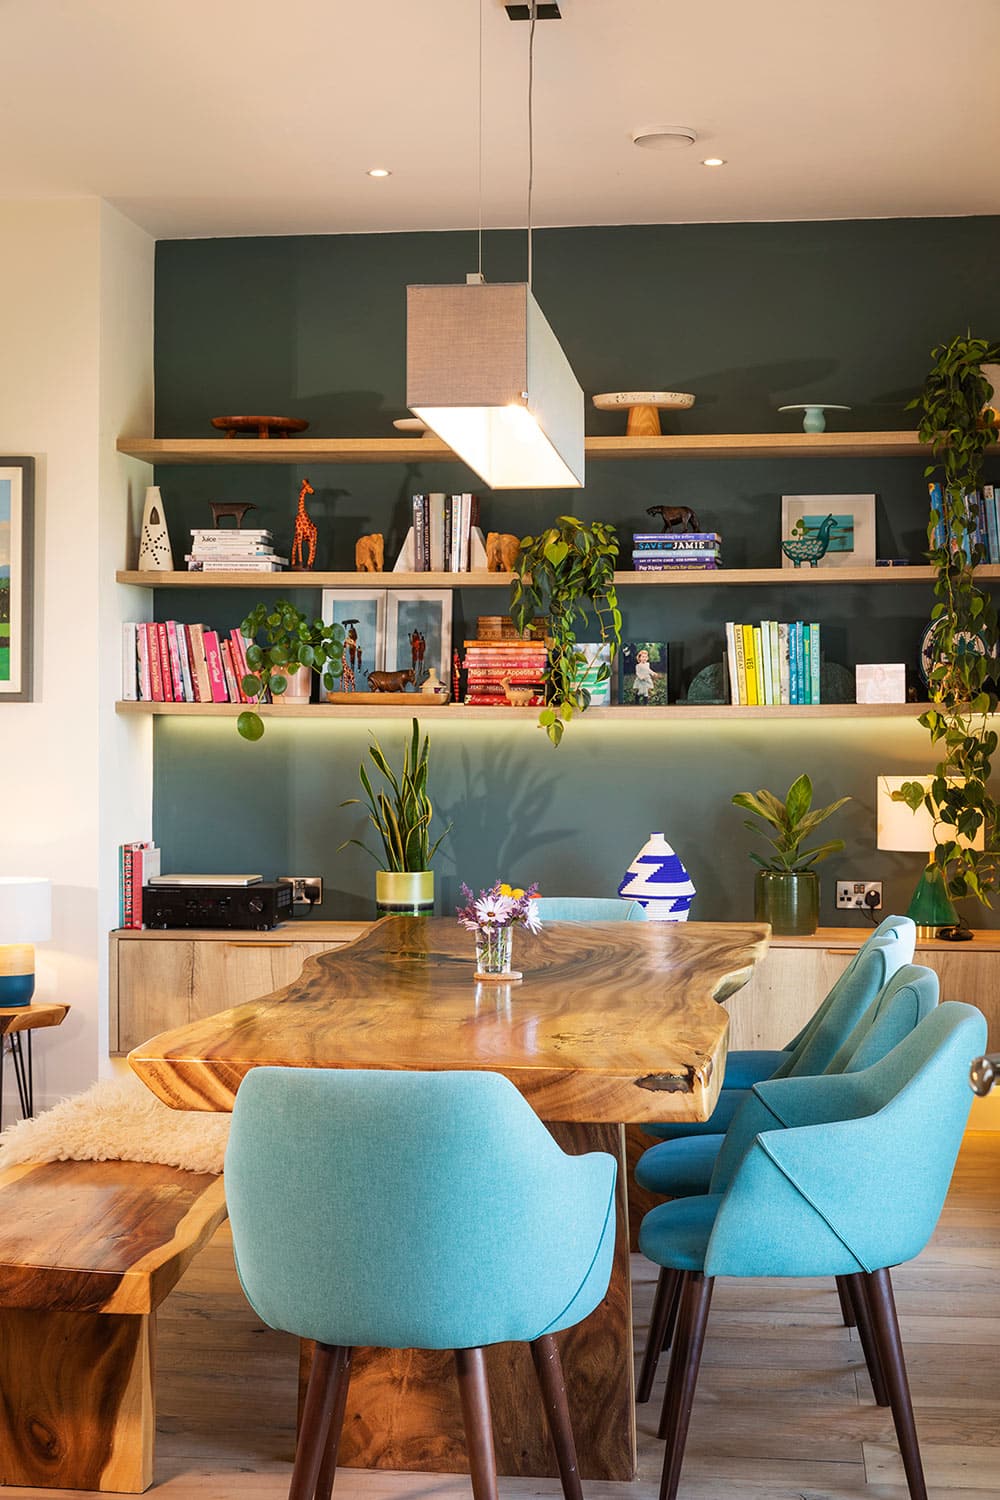
“We prefer a warm minimal style,” says Louisa, “and this has been the focus of the internal scheme. We’ve used lots of natural materials like wood, slate and stone.”
“Our lighting choices have also been a very deliberate part of the scheme. We followed the advice of our electrician to create a layered lighting effect – table lamps, LED shelving lights, pendants and overhead lights.”
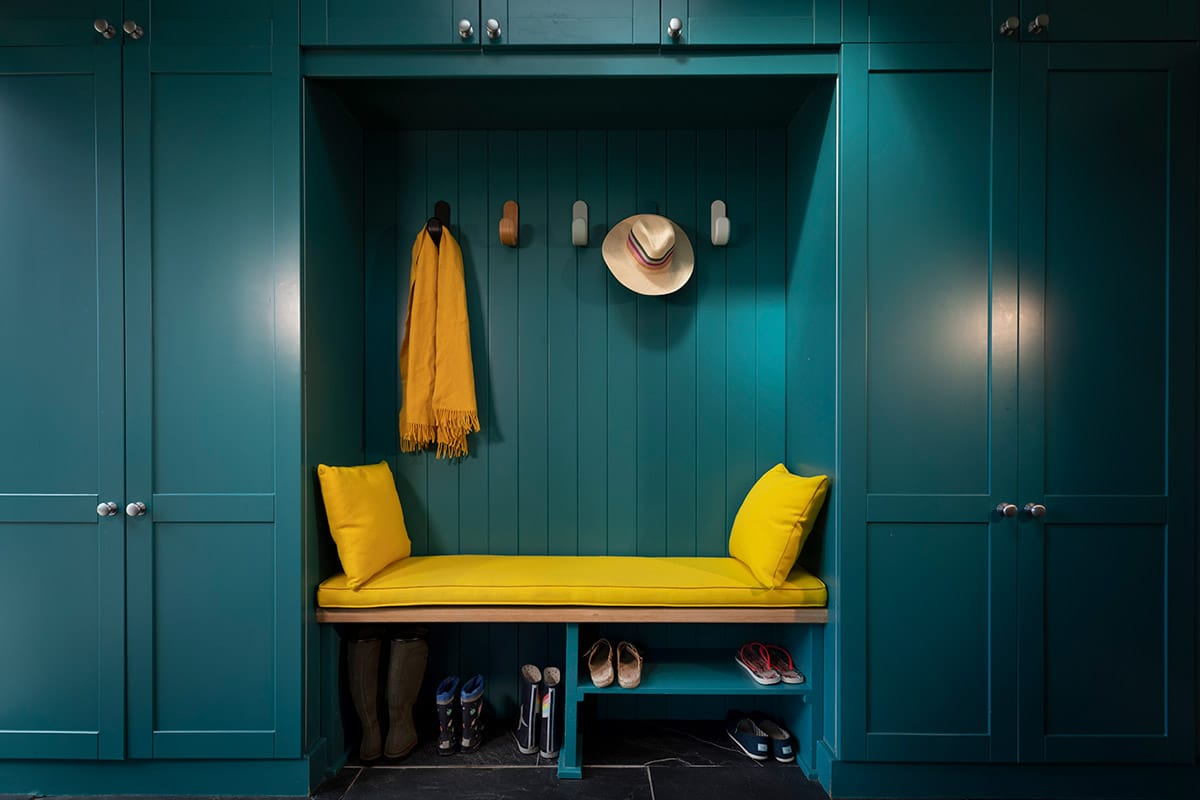
The open plan ground flooring was completed in engineered wood. “We chose wider planks because we felt they would look better in such a large space.” The hardworking boot room is floored in heavy slate.
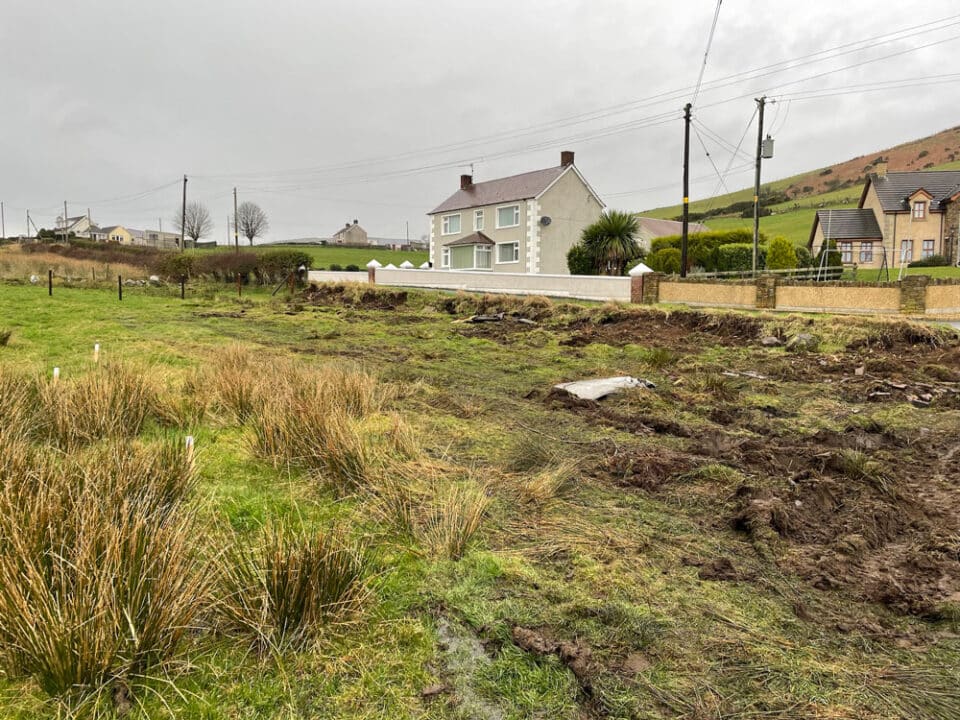
“We didn’t know what to do with the garden,” admits Louisa, “it was just one large, blank canvass of mud. There were things we wanted, like an area to grow vegetables, some seating areas, a place to park the cars but we didn’t know how to achieve it all. So, I shared our wish list with a garden designer who delivered a really great plan which incorporated all the areas we wanted and included a planting list to work from.”
“Using the designer’s plan, I carried out the landscaping myself, which really saved us money,” says Chris. “Although it did take three years to complete.”
“Each year, we would buy a certain number of plants for the garden,” says Louisa. “I remember the first time I went to the nursery I spent quite a lot of money. When I got the plants home and planted them in the beds it looked really skimpy. Thankfully, they have since established and filled out to look great now.”
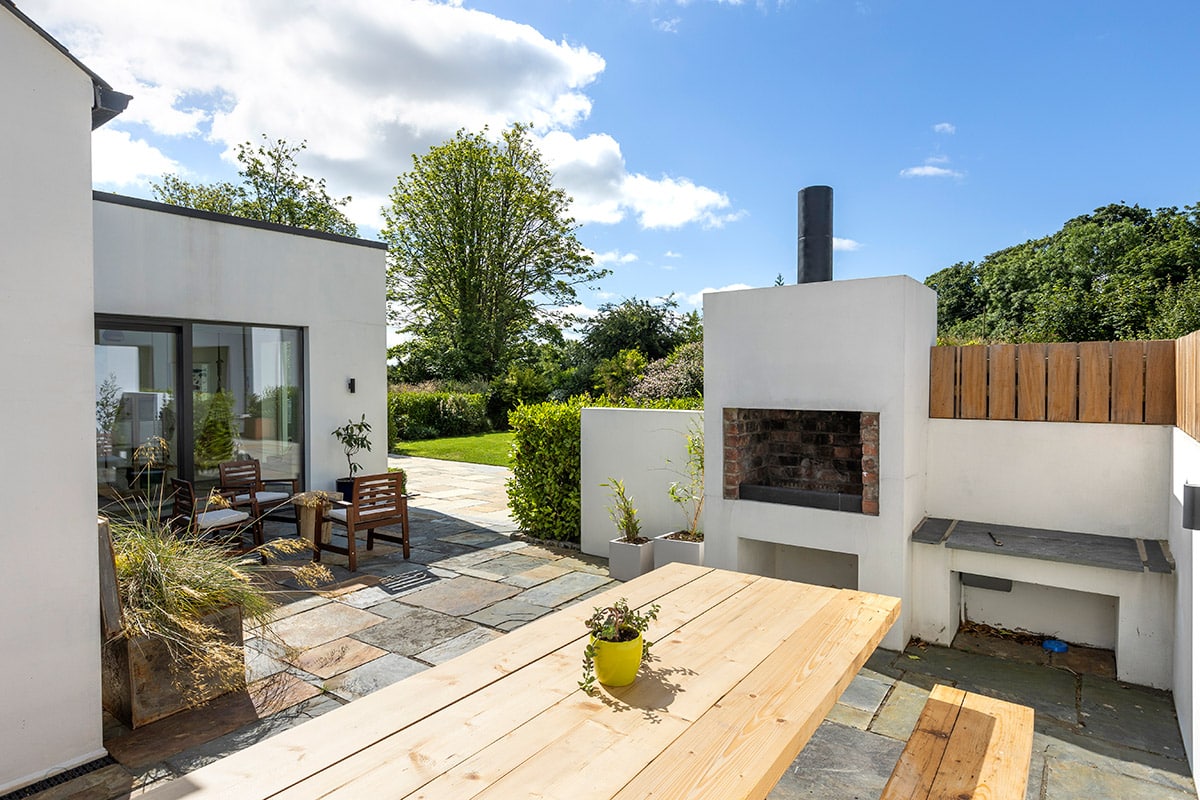
“There is a little outside sitting area in amongst a wildflower garden, which is really stunning at the back of the house,” says Chris. “This is where we spend time during the summer, watching the kids play in the above ground pool we bought during lockdown. Then there is a sheltered patio area accessed from the open plan and playroom. We use it for BBQs and al fresco dining during the summer months.”
“We really love the home that we have created,” says Louisa. “We were careful in our choices but invested in the right places like windows and insulation. We put money into the things that are hard to change.”
“By doing a lot of the work ourselves we kept the budget within reason,” adds Chris, “but because it’s going to be a forever home we probably went for things we wouldn’t have done otherwise. We didn’t scrimp on anything.”
Q&A with Chris and Louisa
What is your favourite design feature / room?
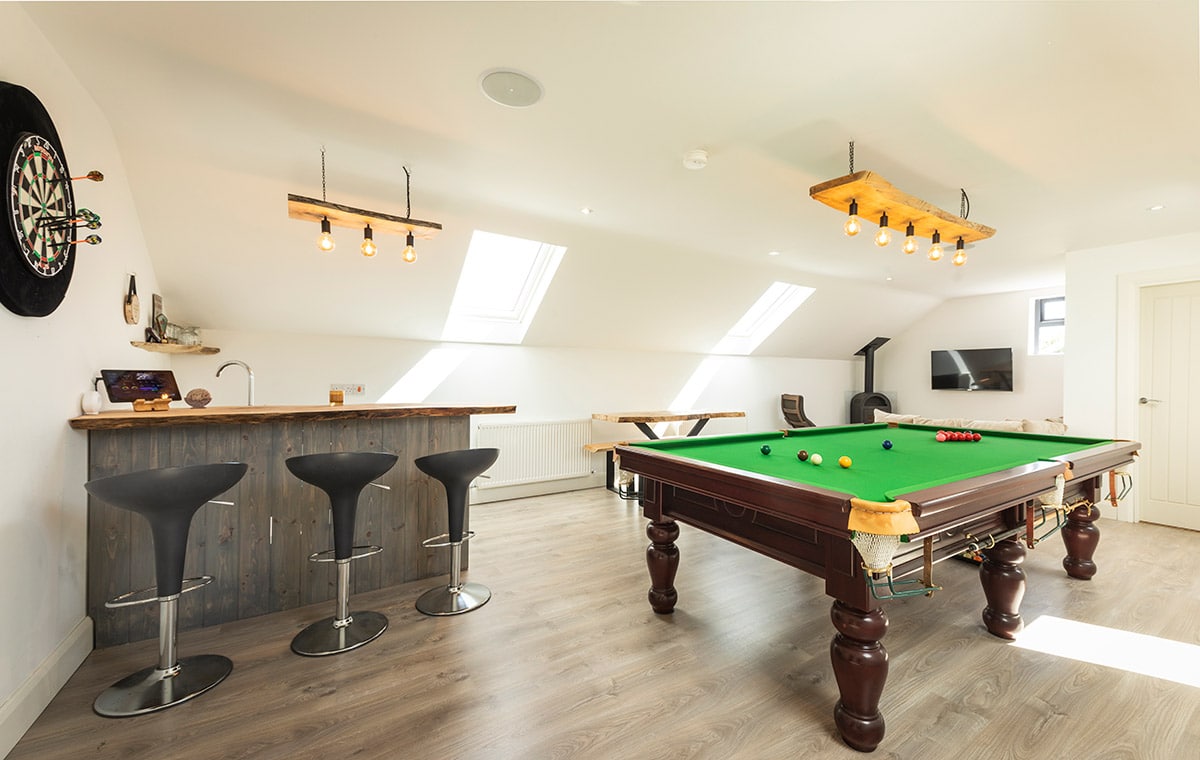
Chris: My favourite room is the open plan living area and my next favourite is my man cave above the double garage which I finished building this year.
Louisa: I love the window seat and the corner window.
Biggest splurge?
The windows. We probably spent double what we had expected to. But the views are definitely worth it.
Also our custom built dining table. It’s 3m long and seats up to 12 people. We ordered it before we even started the build and then designed the kitchen area around it.
What would you change or do differently?
In all honesty, we wouldn’t change a thing. We had a long time to really think about what we wanted prior to the start of the build, and with Chris being on site every day we could safely alter things that we didn’t think would work for us.
What surprised you?
We’re both optimistic by nature and I think we were quite bright eyed and bushy tailed at the start of the process. We didn’t think it was to going cost as much or take as long to complete. But I think it’s normal for self-builders to be like this; you learn as you go along. We know so much more now than we did at the start and you only get that knowledge if you go through the process.
What single piece of advice would you give a friend who’s looking to embark on a project similar to yours?
Take as much advice as you can from other people who have gone through the self-build process. That’s what we did before we started the build; we got lots of great advice and lists of reliable suppliers by doing this.
Chris and Louisa’s tips
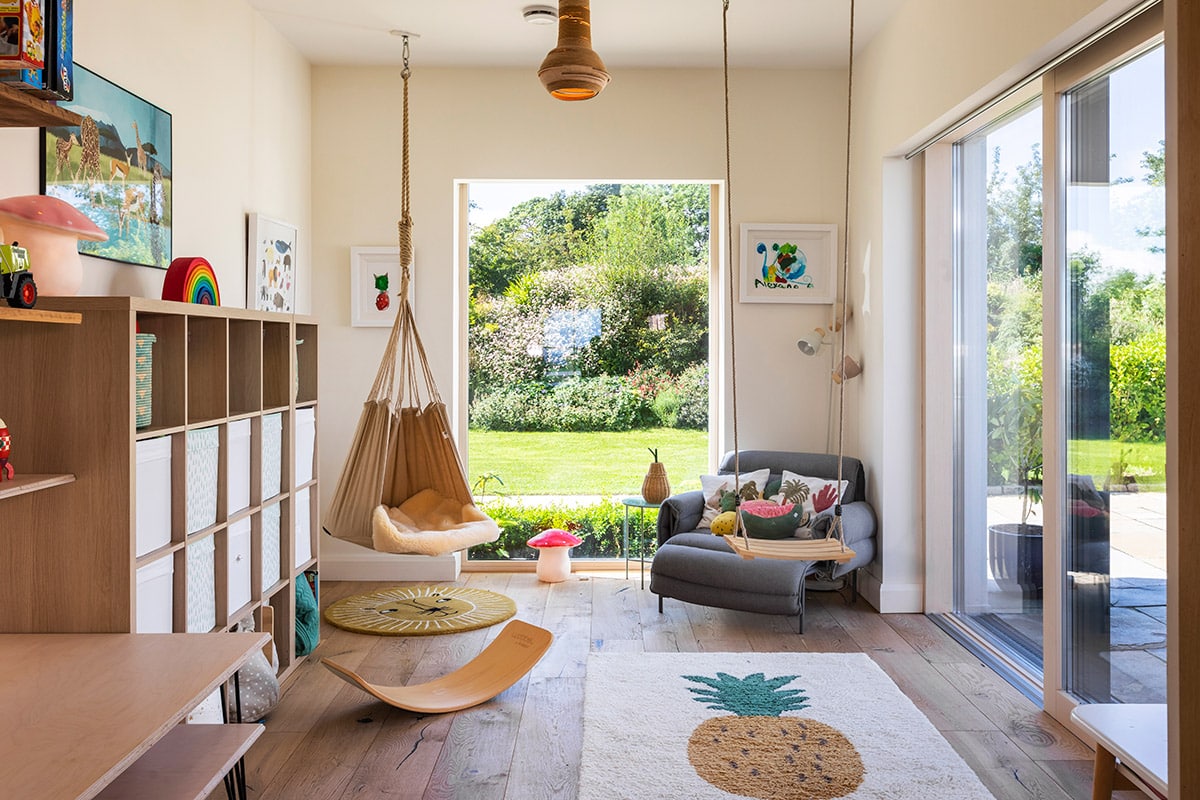
Do your homework. Read home interior magazines, visit home shows and watch home TV shows. We got lots of ideas this way, such as the pocket doors for the playroom.
Be decisive. Builders and trades people need decisions fast – time is money. When our builder was project managing at the start of the build he made really good suggestions that ultimately saved us time and money down the line.
Create an online mood board with interior and exterior home styles on online mood boards and share it with your architect. We did that with ours. He saw our style preference and incorporated that into the plans.
Buy ahead. You have quite a lot of time before you actually start building so use it by looking out for store sales to buy what you want for the house. A lot of our sanitaryware was purchased from a local showroom that was clearing out stock and ex-display items; these were heavily discounted.
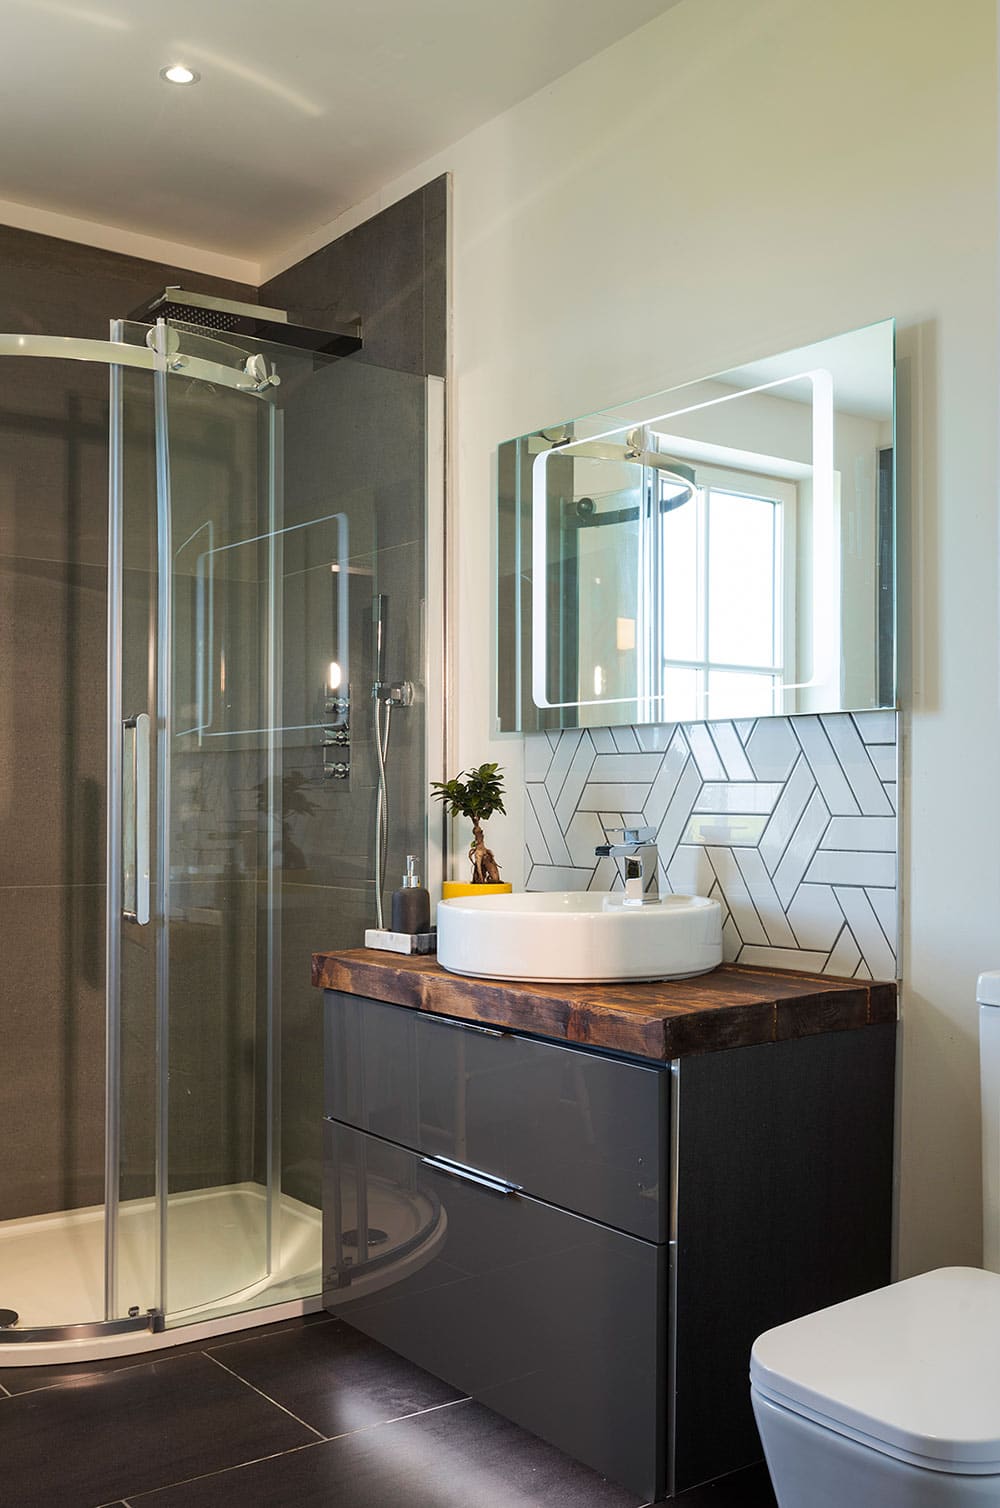
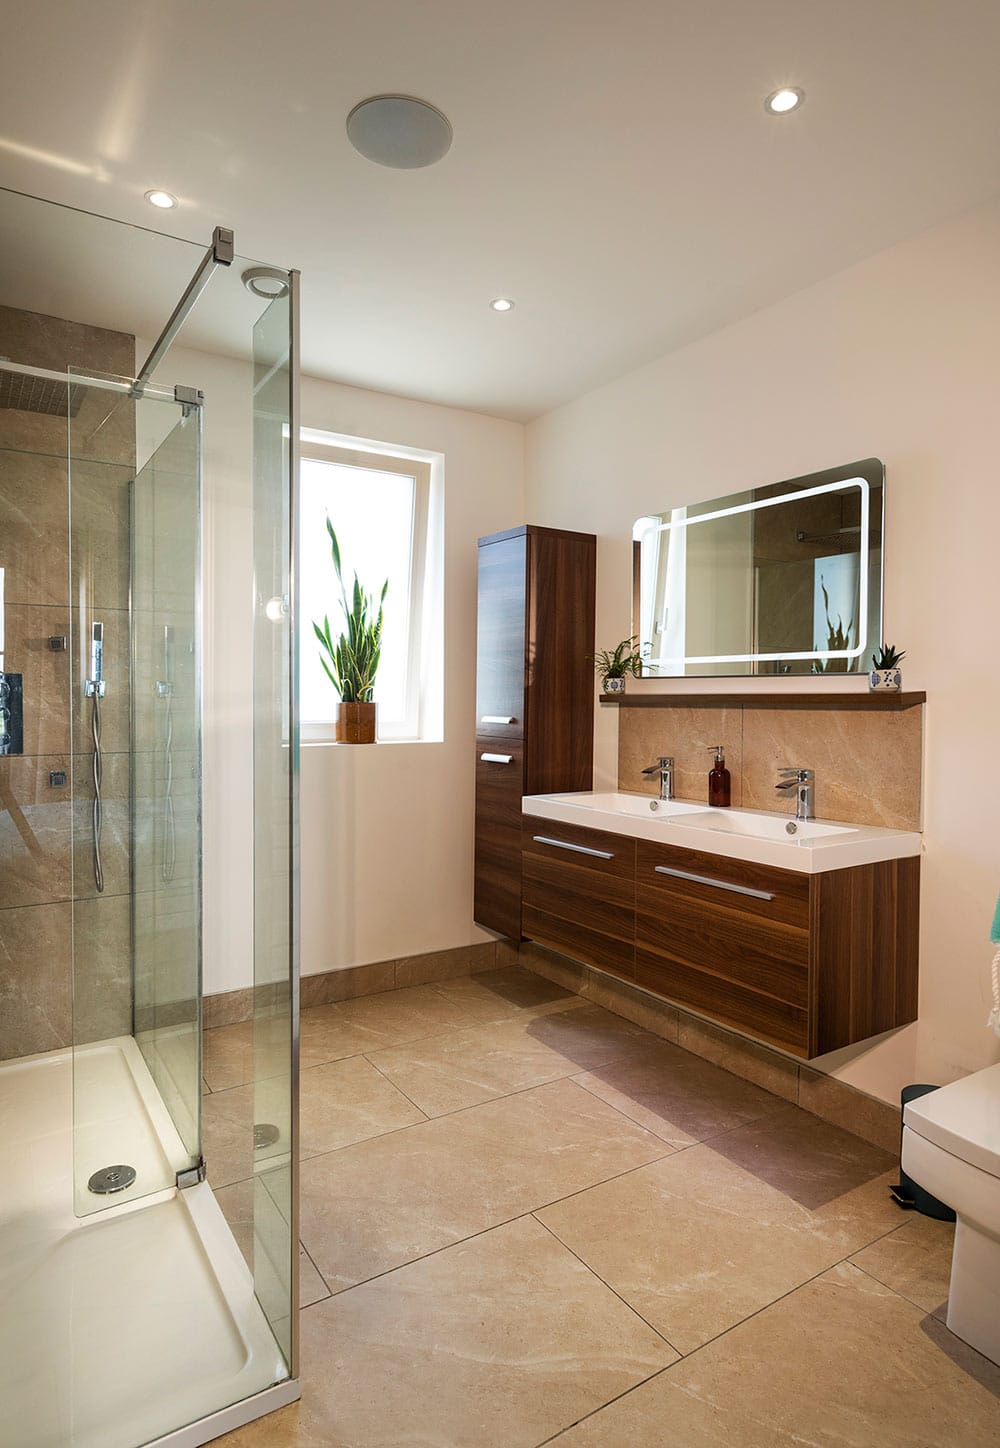
Take your time to study the plans. Consider where certain items are being placed, such as the wc. We didn’t like the fact that when we opened the bathroom door the wc would have been right in front of us, so we changed the location. You can’t really do that once it’s plumbed in.
Be on site every day. That really helped us. I could make changes along the way before it was too late.
Prioritise kitchen storage. Spend as long as it takes with the kitchen designers to get it just right.
Suppliers for Chris and Louisa’s modern home
Architectural designer
Colin McAuley Planning
Building supplies
MacBlair (Bangor Branch)
Building contractor
Cuan Construction
Kitchen and interiors
Adornas Kitchens/Pavilion Home & Lifestyle
Electrical
Livewire Electrical
Wooden floors
Woodfloor Warehouse
Stone walling
Neil Diamond Stonework
Windows
Feneco Systems (Internorm windows)
Stove
The Stove Yard
Plastering & Floor Screed
RJ Plastering
Joinery
Simon Brewster Joinery
Smart home software
Home Assistant, home-assistant.io. Chris can control all of his electrics from an Amazon Fire tablet that he recessed into a wall in his kitchen. Through a series of wifi plugs he has integrated his Phillips Hue lights to operate all indoor and outdoor lighting, the CCTV security system and cameras, blinds, garage doors, music/media, home heating, plus swimming pool heating and pump. His electric car is also integrated into it, allowing him to lock and unlock the car and view the fuel level, service intervals, etc.
Septic Tank
Turley Bros, turleybros.co.uk
Kitchen range
Everhot, everhot.co.uk
Building fabric
Flat roof: Polyroof 185 System GRP roof covering, Polybase & Polymat 450 reinforcement, 150mm Thermaroof TR26 LPC/FM insulation. Solid floors: D49 fabric mesh, Visqueen Vapour Barrier, Visqueen PIFA 300 DPM. Insulation: Earthwool Loft Roll Insulation
Modern home specification
Walls: 400mm cavity wall construction comprising outer leaf of 100mm dense concrete block, 150mm wide cavity insulated with 100mm solid insulation, and inner leaf of 150mm lightweight concrete block, finished internally with 38mm insulated plasterboard fixed to inner leaf.
Pitched roof at ceiling level: 400mm deep roll insulation.
Pitched roof at roof level (vaulted space): 75mm pitched roof insulation between rafters and 52.5mm insulated plasterboard to underside of sloping ceilings beneath.
Flat Roof: Fibreglass roof covering on stich bonded reinforcement on 18mm plywood on 150mm insulation on vapour control layer on 18mm plywood deck.
Solid Floors: 100mm deep sand/cement screed with reinforced fabric mesh to top side, on air and vapour control layer, laid over two layers of rigid floor insulation (50mm & 75mm respectively), laid on top of 150mm deep poured concrete floor slab, poured over damp-proof membrane, on top of 25mm deep sand blinding, on well consolidated hardcore to make up levels. 50mm wide edge insulation provided to the entire perimeter of the dwelling.
Windows: Triple glazed, aluclad.
Airtightness result: 7.28 m3/(h.sqm) @50Pa

