1. Go as low as you can but never forget ventilation
Obviously compliance with the Building Regulations dictates a certain standard but is it good enough? The incoming Near Zero Energy Building (NZEB) requirements are likely to ask that you achieve an airtightness level of 3cum/h/sqm or better. Best in class is the passive house standard of 0.6 ACH which is approximately less than 1cum/h/sqm.
There is a one-time opportunity to get the airtight fabric right and you should aim to go as low as you can get but you must ensure the ventilation provision is adequate – a growing number of studies demonstrate there are now significant issues in both new build and retrofitted homes at all stages of the process of designing, installing, commissioning, operating, and maintaining ventilation systems.
The risks of poor ventilation and exposure to pollutants are exacerbated in exceedingly airtight homes so great care must be given to this aspect.
2. Make sure everyone understands and is on board
The challenge during the construction phase is to ensure all operatives on site adhere to almost military style discipline needed to locate, install and protect the airtight barrier through all phases of construction.
Sequencing the works through the various stages from foundations, floors, walls, roof, windows, doors, fixtures and finishes must prioritise sealing and protecting this airtight barrier. To reduce costs and improve results a toolbox talk should be carried out prior to any work commencing with all trades.
Coordination of works and stipulated responsibility for key junctions are critical at this early stage. The design team, site management, trades and site labourers must be made aware of the importance of airtightness and their role in achieving an airtight dwelling. If not, it’s very easy for an electrician for example to cut an opening in the airtightness membrane for his cable without resealing it
3. Ensure detailed construction drawings are available
It is important that airtightness is considered as early as possible in the design process so that the air barrier is correctly located within the fabric. The building must be designed keeping this airtight envelope clear and visible, avoiding complex detailing. On site, constant checking of construction detailing is vital.
4. Test during construction
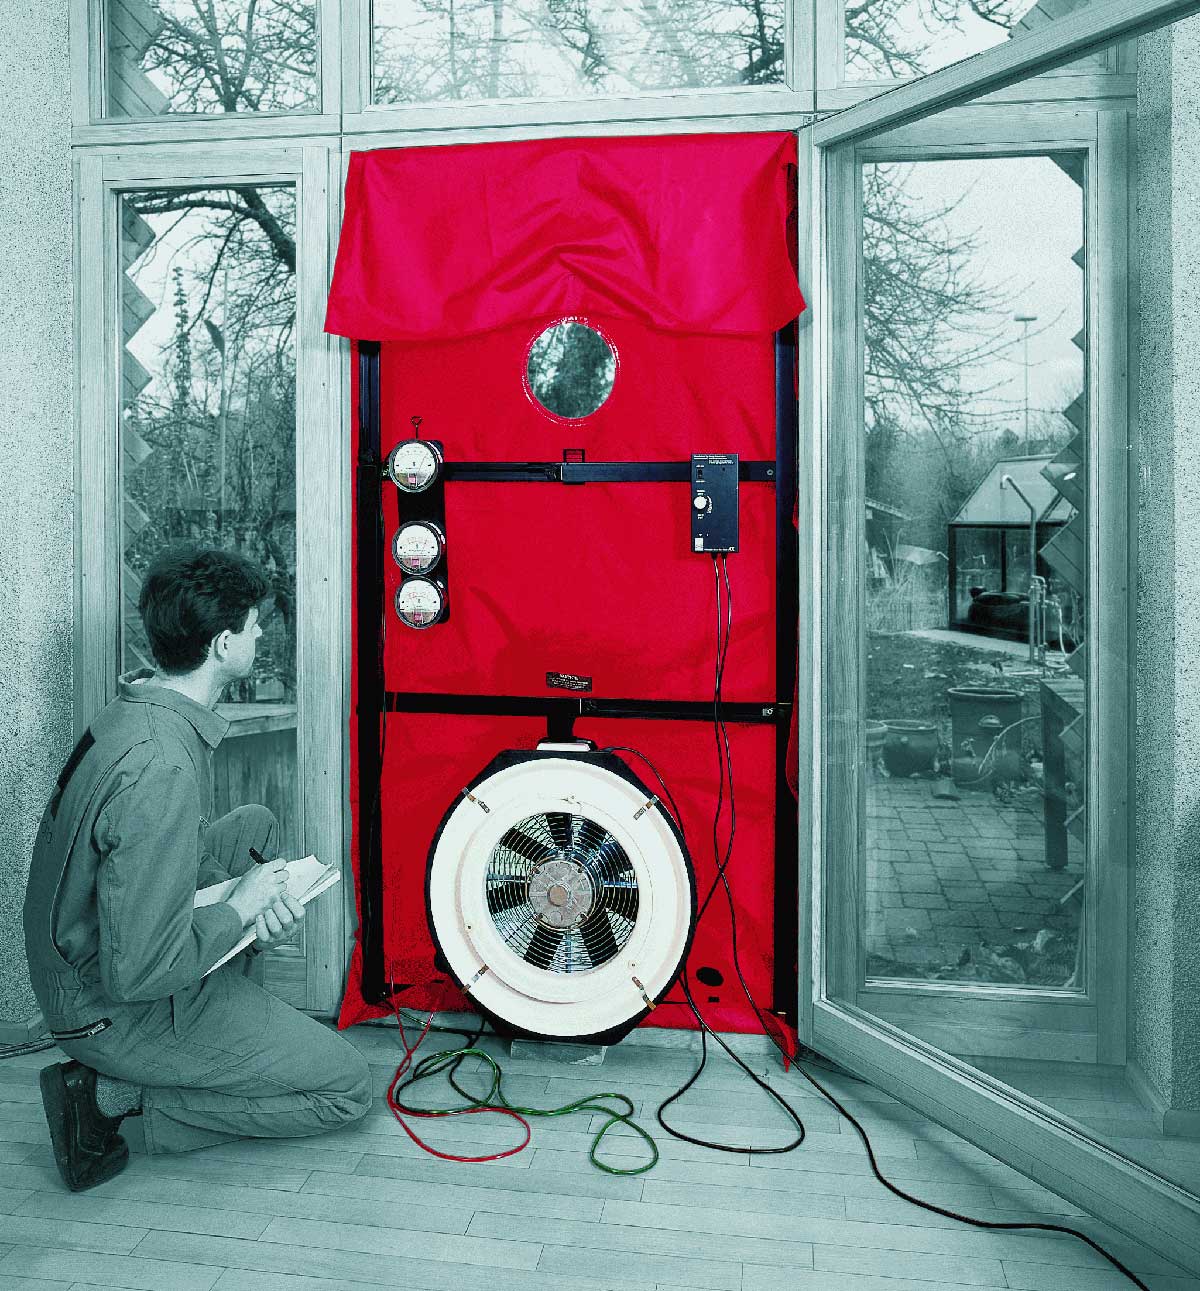
It is also important to ensure that the final blower door test is not the first, as by this stage it may be too late! There must be an intermediate airtightness quality test prior to the internal drylining or finish being applied. In this way leaks can be more easily found and remedied.
5. Get the as-built drawings
This essential step is often forgotten. Instructions with full as-built drawings, detailing the materials used and clearly identifying the location of the airtight barrier, should be provided for user information. This will help in the case of wanting to hang up a picture frame or introducing a new light pendant, allowing potential future breaches to be avoided and/ or repaired if necessary


