What floor screeds are, how they’re most commonly installed in Ireland today and what to watch out for on site.
In this article we cover:
- What is a floor screed
- Traditional screeds
- Fast drying screeds
- Self-levelling screeds
- Insulating screeds
- Liquid screeds
The screed is the upper layer of the floor ‘sandwich’ upon which the flooring is laid, so it must be finished level, flat and dry. Incidentally (and I have seen this done), a well finished screed could be painted and will last for years until those expensive oak floorboards can be purchased.
Here follows some of the terminology used to describe screed construction.
Types
The term cementitious screed simply means that the material contains a cement that acts as a binder. Some cementitious screeds will use an ordinary sand/cement mix, whilst others will use a proprietary mix.
If a screed is described as non-cementitious, it usually means that the cement has been replaced by an ecofriendly alternative. A floating screed is one which sits on the insulation layer, whereas an unbonded screed usually describes one that is laid on the dampproof membrane (DPM) or a similar membrane so is not bonded to the underlying floor slab.
Power floated screeds are finished using machines which leave a flat, smooth, hardened surface. Resin bonded screeds make use of epoxy resin to bond the screed to the substrate, in order to avoid cracking and curling in thin screeds.

Traditional screeds
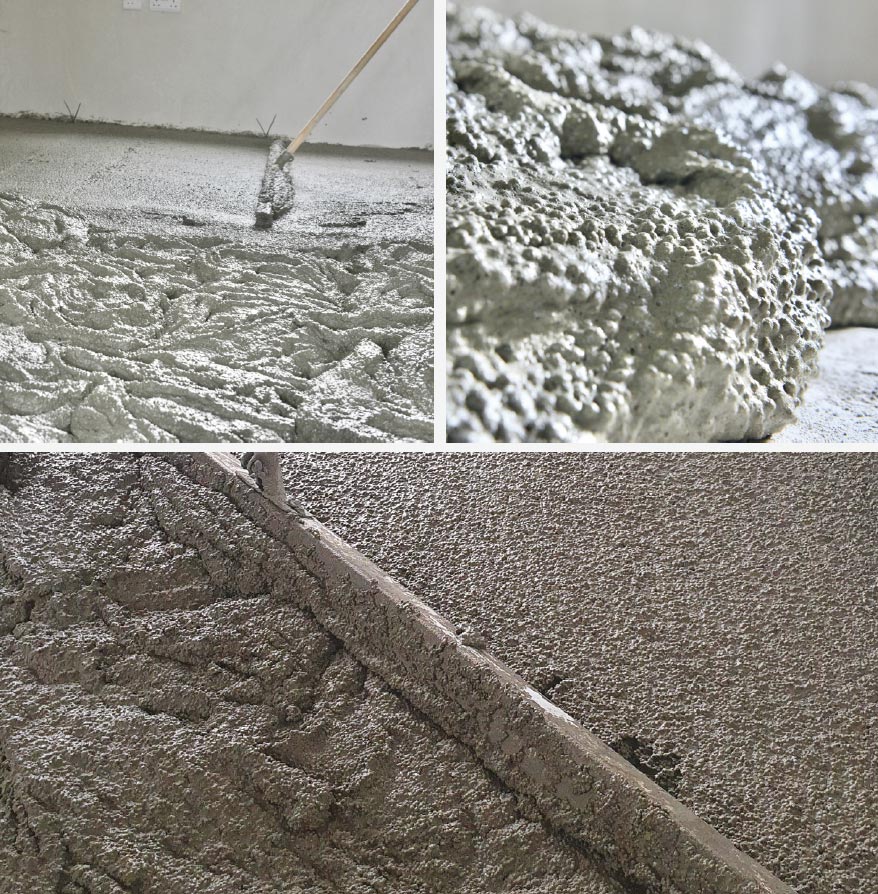
Made from a combination of sand, cement and water, usually in a sand/cement mix ratio of anywhere between 3:1 and 5:1. The lower sand ratio means a higher ratio of cement, which gives a stronger mix.
Water is added to ensure a thorough mix and to aid workability. But too much water will extend the drying time and weaken the finished screed. In certain cases, especially for some precast concrete floor slab systems, the floor screed contributes to the overall floor strength, so its thickness, mix and material specifications are important design considerations.
To protect the often expensive floor finishes over it, the screed should not be susceptible to cracking. For this reason, increases in the requirements for the thickness of insulation material to hot water pipes has led to a corresponding need to increase floor screed thickness when insulated pipes are laid within the screed.
Similarly, when the screed is laid directly on top of the floor insulation, thicker screeds are required. For these reasons, traditional sand/cement floor screeds are generally required to be not less than 100mm thick.
Many floor finishes are very sensitive to the moisture content of the screed, so it must be allowed to dry properly. Allocate sufficient time in the work schedule. Actual drying times will differ, sometimes by quite a bit and will depend on factors such as the cement-to-water content of the screed, any admixtures used and its thickness.

Additionally, when the screed is drying, the process will be influenced by the relative air humidity, temperature and the rate of air flow across it. As a general rule of thumb for working out drying times of sand/cement screeds, you need to allow up to as much as one day for every 1mm up to 50mm thick and one day per 0.5mm thereafter. By this calculation, a 100mm thick screed would take about 150 days to dry properly!
More accurate timings can be ascertained firstly by checking with the manufacturer’s technical guidance and then by carrying out an accurate moisture content assessment towards the end of the drying period to make sure the screed is fit for purpose.
Moisture testing is vital and should be done before you let the flooring installers on site and all such tests should be conducted using the calcium carbide method. Note that simple moisture meters will not give accurate results and heat introduced in an attempt to accelerate the natural drying process may cause cracking.
Fast drying screeds
As the name suggests, these dry much faster than the traditional screeds, at about one day for every 10-15mm of depth. Some products will dry in a few days and a few will dry in as little as 12 hours.
One product claims that you can walk on it after three hours, lay ceramic and natural stone tiles after four hours and lay carpet, wood and vinyl after 48 hours. When researching which product is best for you, do not confuse curing time (how long it takes before you can walk on it) with drying time (how long it takes before you can install your floor covering).
Self-levelling screeds
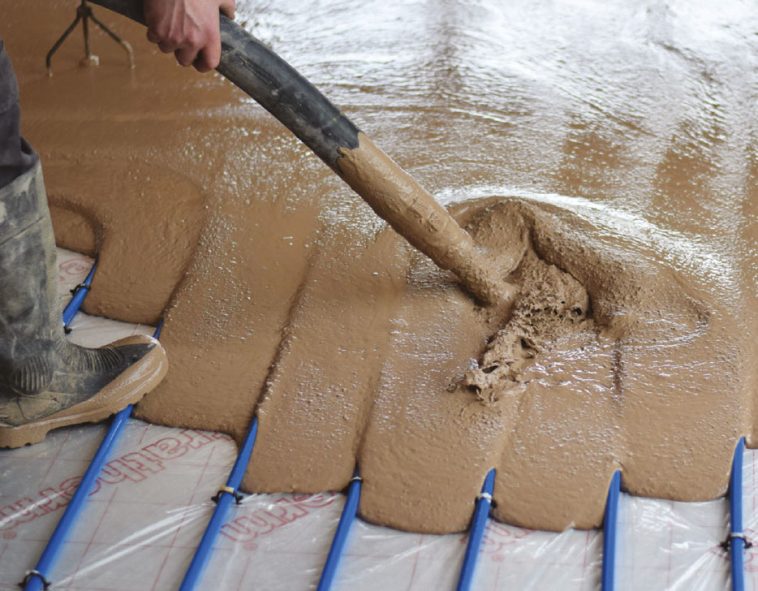
These are free flowing calcium sulphate liquid products which will virtually level themselves when poured, although they may require a little help at times. You will most often hear the terms anhydrite and hemihydrate used to describe the various products.
They both consist of a calcium sulphate mix, but the hemihydrate has a stronger and harder crystalline form of binder. They have different characteristics, so take time to check which suits you best.
Most self-levelling screeds are designed to be used with underfloor heating. Be aware that they can sometimes be sold as fast-track solutions, but this is not correct.
They are liquid floor screeds which usually dry at a rate of 1mm per day for the first 40mm and 0.5mm per day after that. So a 50mm screed should be dry in 60 days. The good news is that they can be encouraged to dry faster by activating and gradually raising the underfloor heating. But only start this after seven days of the screed being laid. You can also use a dehumidifier.
Do check the manufacturer’s written technical advice before trying any of this. Most self-levelling screeds will also require grinding and buffing before they are ready for the final floor finish. This is due to laitance, a weak layer of fine particles that is formed on the surface as the screed cures. Removing this also helps reduce drying time.
When laying tiles on anhydrite screeds, the surface should be primed with a calcium sulphate screed compatible primer in accordance with the tile adhesive manufacturer’s written instructions.
Insulating screeds
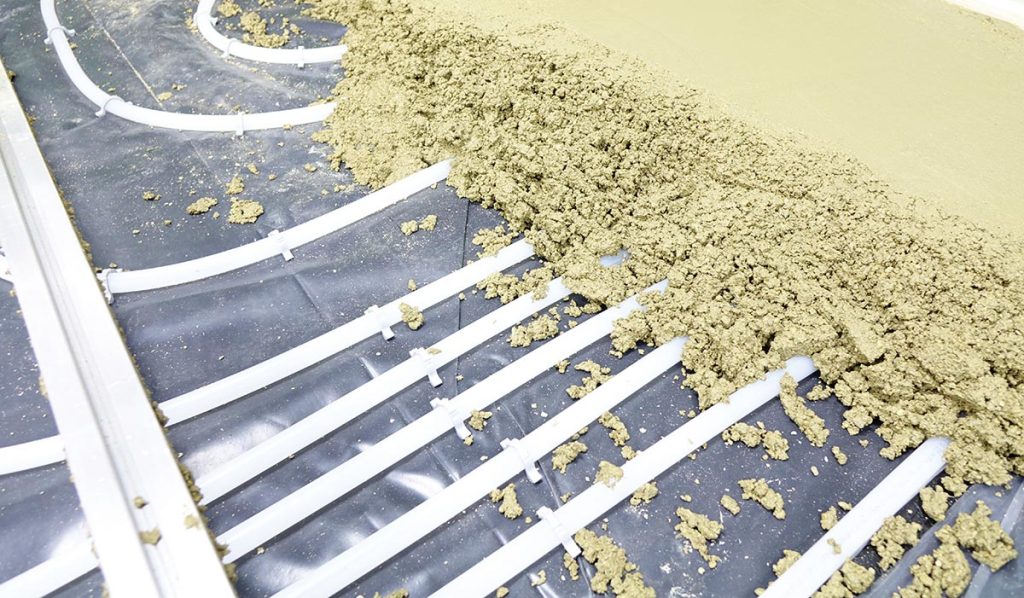
Insulated foundations can take care of your floor insulation needs but in many cases, new builds still rely on insulation above the foundation level. Whilst products such as hempcrete and lightweight concrete (see p116) can be used as insulating screeds, there are also dedicated insulating screed products available. For example perlite and pumice aggregates or polystyrene insulation beads will enhance the thermal insulation properties of the screed. Be aware that many of these products are intended as alternatives or additions to the floor insulation and are not, strictly speaking, screeds in the traditional sense. They are not therefore intended for use as a final wearing screed, so may require a topping screed. It may be possible to lay a ‘floating floor’ surface such as floorboards directly on top, but the manufacturer’s (not the supplier’s) written recommendations should be obtained first. Nevertheless, such a screed can be very useful as a base layer under an underfloor heating (UFH) system and can save a lot of time in situations where it can be simply poured and levelled around service pipes. Note that insulating screeds should not be used above, or to encapsulate, any UFH system. With any of these solutions, one of the most important design steps will be to calculate and compare the U-values and thicknesses of each of the completed floor structure options which are being considered.
Quick guide to liquid screeds
A liquid screed has an unique formulation over regular concrete in that it can achieve a very flat finish and is designed to allow for the heating up and cooling down of the floor in conjunction with underfloor hearting (UFH).
At what stage is the screed placed. Once the building is weather tight with doors, roof and windows installed. The weathertightness is important to reduce the possibility of surface cracking. Also there is less likely to damage the components of the floor makeup at this stage over placing them at foundation stage with regular concrete.
Depth of screed. Liquid floor screed is ideally placed at depths of between 50 -75mm in conjunction with UFH.
Who places the screed. A competent contractor with pumping equipment and knowledge of the screeding process.
Cost. Prices will vary on floor area, depth of screed and site location. There are numerous contractors nationwide that will quote for the project.
How soon can floor coverings be applied. Depends on the type of floor covering, type of screed used, length of time the heating has been functional. Important to get technical advice from adhesive and flooring contractors.
Sustainability. Liquid screeds have a varying amount of recycled material incorporated that would otherwise be destined for landfill.
Enda Gallagher,
Roadstone Flooring Solutions


