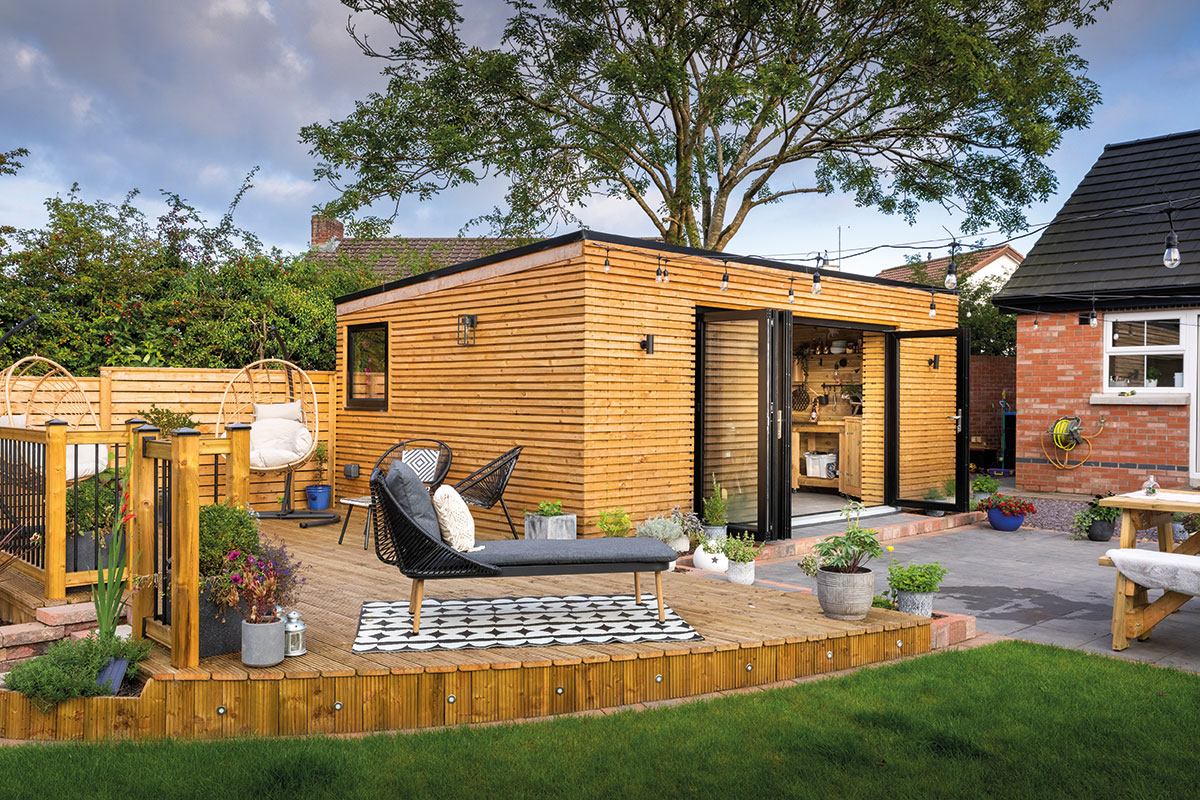
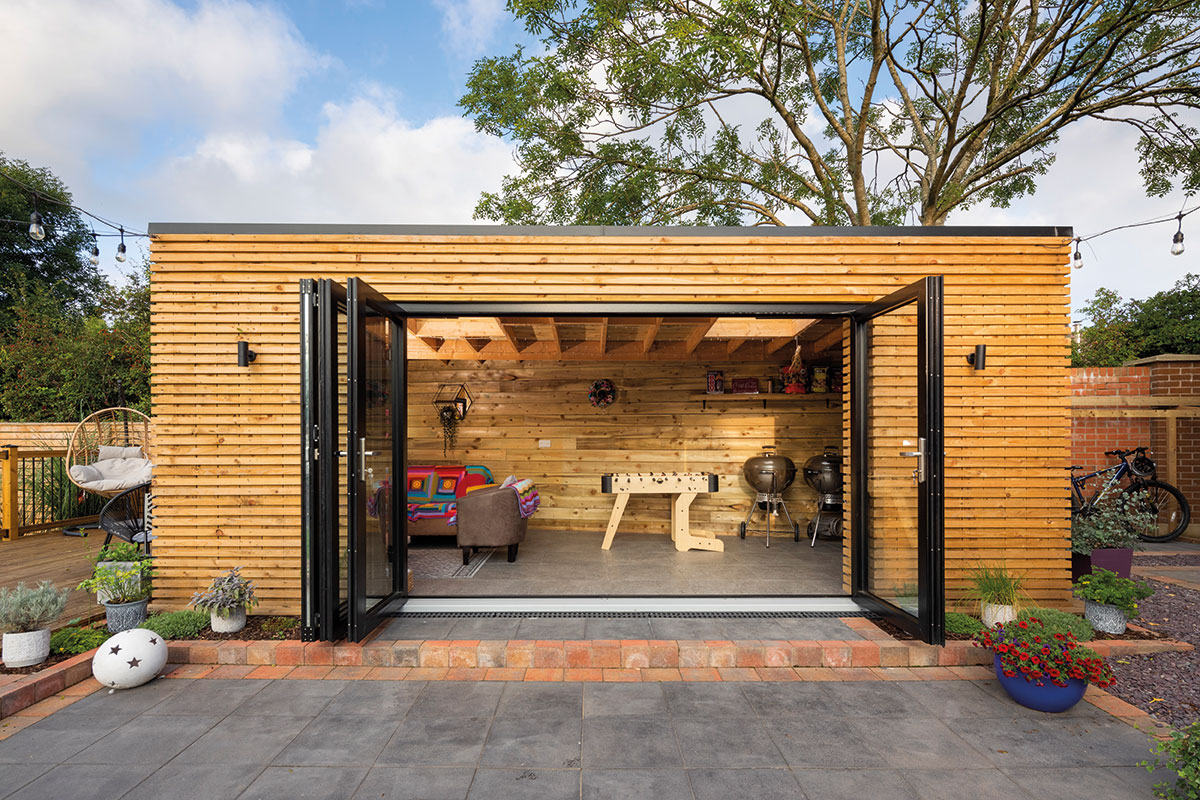
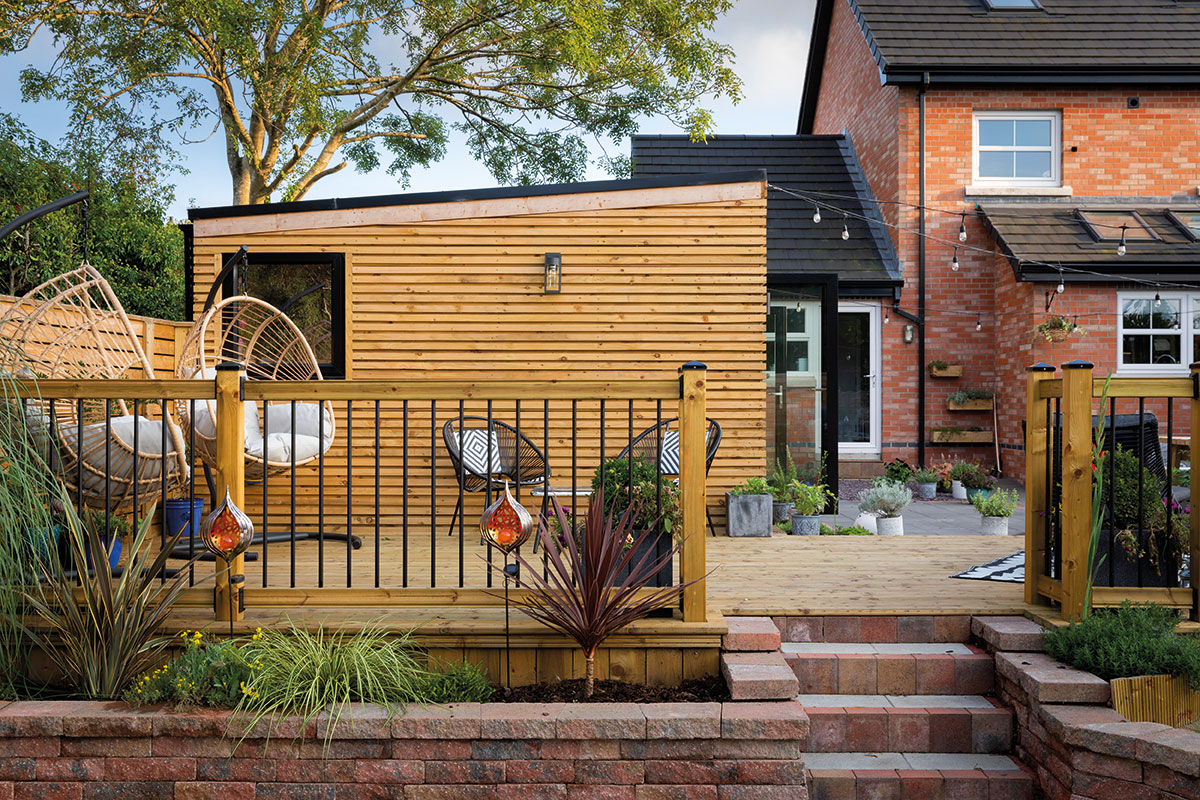
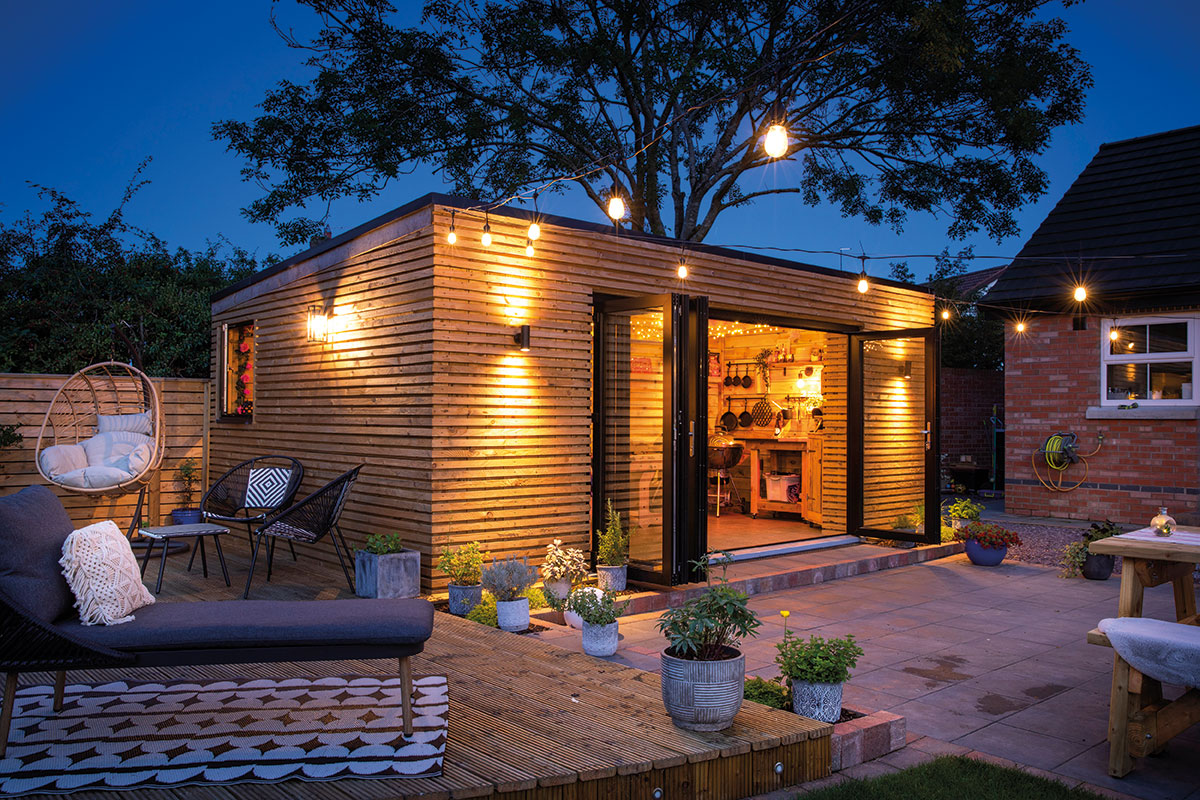
Graeme Taylor’s DIY lockdown project was to build a garden room to hang out in – a hut for barbequing and entertaining.
In this article, Graeme talks about his DIY garden hut project:
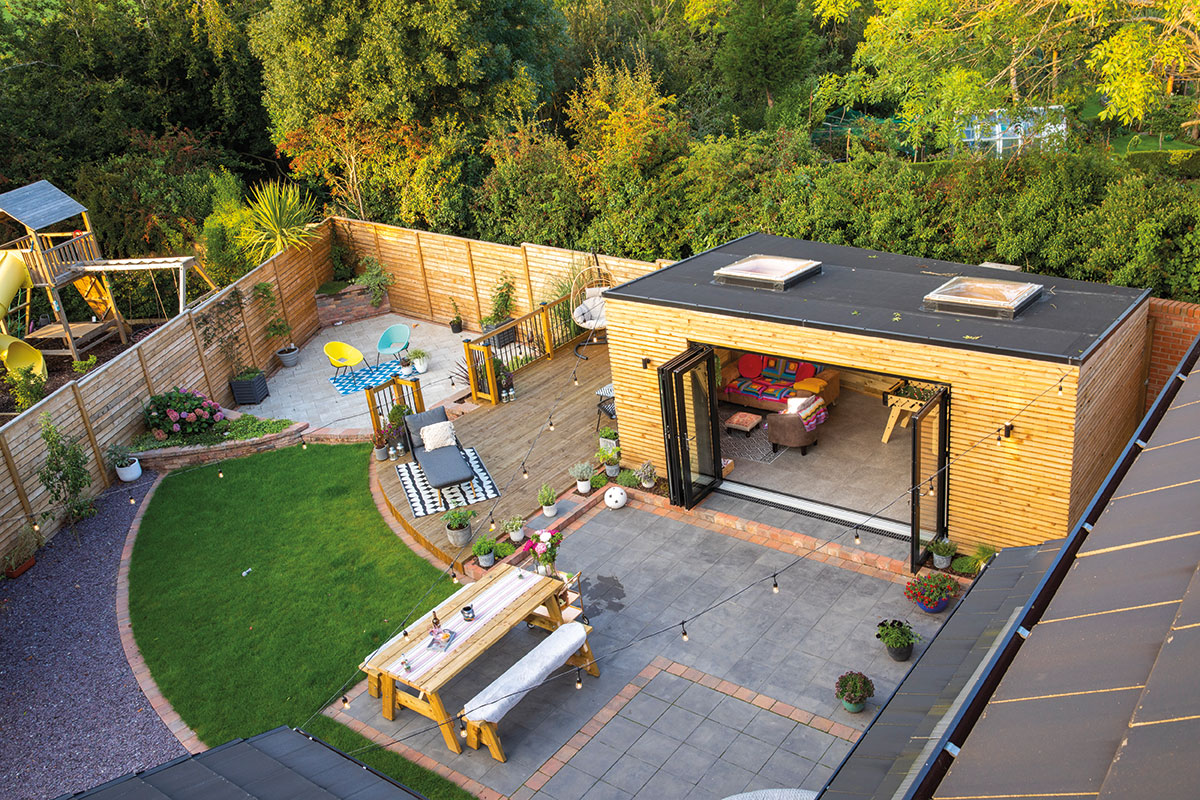
- How he designed his garden, 25mx16m in size, with BBQ area, hut, deck and lawn
- Step by step guide of how he built his 6mx4m DIY garden room, from pouring the concrete base to building the timber frame structure with EPDM roof covering
- Adapting the hut design with openings for roof lights, bifold doors, heat lamps, provisions for electricity and rainwater harvesting
- Details of the integrated communication links from house to hut (it allows him to turn the music down remotely…)
- The garden’s planting scheme
Tell us about your house, did you buy or build it?
We got the house built through a small scale developer who builds a couple of houses a year and works with you to get what you want.
There are around 20 houses here, each one different. The external finishes are fairly similar but with different brick, windows, doors, gardens, etc. There’s a sense of consistency yet a feel of individuality to the area.
Basically, you have the shell of the house and he’s happy to move internal walls, staircases, outside spaces and so forth, to suit what you want. He has options for garages, sunrooms and roof space conversions.
One feature he worked with us to develop was a pantry off the kitchen which, as keen cooks, is something we love. We also have exposed brick walls internally in places rather than plastered.
How did the DIY garden hut project get started?
We lived in the house for just over a year before doing anything with the garden. This allowed us to see how the sun’s position moved around during the year and gave us time to think how we wanted to use the whole garden, which is surrounded by mature trees and bushes making it feel very private.
The back garden was quite a bit bigger than any garden we’d had before, at around 25m by 16m, but it didn’t contain much more than topsoil and a fence.
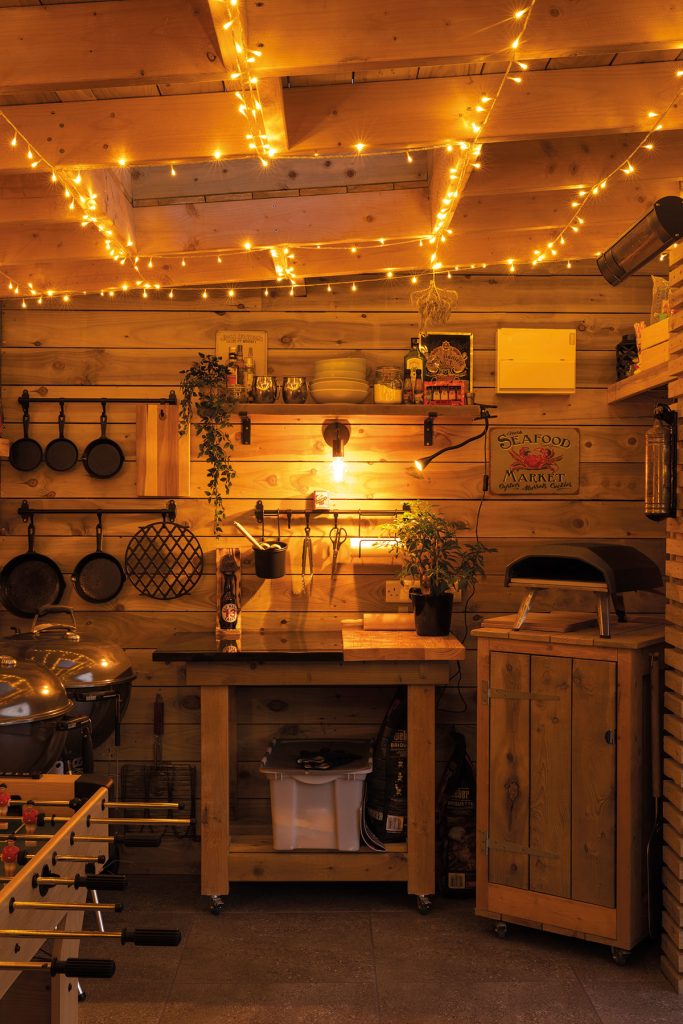
We knew we wanted a preparation and BBQ cooking area and a living/dining snug section.
We started looking at layouts during the spring 2020 lockdown, and quickly decided on the placement of the hut – close enough to the back door for carrying food, plates etc. back and forth but also in an area where we could see it from inside the house too.
Our house is at the end of a cul de sac so the back garden is triangular with lots of different angles and we decided to use the front of the hut to square it up. While this looks great, it did cause some head scratching during the DIY garden hut building process.
We looked online at various styles such as the Nordic hexagon smoke houses/saunas, outside bars, offices and garden rooms. The style we liked could best be described as chunky/robust looking structures.
However, we also liked the cladding look on the outside of some huts. Our friends had built a shack that we liked and we took a lot of inspiration from that project.
How did you come up with the garden hut design?
I work as an engineer so I decided I would design the hut. No planning permission was required as the build fell within permitted development rules.
I took into account the fact that the boundary behind the hut ran at an angle compared to the house. The front of the hut is parallel to the house and the back of the hut runs at an angle, corresponding to the fence.
The structure is 6m long, 4m deep at one side and 3m deep at the other. This really added complexity to the design and build. I could have gone with a standard rectangle, but that would have resulted in quite a lot of dead space between the hut and fence. I decided this space would be more beneficial inside.
When designing it, I researched standard practices with regards to joist spacing, skylight windows, loads, roof run off angles, materials, etc.

I researched various roofing materials, including a living roof which I have on some smaller structures I’ve built around the garden (log store and bike shed), but ultimately settled on an EPDM covering.
We found a company that supplied the full EPDM kit including adhesives and trims and were extremely helpful with some technical queries I had.
I had concerns the inside would be dark so I planned for two roof lights to allow more light in.
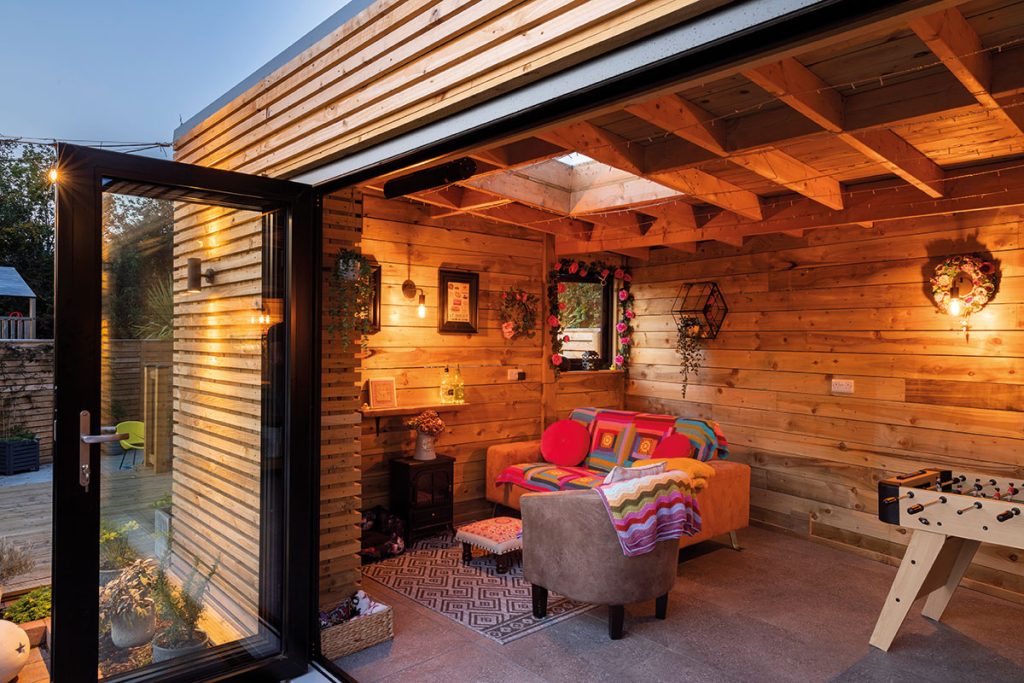
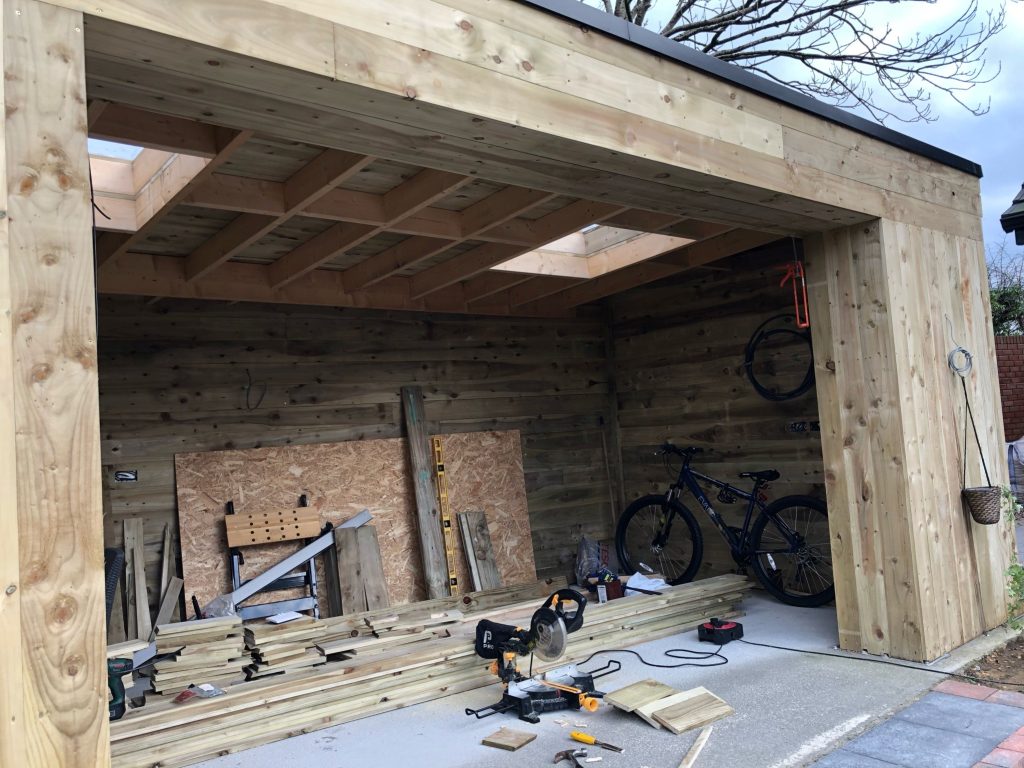
I also planned for a serving hatch from the side of the hut to the decked area and a large open front. I specifically designed this opening to allow for standard sized doors to be fitted in the future, if desired at any point, which, once the hut was up, was quickly decided was a requirement due to how far the rain came inside.
What building method did you choose for the garden hut?
I wanted to make it from wood for a few reasons. It meant I could build it, it would have a rustic look and it could be classified as a shed, relieving any possible planning issues related to a permanent structure.
Even though I’ve built wooden structures in the past, I hadn’t done anything to this scale. A main fear was the potential fire hazard of having a wooden floor while using a charcoal BBQ, so we decided a concrete floor for the DIY garden hut was the best option.
What were the DIY garden hut build steps?
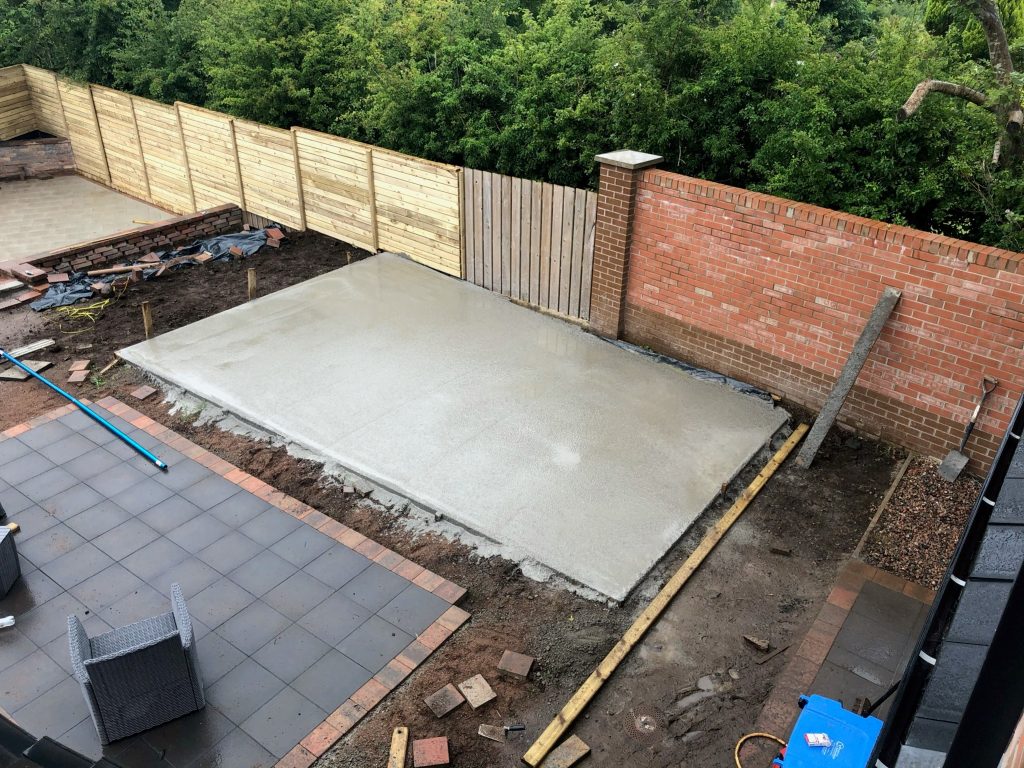
We had a company pour the concrete base when they were doing work on our paved areas, retaining walls and turf laying.
All of the groundwork in the garden took around two to three months which allowed plenty of time for the concrete to set. I then built a decked area beside the concrete base and was finally able to start building the hut.
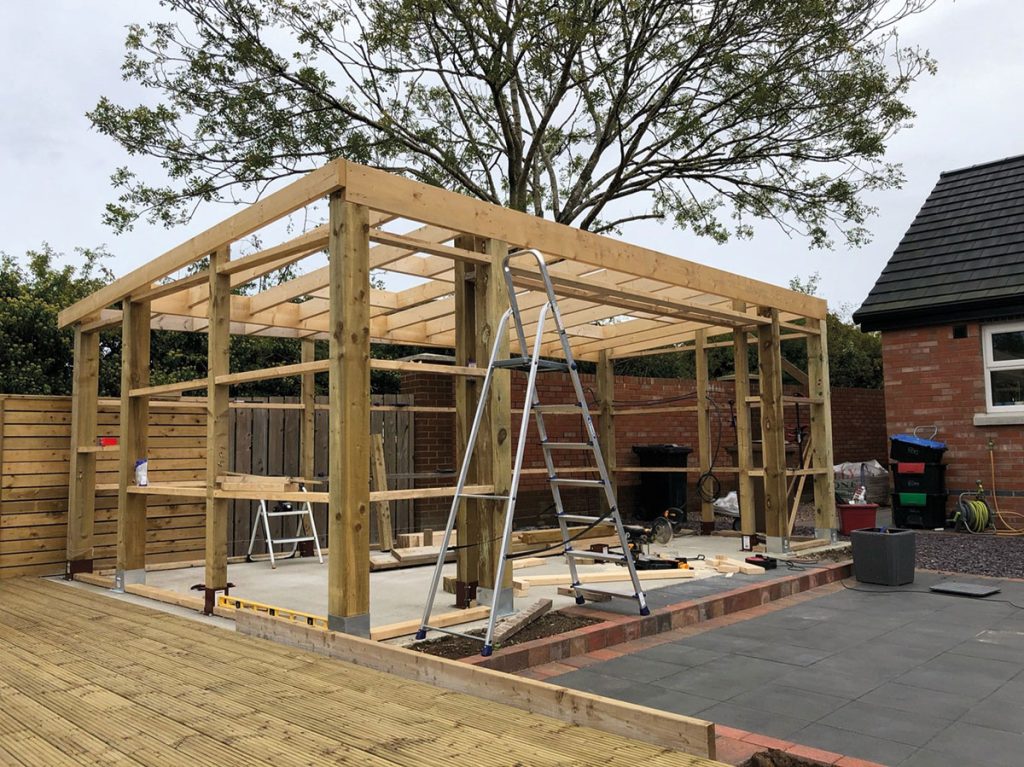
I started by ordering the required timber, mostly from local building suppliers. With the help of my brother Philip, I started the build and had the roof finished, skylights installed and the first electric fix completed within a couple of months.
I was constantly running in and out of the house during the build to check dimensions on the model to make sure I was going in the right direction.
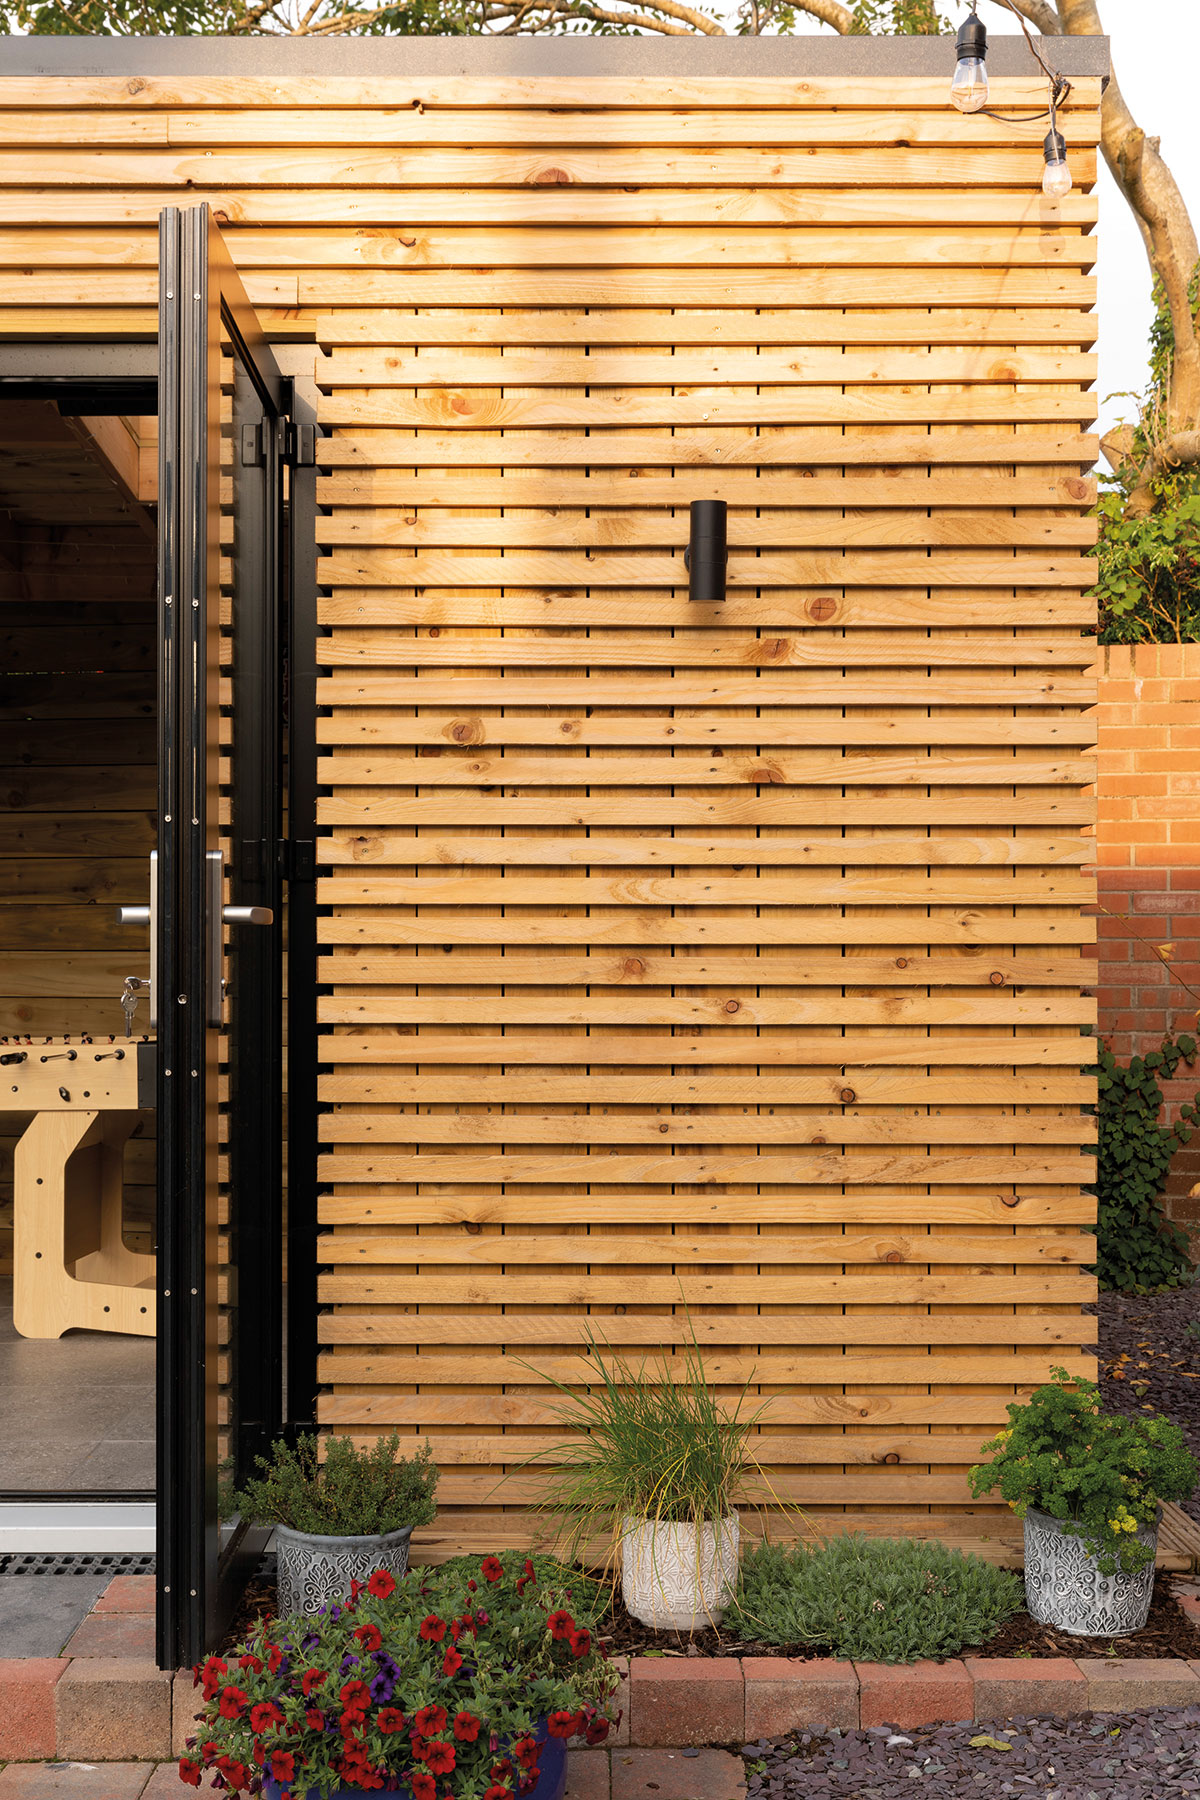
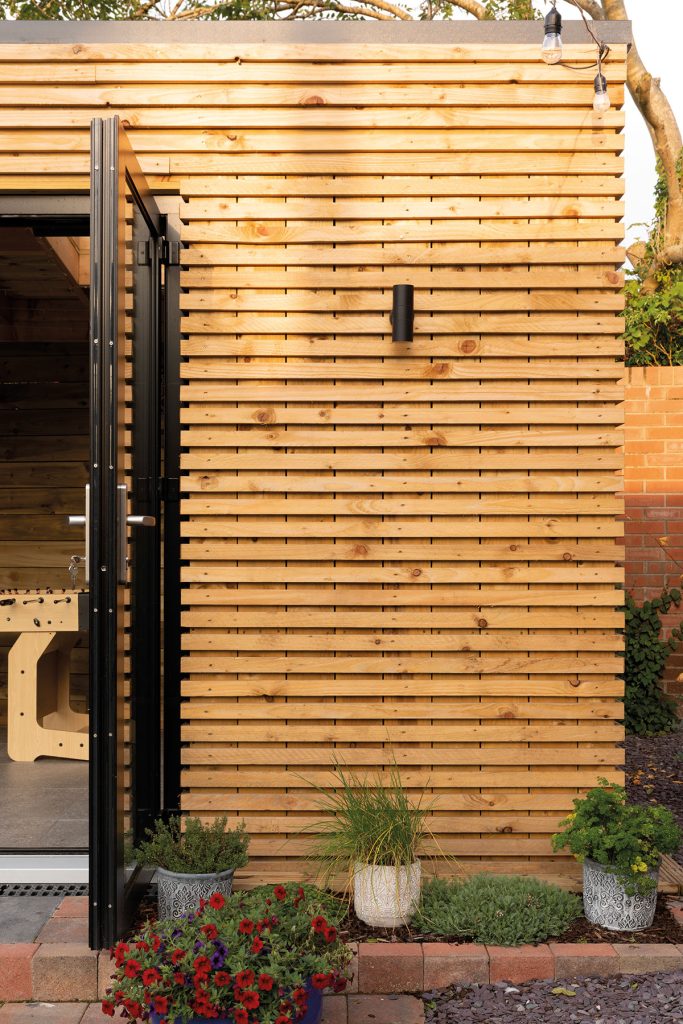
After that, I got on with the exterior horizontal cladding and interior walls to allow for the final electrical fix. Due to weather and less natural light at this time of year, it took another month to complete this part of the build. I also tiled the floor myself.
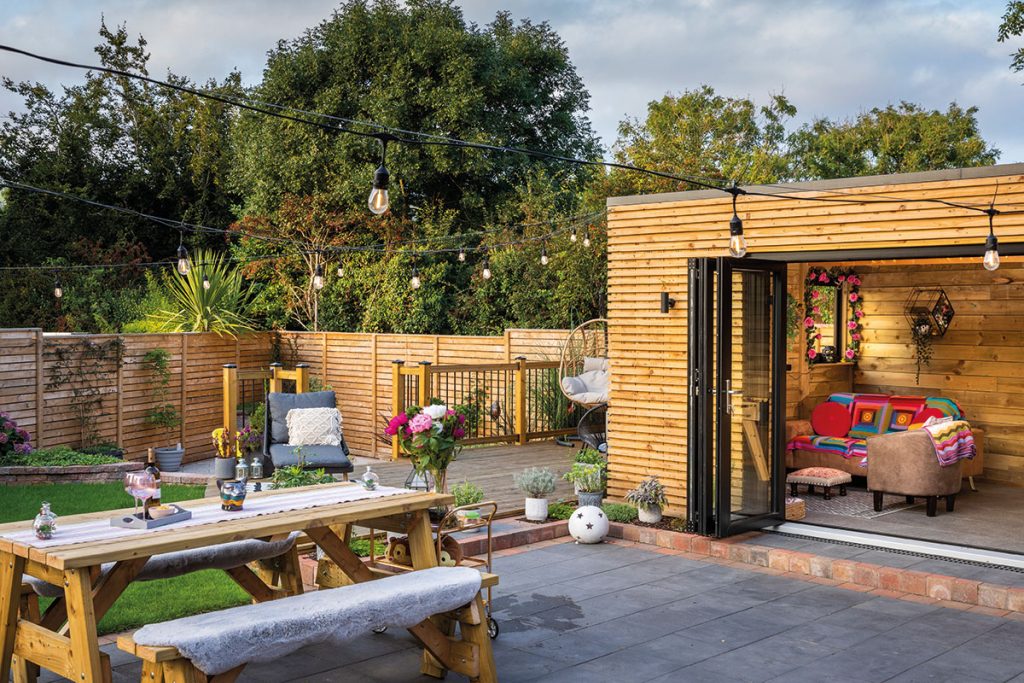
Once the hut was up and we used it for a few months, we quickly decided doors were required on the front. I ordered double glazed bifold doors and a window.
Once installed, the glazing really changed the look and feel of the hut to be more modern, which we liked. The accordion (bifold) style doors allow for the full opening of the front during the summer to give an open air feel. They are great during the colder, wetter months as the hut can still be enjoyed with them closed, shutting out the howling wind and rain, giving a comfy, snug, log cabin ambiance.
What did you do for water, heating and electricity?
I considered insulating the structure to prevent heat from escaping but due to the original plan of having an open front I deemed it unnecessary.
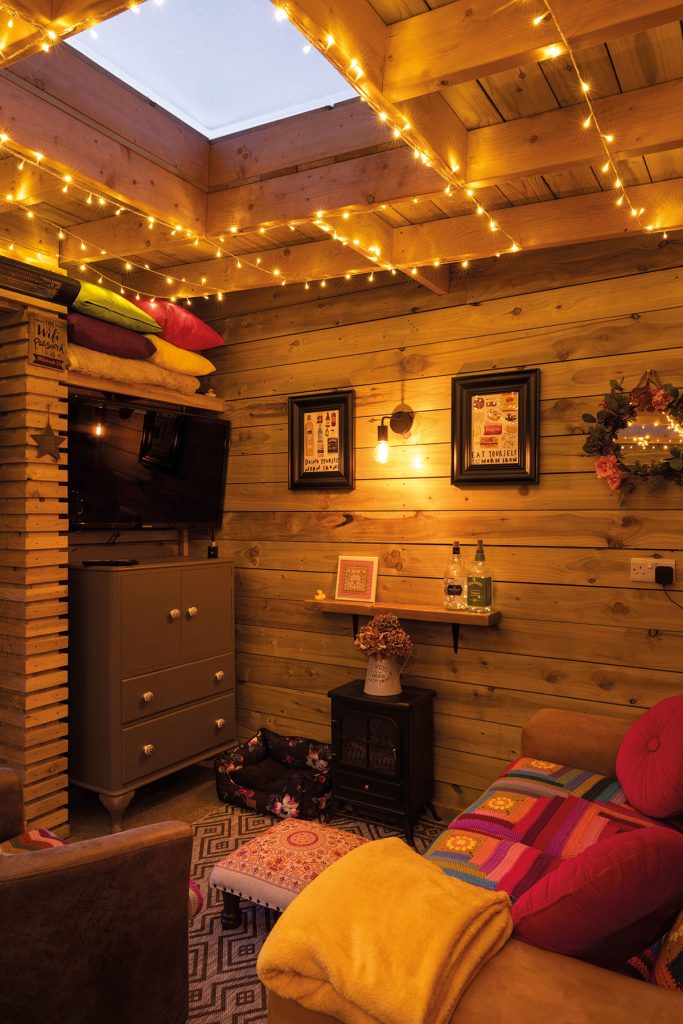
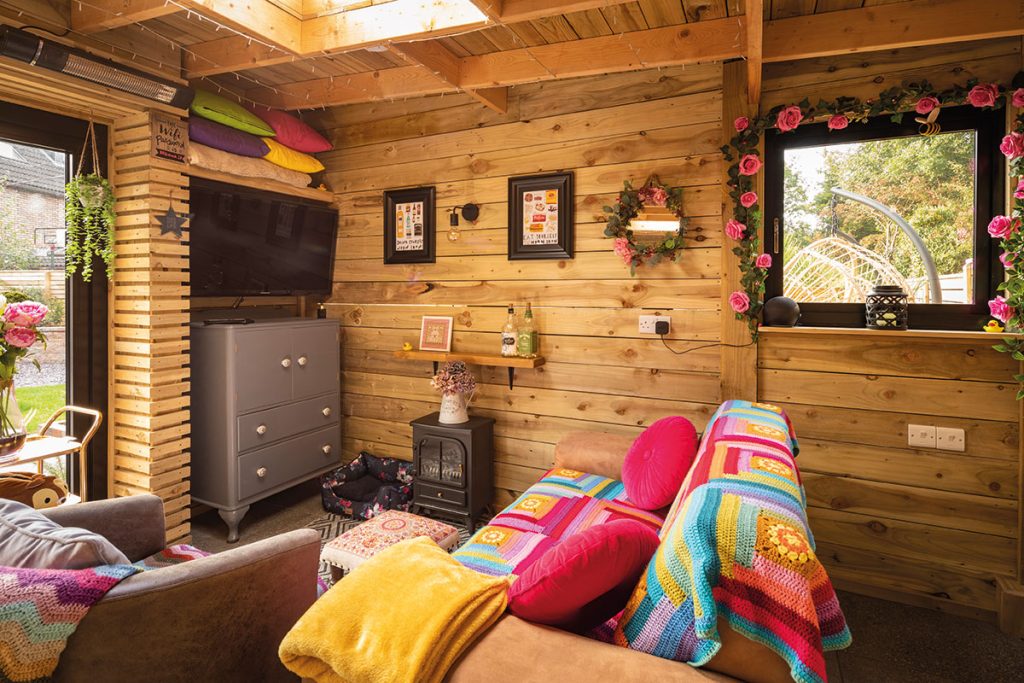
Plus it’s nice to cosy up inside under the crocheted blankets my wife Alyson makes, which she switches around to match the season, while also decorating the hut in summer flowers, autumn leaves and Christmas wreaths.
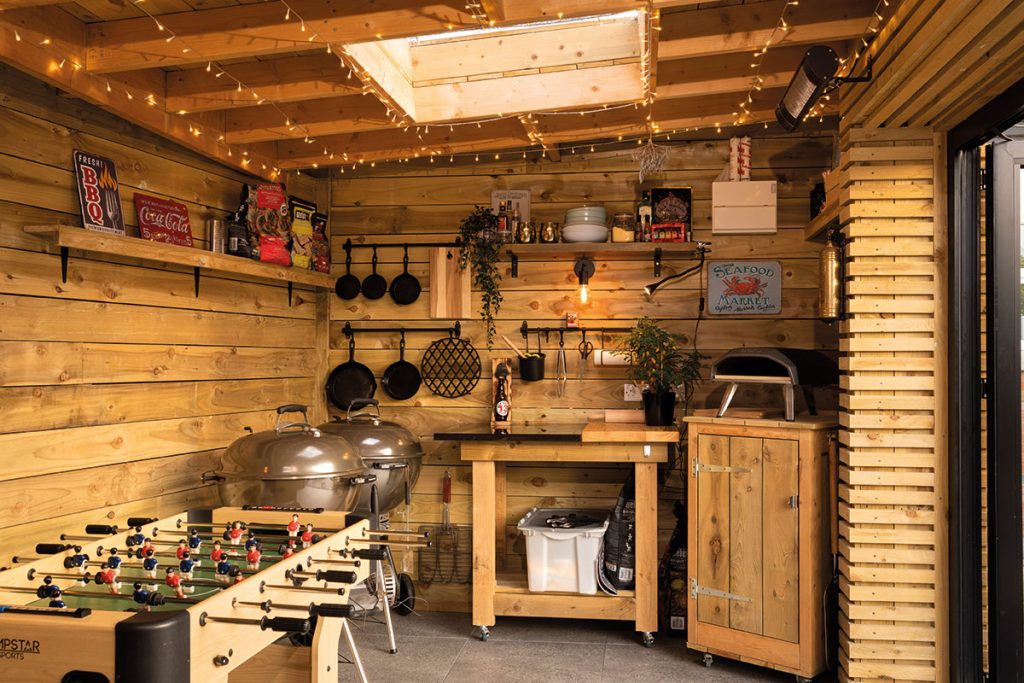
To provide some spot heating, I planned for two heat lamps inside. During lockdown, it proved difficult to get them to the spec I wanted, but we eventually found two online.
We knew electricity was a definite requirement for both inside and outside and so wired the hut with the various power sockets and lighting required. I also had an ethernet cable installed for wifi.
A water source was considered but, due to the proximity of the house I decided not to proceed with this. This is probably my main regret as having running water would be useful. However, the utility room sink is only a few steps away and that’s where we do most of the food prep. If we want a supply of water to hand, we just bring out a basin.
I considered a water butt to harvest the rain from the roof but I need to do some work behind the fence where the water runs off to. That’s my next project!
How did you plant around the garden room?
There are two shallow troughs around the front of the hut. We’ve planted a range of herbs there including thyme, rosemary, parsley, sage, chives, and oregano. It’s great having fresh herbs readily available for cooking in the hut.
Ideally I’d like to have some small ornamental hedges in these troughs but have concerns about the roots pushing the brick edging, and the herbs smell great during the summer. We often hang excess herbs to dry inside the hut, which makes the whole space smell very aromatic, getting the tastebuds going for even more BBQ, which we can now enjoy whatever the weather.
Do you use the garden hut as much as you thought you would?
Even though the hut was designed and built as an entertaining outdoor space to enjoy as a family, it has had the most use from our teenagers. They enjoy having their friends around without adults hearing every word they say.
They do turn the music up too loud but thanks to our built-in, integrated comms, which have been extended into the hut, they don’t realise that we can turn the music down from inside the house, which we have had to do on a number of occasions…
Suppliers
House build and design
AM Developments (Alastair McCaig)
Outdoor concrete floor, retaining wall and paving
Abbey Tiling and Cladding, mobile 07474 041320
EPDM roof covering
Haire Bros, tel. 7034 2696
Roof lights
Mardome fixed roof domes by Brett Martin
Heat lamps
2000W Goldbar Heat Lamps from Blumfeldt, blumfeldt.co.uk
Timber (builder’s merchant)
Haldane Fisher, haldane-fisher.com and MacBlair, macblair.com
Window and bifolds
Baskil Window Systems, tel. 90774885
Tiles
George from Creative Tiles, tel. 9083 3866
Photography
Paul Lindsay, paullindsayphoto.co.uk
ROI calling NI prefix with 048, mobile prefix with 0044 and drop the first 0

Timeline
Jun 2020
Concrete floor poured
Sep 2020
Timber build start
Start of Nov 2020
Roof and first fix finished
Mid-Nov 2020
Second fix
Dec 2020
Build end
Apr 2021
Bifold and windows installed


