In this article we cover:
- Details of the infill plot and how they got plannning
- Architectural design process with tips on how to get it right
- Cutting costs at the design stage
- How building two decades ago informed the design and specification
- How the home automation system and how it was installed
- Costs for automating the house
- Heating and ventilation system choices
- Floor plans and specification
How did the project come about?
We built on an infill plot between two other houses, one of which is lived in by family. The field looks out towards the hills of rural County Down, sloping down gently to the south. We’ve built on the highest part of the site with the front of the house approximately 75m from the road.
When we purchased the site it already had planning permission granted for a traditional style home so we set about changing that to our own contemporary design.
From the start we felt the plot leant itself to a design that would run North to South, instead of across in an East to West direction. We particularly wanted a South facing aspect to take advantage of solar gain for the main living areas.


How did the design for the automated home come about?
To get started we visited several Selfbuild Live shows in Belfast and travelled to an expo in Birmingham to get chatting with suppliers and gather ideas. Our concept was to build a form that we loved, but also one that satisfied our functional requirements.
We found an architectural practice we gelled with and worked with them to get the design right over several iterations. We wanted a low energy, contemporary south facing house with an open plan kitchen/dining/living area.
We wanted three bedrooms (with master on the ground floor – bad knees and old age!), high ceilings (2.7m) and vaulted ceilings, solid floors upstairs, solid walls throughout (no stud walls), concrete stairs as well as low maintenance finishes and a ground mount location for photovoltaic (PV) panels to generate electricity from the sun.
As with our previous home we wanted integrated garages; we’re among what seems like a tiny minority that puts their cars in the garage every night. The ability to drive in on a wet and windy day and head straight into the house is something we loved in our previous home.

Overall, there’s no doubt that one of the best things about a self-build is getting your own custom layout, a bespoke design that’s just not available anywhere else. Mind you, getting the rooms in the right locations, with the right flow and relationship between each other is a challenge. In fact I think getting the floorplan right may be the most difficult part of the entire process.
That’s because moving just one of the elements has a knock-on effect that gets more and more pronounced the closer you get to having everything in just the right place. We ended up with an extra bedroom because of this, as there was no satisfactory way to lose the space without upsetting some other part of the plan too much.
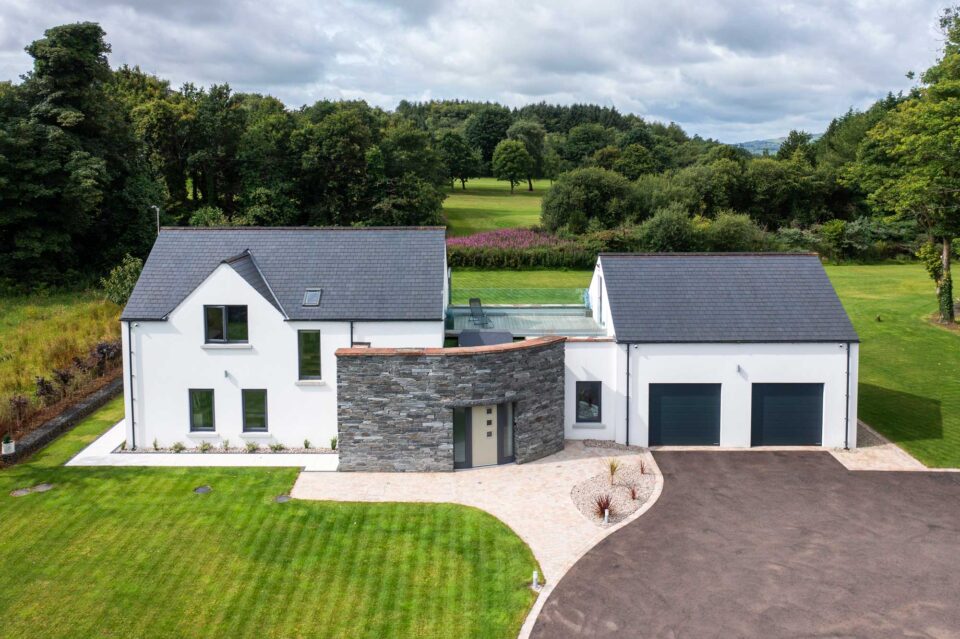
The house design our architects came up with was to split the structure into two buildings. Looking from the front, the left (west) side is a vaulted single storey barn that contains the open plan area with a small utility room and pantry behind and the integrated double garage beyond that.

How did your experience self-building 20 years ago influence your current build?
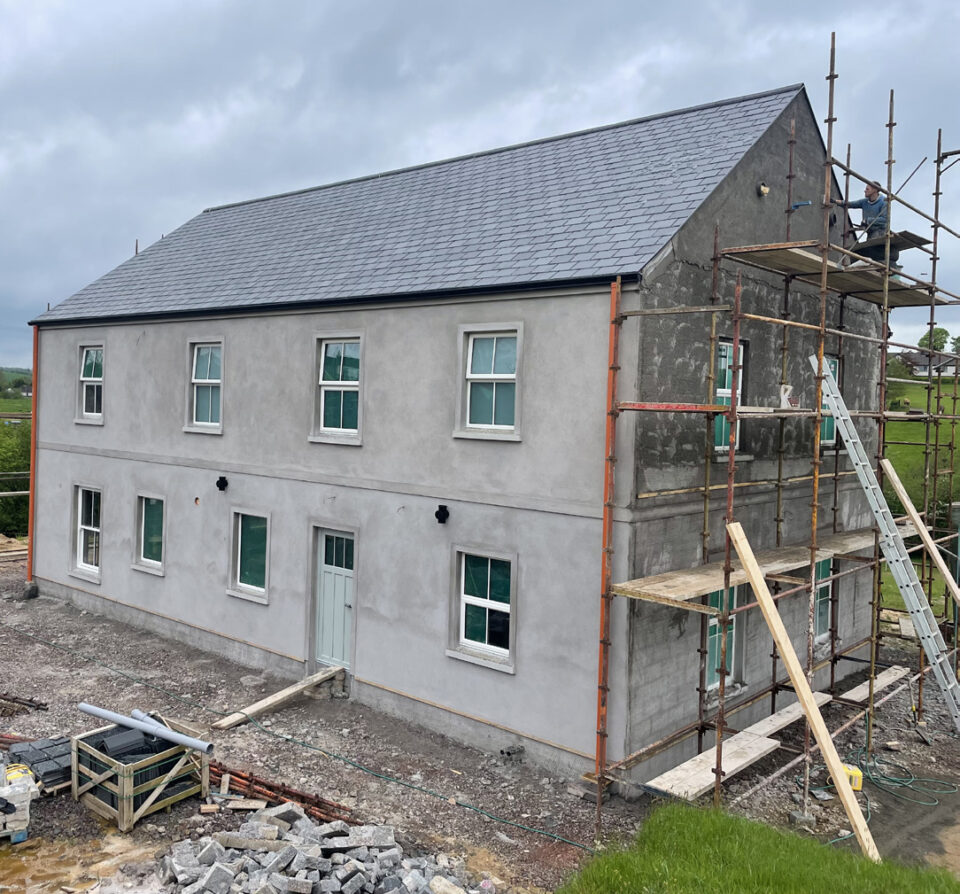
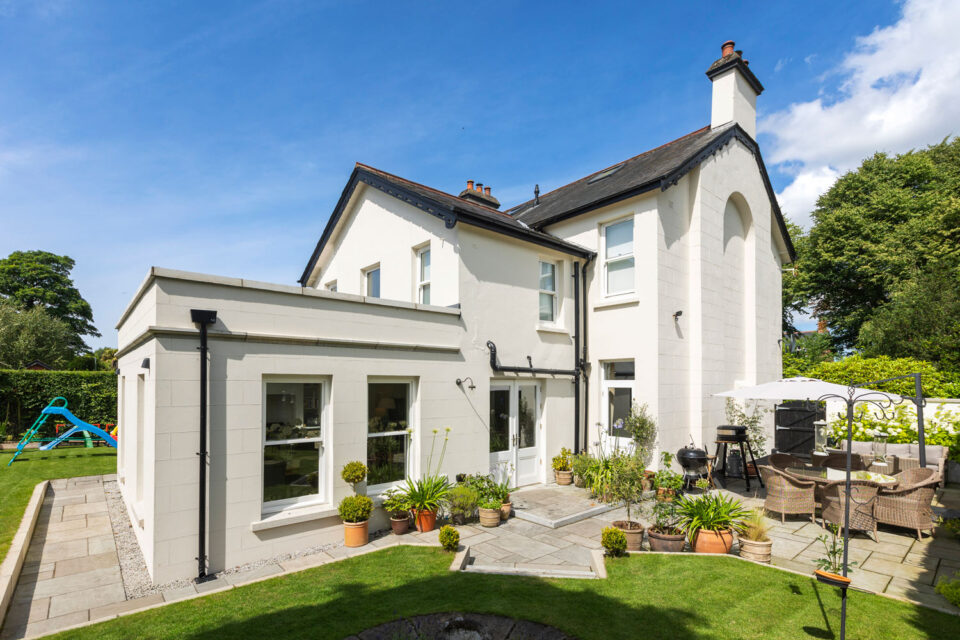
With our first self-build we probably allowed the exterior look of the house to influence the internal layout too much. This time we worked from the inside out. We also wanted to move away from the more traditional style house we’d built in 1999.
We needed fewer bedrooms in the new place and we also wanted to change the size balance between certain rooms too, especially the kitchen, dining, living area.
We had a largish utility in the old house that we felt was wasted space. On the other hand our walk in wardrobe was always a bit small and we wanted more room to have a proper dressing room this time. The proportions are pretty fixed for some areas, for example it’s hard to deviate from the shape of a double garage. Others are pretty flexible though, a bedroom could be 3.5m x 4.0m or 5.5m x 2.5m, so it’s the area that’s more important in that case.

Did you have to change some of the design to cut on costs?
From the start it was important to us to have a relatively simple shape that was affordable to build, although the open plan aspect of the barn and hall meant we required a lot of steel. I’m probably most disappointed we didn’t get the triple glazing we wanted, and that the PV system is on hold until next year.
The design underwent plenty of cost engineering tweaks too, including removing stonework above the flat roof, between the two barns. We worked hard with the architect to retain the main design elements while keeping it all within our budget.

Tell us about your smart home system
We had a smart home set up in our previous house but it was a piecemeal approach; some of the systems weren’t talking to each other and many required a lot of maintenance, due to batteries not lasting long enough, software updates, manually setting it up on the phone each day, etc.
So our aim for the new house was to have a setup that was fully integrated, and we decided early on that we would invest in a professional system. All of our data is stored here in the house, so there are no privacy concerns and we aren’t reliant on Cloud servers.
Each room has a presence sensor mounted in the ceiling to turn lighting on and off as the rooms become occupied or empty. Coloured scenes are available at the touch of a button and these are a brilliant way of zoning the areas of the barn and creating a dramatic look even in the smallest rooms in the house.
Ceiling speakers are fitted in most rooms and we used concealed speakers in the vaulted ceiling. These get plastered and painted over and so disappear completely. There’s a subwoofer hidden inside the kitchen island too and a comprehensive CCTV and security setup.
We have one central point in the open plan area to control everything, a wall-mounted tablet that provides access to all the sub-systems including lighting, heating, energy, ventilation, blinds, shading, music, access and security.

The house can be controlled via smart phone/watch but a lot of the functions are automated. For example the lighting is pretty much fully automated, as are the roof lights which respond to the weather – if the barn starts to overheat they open, when it starts raining they close. We have a connected weather station outside which helps the system make these autonomous decisions.
Part of the joy of a smart home system is that any switch can be programmed to control almost any device around the house. A good example is how we operate the garage doors. We asked our installers to program one of the switches in the utility so when we leave in the mornings, we can start the doors opening so they’re up by the time we’re sitting in the car. It’s the little things!
The garage doors can also be controlled from our remotes in the car, the tablet on the wall and the apps on our phones. They’re programmed to close automatically at night if they’re still open when we go to bed.
We also have electronic keypads to open the front and back doors; it allows you to set up codes for people to come into the house at specific times. We have a radio frequency identification keyfob and also a sticker inside our phone case. This means both the car and the house are opened using the phone and we do not need to carry keys anymore.
We did bring a few of the smart home products from the previous house including our beloved robot lawnmower (Elon), which will be installed once the lawns go in later this year.
We have a very comprehensive Cat6a data network and most rooms have a UniFi access point with Ethernet sockets too. We ended up installing around 4km of cable, on top of the normal mains circuits.
Even during the build we used some tech – I installed a Pan Tilt Zoom (PTZ) camera next door, which is the house we were living in with family. We’re in the lucky position to have access to superfast FTTP broadband in the area and so we were able to watch the progress even when we weren’t at home.

How much does home automation cost?
It certainly is a how long is a piece of string question, and of course it depends on the size of your home and the features you require. Generally speaking, you can expect to pay somewhere between 2 and 6 per cent of your property’s value on a professional, smart home installation. Which is generally around the same as you might expect to spend on your kitchen.
But remember to also take into account the areas that you would normally be paying for in a traditional build that will be covered in your smart home budget, such as wiring for lighting in the electrical budget, valve actuators and thermostats in the heating budget, a security alarm etc.
And unlike DIY systems, a proper professionally installed home automation system should add to your property’s value when the time comes to sell.

What did you do for heating?
We’ve installed an air source heat pump, so we will no longer be burning oil for space heating and hot water. We also had two wood burning stoves on our drawings, in the open plan area and in the snug.
Then we thought, why not cut out our consumption of fossil fuels altogether. Not just the heating oil, but gas and wood too. The more we talked about it the more it just felt right not to burn anything anymore. We looked into it a bit more and realised owners of similar airtight homes didn’t use their stoves because lighting them made the house too warm.
Of course a big advantage in removing the two chimneys from our build was the associated cost savings. It also meant our airtightness strategy, and installation, was a bit more straightforward.
We’re particularly pleased with the 2m overhang at the front of the barn in this regard. It’s designed to allow solar gain (heat) in the winter when the sun is low, but creating shade in the summer when the sun is at its highest. After going through a summer and a winter now we can confirm that this works really well.

What did you do for ventilation?
With a relatively airtight build we needed a system that would bring in fresh air without cooling down the house. When specifying our first self-build we chose a positive input ventilation unit, which sent a low pressure feed from a vent in our hall ceiling, driving moist air out of the house and doing away with the requirement for trickle vents on all our windows and extractor fans in the wet rooms. Although it worked well, the downside was that as it pushed out our warm heated air, it drew in cold air from outside to replace it.
This time around we felt that it would be more efficient and effective to go with mechanical ventilation with heat recovery. Early planning is beneficial here, so we made sure the architect, and builder knew what MVHR system we were choosing. There were a couple of issues around routing the ducting, but we got there in the end.
We have two manifolds, one for supply and one for extract. The ducting is 92mm semi rigid plastic which runs to each individual room. Having a single run to each room back to the manifold means that the system is very easy to balance, especially when compared to a traditional teed off system which is one long run of ducting connecting all of the rooms.
Follow Mark’s self-build project on Instagram where he is posting updates on the finishing touches, heat pump running costs and other tech too: @AutomatedHome
Tips
Stick to your guns. There are always a hundred reasons not to do something special in your new build. Cost, difficulty finding the right people or sourcing the products. But if there’s something you really want to do, do not get talked out of it. We found that it’s the little details that cost little or nothing extra in the grand scheme of things, and these are what make all the difference when you are living in the house.
Go with your instincts. We really clicked with our architect, smart home installers, heat pump guys and kitchen designer. Those relationships are gold dust and can really help in maximising your vision. Spend the money on 3D renders too, especially for interiors, this helped us enormously.
Be prepared for a long haul. It’s probably going to take you several years from start to finish so you’ll need some staying power and a certain amount of blind optimism. Stay upbeat and enthusiastic, (you may need it just to get through the planning process!), and remember to have fun along the way where you can.
Visit as many exhibitions and showrooms as you can. Every time you are out at a bathroom, tile, kitchen, show house or self-build show you’ll pick up something new.
Consider putting the master bedroom on the ground floor. It is so convenient to have when it’s just the two of you in the house.

Spec
Floor: 50mm liquid cement screed, vapour barrier, 175mm phenolic board, radon membrane, concrete slab, hardcore, U-value 0.13W/sqmK
Walls: rendered finish, blockwork, 150mm cavity fully pumped with graphite coated EPS beads, blockwork, plaster finish. U-value 0.2W/sqmK
Single storey roof: fibre cement slates, 200mm deep rafters with 150mm mineral quilt slab insulation between, 50mm PIR to underside, vapour/airtightness membrane, service void in timber battens, 12.5mm foilbacked plasterboard, U-value 0.11W/sqmK
Flat roof: single ply membrane, 140mm phenolic board insulation, flat roof joists, vapour/airtightness membrane, service void in timber battens, 12.5mm plasterboard. U-value 0.14W/sqmK.
Two storey roof: fibre cement slates, 150mm deep rafters with 100mm PIR insulation between, 50mm PIR to underside, vapour/airtightness membrane, service void in timber battens, 12.5mm foilbacked plasterboard. U-value 0.15W/sqmK
Glazing: A-rated frames with 28mm A-rated double glazing, U-value 1.4W/sqmK, double glazed sliding doors, U-value 1.1W/sqmK
Airtightness test: 1.94 m3/(h.sqm) @50Pa


