In this article we cover:
- How they tackled the renovation: reconfiguring the space they already had instead of extending
- How they approached the project: the professionals they enlisted
- Relationship with Building Control
- How they subsumed the garage into a brand new open plan living space
- How they reorganised the upstairs bedrooms and bathrooms
- Rebuilding the staircase and adding storage
- Thrifty kitchen design tips
- Choosing finishes and sanitaryware
- Budget friendly upgrades to the windows and external finishes, without replacing them
- Timeline and professional photographs
Overview
Bedrooms: 4
Renovation cost: £65k
Heating system: gas boiler
Ventilation: natural
The story starts with Catherine, who was pregnant at the time, Michael and their one-year-old son moving in with Catherine’s parents to see out the completion time on their new ‘sale agreed’ home. They had just sold their house and were awaiting their new set of keys. However, those plans ended in tatters when the sale fell through. “Instead of the anticipated six week stay, we ended up living with mum and dad for two years,” says Catherine.
The Southalls faced a predicament in finding a suitable replacement home. “We were adamant that we wanted to stay in this location. We both grew up here. My parents are just a 10 minute walk away, as is Ballyholme Beach. The problem was the lack of properties on the market up for sale within our budget.”
Buying a fixer upper
“We never envisaged buying a fixer upper,” admits Michael. “We had no experience of carrying out home improvements, we just wanted something we could walk into. But, if we wanted to buy in this location, we knew we had to think beyond that.”
“We finally found this house and could see the potential to modernise it and create an open plan space to live in. It had a massive garden, which was a great appeal as we now had two young boys. There were four double bedrooms of decent size and a single bedroom, two reception rooms. There was more than enough space for us.”
Fortunately, Michael’s membership in a business networking group meant that he had formed strong connections with various construction professionals over the years. Experts that they leaned on when making the final decision to buy a renovation project.
“We wouldn’t have had the confidence to do this if it wasn’t for them,” he says. First to be called on was architect Jim Neil. “Jim came out with us to view the property before we bought it. We talked to him about our ideas for the house, and he gave us plenty of reassurance that they would be possible.”
The builder in the group, Stephen Hall, owner of a construction firm, was next to give his opinion. “Again, Stevie reassured us that it was a good house. We talked about the potential to create a large, open plan living space by removing the load bearing gable wall and opening into the garage and also removing the living room wall. We would also need to rewire the house.”
“Restructuring the area within the existing footprint of the property meant we didn’t need to extend to gain extra space, so we could avoid the need to apply and wait for planning permission. We wanted to have the house ready to move into as soon as possible.”
“Removing the walls meant we needed to put in steel supports. A friend of mine, Chris Irvine, owns an engineering firm nearby and he helped with sourcing the steels. He worked with the structural engineer to ensure they met building regulations and that they would be capable of holding the load once the walls were removed.”
“A Building Control officer visited at various times during the renovation process to check everything was done correctly.”
Space maker
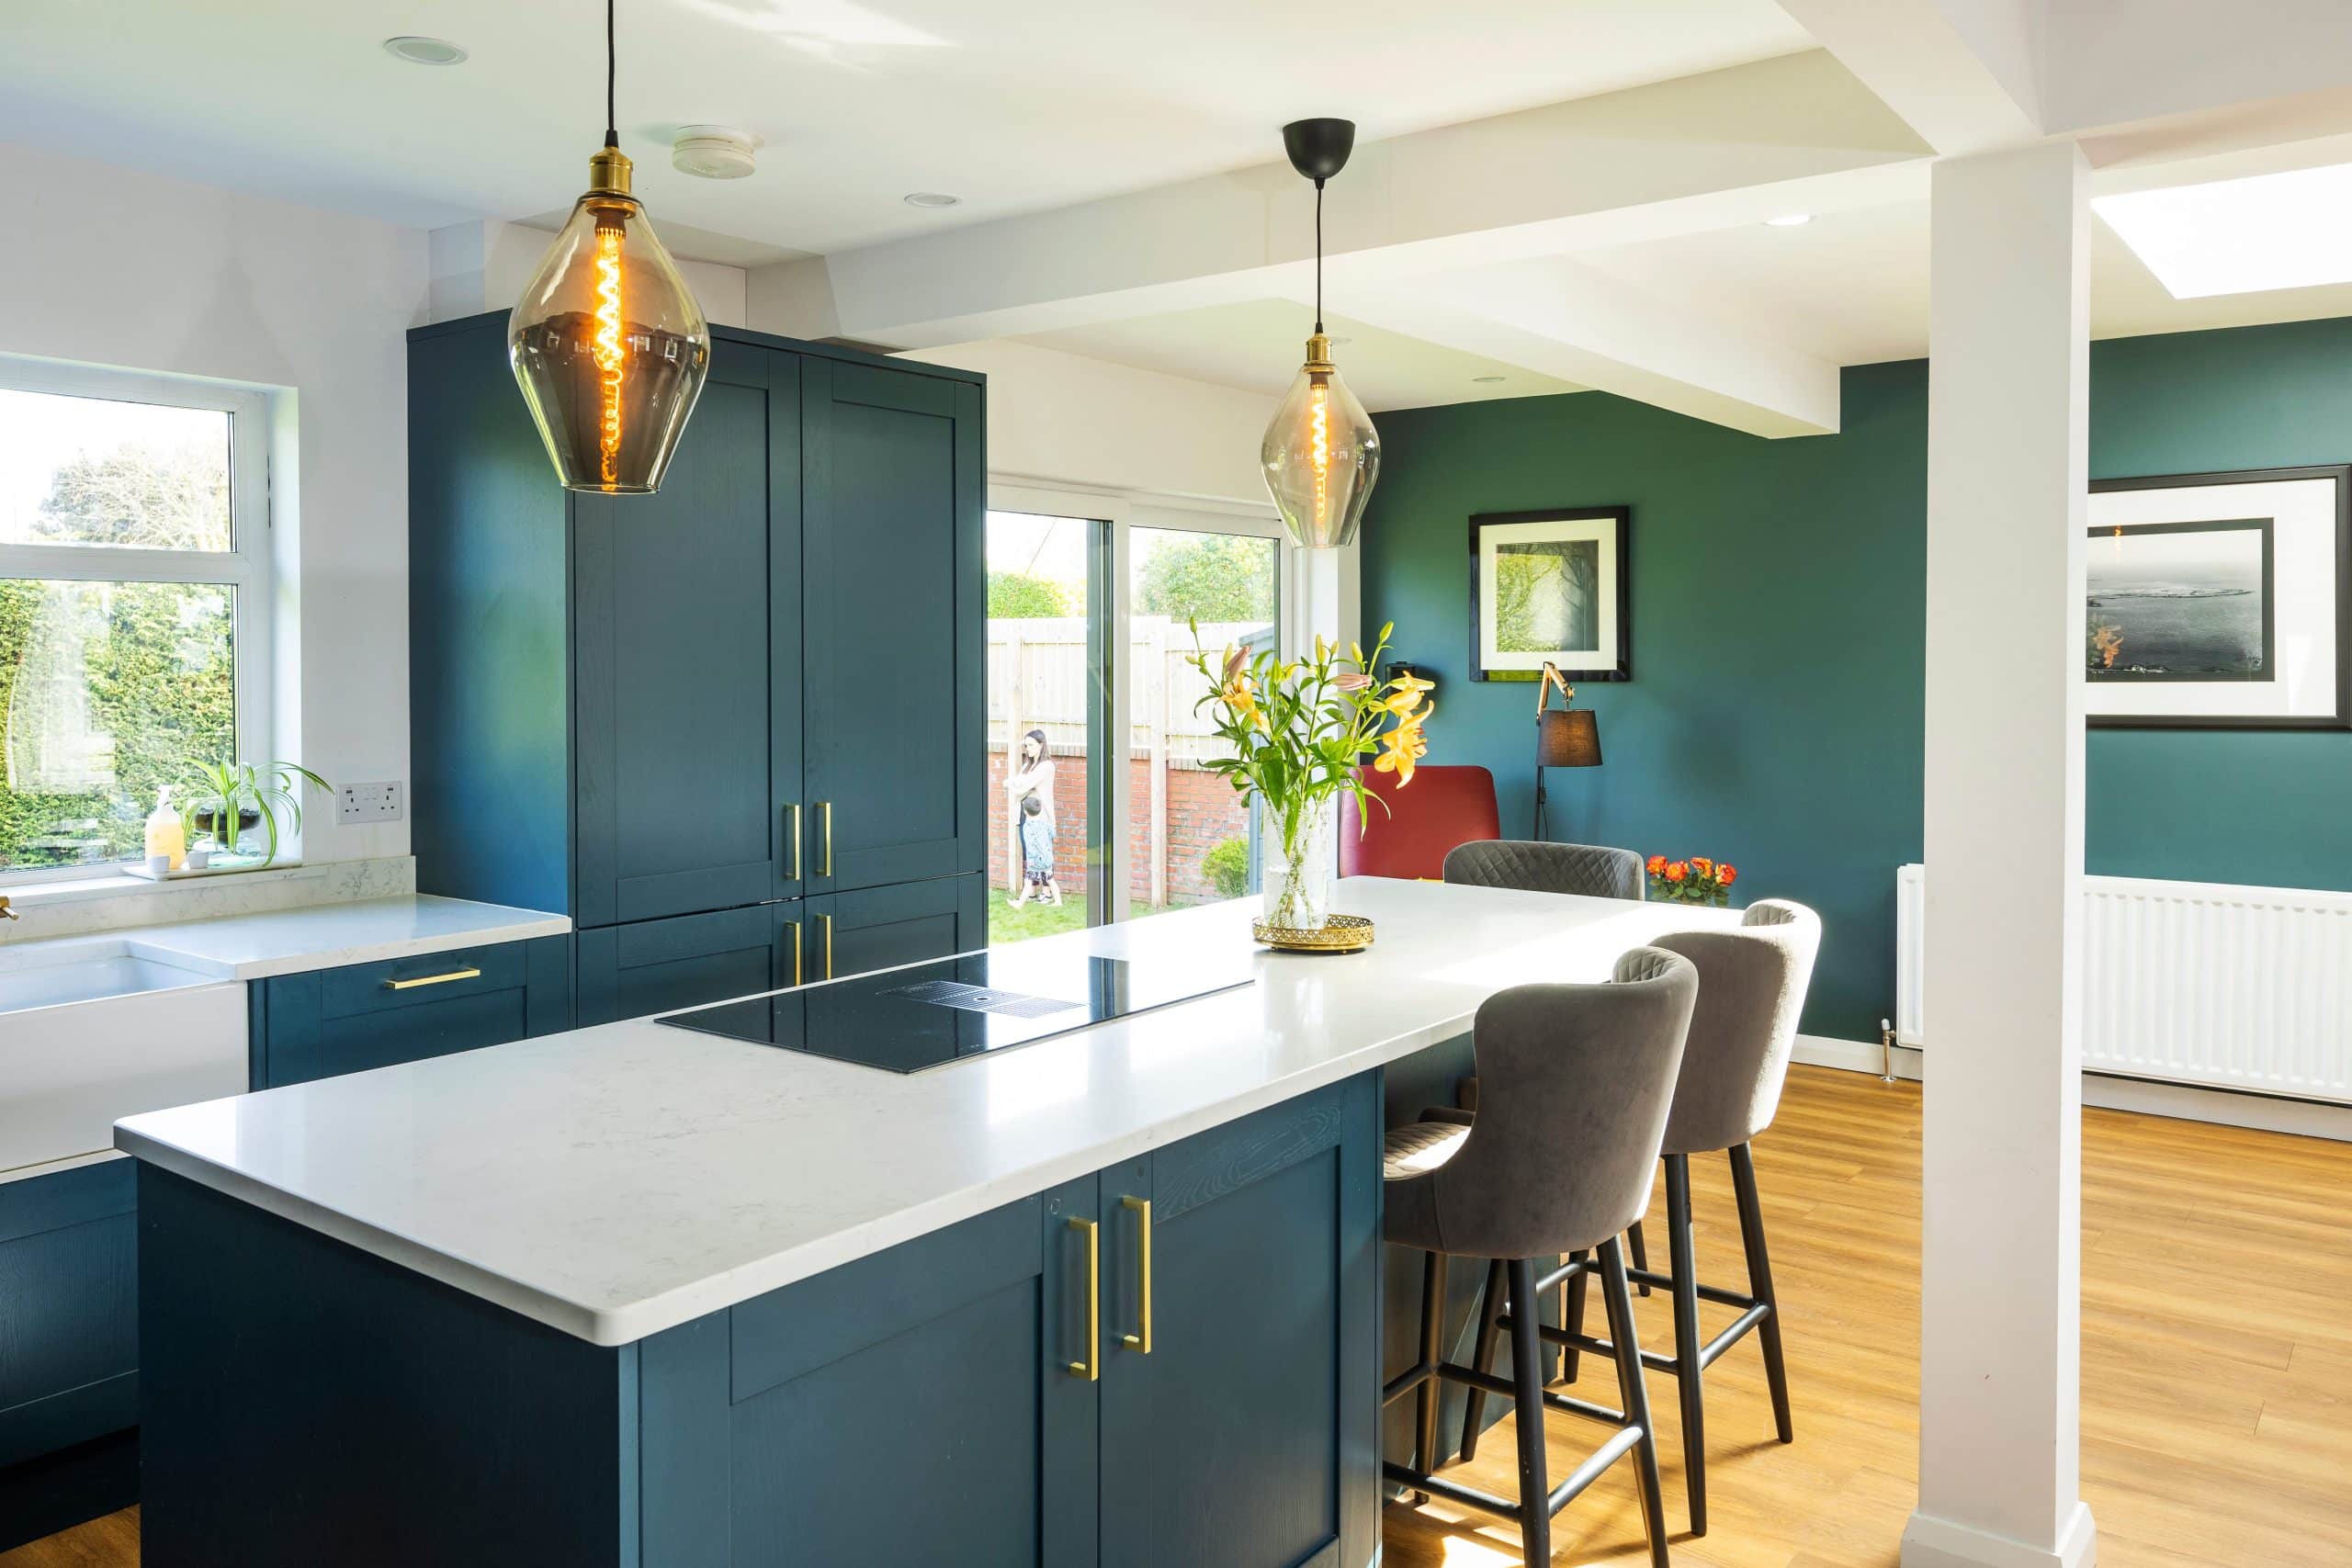
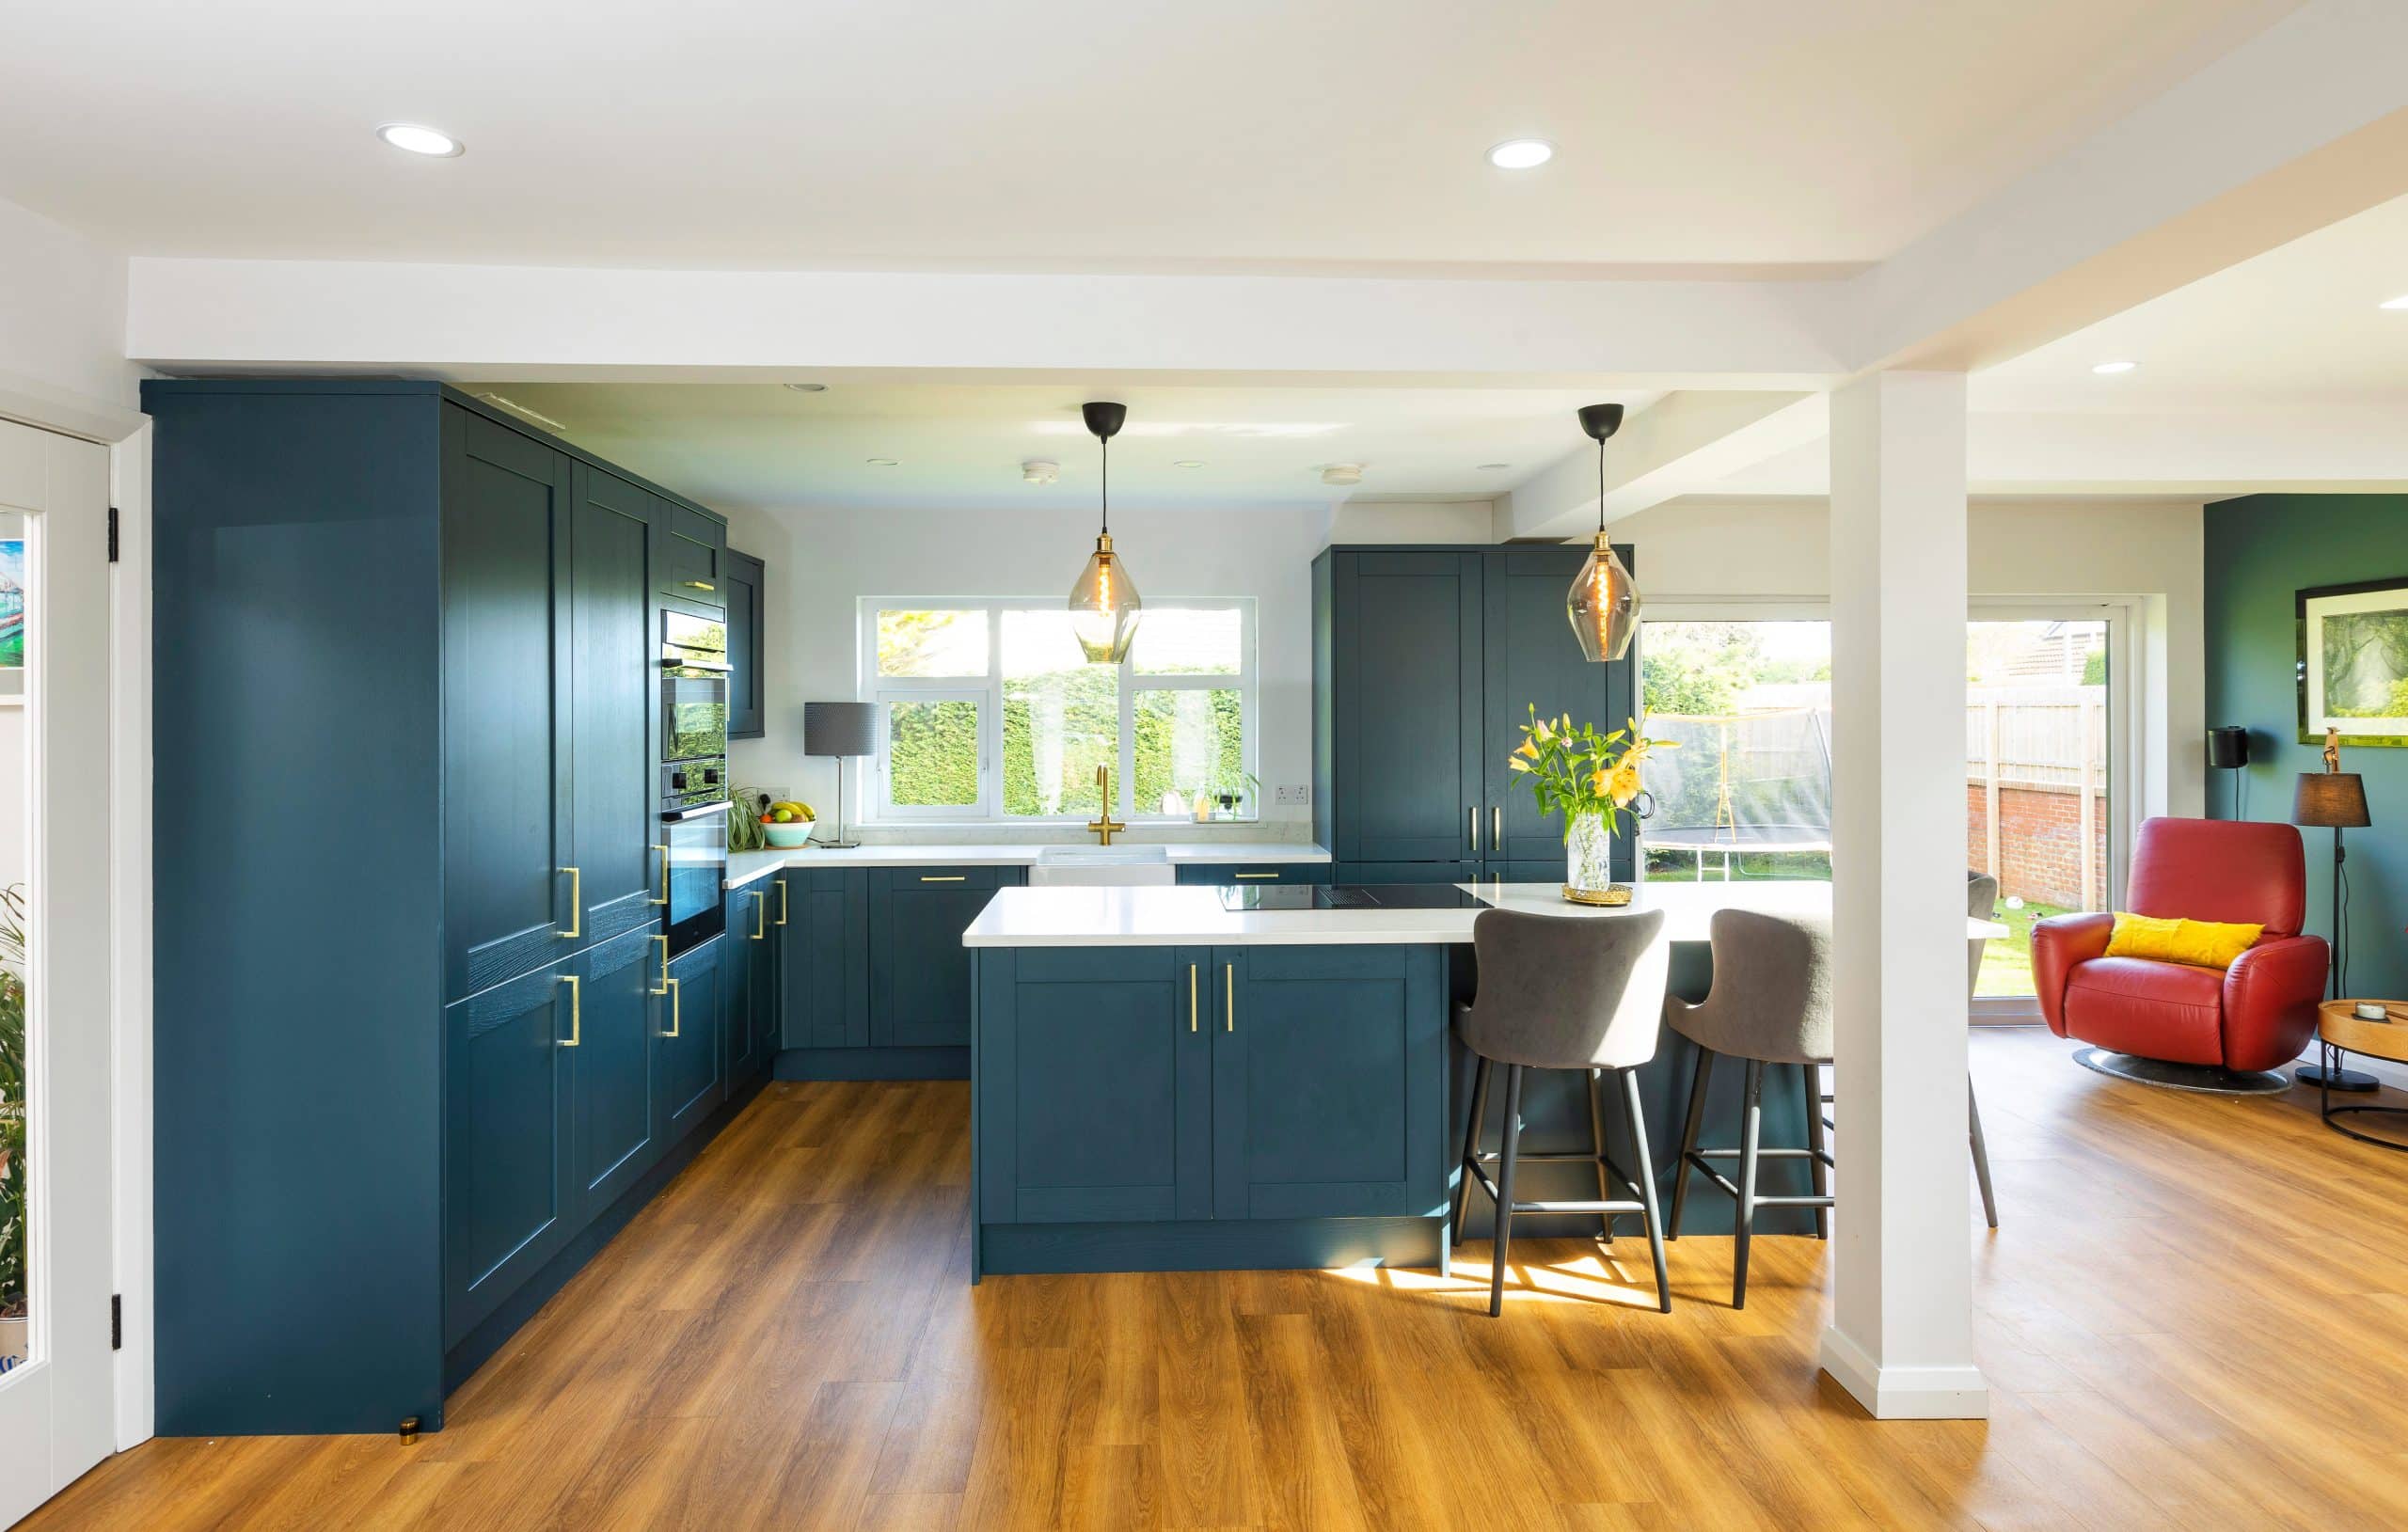
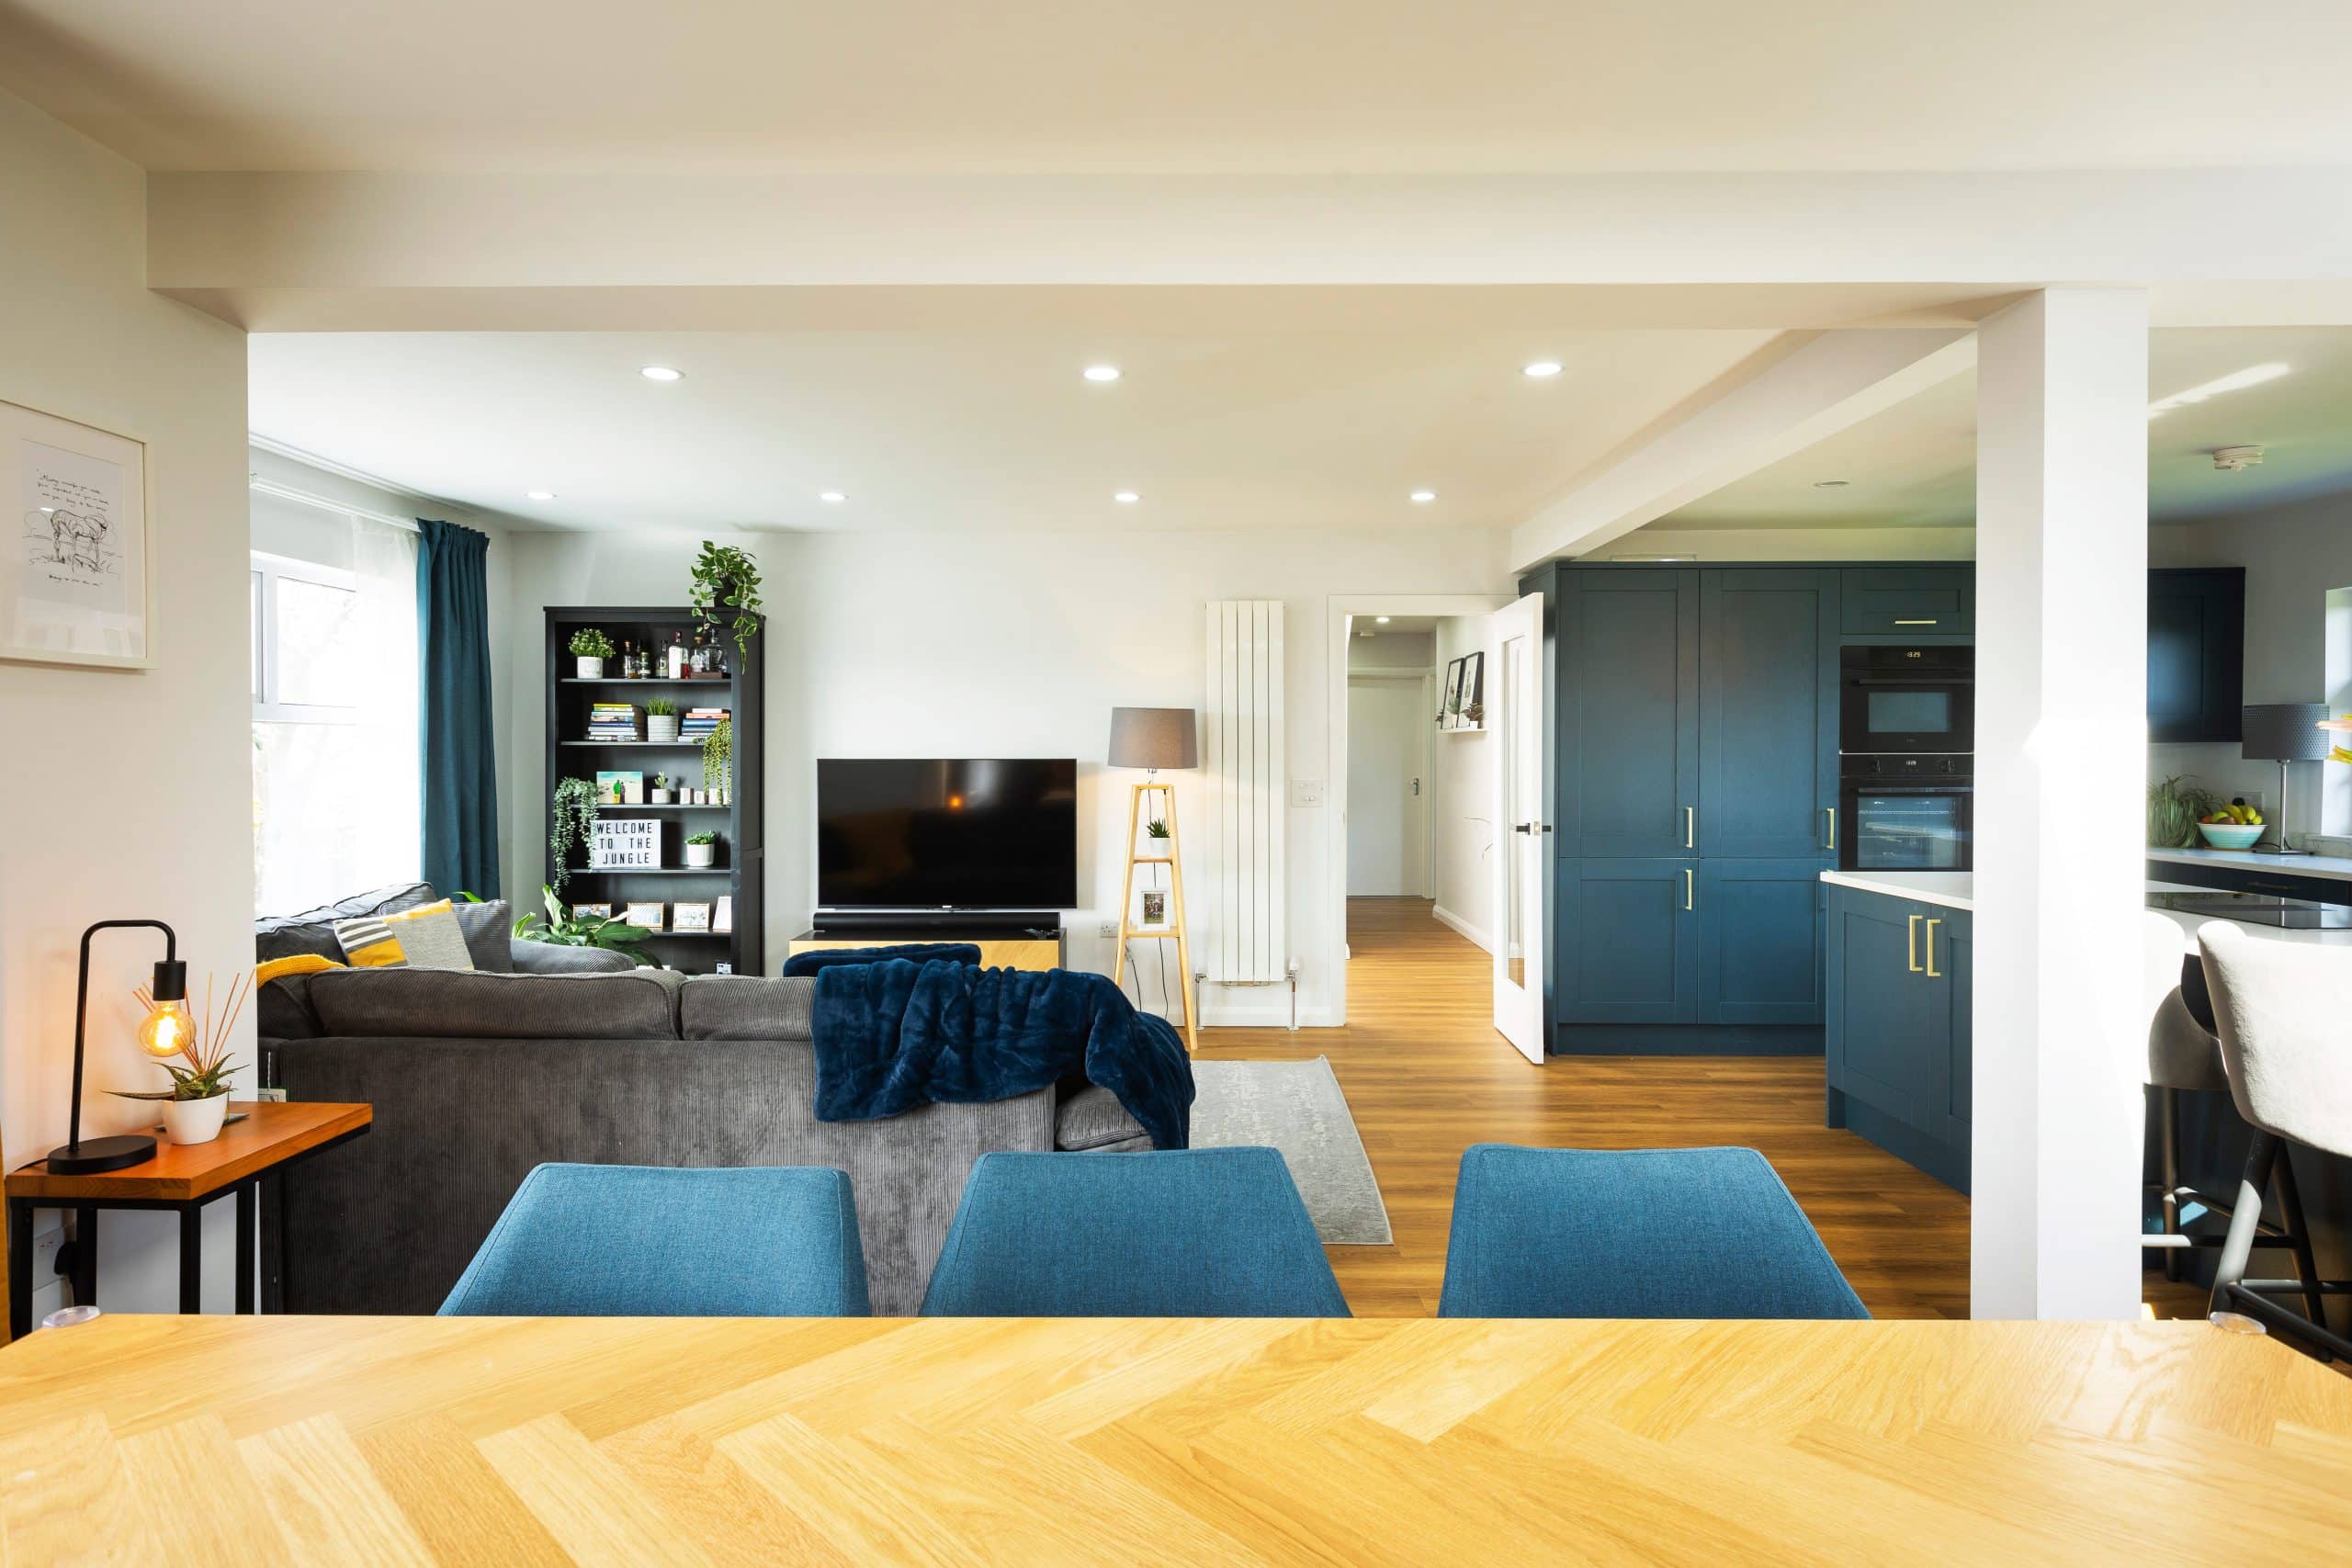
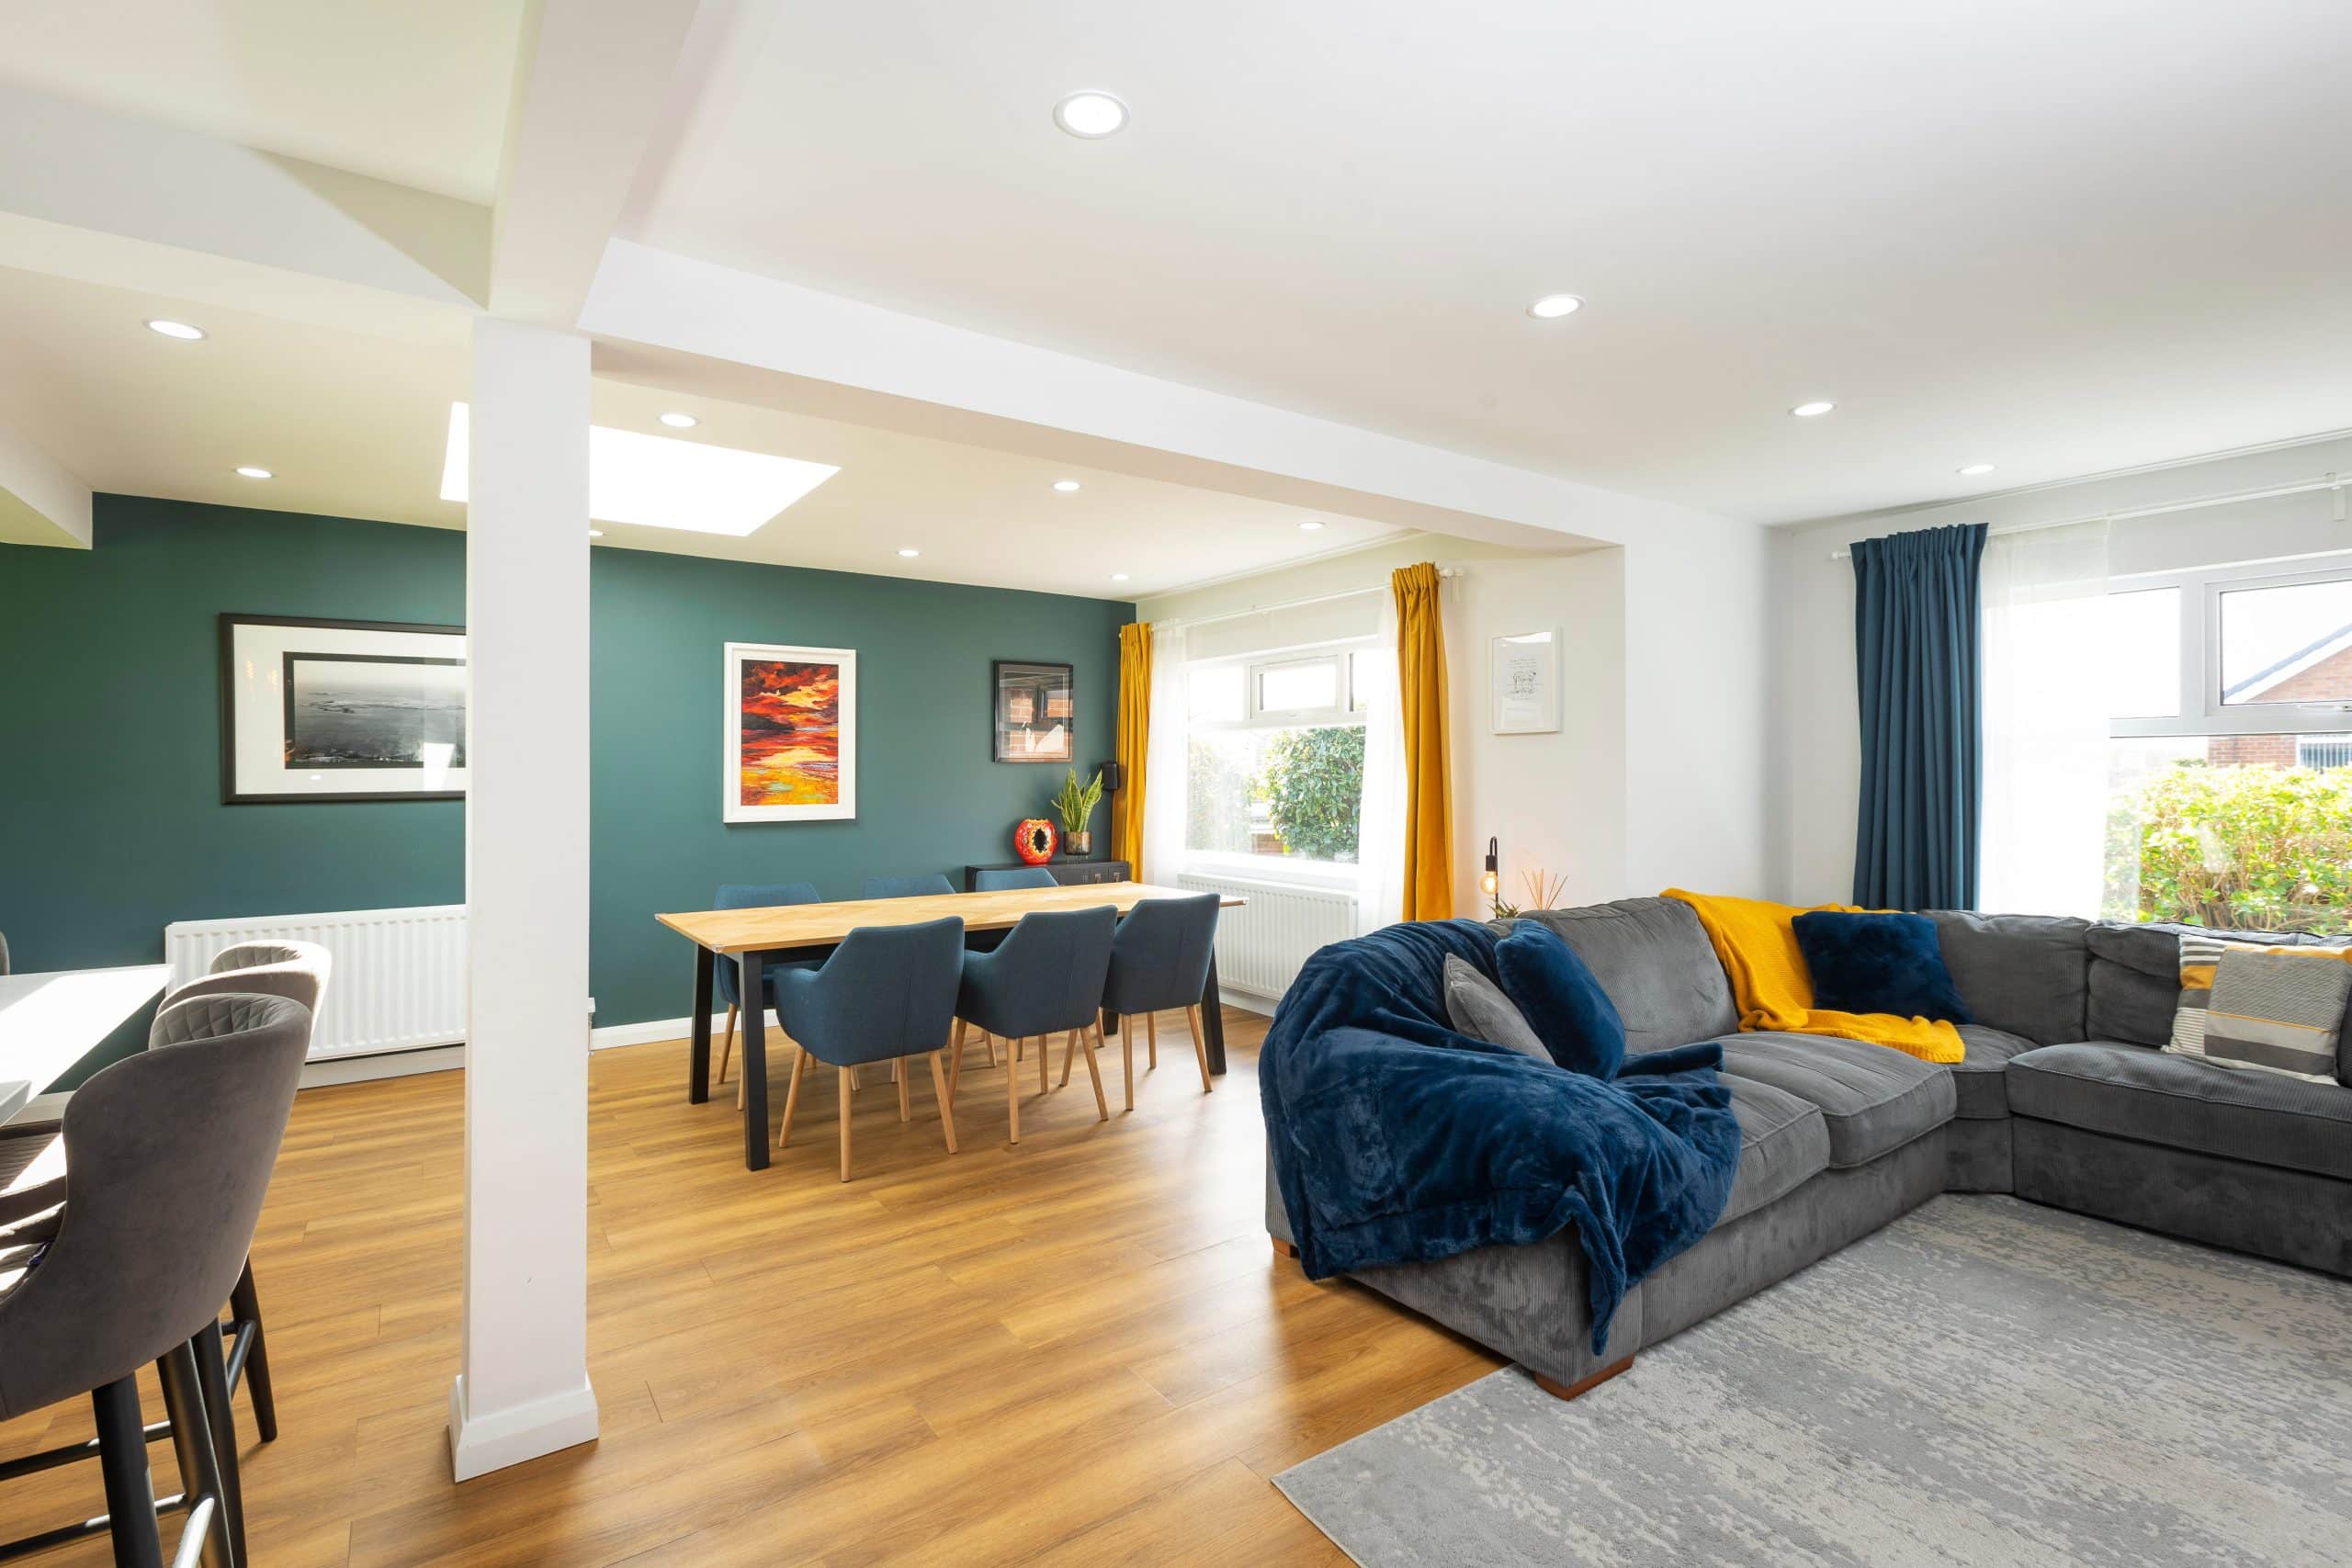
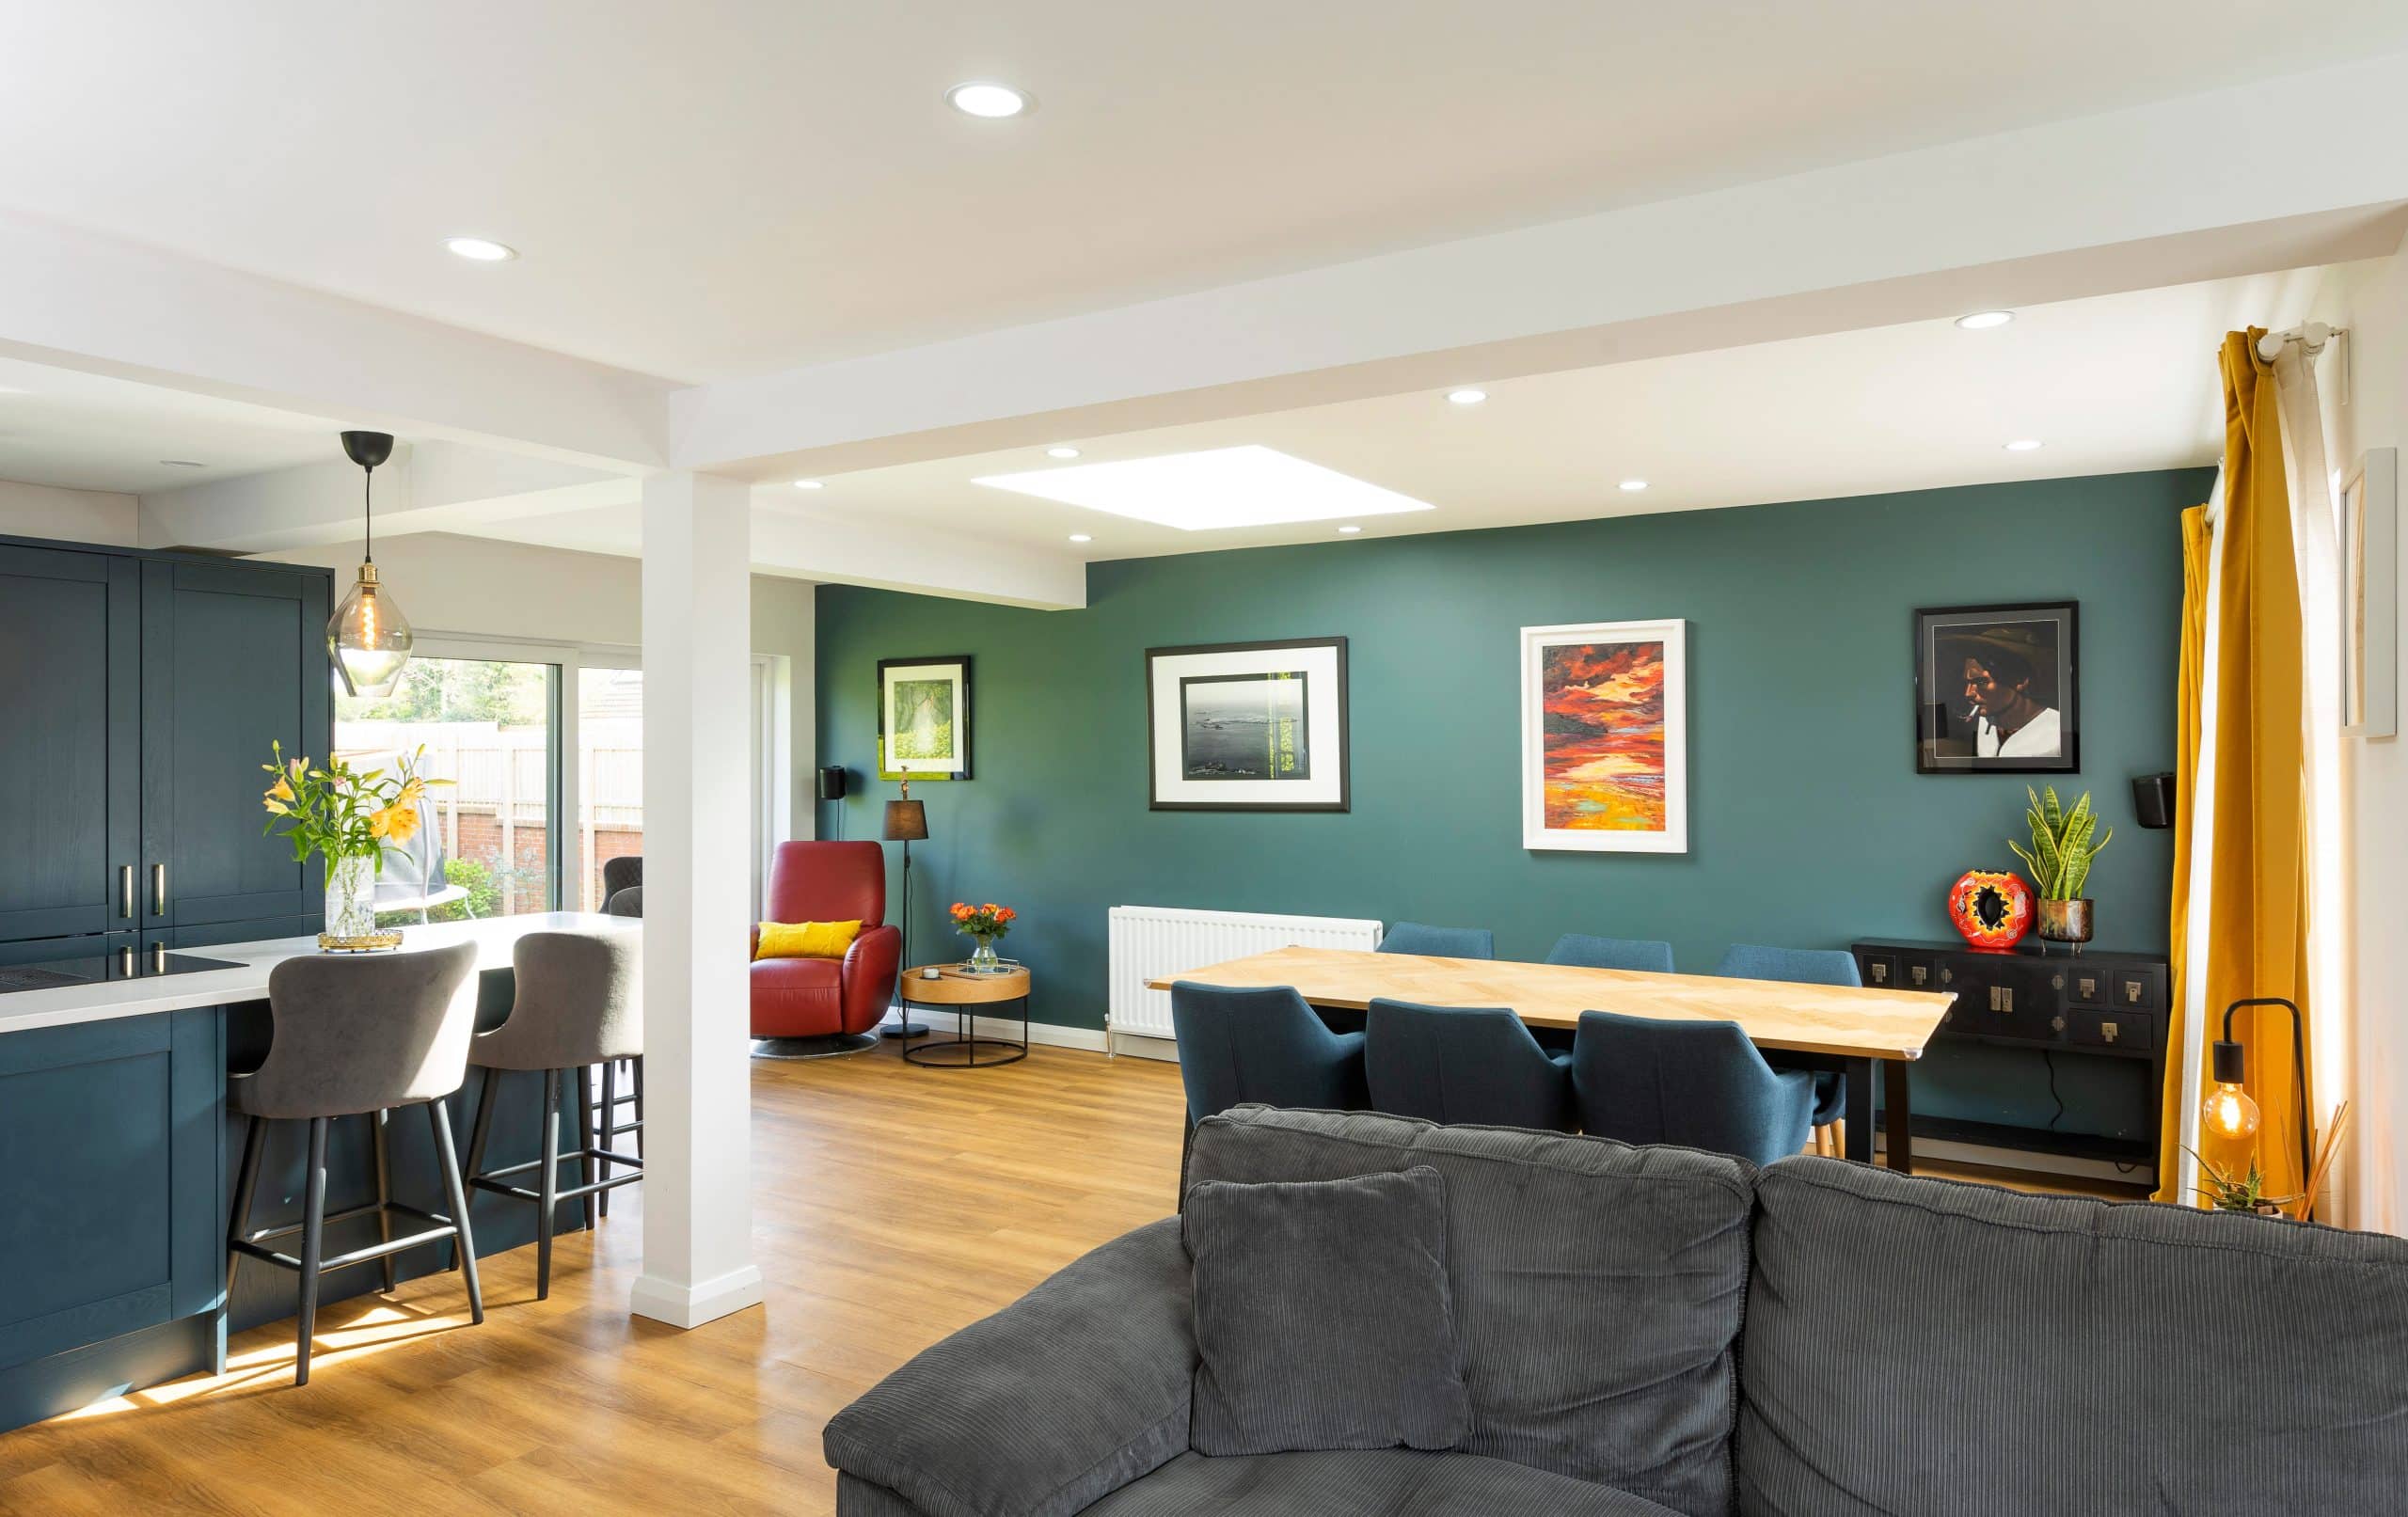
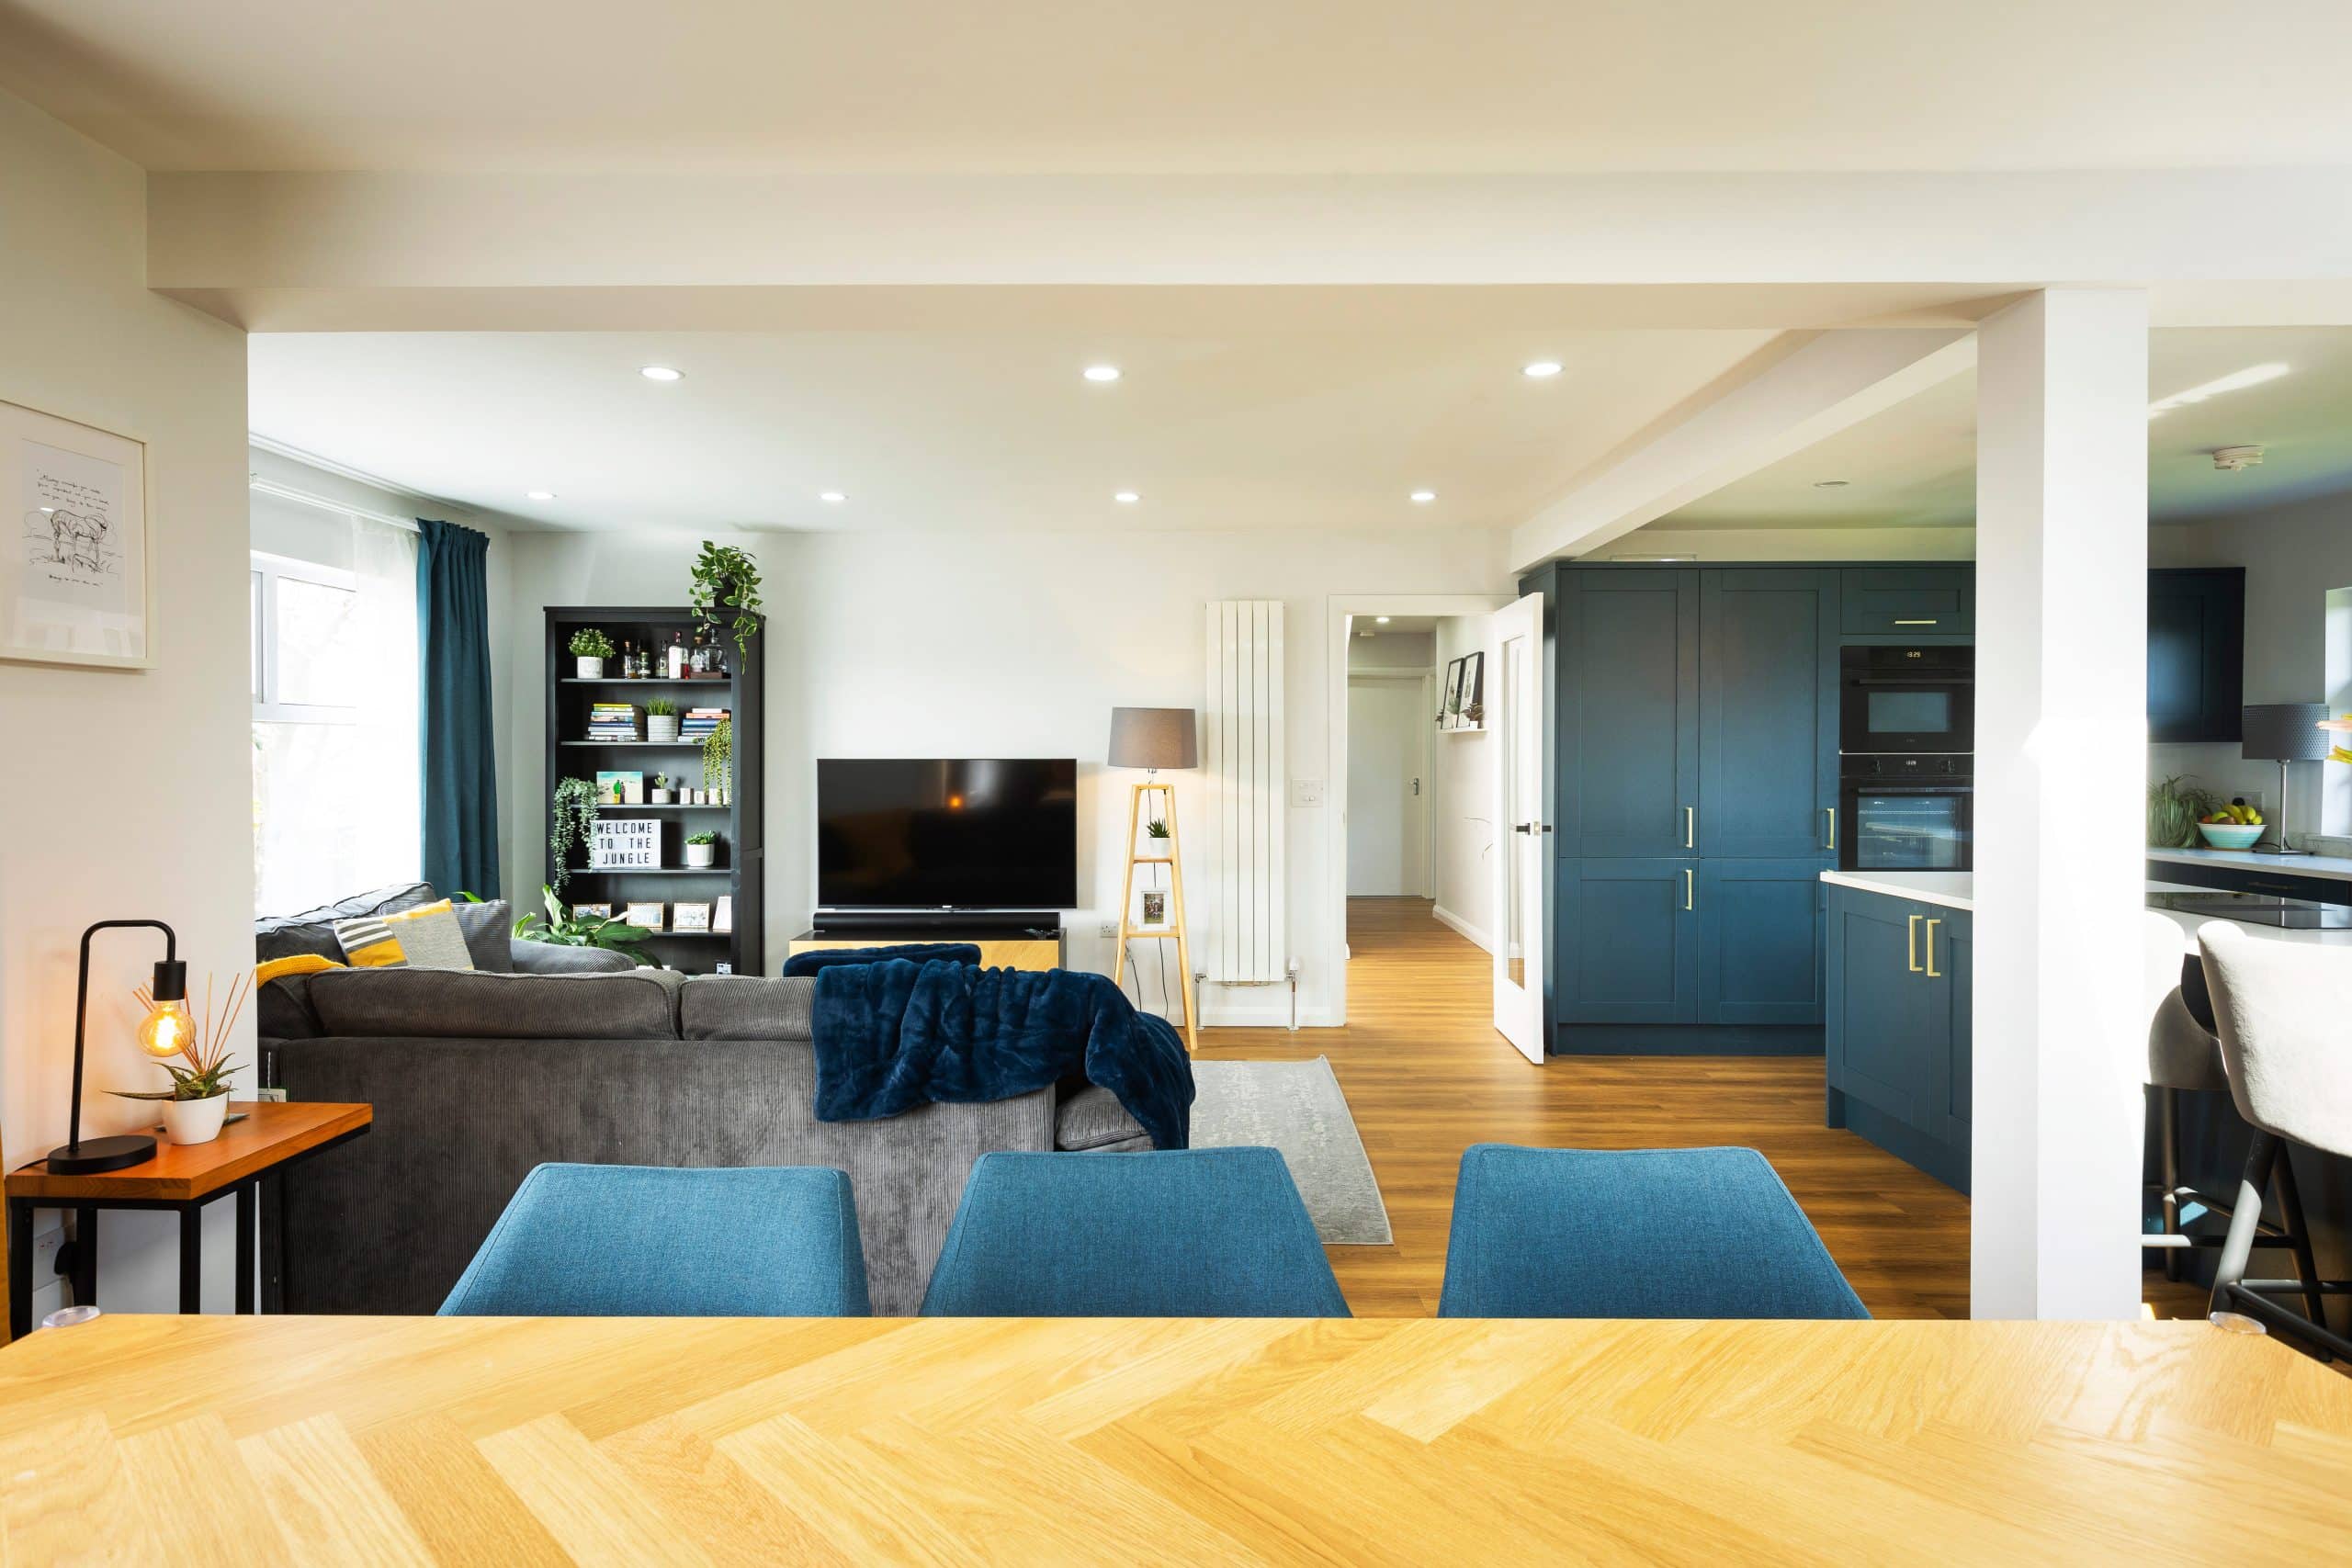
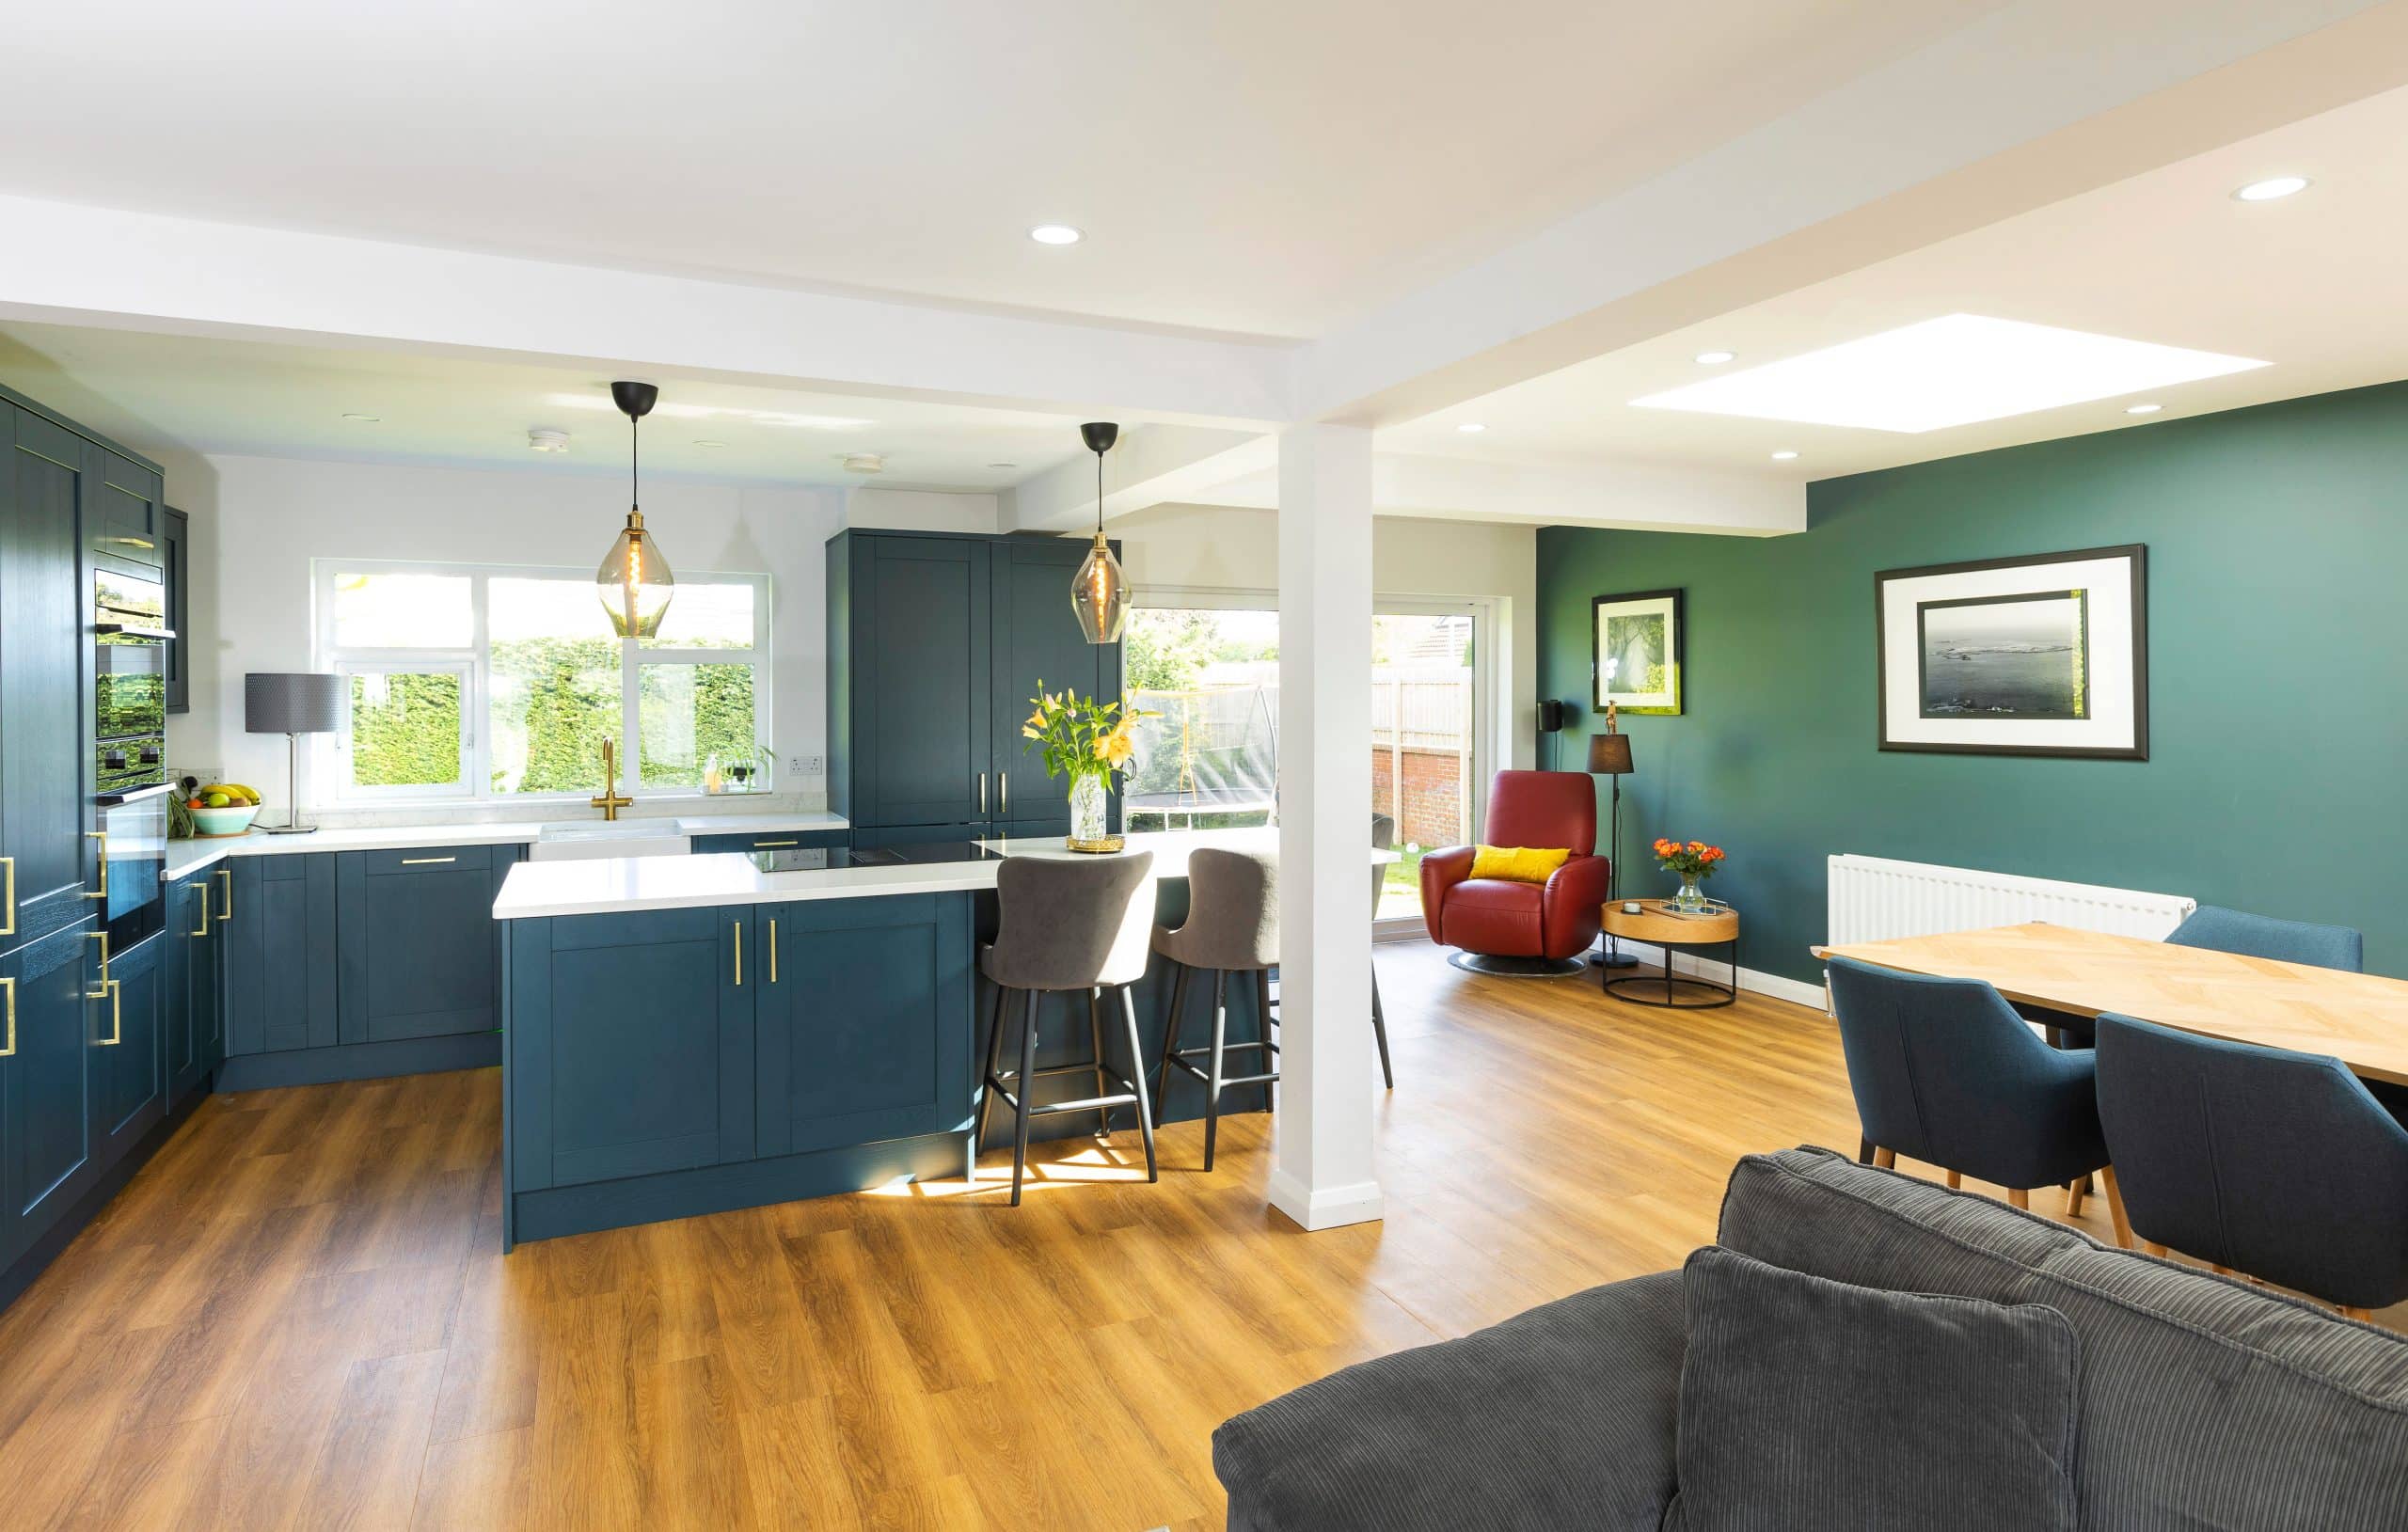
“We opened up the garage, living room, kitchen and old boiler house into one square space,” says Catherine. “To do that we had four large steel beams put in, plus a column to support the beams due to the long span. There were lots of discussions around the design of the kitchen island and whether to incorporate the column into it, or not. We decided to keep it separate, and now that it’s here, we don’t notice it.”
“Because the previous kitchen and living room were separate, we were left with two doors going into the new open space when we only needed one. So, we closed up one of the door openings, which in turn gave us more space for kitchen units. It also meant that we clawed space back from the hallway, and by removing the now redundant hot press we were able to make the downstairs bathroom a third bigger. It’s now a proper family sized bathroom with a double walk in shower and separate bath.”
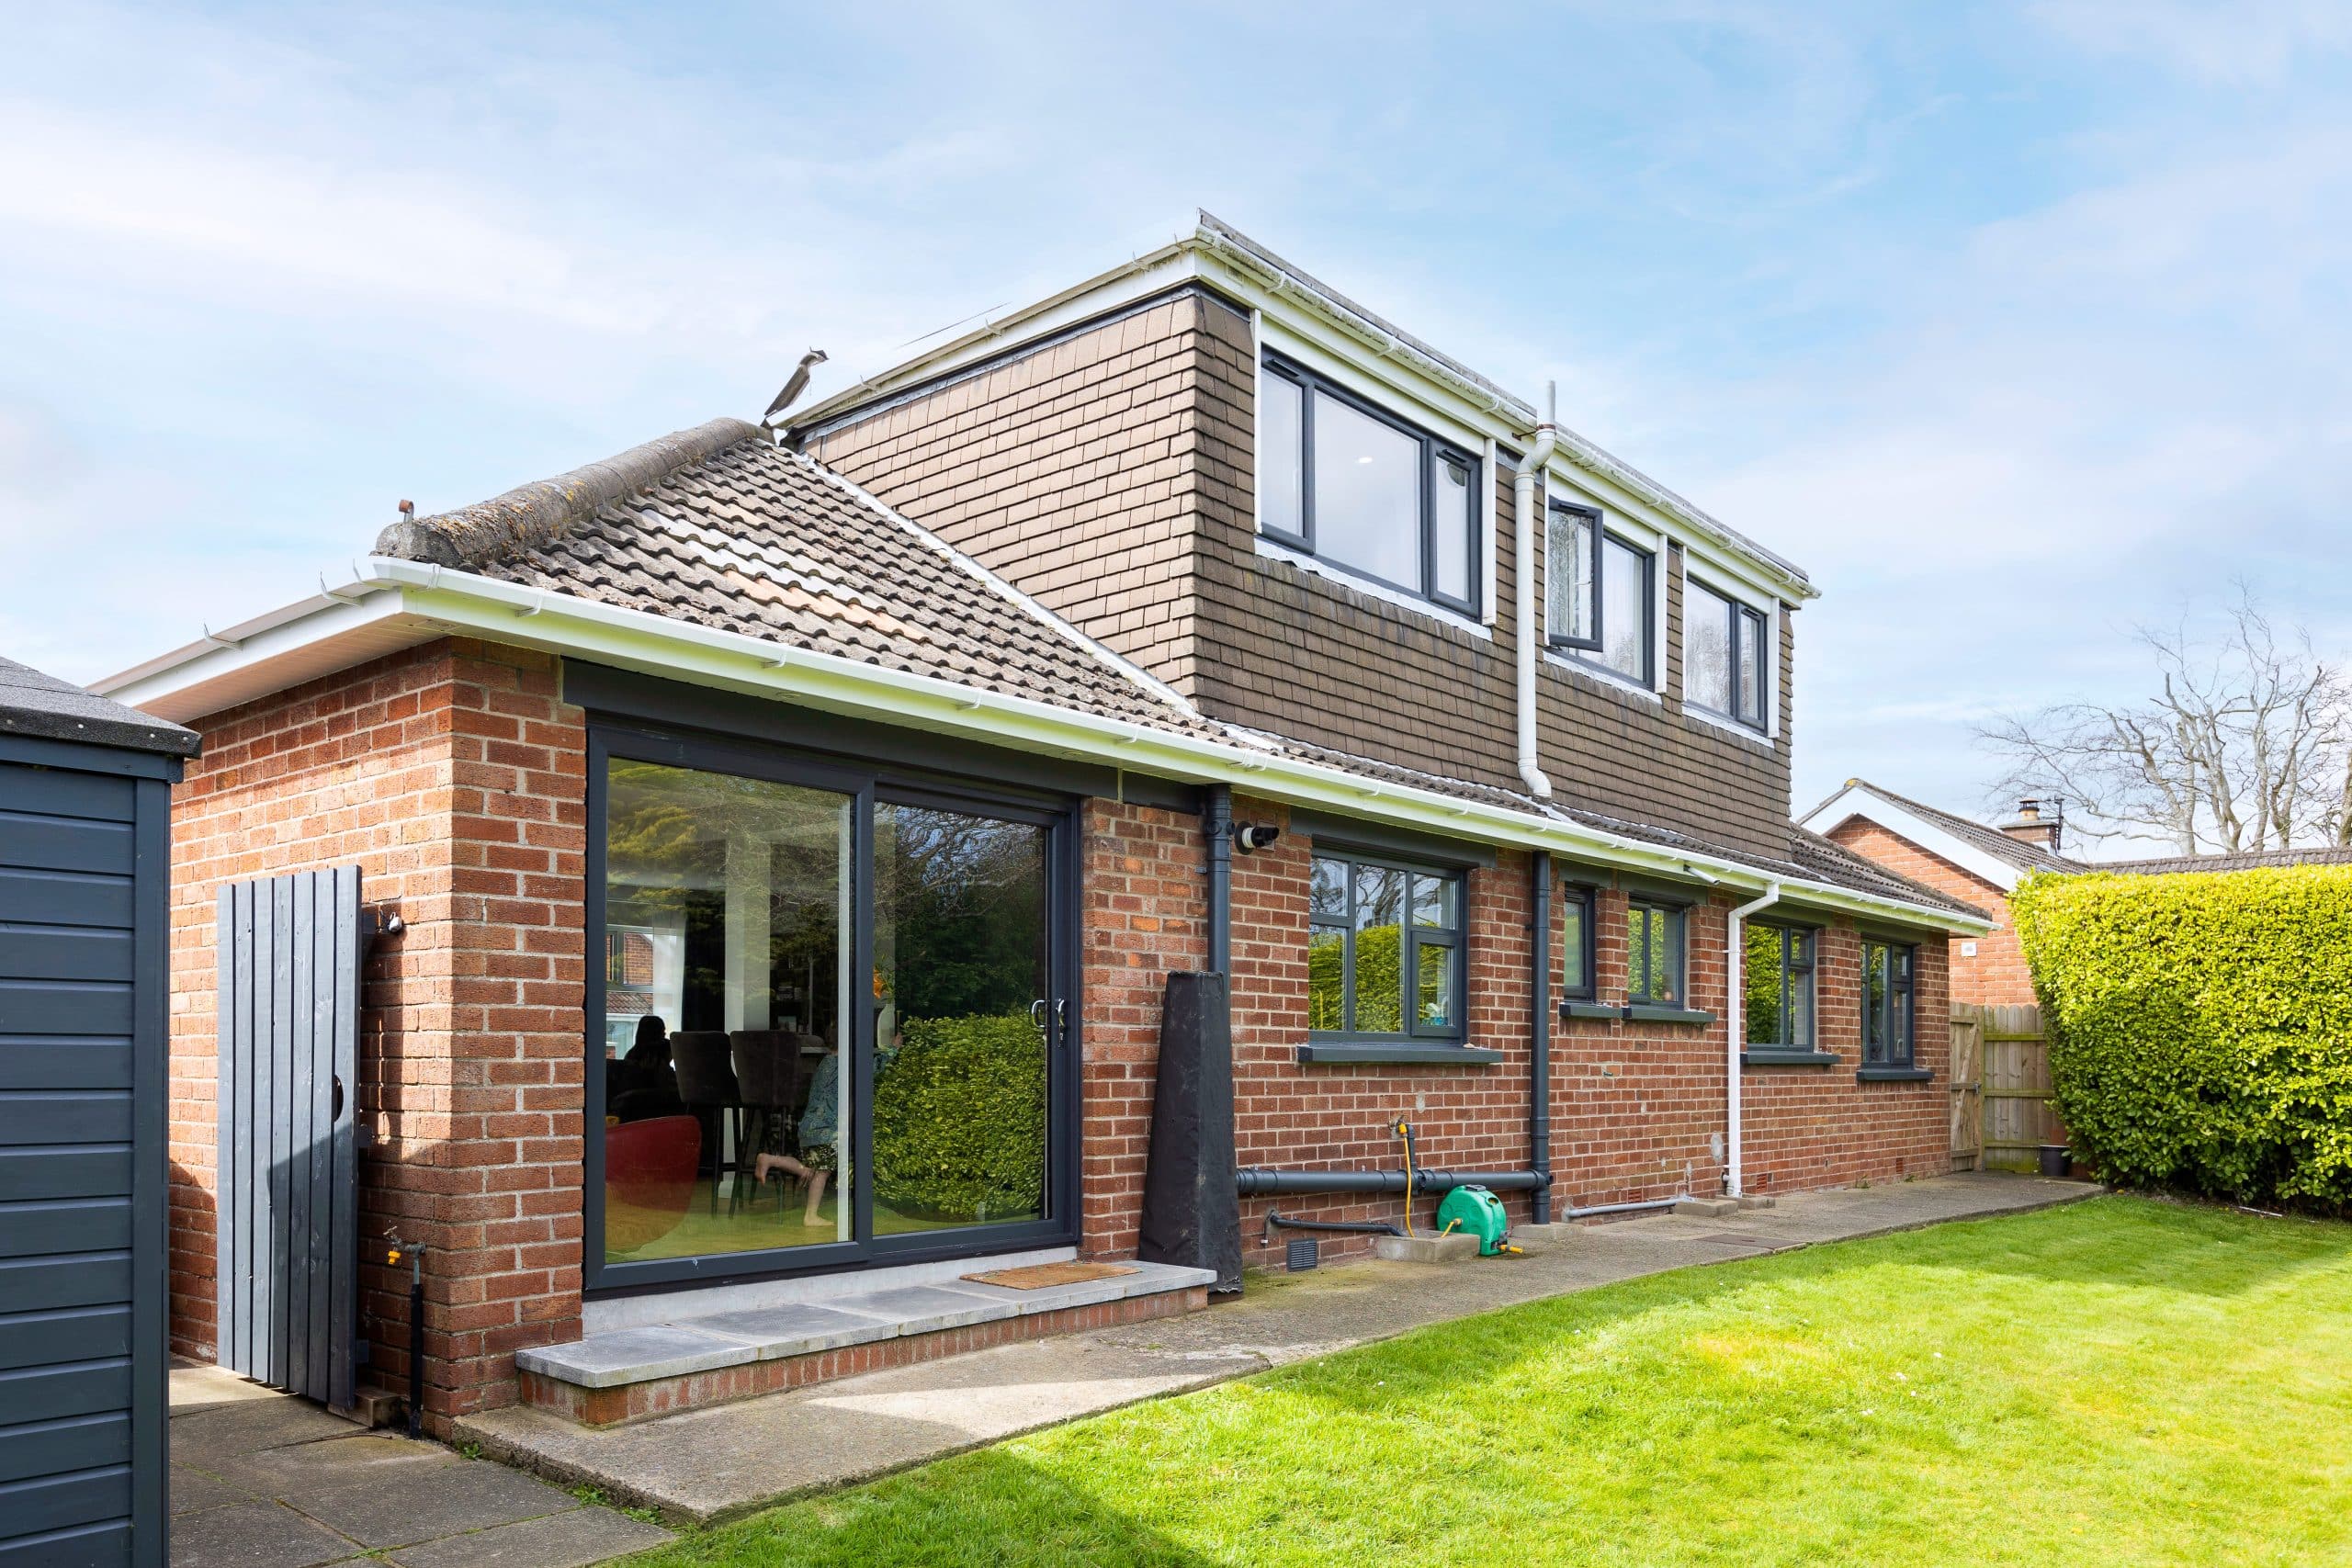
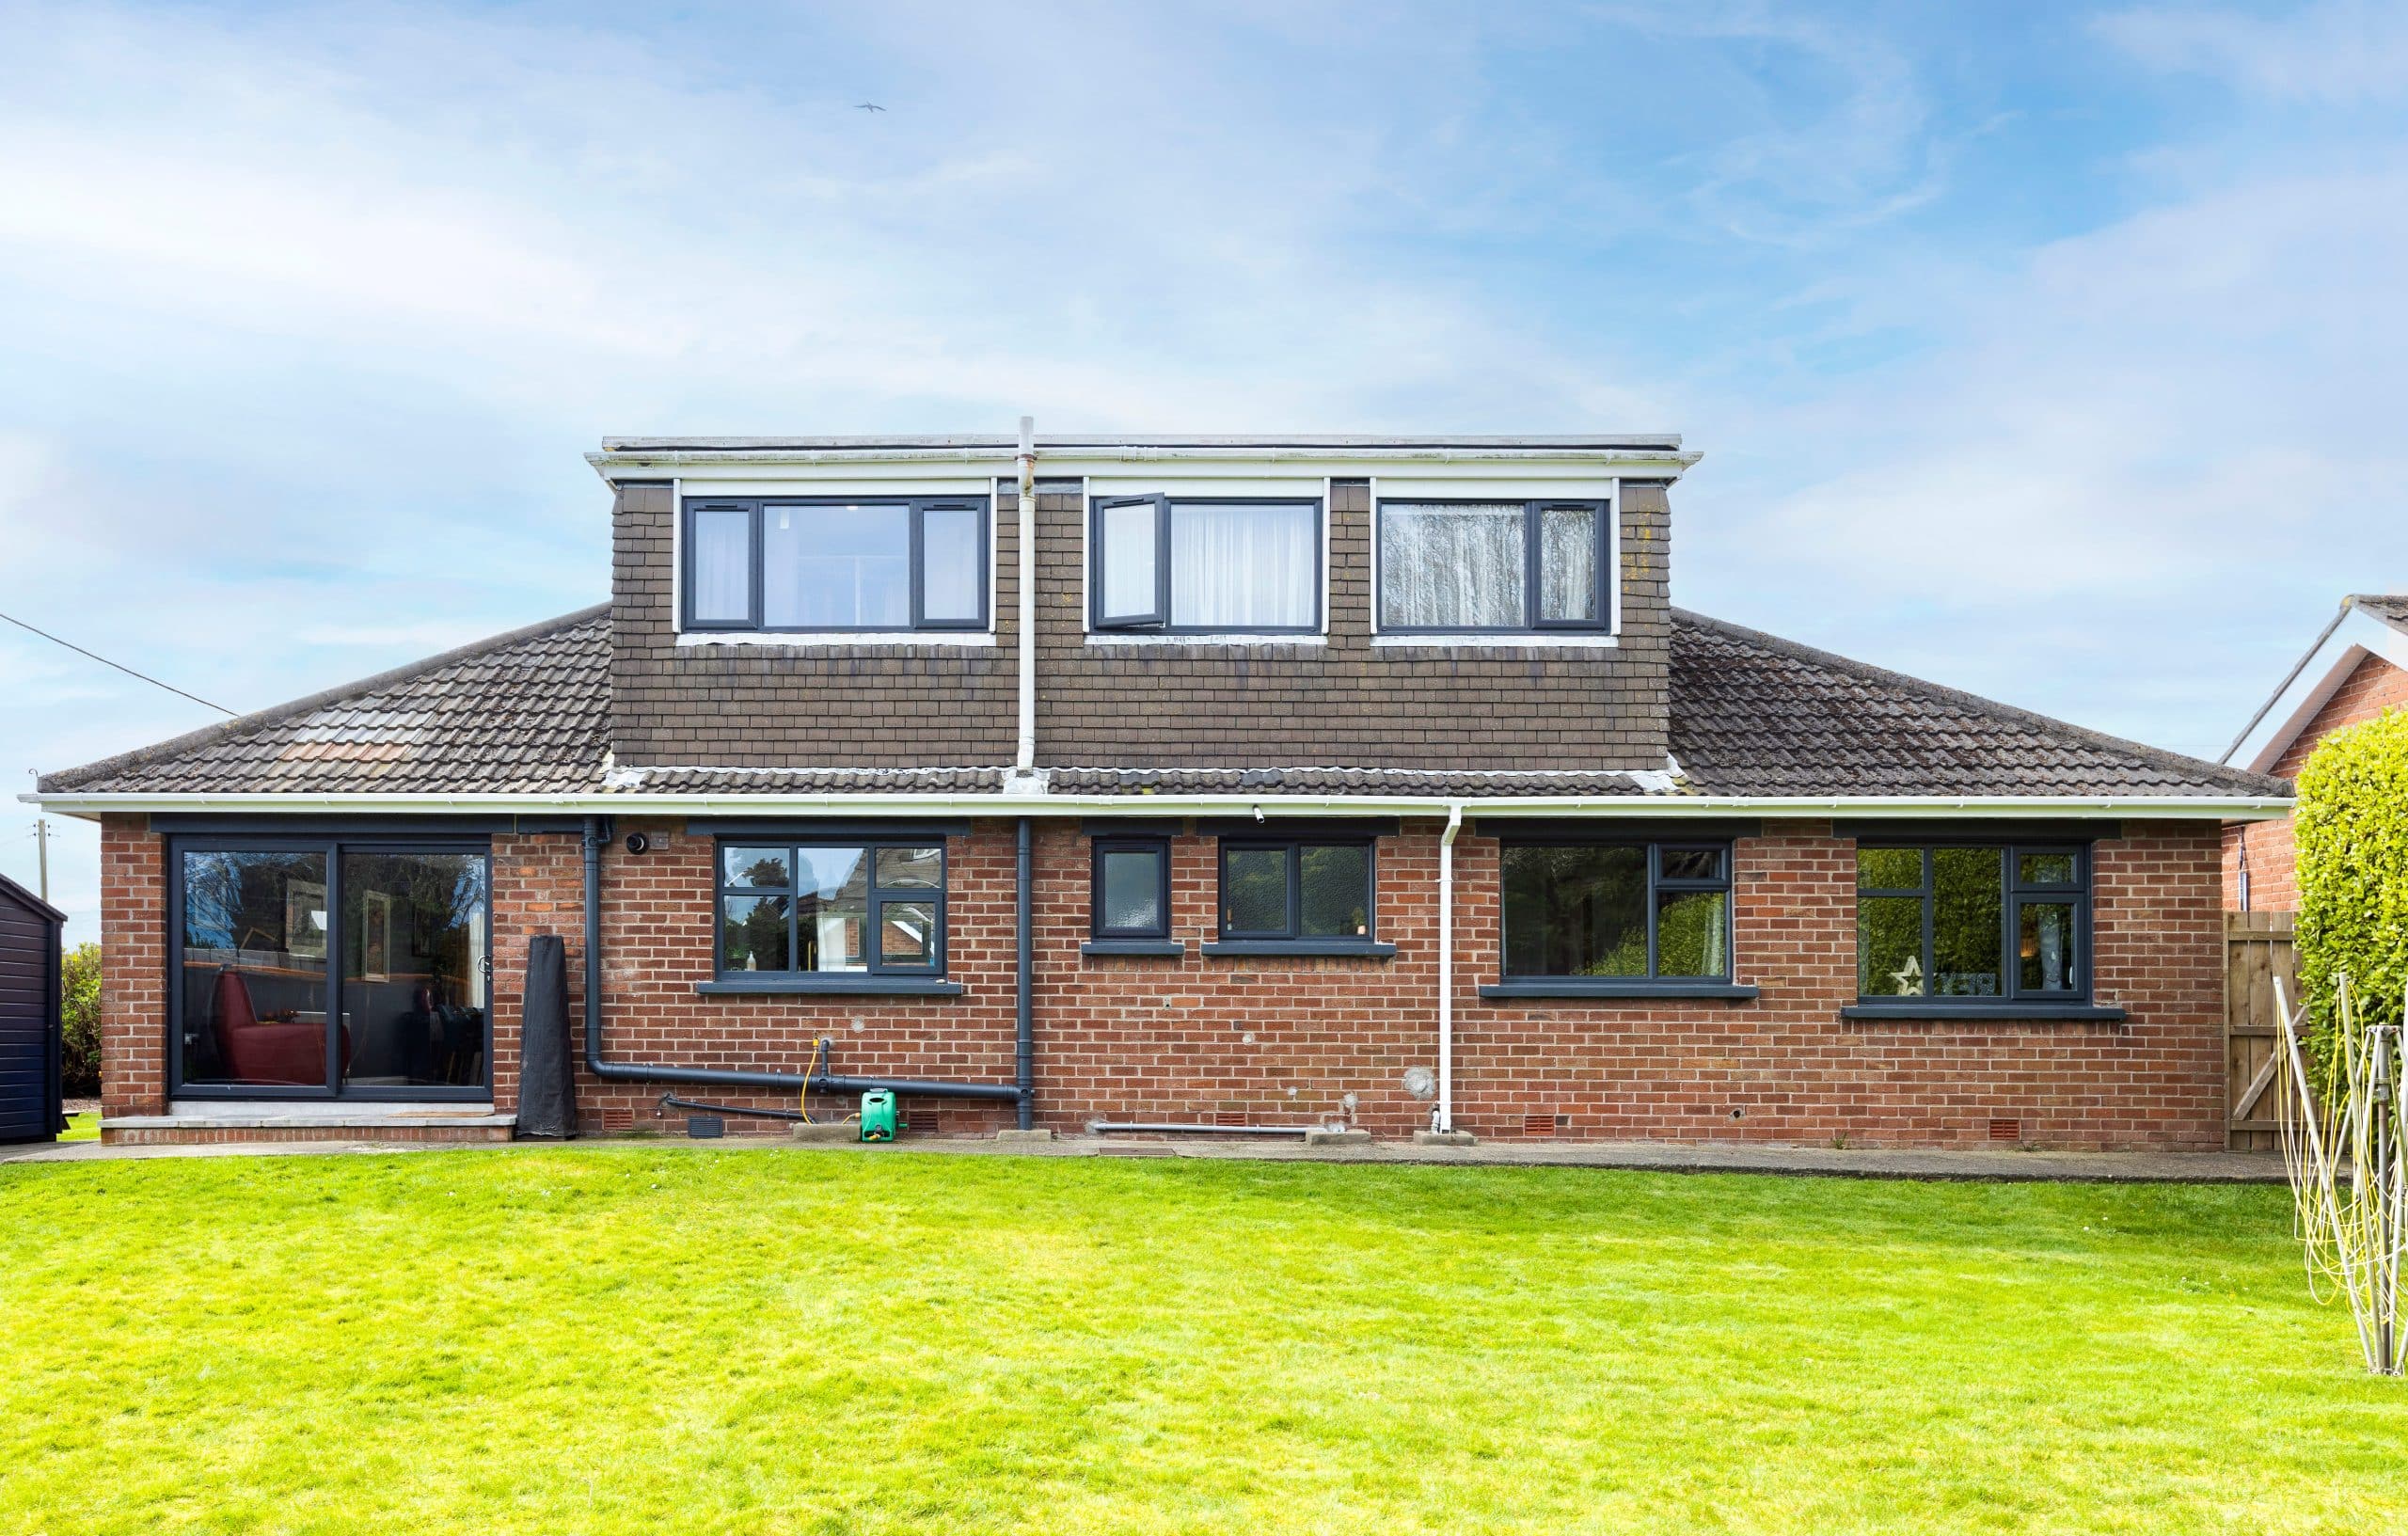
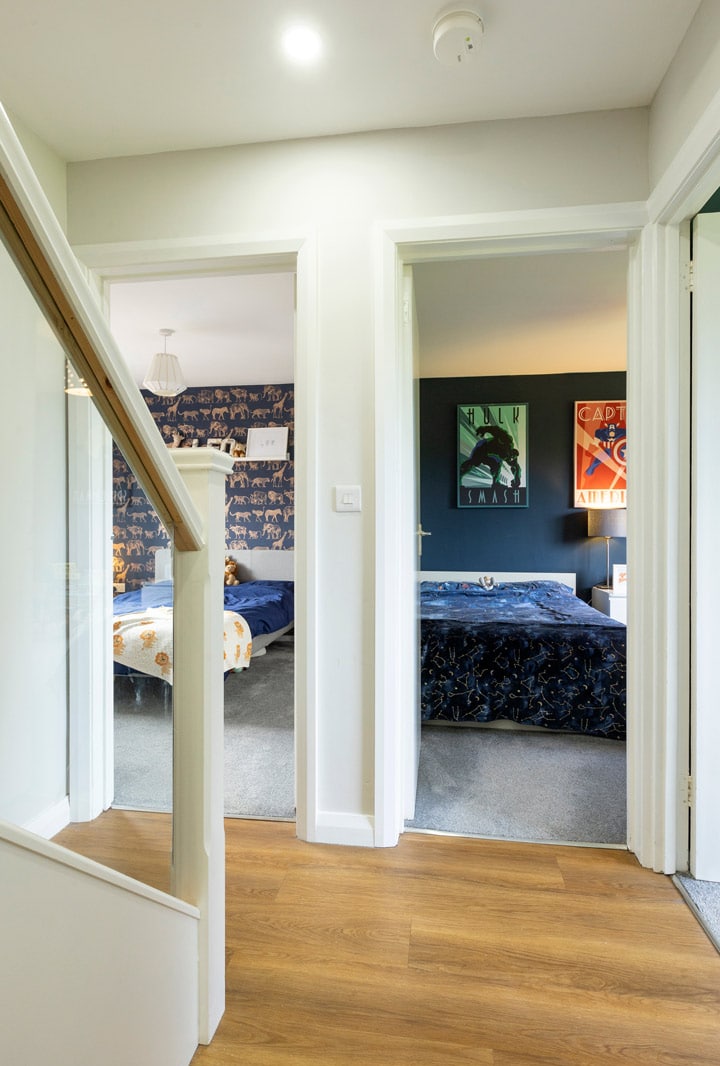
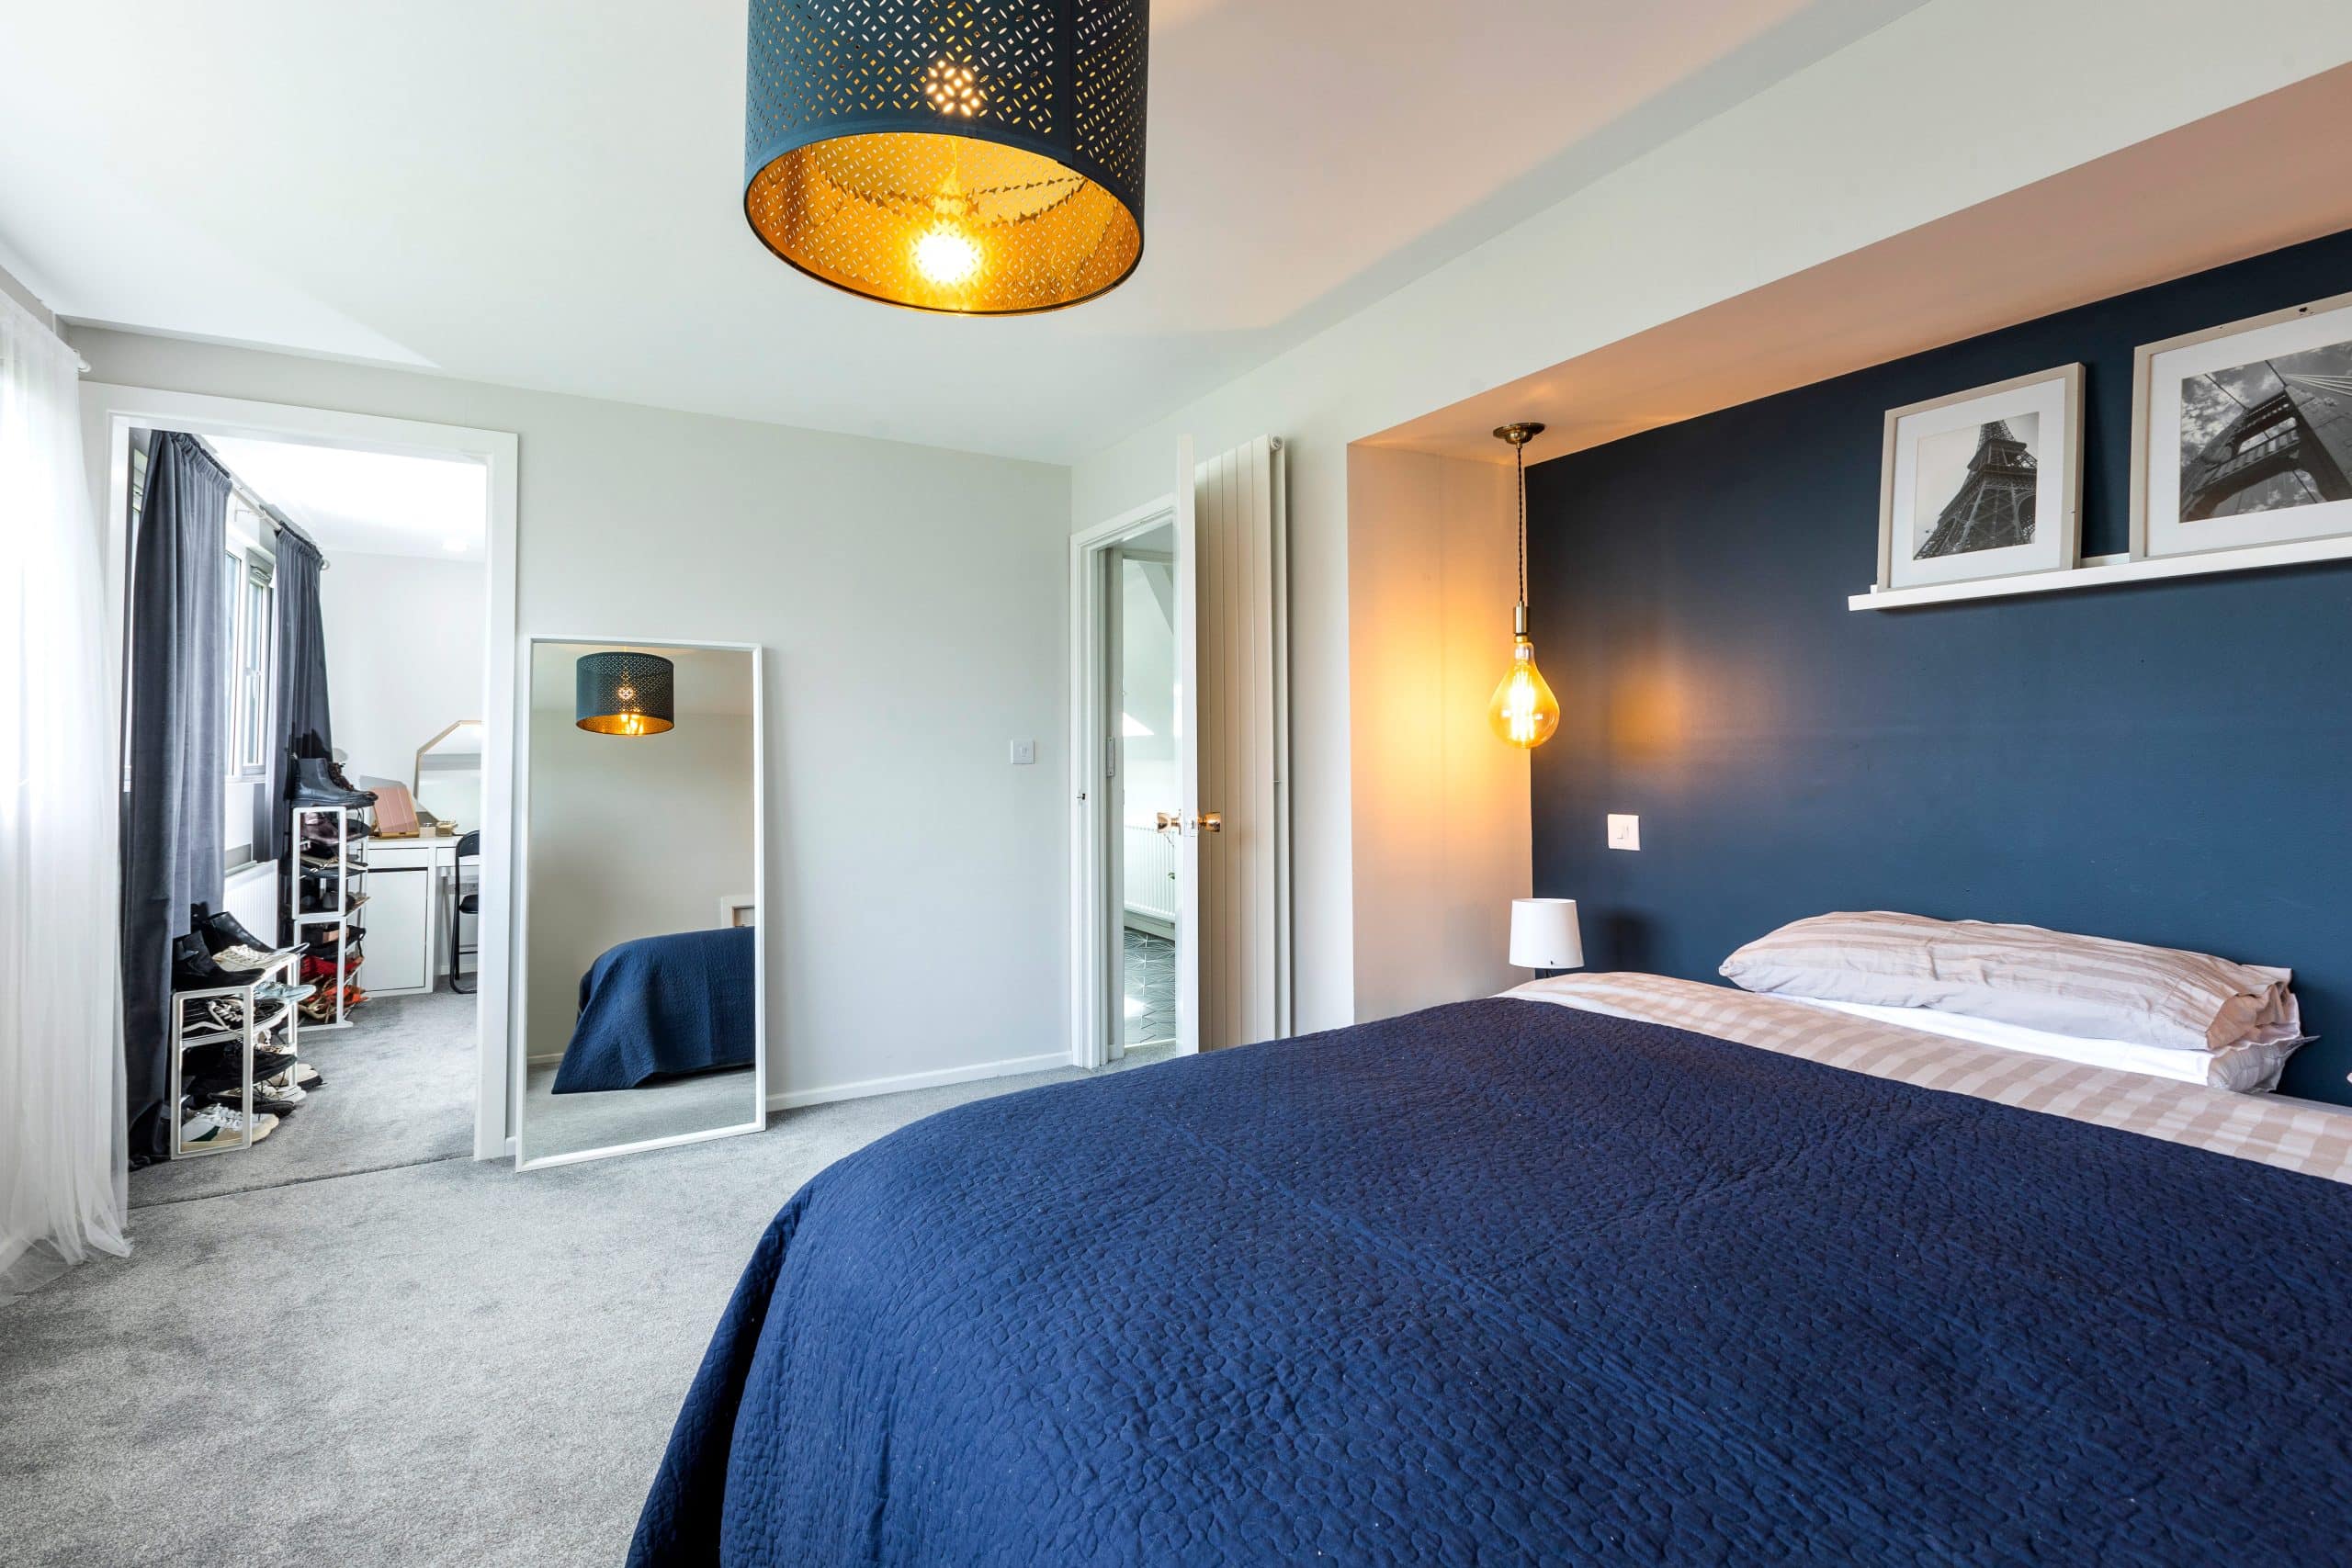
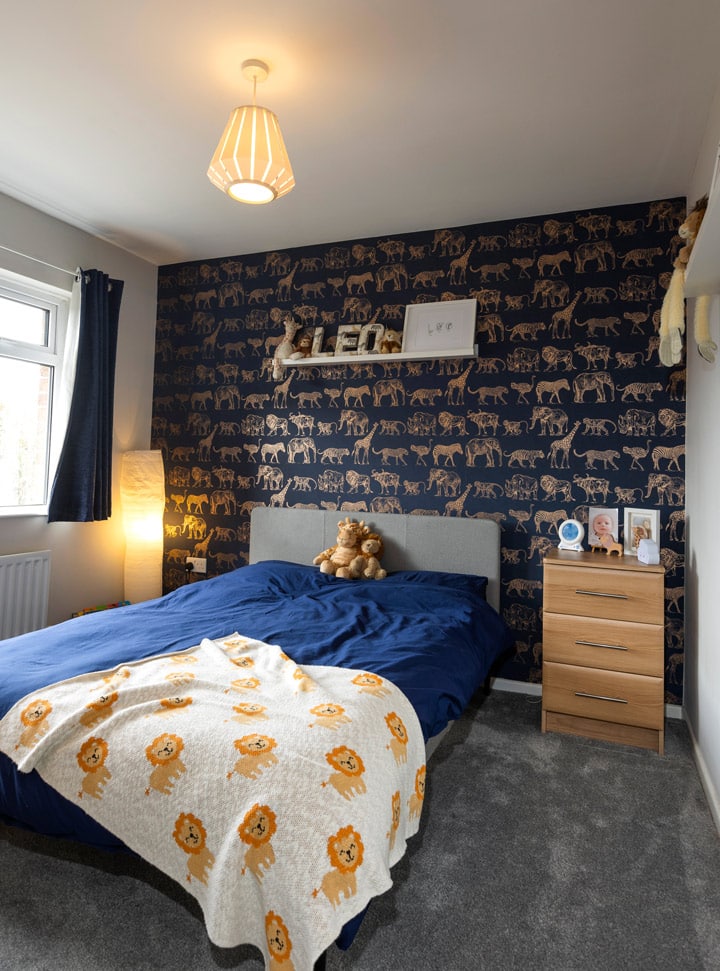
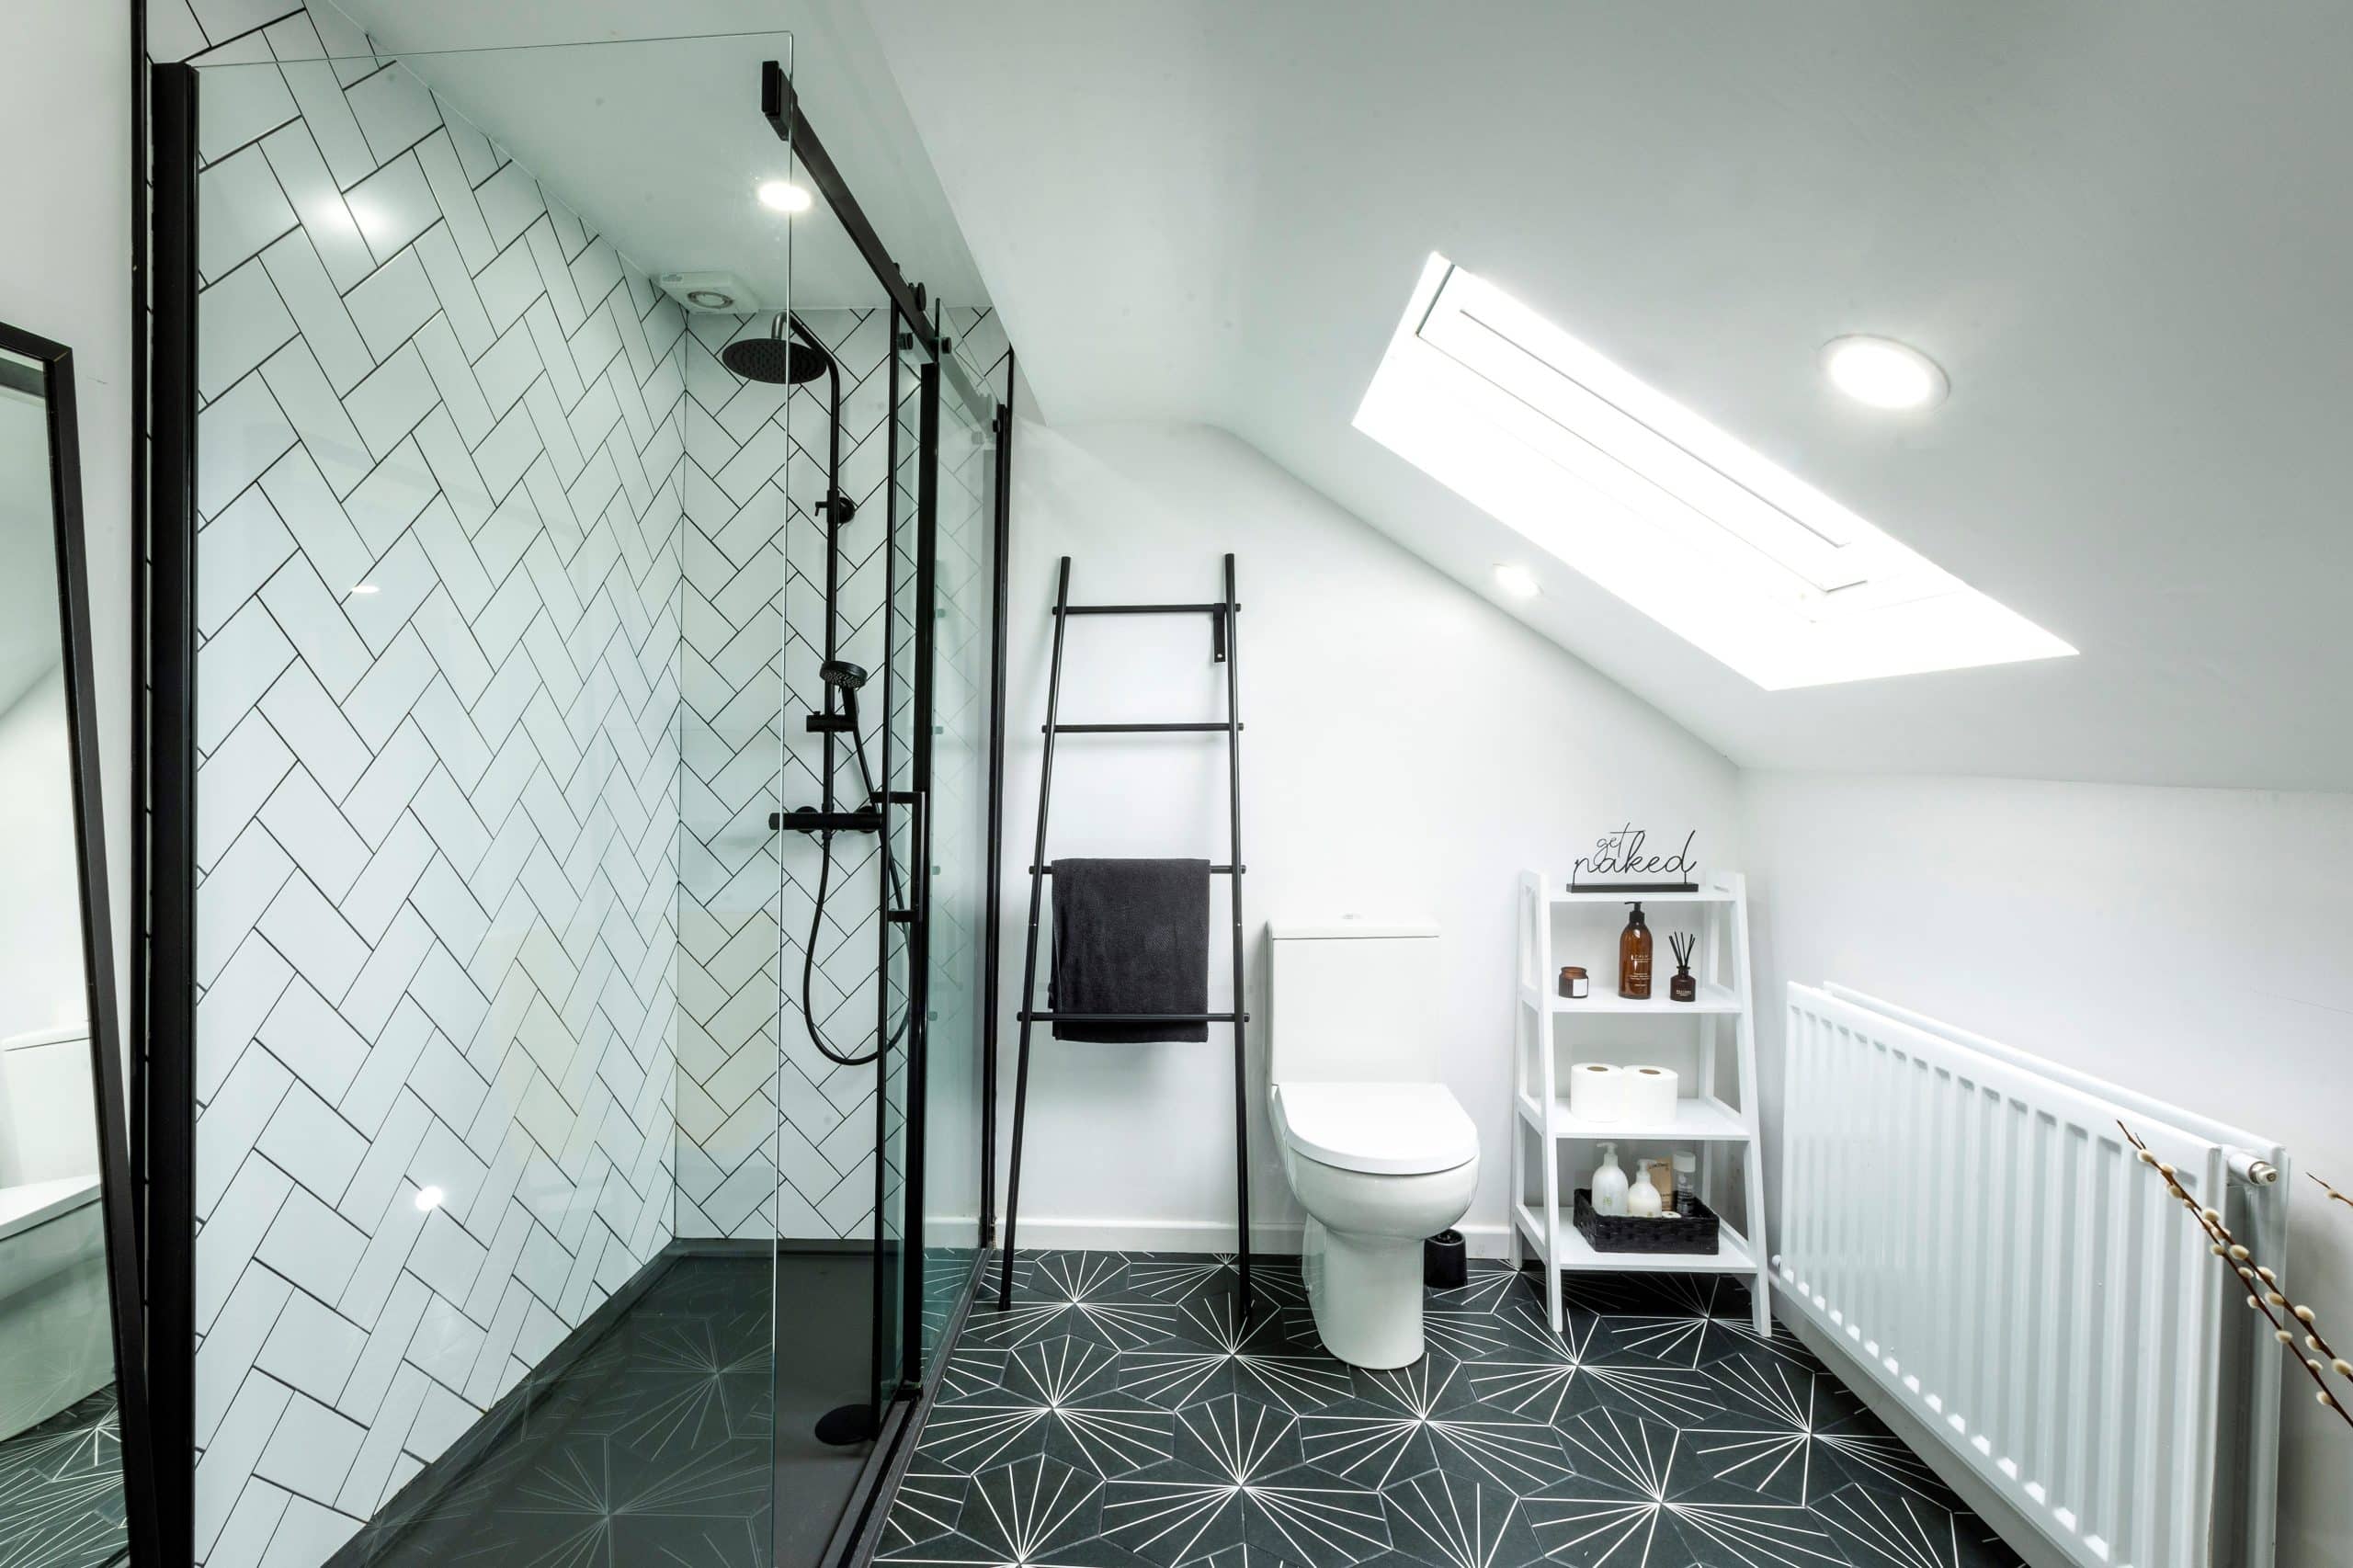
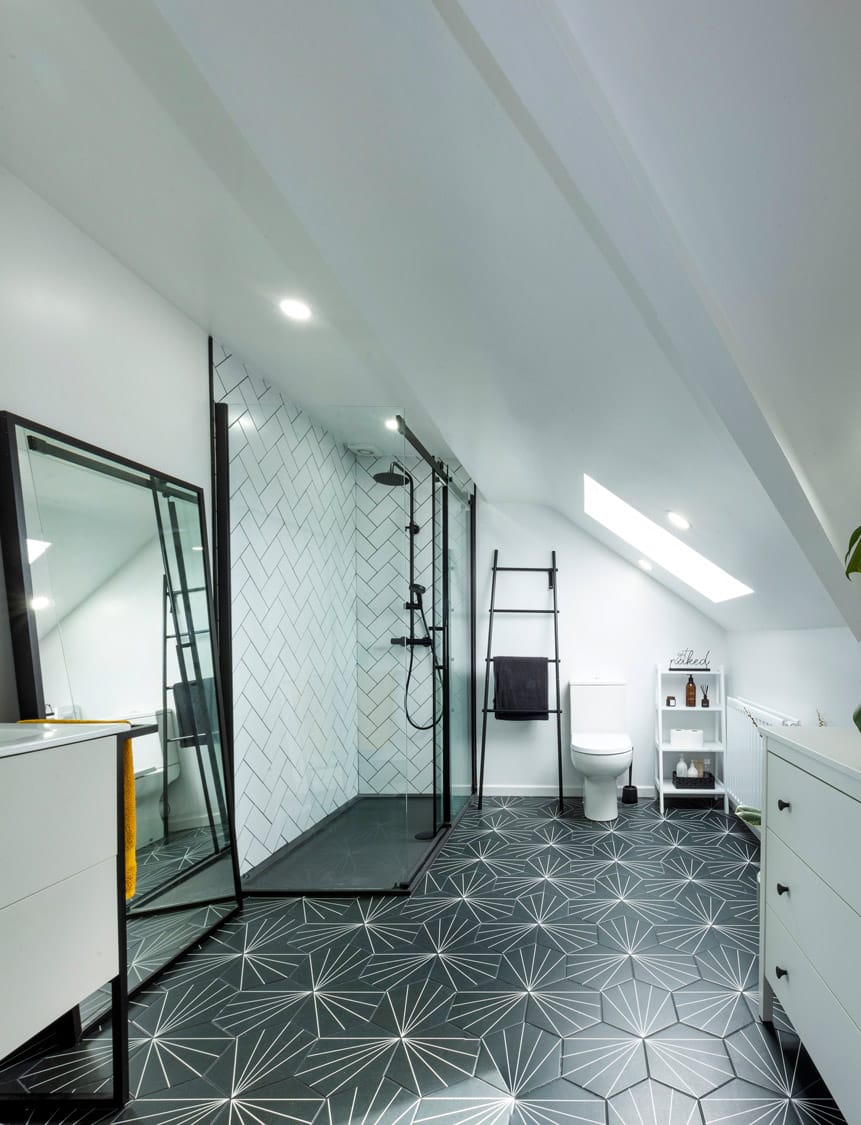
A 1970s dormer conversion had created two large double bedrooms upstairs. “We already had two double bedrooms and a single bedroom downstairs, so we thought the best use of the upstairs space was to split one of the bedrooms in half to make a bathroom and a dressing room for our master bedroom,” says Catherine.
“Initially we wanted an ensuite,” says Michael, “but when we spoke to our plumber, he explained that wasn’t a straightforward thing to do. Also, we concluded that if we did have guests, we wouldn’t want them to have to come through our bedroom to use the bathroom. So, having a separate bathroom at the top of the stairs would be beneficial, and that has been the case.”
Light touch
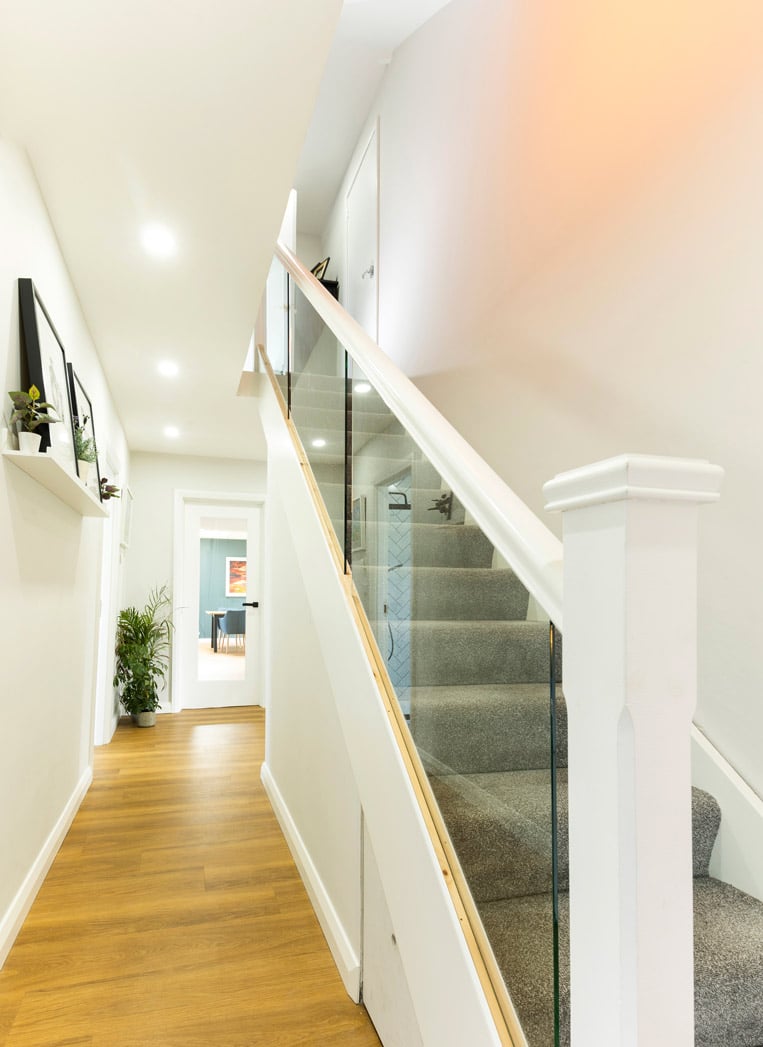
“The existing staircase only had a couple of panels of wood running down the side which wouldn’t pass building regs these days,” says Michael. “The stairwell area is quite dark so the builder suggested we replace the wood panels with a glass balustrade. He rebuilt the staircase from scratch and put in glass to allow more light in the hallway.”
“We also built in storage beneath the stairs, which has been very useful,” adds Catherine.
The downstairs single bedroom had been converted into a wet room by the previous elderly owners. “We removed all the sanitaryware, redecorated and it is now used as a home office. So that’s been a really good use of space.”
When removing the old kitchen, Catherine had intended to keep the old Belfast sink. “But unfortunately it didn’t fit into the new design measurements so we sold it and replaced it with a larger version.” They reused some of the old cupboards in the utility area which is housed in the rear shed.
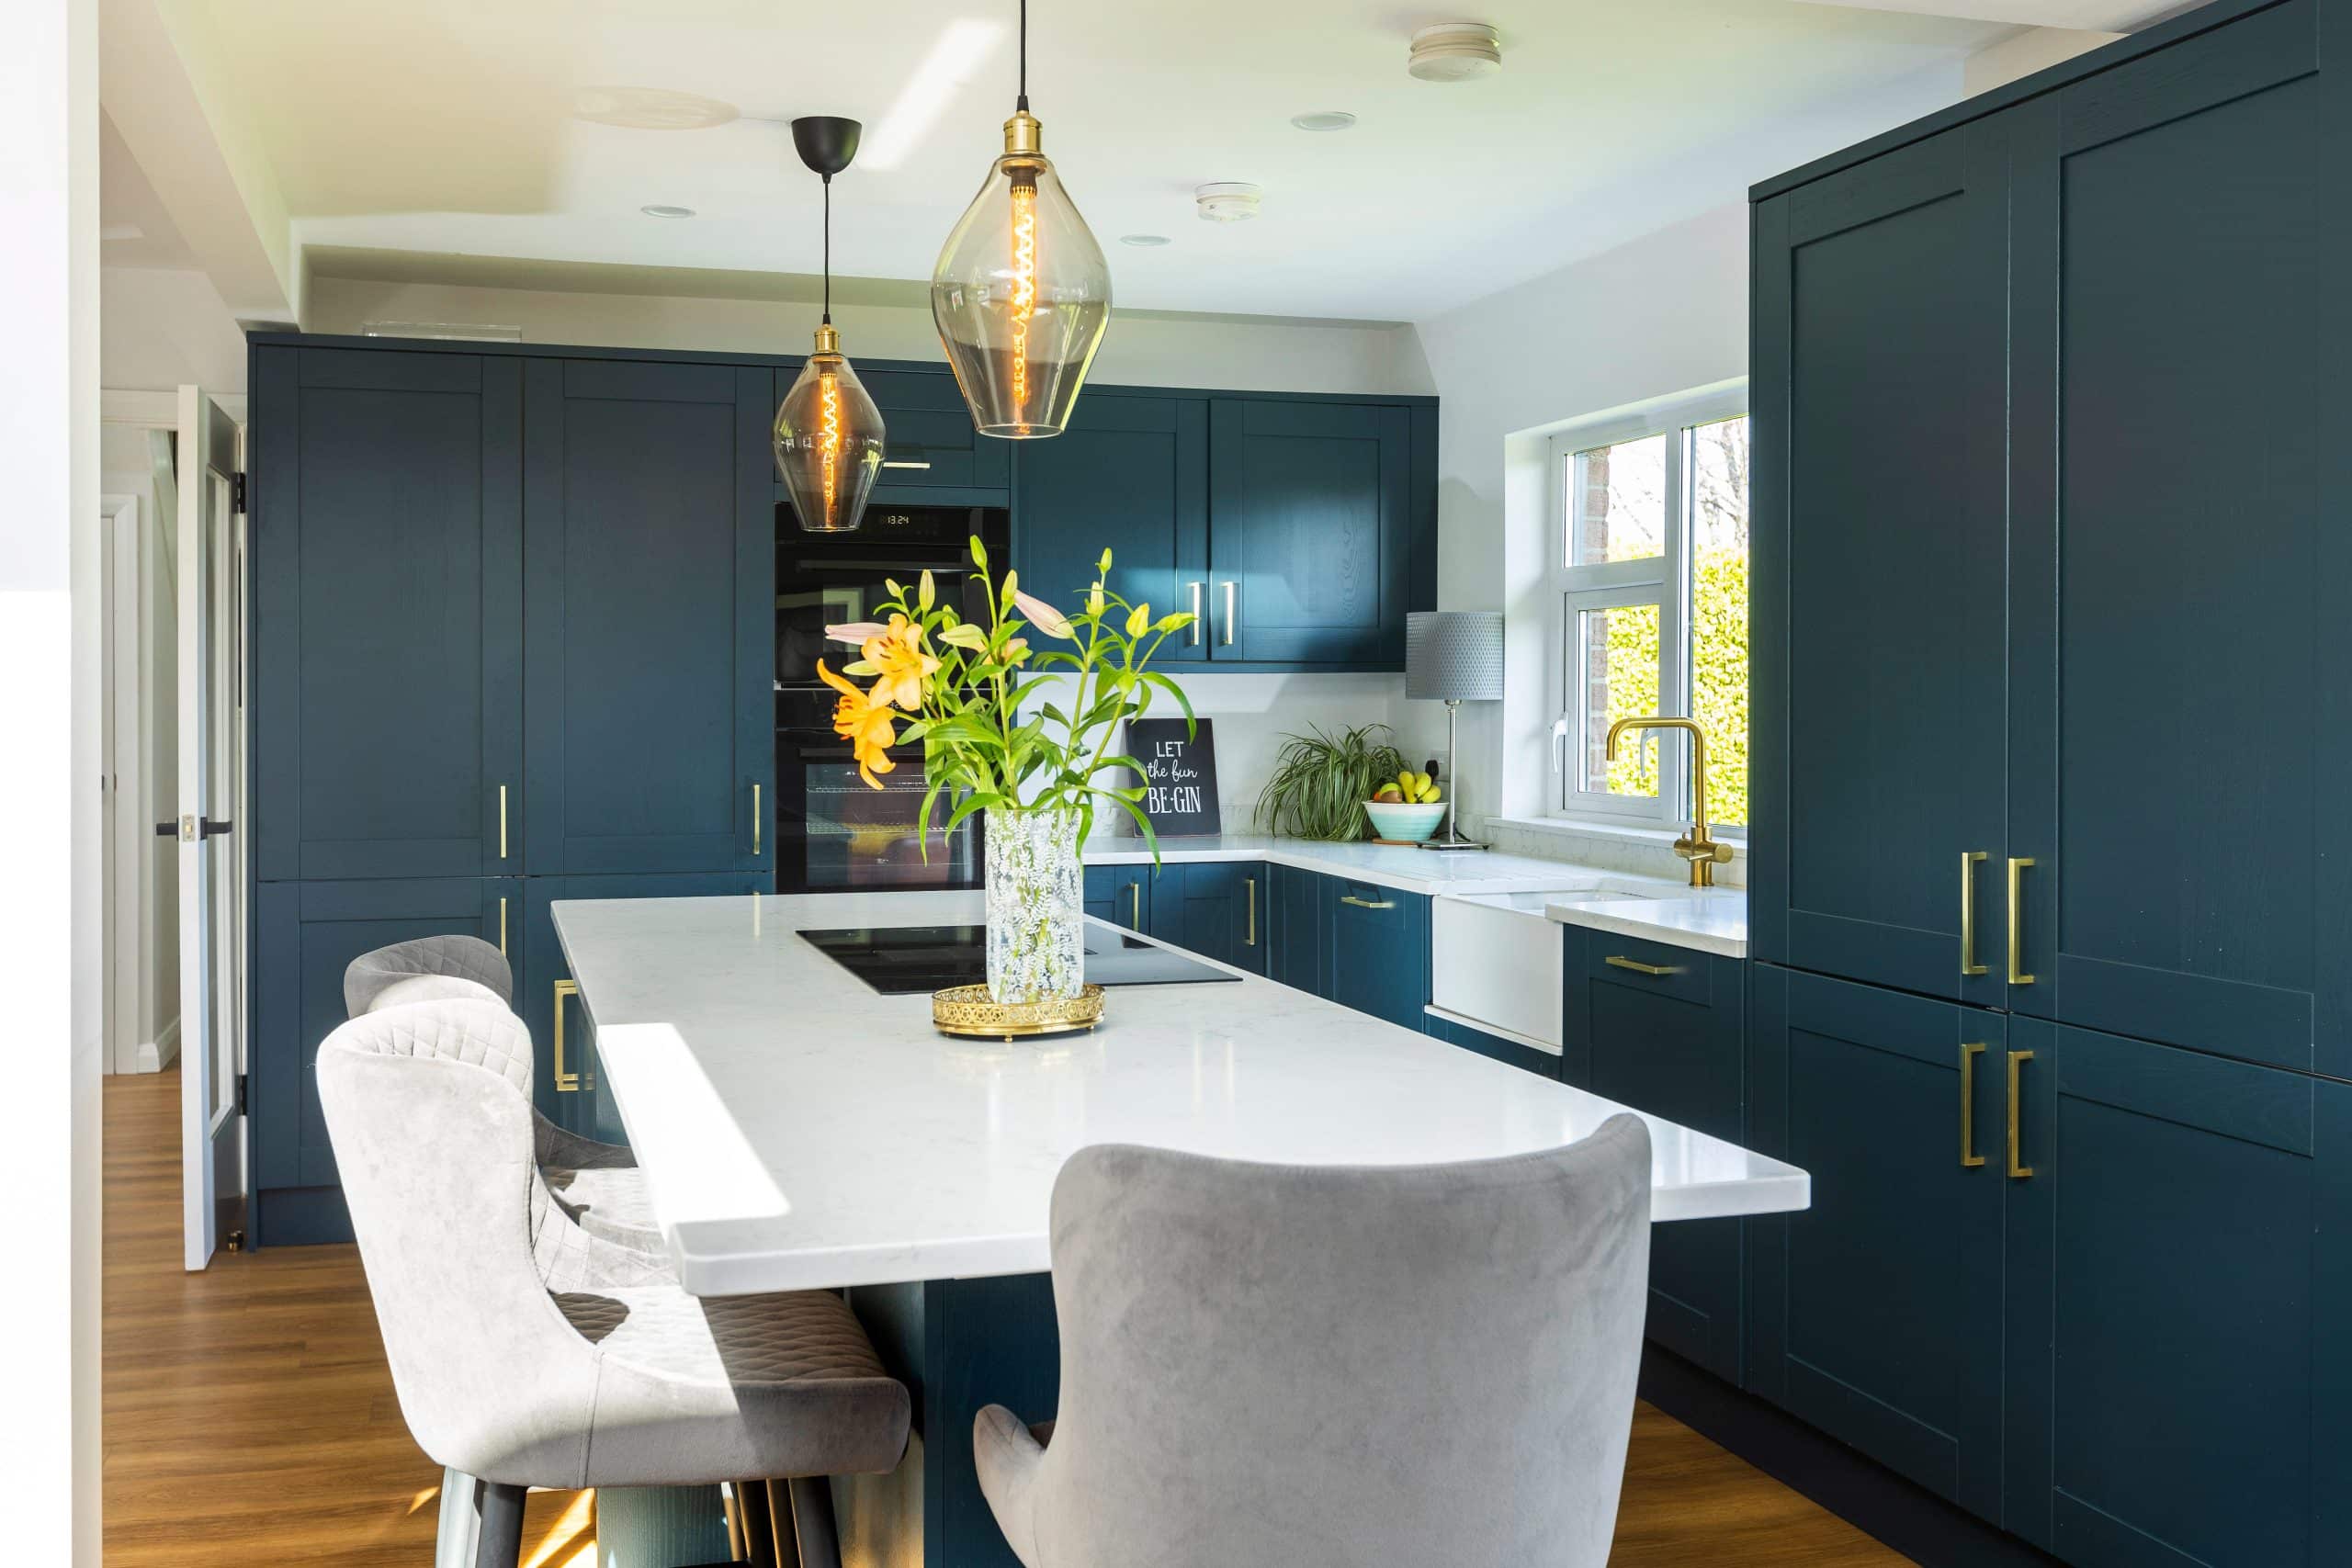
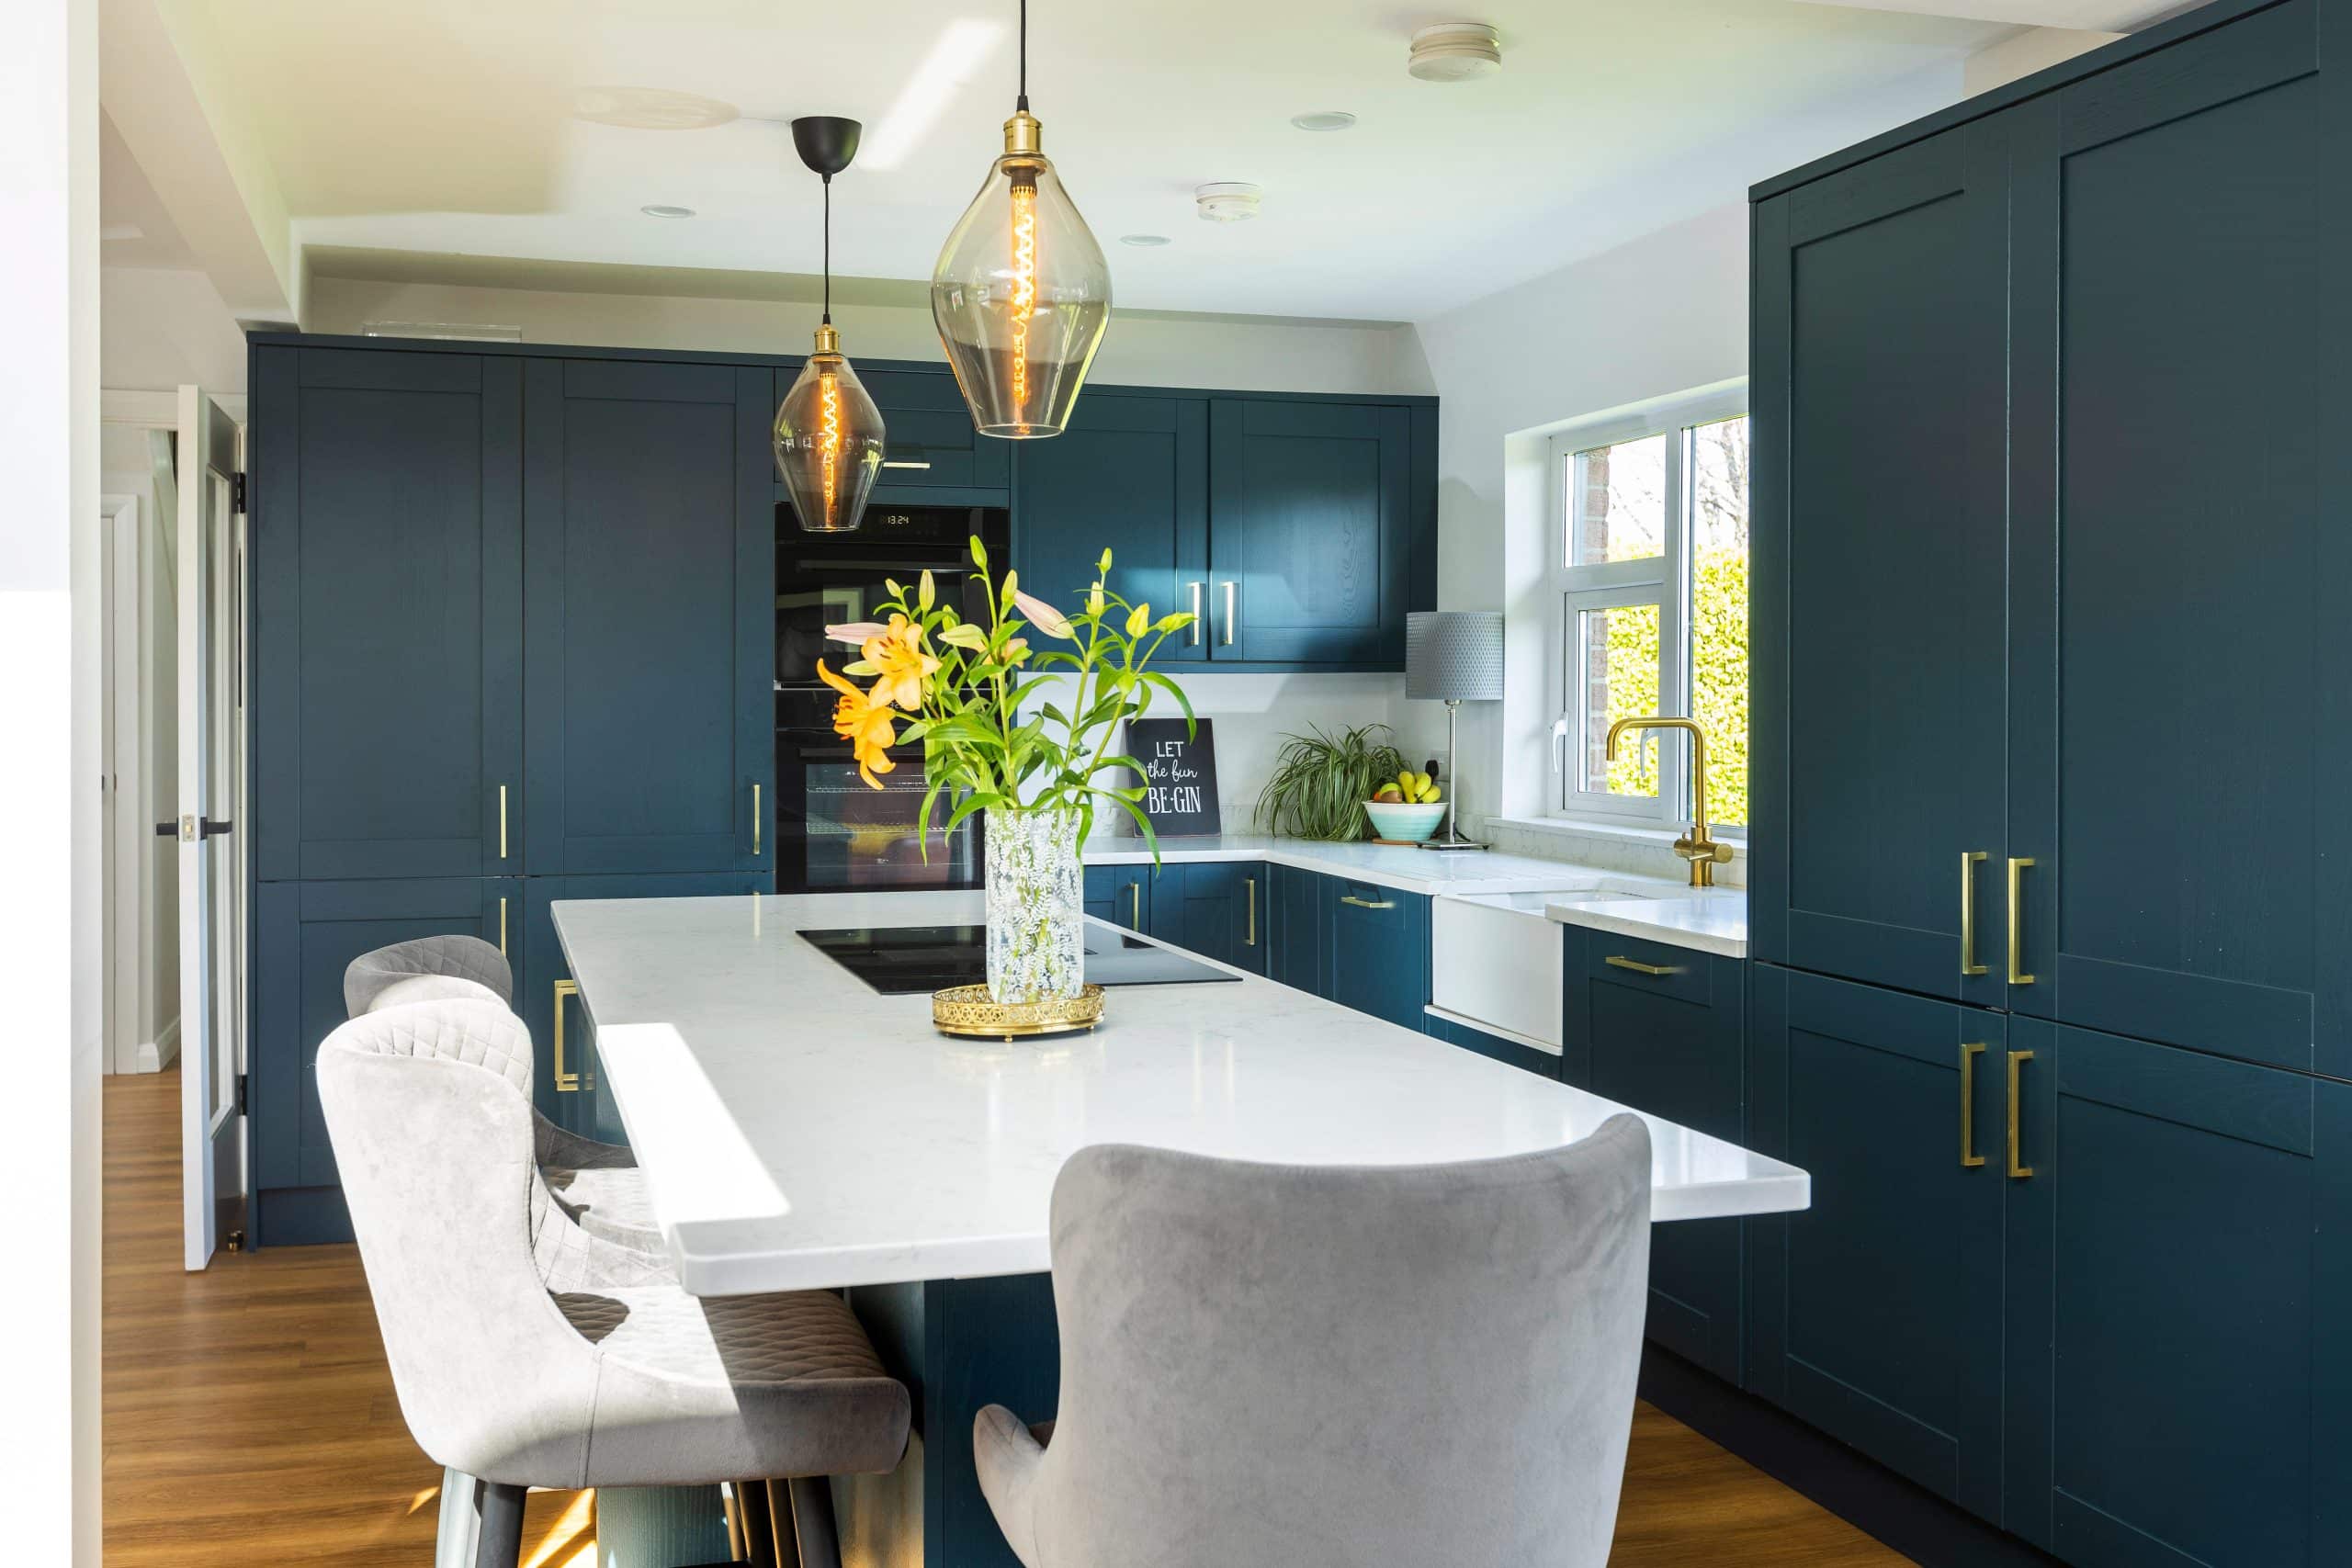
“Our builder designed and built the kitchen,” says Catherine. “We were renovating during the Covid period, so we couldn’t visit kitchen showrooms. Instead, Stevie gave us a pile of kitchen brochures to browse through. We picked out the style of the cupboards and colour of the granite we wanted for the worktops and island counter and he did the rest.”
“Stevie also coordinated all the various trades and professionals on site, which was a godsend. They are all part of the same networking group and have previously worked together on many projects so when there were inevitable delays with materials supply they would help each other out on other parts of the project.”
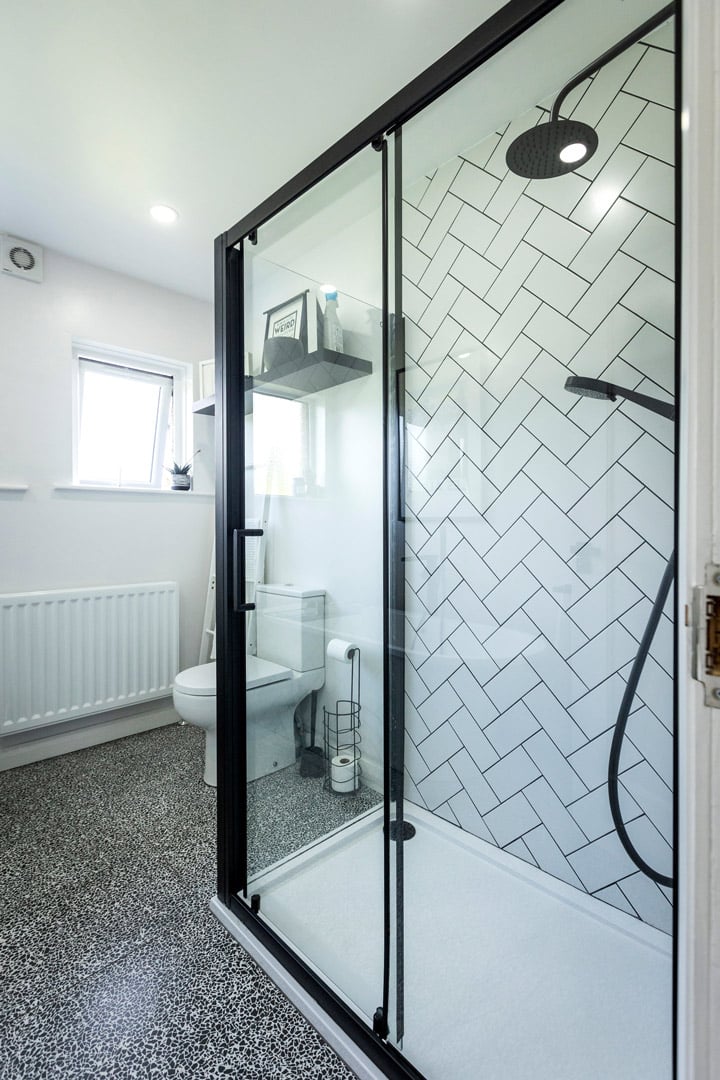
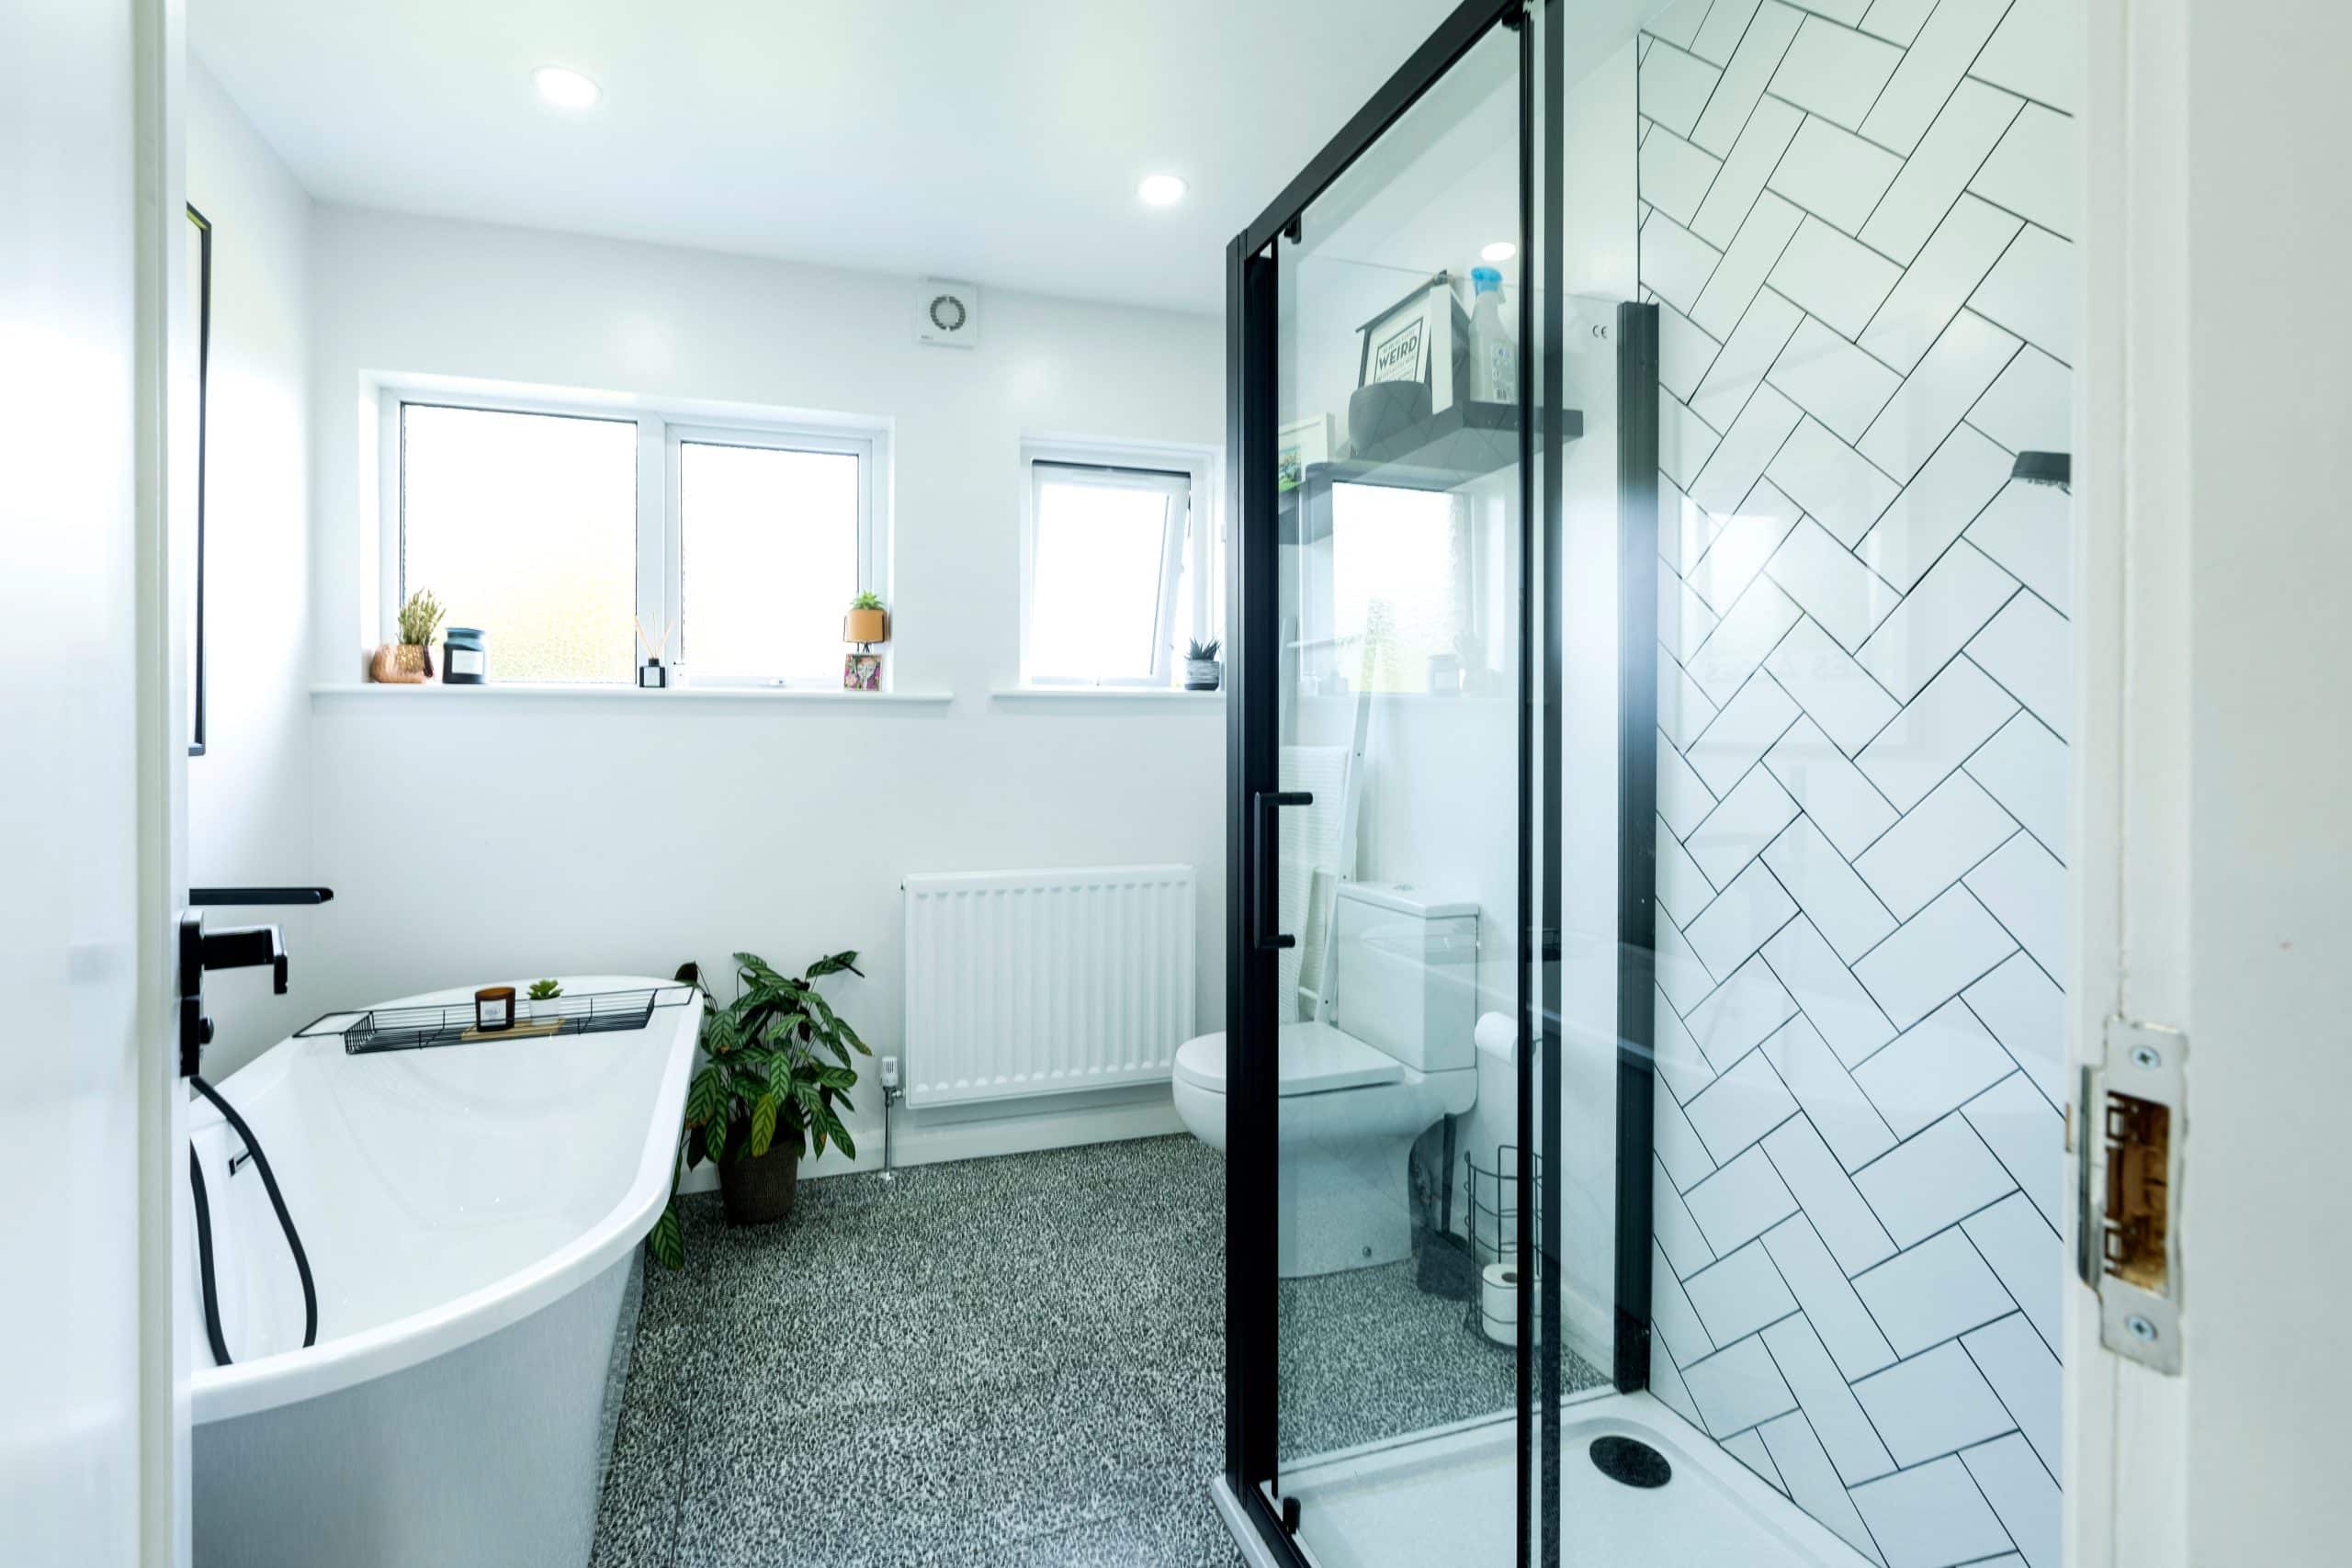
Flooring and sanitaryware were also picked from brochures and websites. “We chose laminate flooring from Ceramica, which Stevie laid. He also organised a tiler to tile our bathrooms. We tried to go for something a little bit different in the bathroom upstairs. The tiles are hexagon shaped with three white lines on them. There are a few different ways you can lay them to create different designs, I like the almost Art Deco style we opted for.”
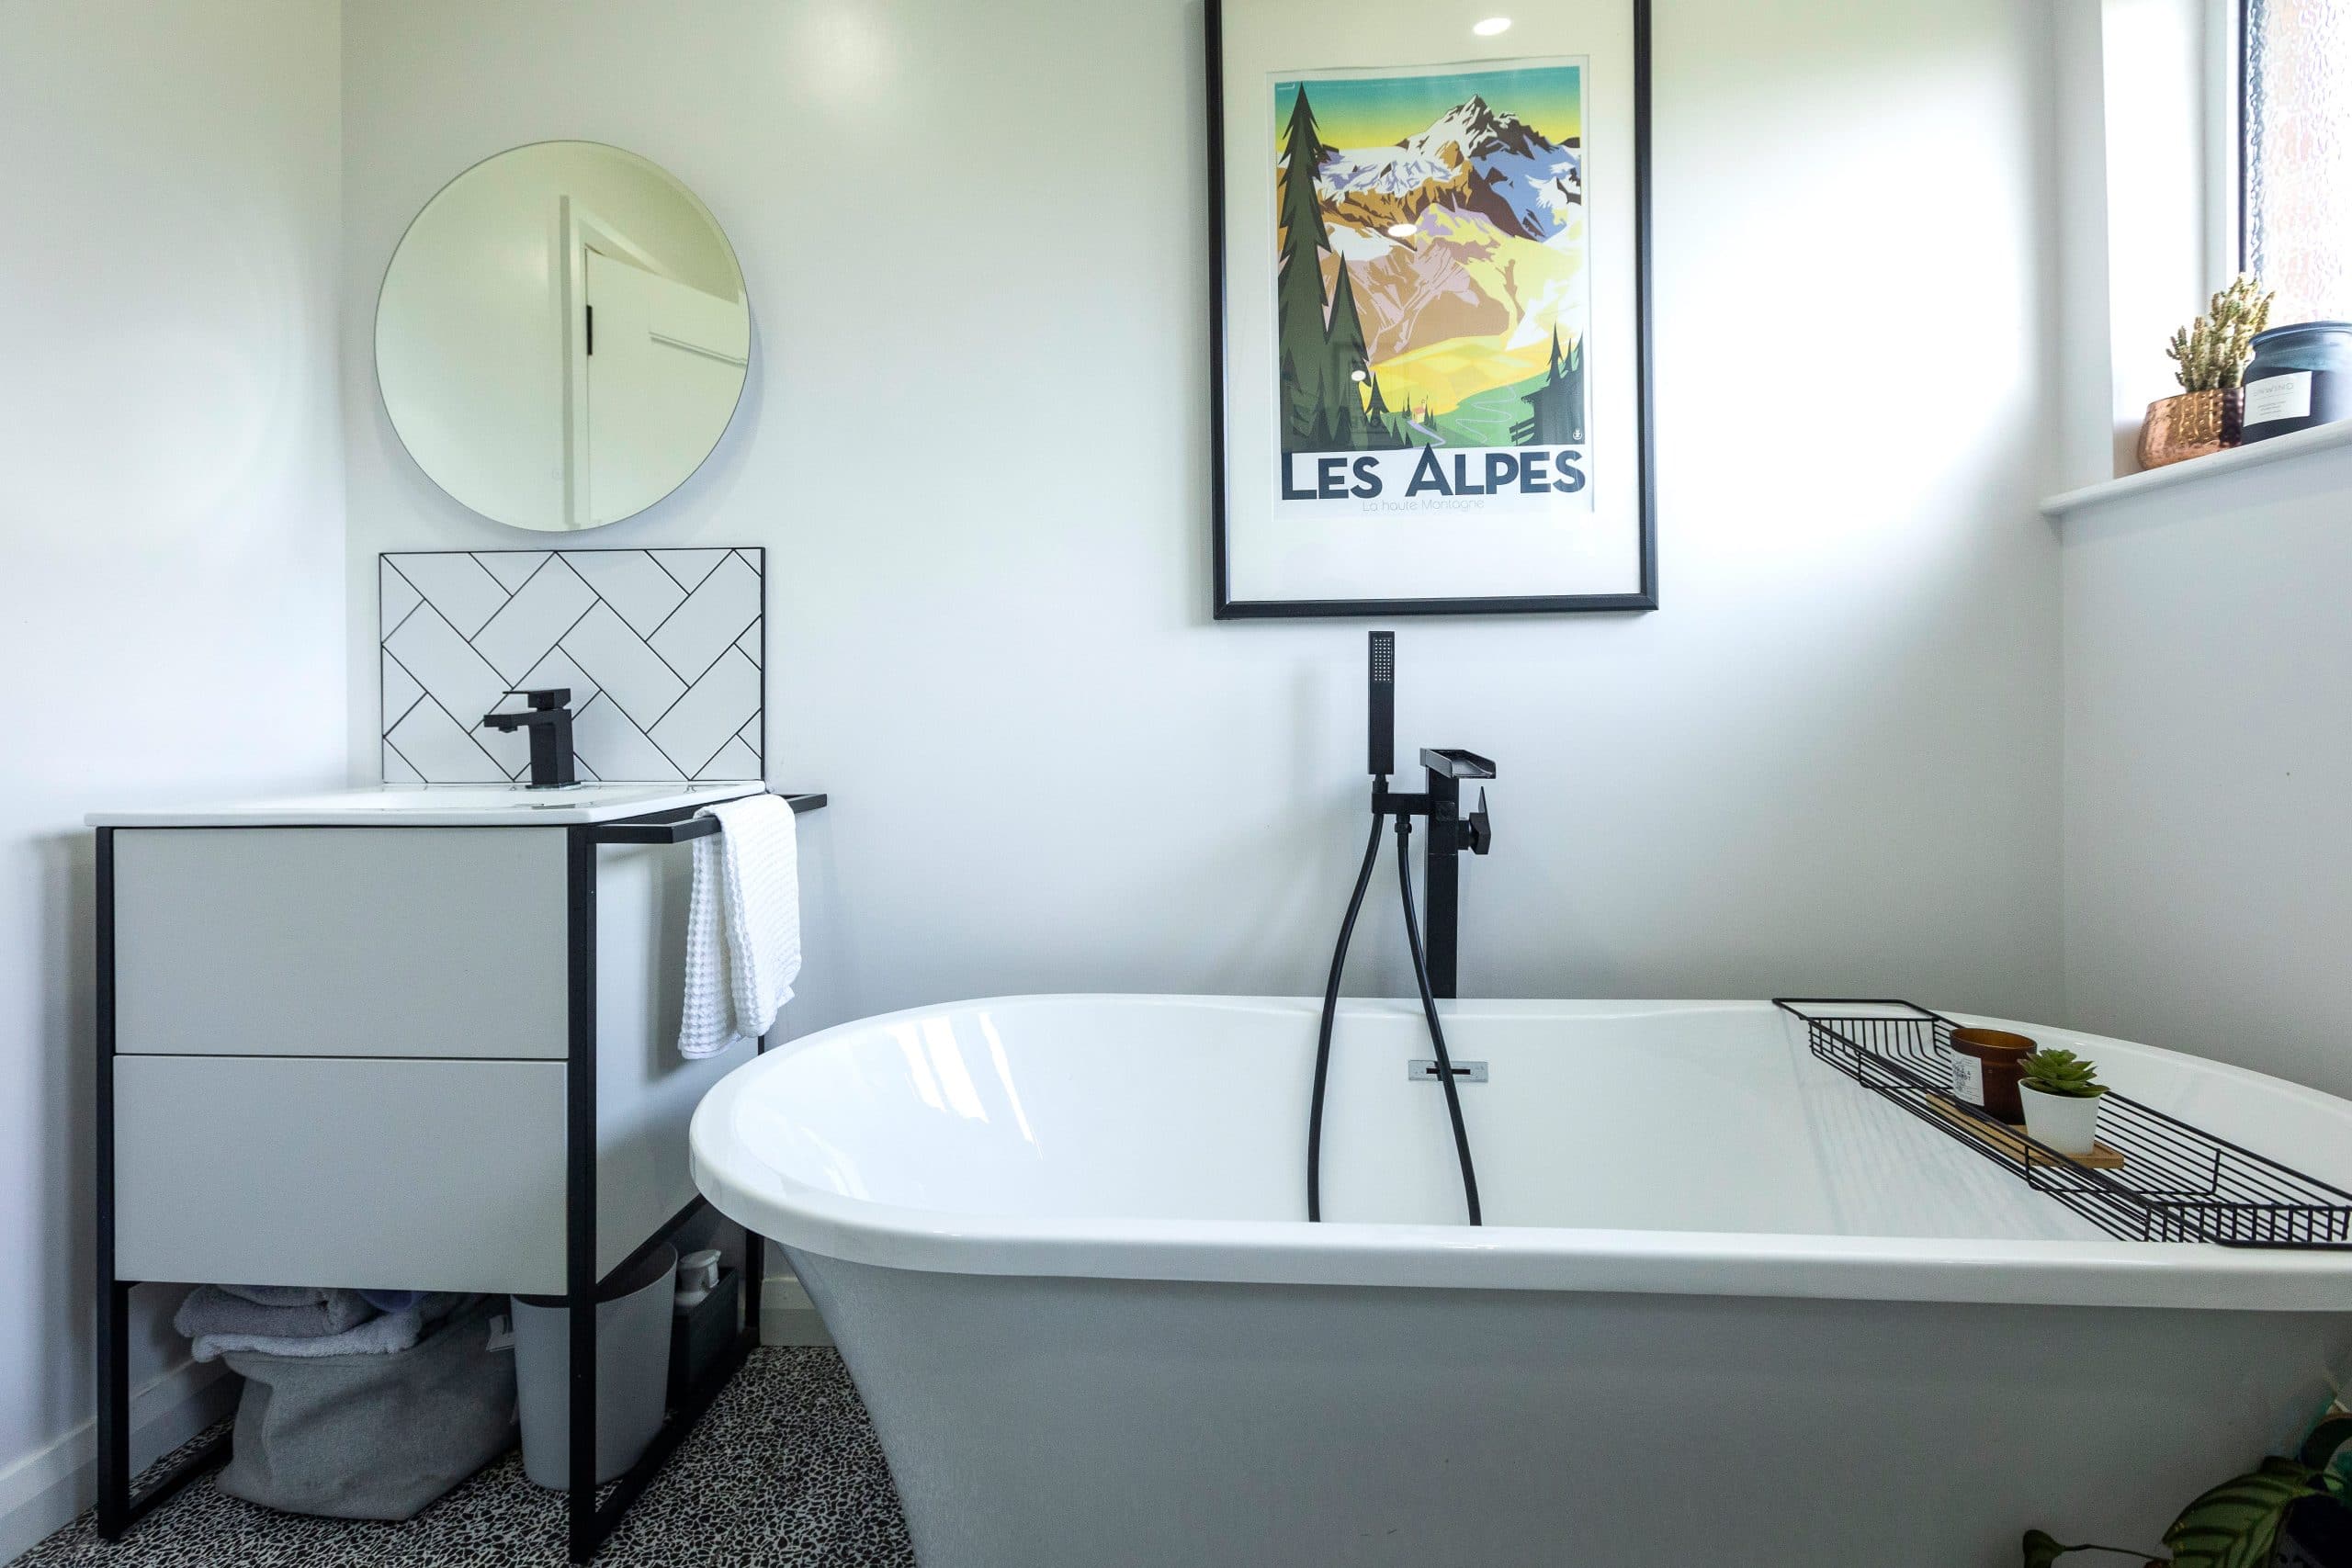
“I sourced all the bathroom sanitaryware online. I chose similar sinks and toilets for both bathrooms but went a little bit differently with the showers. Our upstairs bathroom is a little more grown up in style with black taps, black shower fittings and frame and a black slate effect shower tray upstairs. The white rectangular tiles were laid diagonally with black grout. I like that modern look.”
“The downstairs family bathroom is more functional, but we’ve included a free standing bath, which is complemented by the black free standing bath mixers.”
More of the same
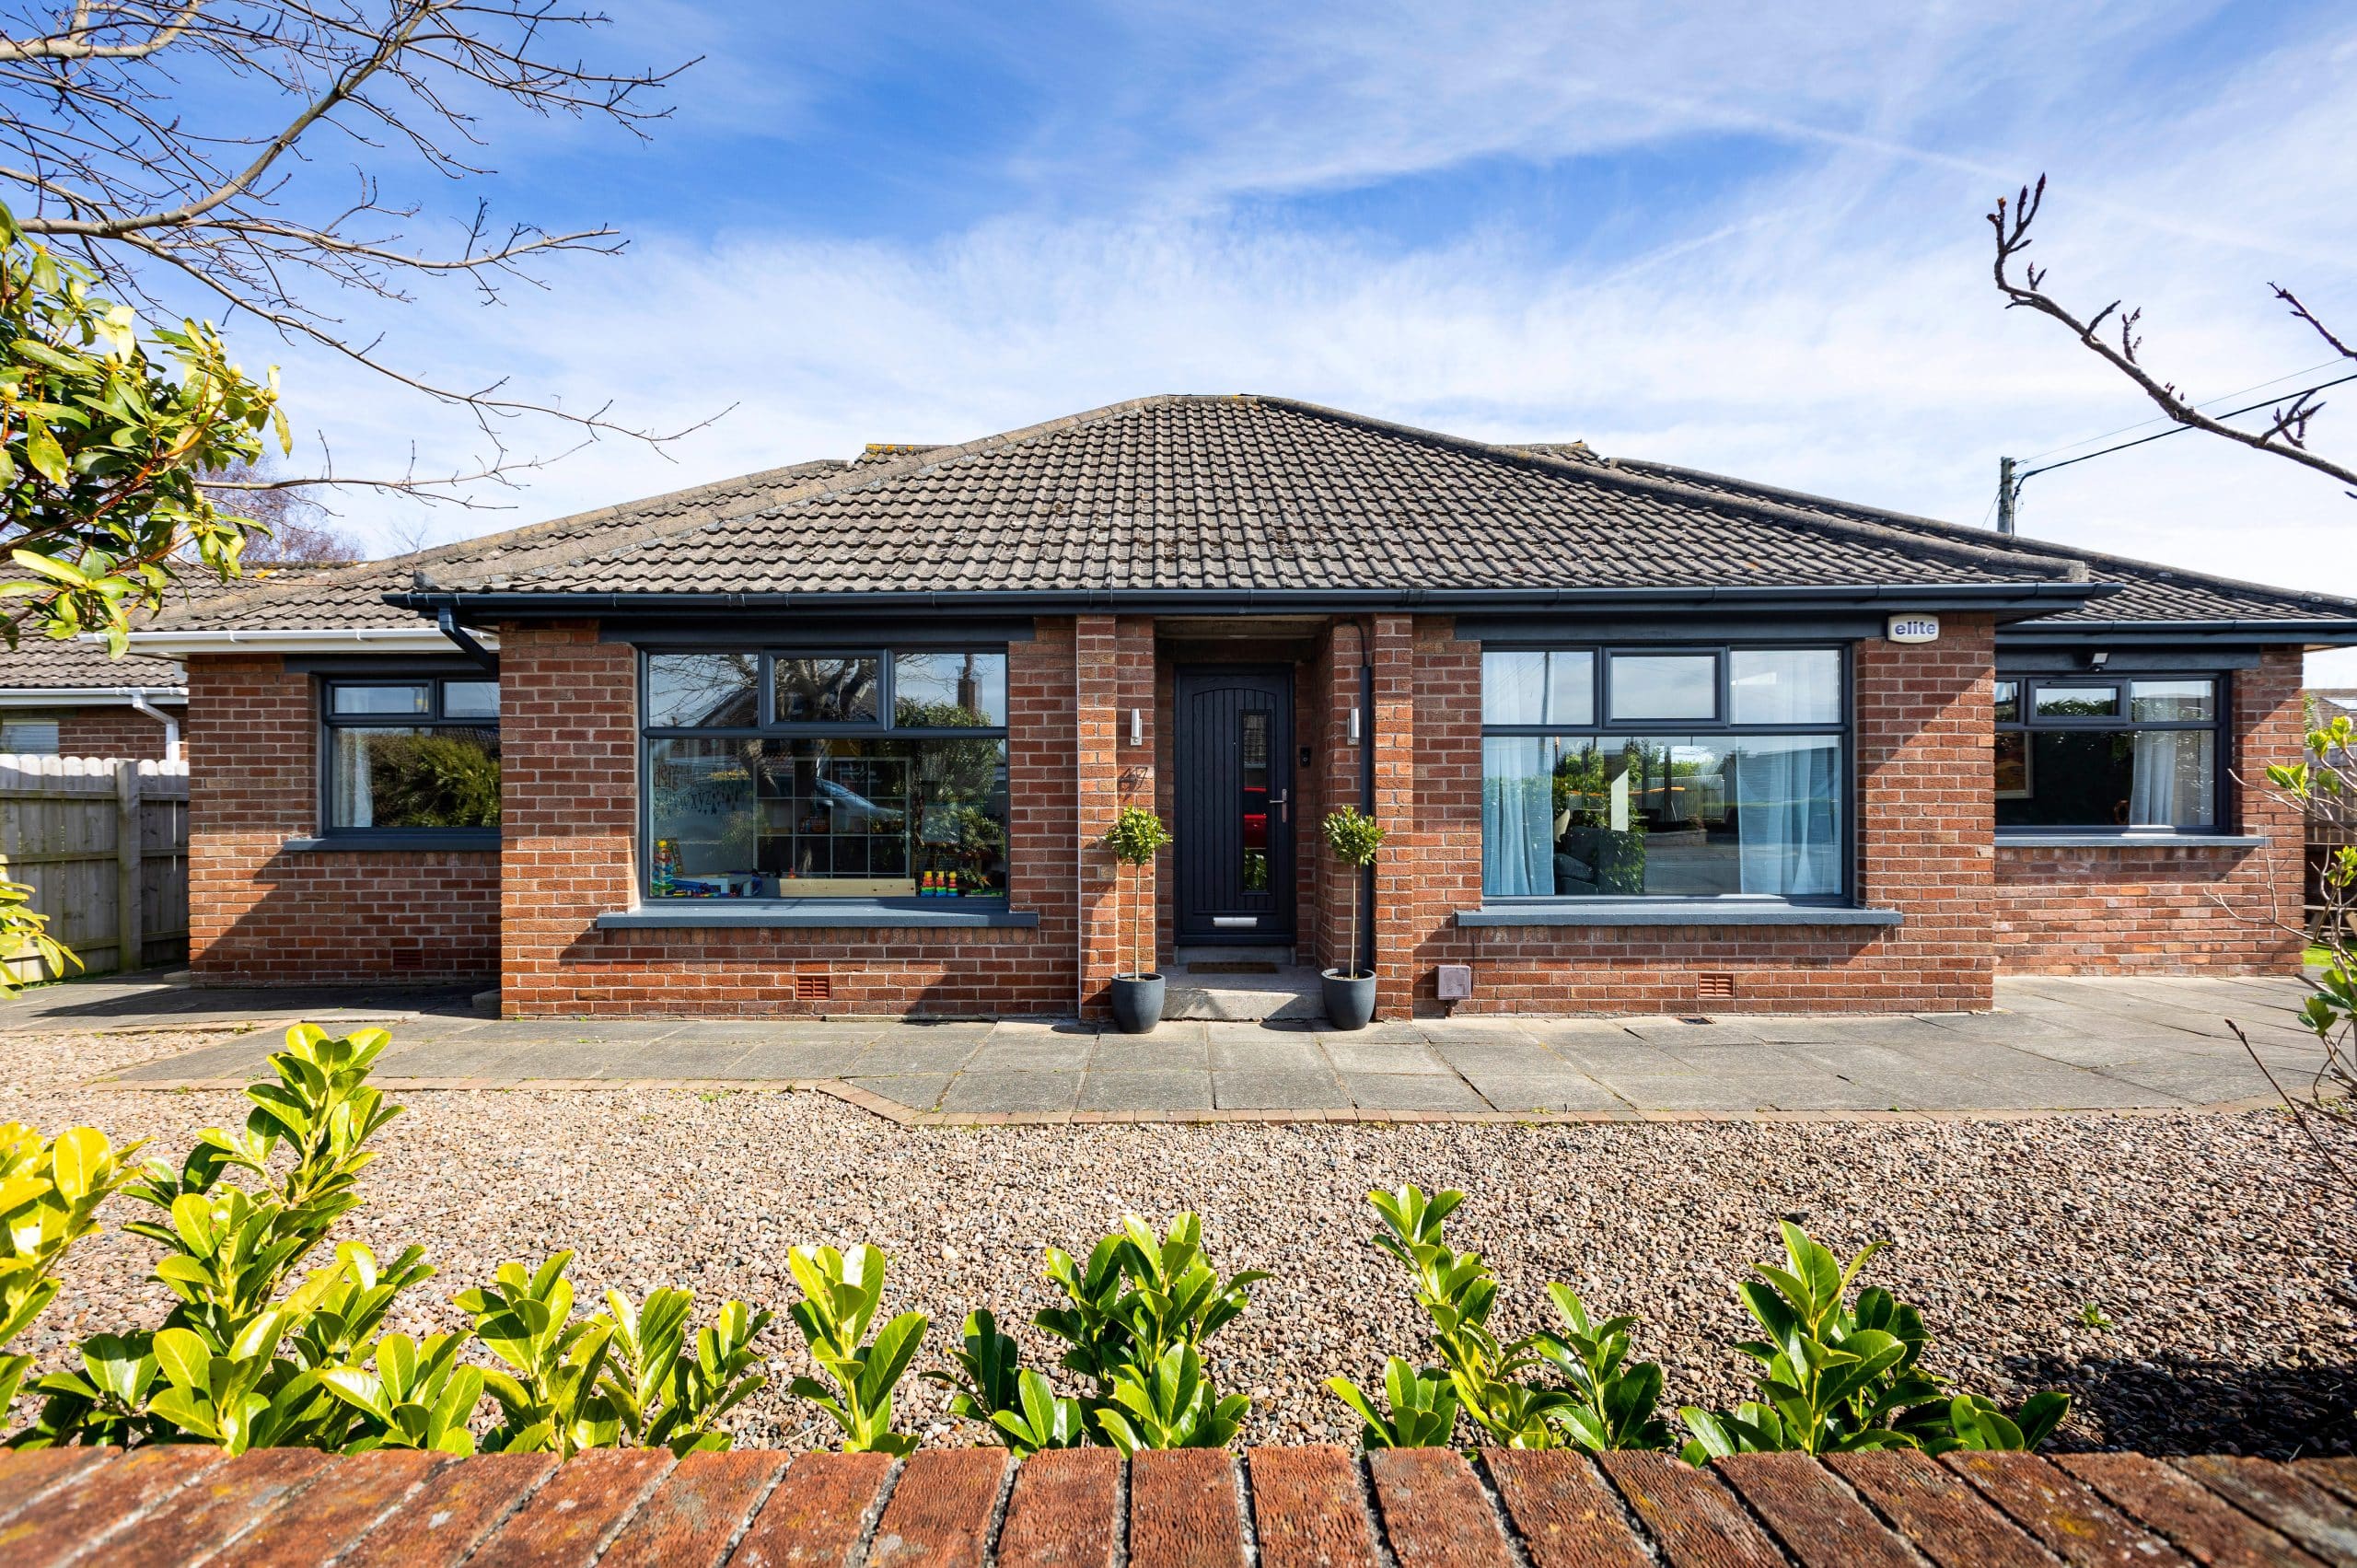
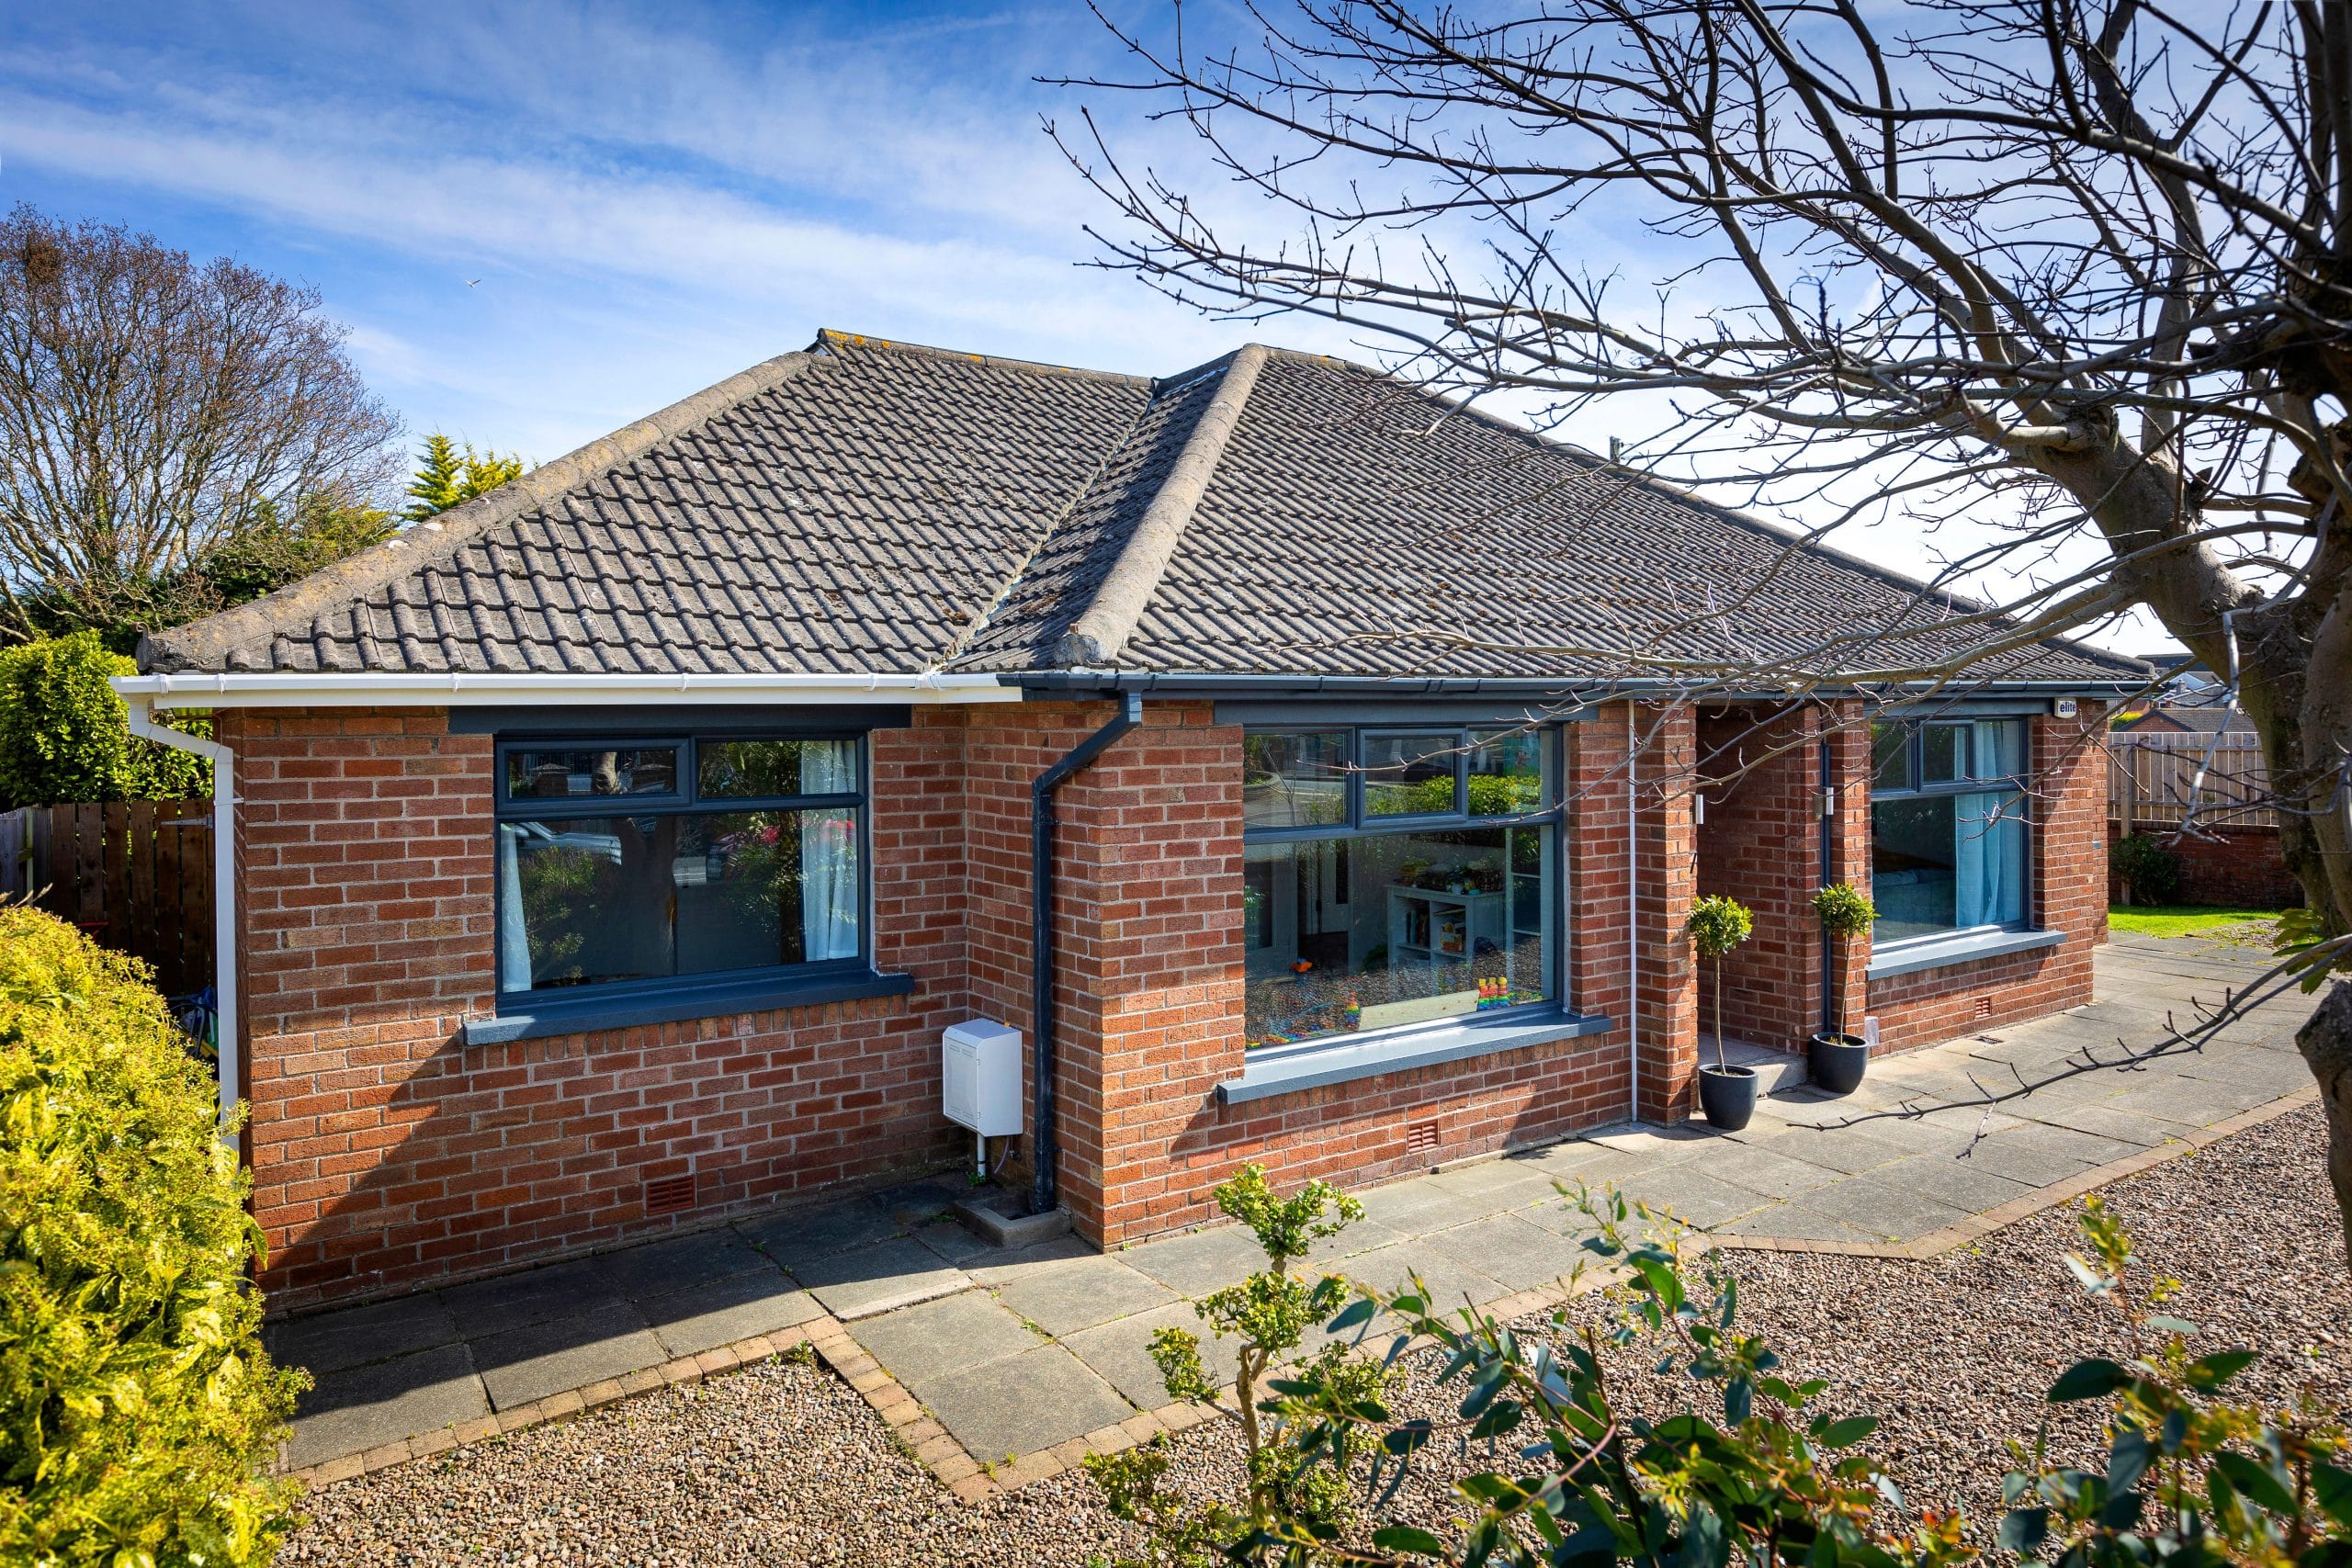
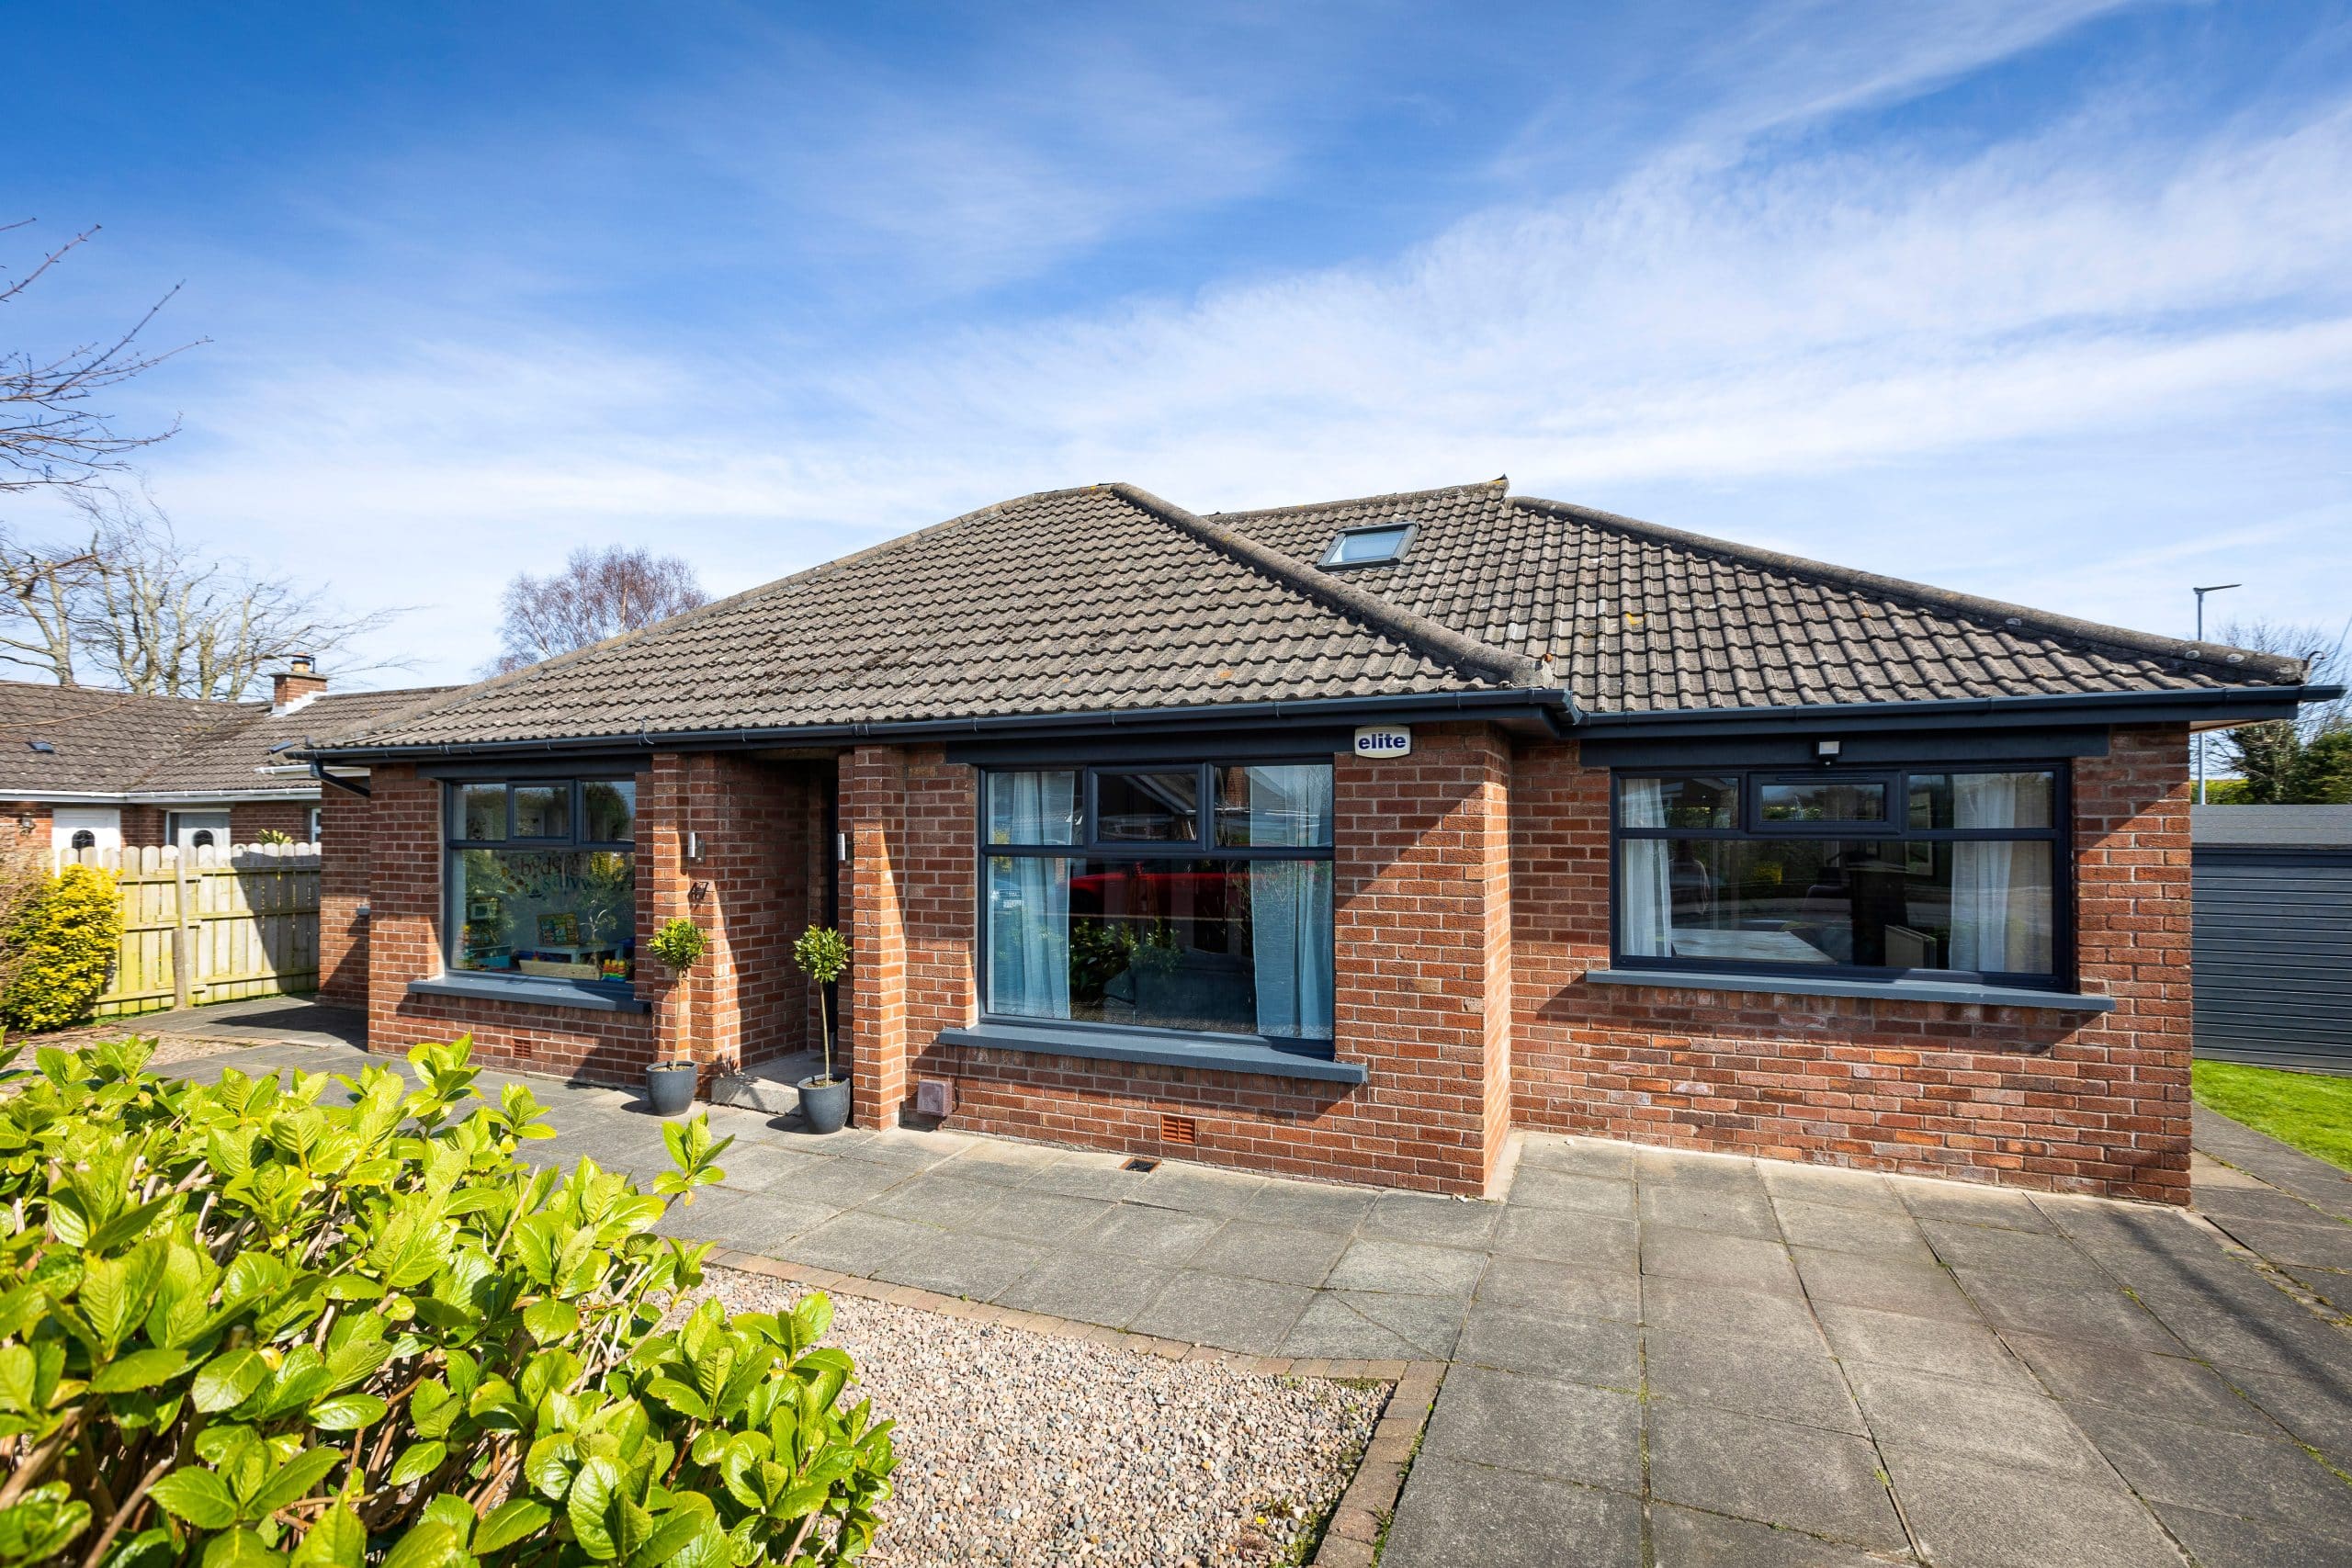
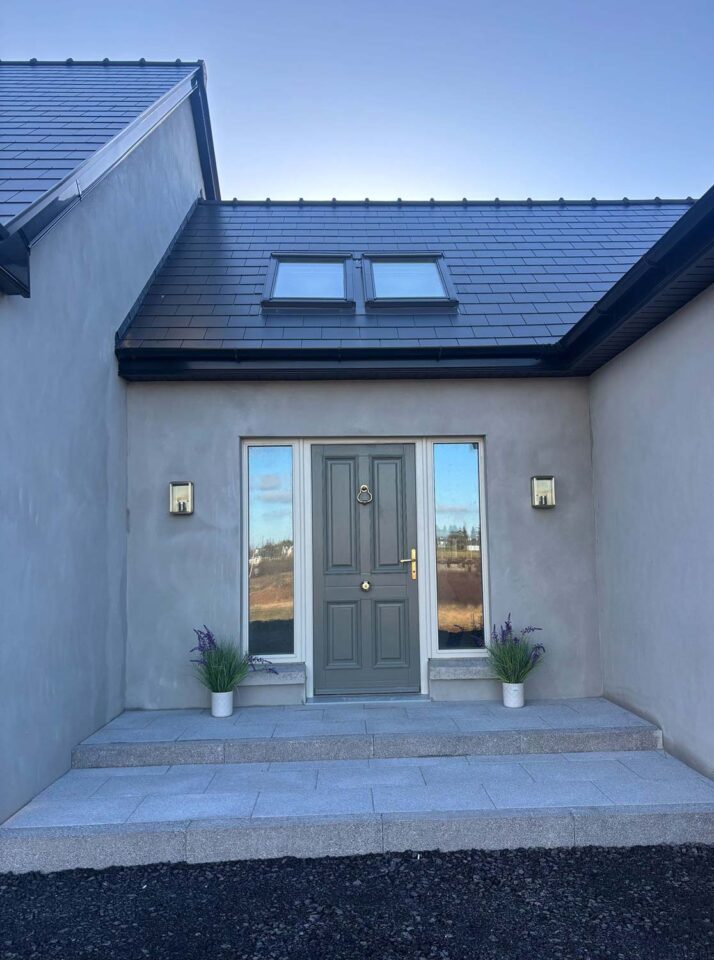
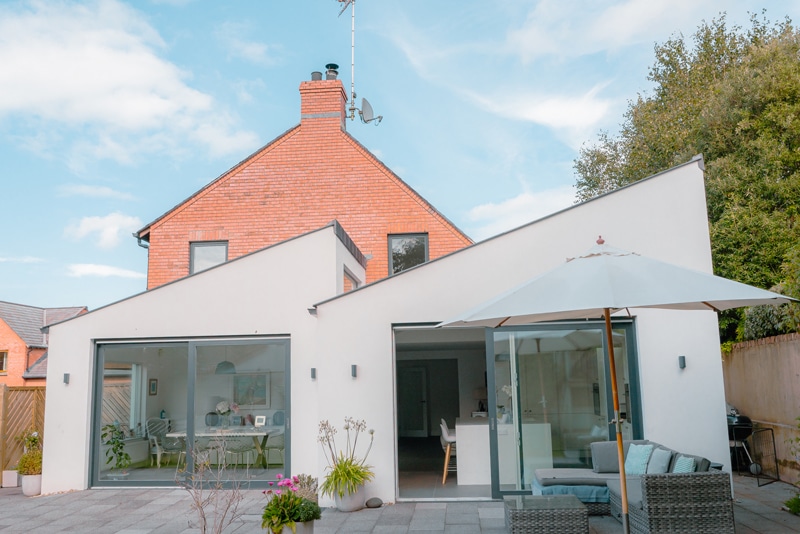
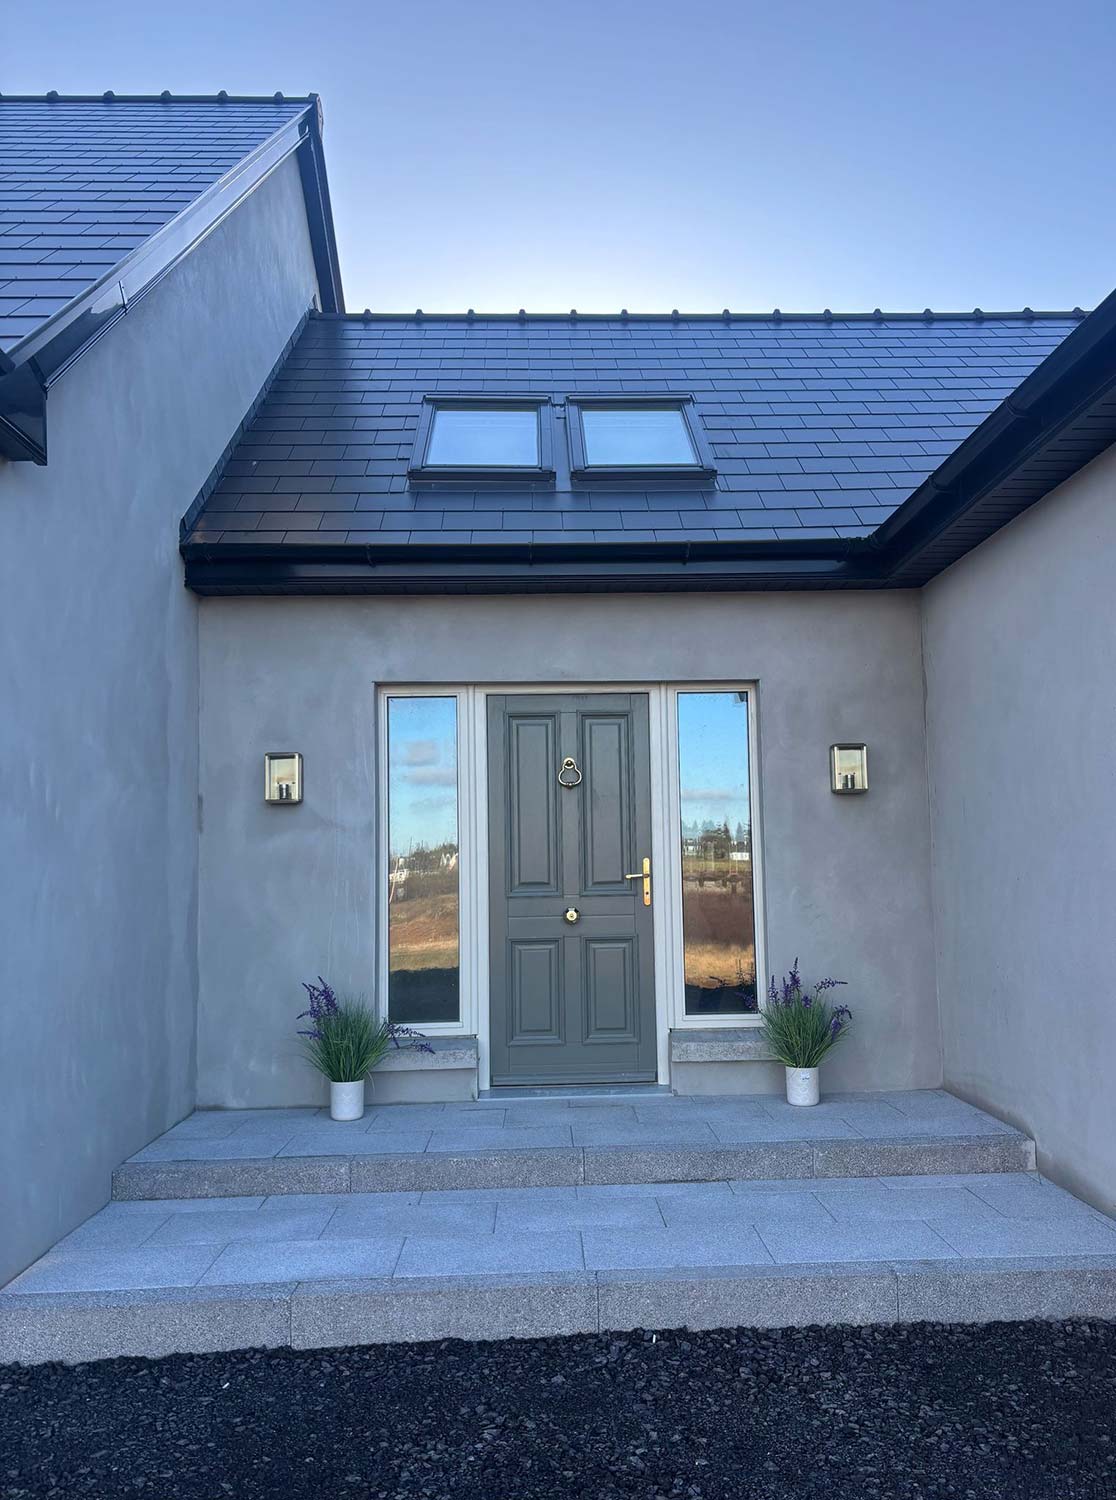
The Southalls wanted to keep the look of the original house externally. “We were able to reuse some of the existing brick, so anyone walking past wouldn’t know there used to be a garage where the living space is now, which is ultimately what we wanted,” says Michael.
“With the budget in mind, I painted the existing uPVC windows to match the new window in the living area,” he adds.
“This prompted a lot of questions from passers-by asking what paint I used. It was a very simple process. I cleaned down the frames with white spirits, used some fine sandpaper to rough up the surface and then applied two coats of multi-surface paint.”
“It’s been a great success, so much so, I’m considering painting the guttering also. It’s a temporary measure – we will eventually replace the windows and guttering, but it has been a very successful cost cutting exercise.”
“This has been the first phase of our renovations, there are other things that we want to do such as developing the garden, so it’s really about making our budget stretch as much as possible at this stage.”
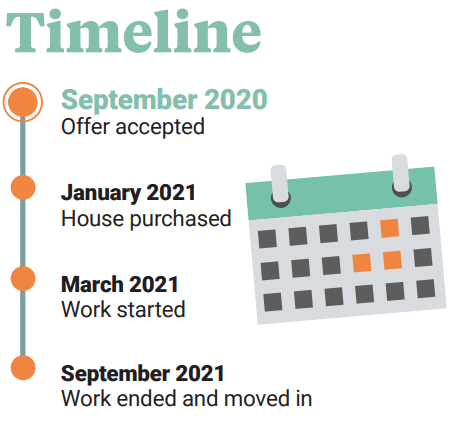
The biggest challenge faced by the project was time, says Catherine. “One of Stevie’s key builders broke his leg and was out for six weeks and Stevie also got Covid during the project. So there were a few delays we had to wait out.”
“Also, because we had two young kids we didn’t want to move into the house and still have to do painting, so mum and dad were very gracious and let us stay while the whole place was decorated. That added on to the project time, but it was well worth the wait.”
Commenting on the finished (phase one) project, Michael says: “Being able to trust the people who worked on it was vital for us. You’re talking about investing a lot of money and making big decisions.”
“We absolutely love our house,” adds Catherine. “It really works for our young family and I think it will work just as well as our children get older.”
Q&A with Catherine and Michael
What is your favourite design feature?
Catherine: For me, it would be the kitchen. It’s the kitchen I’ve always wanted and I love the marine blue. I wanted a big island for people to sit around and it’s where my friends and I relax when they come around for a coffee. We wanted to get the kitchen right as it was going to have to last us many years, so we were prepared to invest in it.
What was your biggest splurge?
Catherine: The brass coloured boiling water tap in the kitchen. I wanted one that would match the golden colour of the kitchen unit handles. It cost £500 which is a lot, but much cheaper than others on the market. We love it!
Michael: I wasn’t that keen on the idea at first, it just seemed a bit expensive, but now that we have it, I wouldn’t go back to using a kettle again.
What would you change or do differently?
Catherine: We had gas plumbed in with a connection for a stove in the living area, as we couldn’t afford to get the stove installed straight away. But now we have a long list of things that we would like to do, like the garden, replacing the windows and tarmac for the drive etc., so the stove will probably go further down the list. So maybe we should have somehow found the money at the start – at least it would be working now.
Michael: There isn’t anything obvious that we would have done differently. It was all about getting the most functional work done within our budget. When the budget becomes available, we’ll start phase two.
What single piece of advice would you give a renovator?
Find professionals that you can trust by using personal recommendations. The trust part was massive for us. Within the networking group, there was a lot of reassurance that the guys had done jobs for the other guys in the room so it just made it that bit easier for us to know we were in good hands. It gave us the confidence to go ahead
Photographer: Paul Lindsay, paullindsayphoto.co.uk


