In this article we cover:
- How an architect designs his own family home
- How they got their infill site
- Design challenges and planning obstacles
- Choice of building method
- Opting out of appointing an assigned certifier
- Day to day on site
- Budget and project management tips
- Build costs including SIPS supplier
- Full specification and floor plans
House size before: 179sqm
Plot Size: 283sqm
BER: A3
Airtightness: 1.962m3/hr.sqm

Costs: SIPs supplier cost approx. €350k which includes the €15k kitchen. Plus sanitary fittings/tiling with labour organised independently at approx. €20k. Plus connection to services of approx. €50k, local council contributions of €12k, and planning and professional fees.
House value: €600k
Ground floor: 120 mm PIR insulation, 50 mm PIR insulation turned up at floor edge, A142 steel reinforcing mesh, 150 mm of 25 N20 concrete power floated to a smooth finish. U-value 0.17W/sqmK.
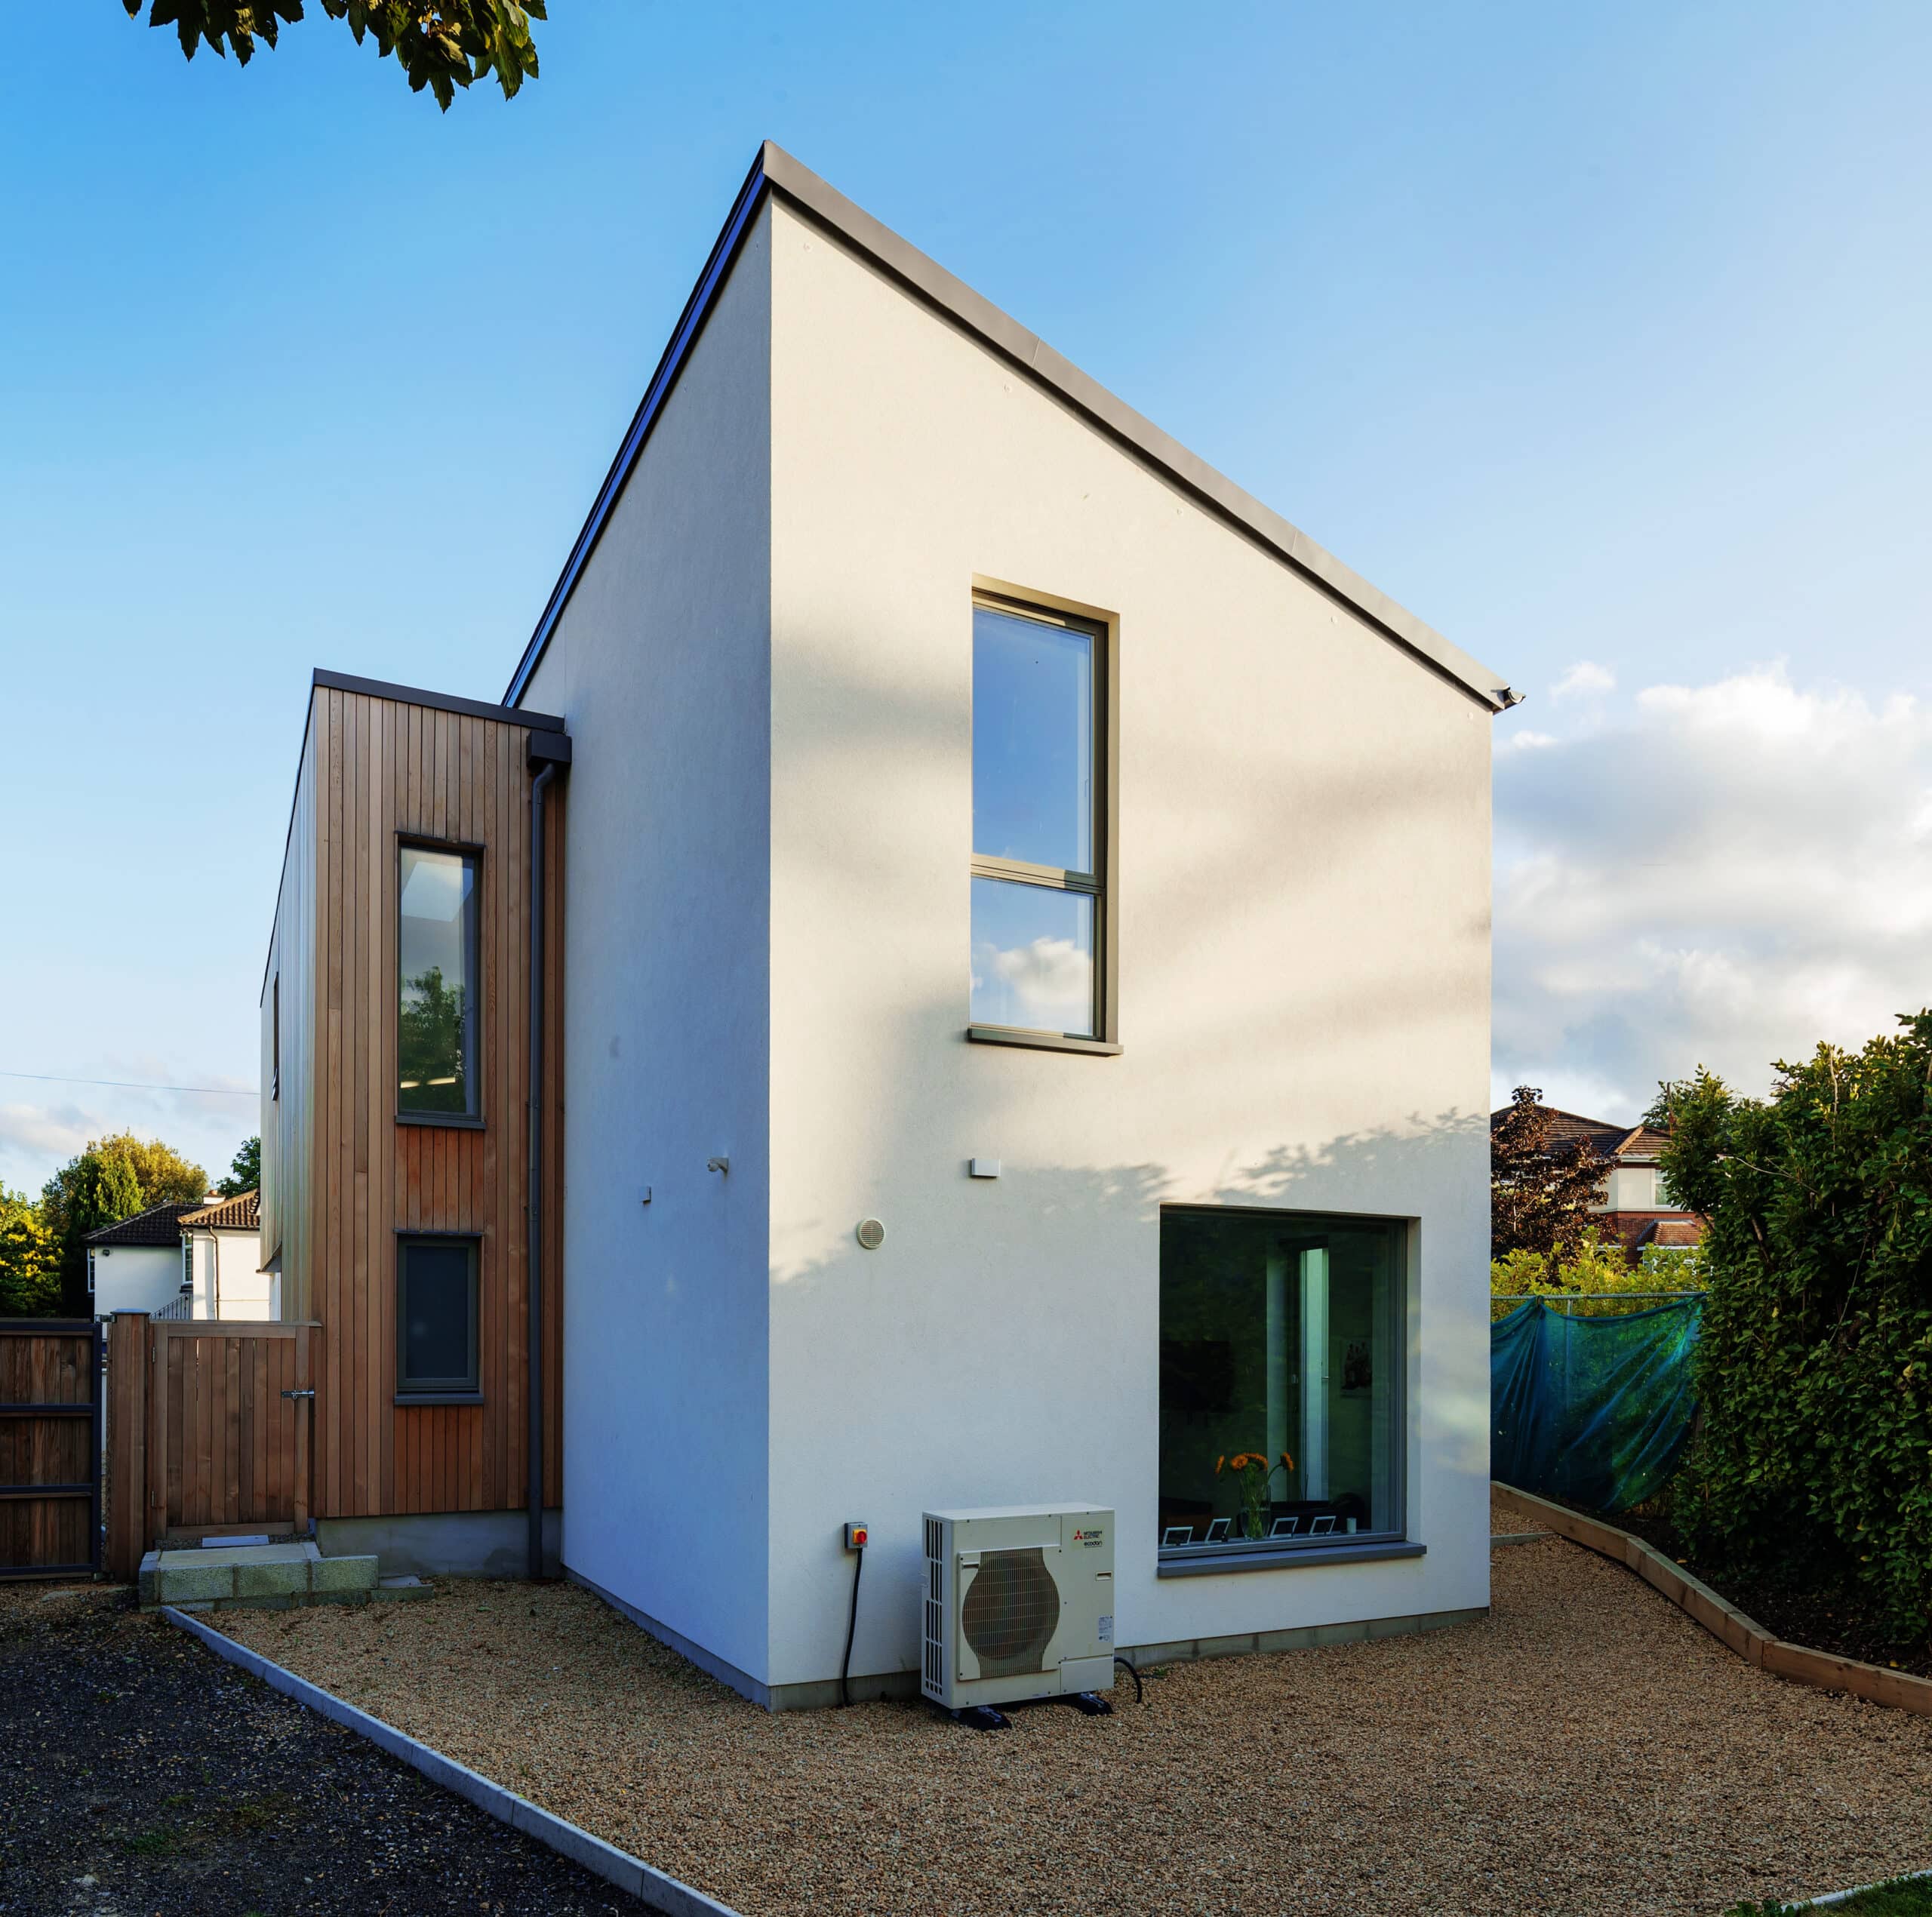
Timber frame external walls: Acrylic render finish and vertical cedar cladding on external breather membrane, 9mm OSB for structural resistance, external timber frame 140 x 38 mm
CLS graded timber fixed at 600 mm centre, 140 mm rockwool stud wall insulation, 60 mm PIR board, airtight membrane, 50 x 38 mm service batten,12.5 mm plaster board skimmed to a smooth finish. Full airtight system to include taping of all joint at floor and ceiling and around all windows and doors. U-value 0.14W/sqmK.
Internal walls: 89 x 50 mm CLS graded soft wood timber, internal dividing walls filled with 90mm acoustic roll, steel structure included as per engineer’s specification.
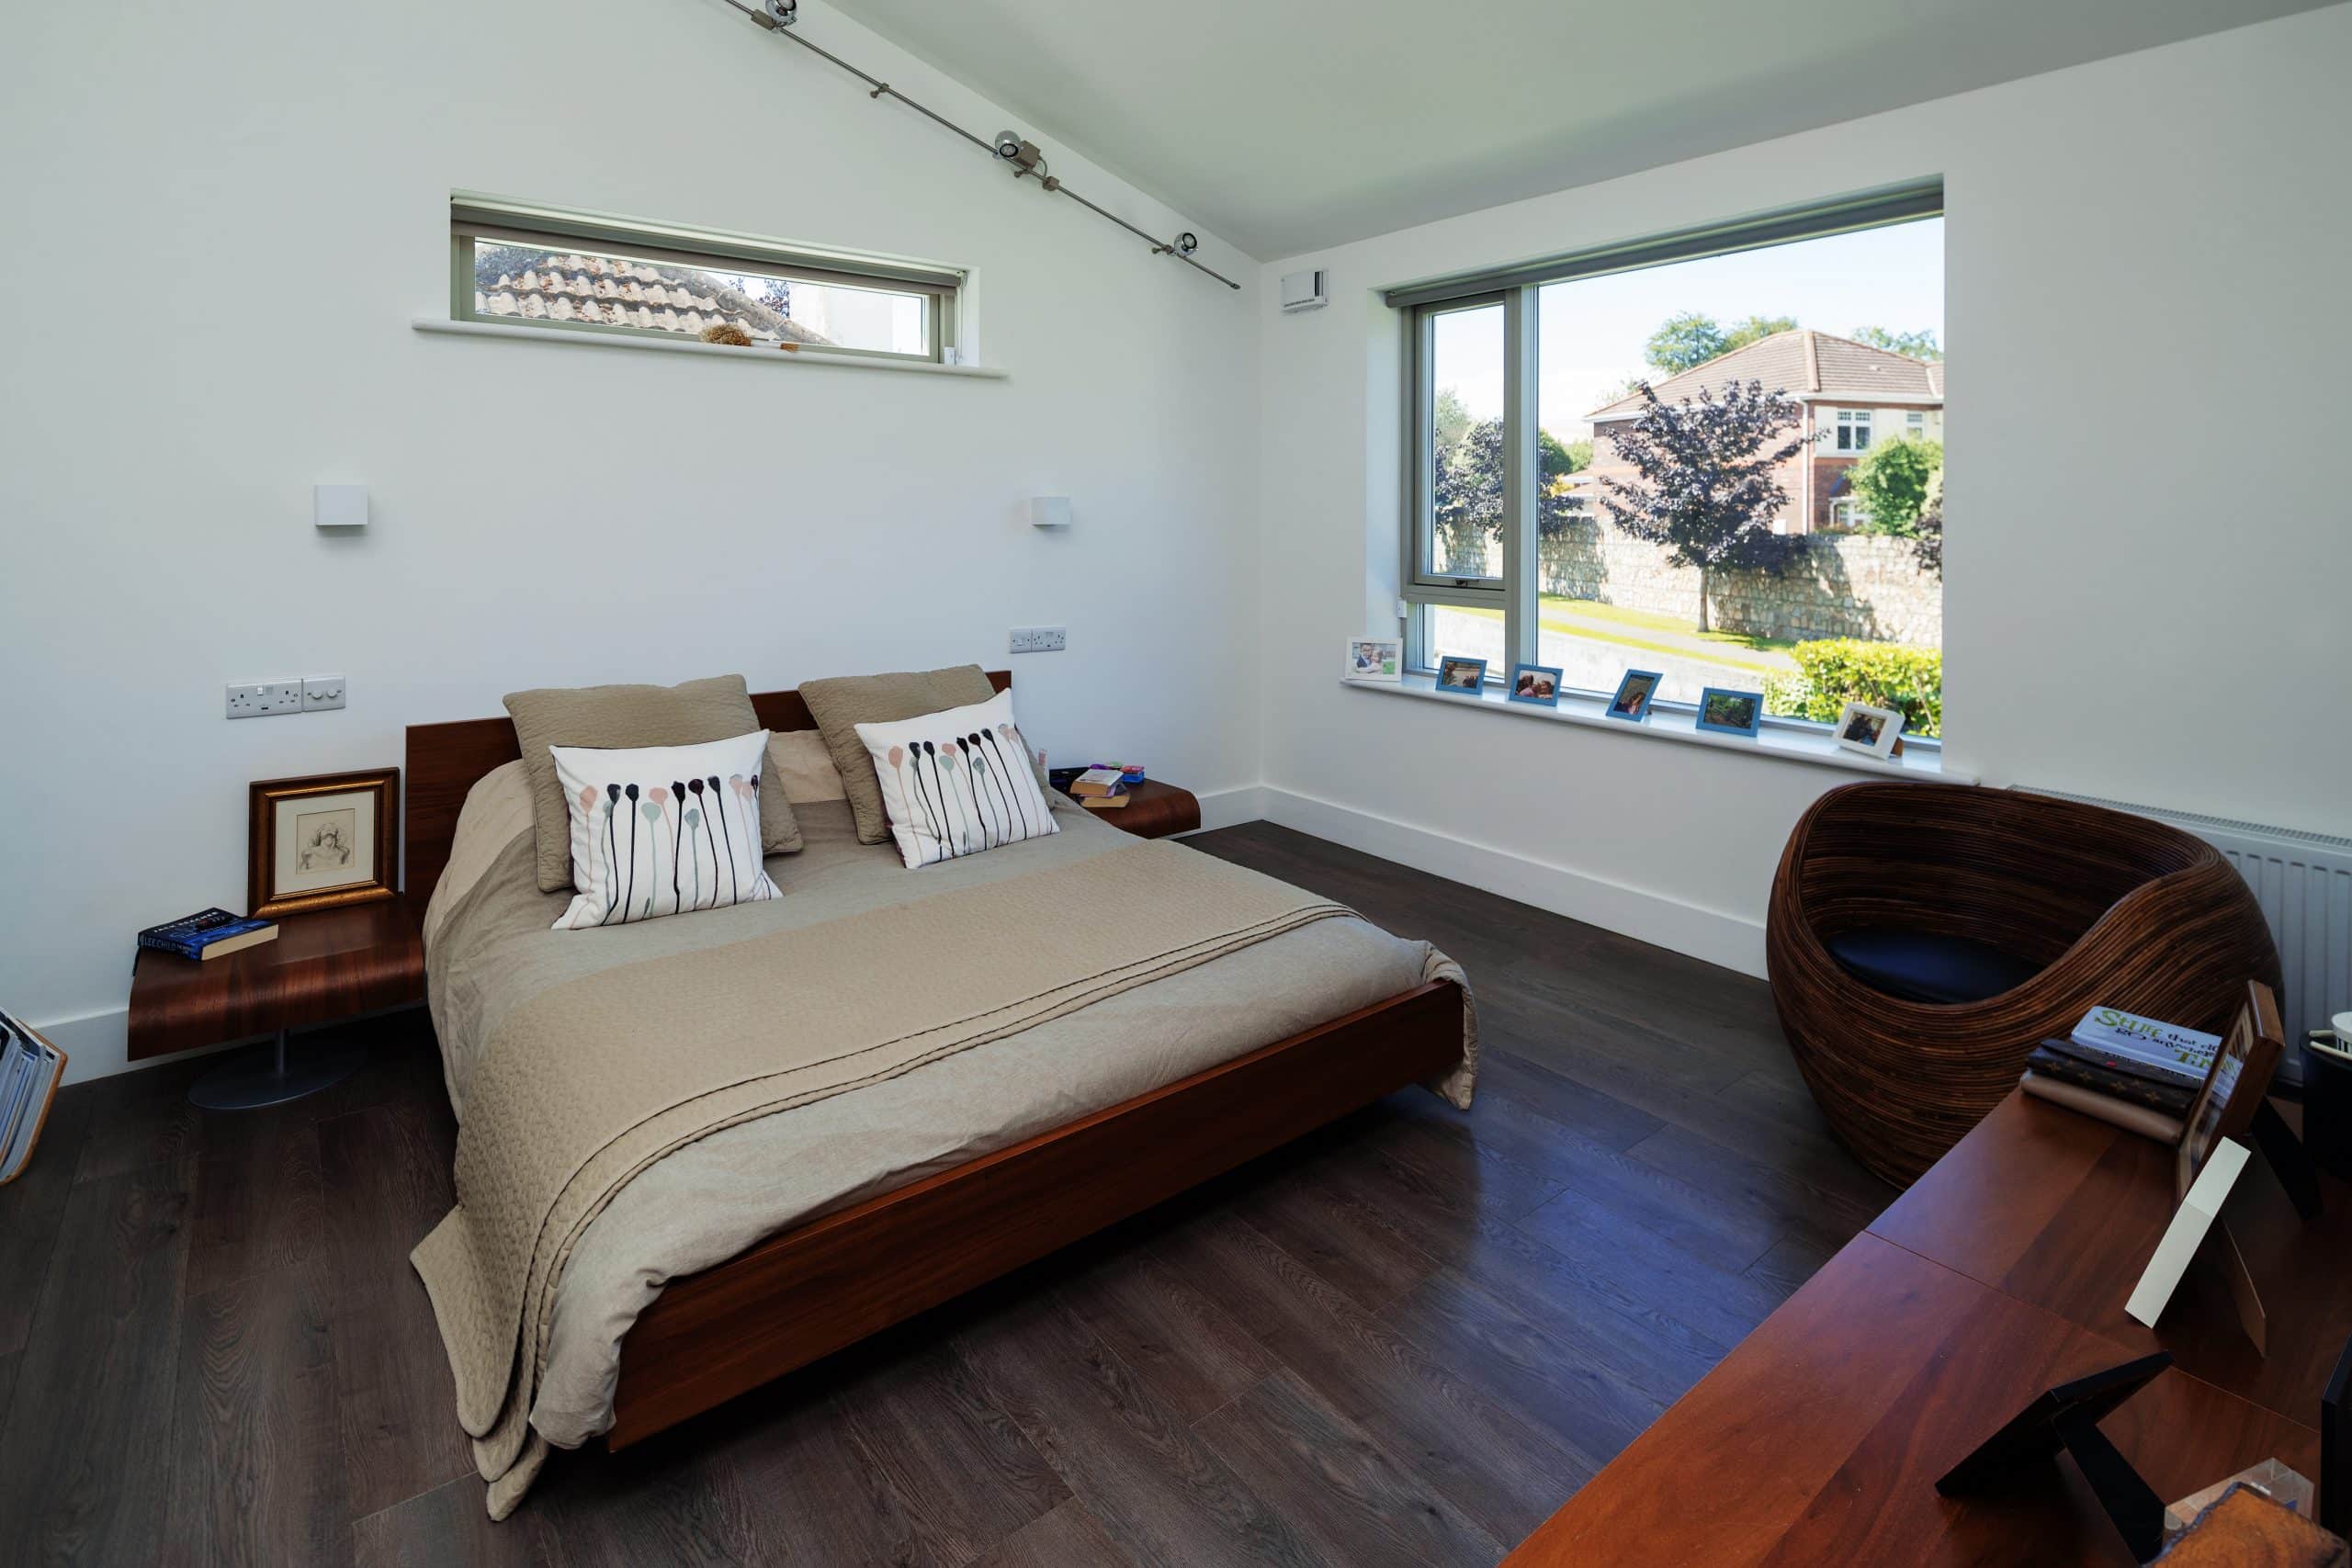
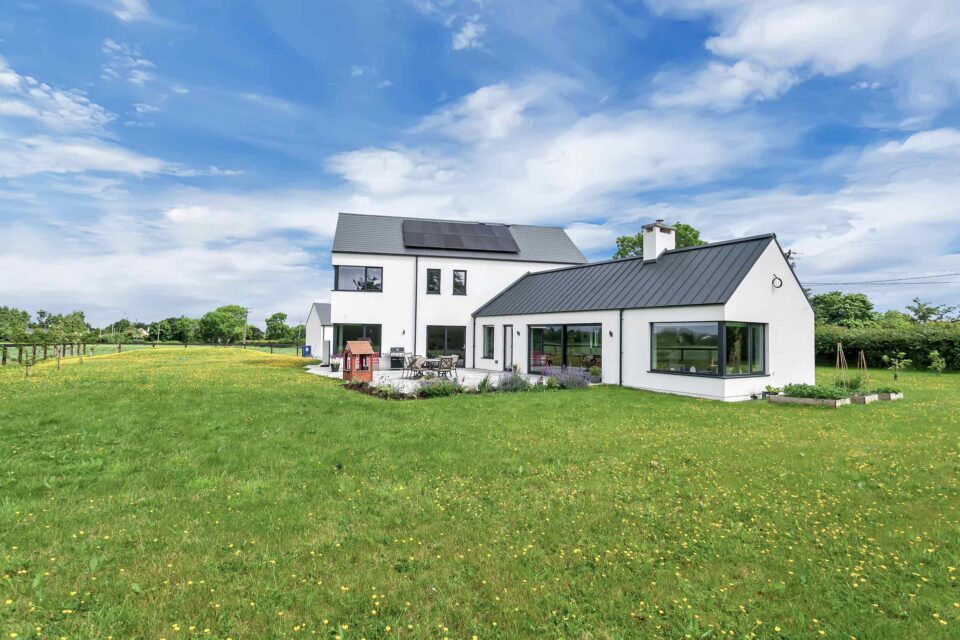
Roof: Coated steel standing seam zinc effect finish to mono pitch roof including insulation at ceiling level. Master bedroom area 150mm PIR between the rafters and 50mm PIR below, insulation at ceiling level. Rest of dwelling 200mm insulation between the joists with 150mm above. U-value 0.12W/sqmK.
How did the project come about?
We needed a house with more space to accommodate our family. With five people, three of them young children living in a small two-bedroom house, we had to come up with solutions.
The first thing we did was to apply for planning permission to extend our previous home, however, during the running of this process, my wife Gráinne’s parents (Michael and Deirdre) proposed to give us a part of their land/ side garden to build our own house, subject to getting planning permission which we eventually received.
Really, without Michael and Deirdre, this project would not have been possible. It was obviously a fabulous opportunity for me as an architect to design and build a home for my family and once confronted with the option to extend or build new, we opted for the latter since it provided us with a better longer term financial investment for us as a family.
What was the design process like and how did you keep a lid on the budget?
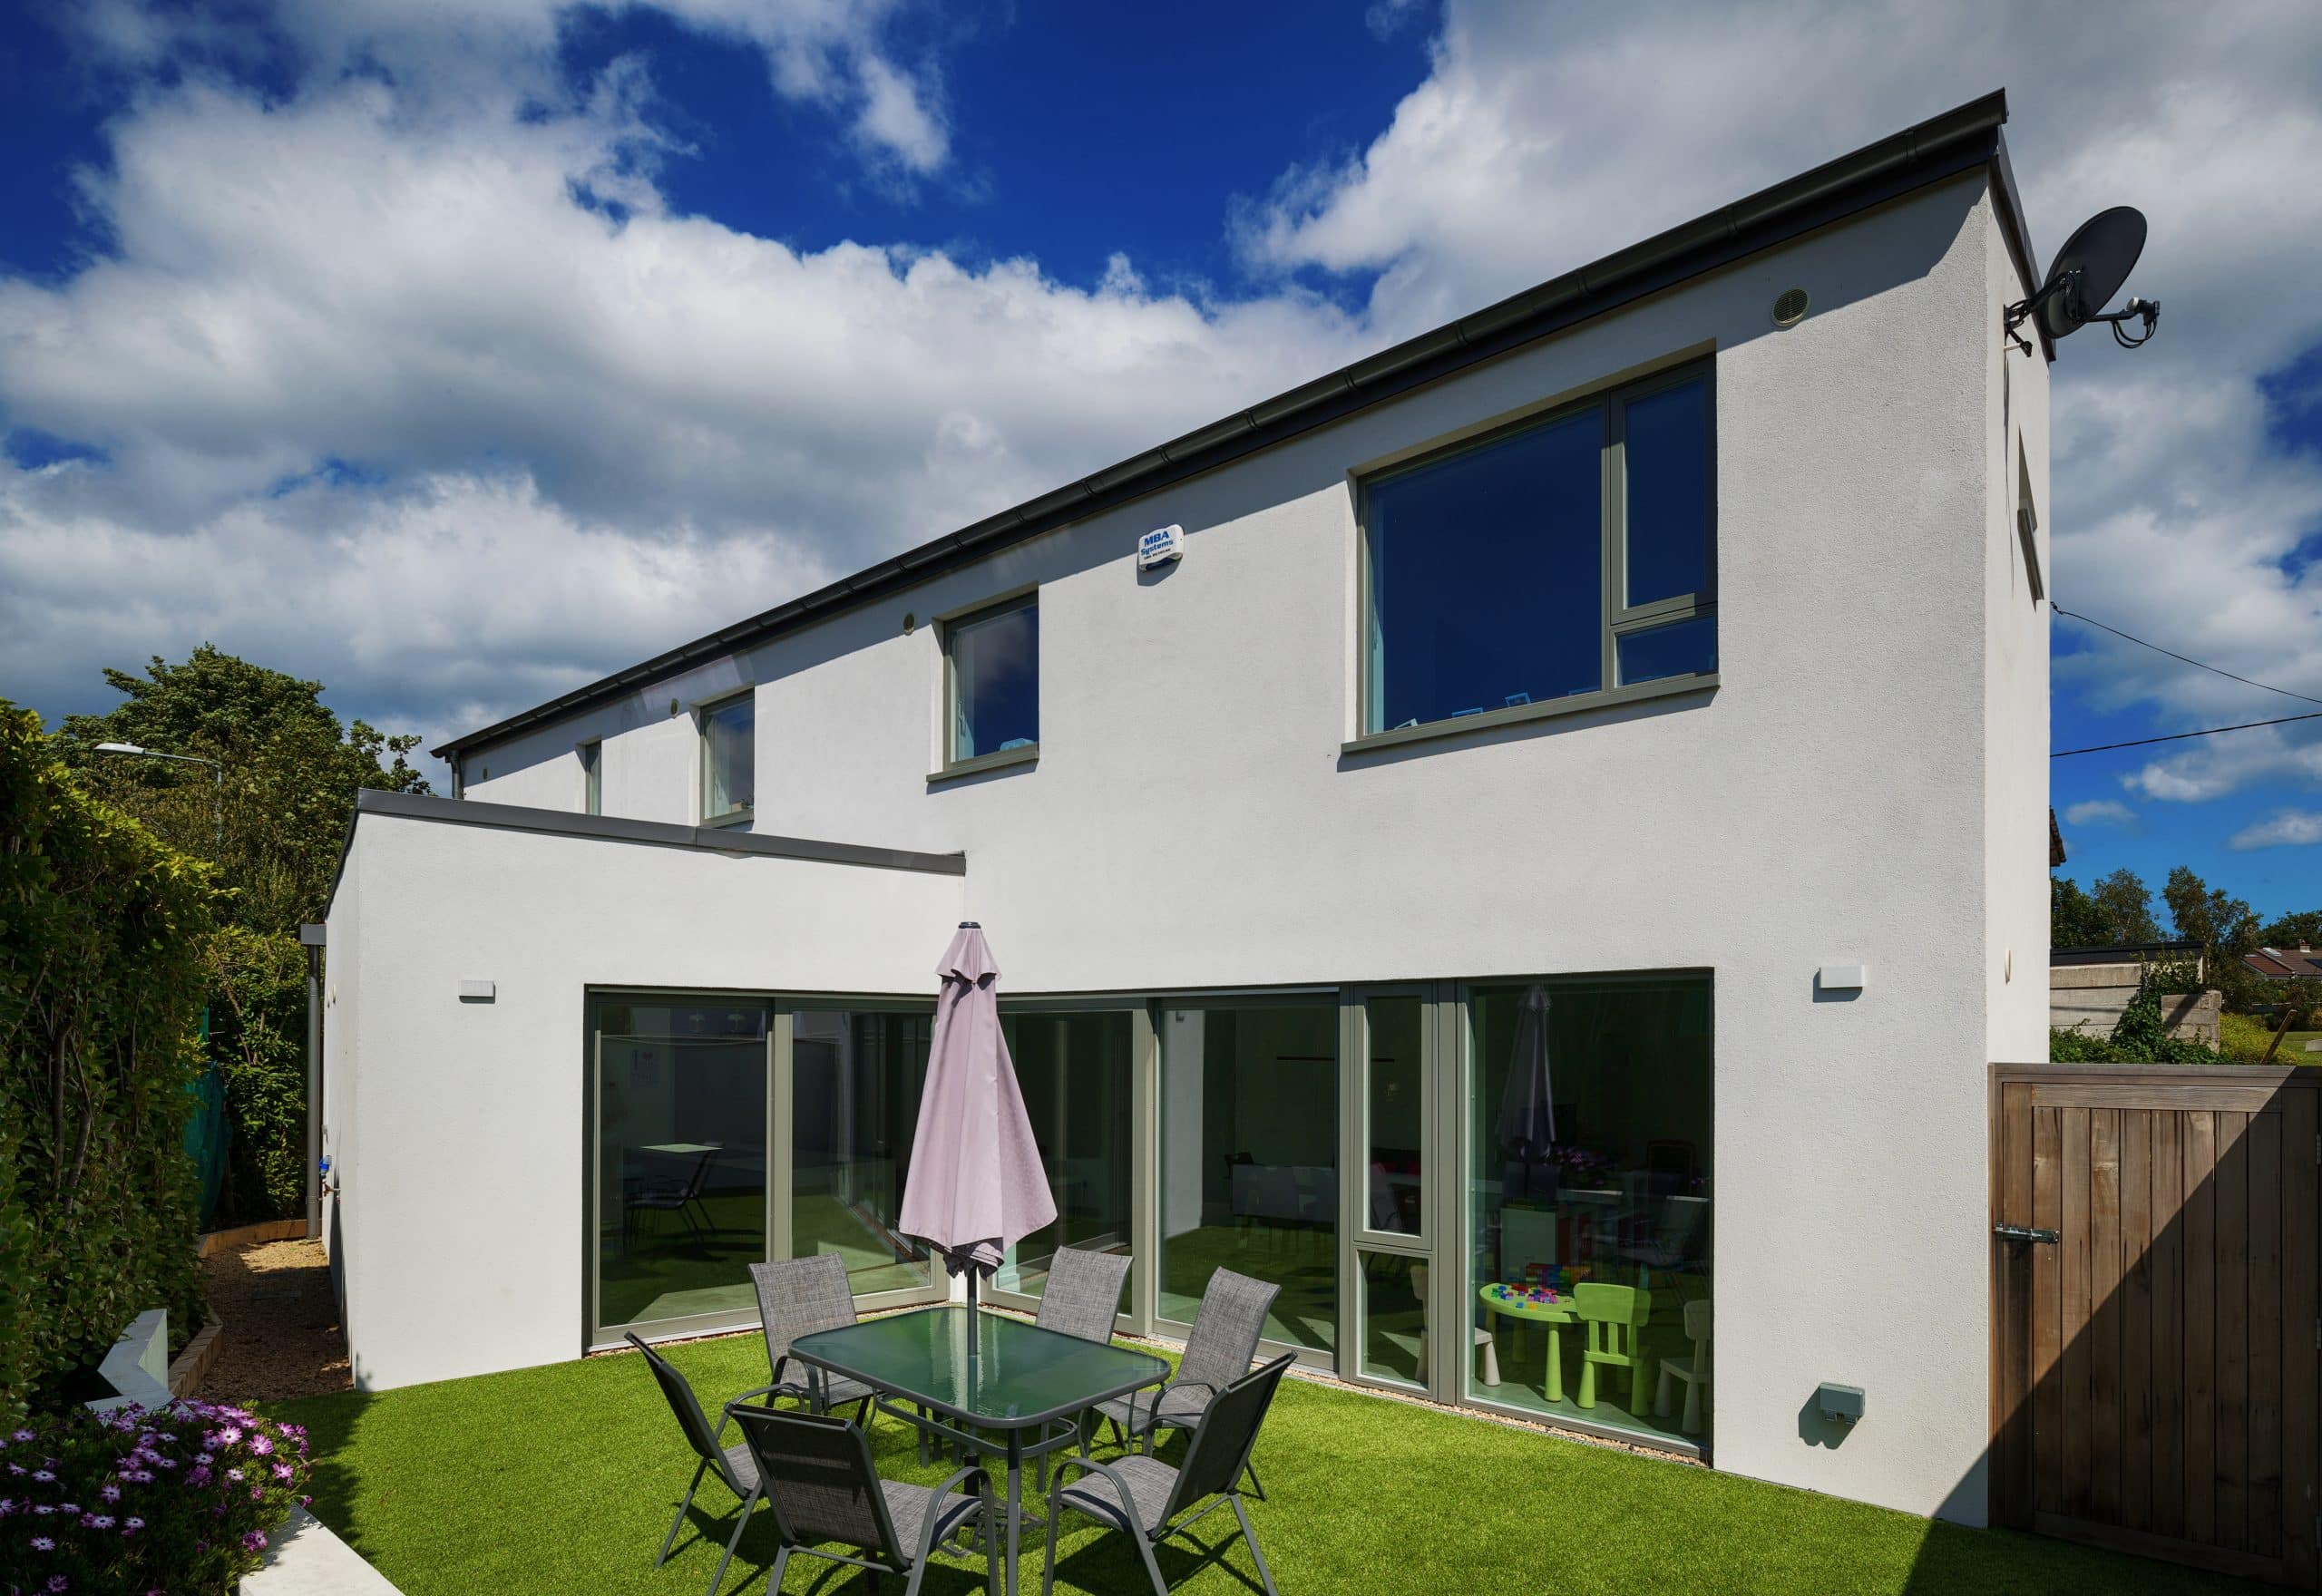
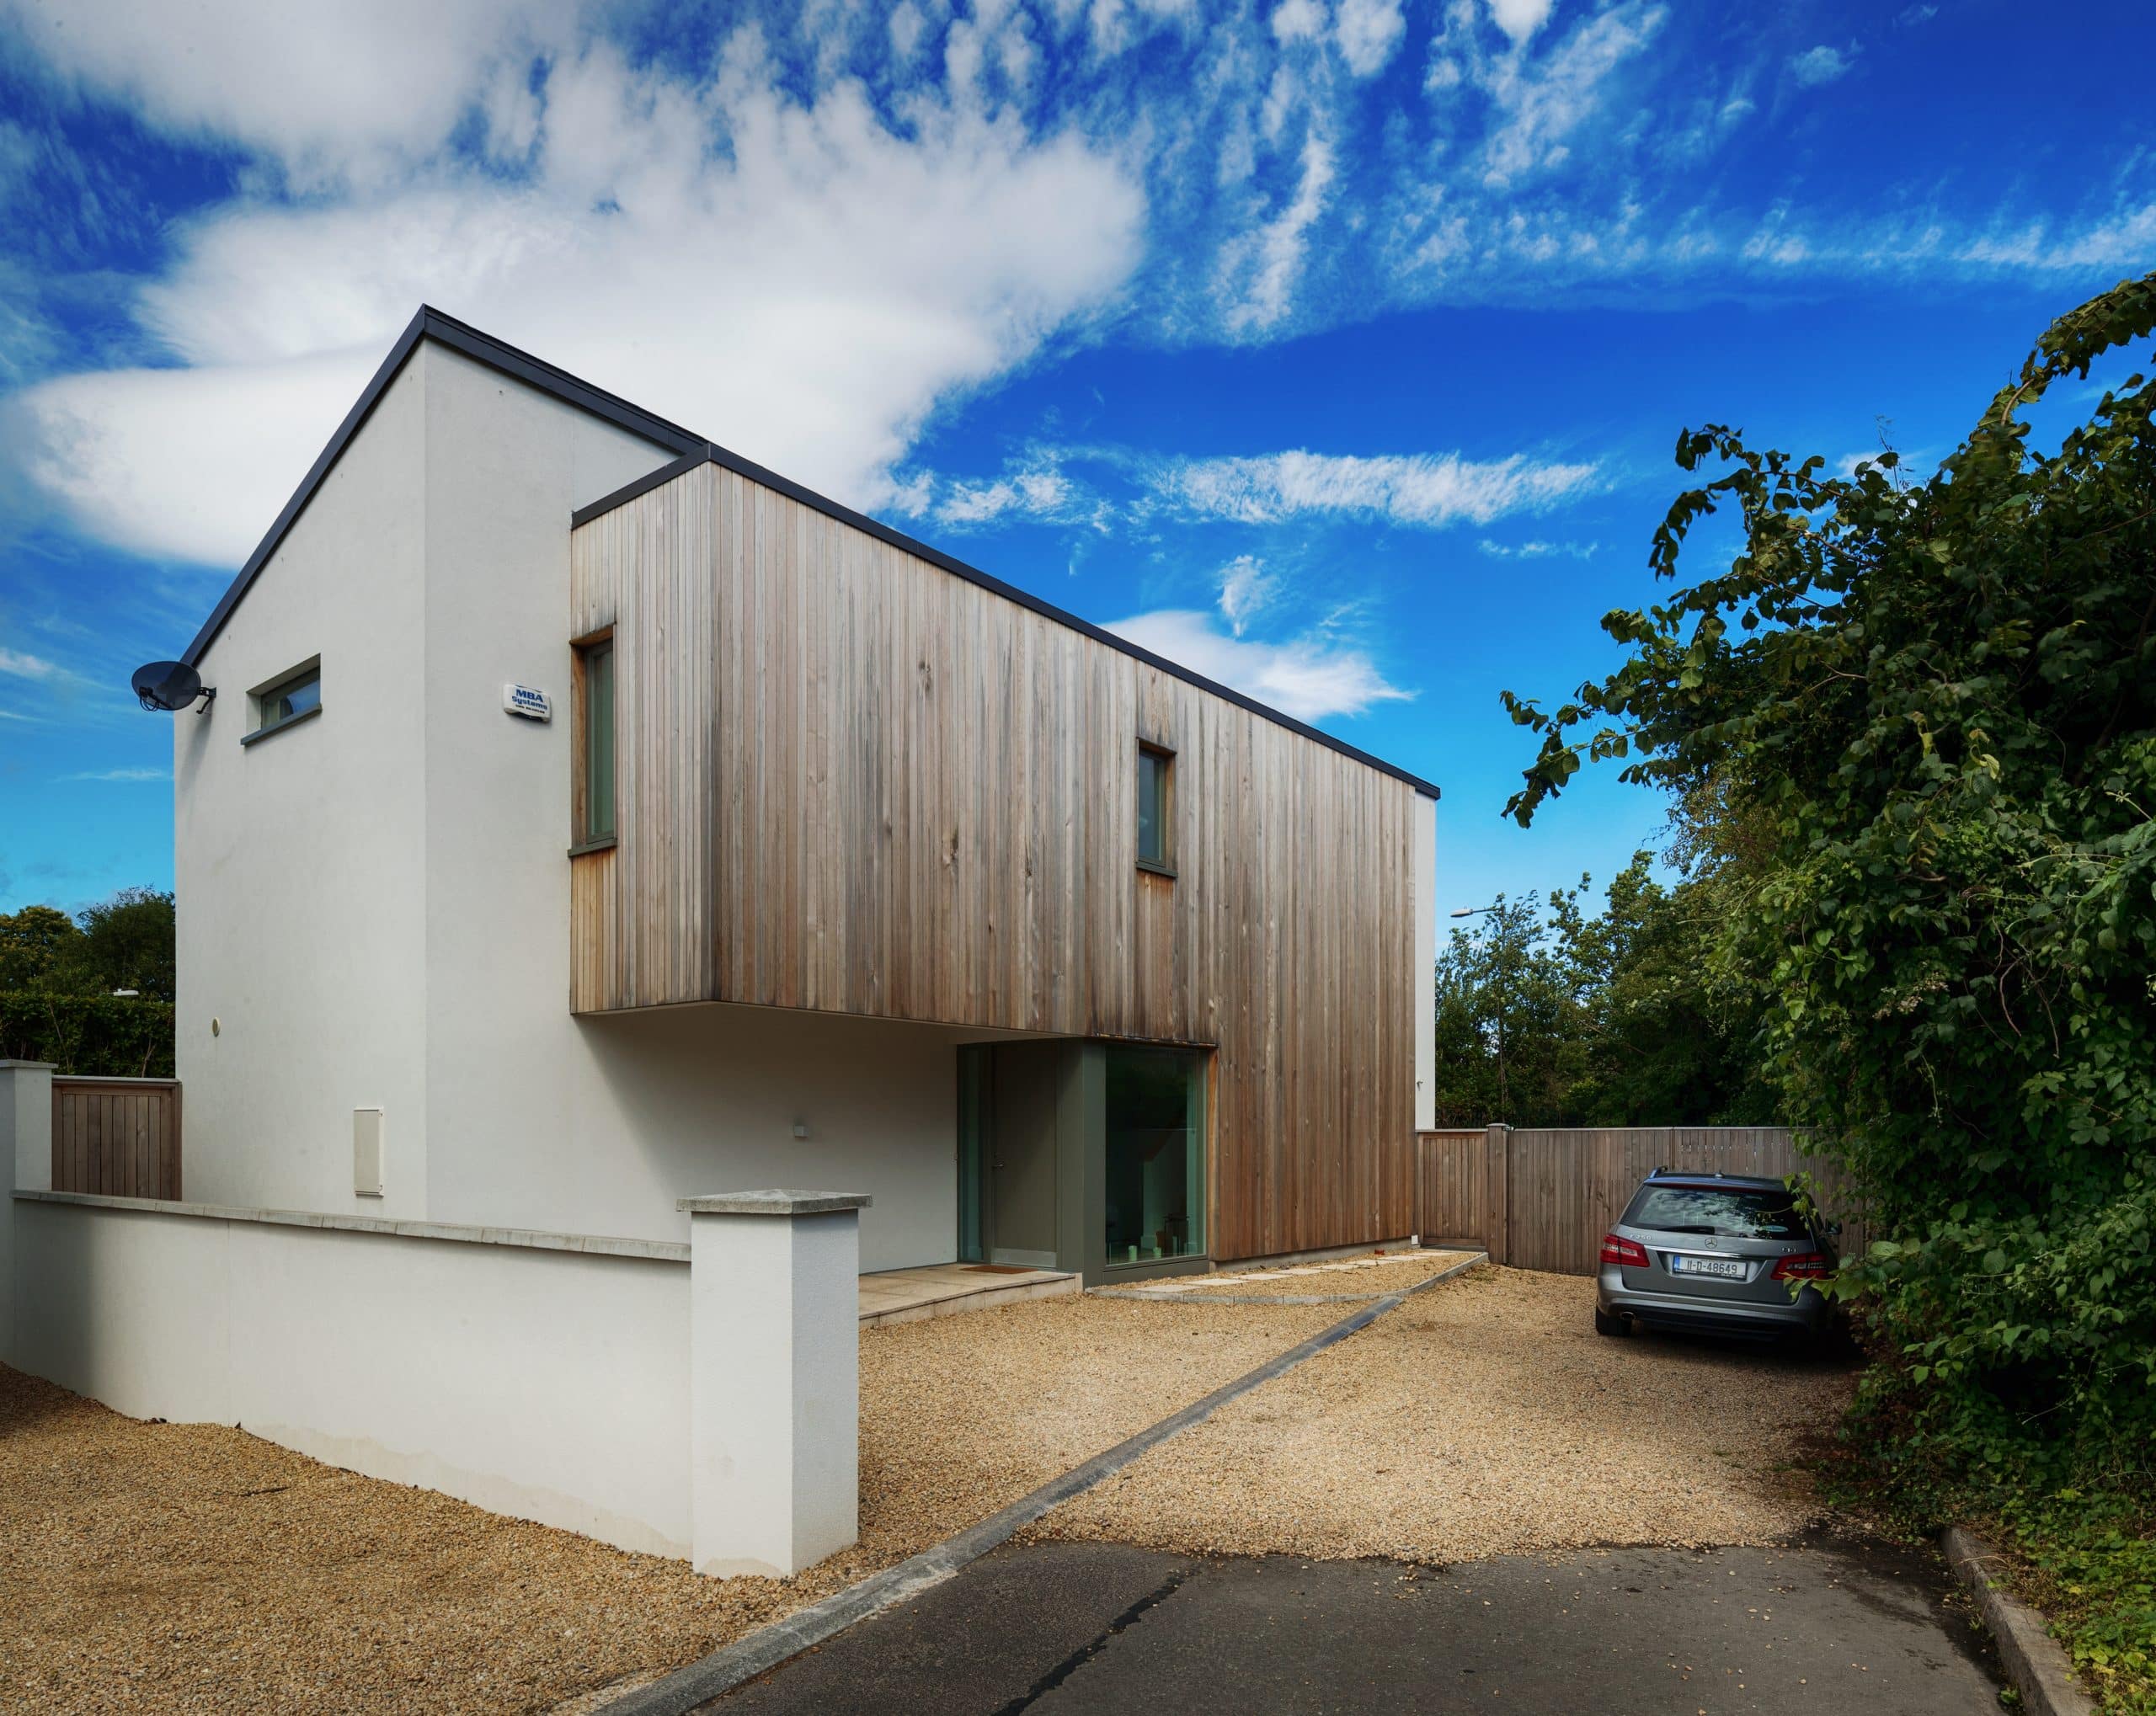
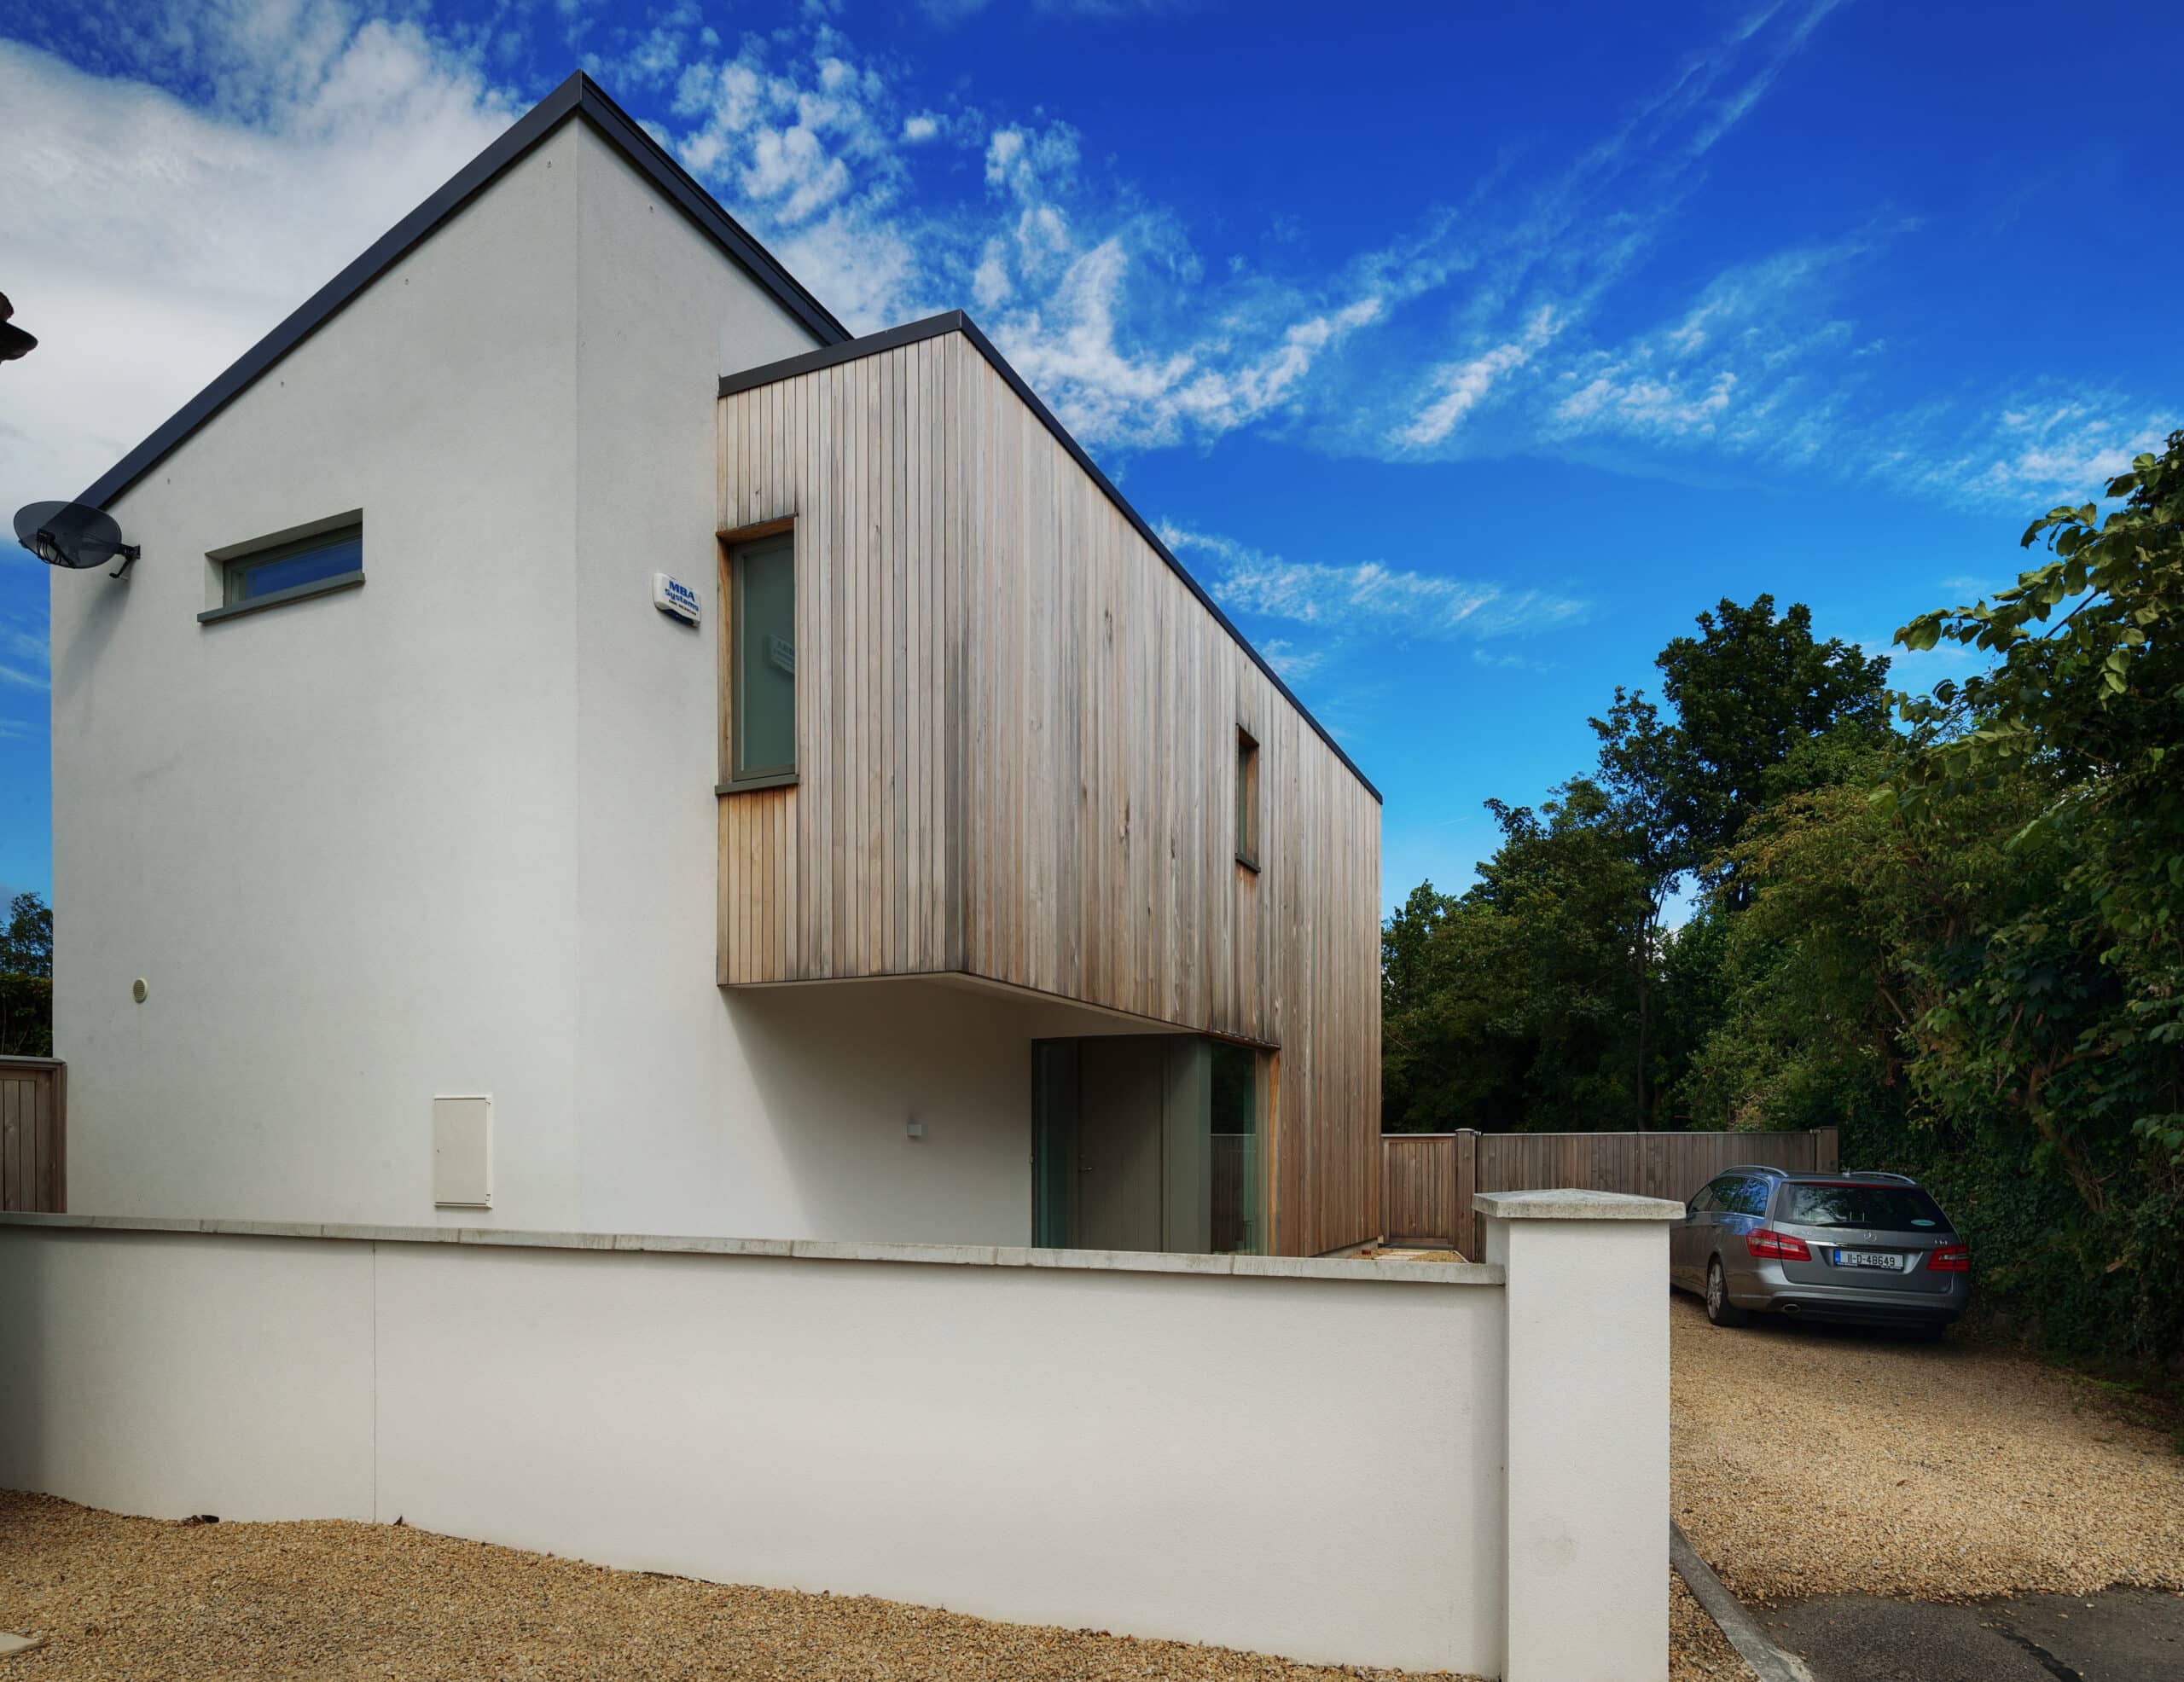
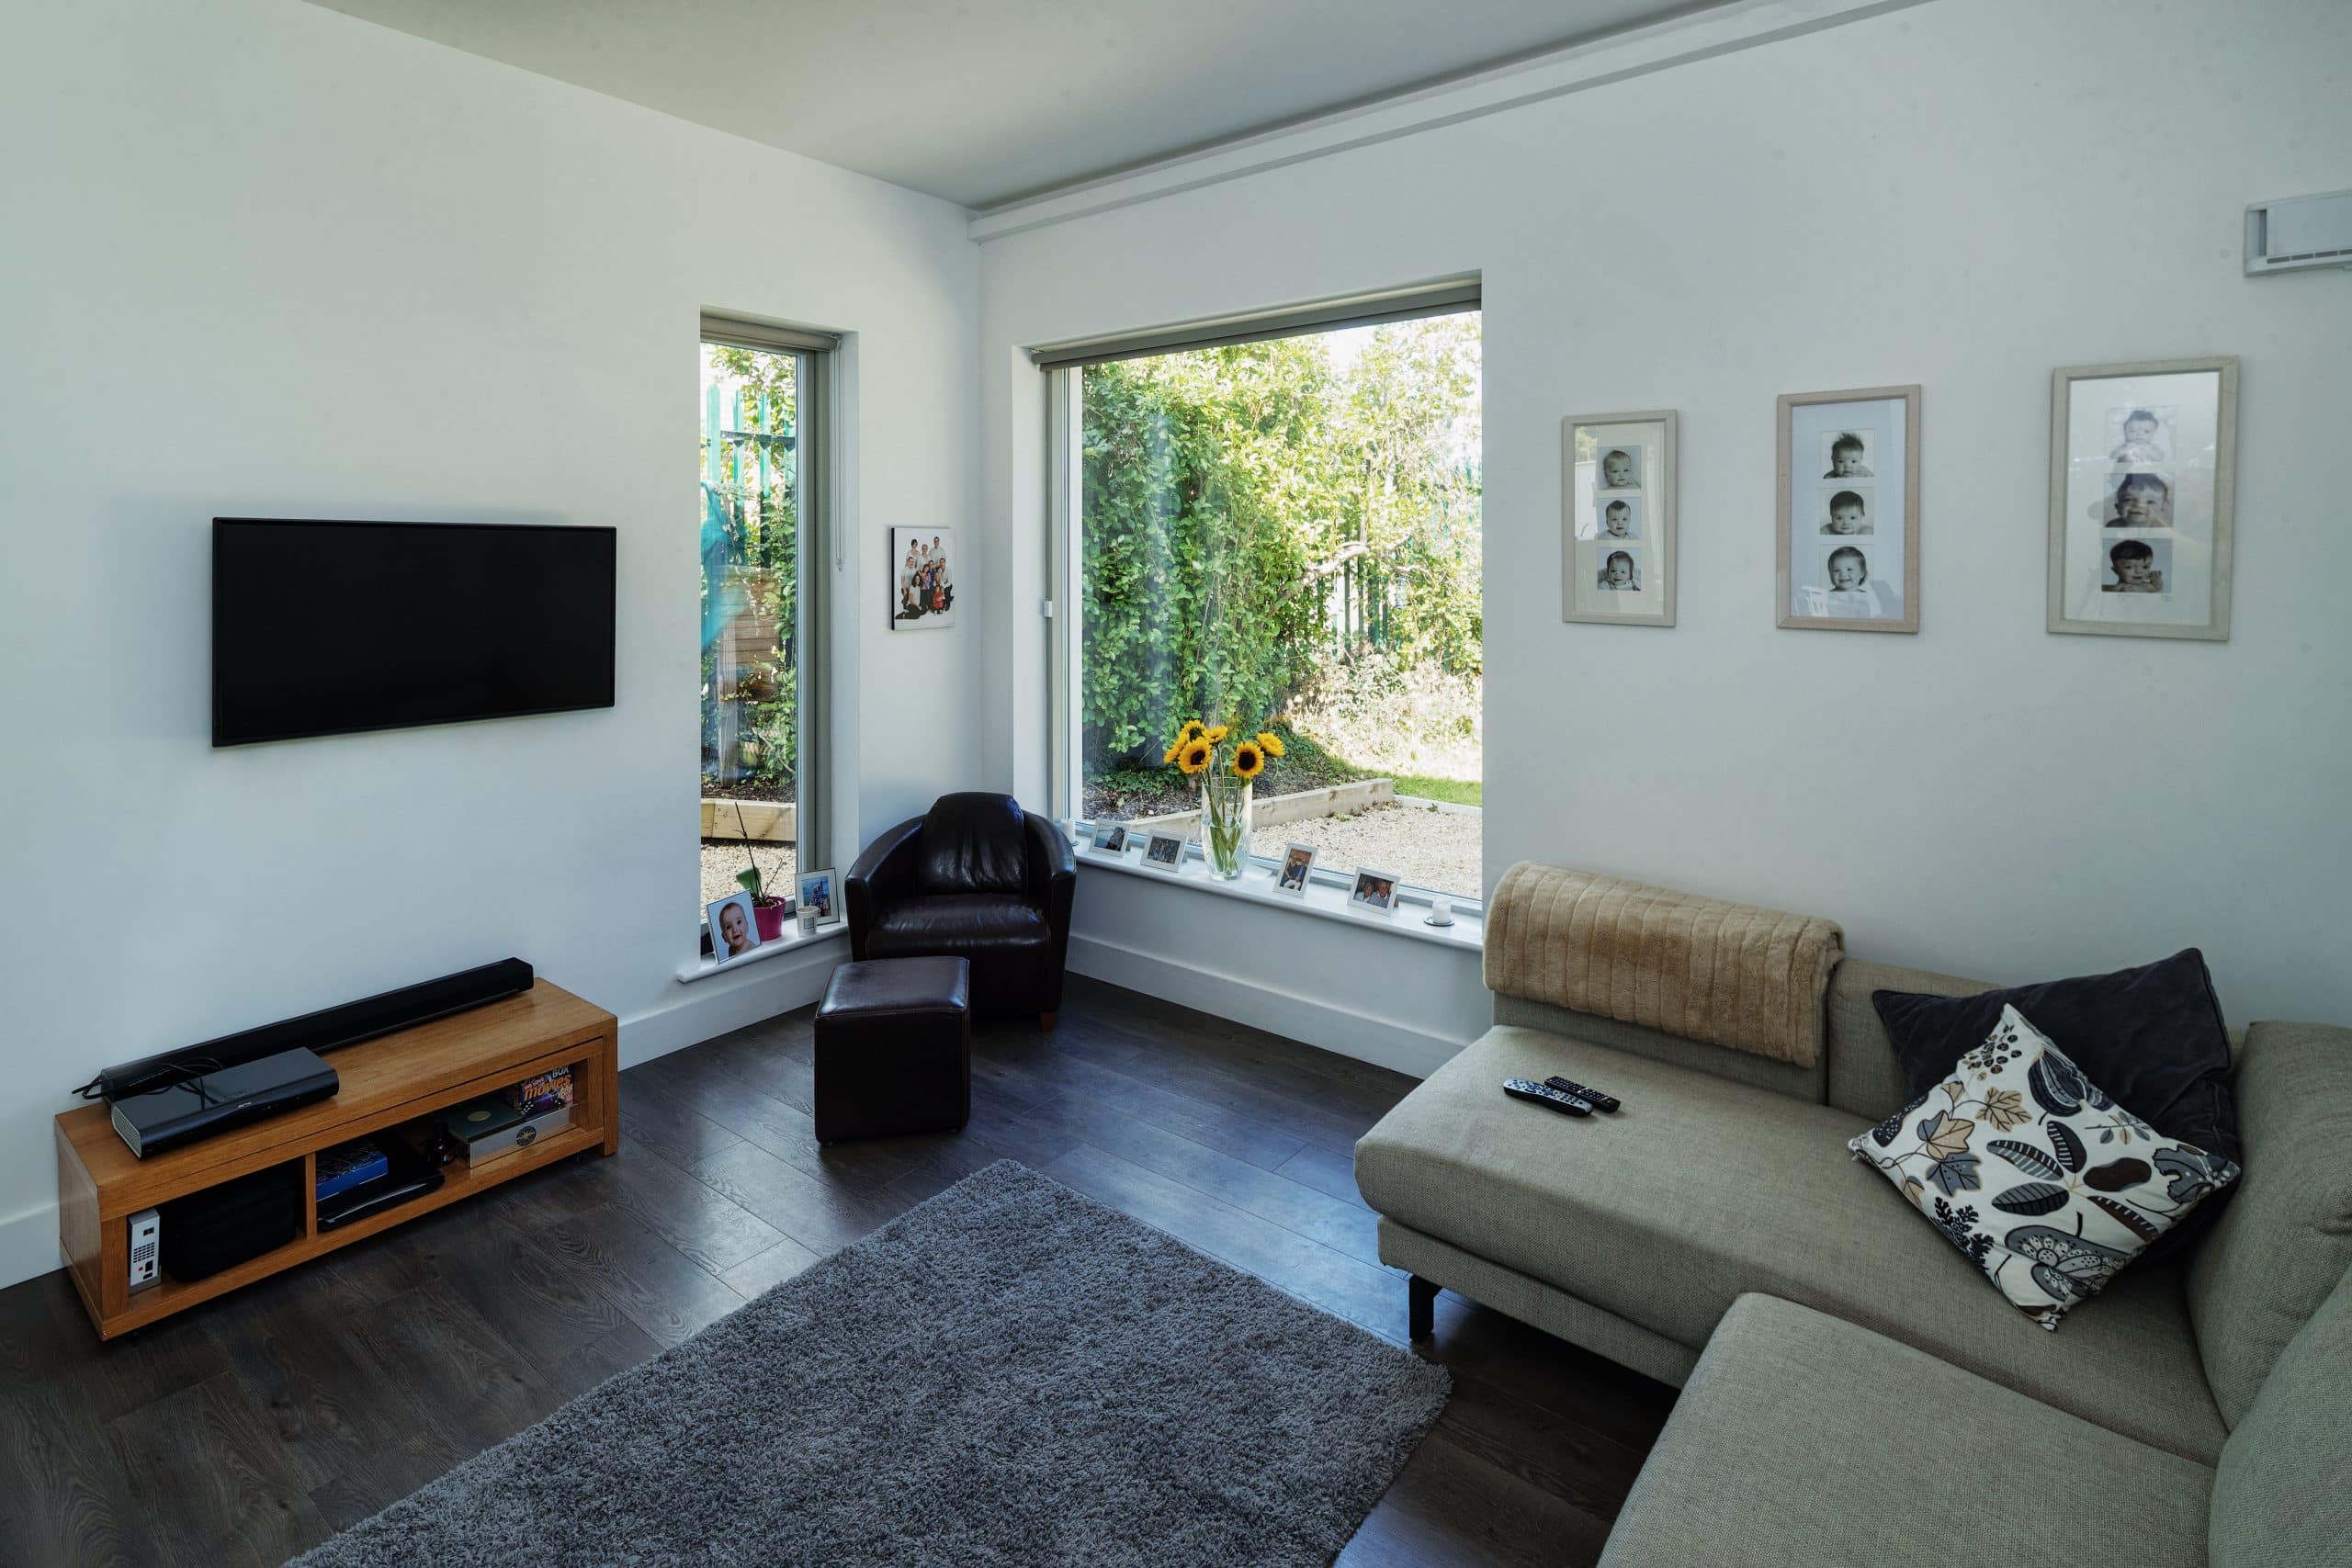
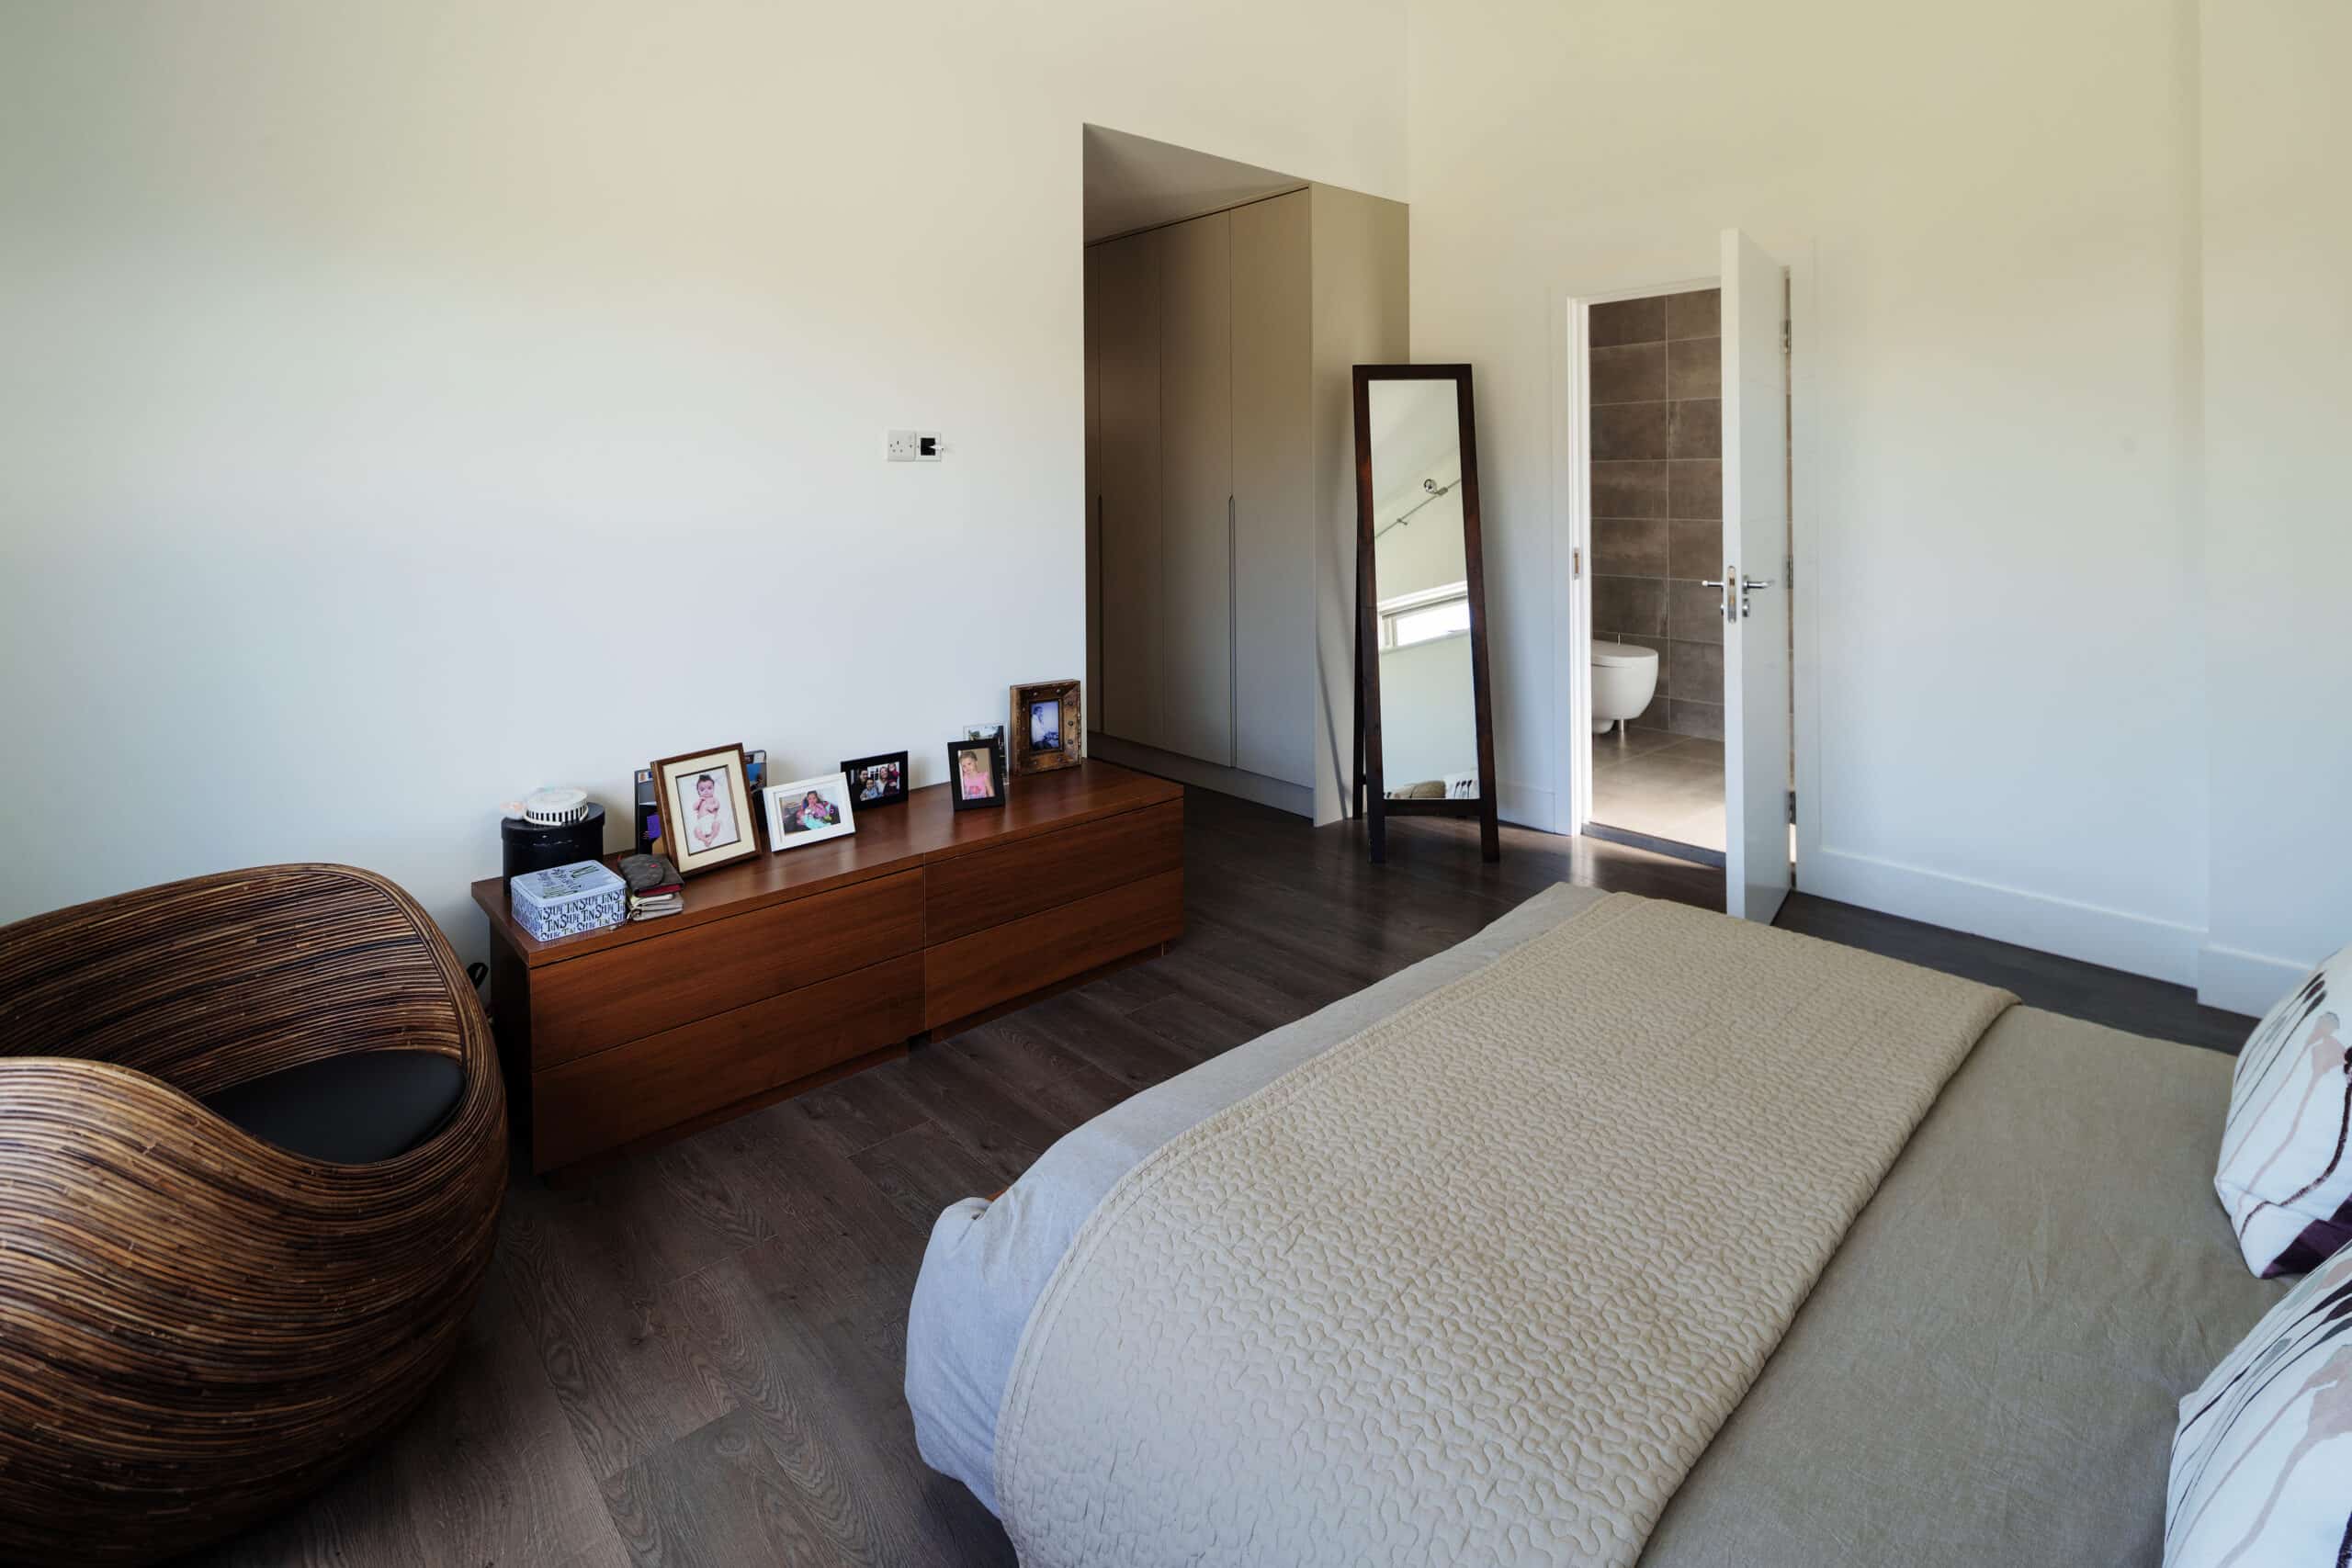
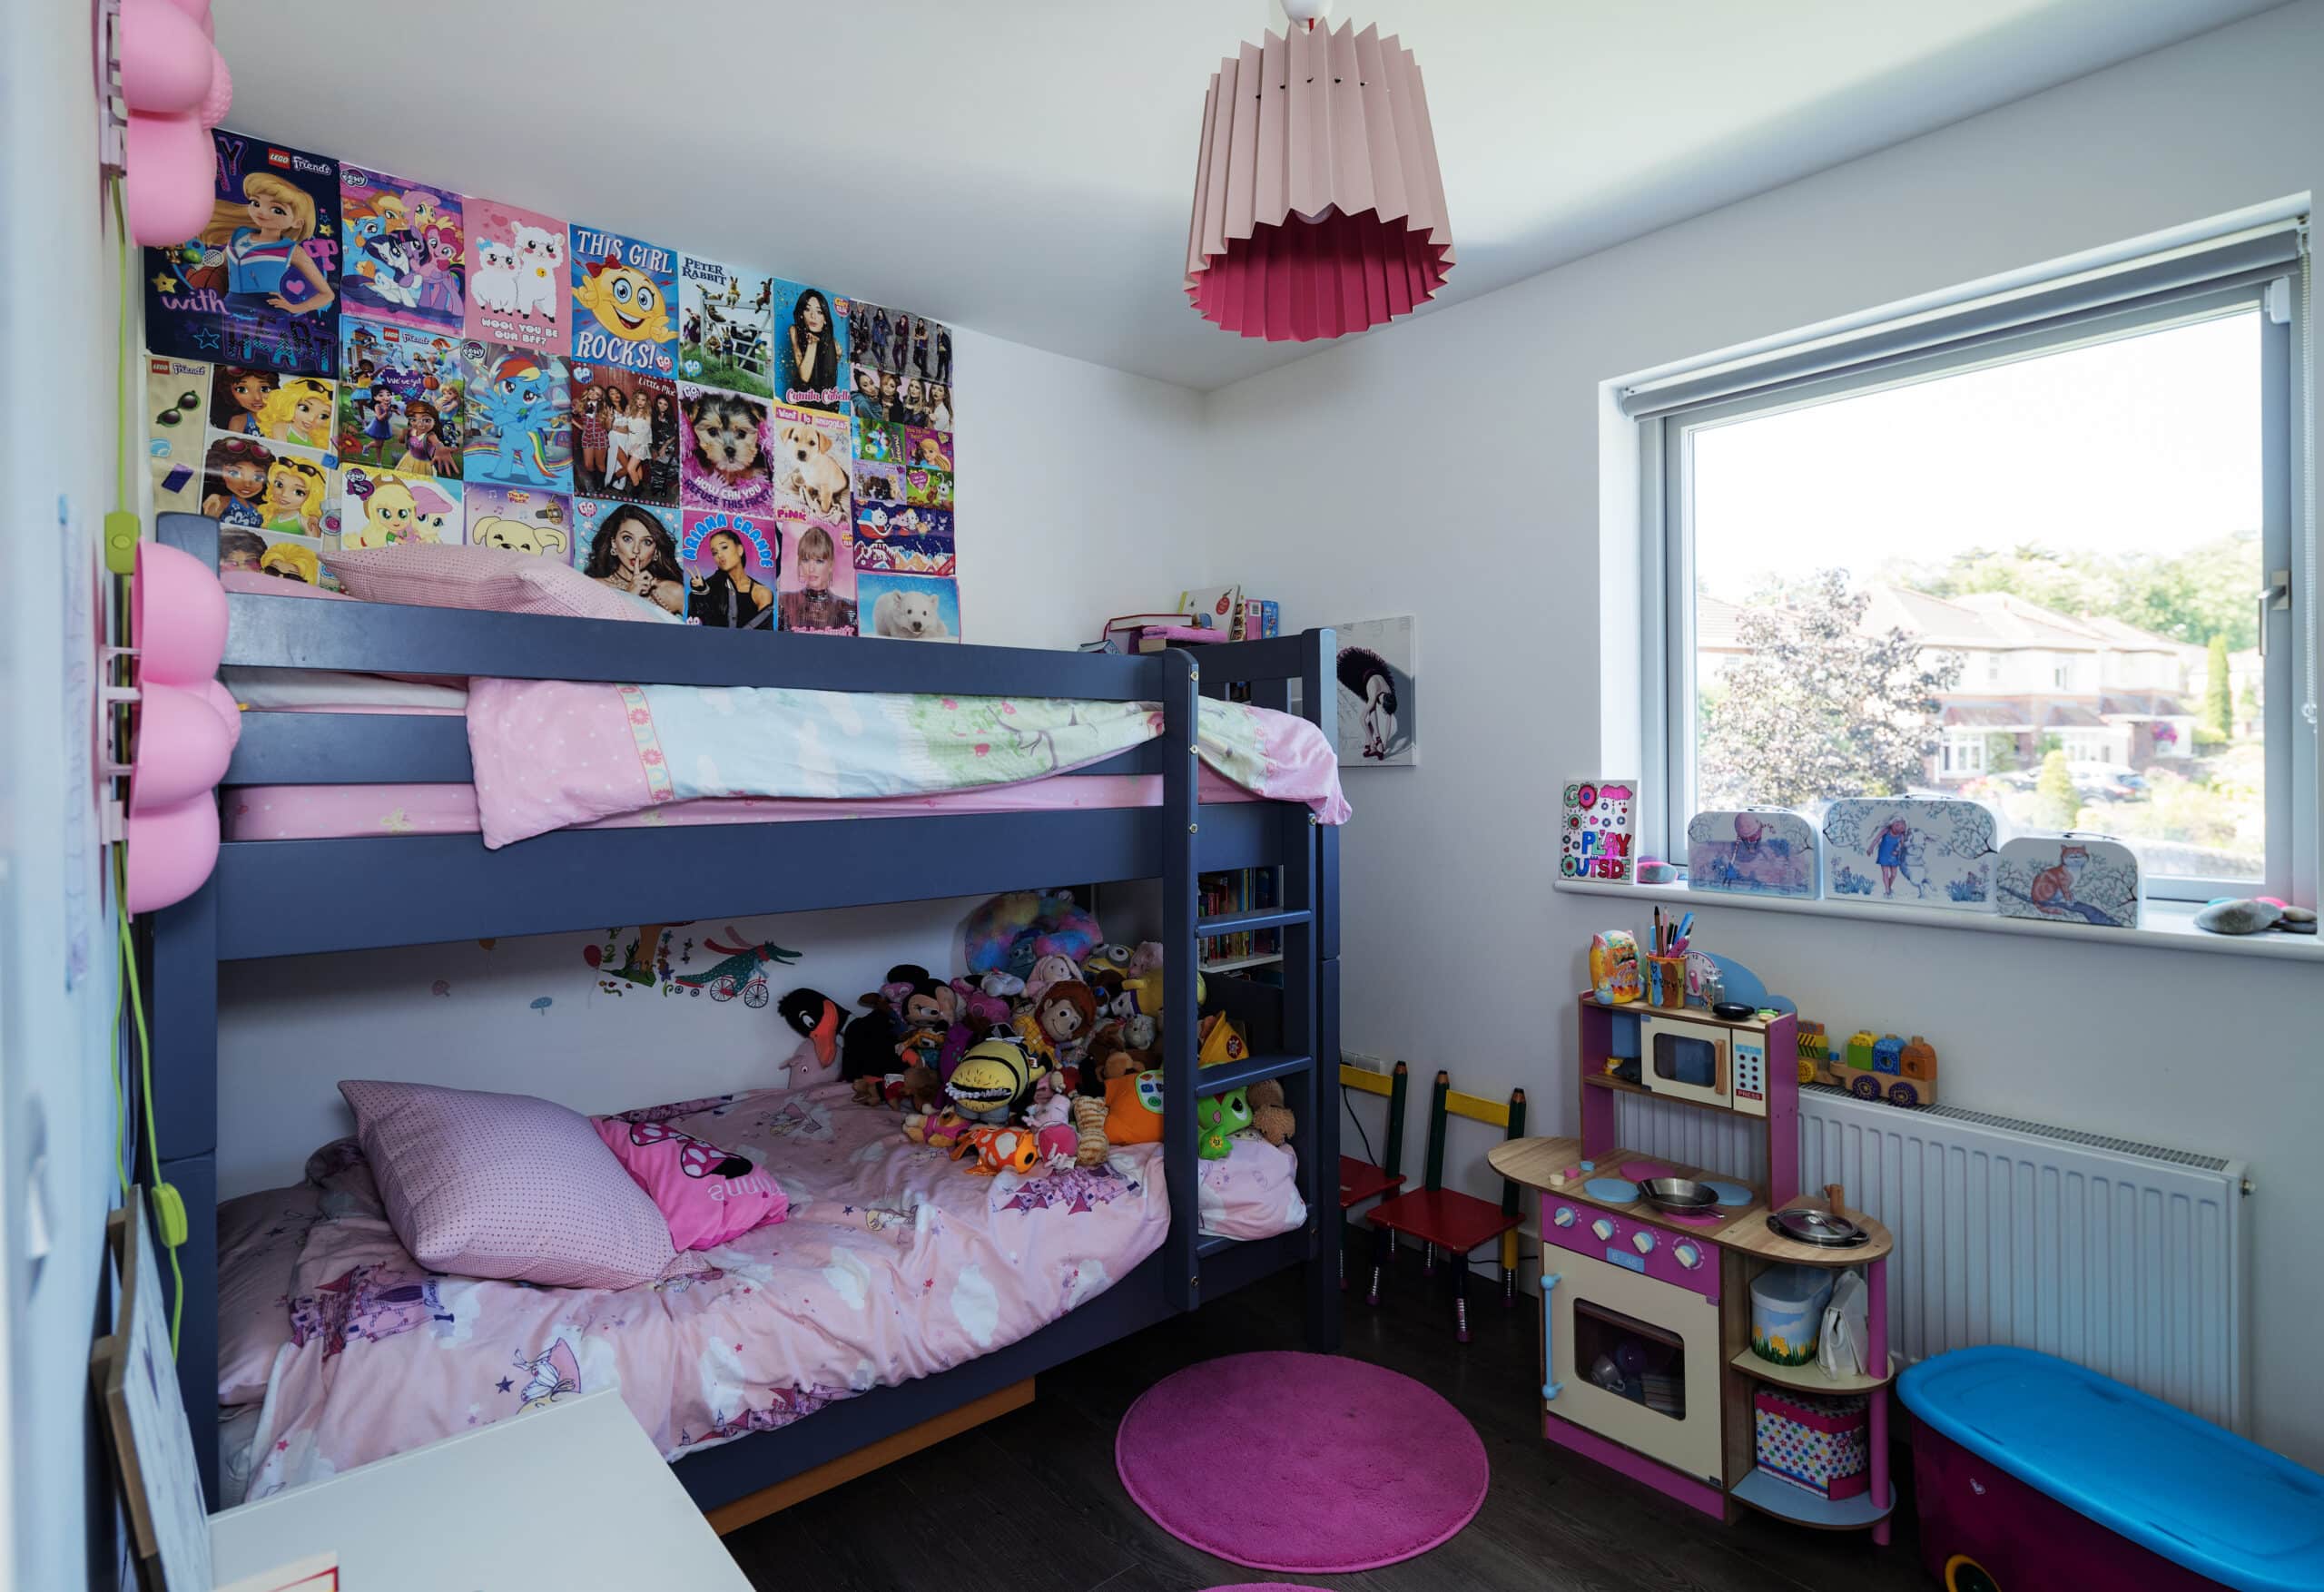
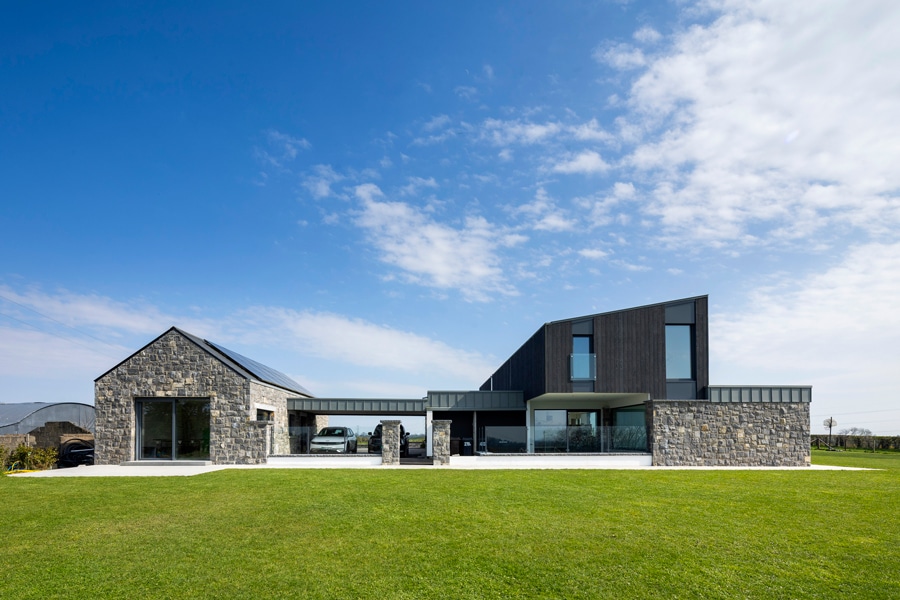
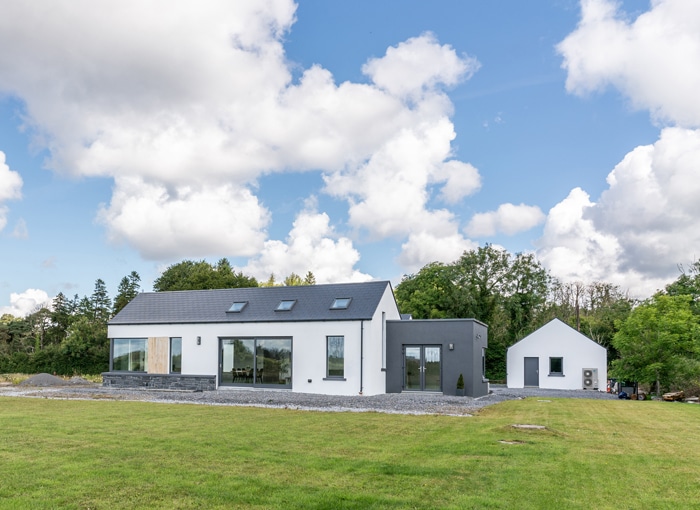
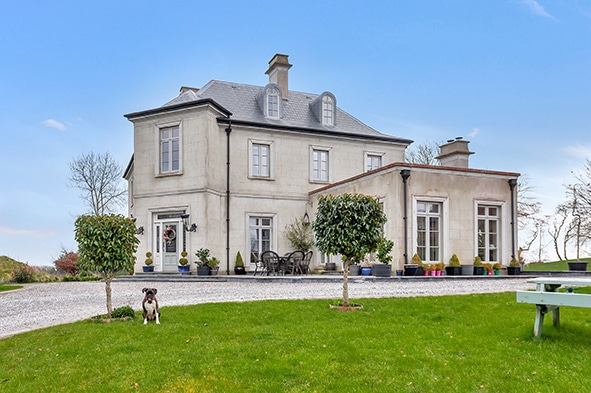
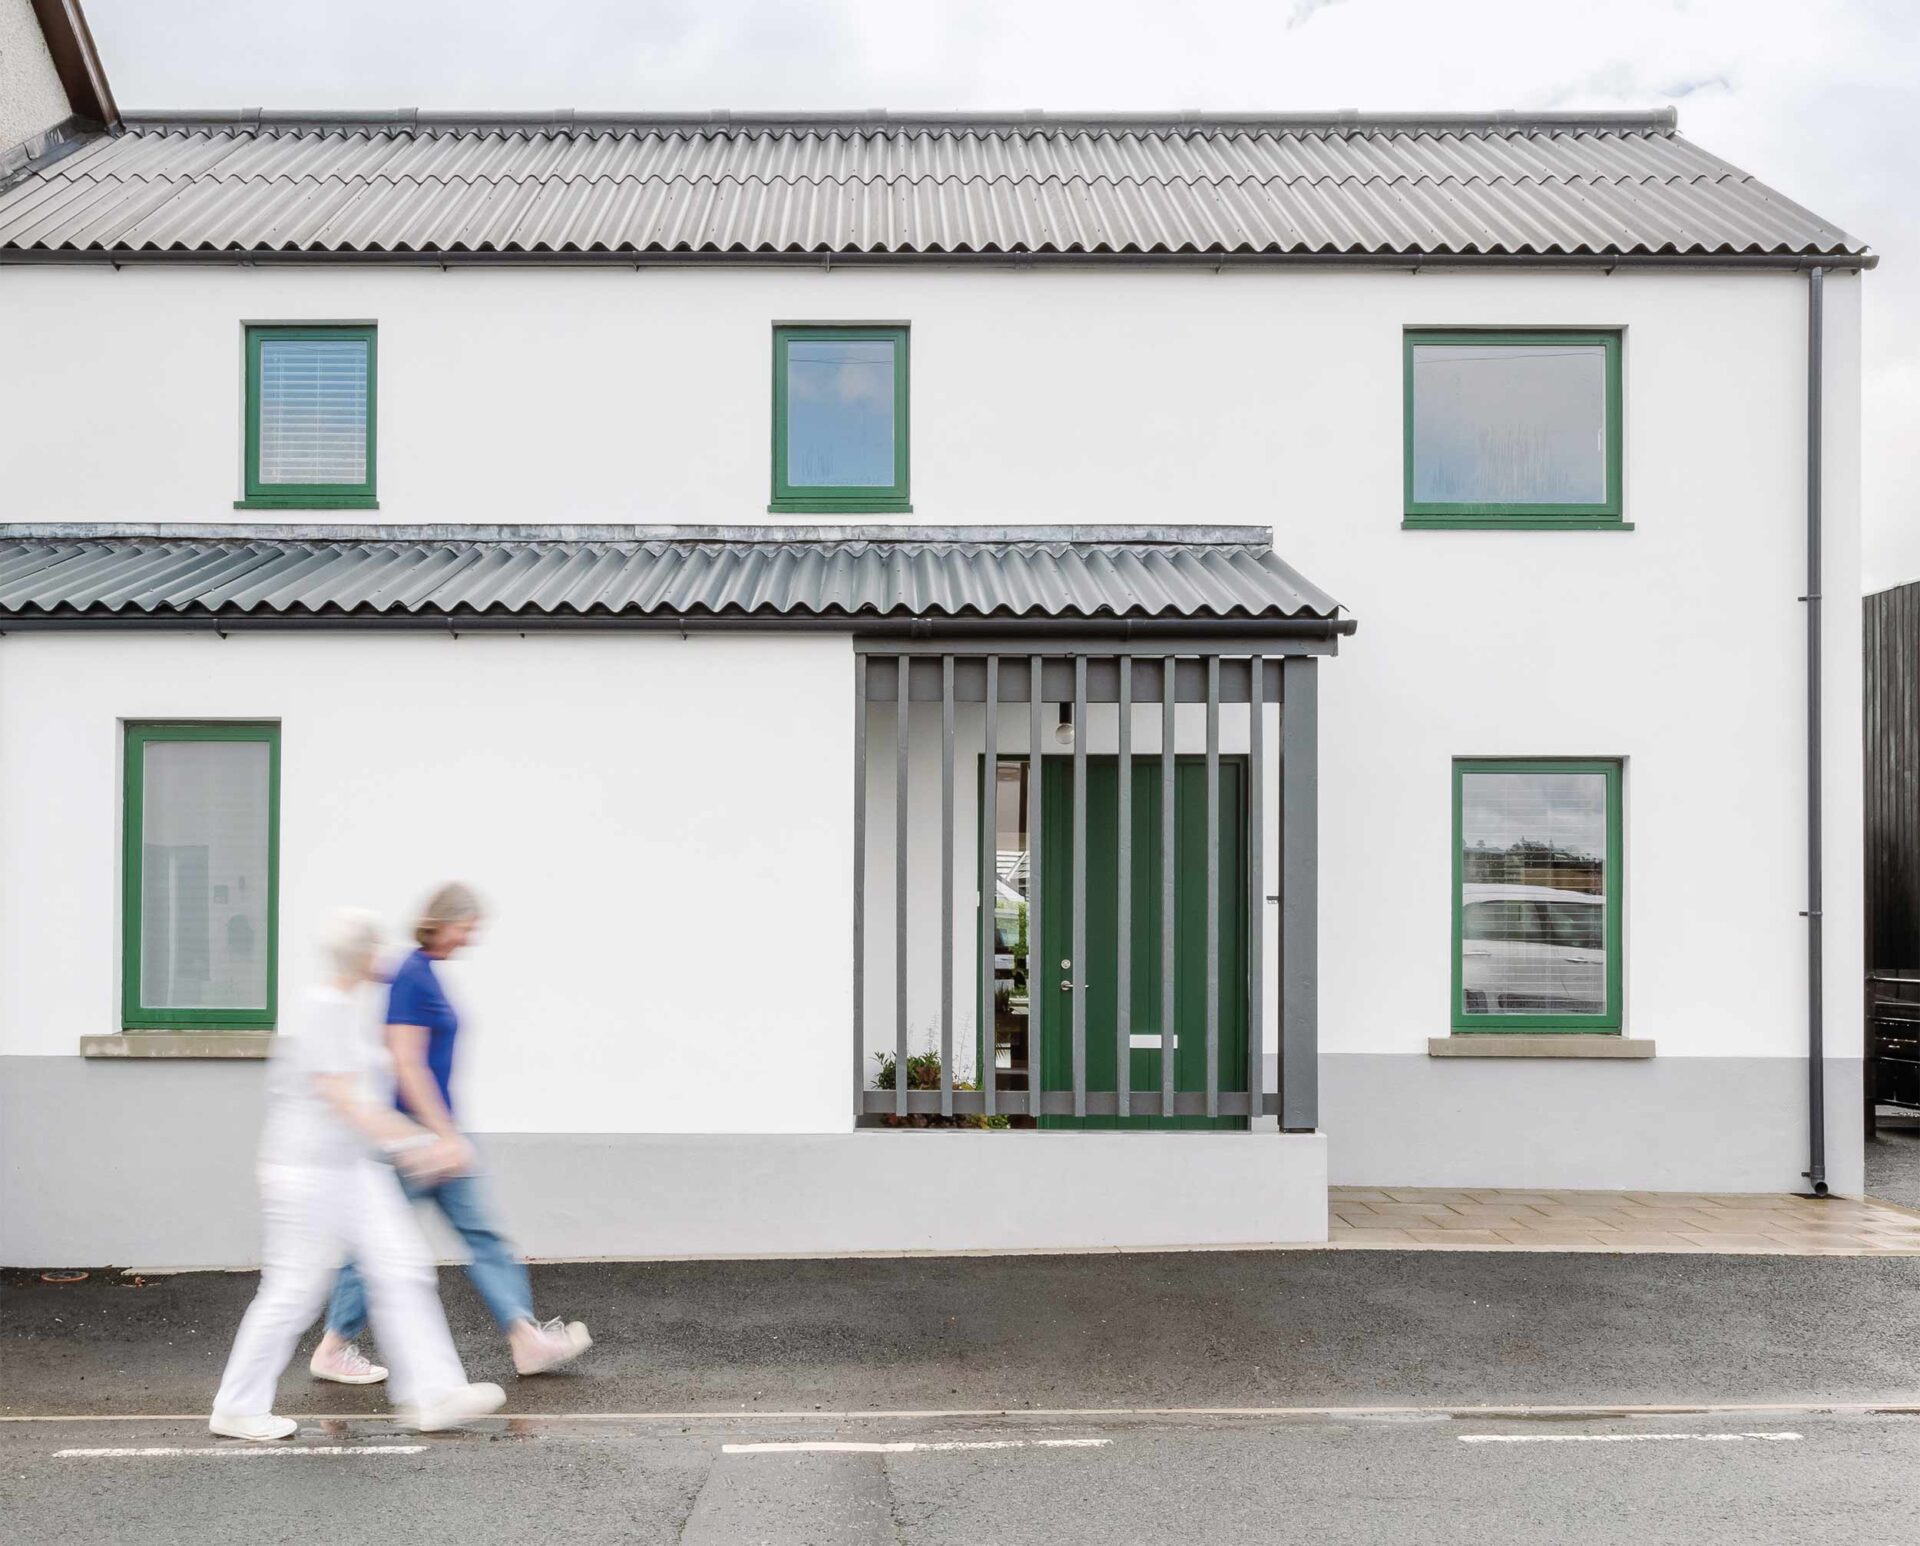
The design process took roughly 18 months since I was working on it in my spare time, and our intention was to design a contemporary four-bedroom home with an open plan living space, which would respect the orientation, building lines and character of the surrounding buildings while at the same time create a contemporary re-interpretation of the local architecture through the use of a palette of carefully selected natural and sustainable materials, which we hoped would revitalise the architecture in the area.
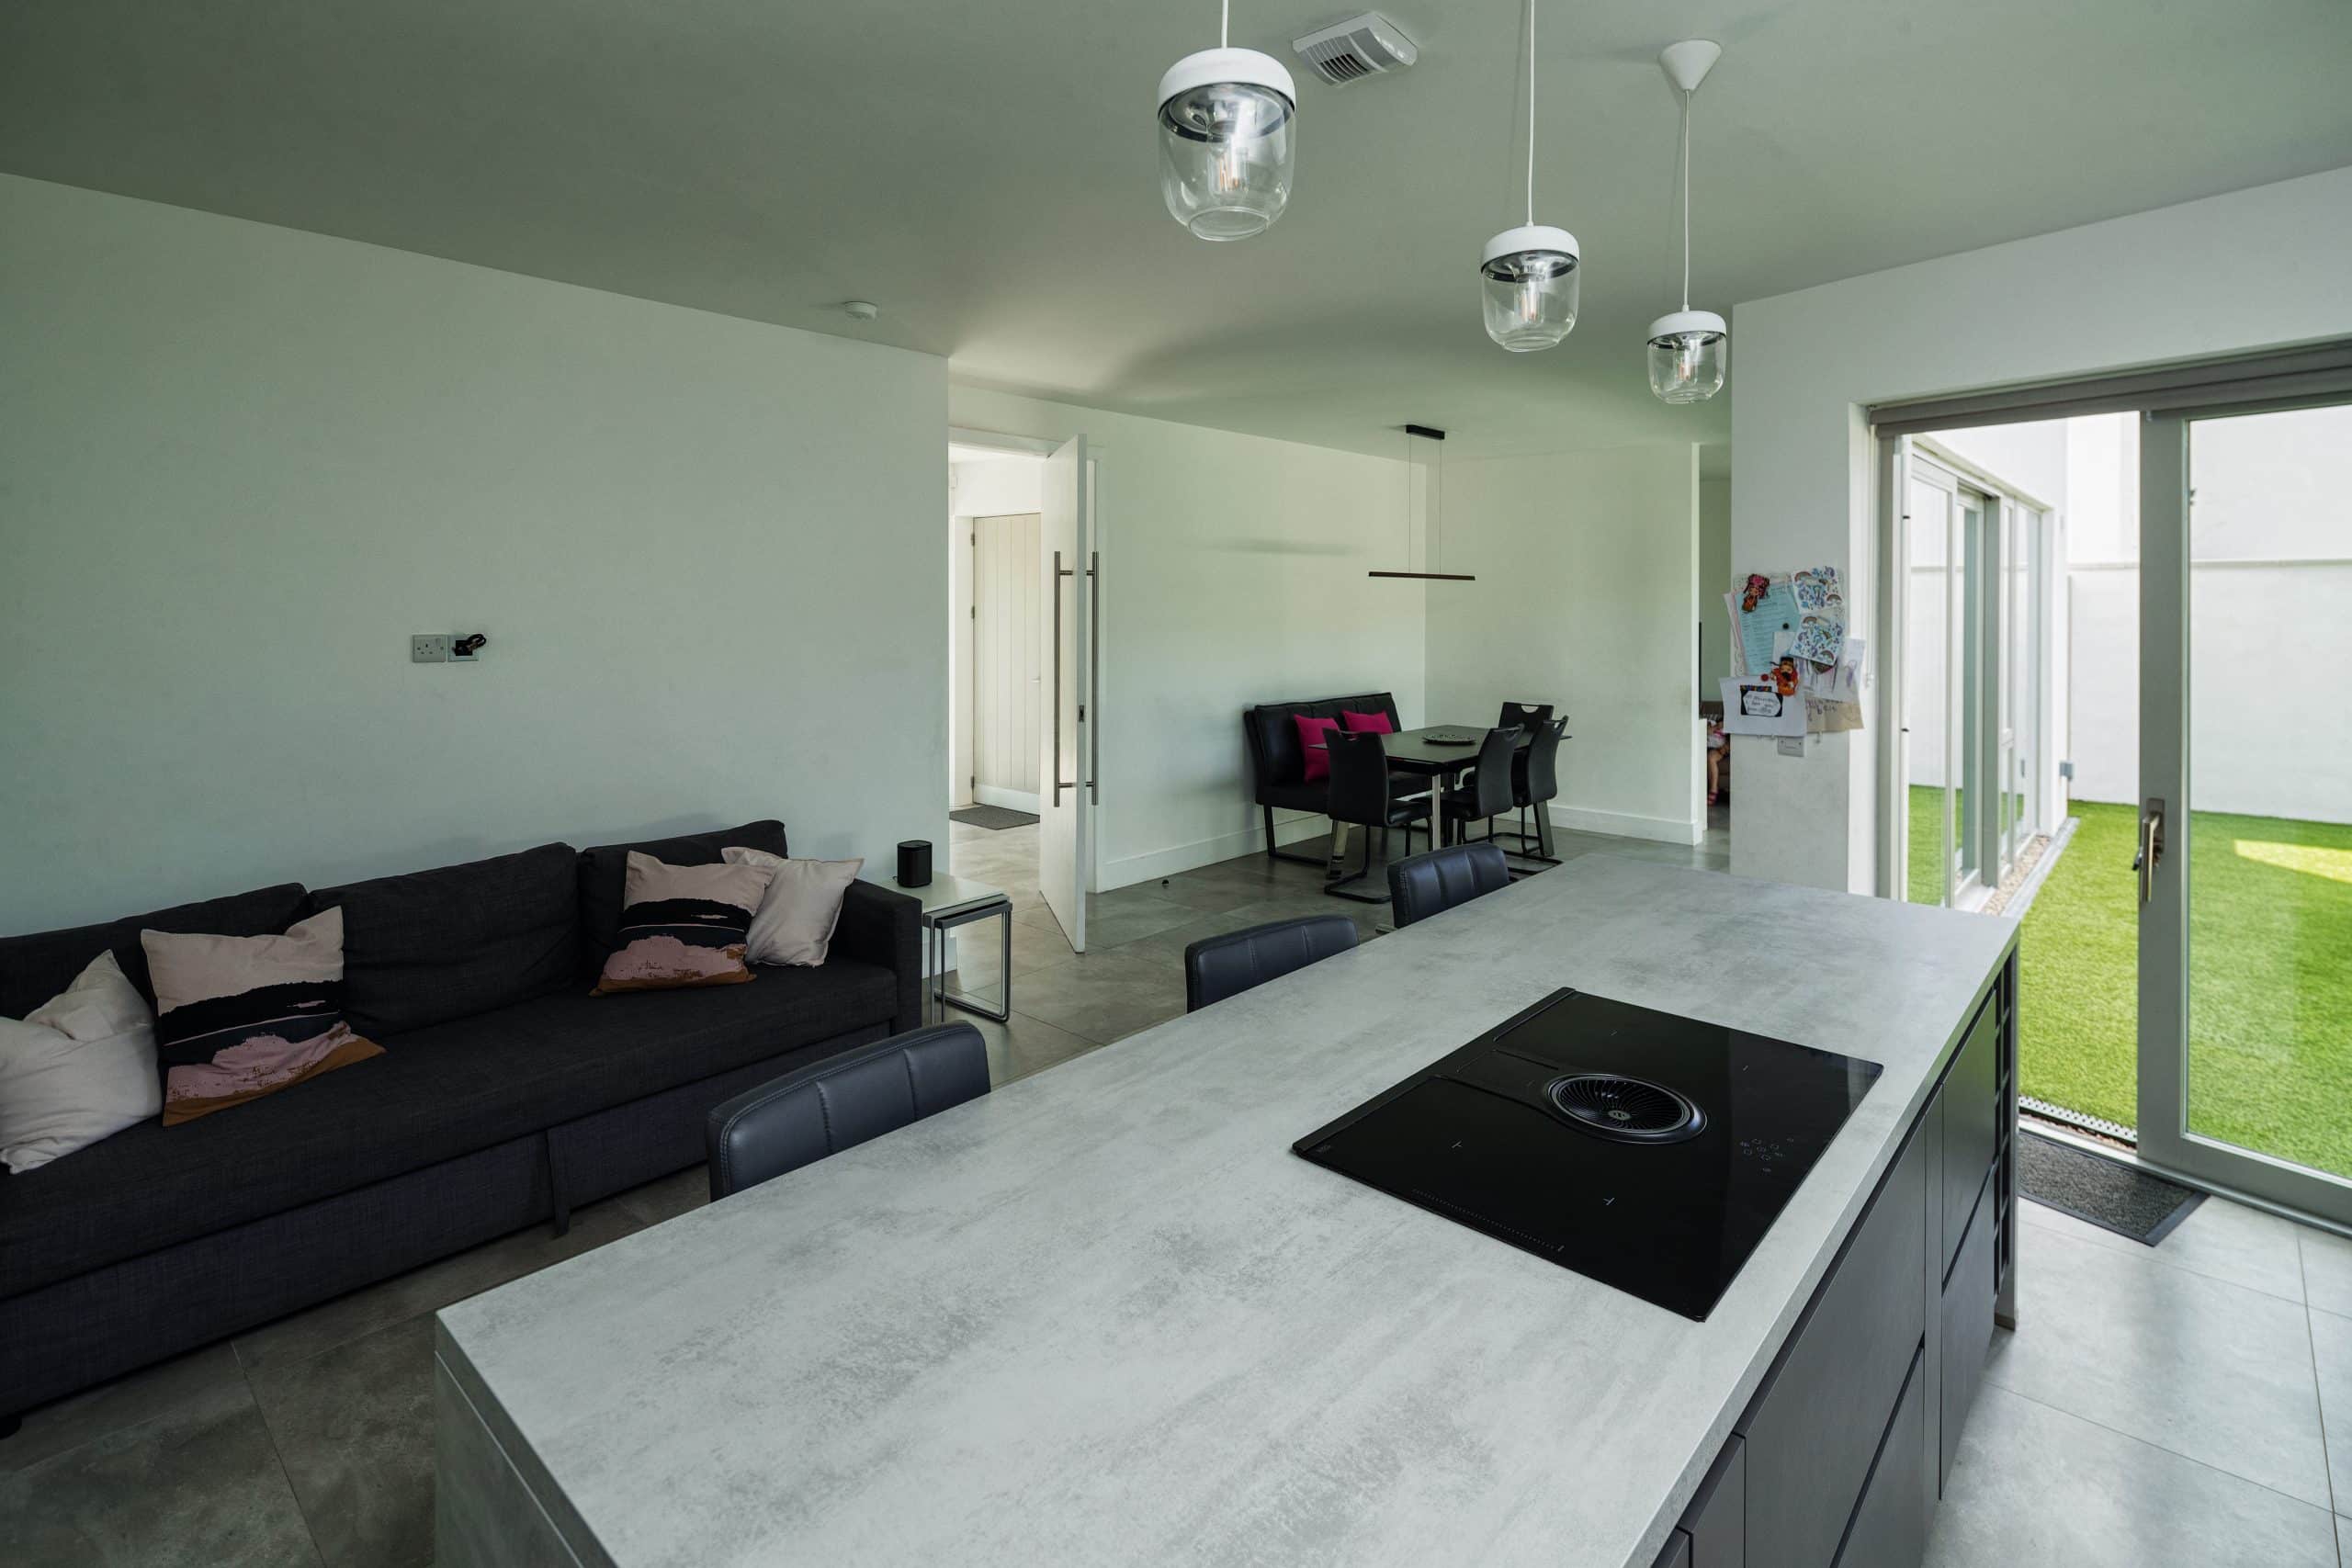
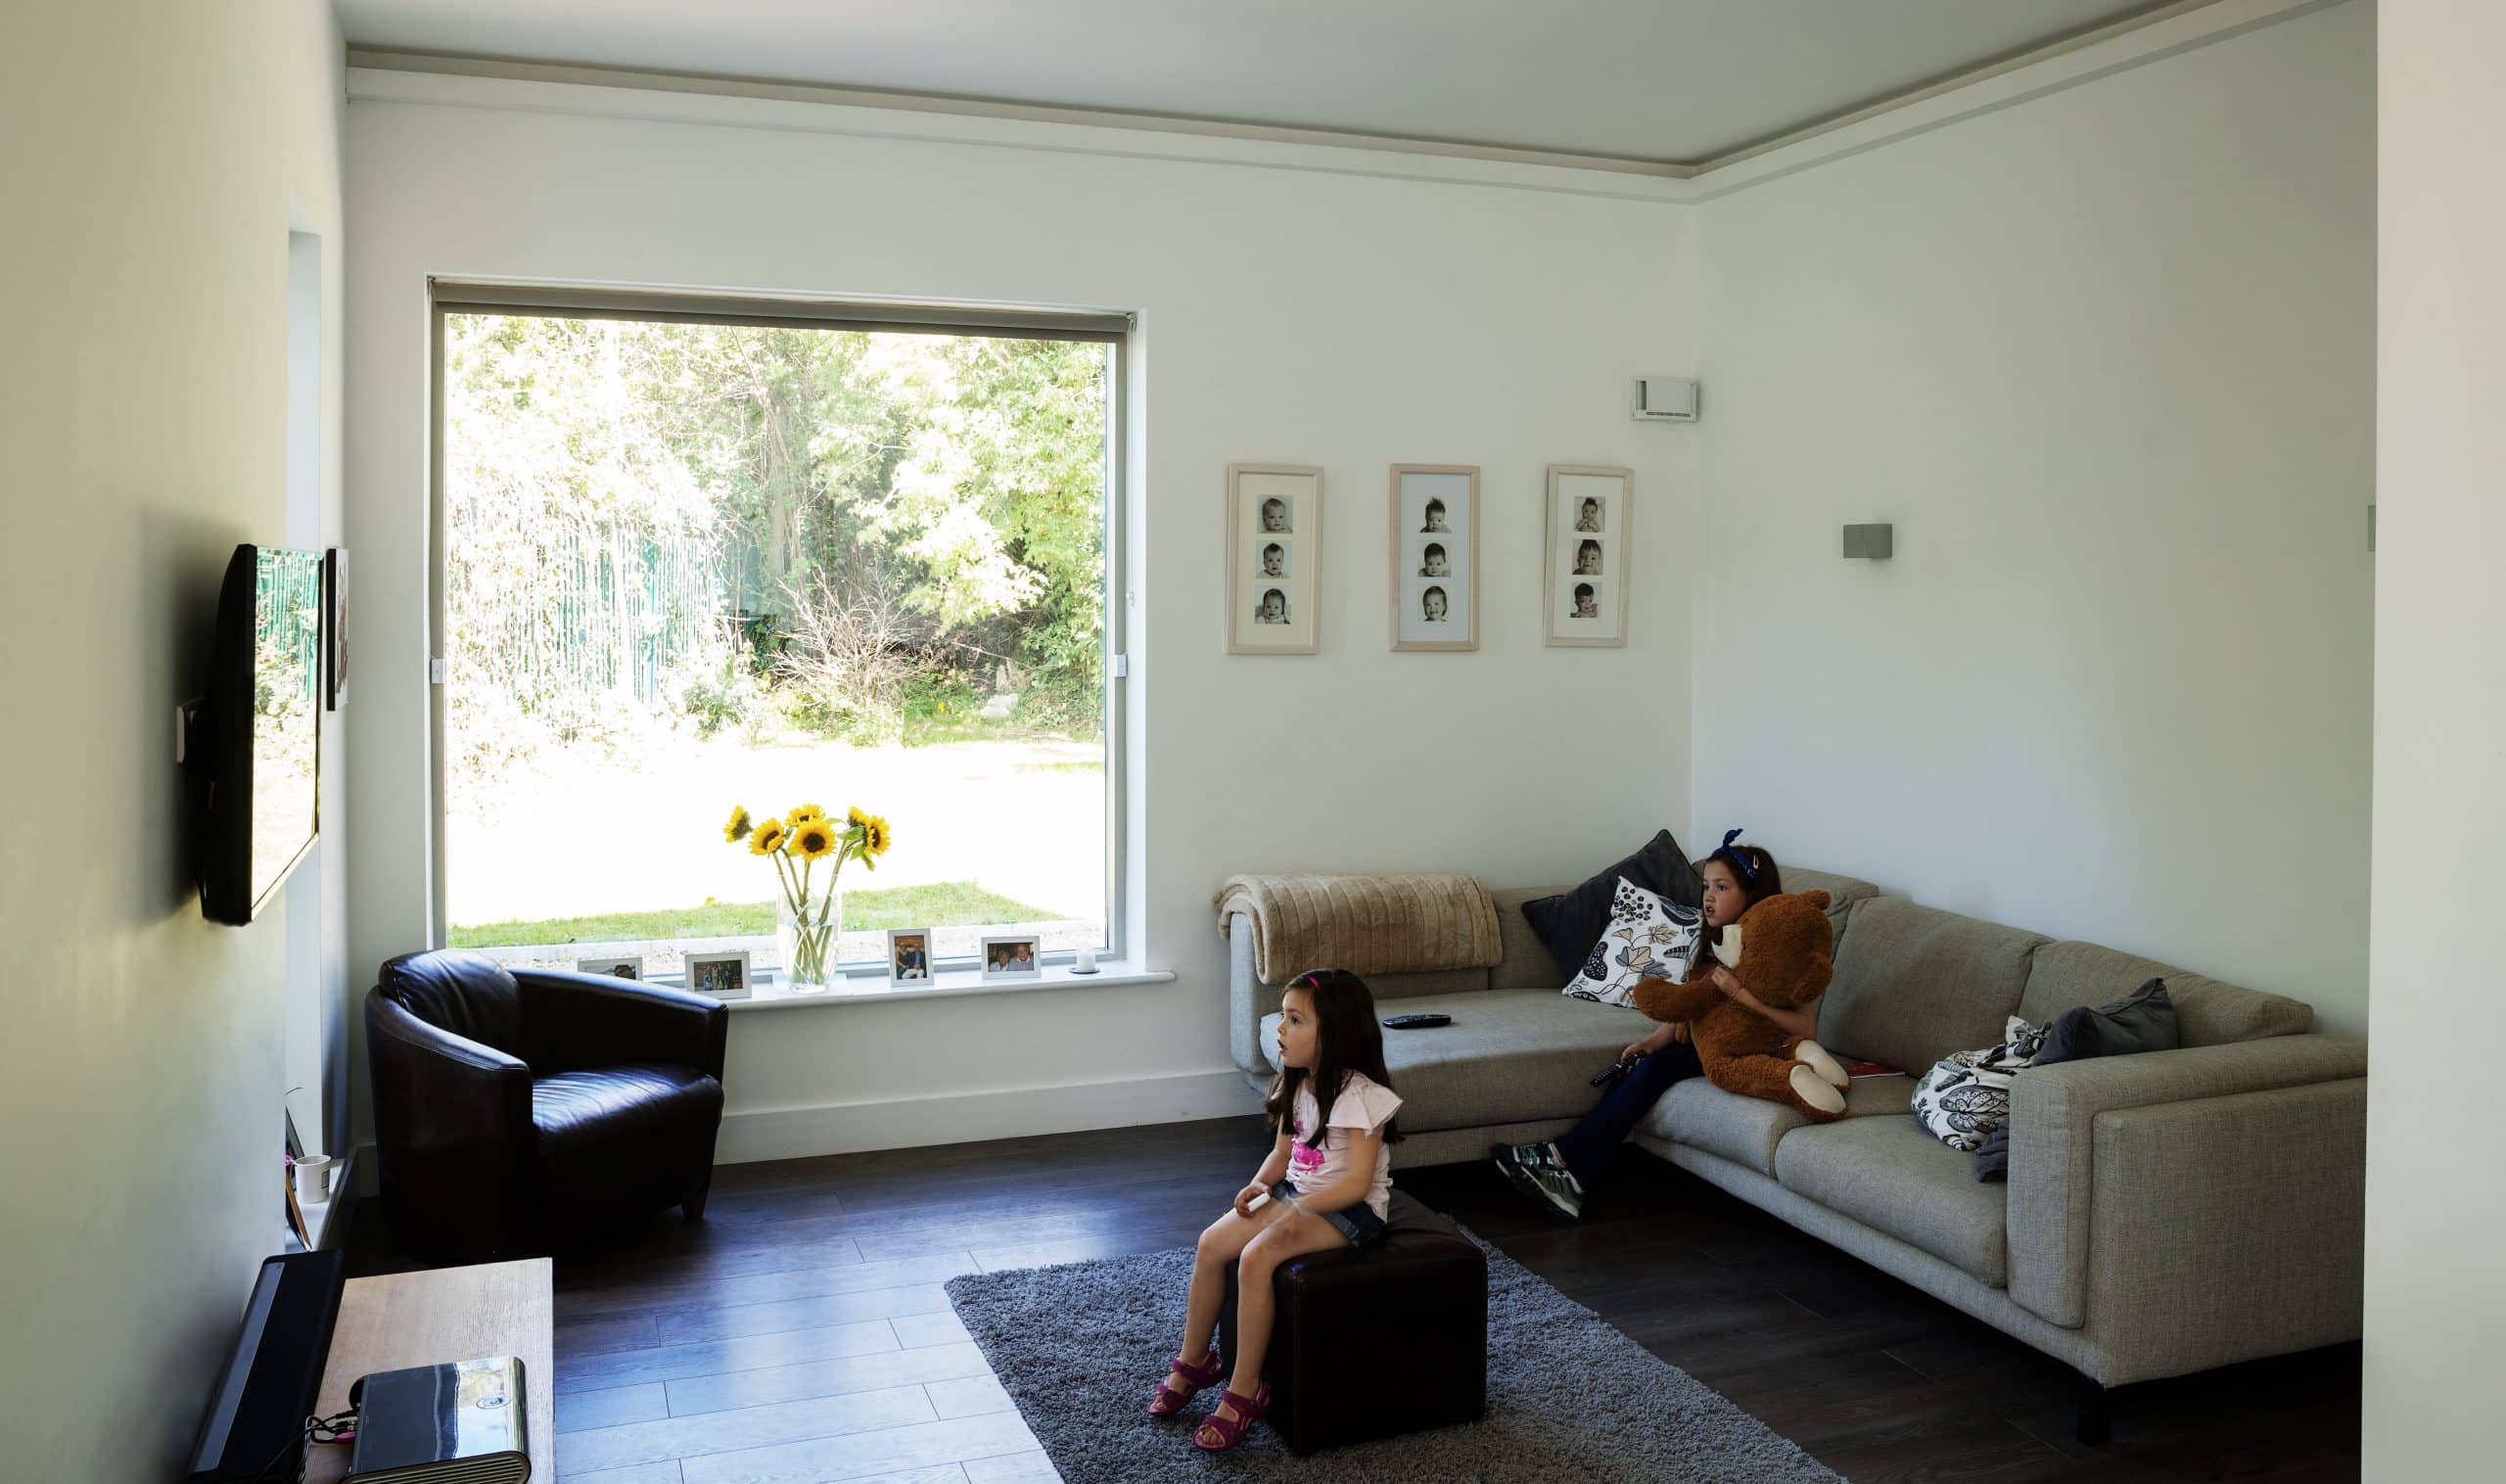
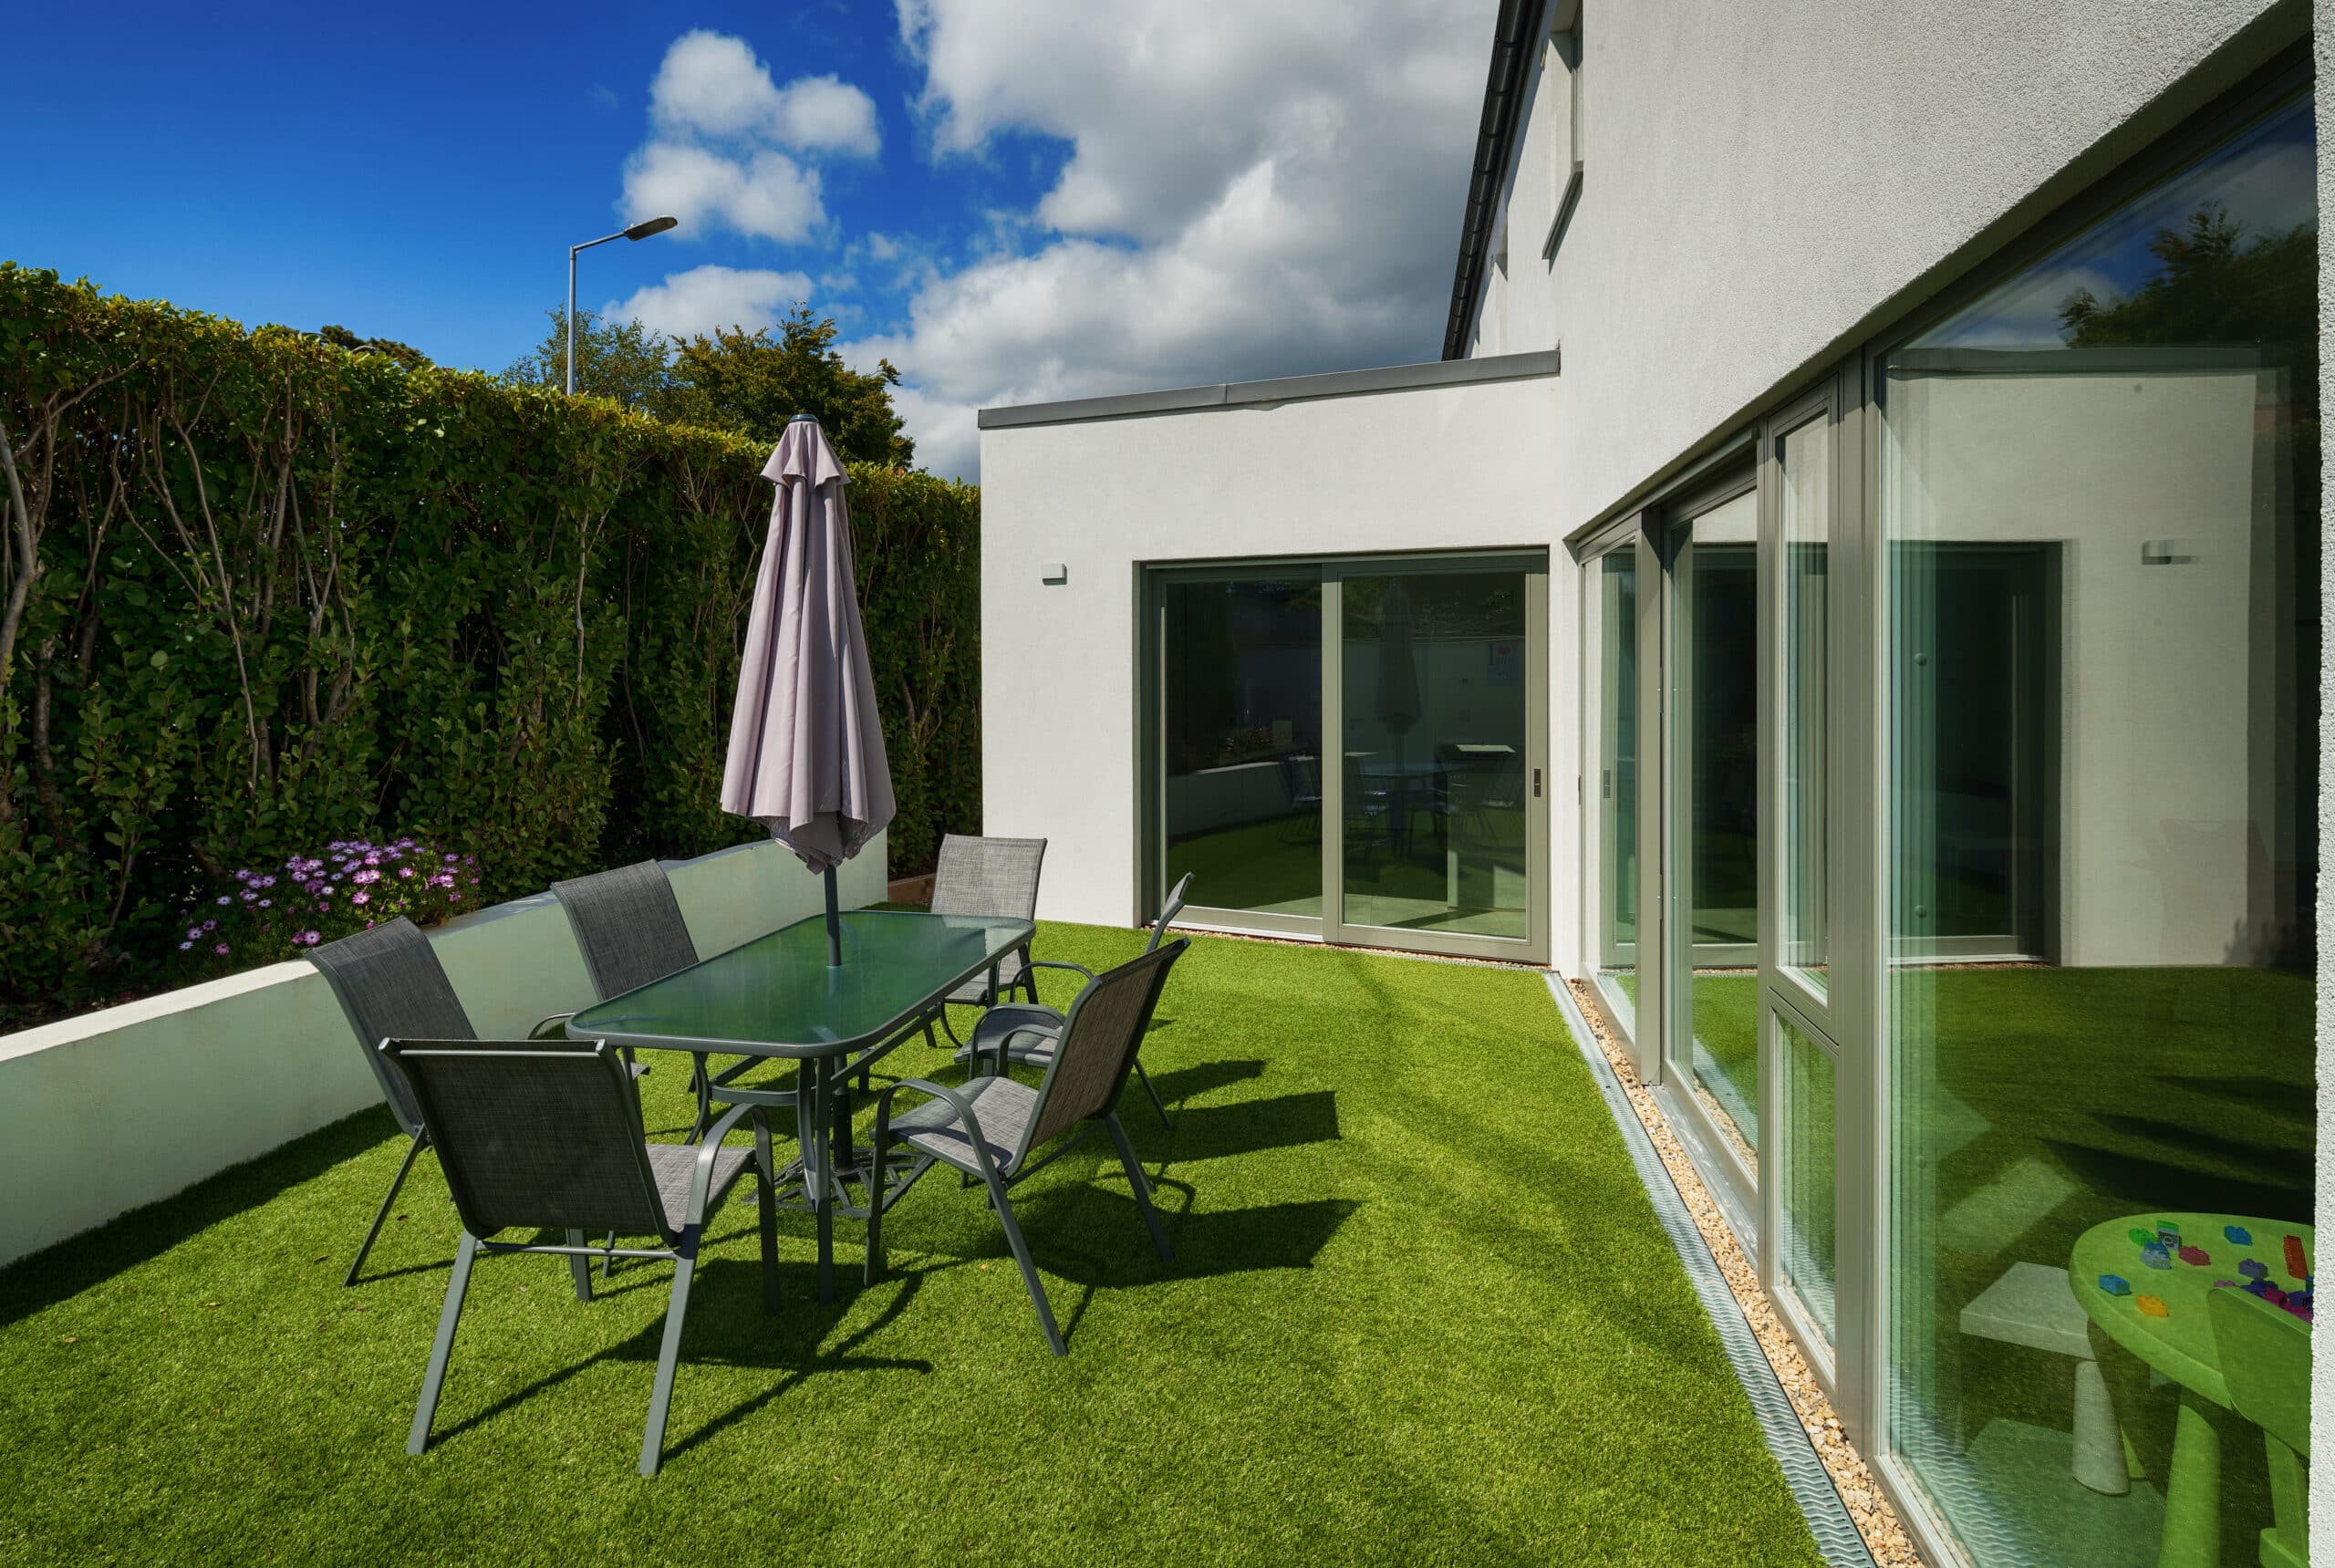
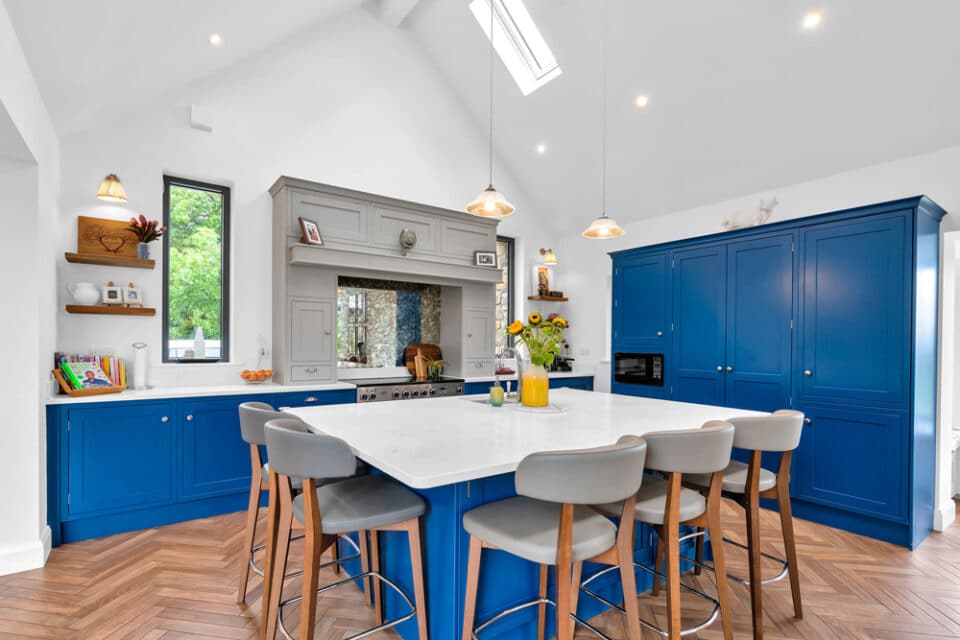
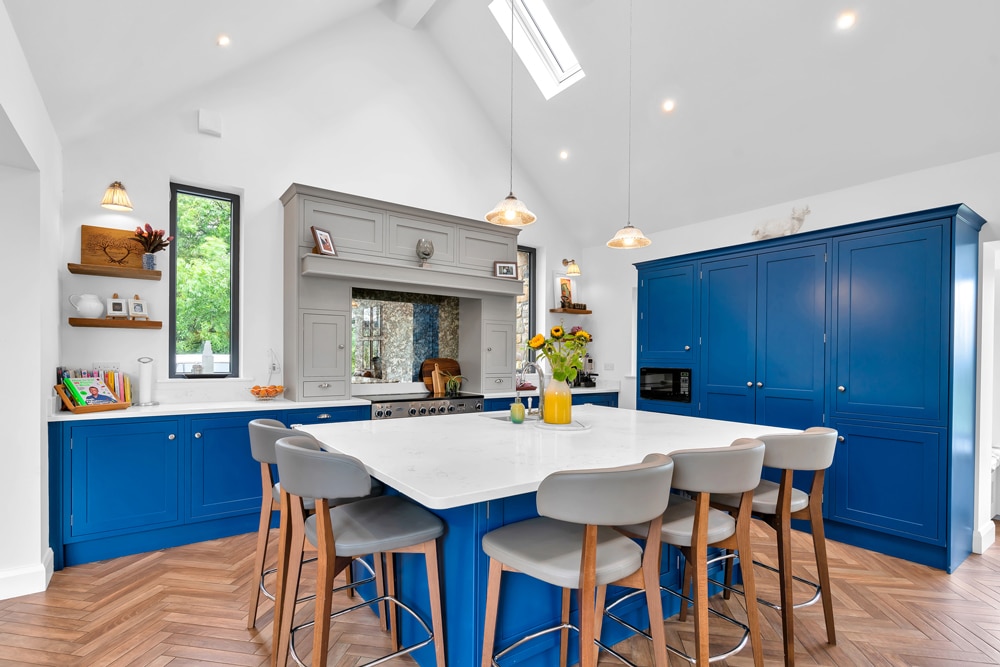
We opted to maximise the natural light in the living areas, via large panes of glass (triple glazed) which not only provide views and direct access to the garden, but almost bring the outside space into the house. We knew we would love to incorporate a decently sized utility and larder space, approximately five square meters each, while having the hob in the island allows the kitchen to become a very social space.
We also did have quite a strict budget that we needed to adhere to, therefore certain design options and finishes had to be disregarded due to financial cost such as our choice of concrete tiles as opposed to polished concrete floors.
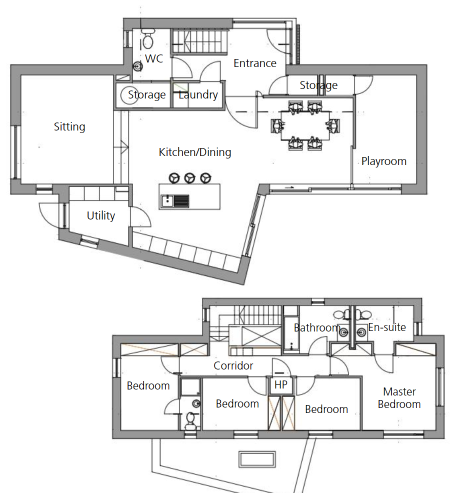
Another means of cutting costs was to finish our main bathroom after we had moved in, and to be thrifty with our choice of sanitaryware in general. We selected midrange, white fittings and matching wall and floor tiles with a matt and textured finish, with individual colours for each space. This gave us the wriggle room, financially, to add a wet room which we used in the master bedroom ensuite.
How did the planning process influence the design?
Unfortunately, the planning process was not that straightforward, considering the nature and location of the site as well as the character of existing surrounding structures. The local authority asked us to redesign the building three times to address some concerns regarding roof design, overshadowing and overlooking of adjoining properties.
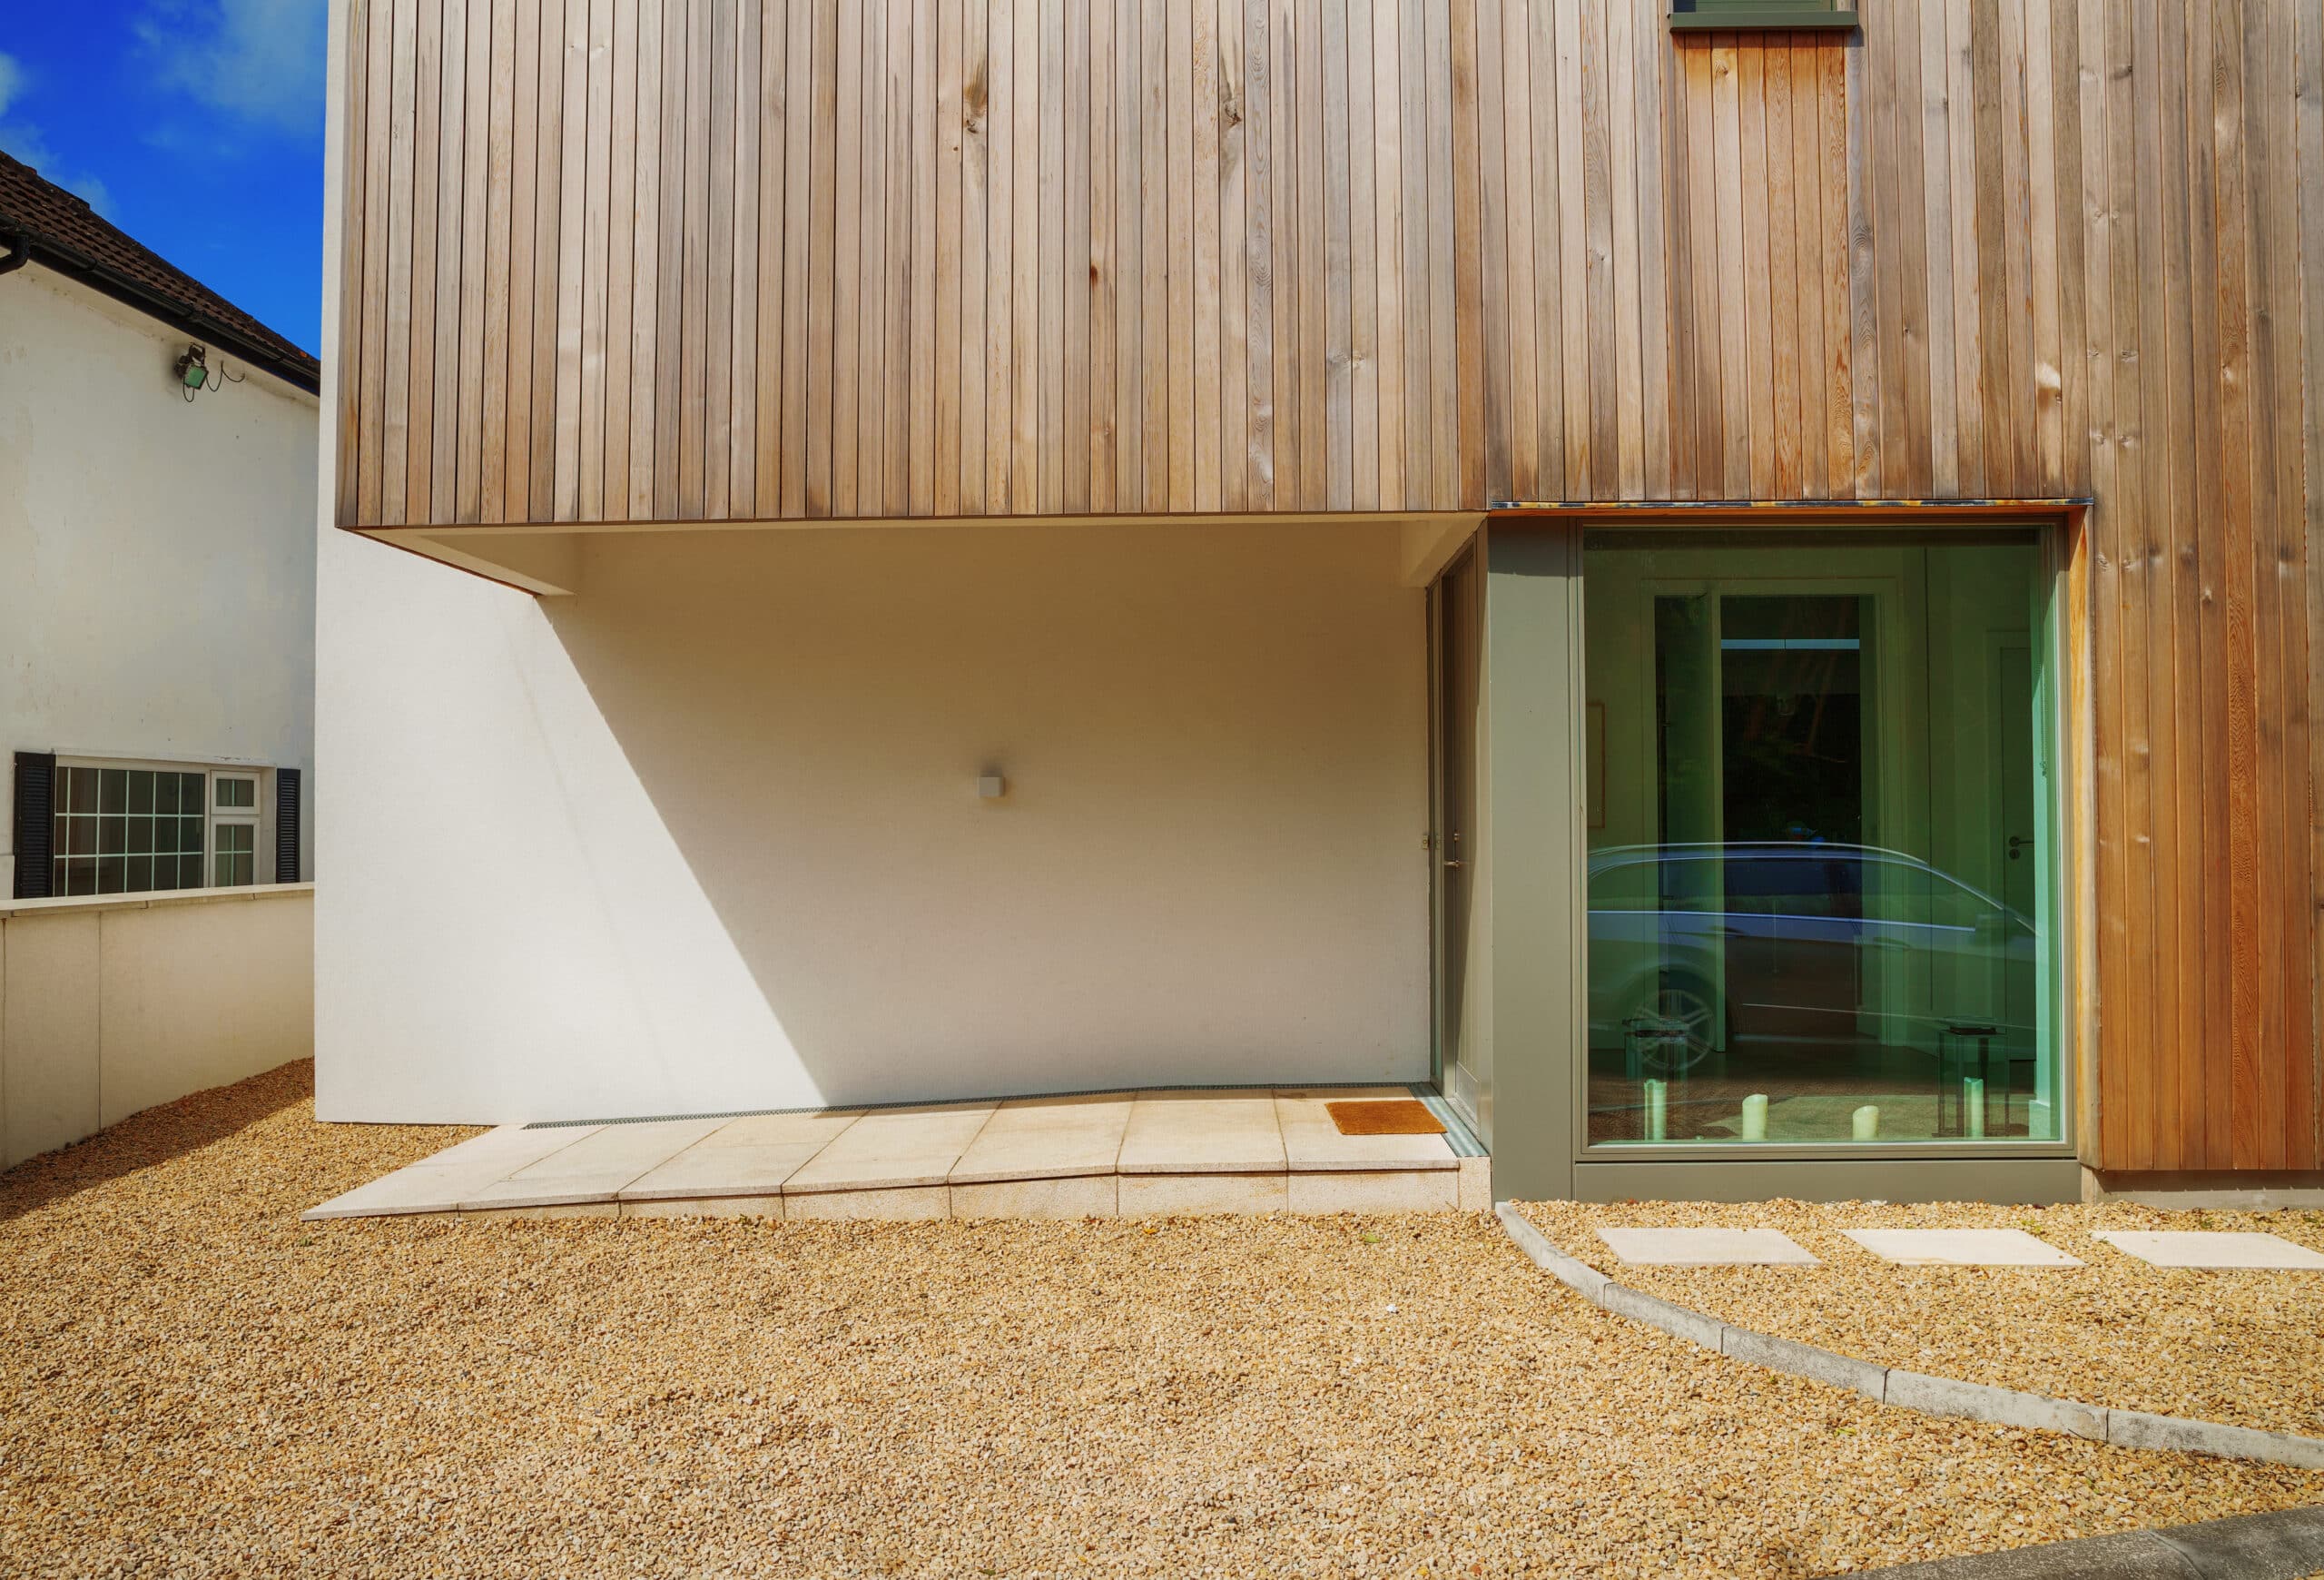
For these reasons and to maximise solar gain/ natural light, the majority of the glazed areas have been orientated in the southern, western and northern directions, while the front/east facing elevation is mainly opaque to address any issues of privacy raised by the neighbouring properties.
Ultimately, we had to limit the number of openings to the east facing elevation of the house which may seem strange from a design aspect but was necessary to achieve planning.
How long did it take to get planning permission and to build the house?
The application was validated in April 2016 and was granted in November of that year. We broke ground in June 2017 and the construction took roughly six months so we got in just before Christmas.
What building method did you choose?
Once we finally secured planning permission we had to choose the building method and we quickly gravitated towards a prefabricated Structural Insulated Panel (SIP) timber frame system.
As an architect I had recently attended a two-week course in Germany in multistorey timber frame buildings and SIP construction, so I was familiar with the system and its advantages in terms of timeframe, sustainability and delivery time. Ultimately the decision to go with the timber frame option came down to money and time.
The SIPs company we chose committed to a time frame of six months from start to finish, which was critical for us since we had to move in with Gráinne’s parents (an extra five people in the house…), at a total cost that was within our budget so there really was no doubt when it came to choosing them as our main contractor. Also, both myself and Gráinne liked the company owner from our first meetings with him.
We worked very closely with them to project manage the build. We really feel it is particularly important to be as hands on as possible and to be on site as much as you can to be aware of what is happening. Sourcing some of the internal finishes ourselves definitively saved us both time and money.
Did you opt in or out of appointing an assigned certifier?
We decided to opt out since this is standard practice for a project of this size; it simplifies the process of completing the project. We also felt that we had enough experience to coordinate all aspects of the design and construction stages. This decision contributed to savings in the overall project cost. I asked a friend of mine Stephen, who is also an architect to supervise the key stages and sign off on them.

How did the building phase go?
Produced in factory conditions and assembled on site by a crane in two days, the process was very efficient. The SIP system offers a shorter and more controlled build environment, reducing construction and energy waste. After the structure was in place, we had to get all of the services and finishes put in. Most of this was done by our builder and SIP supplier, apart from the bathrooms and utility. We chose the kitchen but the installation was supervised by the builder.
Most of the building process went smoothly with the exception of a hurricane which forced all scaffolding to be taken down! The windows went in when we were away on holidays, supervised by the builder and Stephen, and it was amazing to come back to a weather sealed house.
The only glitch during the construction phase was that the hob was broken during installation however the kitchen suppliers were great and replaced it promptly.
What were the most frustrating aspects of the build?
Given the urban location of the site it came as a surprise that the services were so difficult and costly to connect to. The water and wastewater connections were prohibitive and probably the most complex aspect of the build to get right.
Prior to the commencement of the design process, we carefully looked into available services and had an idea of the fee attached to water connection. We were however hoping that the sewer connection could be done through Gráinne’s parents’ garden, however, existing garden levels, Irish Water and Wicklow County Council would not allow this so our only option was to pump and build a new manhole at the top of the road which is over 50m away, requiring road opening licences, which is why the cost was so high at approximately €40,000. The water connection was in excess of €7,000.
As for the broadband connection, it was an ongoing nightmare which was only resolved more than a year after we moved into the house. In comparison the electricity connection was quick and relatively cheap at €2,000.
Although I would be well used to the planning process, this particular one was quite long and there was a lot of patience and redesigns required. Unfortunately, as a self-builder you have little control over some parts of the process (i.e. objections) and it is essentially a nervous waiting game.

What are the main tips you would give someone thinking of embarking on a project similar to yours?
I would advise any potential self-builder, to ensure they do their research on the proposed site, including an accurate survey of boundaries and available services. Crucial concerns are zoning (check the local development plans) and other planning constraints (check previous planning permissions applied for).
Also research current market construction costs, alternative construction methods and renewable/ sustainable energy solutions to ensure that your building performs thermally and will be affordable to run in the future.
What would you change?
The location of two light switches and, although all internal walls are insulated with rockwool, we probably need to consider mitigating measures to reduce the noise from washing machines/ tumble dryers which propagates due to the lack of sound proofing materials. We do however love the separate laundry room.
How did you tackle the landscaping?
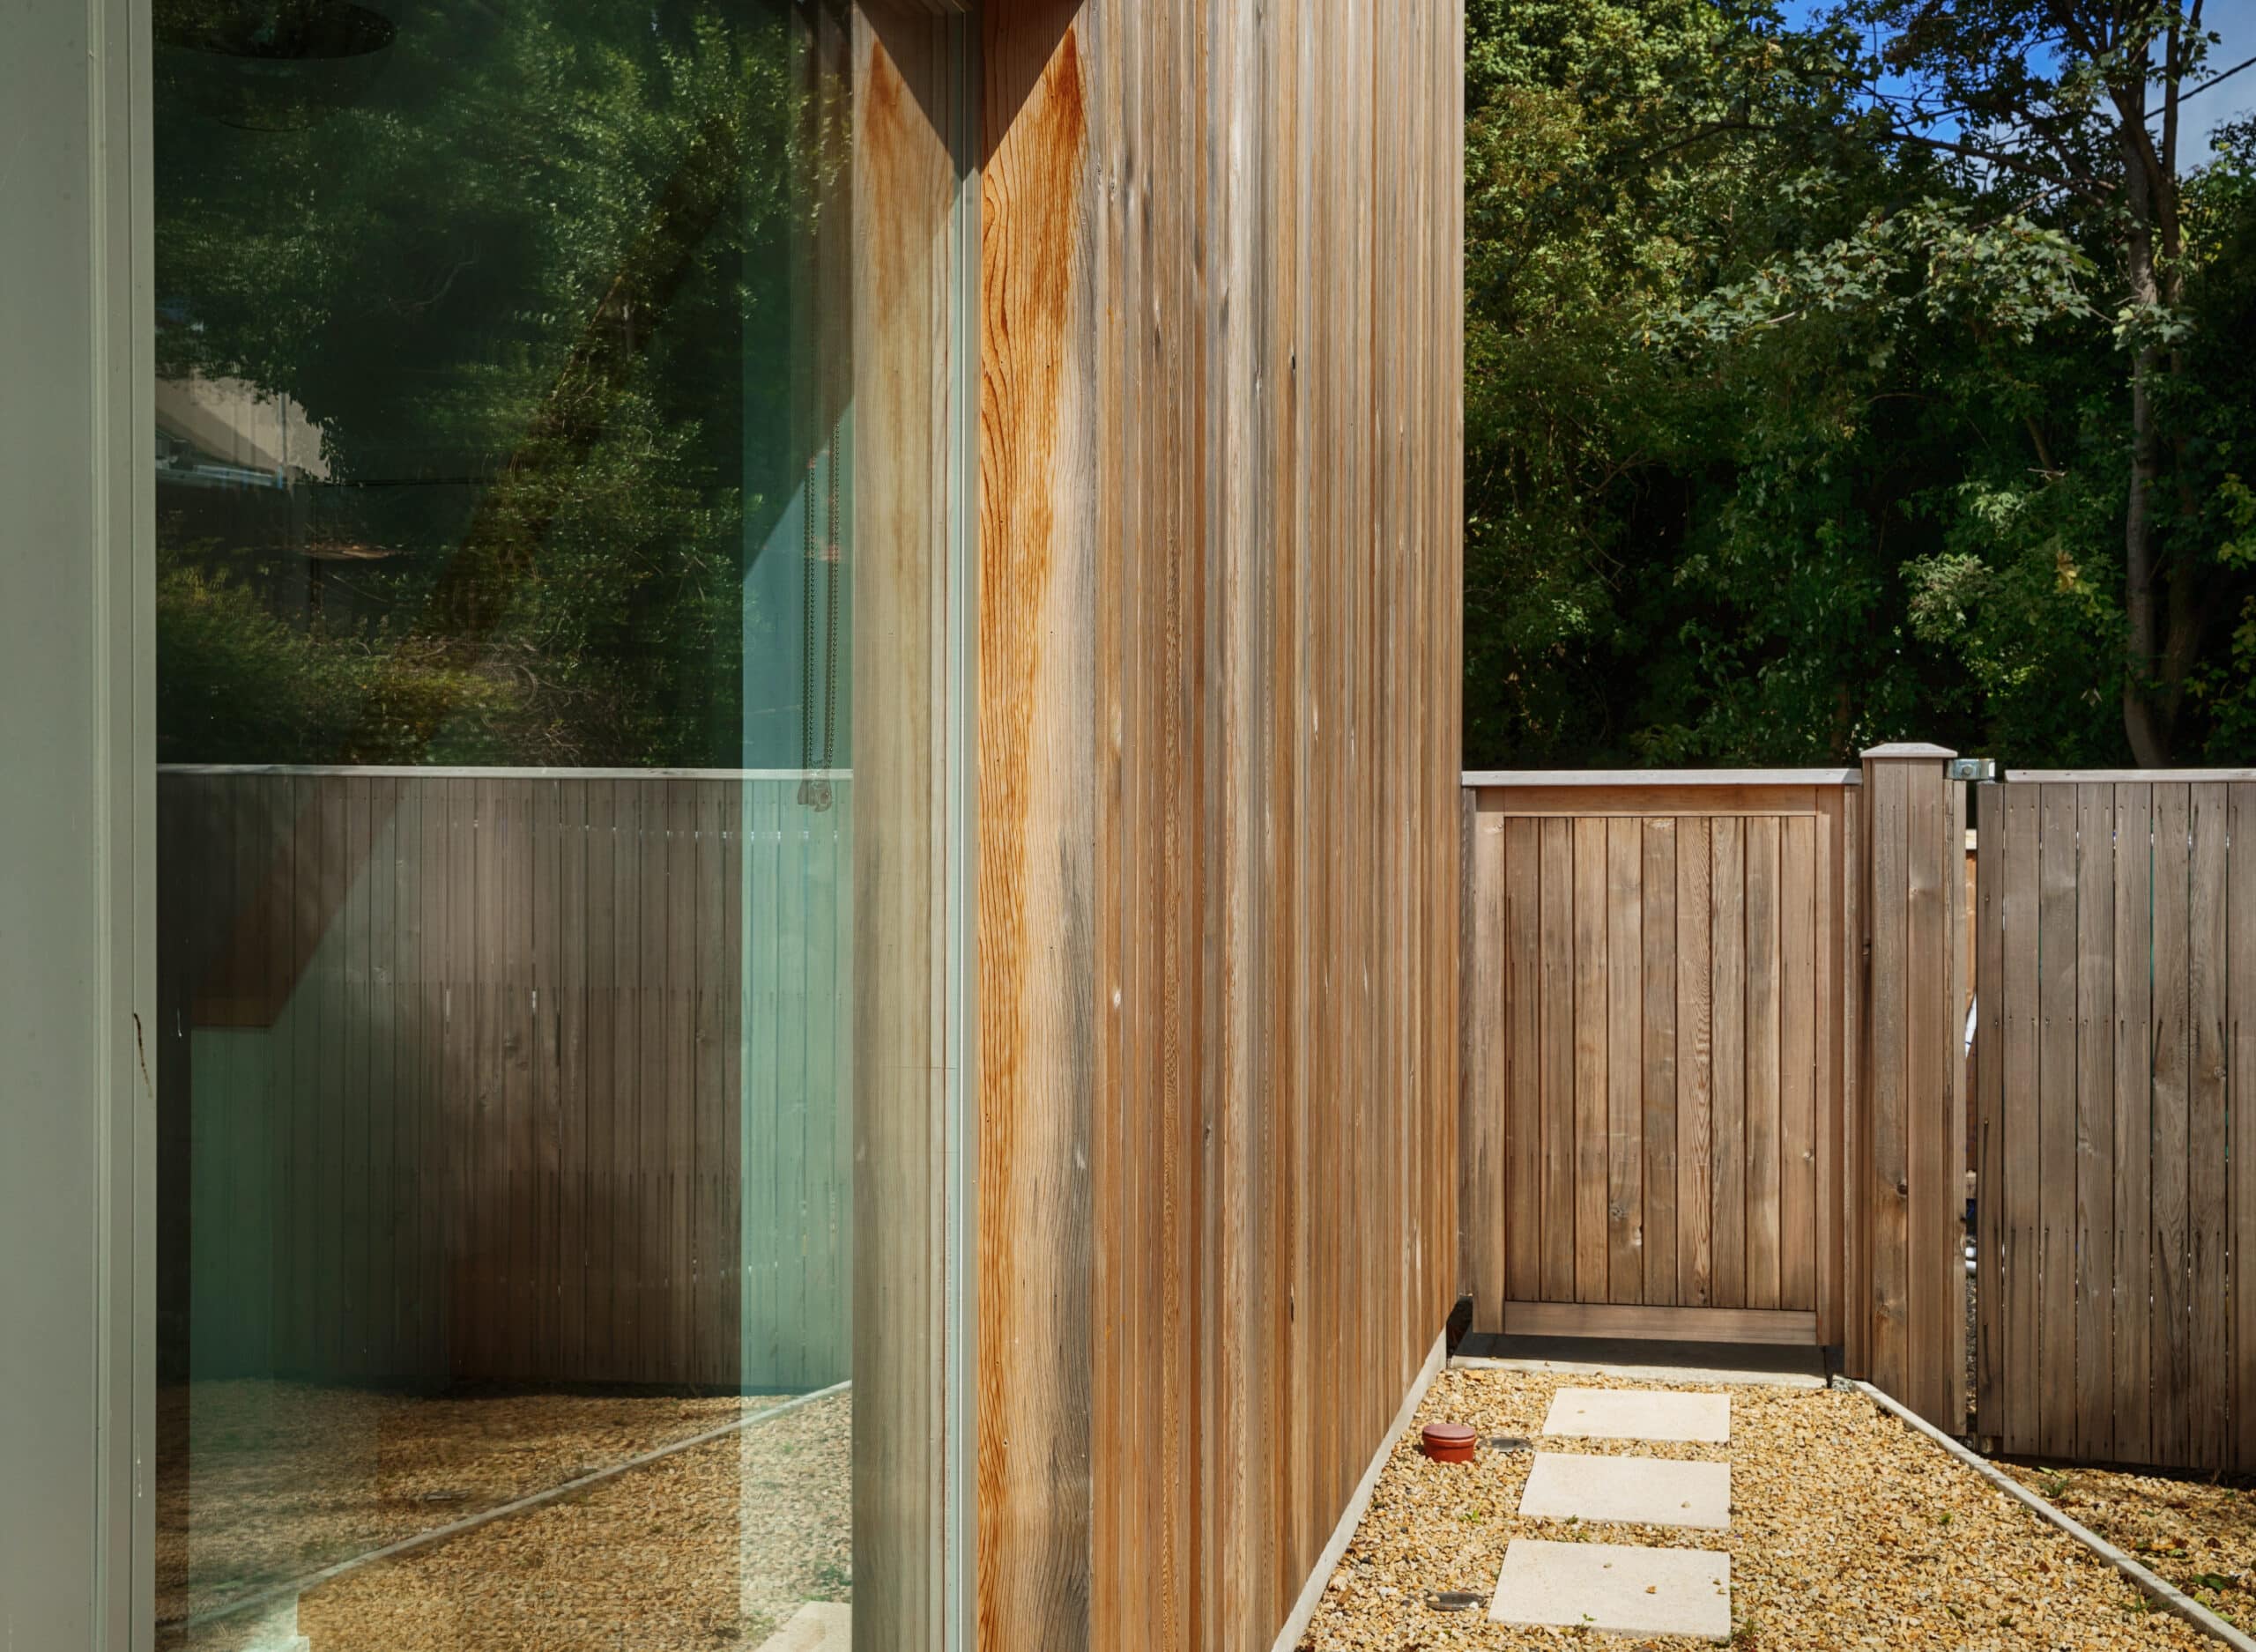
We technically have two gardens, one south facing and another north facing, and we opted to finish the south facing garden which is the smaller of the two spaces with artificial grass. It’s fabulous as there is no maintenance. This material can however get quite hot during summer months. As for the cedar cladding it was left untreated to turn silver. We are a little nervous about this but I think it looks well, at least for now.
What’s the verdict?
We love it. It is amazing and perfect for our family and it is great to have the in laws next door for support.
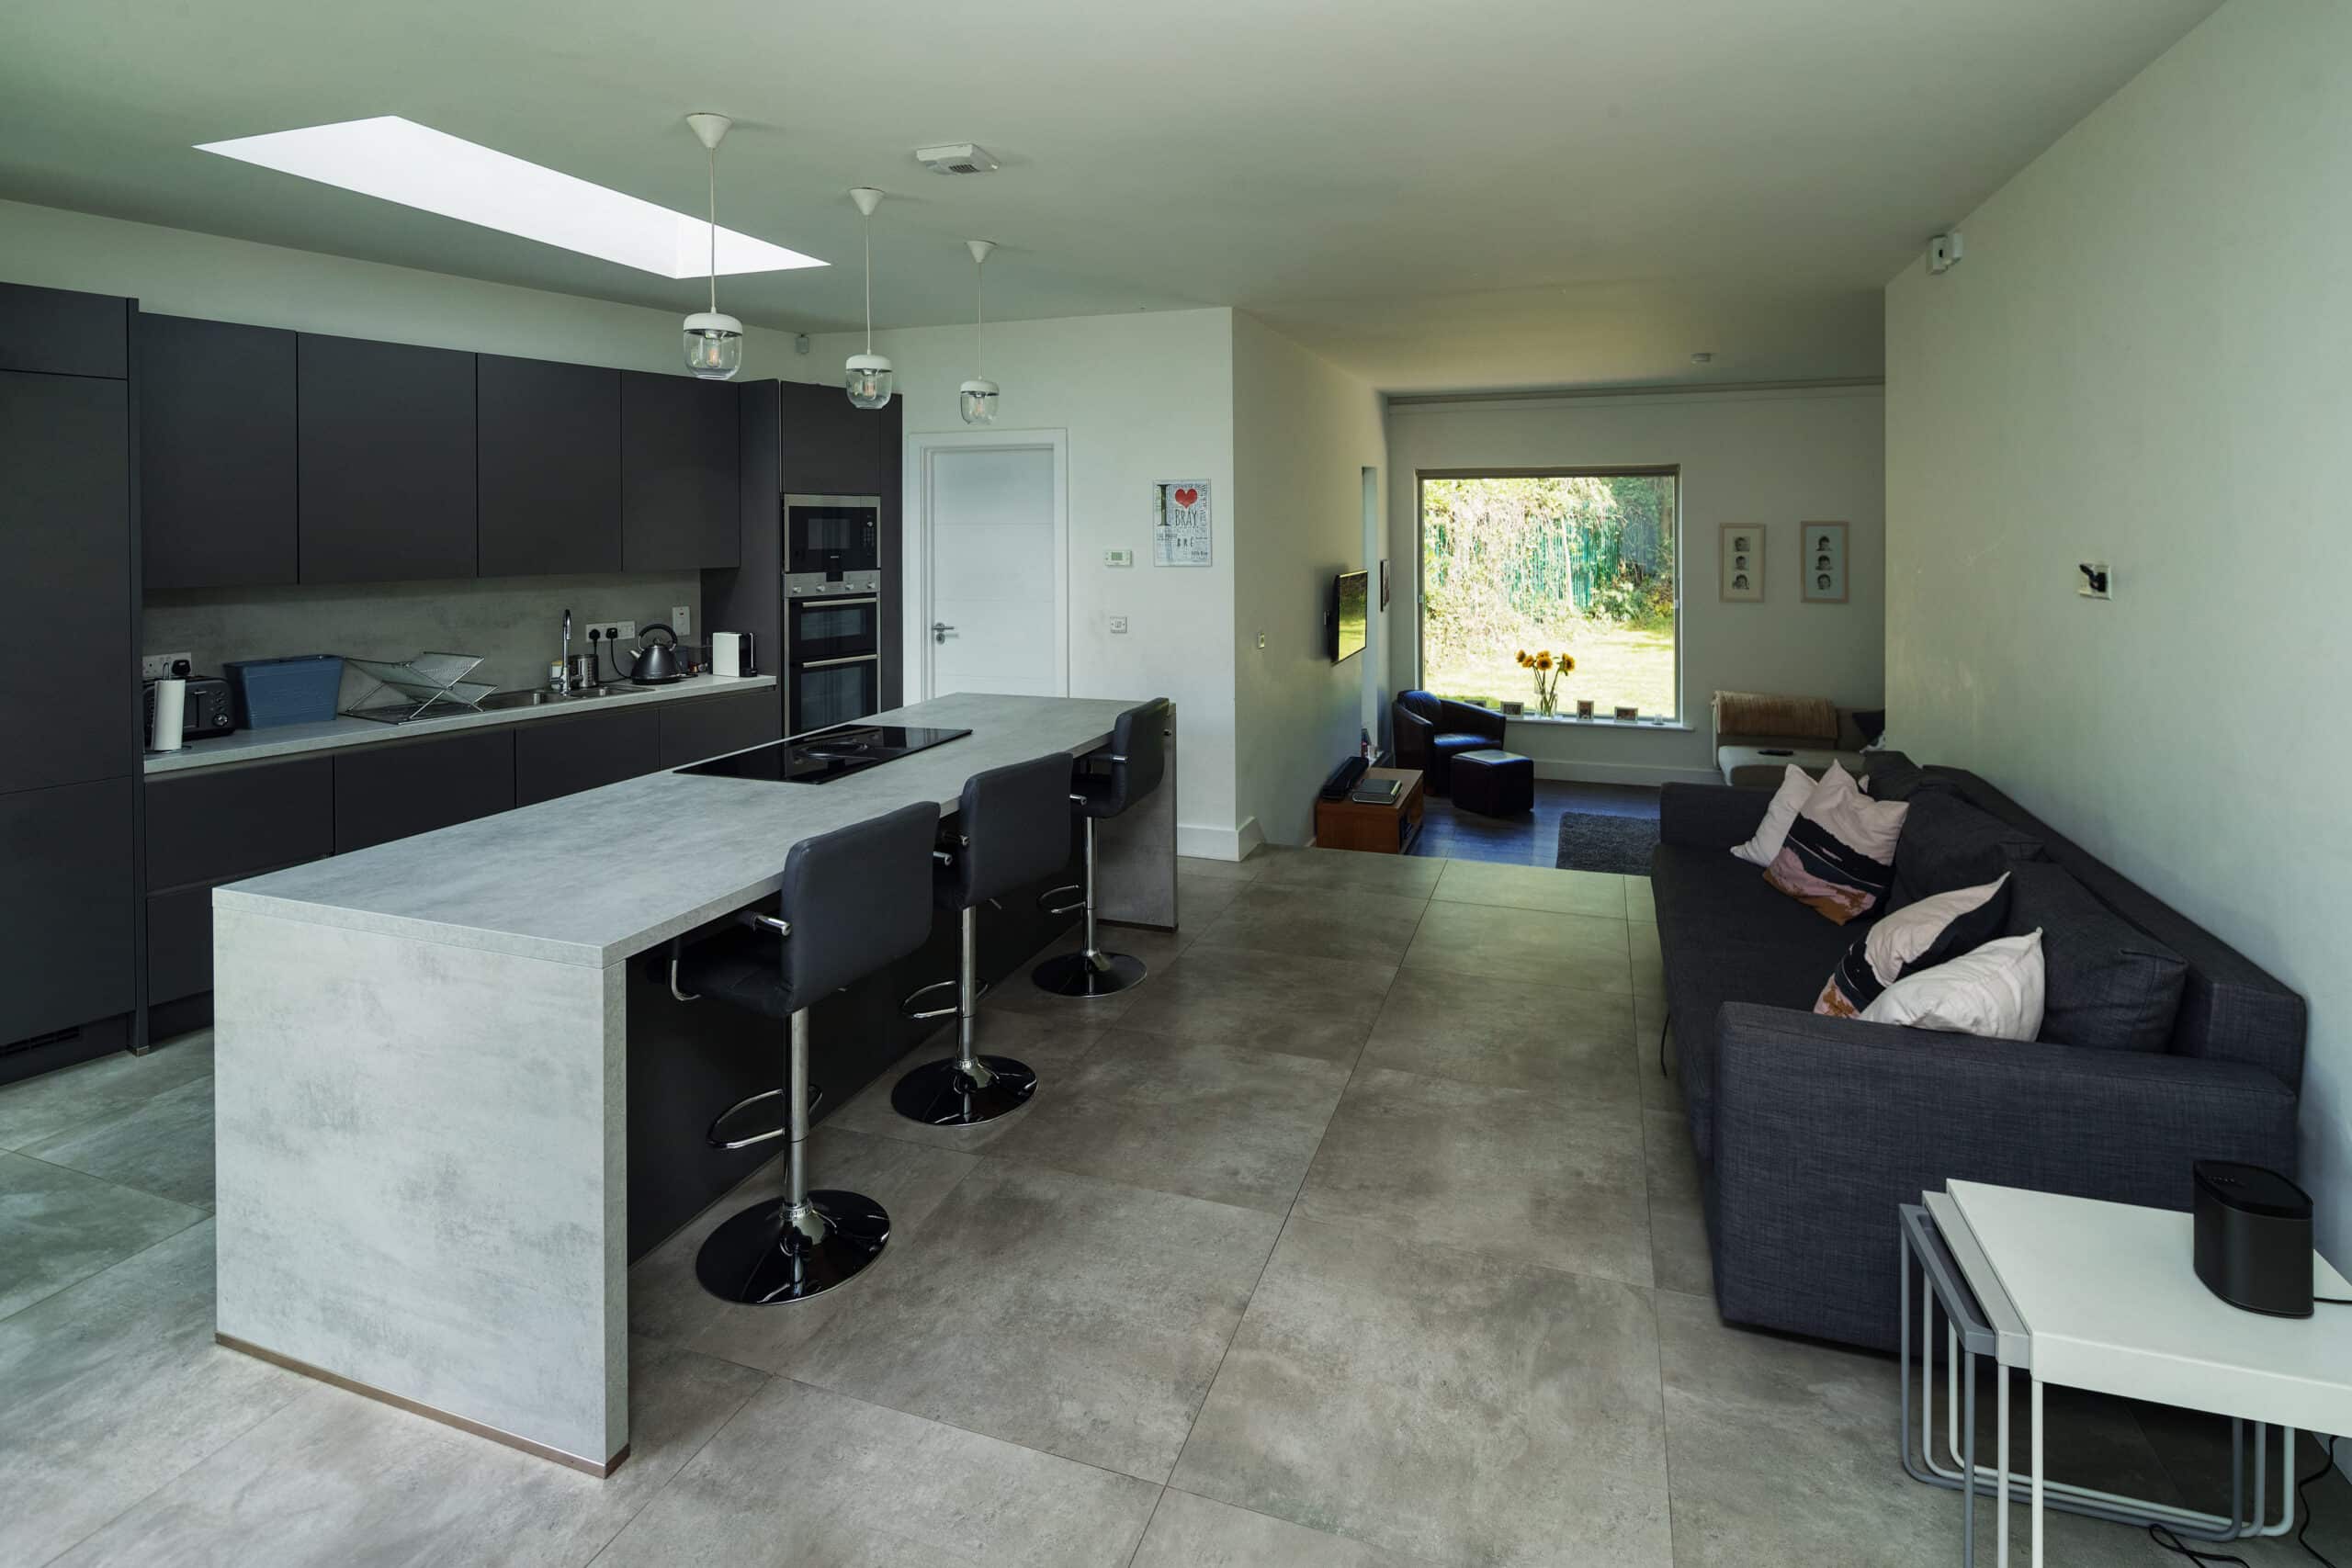
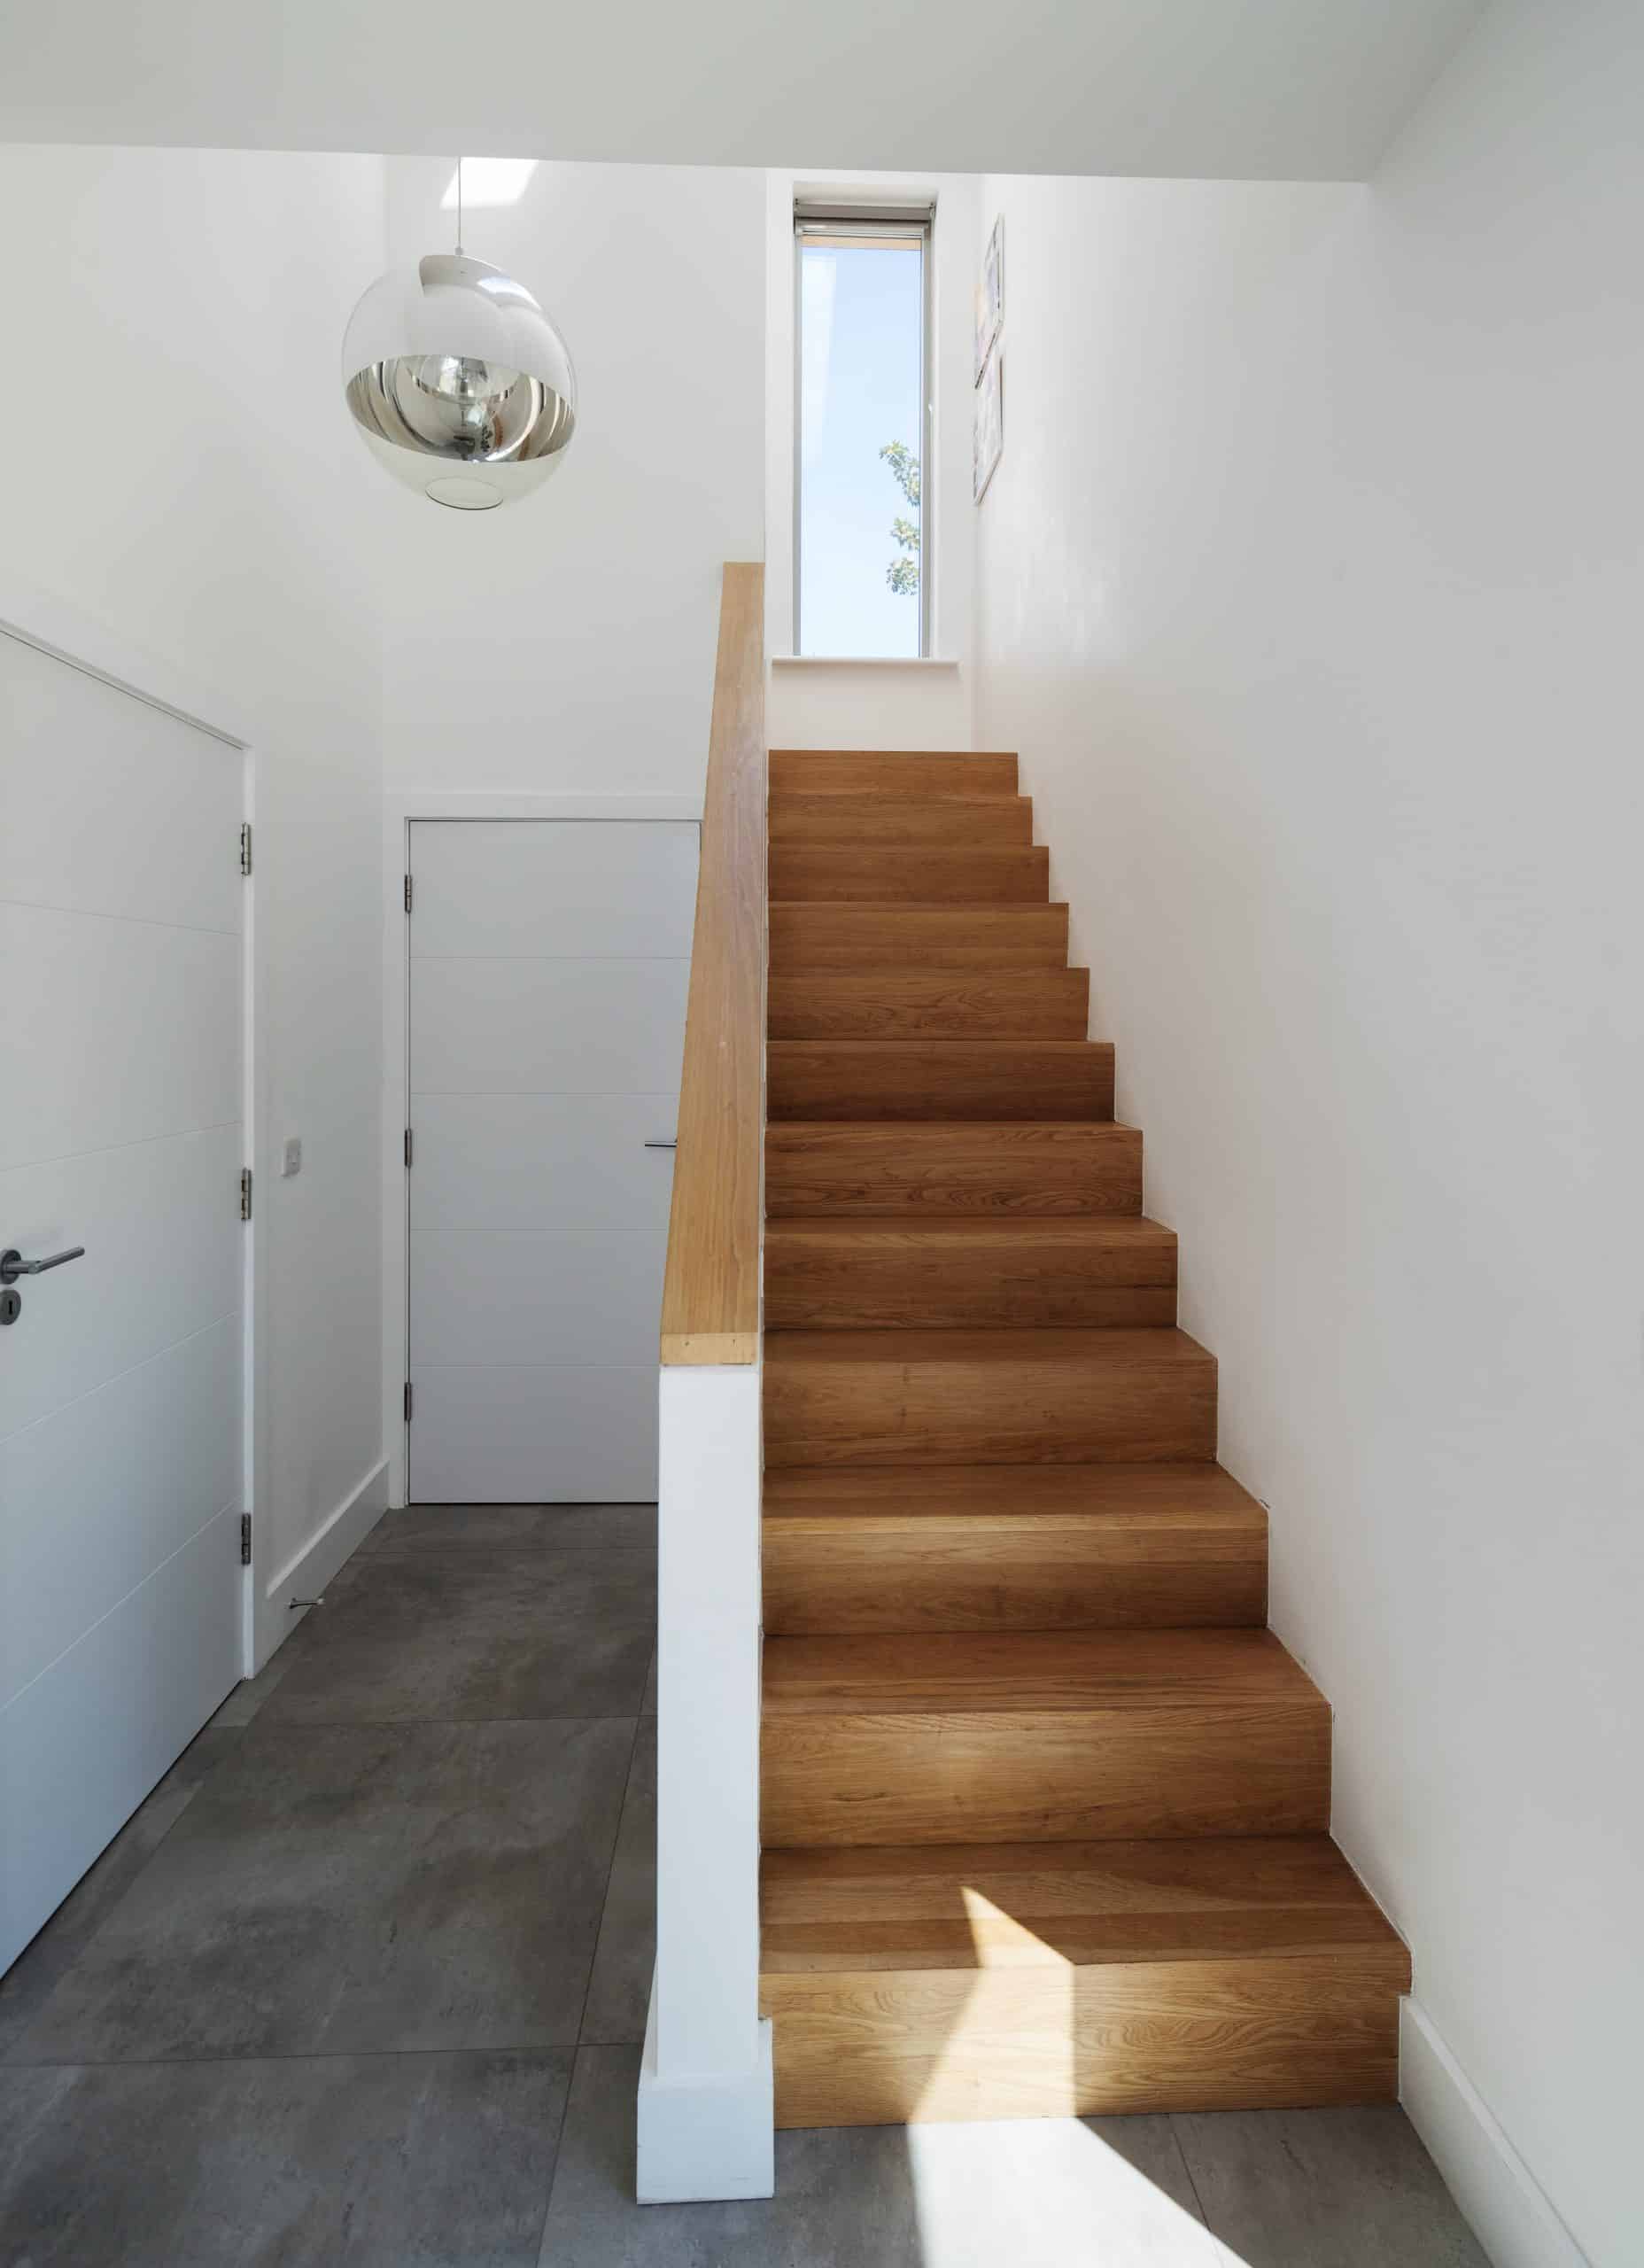
From an interior perspective, we still have a lot to do inms of furniture and decoration, so it’s still a work in progress. We opted to paint all internal walls white, to provide a minimalist look, reflect natural light and create visual contrast with the use of grey coloured tiles at ground floor level and timber floors at first floor level. The stairs are finished in white oak treads.
Overall, the house is very easy to maintain. The polished concrete effect tiles work great with the underfloor heating, are very easy to clean and more importantly with three kids they do not highlight dirt. Unlike the white walls…
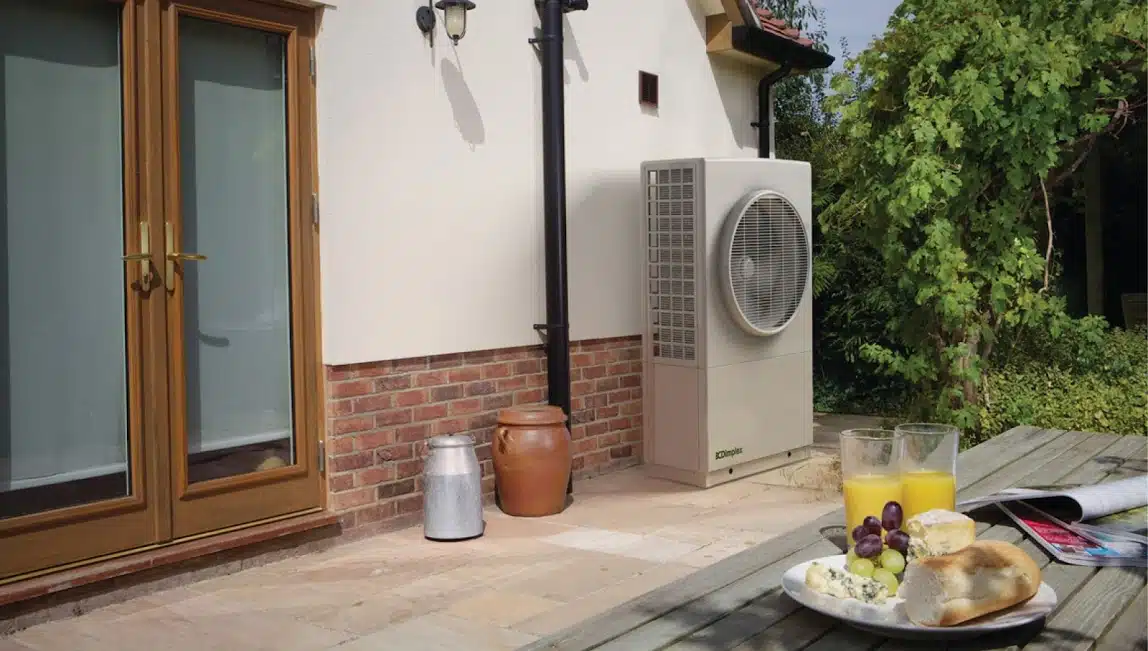
As for the energy efficiency, the building regulations for a new build essentially require that you build a house that’s going to be cheap to run. In our case we specified an air to water heat pump, which ticked the box for our renewables requirement under Part L, together with high performance triple glazing, airtightness construction, demand control ventilation for fresh air, and 100 per cent LED low energy lighting. We have radiators at first floor level and underfloor heating on the ground floor.
And although more than twice the size of our previous home, our energy bills are smaller. The only bill we have is electricity and it typically comes in between €120 to €190 every two months. Considering the energy used for lighting, heating, and running of dishwasher and washing machines for a family of five with three small children we do not feel this is too bad.
Suppliers for narrow Wicklow site
Architect: Luis Reis MRIAI, BBA architecture, Delgany, Co Wicklow, tel. 01 2876949, bba.ie
Builder/SIPs: Ambihouse, Co Wicklow, tel. 01 539 4242, ambihouse.ie
Project Certification: Stephen Moore MRIAI of Moore Architecture, email [email protected]
Windows: Rationel Aura Plus external windows and doors, rationel.ie
Coated steel roof: Greencoat PLX, ssab.com
Heating and ventilation: Heat Doc Ltd, heatdoc.ie supplied Aereco DCV, aereco.ie, and Mitsubishi heat pump, mitsubishi.ie
Electrics: Robert Power Electrical, robertpower.ie
Lighting designer/supplier: Blueprint Lighting Ltd, blueprintlighting.ie
Kitchen: Timbercraft Kitchens, timbercraft.ie
Sanitaryware and tiling: Tile Style, tilestyle.ie
Window dressing: Mounttown Blinds, mounttownblinds.com
Landscaping: Classic Touch Landscapes, Co Wicklow, mobile 086 816 2461
Cedar cladding: Machined Timber Specialists – Wood Components, woodcomponents.ie
ROI calling NI prefix with 048


