
In this article we cover:
- Changes made before the major renovation
- Redesign and how it came about
- Planning process
- Changes to the facade
- Changes to windows
- How the build was managed, top tips
- Garden design
- Top tips to stay on track and on budget
- Timeline and professional photographs
- Suppliers list
- Before and after floor plans
- Full specification, including BER before and after
The house Marie originally bought in 2016 was far from ideal for her needs. It was clear back then that it would need extensive renovation work, and she had a relatively modest plan to provide a more liveable space. However, as the project evolved, so did her plans.
House size before: 107sqm
House size after: 157sqm
Bedrooms: 3
Plot size: 244 sqm
Heating: air to water heat pump
Ventilation: natural
Build method (extension): concrete cavity walls
BER before: F
BER after: A3
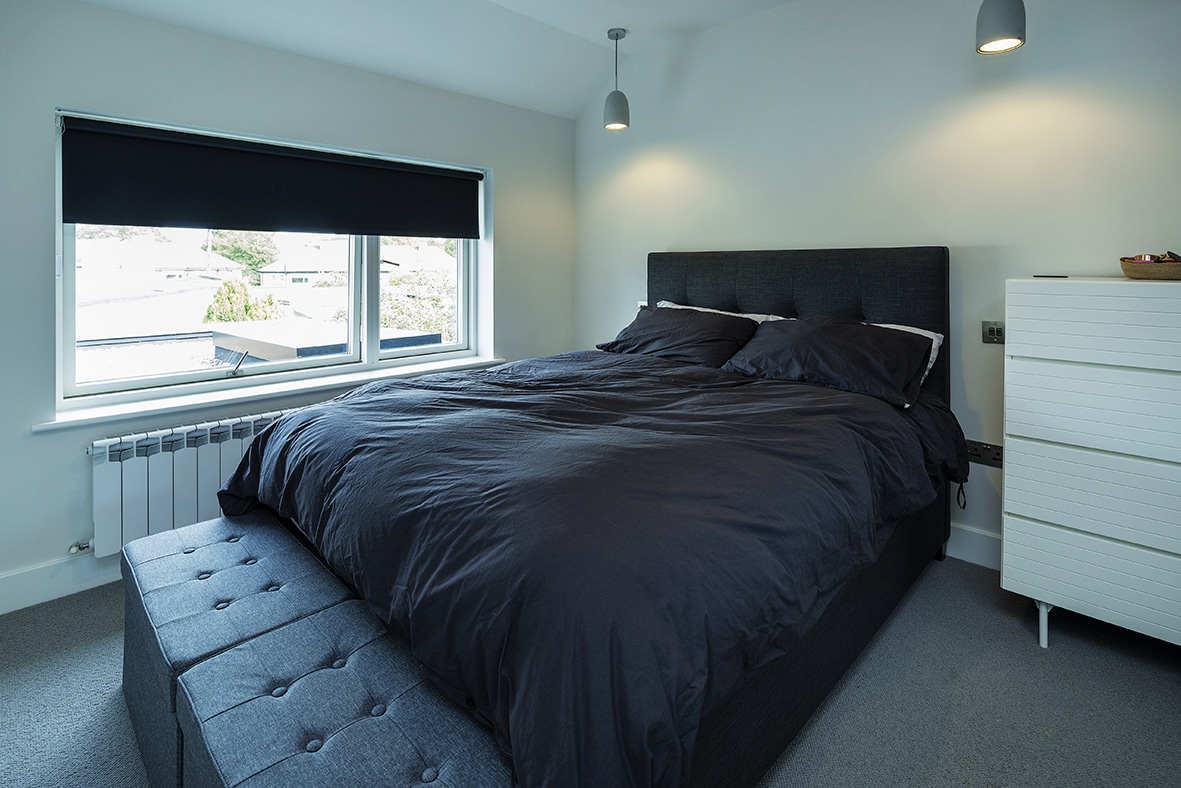
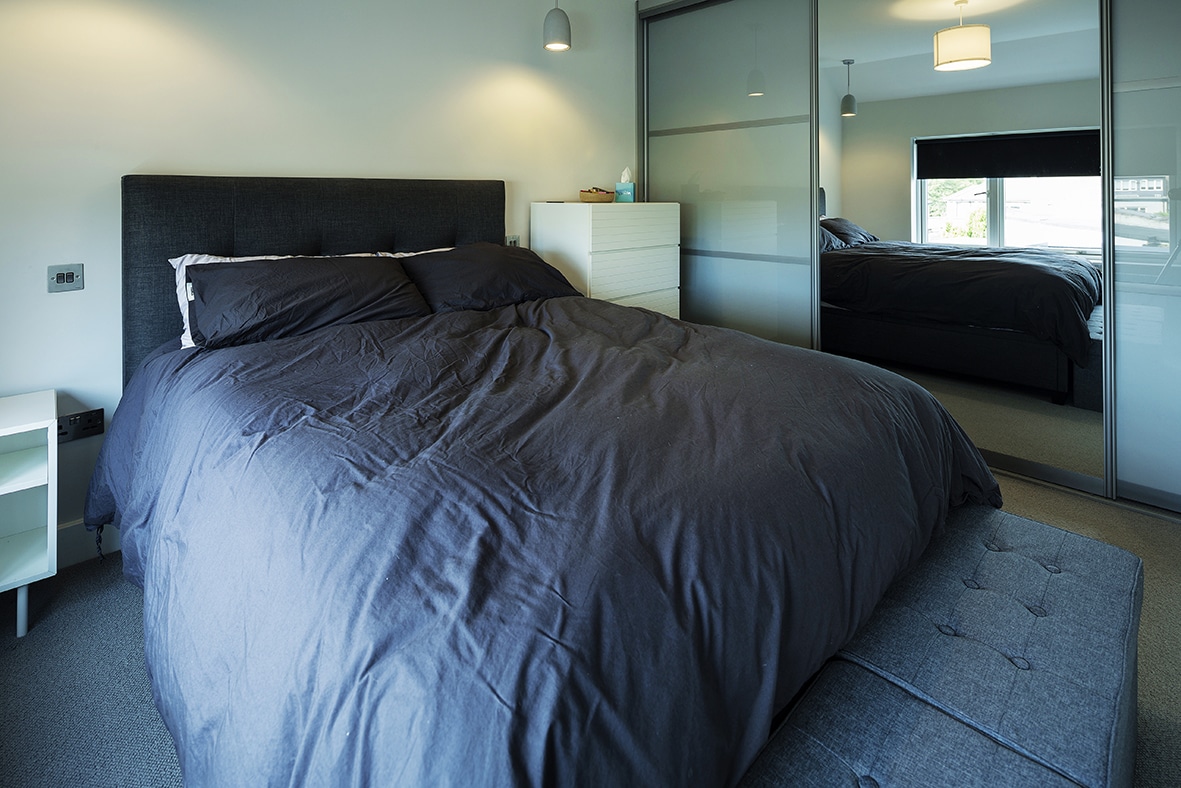
“I made the bold decision to extend over the garage, creating an additional bathroom upstairs and ultimately choosing to enlarge the third bedroom instead of creating a fourth, and allowing for a comfortable ensuite,” says Marie.

The project’s original start date was slated for May 2020, but the pandemic postponed work until later that year. “During this unforeseen delay, I took the opportunity to reassess my budget and decided to take on more than I had initially planned,” she says. “Before the renovation work began, I had made minimal changes to the property. I’d replaced the carpets and painted the interior white. The biggest expense I incurred was the replacement of the ageing boiler.”
More space
The layout of the terraced property featured three bedrooms and one bathroom. “Having previously lived mostly in apartments, I yearned for more space and comfort. So, the primary goal for the extension was to create additional living space and improve the overall functionality of the house.”
Marie originally believed she could progress her plan with just a builder, and without an architect.
However, as the scope of the project grew, it became clear that professional architectural expertise was essential. “I strongly recommend anyone doing a similar project to enlist the services of an architect at some level, as they can provide invaluable assistance with drawings, design recommendations and
overall project management.”
Marie’s builder recommended several architects, and she interviewed them to determine the most suitable one. “The architect I eventually chose worked closely with me, respecting my ideas while offering invaluable input. We had an excellent working relationship, even when we had differing opinions.”
A good rapport with the builder, who had prior experience collaborating with the architect, ensured the project ran smoothly. “The architect embraced most of my initial preferences and requests for more
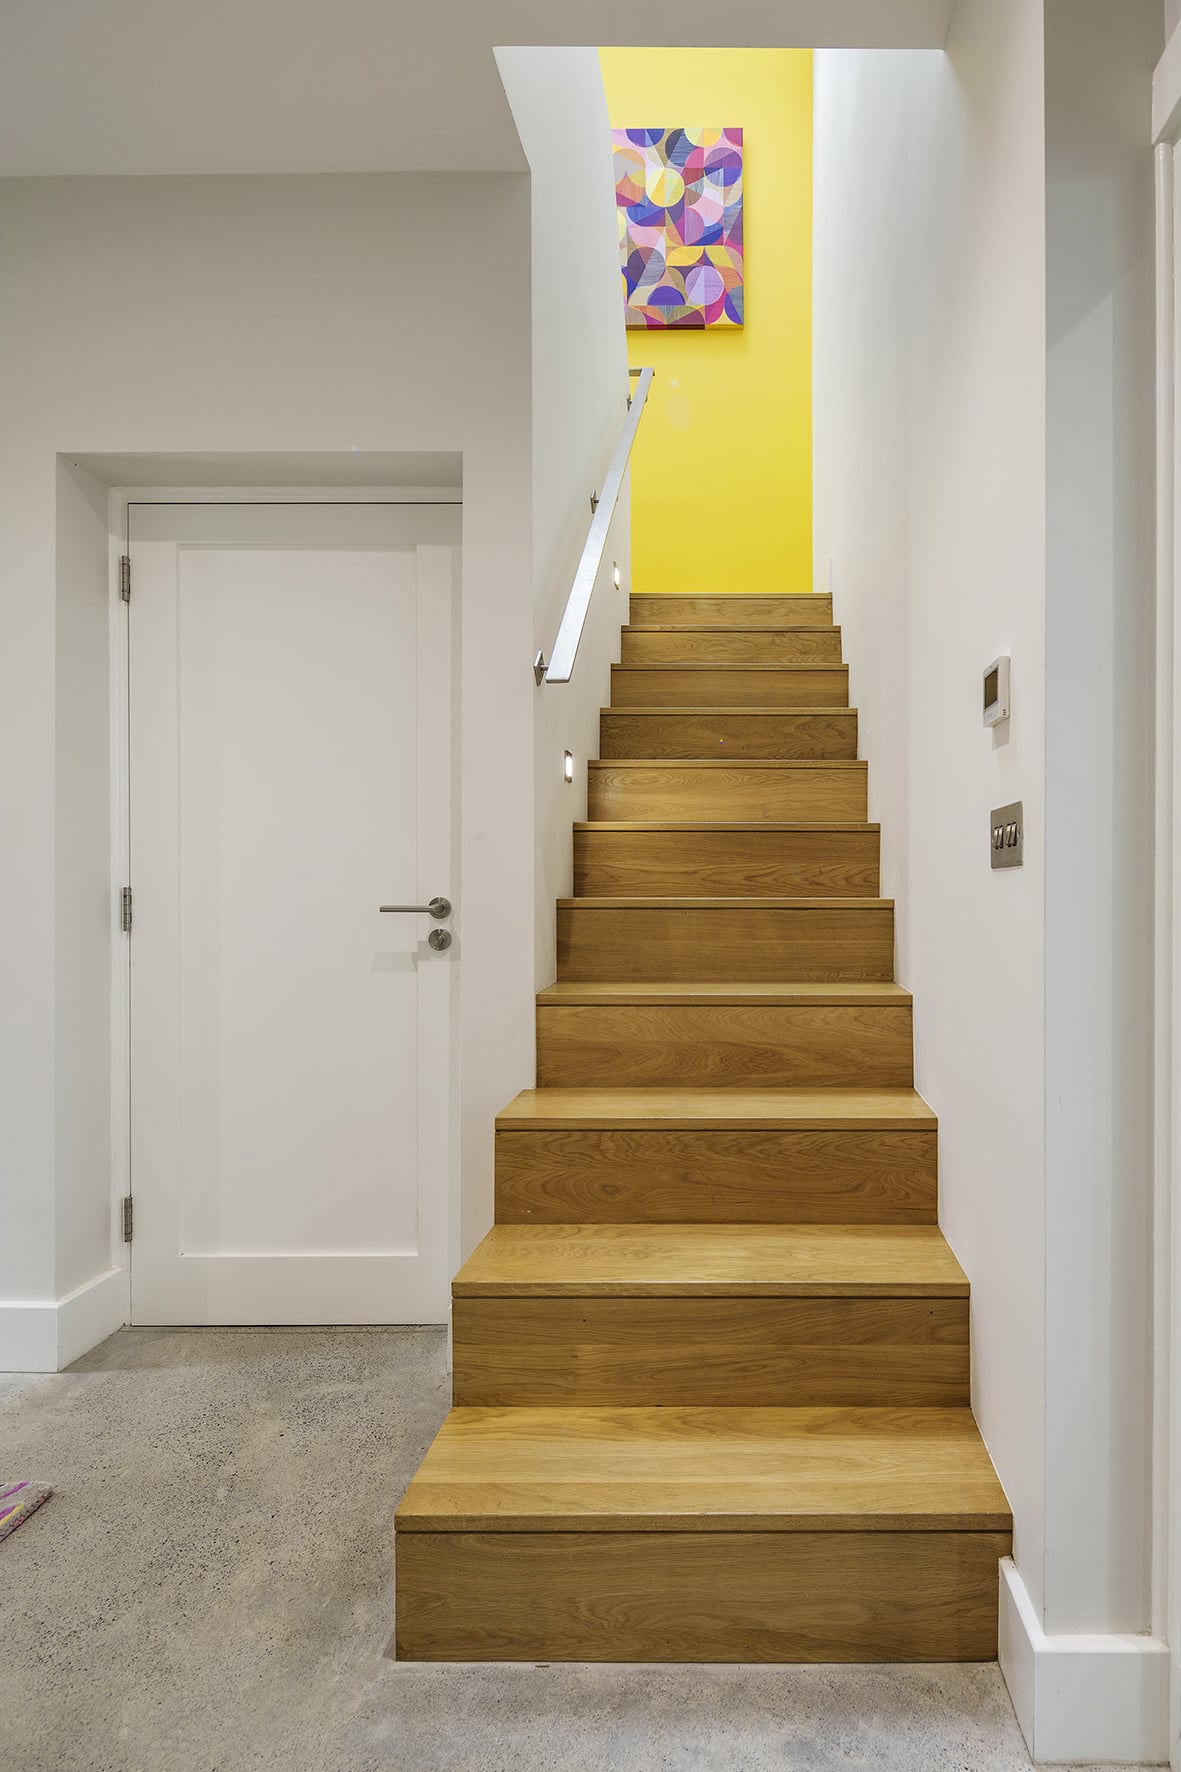
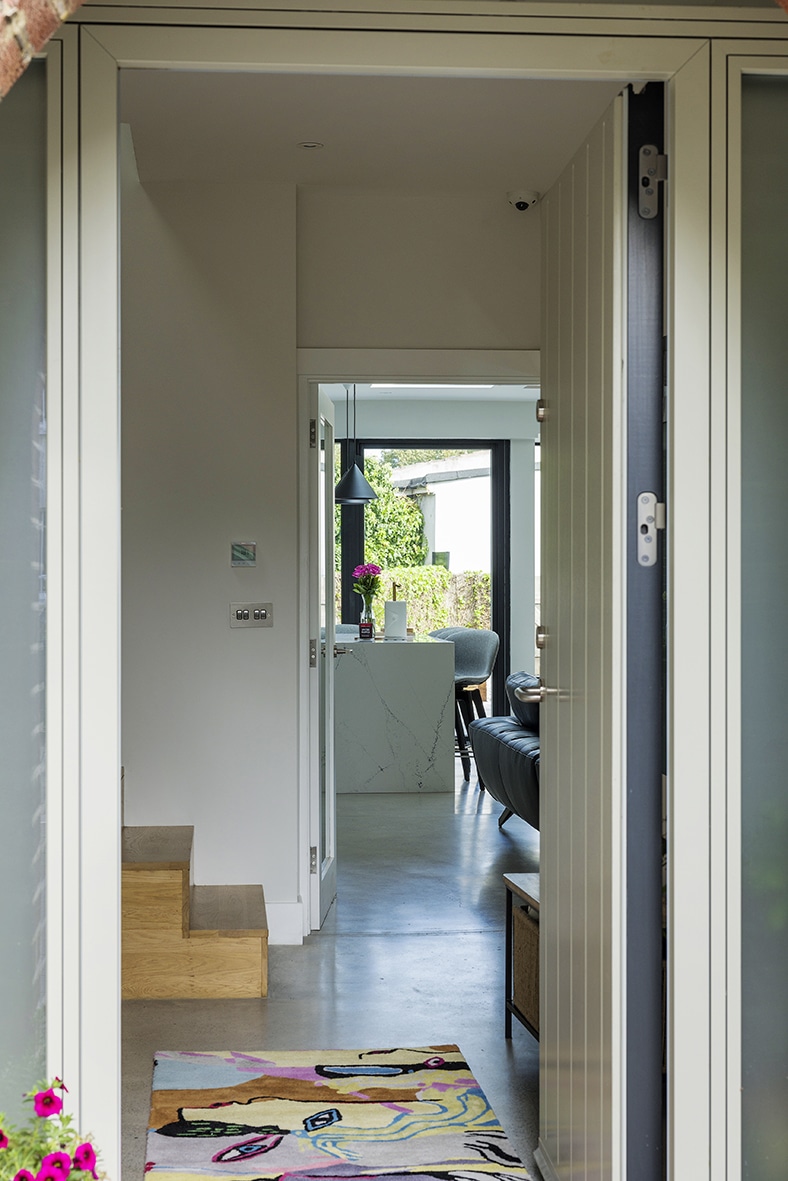
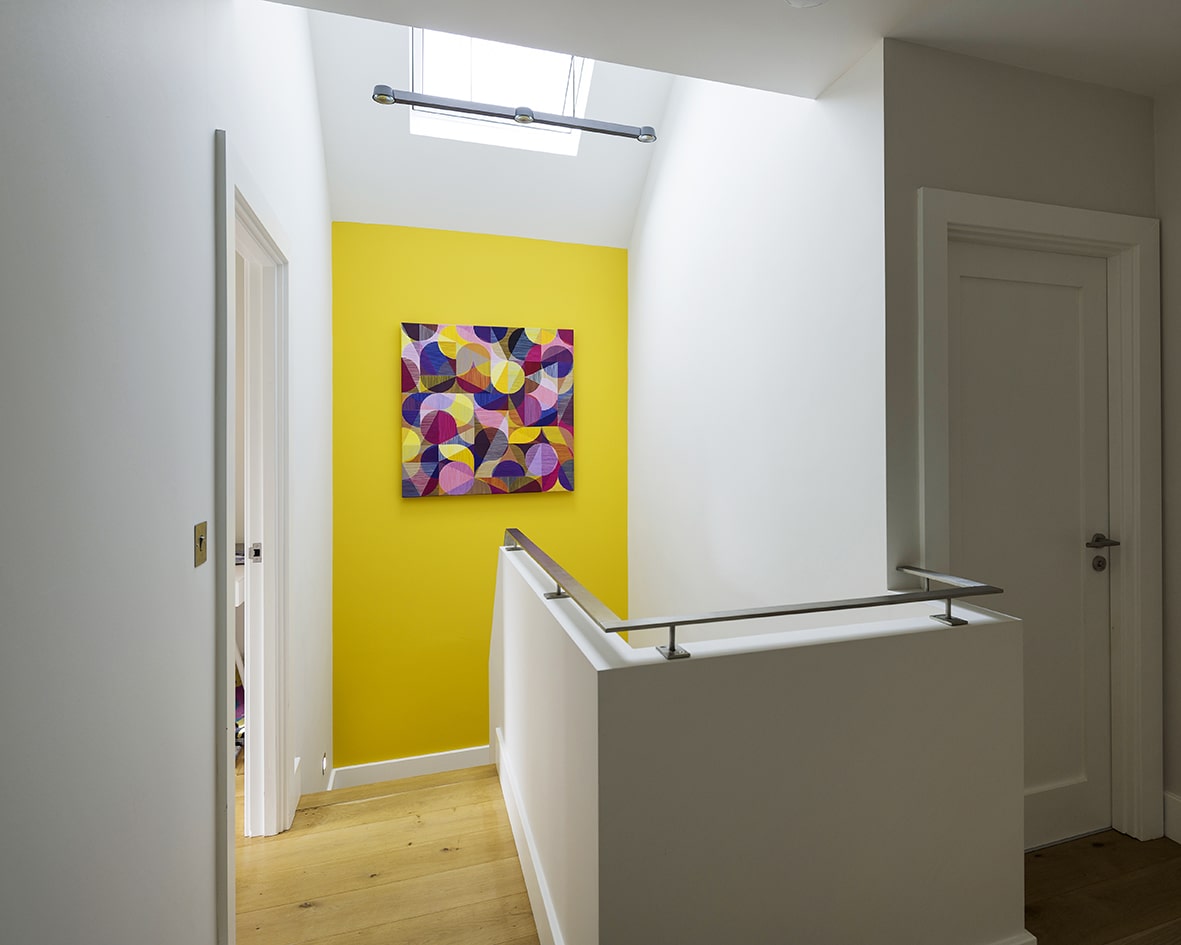
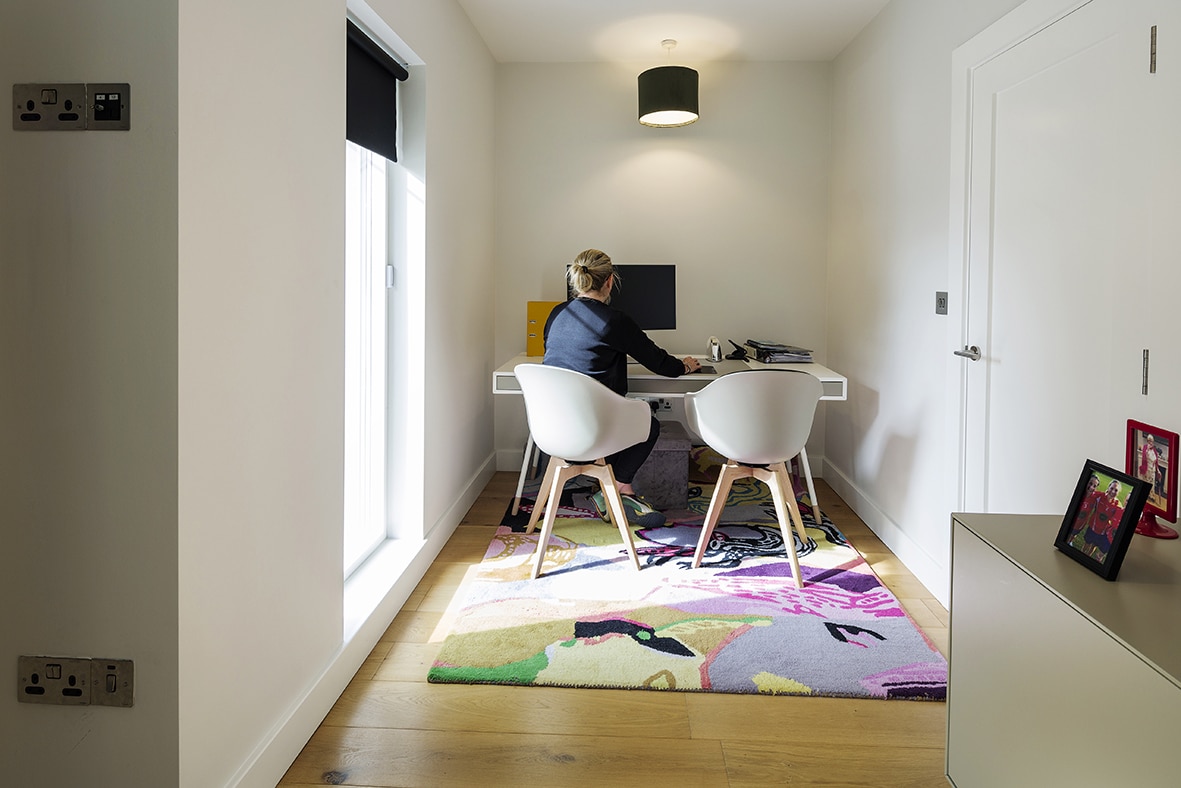
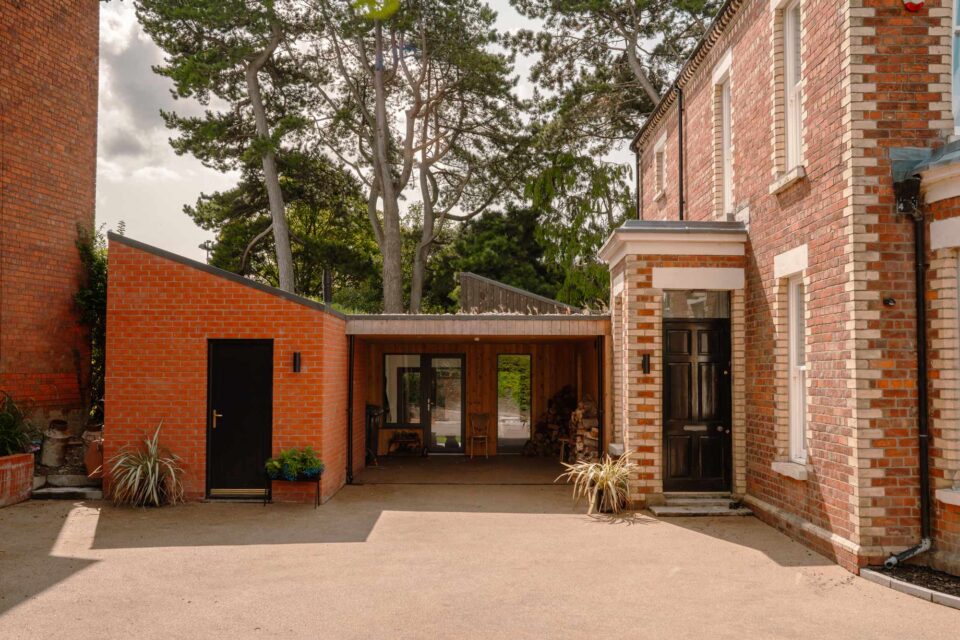
light and space, but one significant improvement was creating extra room at the front entrance.
Originally when you came in through the front door you were met by the staircase almost immediately. The architect’s solution was to move and replace it with a beautiful oak design. He also had to address design challenges due to the tapering of the site at the rear.”

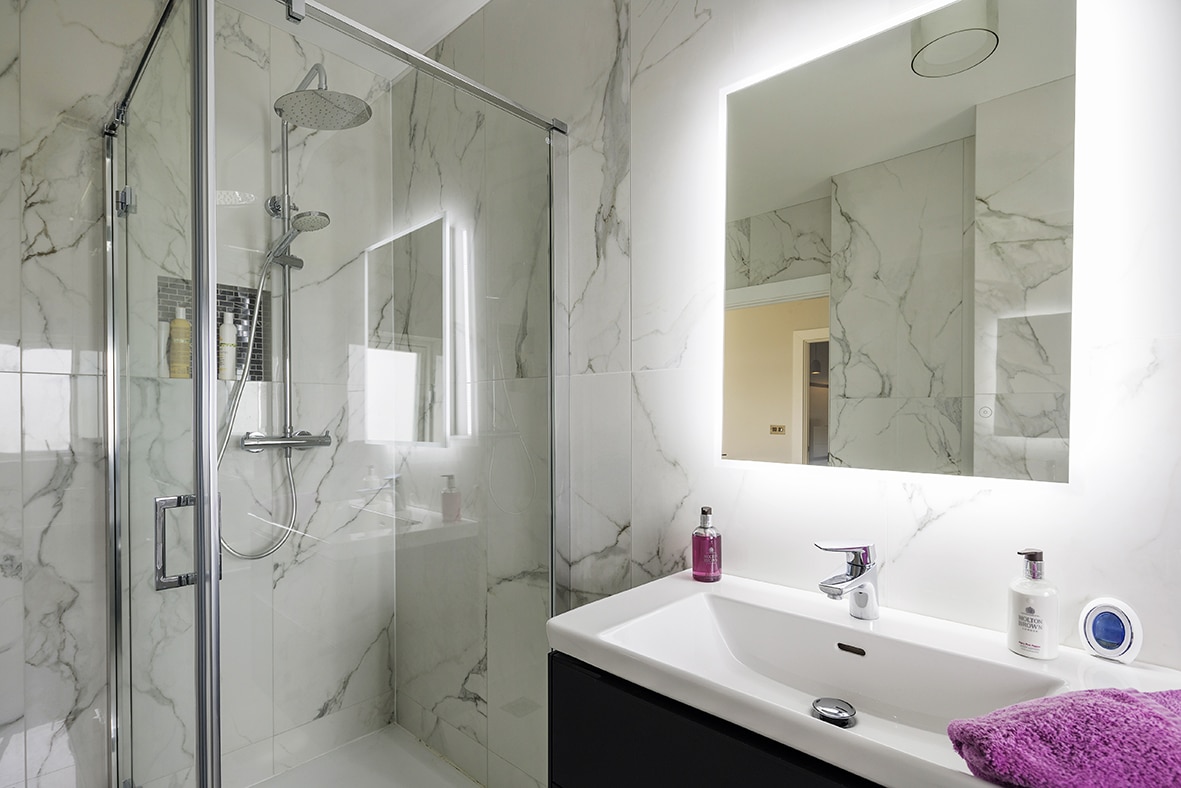
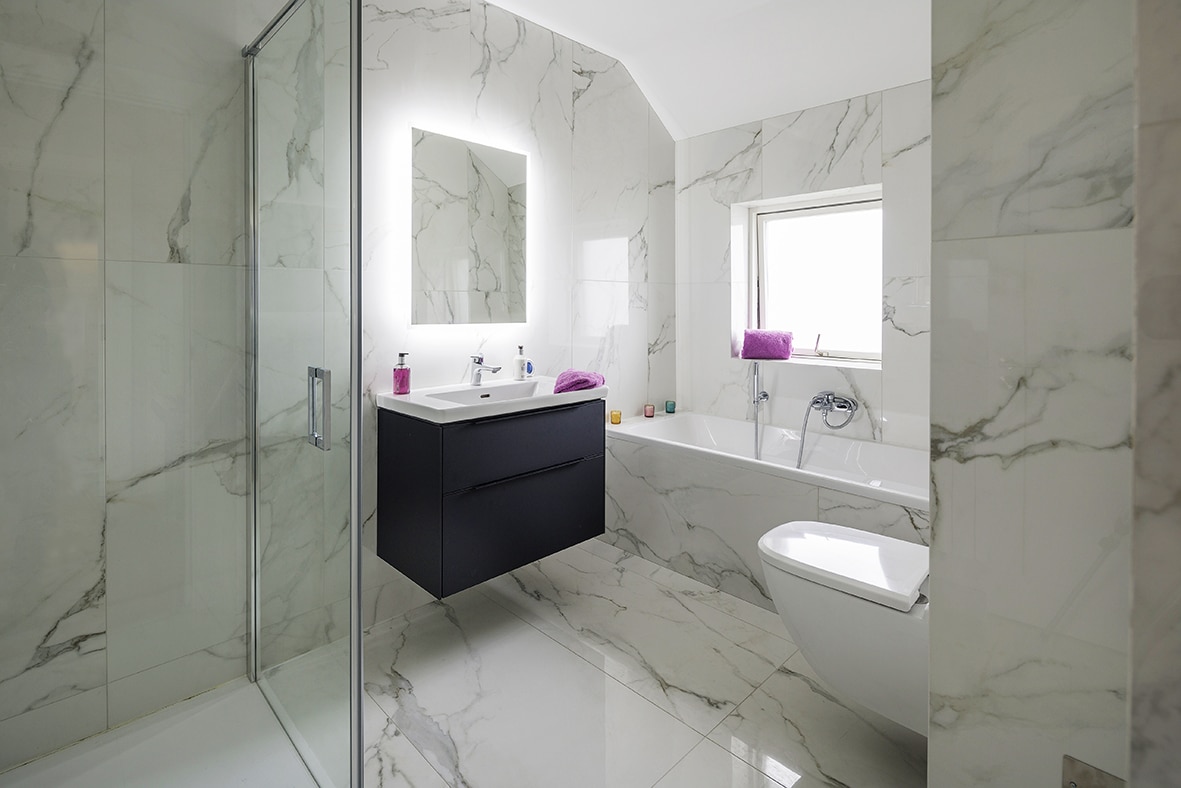
In addition to the rear extension, Marie’s initial wish list was straightforward; a new utility room, an ensuite, a stylish bathroom and a more spacious entrance area for added comfort. “Retaining the size of the existing bedrooms was also crucial,” she adds. “This was another reason why the architect suggested we relocate the staircase. This whole solution contributed to a slight increase in project costs but improved the space. It was well worth it.”
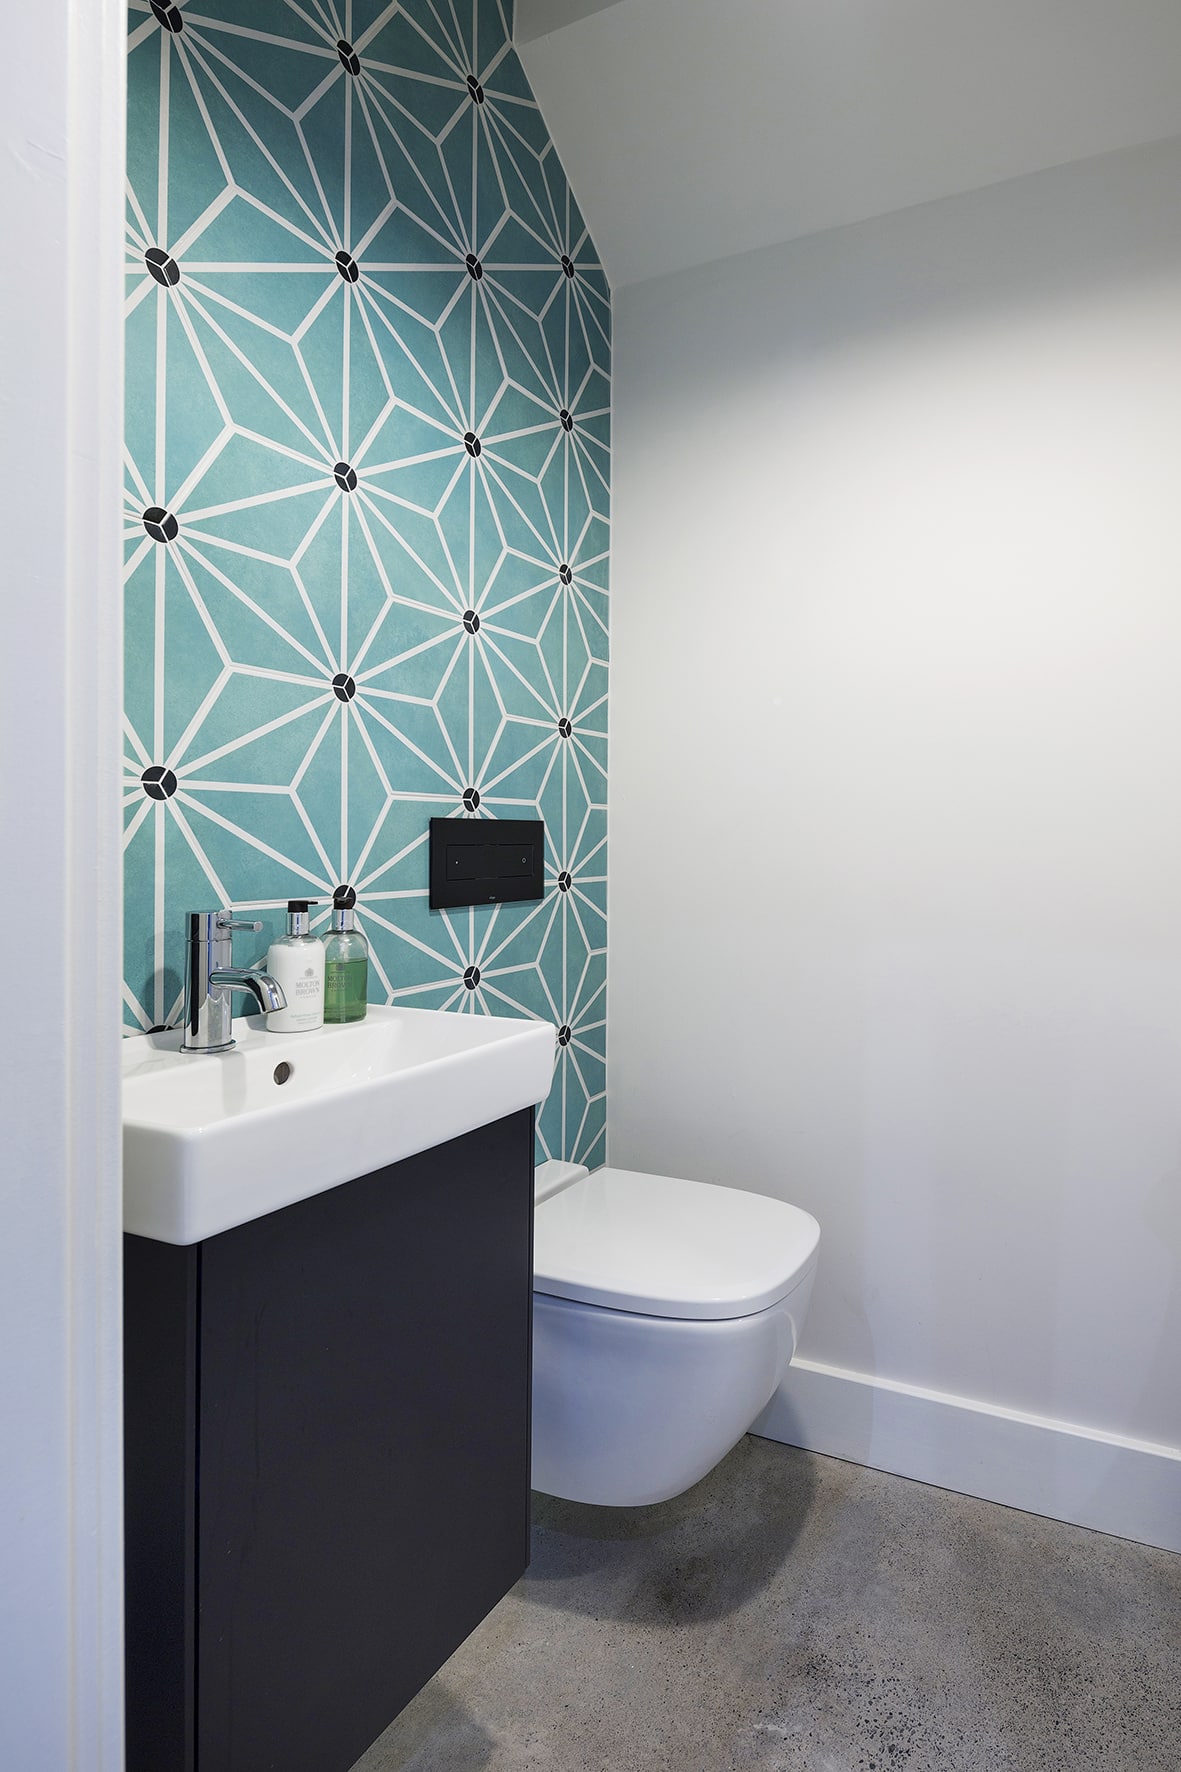
“I also wanted to integrate a utility room and this is now where the old kitchen was. We took some space from the garage to add a new downstairs toilet, so we did not compromise on the living space on the ground floor. The old bathroom is now my ensuite and the extension over the garage allowed me to put in a large, modern bathroom upstairs.”
“The primary aim behind the rear extension was to expand the living space and accommodate a new kitchen. I envisioned an open plan layout that would provide a spacious and contemporary living environment.”
Beyond the façade
The main structural work used conventional building materials, including block walls and wood timber
framed floors and roofs. However, the façade underwent a big transformation.
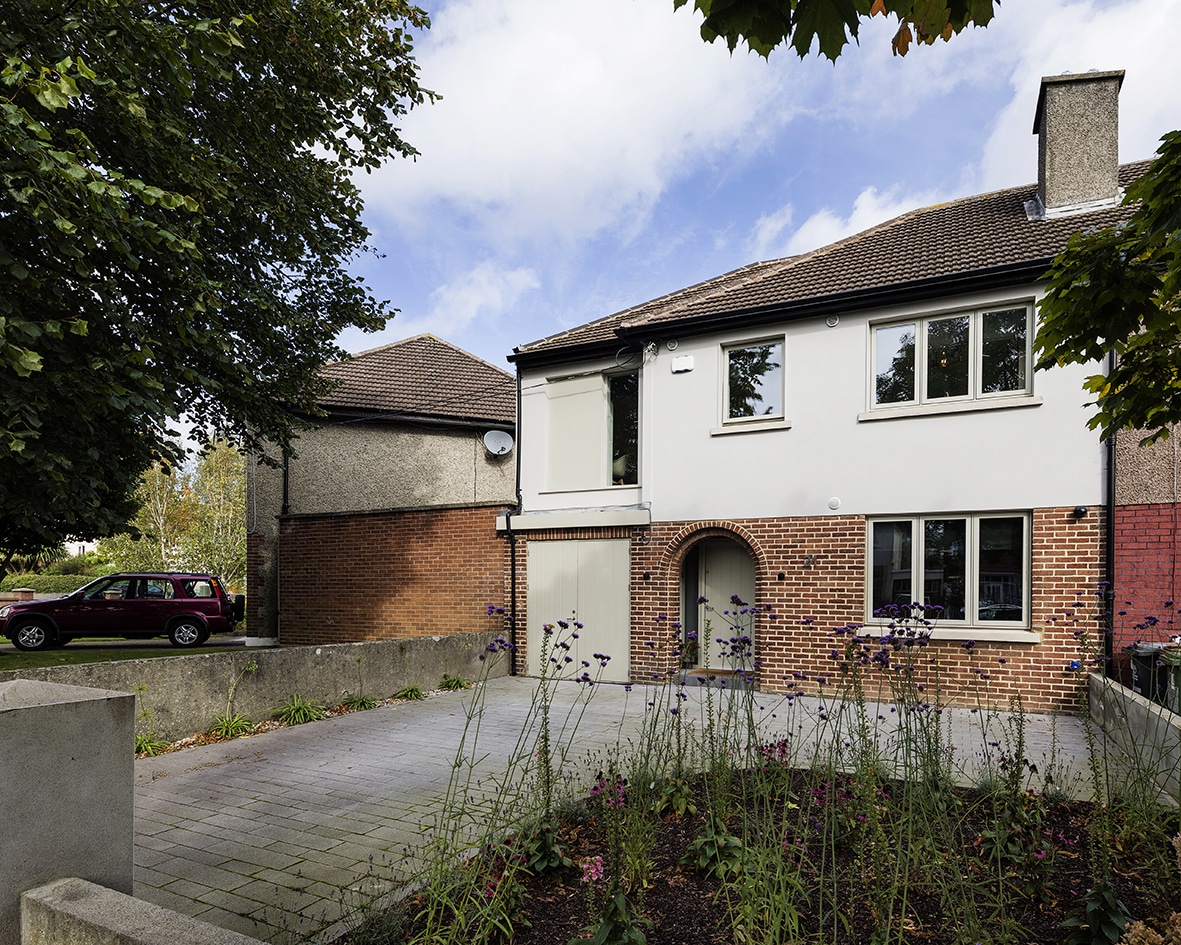
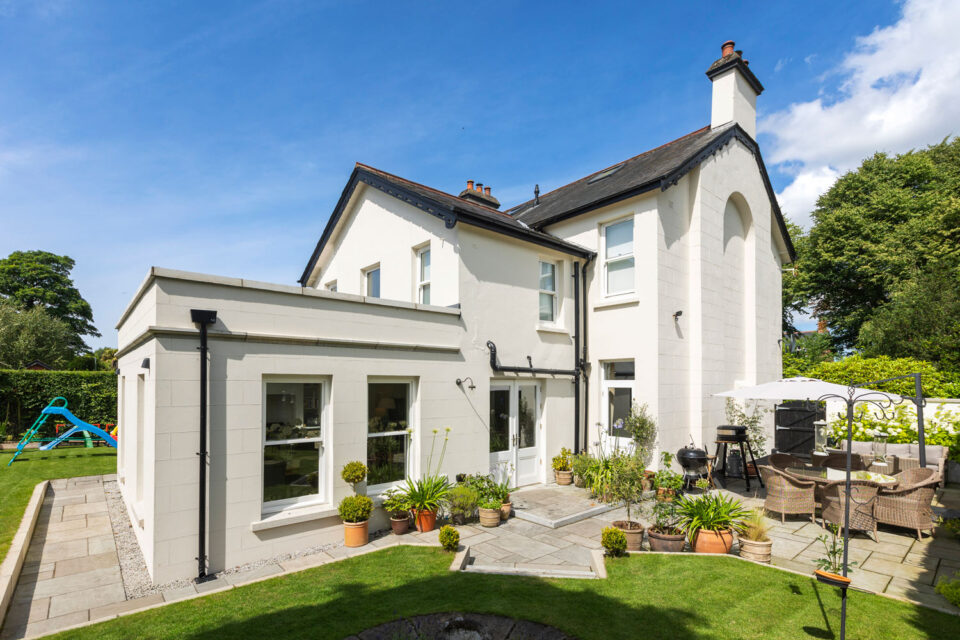
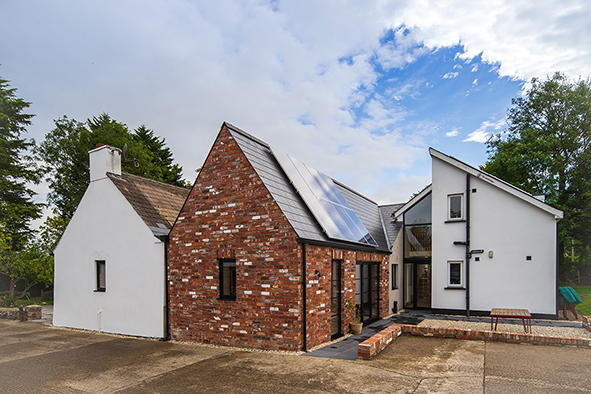
“I decided to update the front of my property. The existing finish on the first floor exterior was pebbledash, but I wanted a more modern look, so I replaced it with a contemporary plaster finish. This change preserved the original style of the house but freshened up the appearance.”

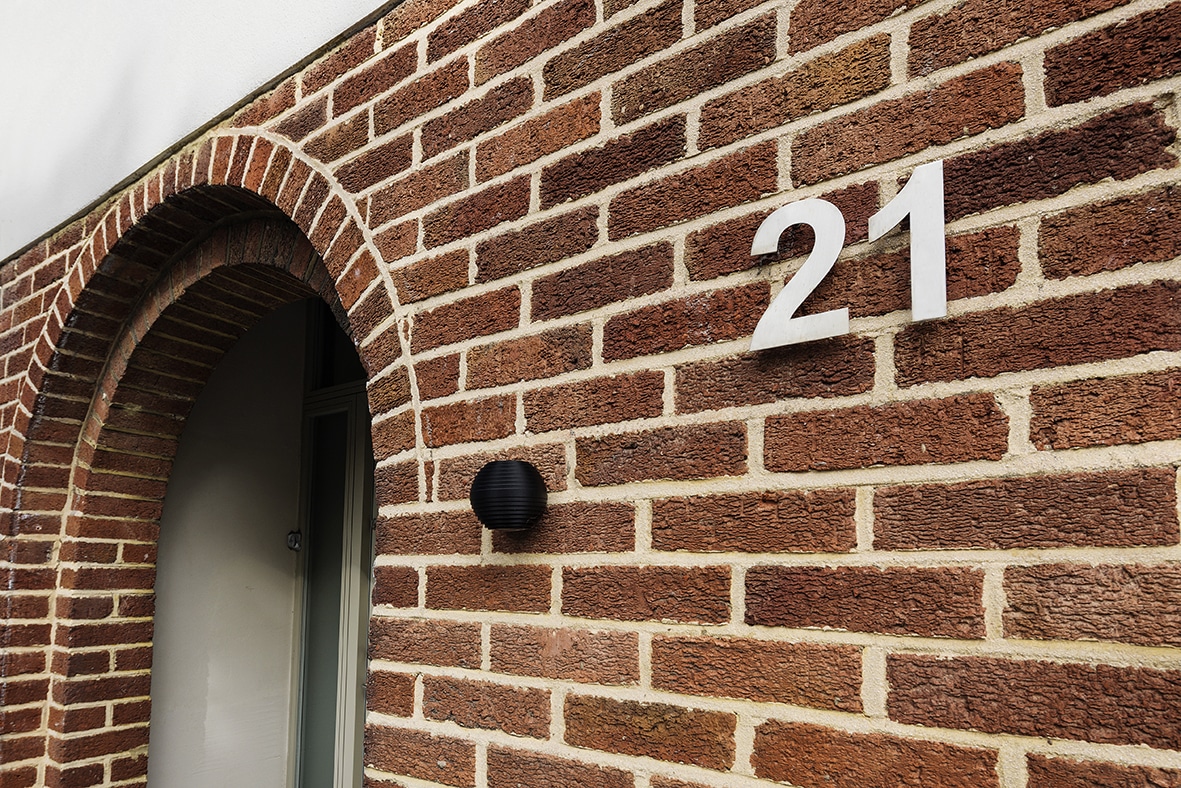
“I made sure to keep the distinctive archway at the front entrance and the brickwork to maintain the character of the property while modernising the façade. I also added a striking six-foot window to the extension, giving the exterior a further touch of contemporary style.”
The extension over the garage has a pitched roof. “I think the architect might have been a little disappointed that I did not go for the flat roof that was very much a feature of the design. While I was eager to give the house a modern touch, I did want to maintain a style in line with the neighbouring
properties on the street.”

Deciding to replace all the single glazed windows and doors was a crucial step, says Marie. “I opted for triple glazed aluclad [timber windows clad on the outside with aluminium] windows and doors in an elegant pebble grey colour. This gives the house a more consistent and refined look that matches the design. The striking bold black interior of the front door now perfectly complements the new extension.”
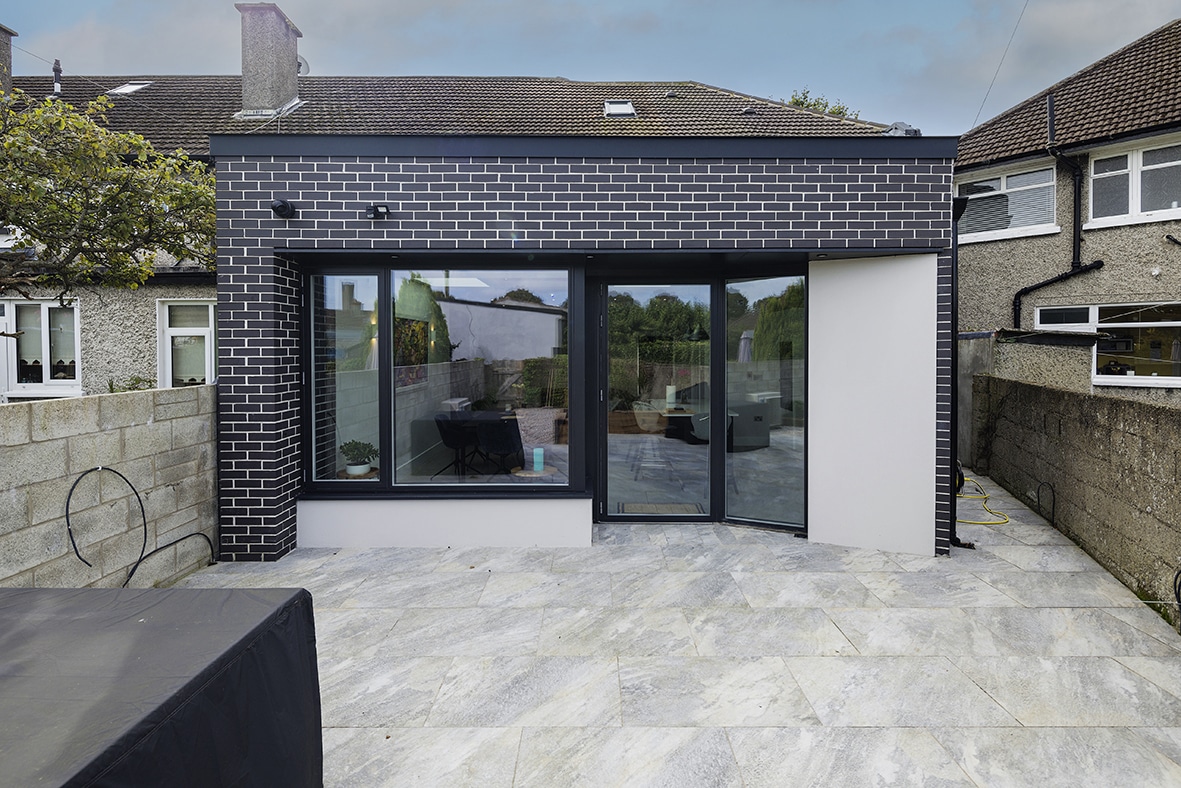
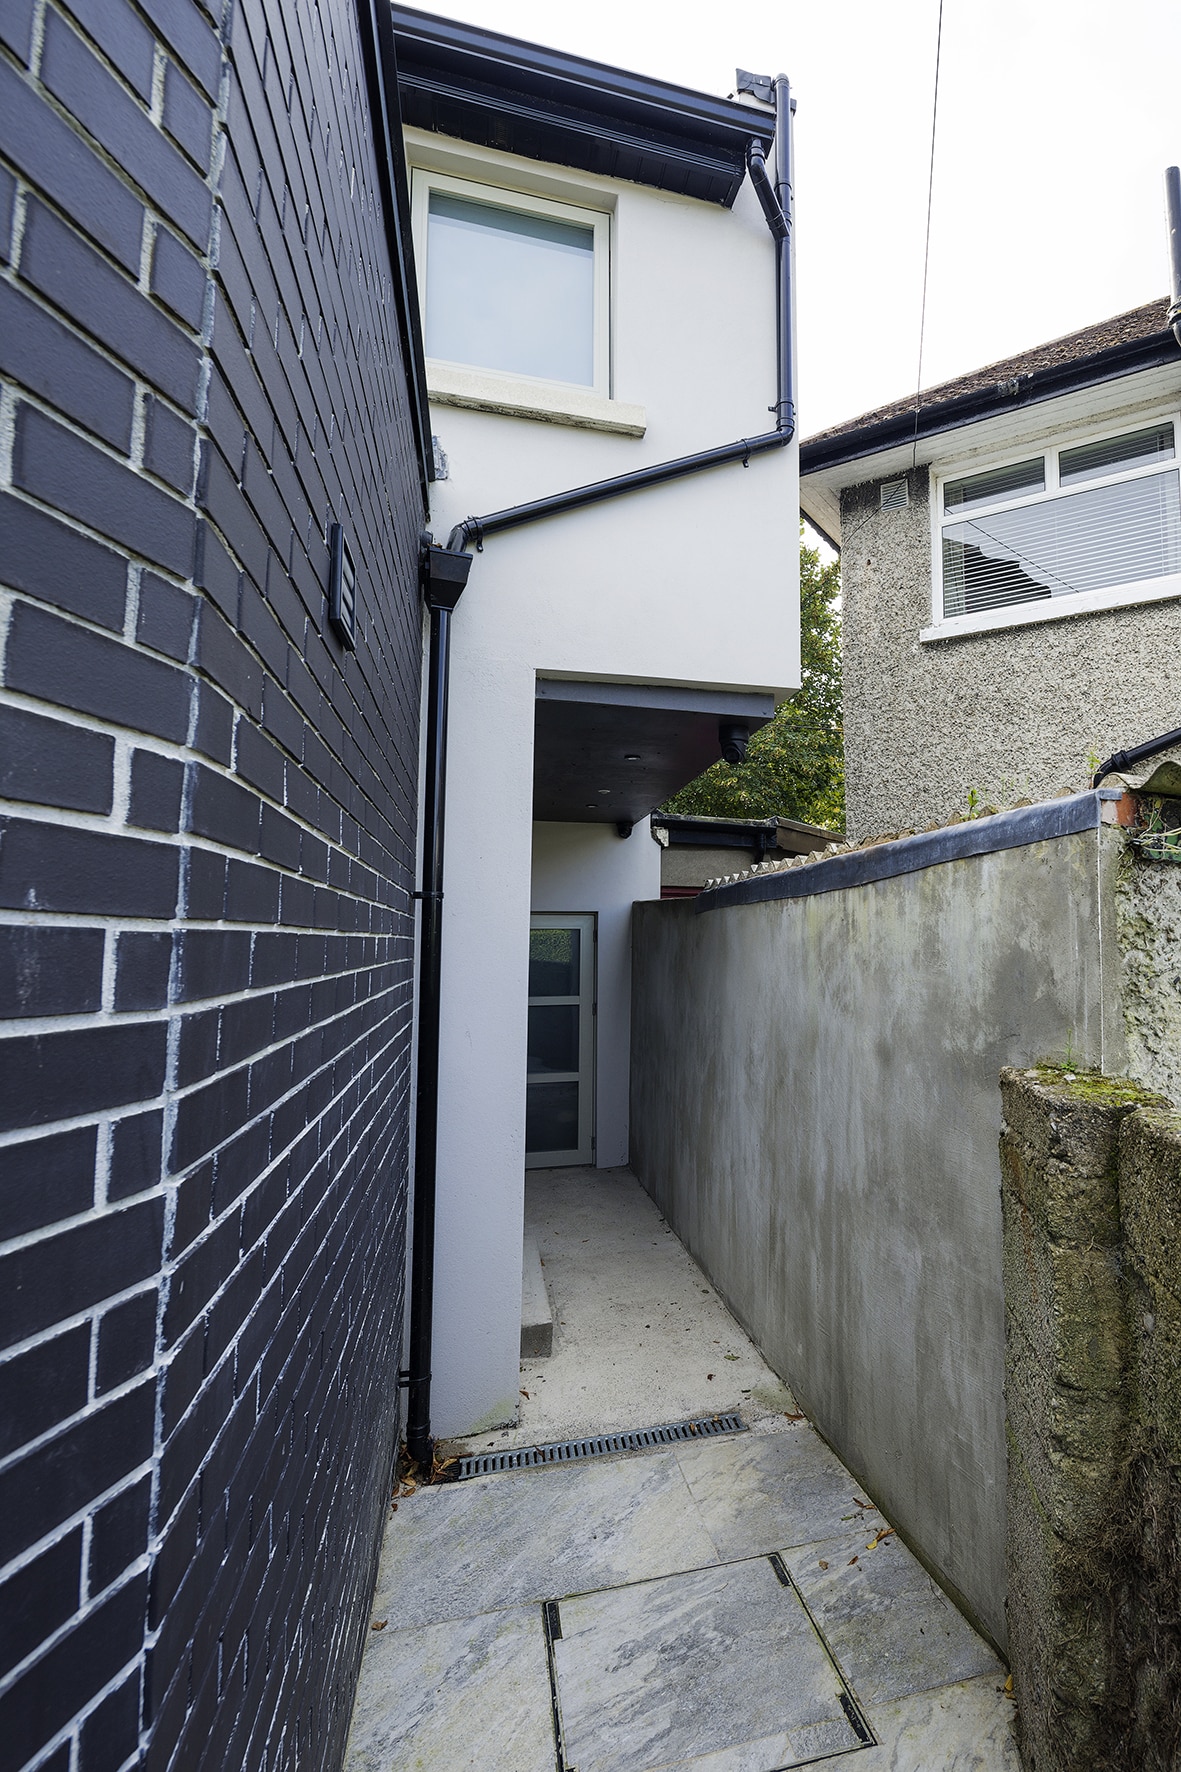
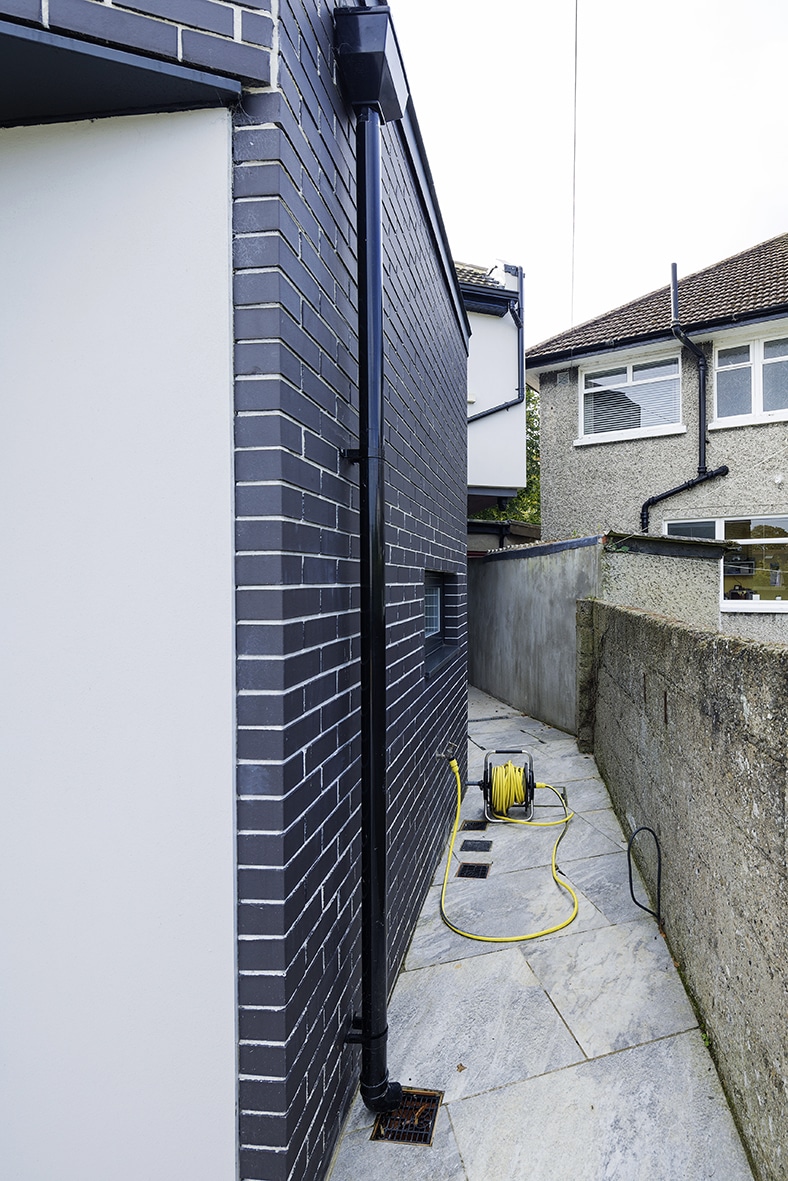
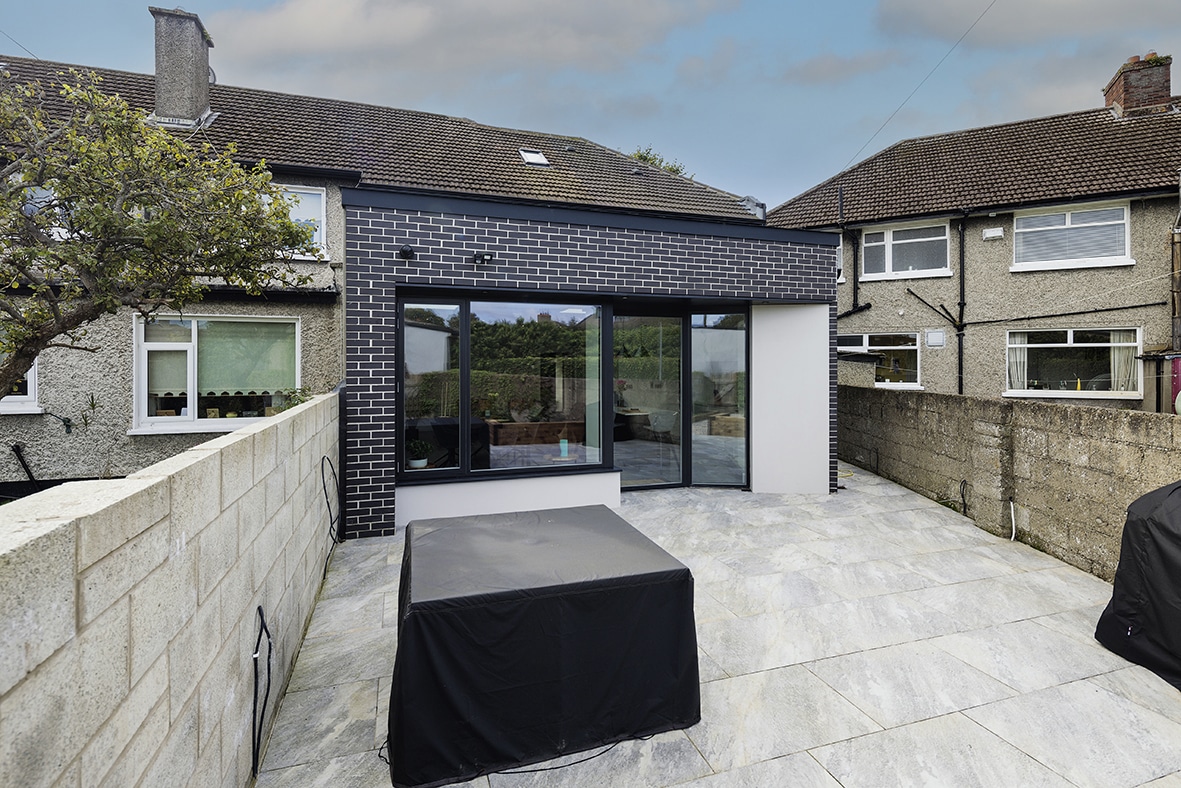
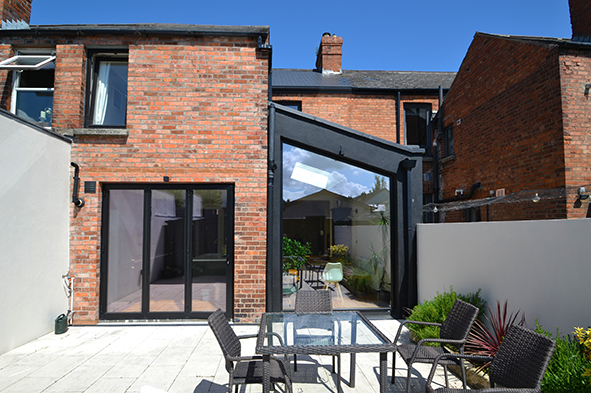
The black window frames in the rear extension and the black brick exterior with light grey mortar make a statement too. “Although there was some initial hesitation from the builder about the prevalence of black at the rear, the architect and I shared the same vision,” says Marie.
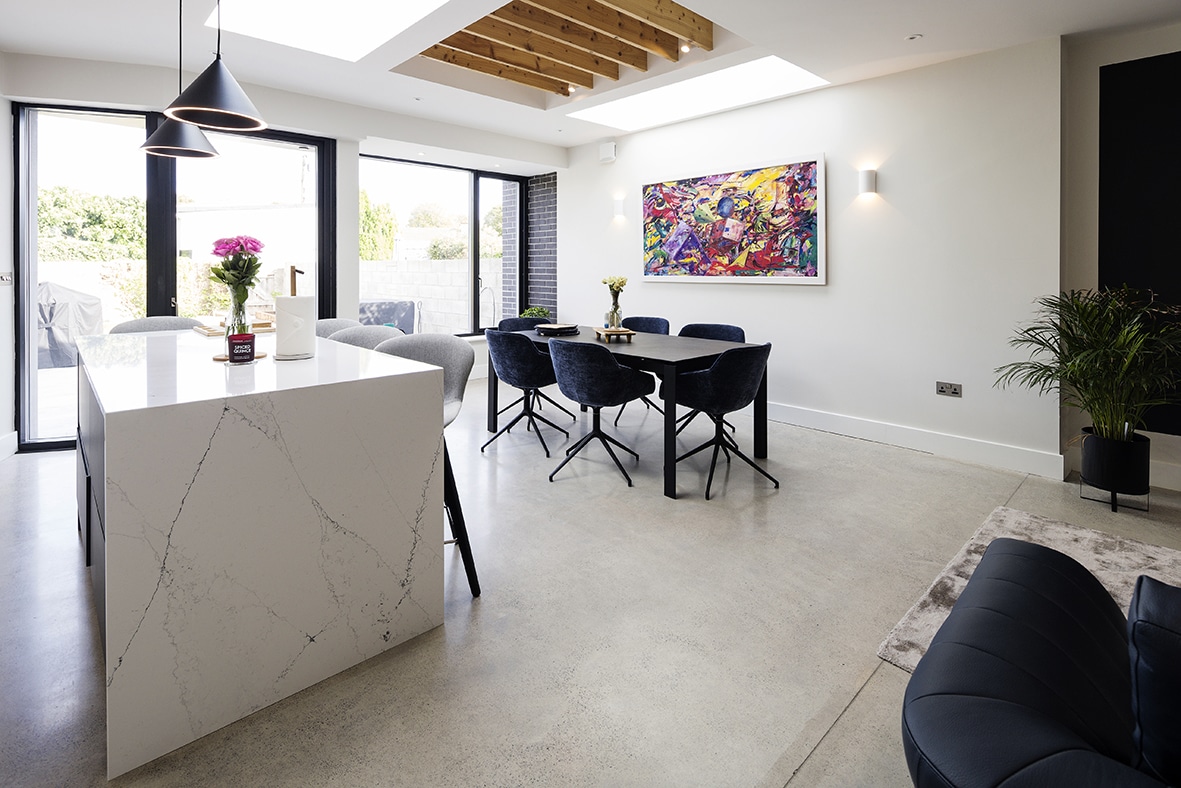
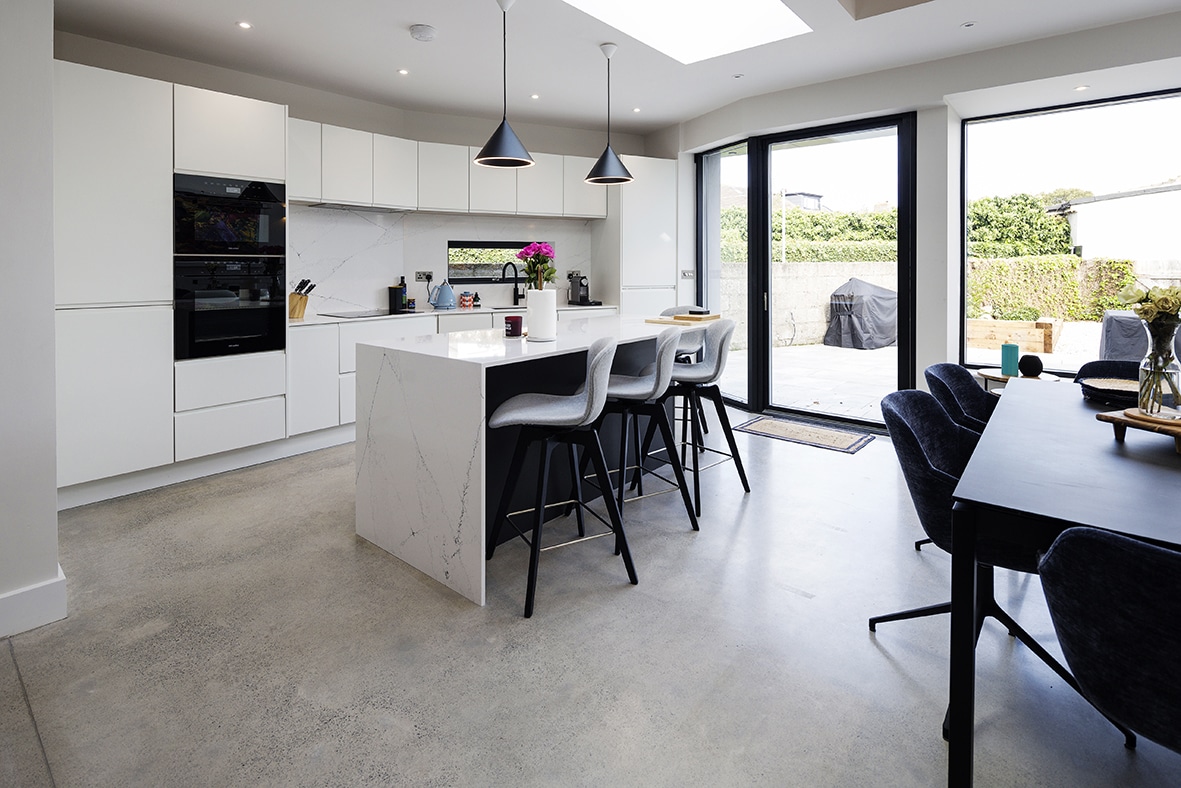
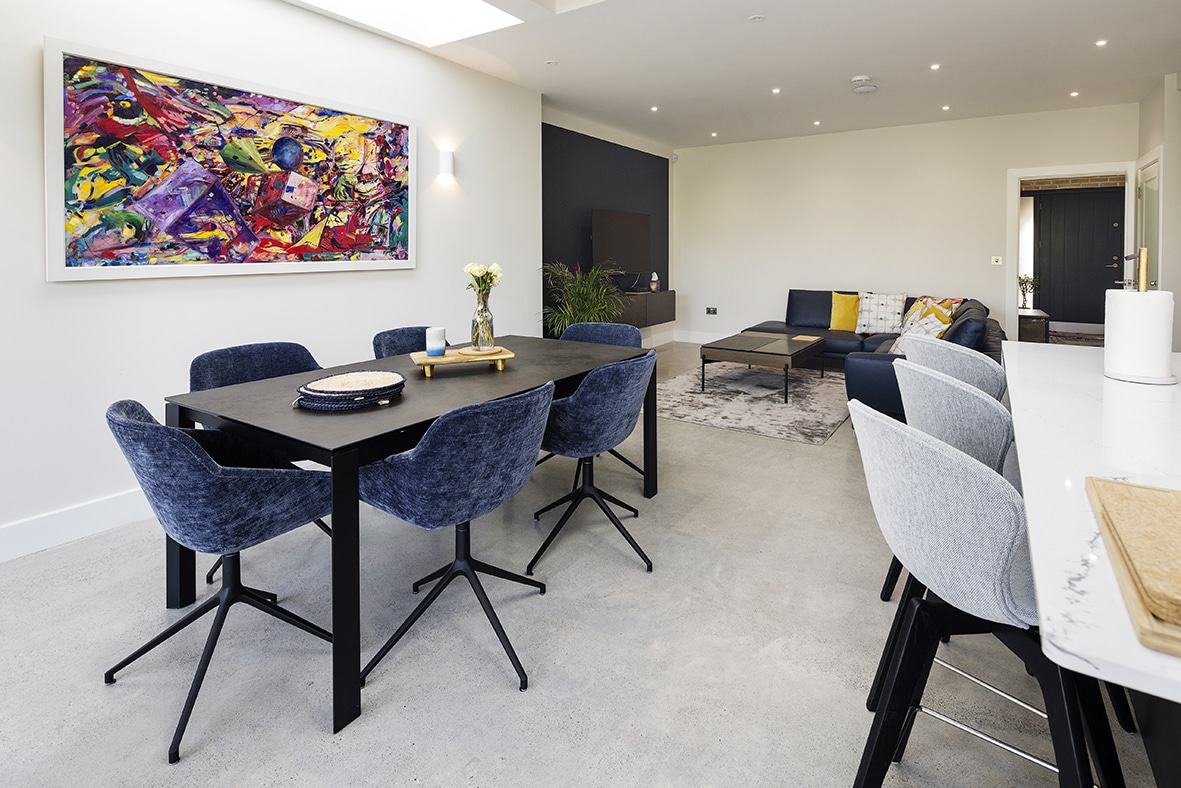

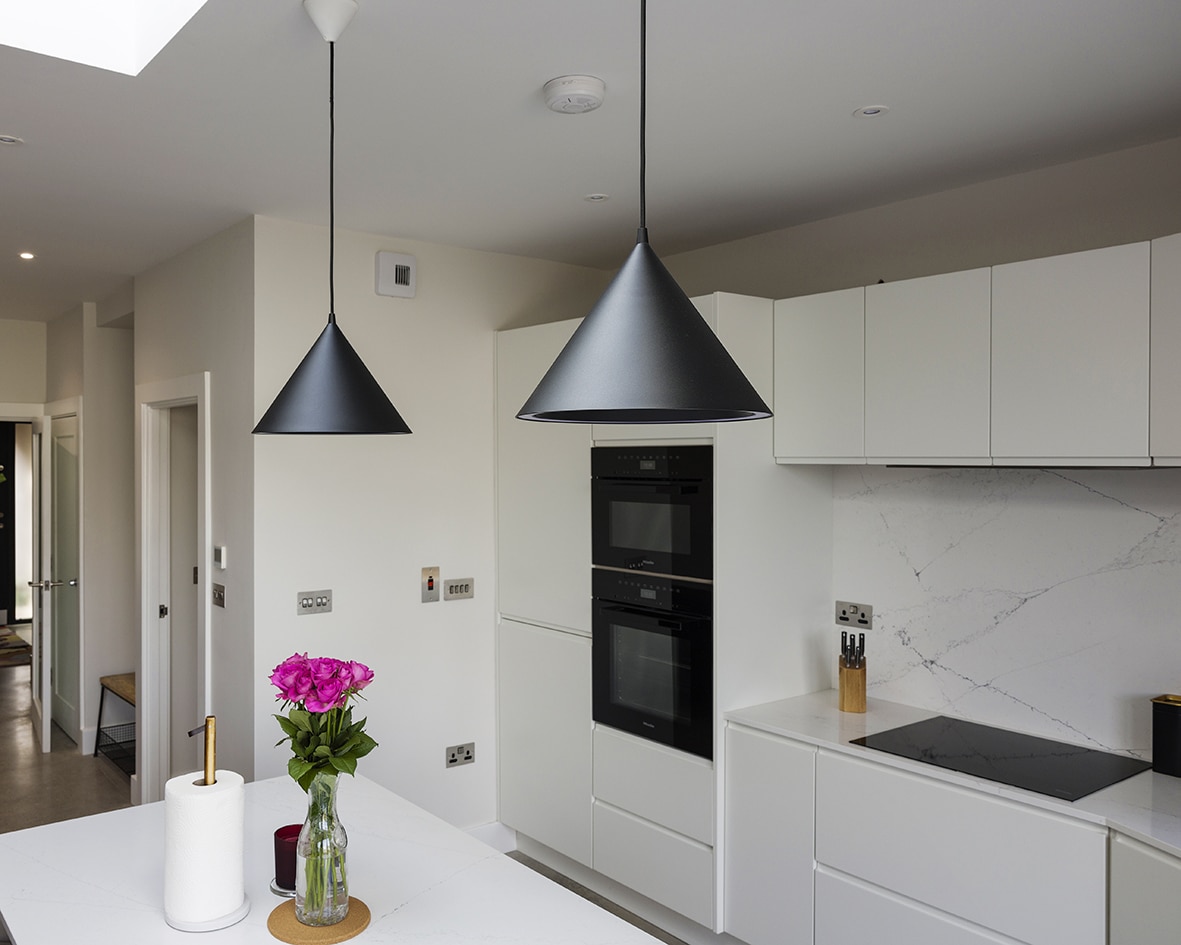
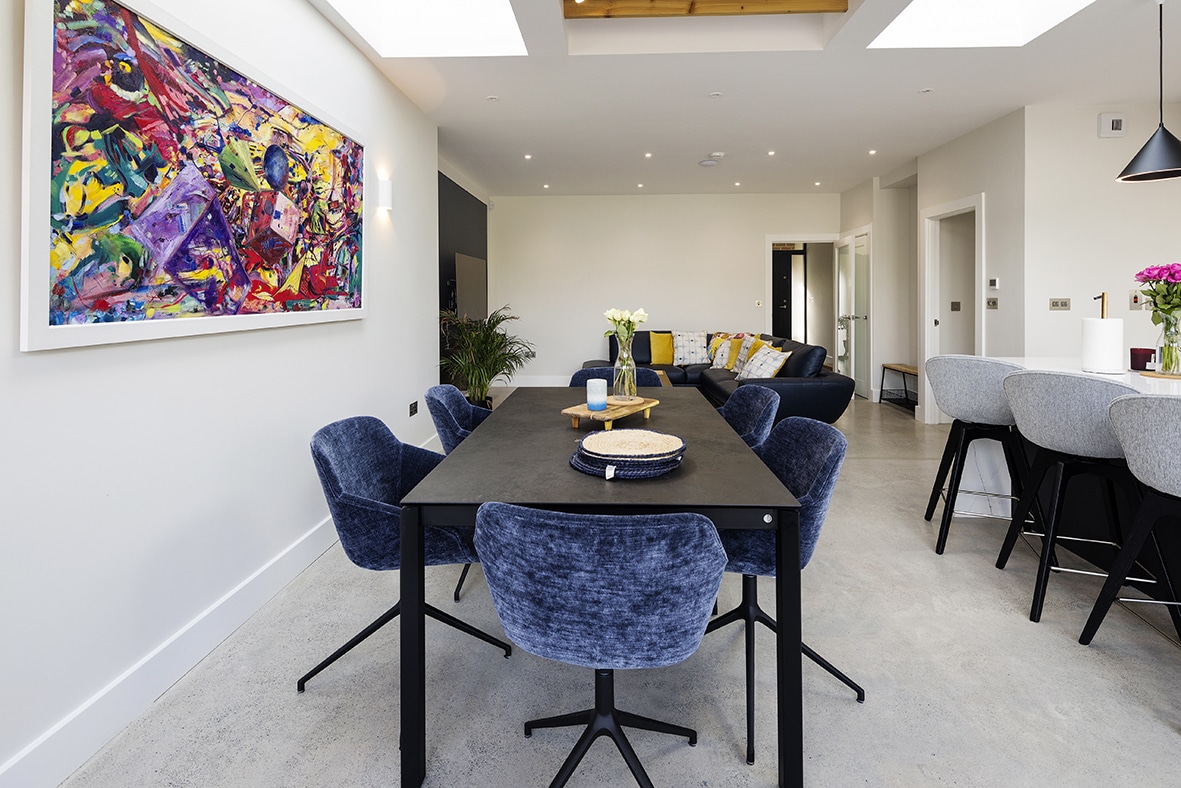
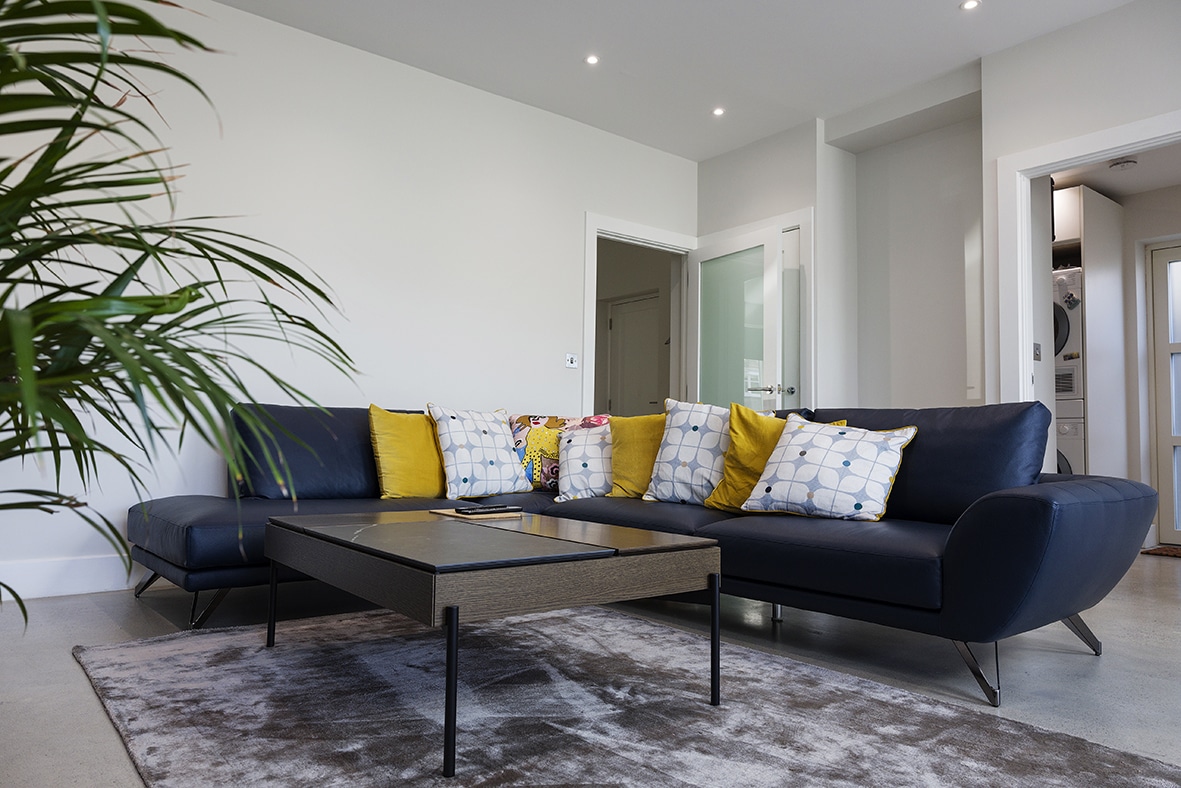
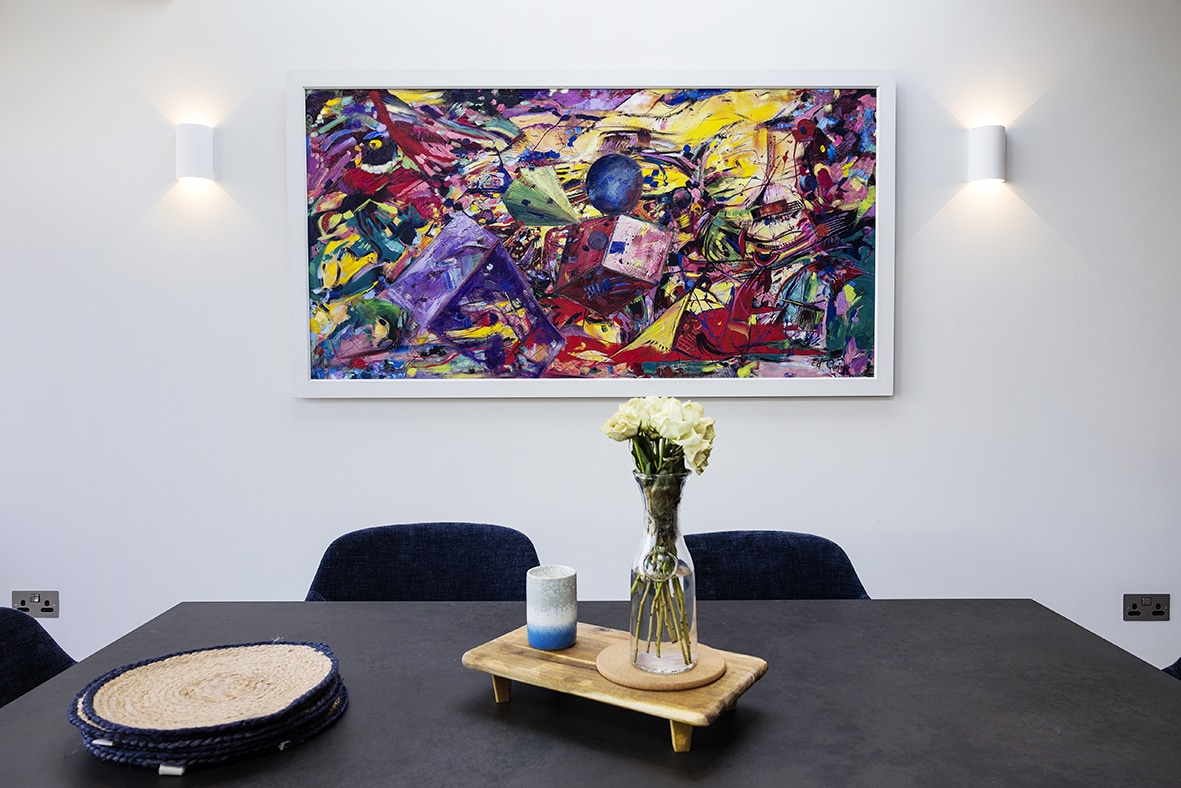
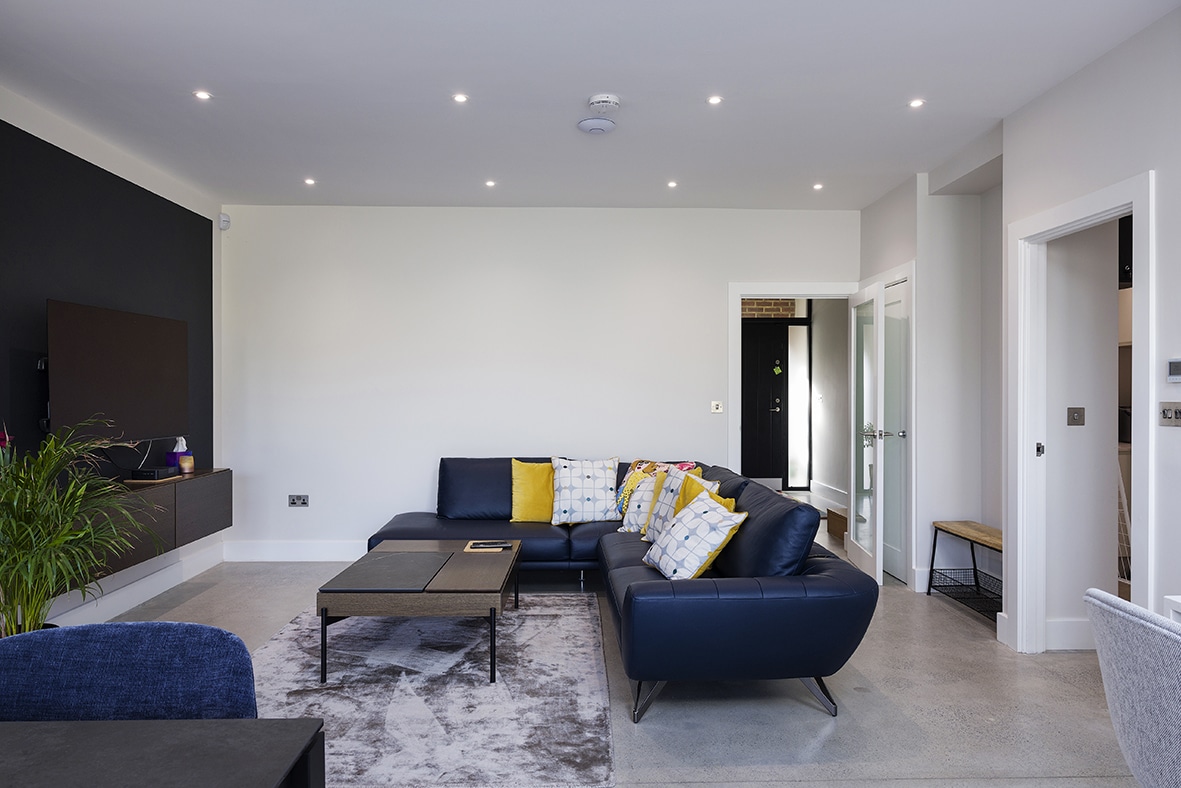
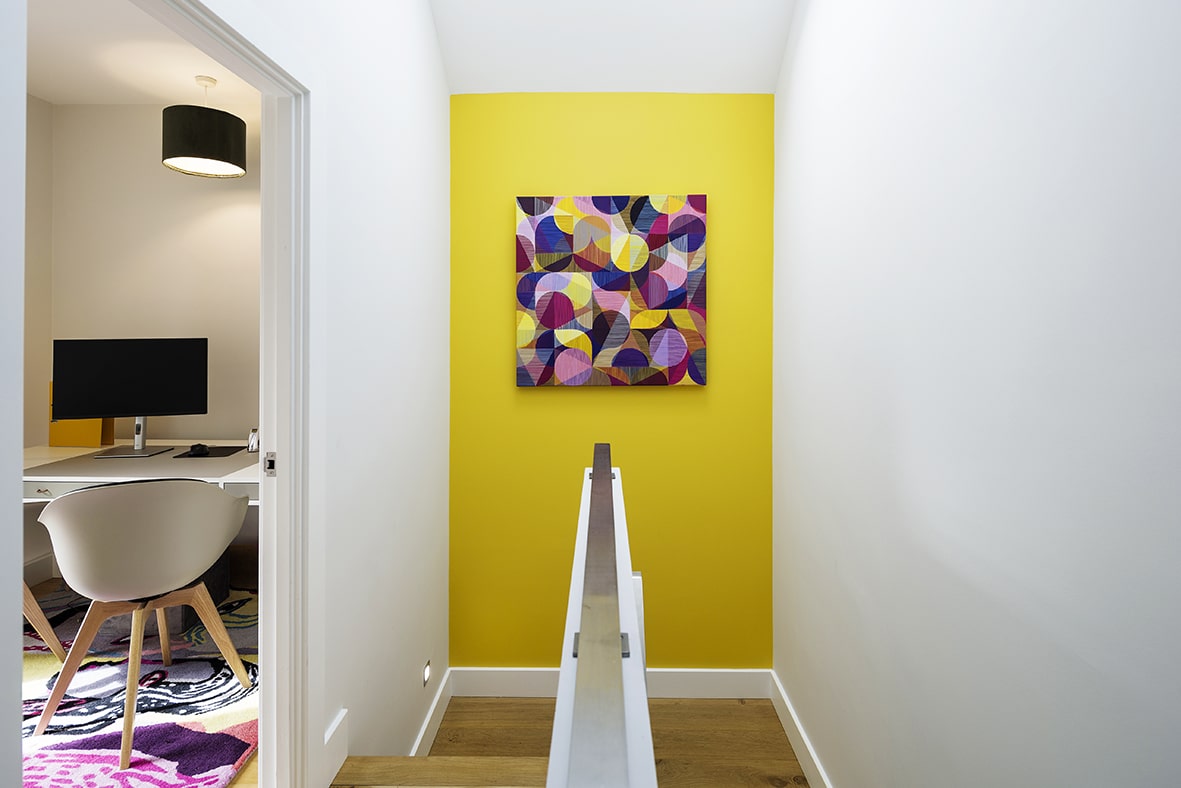
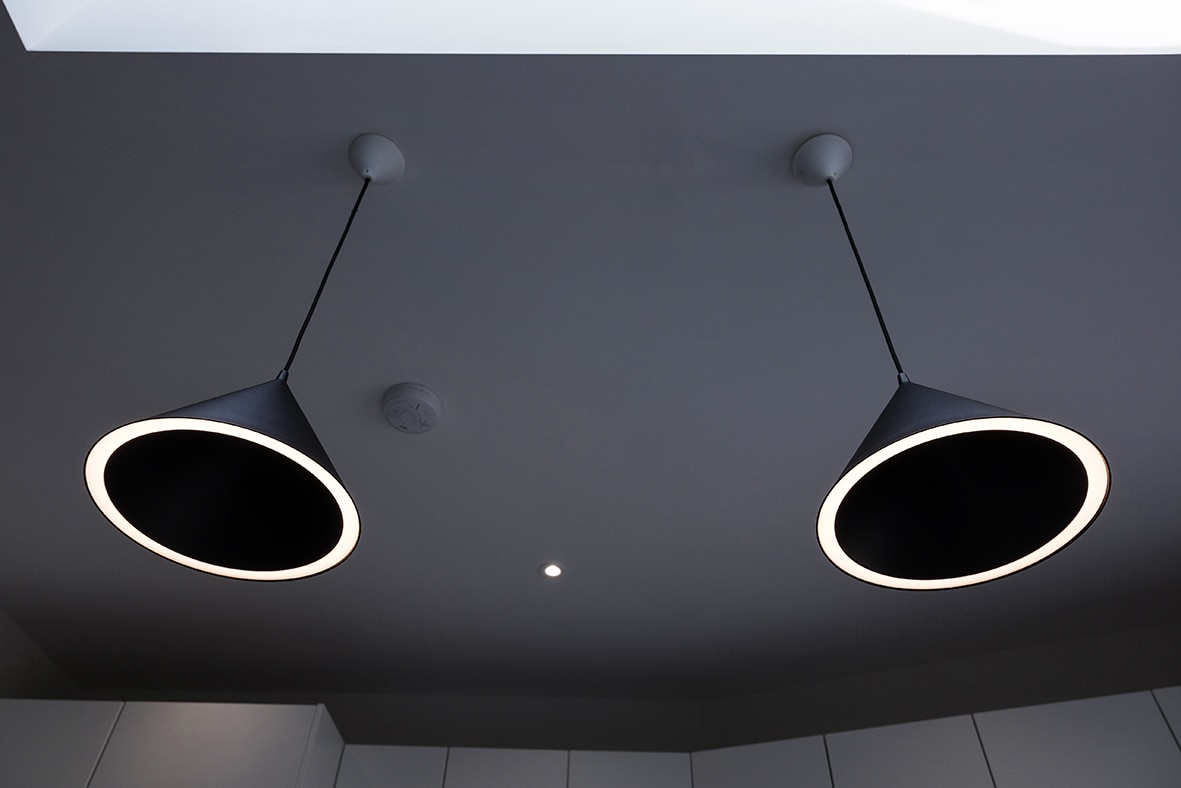
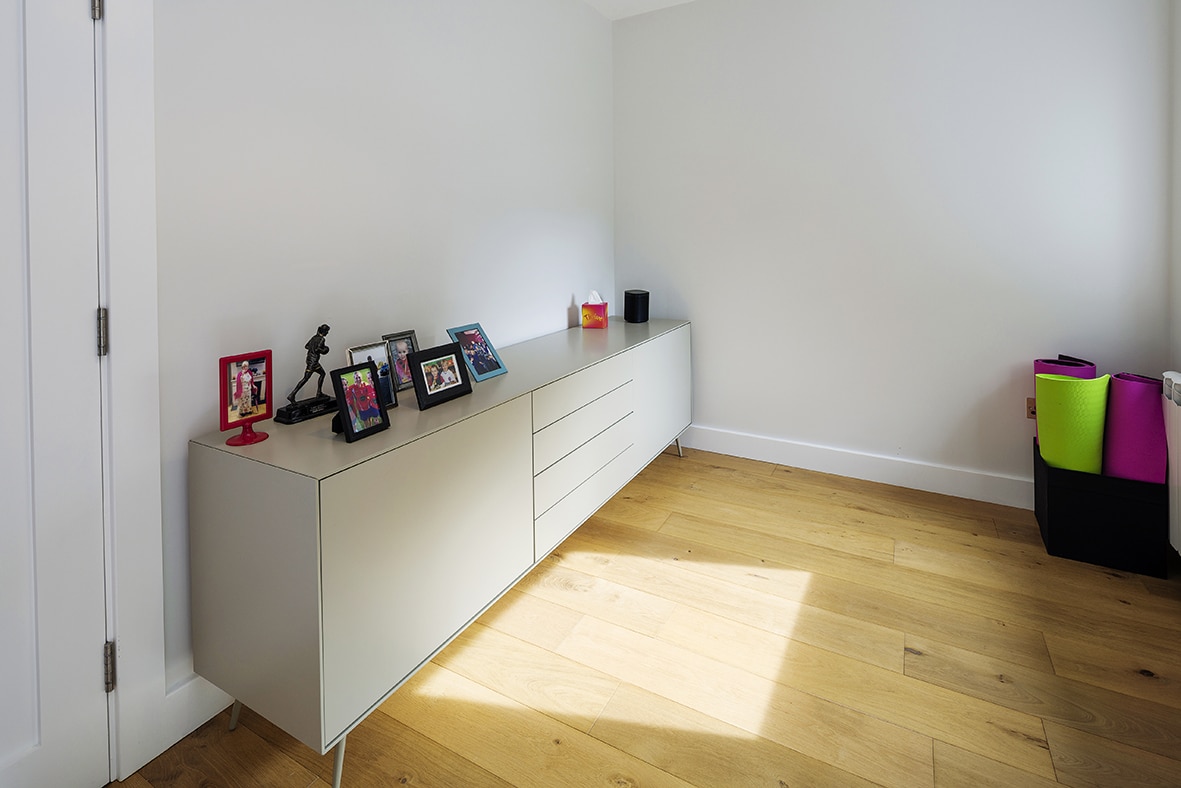
The overall design is minimalist, focused on clean lines, complete with polished concrete floor and coloured feature walls. “Inside the extended open plan space, I embraced a clean, modern design with a black and white colour scheme,” adds Marie. The kitchen, predominantly white with a stylish stone countertop, takes centre stage. The furnishings work with the theme, with a sleek dark navy sofa and an industrial style dining table in black.
The extension benefits from two large roof windows, flooding the space with natural light.
As the project unfolded, some decisions evolved along the way, says Marie. “Having had the opportunity to live in the house beforehand meant that I could make more informed choices to prioritise what I wanted. I believe that this helped to create a more tailored result. I had originally anticipated putting in a semi-partition to separate the living area from the kitchen, and had even made sure space was left to do that, but I did not go ahead with this in the end. Once I had spent some time living in the new space, I realised there was no need to separate the areas.”

Home goals
Marie had to apply for planning permission and the architect handled most of the administrative tasks. “All I had to do was put the planning notice up in the garden,” says Marie. Fortunately, the planning process proceeded smoothly without objections.
Then, unfortunately, Covid hit again and supply chain disruptions, particularly for windows, stretched the project timeline, causing delays.
While the project encountered its share of challenges, it generally progressed smoothly. “Ensuring that all final finishes met my expectations, particularly during the project’s closing stages, required vigilance,” says Marie. “Keeping a regular presence on site ensured that those finishing touches were carried out to my satisfaction.”
Day to day project management primarily rested with the builder. “The builder’s team of skilled tradespeople streamlined the project, handling most of the material sourcing and trade coordination. The exceptions were the bathrooms, which I sourced myself, and the windows too, where I provided input but ultimately entrusted the contract to the builder.”
“I have enthusiastic DIY parents and three sisters, so as you can imagine they all had an opinion on just about everything. I turned on the deaf ears at times but I also took on some of their suggestions which have worked to my advantage in the end… but we won’t be telling them that! Seriously though, both family and friends were incredibly helpful and patient.”
Garden
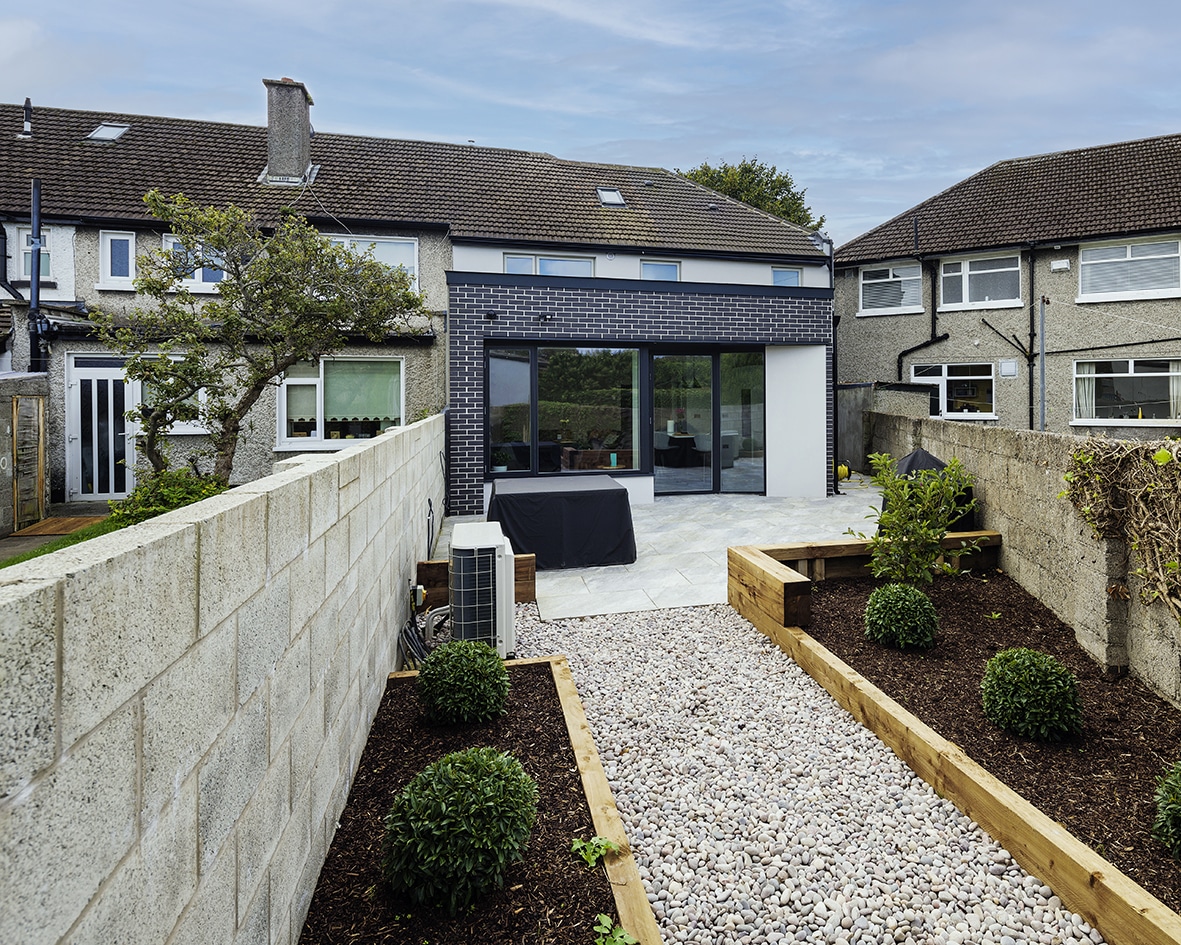
“The landscaping phase started six months after the construction’s completion, by a local man and I couldn’t be happier,” says Marie. “The front garden is paved and includes a flower patch. At the rear, I created a patio area.”
“While I originally thought about laying artificial turf, I eventually settled on a combination of flowerbeds and pebbles to keep the garden simple and low maintenance. I also added a garden planter to improve the overall look of the exterior, giving it a nice finishing touch.”

“A unique feature of the property is the sedum roof as suggested by my architect. The extension is visible from the first floor, and the green roof enhances its appearance and maintains privacy from neighbouring properties. This has beautifully softened the industrial look of the extension, particularly when seen from the back bedroom.”
The sedum roof solution is not only appealing to look at, it also offers other advantages including sound insulation, rainwater attenuation and biodiversity habitat.
“Living in my new, extended space has been a wonderful experience. From preserving the property’s original character to introducing modern elements; the project has taught me the value of planning, collaboration and the importance of adding personal touches in creating your dream home.”
Q&A with Marie
What is your favourite design feature? Biggest splurge?
I am delighted with the entrance area, which sets the tone for the rest of the house. I invested in high quality windows and doors, which are an essential part of the house’s aesthetics, and I am satisfied with that choice.
Another more significant splurge was the polished concrete floor, although it did not turn out as hoped. The concrete floor was both poured and polished by a company well known to be concrete professionals and polishing experts.
After it was poured it had to be protected for a long period before it was polished, and I am a disappointed with the finish. The final result was only achieved because of the constant pressure that had to be put on the installers by both me and my builder, who was a huge support. If you are planning a concrete floor, do your homework and ensure to manage it closely. There are not a lot of contractors in Ireland that do polished concrete and I would not be recommending mine.
What would you change or do differently?
Given the scale of the project, I regret not transforming the attic into a more functional storage or living space. Currently, it remains an underutilised loft space.
What surprised you?
It was very reassuring to see professionals going above and beyond to meet your expectations. My builder and architect were not just there to do their job; they genuinely cared about making the project a success. It is important to point out that when I mention “my builder” I am of course always referring to the entire team he had on site during this.

Marie’s tips
Familiarise yourself with room dimensions and how you live in the house before renovating. It is often beneficial to experience a space first hand before making final decisions.
Build strong relationships with both the builder and the architect. These are crucial for effective communication and collaboration throughout the project.
Think ahead and make decisions well in advance, include the smaller details like architraves, internal doors, hardware, etc. The finishing touches can be quite time consuming, and addressing them earlier can alleviate some of the pressure towards the end.


Kitchen extension to major renovation spec
Ground floor size: 62sqm + 31 sqm extension
First floor size: 45sqm + 19 sqm extension
New walls: Clay brick outer leaf, 100mm cavity fully filled with EPS pumped insulation beads installed by an approved installer in accordance with IAB certificate, 100mm concrete block inner leaf, 12mm sand/cement parge coat internally. 50mm PIR insulation fixed to wall through 35 x 50mm battens on inside face. All joints sealed between insulation boards with aluminium foil tape and junctions with walls/floor/windows with proprietary airtight tapes. All wiring contained to battened service cavity and finished with 12mm plasterboard and skim. 27mm composite insulated lining to ope reveals. Fire-rated cavity closers to all reveals, top of cavity, etc. U-value 0.1823 W/sqmK.
Existing walls: Removed existing wallpaper and gypsum skim finish. 70mm foil-faced PIR insulation fixed to wall through 35 x 50mm battens on inside face. Sealed all joints between insulation boards with aluminium foil tape and junctions with walls/floor with proprietary airtight tapes. All wiring contained within battened service cavity and finished with 12mm plasterboard and skim. 27mm composite insulated lining to ope reveals and under cill board (10mm Aerogel under cills if inadequate height available).
New floors: Solid floors with 120mm PIR insulation or similar, U-value 0.14 W/ sqmK; same build up for existing solid floors in the property (retrofit).
Existing floors: Exposed floor over porch insulated with 150mm mineral wool between joists and 50mm PIR or similar plasterboard below, U-value 0.20 W/sqmK; Semi-exposed floor over unheated store room with 150mm mineral wool between joists and 50mm PIR, U-value 0.19 W/sqmK.
New pitched roof: 200mm mineral wools insulation between joists (λ – 0.034) and 72.5mm PIR insulation (λ – 0.022), U-value 0.14 W/sqmK.
Existing roof: Main roof insulated at ceiling level 100mm mineral wool insulation top up over existing insulation between joists (λ – 0.034), U-value: 0.14 W/sqmK; Main roof insulated at slopes 70mm mineral wool insulation between existing rafters (λ – 0.044) and 72.5mm PIR underneath rafters (λ – 0.022), U-value: 0.25 W/sqmK
Windows and doors: Triple glazed aluclad, overall U-value 0.8W/sqmk
Suppliers
Architect
Fergal McGirl Architects, fmgarchitects.ie
Builder
Rathcorbally Construction Ltd, Monilea, Mullingar, Co Westmeath
Heat pump
7kW Mitsubishi air to water heat pump
Insulation
Fire-rated cavity closers: Kingspan Thermabate
Kitchen
Kitchenworld; countertops by Consentino
Staircase
Connolly Stairs
Windows/Doors
Rationel Windows
Bathrooms
Ideal Bathrooms & Tiles
Wardrobes
Robeplan
Blinds
All Windows & Blinds (A.W.B)


