In this article we cover:
- Modernising a listed building
- How to keep old features and modernise the appearance
- How much it cost and budgeting tips
- Zinc roof covering choice, costings
- How they saved money with the kitchen
- Finding a builder and dealing with unforeseen s on site
- Floor plans and supplier list
- Before photos and professional after photographs
The farmhouse Lory grew up in was typical in many ways, in its rectilinear courtyard layout and small windows. It was a happy childhood, one in which sweaters were worn to counteract the draughts. This home is also one that his partner Sandra got attached to very quickly.
“The house is really well located, in the Co Wexford countryside, and it has so much history,” says Sandra. “It dates back to the 1800s and I felt strongly about preserving it, and the stories that unfolded there.” Lory on the other hand had different ideas. “To be honest I had my sights set on a greenfield site, building a low energy house, no headaches or problems attached. But as often happens Sandra won the debate.”
House size before: 1,800 sq ft
House size after: 2,200 sq ft
Plot size: 1 acre
Cost: €200,000
As an engineer Lory was acutely aware of the challenges that lay ahead of him, but once the commitment was made he got really excited. “It’s only when we decided we were moving forward with it that I felt this great sense of joy and anticipation.”
“There was another consideration. Now that my dad had moved out – to my sister’s house that she’d built on the farmland – I wasn’t too sure what would have happened if we hadn’t moved in. At the end of the day, it just felt right to preserve the house.” Lory’s dad had renovated the farmhouse in the 1960s and added a flat roof extension which contained a small kitchen, dining room and a boiler house.
“Having lived in the house for so long, I knew what worked and what didn’t,” explains Lory. “It didn’t make the best use of the space available and needed to be reconfigured.” After having spent over 15 years working as a dairy farmer, Lory decided to leave the land and take up a third level course in construction engineering. This house renovation project was his first major commission and, it being so close to his heart, it was a challenge he was really looking forward to.
Right from the start
“For design inspiration the couple didn’t have to go very far; a chartered architectural technologist by the name of Joe Fallon who lived down the road had just finished refurbishing his very own rural cottage. “We came down from Dublin one weekend and stayed at the farmhouse,” recalls Sandra.
“One sunny day I went for a run and passed by this house and I loved it. I told Lory we would have to do something like that, a renovation that would retain the character of the building.”

Lory had met Joe briefly a year earlier and contacted him to see if he would be interested in designing something for their house. Joe was very enthusiastic about it and asked Lory and Sandra to come up with a brief. Not surprisingly light was a priority, as was warmth.
“We needed four good size bedrooms, including a master bedroom with ensuite, and a family bathroom,” says Lory. “A large kitchen, dining room and living room, a utility and playroom for our expanding family and a small office as both me and Sandra planned to work a lot from home.”
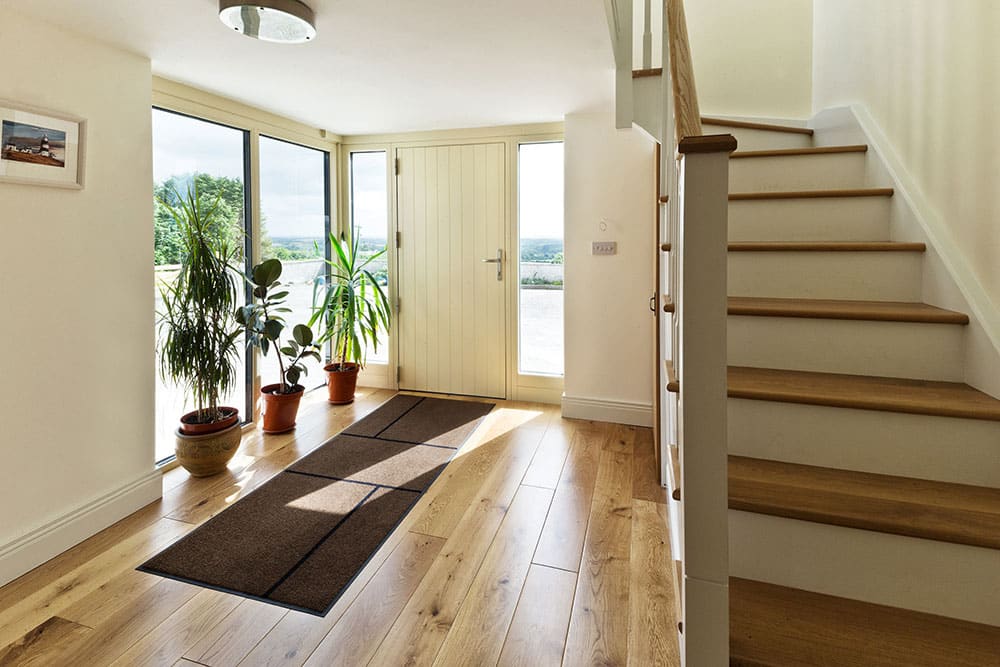
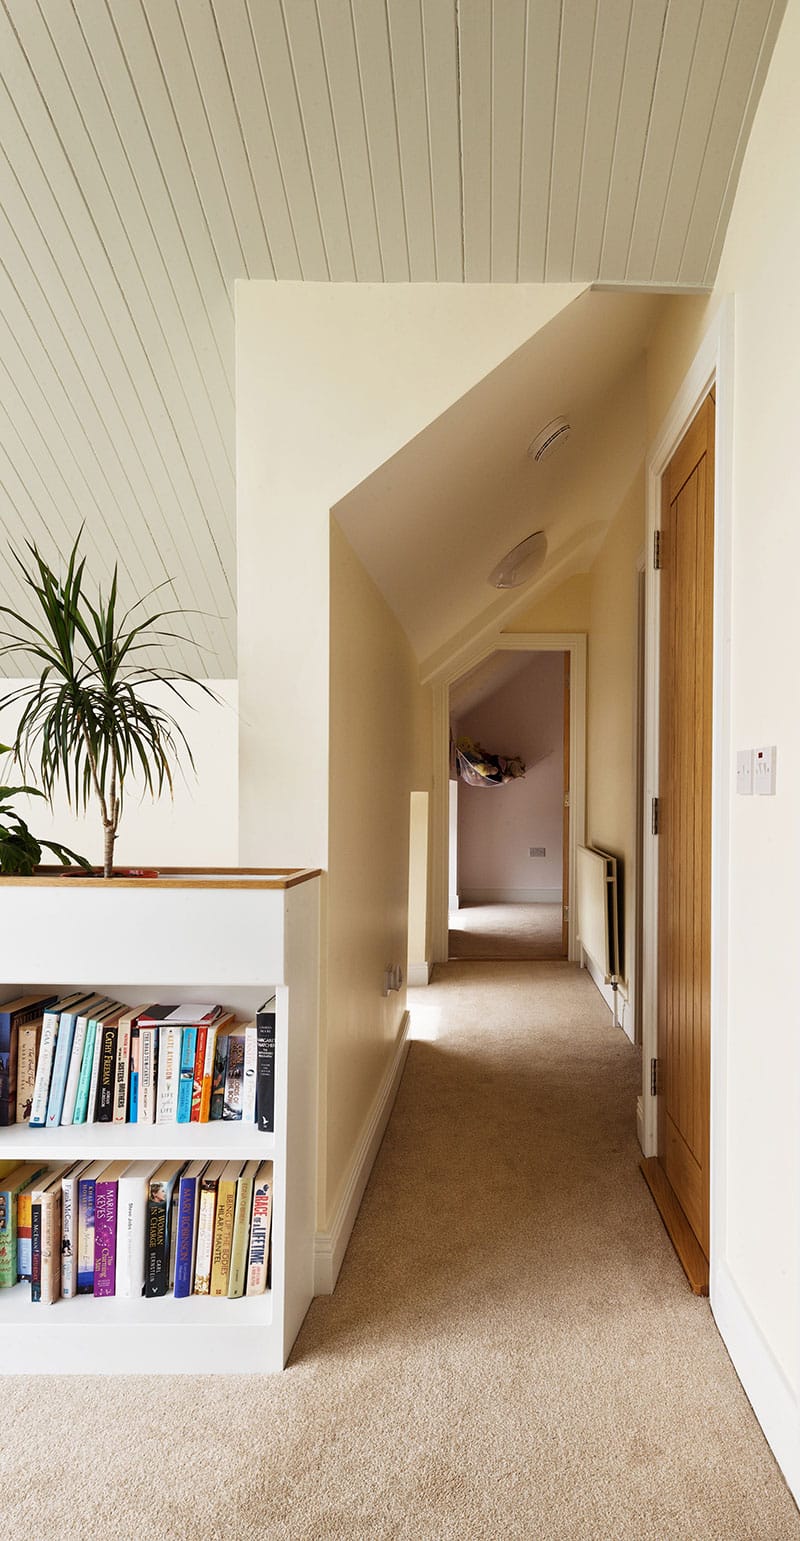
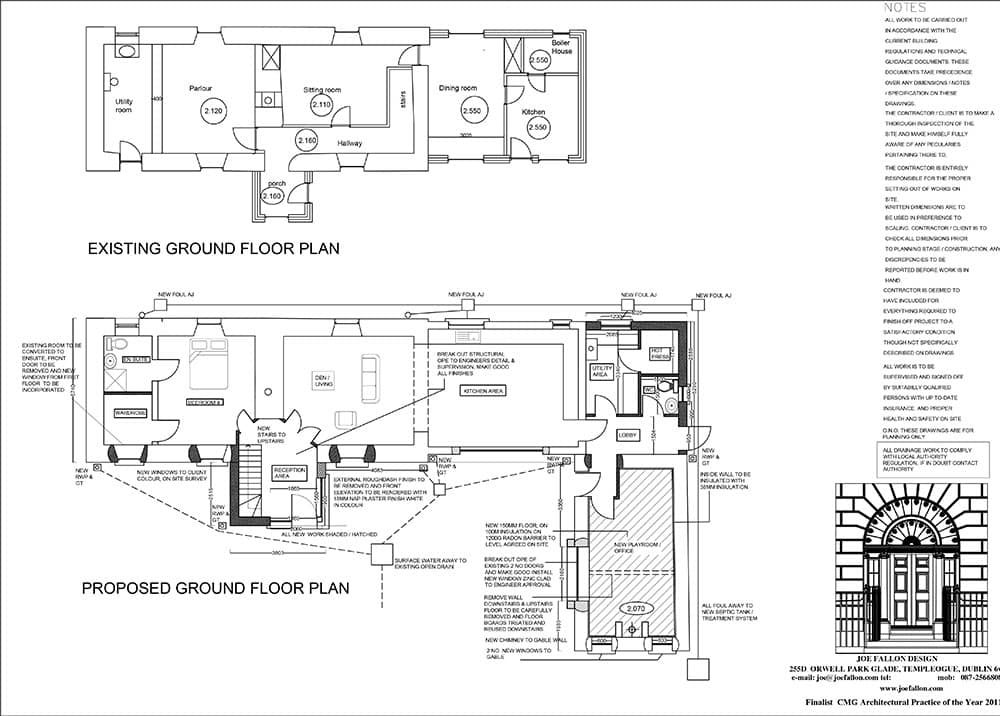
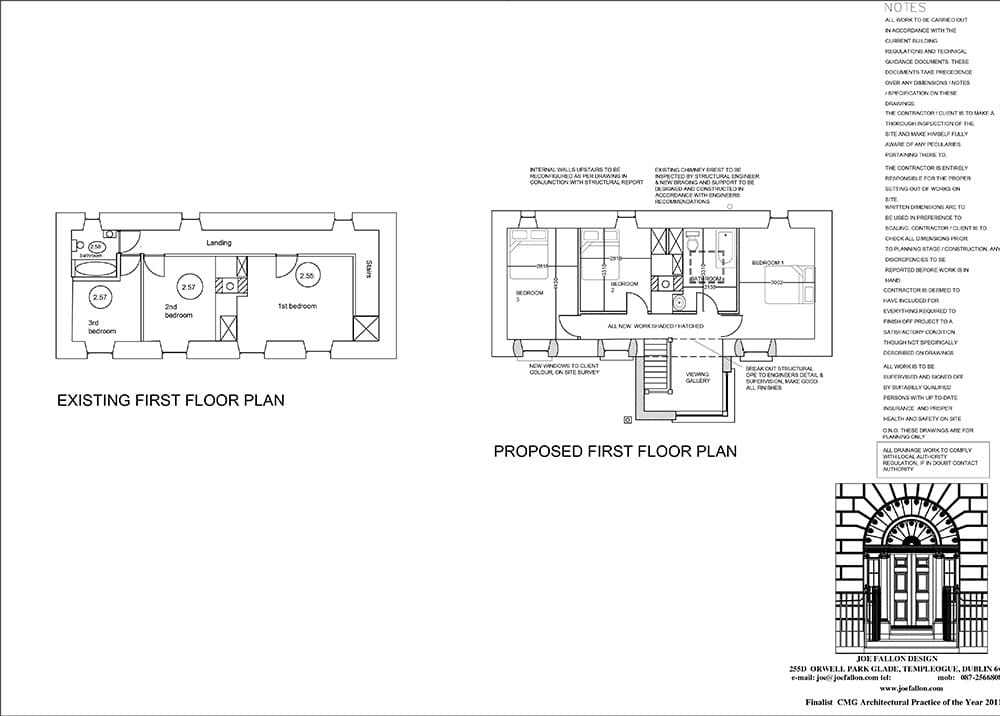
Joe’s reconfiguration hinged on removing the stairs from the old farmhouse and relocating it to the porch; in doing so he instantly created a large amount of extra space. “We were amazed at how much more room we got by simply moving the staircase,” enthuses the couple. This provided enough room to create three well proportioned bedrooms and a bathroom on the first floor of the original building.
The ground floor contained a downstairs Parlour or Visitor’s room as many farmhouses of this era did. Beside this room was a wc and utility room which was accessed from the outside. Joe recommended converting the parlour and the room beside it into the fourth bedroom with its own ensuite. And with the stairs gone Joe suggested removing the gable end wall that was adjacent to the flat roof extension.
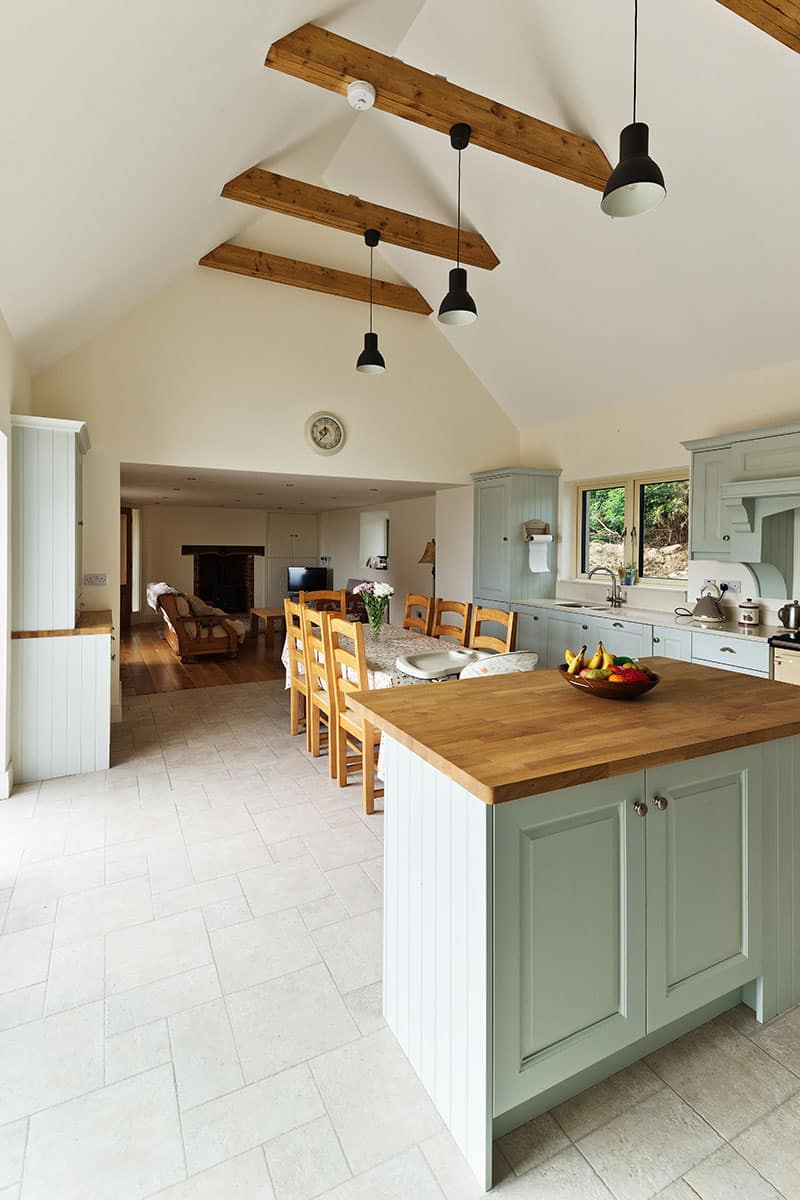
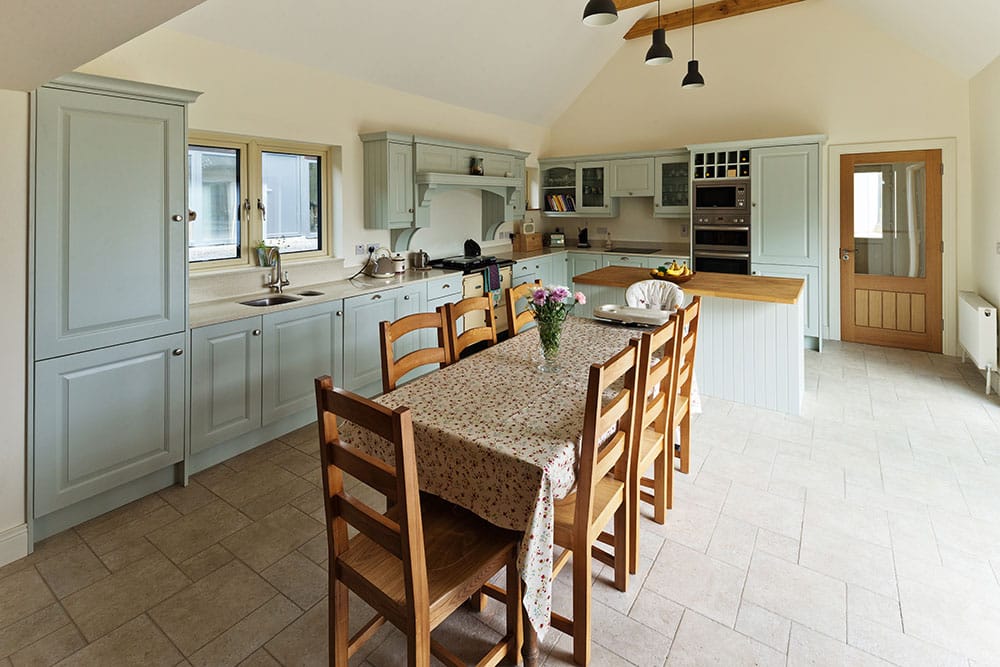
This 1960s extension was converted into an open plan kitchen, dining room and sitting room and a new extension was built to add a utility room and downstairs toilet to the side.
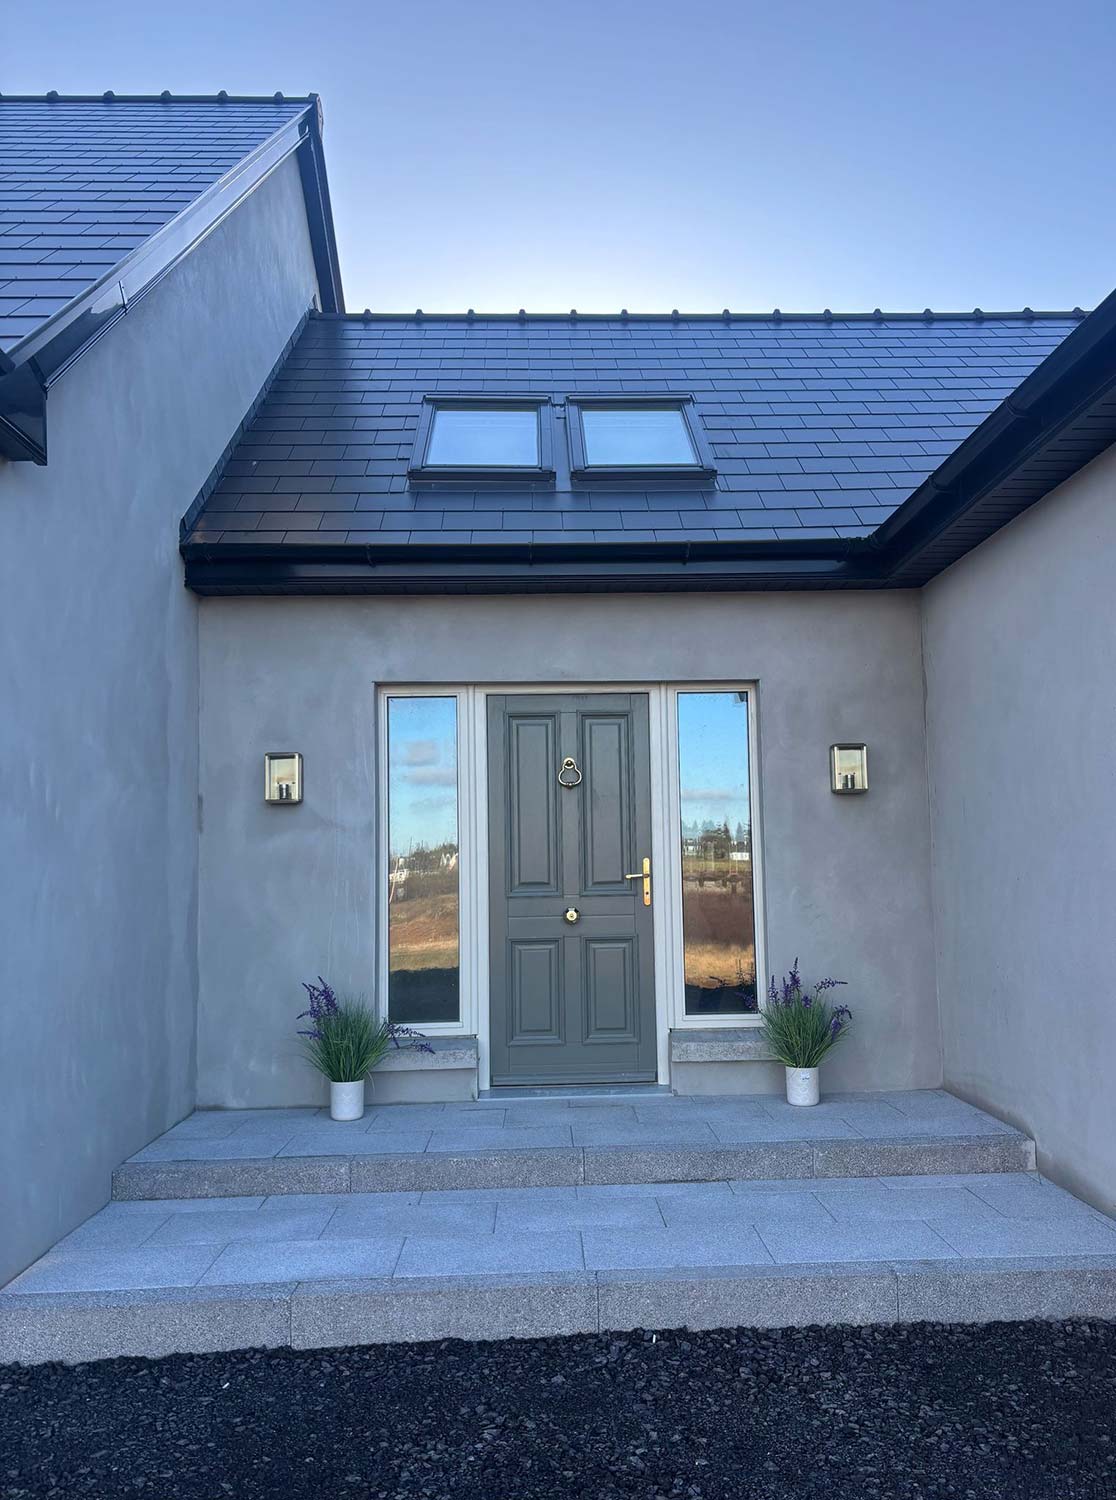
This small addition provided access to an outbuilding which was converted into a playroomcum-office. The flat roof of the existing extension was replaced by a pitched roof to ensure the roof line wouldn’t be broken. The main sticking point with their designer had to do with the porch treatment, which would now contain the new stairway. “We went over a few designs back and forth, fine tuning all the details,” says Lory.
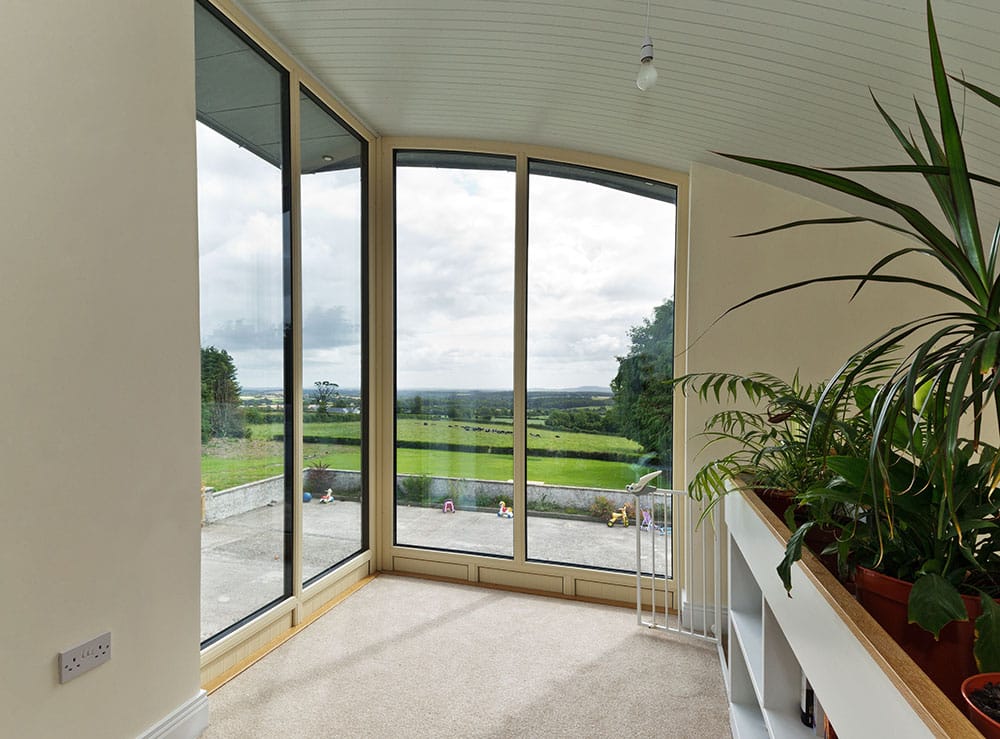
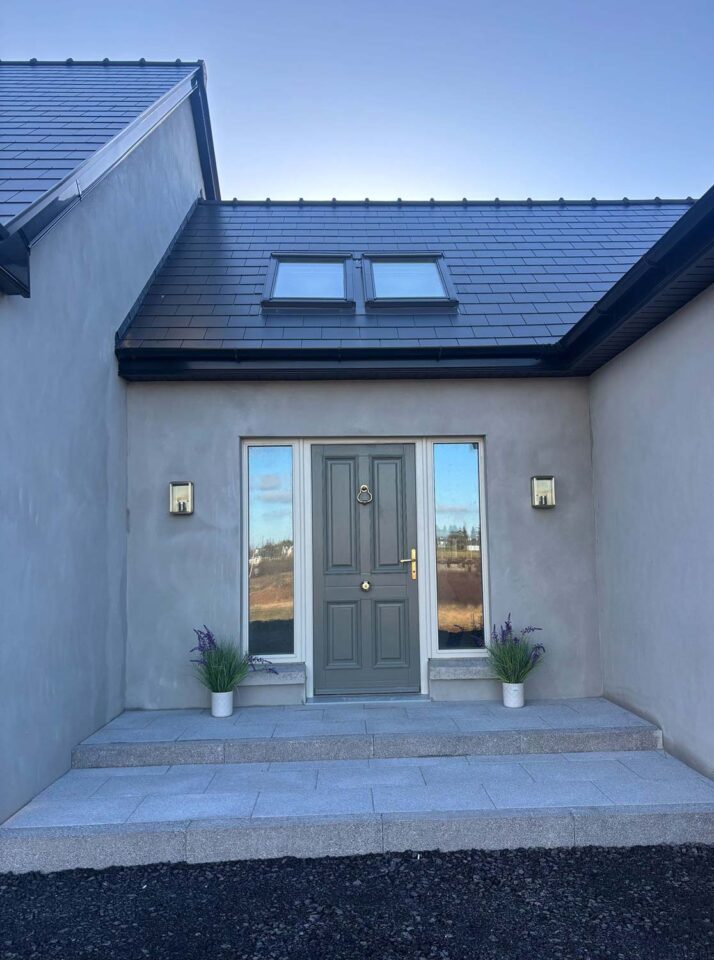
“The main issue was how to make sure the new porch wouldn’t be too overpowering,” explains Sandra. “We eventually settled on the design we now have, with the curved element echoing the nearby farm buildings, many of the sheds around us have similarly arched roofs.
We are really pleased with it because the old farmhouse is low for a two storey building and the porch perfectly sits into it.” Despite it being the most controversial design element Sandra says they couldn’t be happier with the result. “Joe provided invaluable advice and challenged our thinking, he told us to be brave and take a chance and we’re so glad we did,” she adds.
The next challenge was finding a suitable roof covering. “Joe managed to convince us to clad it in zinc,” says Lory. “He designed a fabulous picture window for the playroom which offers great views of the surrounding countryside and this he also wanted clad in zinc. The total bill came to €6,000.
He did push us but we’re delighted we have it now. It’s not something you can retrofit and it has such a huge impact on the aesthetics.” “We said from the start if we were going to do it we would do it properly. No short cuts, no regrets,” adds Lory. “I was also determined not to skimp on insulation. I may have even put in too much but I was only going to get one chance to properly insulate the house.”
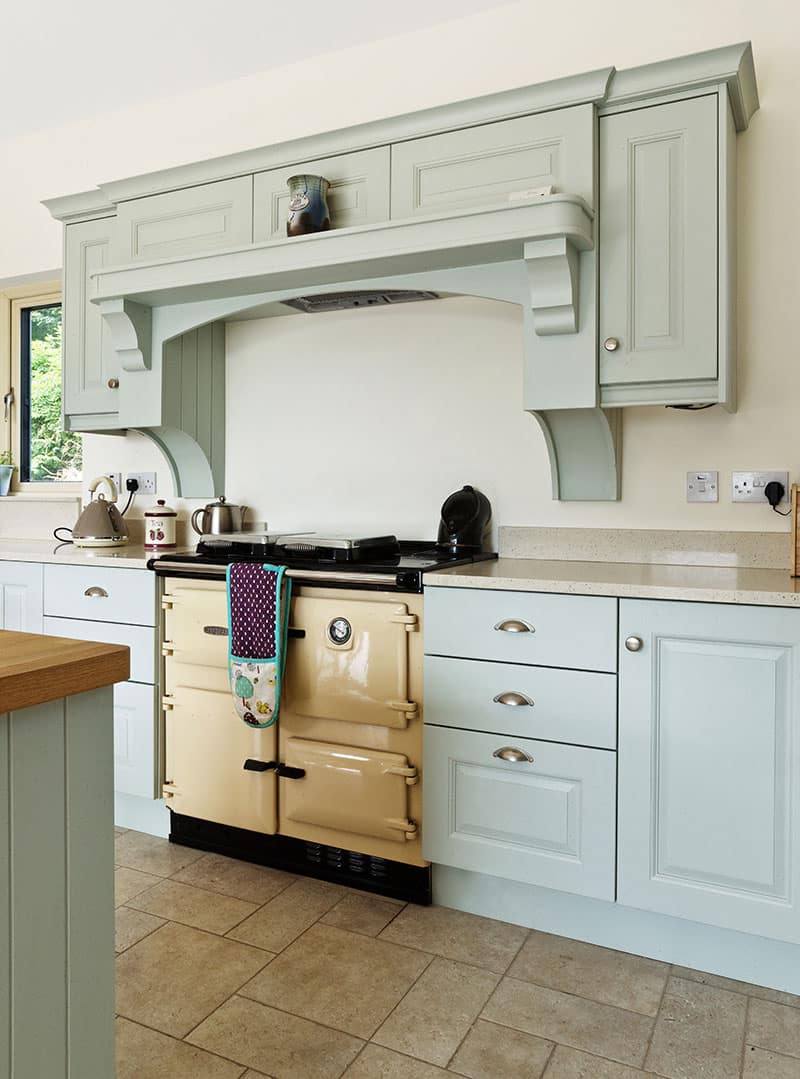
Sandra had always wanted a range cooker in the kitchen, and, since new ones are very expensive they compromised and ended up finding a second hand oil fired one for heating and cooking. “It was the right colour and spec, at 100,000 BTU, and it only takes 20 minutes to warm up the house,” says Lory. He reckons they saved almost €4,000 by buying it second hand.
“I had planned to install a condensing boiler for heating but the cooker killed two birds with the one stone – with the solid fuel stove in the sitting room and the cooker in the kitchen the house stays amazingly warm even on the coldest days. It pays to insulate!”
Trials and tribulations
With his motto of no regrets in mind, Lory decided to install a new septic tank and percolation area. “I’d say if the old system had been inspected, it wouldn’t have passed,” he half-jokes. This was the only element of the design which required planning permission and that was duly got.
Design in hand, they approached a number of builders in July 2014 but the response rate was low. “A lot never came back to us with a quote, one or two redesigned the house to suit their budget,” says Lory.
“It was pure luck we found our builder – his name came from a friend and as soon as we met him we gelled. Nothing was a problem for him, he priced everything up, and of course it all came in way above our proposed budget.”
To save on some of the costs, the builder was happy for Lory to act as project manager and be subcontracted for some of the work. “He allowed me to break down the different elements of the build and for me to hire my own tradesmen, for instance some of the demolition, plumbing and electrical work was done by others.”
“Being involved in construction myself, I was eager to play an active part in the project and I really enjoyed it,” adds Lory.
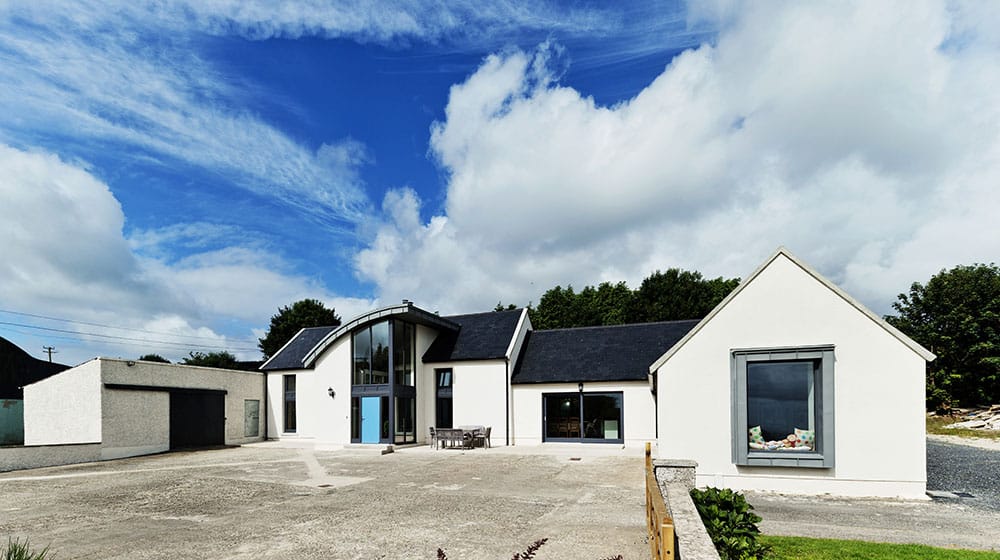
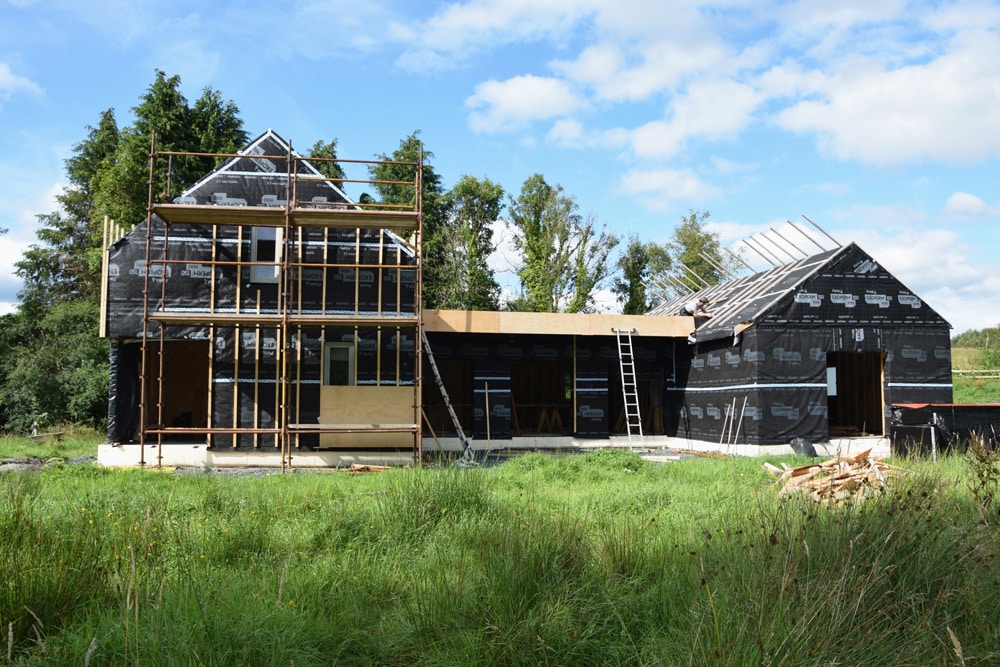
There were a lot of extras on the project, which were in part expected. “Once you strip a building like this back you can be in for a nasty surprise or two. The chimney was leaking so we were especially afraid of how the rafters had held up. As it turned out only a few roof timbers had to be replaced.”
The chimney however was in too poor a state to keep. “We removed all the brickwork and built a ring beam on top of the remaining stone chimney. Then the chimney was rebuilt from there up,” says Lory. “Two metal flues were installed for both fireplaces and the remaining void was filled with vermiculite to stop heat building up in the open space. This can be a major health and safety issue in old wide chimneys that are relined with flues.”
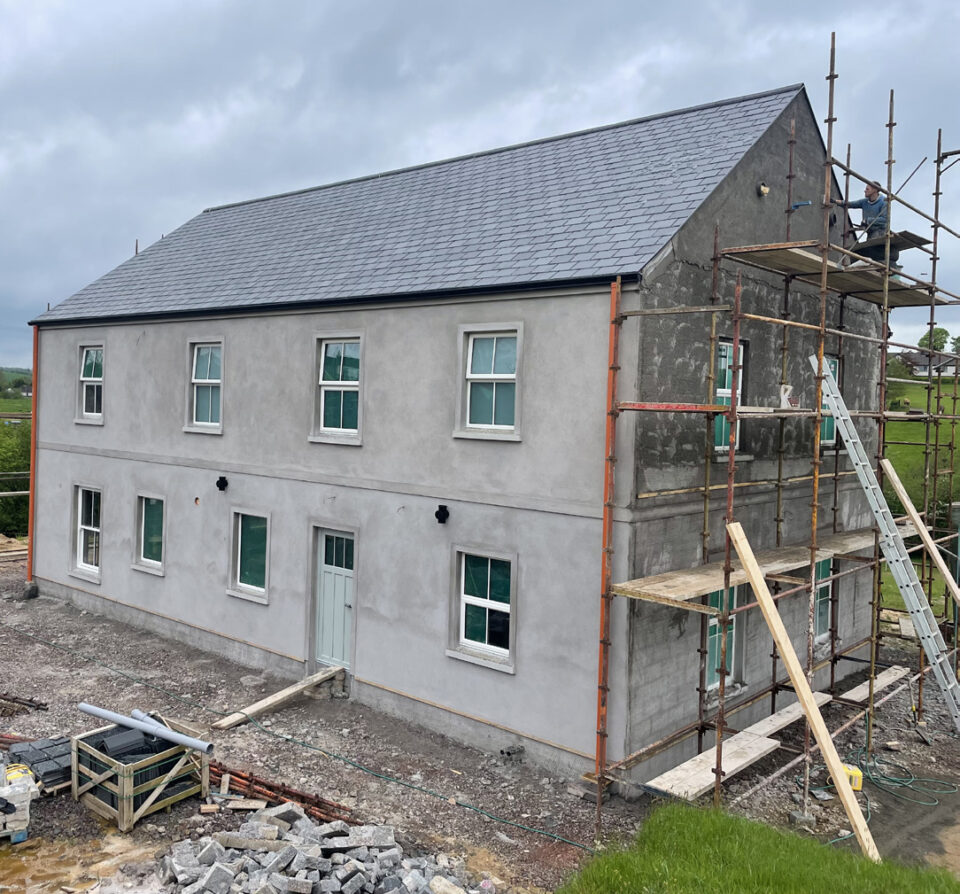
Thankfully, a lot of the slates were in good enough condition to be reused; these were kept on the outbuilding and on the back of the existing house while some slates had to be bought new to match at the front. As for the existing farmhouse floors, which consisted of a thin layer of concrete on top of clay soil, they were all stripped back and replaced with an insulated concrete build up.
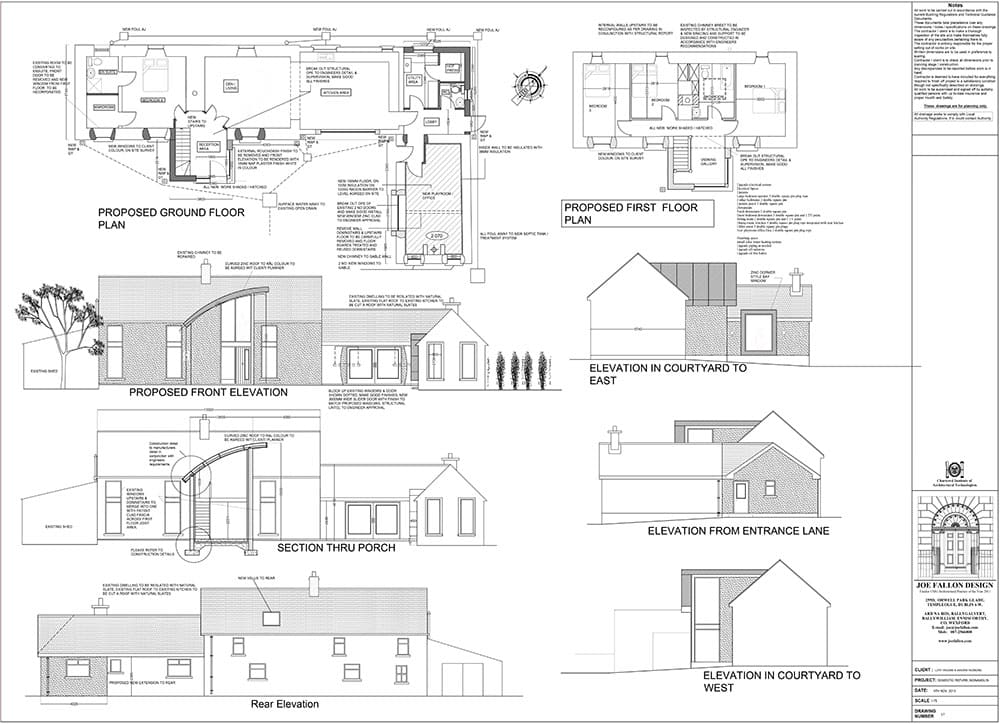
During the build Lory and Sandra came up with the idea of using another outbuilding as an office and leaving the playroom totally for the kids. This building received the same treatment as the old farmhouse.
The budget on such a large project can be difficult to rein in but they were lucky to be able to invest where it mattered. “We nearly spent €30,000 on extras which was about what we thought it might be, although converting the outbuilding to an office was not in the plans and was expensive,” recounts Lory.
“The only real grief I got was when the guy who was to install the zinc cladding never turned up. The roof had been formed using marine ply and I covered it as best I could with a tarpaulin but the water still got in. It was very frustrating .” They found another contractor and this added an extra €1,000 to the bill.
“We did have to spend more than anticipated but the quality of the finish was well worth it. I am actually glad I was let down as the person who did the work eventually was a top tradesman.” Lory and Sandra also pushed the boat out on the windows by installing triple glazed units throughout. “Again they were more expensive but over the medium to long term we believe it was worth paying the extra cost.”
All in the family
They moved in May 2015, so how are they feeling over a year in the house? “I suppose it’s only when you have lived in a house for a while that can you know if everything you have done has worked,” says Lory. For Sandra the verdict is clear: “So far we are absolutely delighted with it.” “Joe had configured the space to allow a lot of light in,” adds Lory. “This he has certainly achieved. The house feels bright and airy, and we couldn’t be happier here.” Especially now that the latest addition to the family, baby Conor, arrived in August.
Spec
Walls: all external walls and roofing were lined with 45mm insulated (PIR) plasterboard, U-value 0.25W/sqmK. New build porch area 100mm PIR board.
Roofs: Low roofs and ceilings on first floor of farmhouse lined with 60mm insulated (PIR) plasterboard, U-value of 0.18 W/sqmK. Pitched roofs in the kitchen and dining room and playroom: Spray foam insulation – closed cell closest to the exposed roofing material and open cell underneath to help the timbers breathe, U-value 0.16W/sqmK.
Floor: standard floor build up with U-value of 0.2 W/sqmK
Windows: triple glazed, argon filled, U-value of units 0.65 W/sqmK
Suppliers
Designer: Joe Fallon Design Architecture Bunclody, [email protected]
Builder: Chris Gahan, GR8 Construction Ballymena
Builder’s Merchant: Heiton Buckley Gorey, www.heitonbuckley.ie
Electrical contractor: Kiltealy Electrical Services
Roofer: Willie Colfer
Zinc roofing: Audsley roofing Wexford
Plastering: Paul Brennan
Carpentry: Paddy Kehoe, www.heitonbuckley.ie
Second-hand range: Rayburn www.rayburn.ie
Photographer: Dermot Byrne Photography, www.dermotbyrnephoto.ie
Windows: Munster Joinery Cork www.munsterjoinery.ie


