In this article we cover:
- Choosing where to build on the farm
- Choice of materials to blend into surroundings
- Finding an architect
- Tips for the design stage
- Planning application process
- Working with a builder for the shell
- Direct labour for fit out: tips and advice
- Sourcing windows
- Choice of geothermal heating over air to water
- Geothermal heat pump installation details
- Budgeting tips and advice
- Dealing with delays during Covid
- Kitchen and bathroom design tips
- Floor plans and timeline
- Supplier list and specification
Tell us about the site.
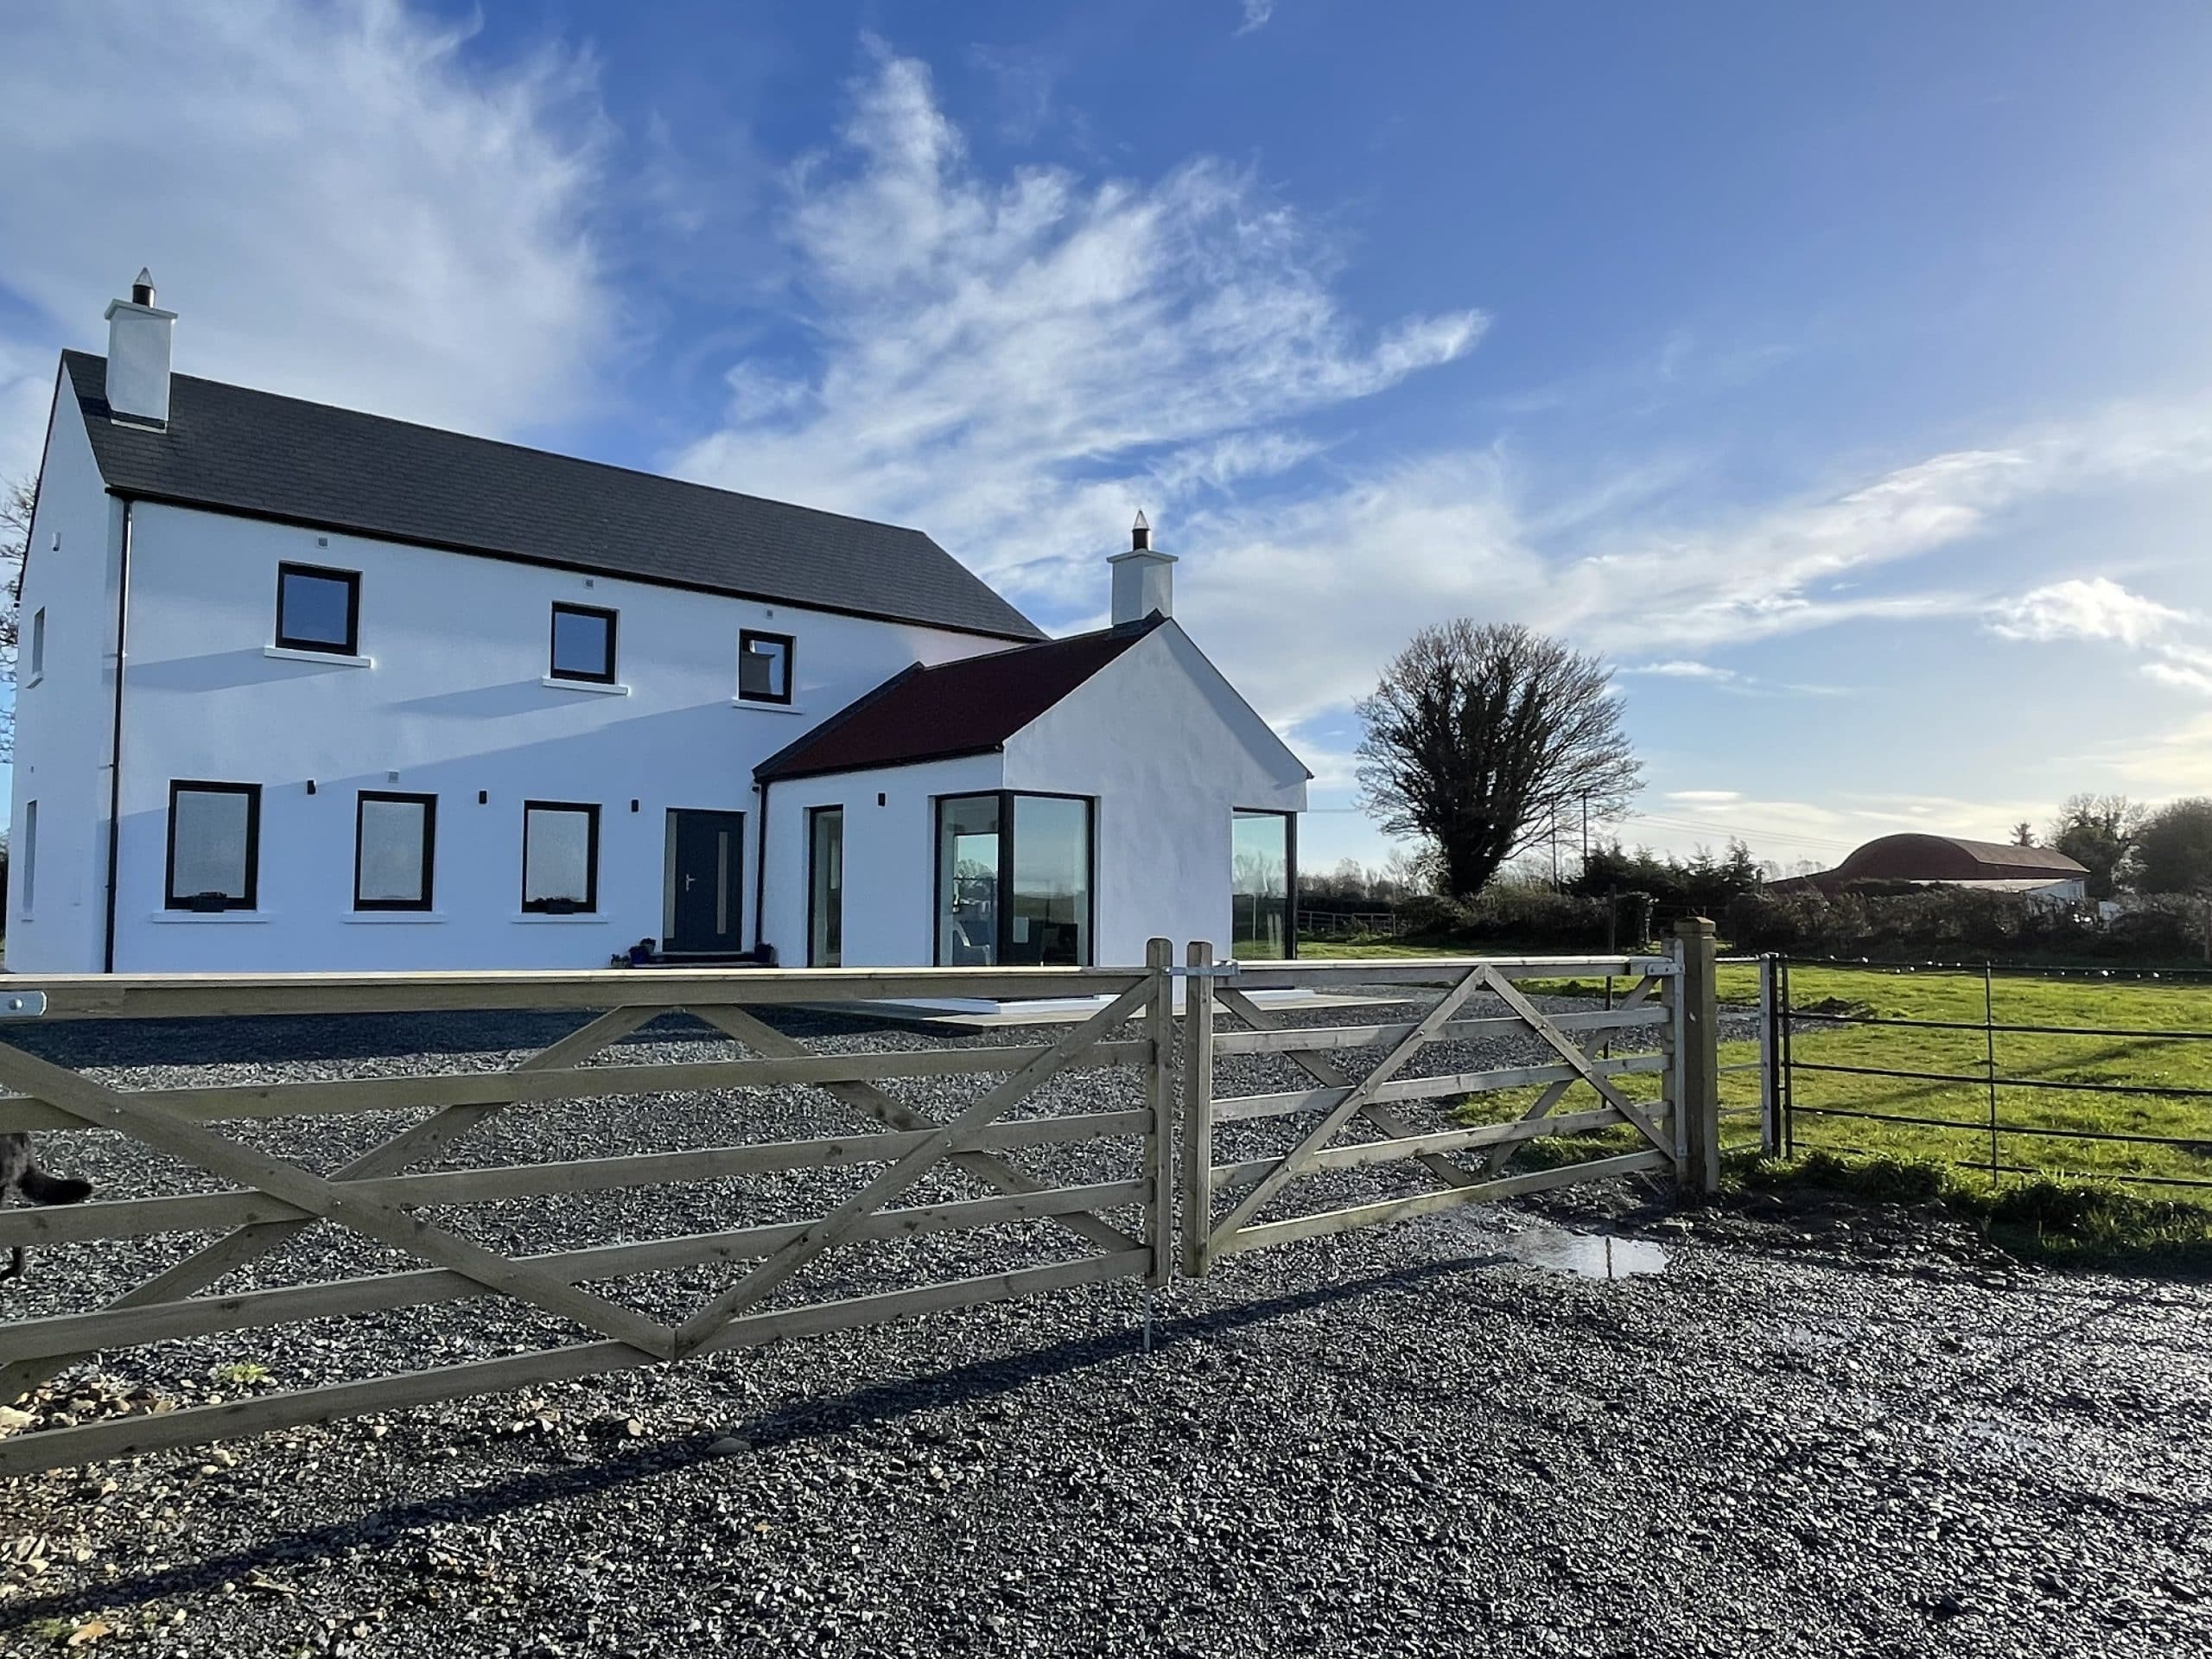
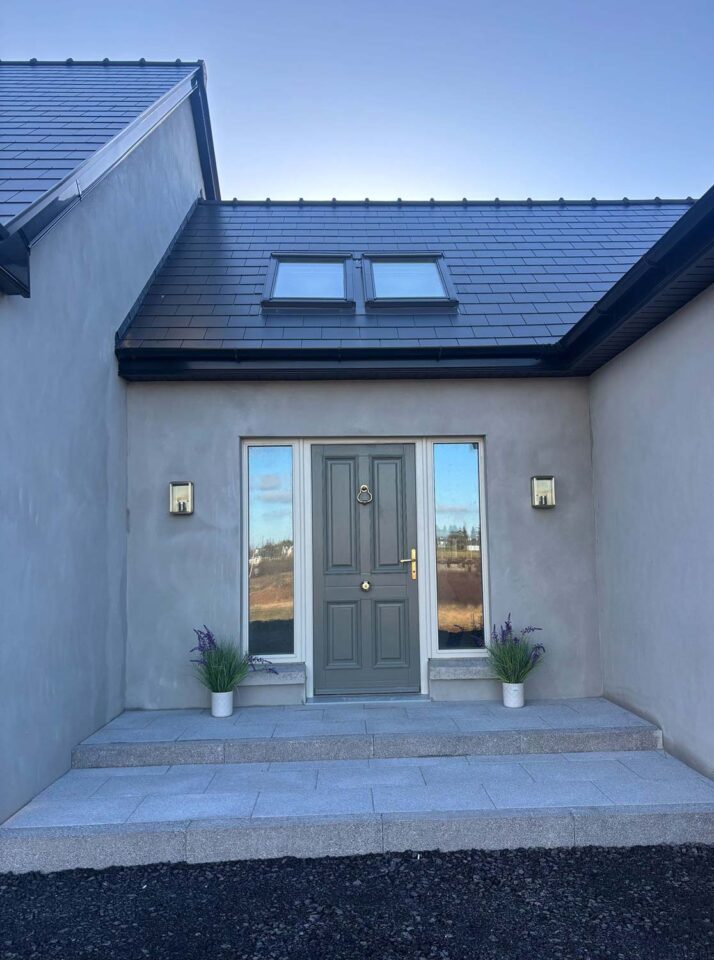
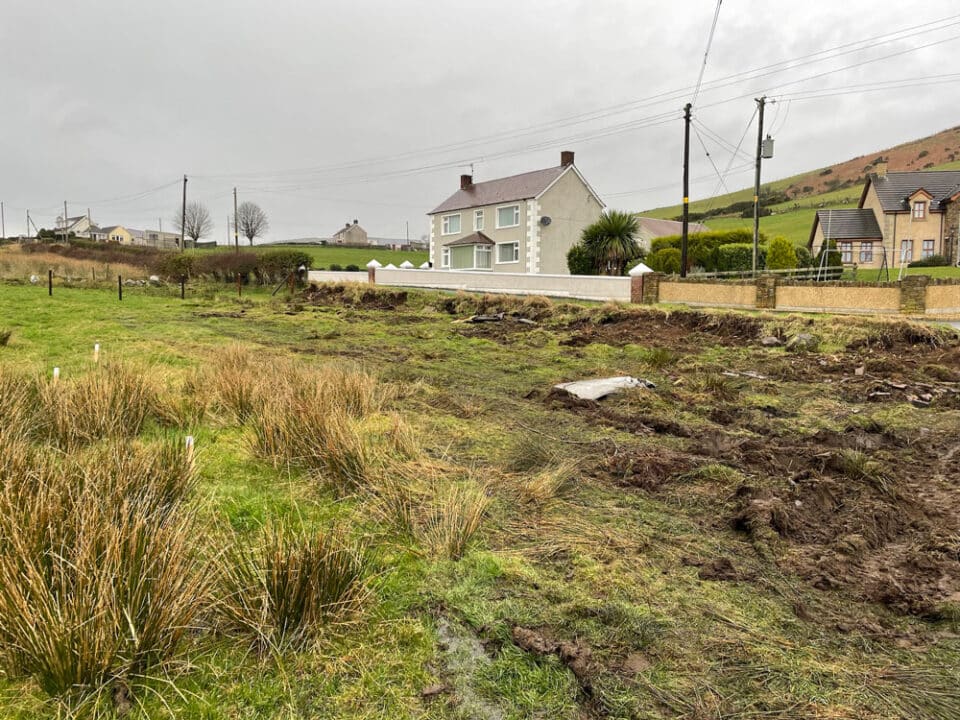
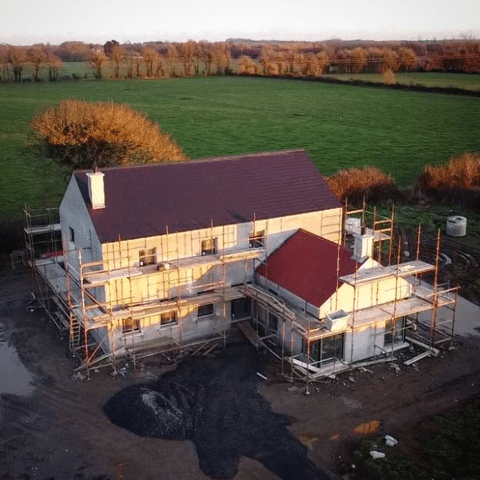
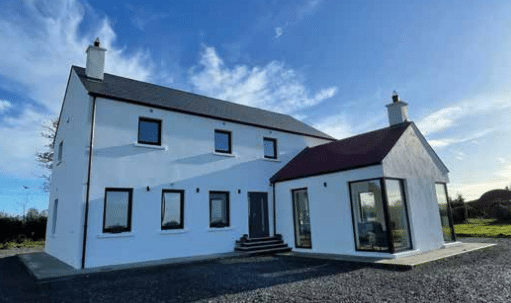
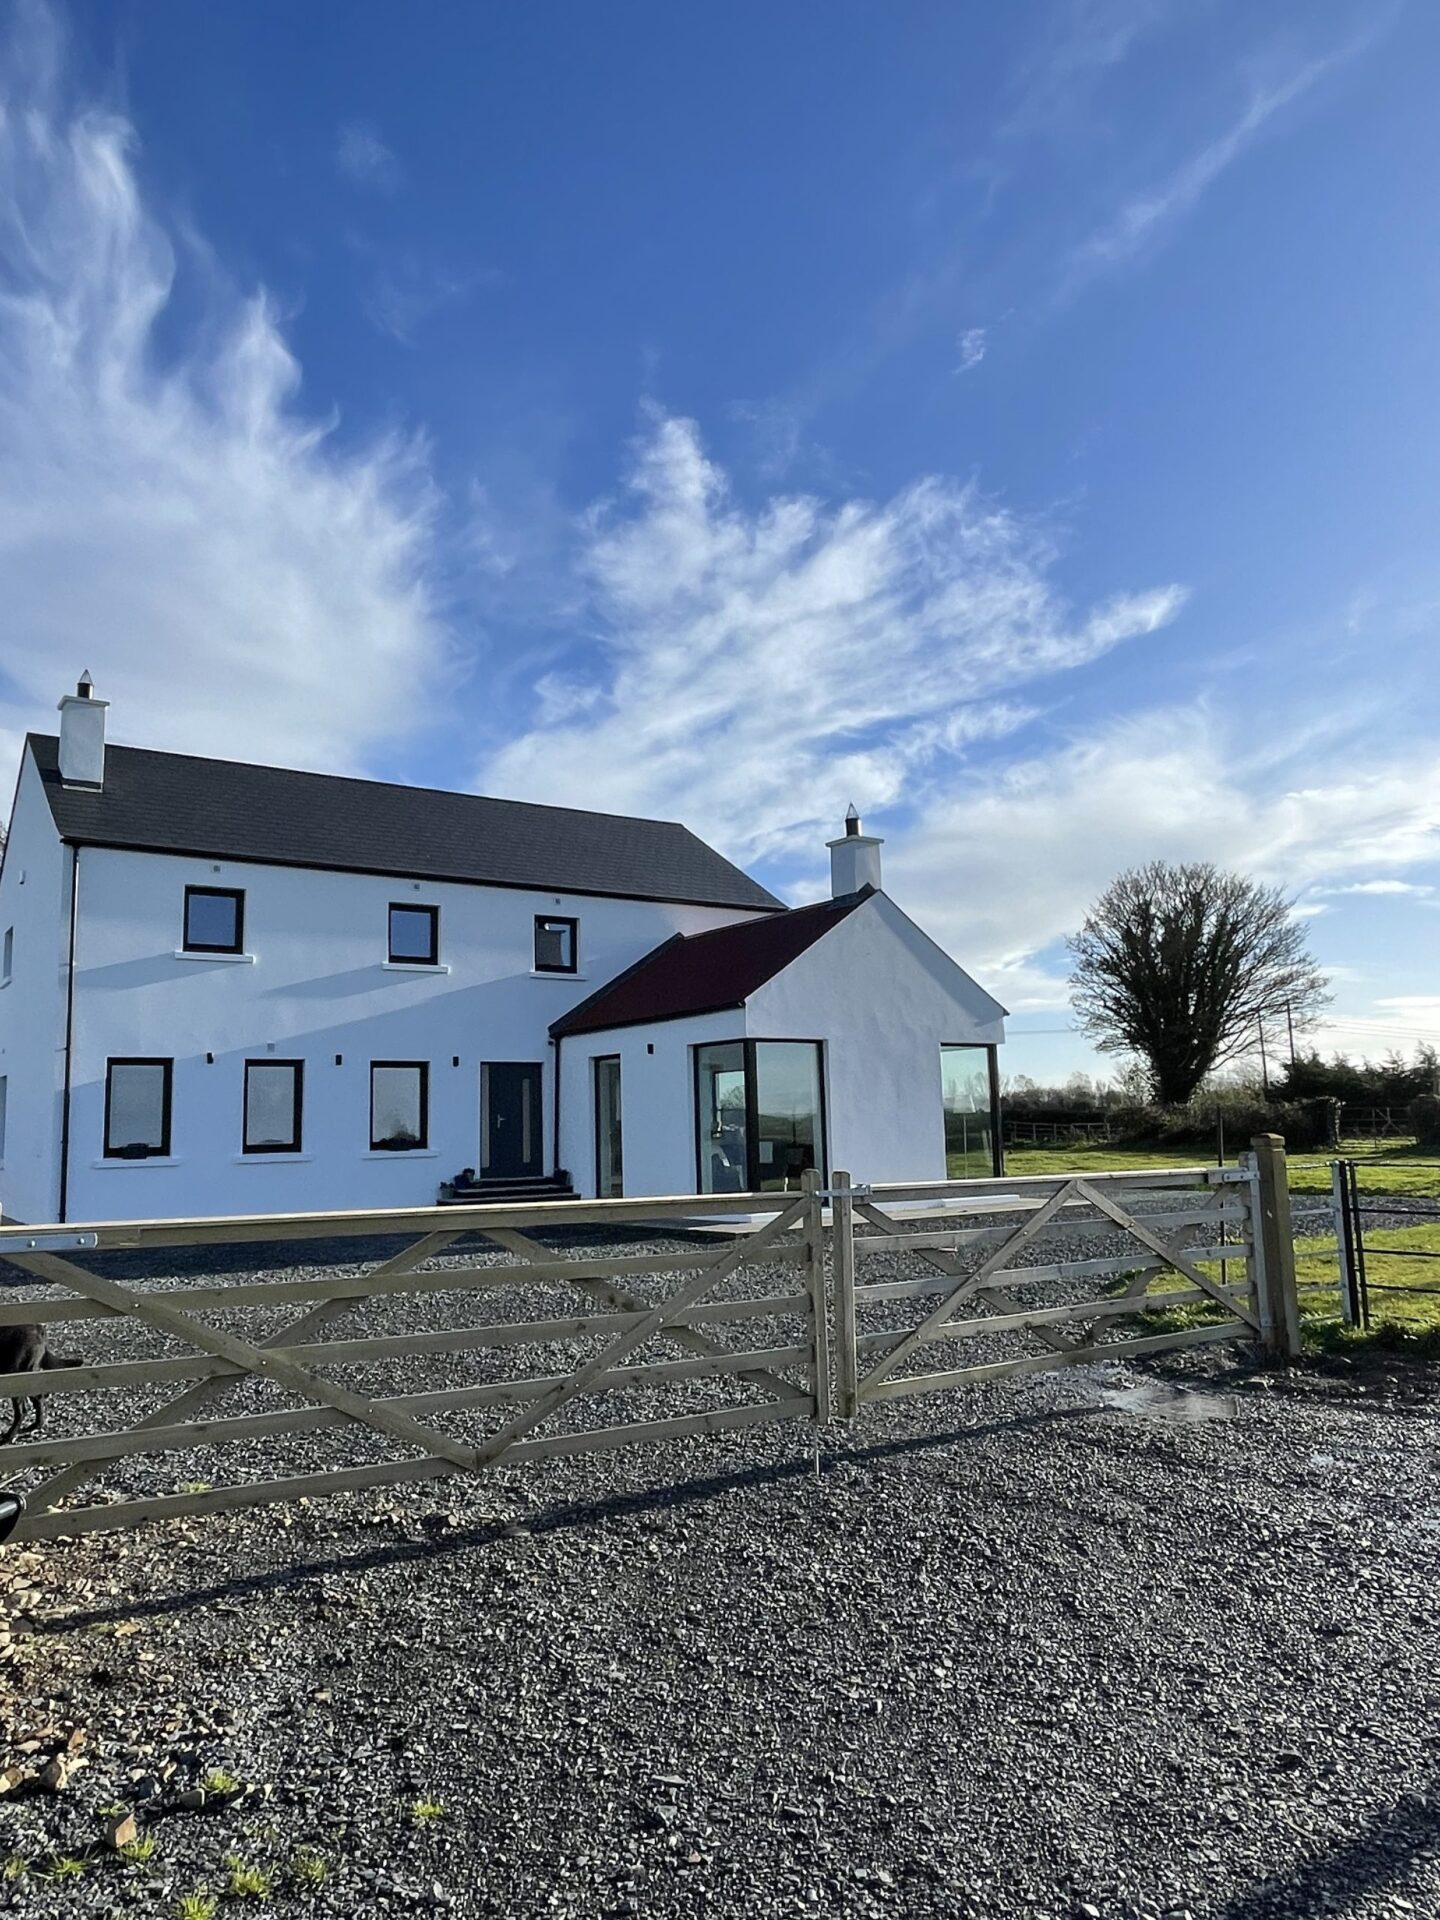
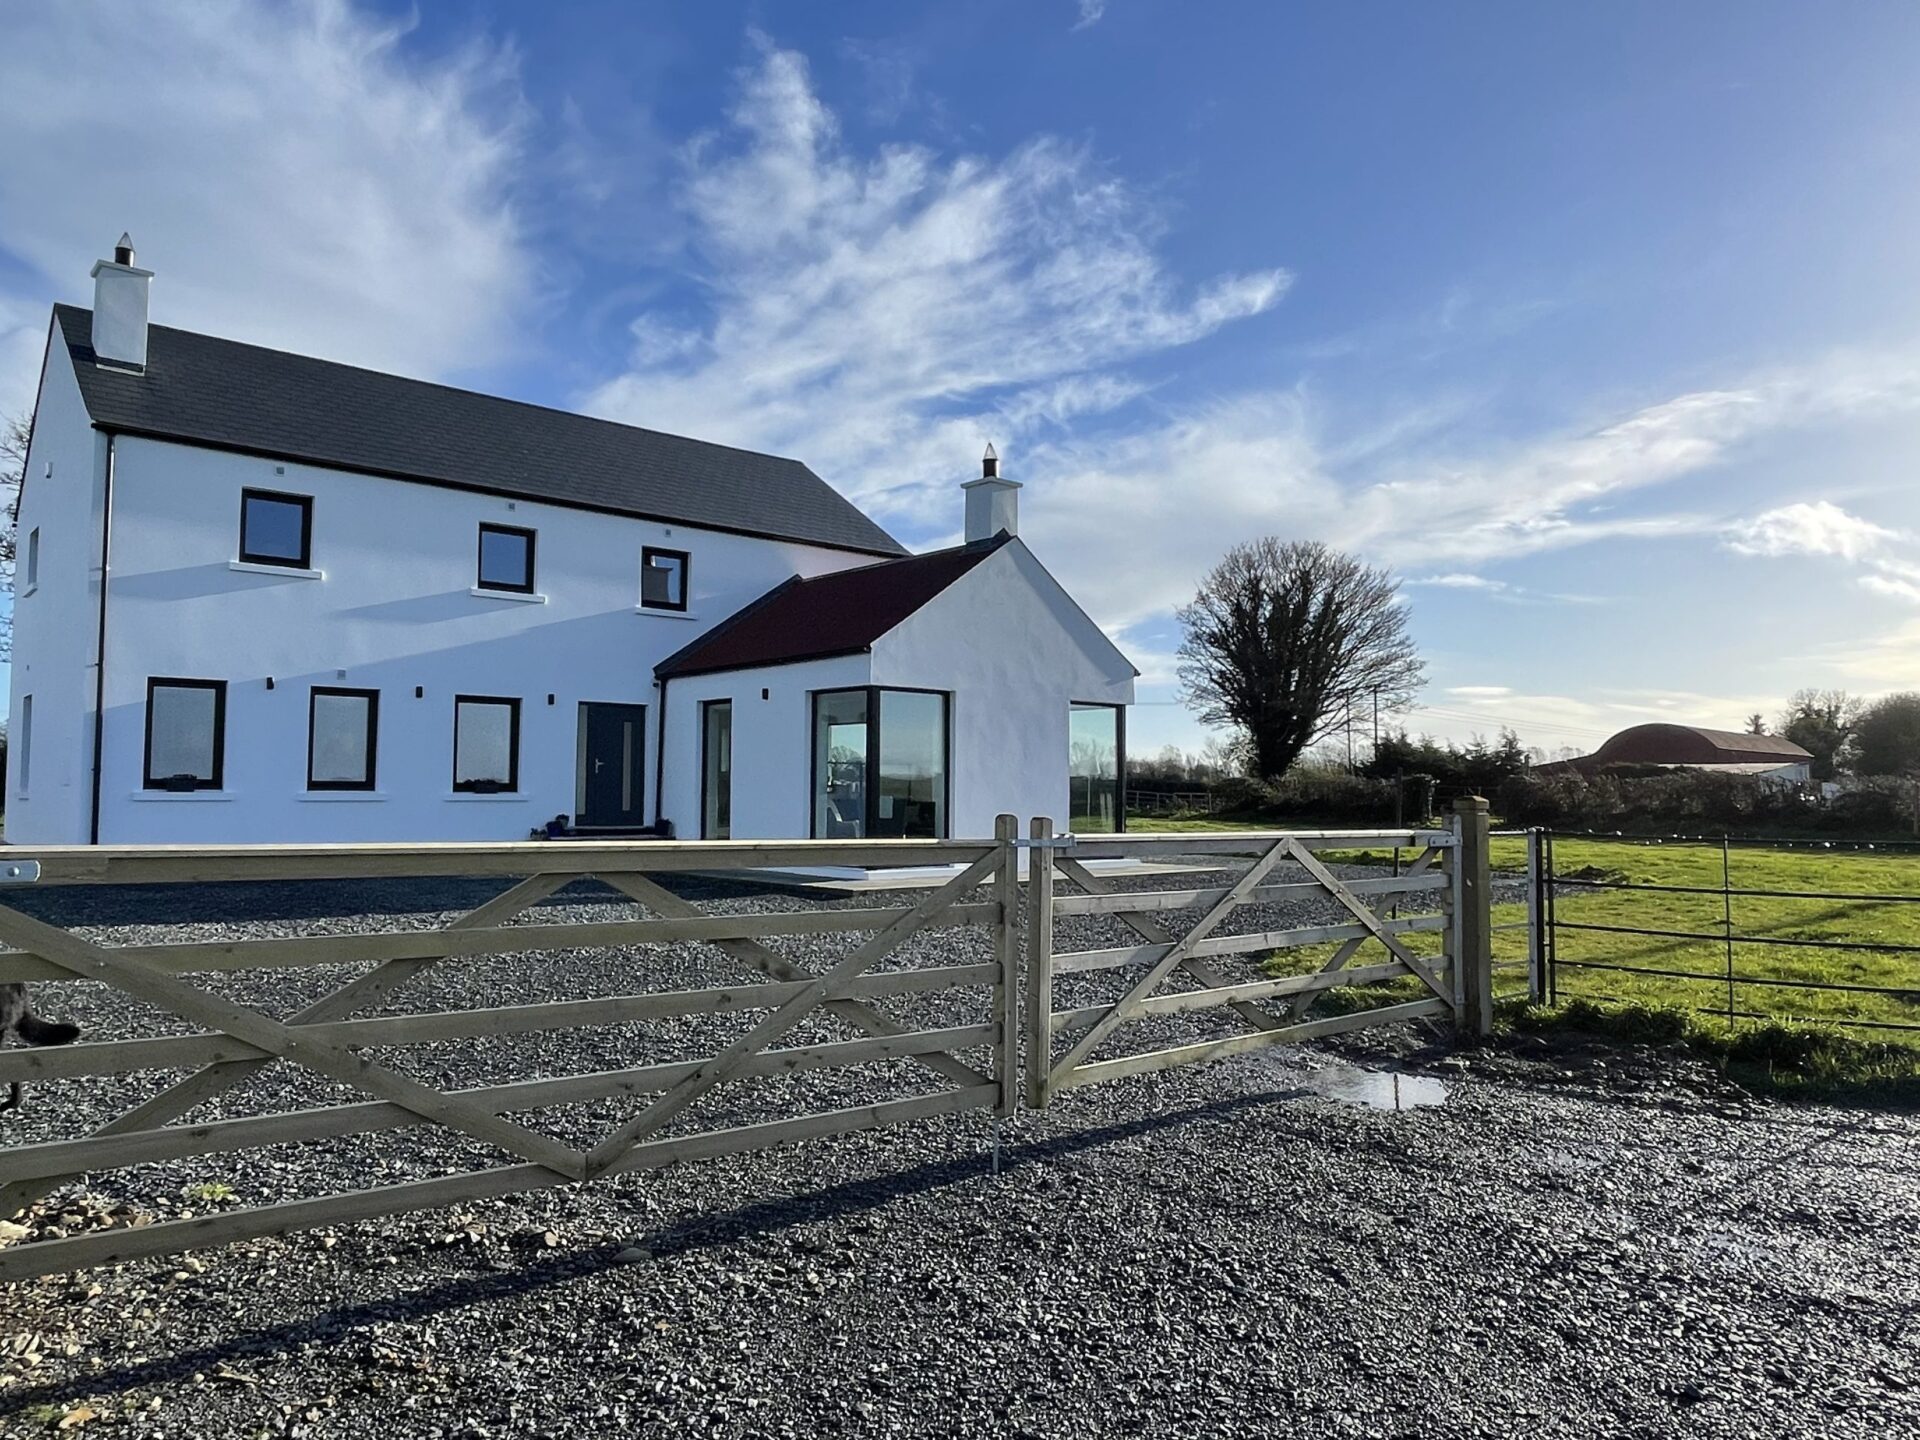
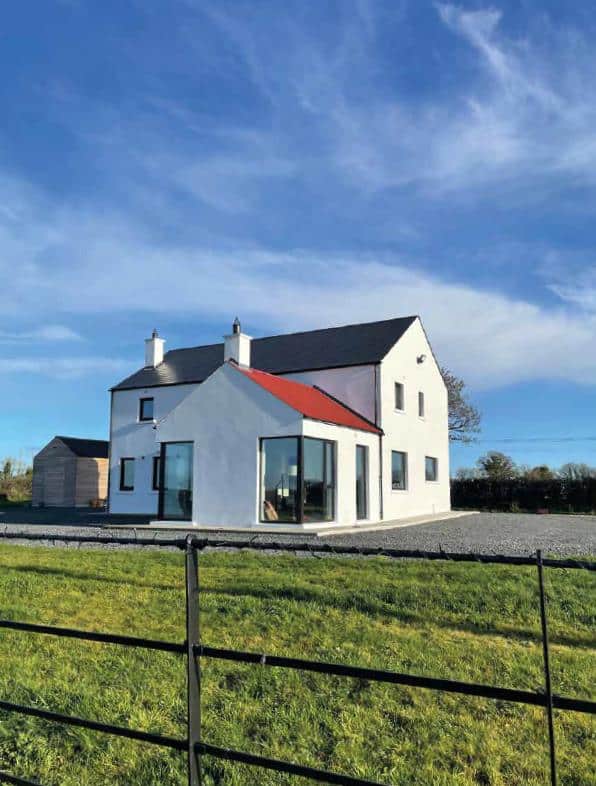
We built our house where the old orchard used to be on the farm. Because of that, we wanted to maintain a traditional old farmhouse feeling but with a modern styling including floor to ceiling windows, double height spaces and lots of light and glass.
House Size: 2,400 sqft
Plot size: 1/2 acre
Build: blockwork (cavity wall)
Heating and hot water: Ground source heat pump
Ventilation system: Central extract unit and humidity vents
BER: A2
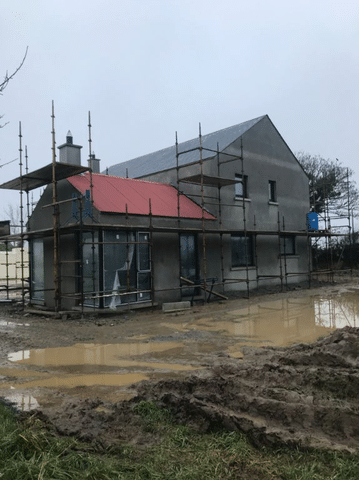
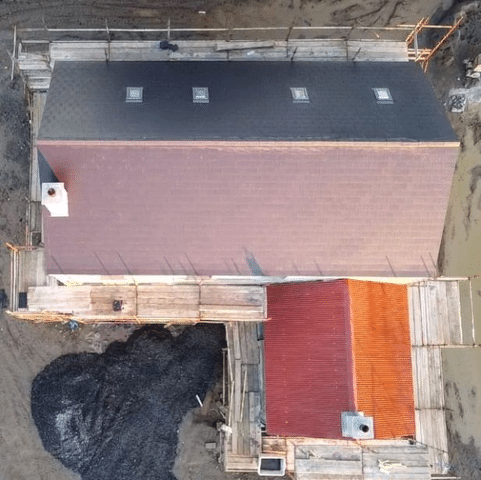
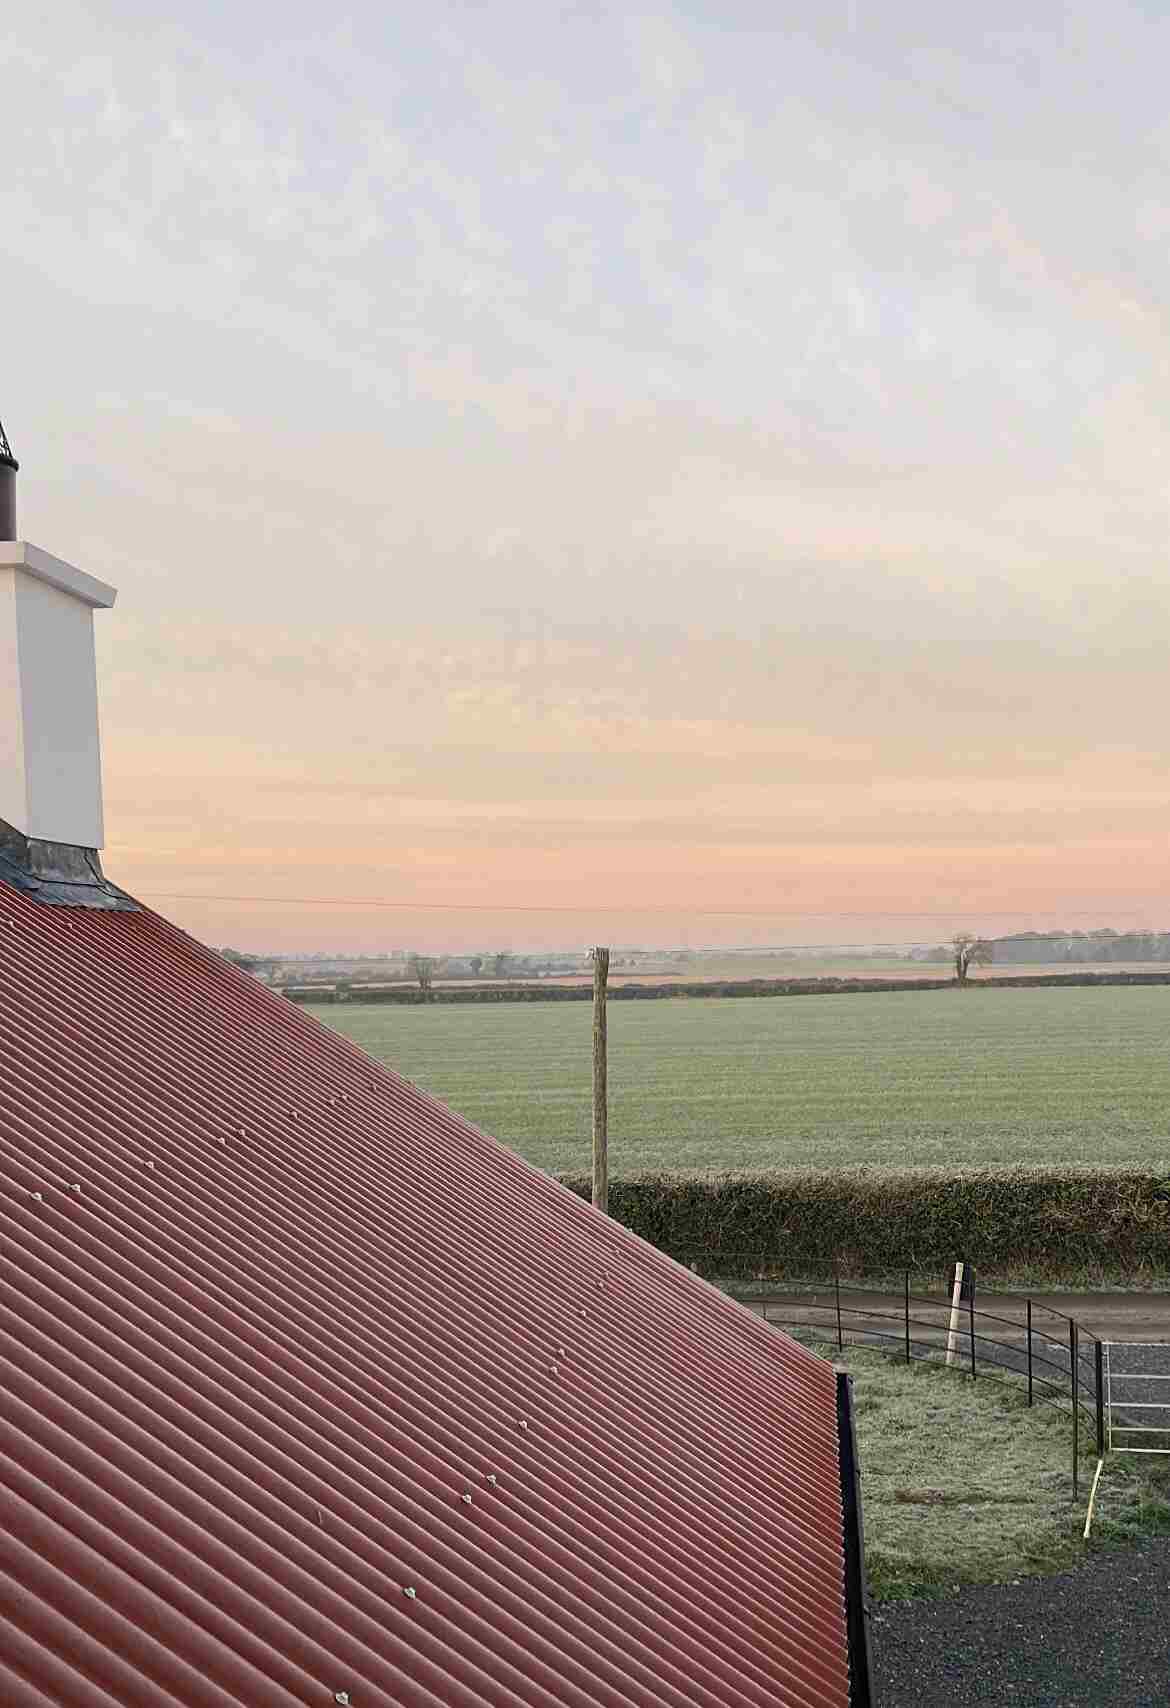
We wanted the house to look as though it had always been there. And when researching and speaking to different designers and architects prior to building, we kept hearing to fit the design in with the vernacular which we did with the introduction of the red galvanised roof
over the sunroom. Oxidised red paint is traditionally used on farm sheds and outbuildings, as opposed to the more common fibreglass roofs on houses.
How did the design process evolve?
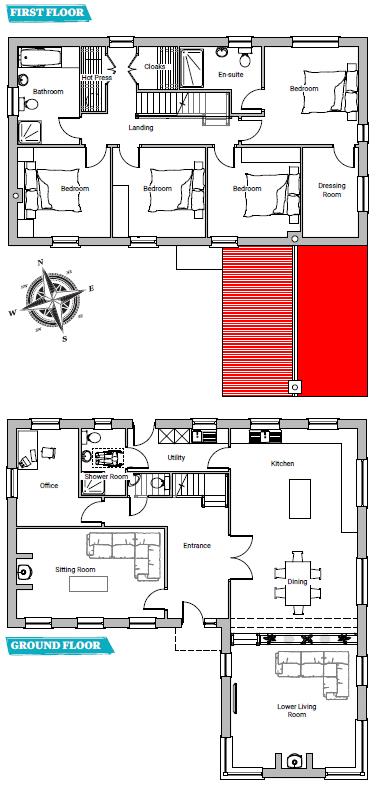
The main elements of our wish list were a smart use of space, a large open plan kitchen/dining area and a sunroom. We also wanted four bathrooms and an office area.
We met with a few architects until we found the right one who understood what we were trying to achieve. A modern farmhouse that fit in with the countryside. We found it was so important to find an architect/engineer who shared our vision and understanding.
They need to support the idea for it to come to life as well. If it means having to meet multiple architects and engineers to find the right one, then it is worth it. We wouldn’t have been able to do the build without our architect/engineer’s belief and support.
Top tip for this stage is to make sure you consider your sun path. This is so important for light and solar gain.
How did the planning application process go?
We first met our designer in March 2019, and planning was submitted that July. In September we got a request for further information and some amendments, which included a reduction in the height of the roof. This did lead to some changes in the drawings as it impacted upstairs windows and the pitch of the sunroom roof. We got our final grant of planning in January 2020. We opted out of the pre-planning meeting as the waiting list to be seen was as long as the actual planning review timeframe.
How was the build managed?
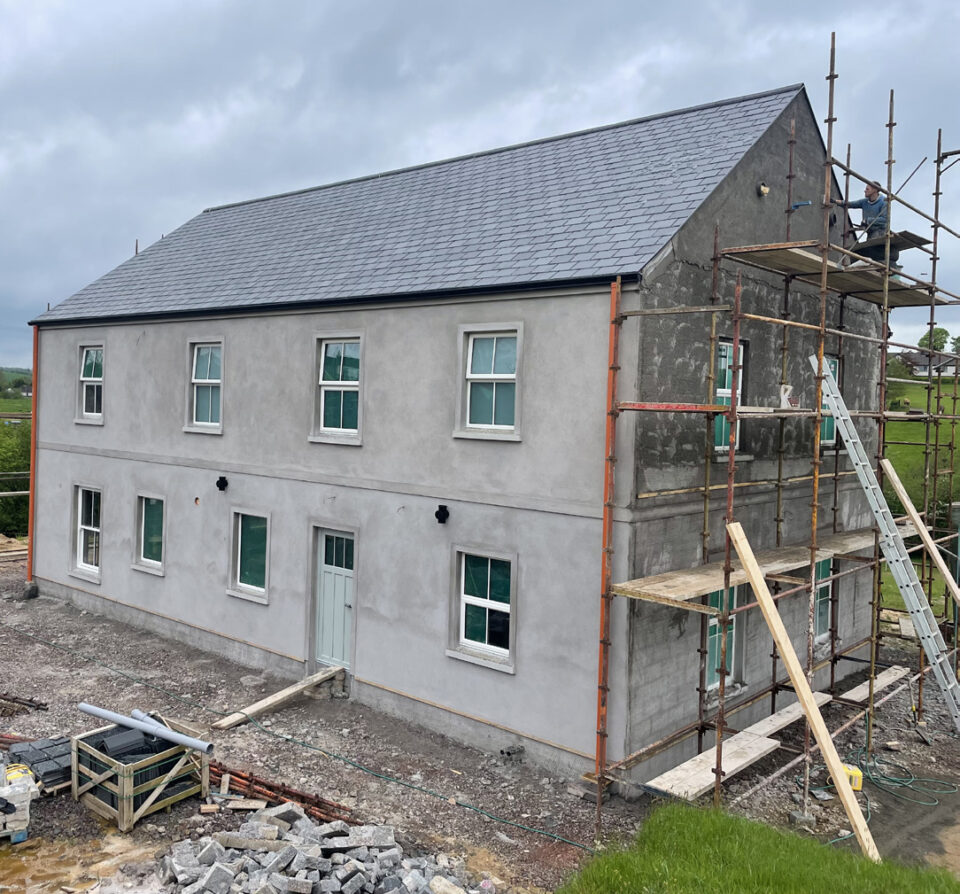
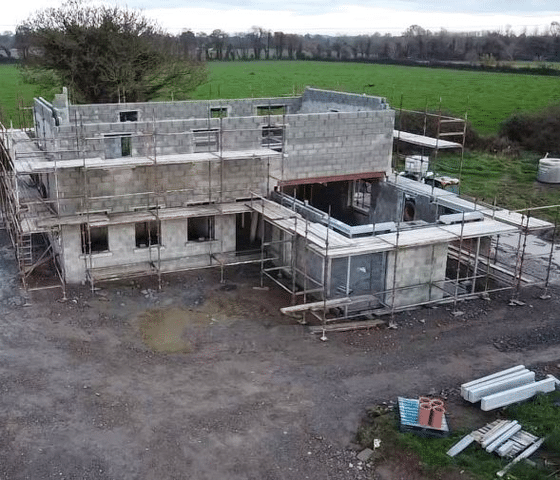
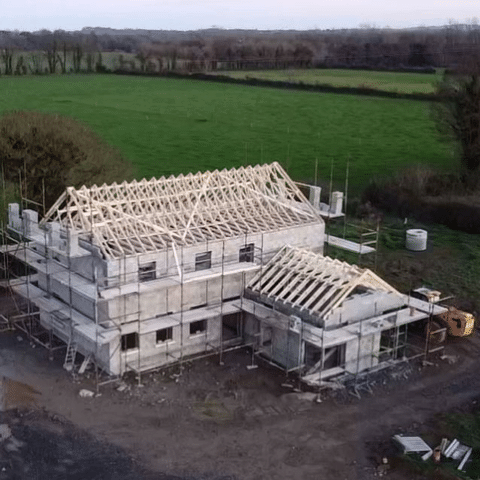
We had a hybrid build. The initial shell structure was completed by a contractor who had his own crew come in to complete the outside shell to roof level and windows sealed. They started work
in July 2020 and handed the project back to us on December 23rd, 2020. From this stage the build was managed by us.
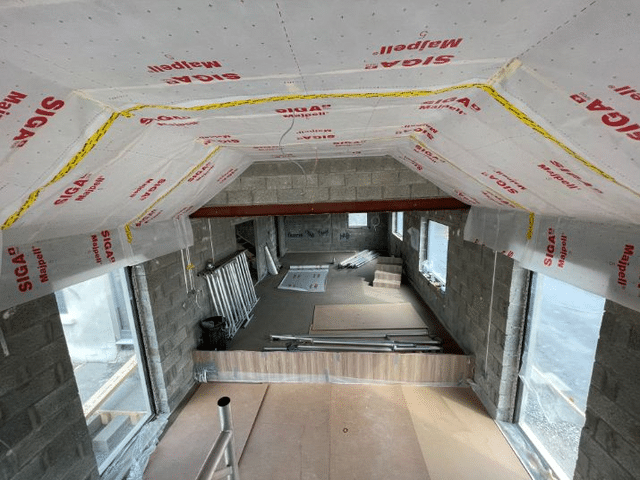
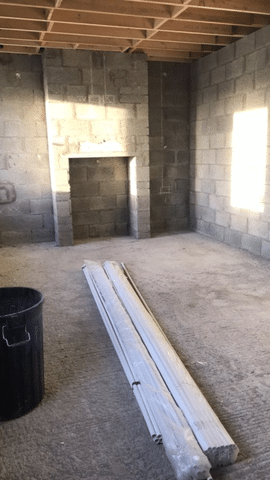
We completed insulation/airtightness membrane and plasterboard ourselves, while organising the plumbers/electricians/screed and tilers ourselves. Most of the joinery was also completed
by us.
The biggest undertaking of the build was the installation of the red roof. We completed this ourselves three days before Christmas. The galvanised sheets were measured and ordered from a roofing company and they came primed.
From here they had to be covered in oxide paint and installed on the batten roof. There were additional steps taken to install the roof for sound proofing, which included foam mats attached to lats before felting was placed, and then the sheeting. We also sourced anti-vibration washers for attaching the sheeting. Internally on top of rigid insulation board, we also used acoustic insulation rolls to deaden the sound. The sunroom roof is actually now quieter than the slate roof.
How did you go about choosing your windows?
Our windows were done as part of the shell build and so went through our builder. Our builder knew the fitting crew and was on site to oversee the fitting. He was confident that if there were issues they would be resolved through him as he works with them a lot.
We were able to visit the showroom and review the different types of windows, and the rep came out to the site and went through all of our options. We found him great as he offered all of the technical specifications and design elements. There was a five week lead time for the windows, and no issueswith the fitted product.
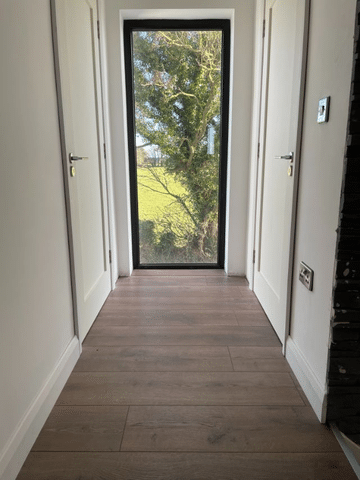
We went for triple glazed, uPVC in RAL 9005 for all windows. The majority of windows are tilt and turn and we find these fantastic during the summer. We had to put in steels supports in the sunroom windows and toughened glass due to their height and width (9ft x 4ft).
How about your heating system?
Initially we were considering an air to water heat pump as we didn’t really know about many other options. However, with the way the site is laid out, the external unit would have been at the left gable of the house and in full view of the entrance and driveway.
After talking to suppliers at the Selfbuild Live show we began looking further into geothermal ground source heat pumps. Although the initial cost was higher, after a lot of research it seemed to have more longevity than the air to water and we liked the thoughts of all the piping being buried out of sight. Based on this and the fact we had extra garden space, we felt the initial investment would be worth it.
We have a small paddock area to the left of the house where we were able to run the collector pipes and we have a concrete collar at the back of the house for easy access to the pipes and system. So far, the running costs are what we expected them to be. And on occasion, less than we
expected which is great considering the current energy costs. The settings can be turned down lower during the summer months with no impact on hot water supply.
The installation was very quick. When we were doing groundworks and had a digger on site, we also laid the pipes for the heat pump. The pipes are buried horizontally one metre below ground in the paddock. The internal elements for the heat pump system are fitted into the office space and the manifold is under the staircase. So although the system is relatively big it has been tidied away through panelled doors.
How did you keep on top of the budget?
The budget was again managed by us. We had a quantity surveyor complete an initial costings report for us. This was a great resource to have as it allowed us to have a point of reference for pricing.
We kept up to date with upcoming cost increases and bulk ordered in advance of the date for things like insulation, plasterboard and internal doors.
For things like mushroom fixings and plasterboard screws, we found it good to purchase them from building merchants or local hardware shops. When buying in bulk there was more leeway for discounts. We tried to avoid DIY/homeware chains unless we were really stuck as these were generally more expensive.

What was the day to day like on site?
The initial part of the build was very straightforward, it was just a case of catching up with the builders in the evening and making sure everything was ok.
When it moved to us taking over the build it was much more full on. There were a lot of phone calls during the day and going over and back to the site to answer questions or make decisions. No matter how organised you are, there are always going to be questions or issues
that pop up.
We were also building during Covid, which had its own share of problems. We went through two lockdowns where our initial builders couldn’t be on site and when our own contractor couldn’t be there either. This did lead to unavoidable delays.
During the second lockdown, we tackled the work ourselves and completed the insulation, airtightness membrane and plasterboard. This was a huge amount of work but it set us up to
keep the build moving forward. When the lockdown lifted, the house was ready for screed, skim coat and second fix.
It was at times difficult to have more than one contractor on site due to social distancing, but we were able to manage this by alternating contractors when needed. People were incredibly flexible
and kind during this time as we were all navigating the strange times.
What are your favourite parts of the house?
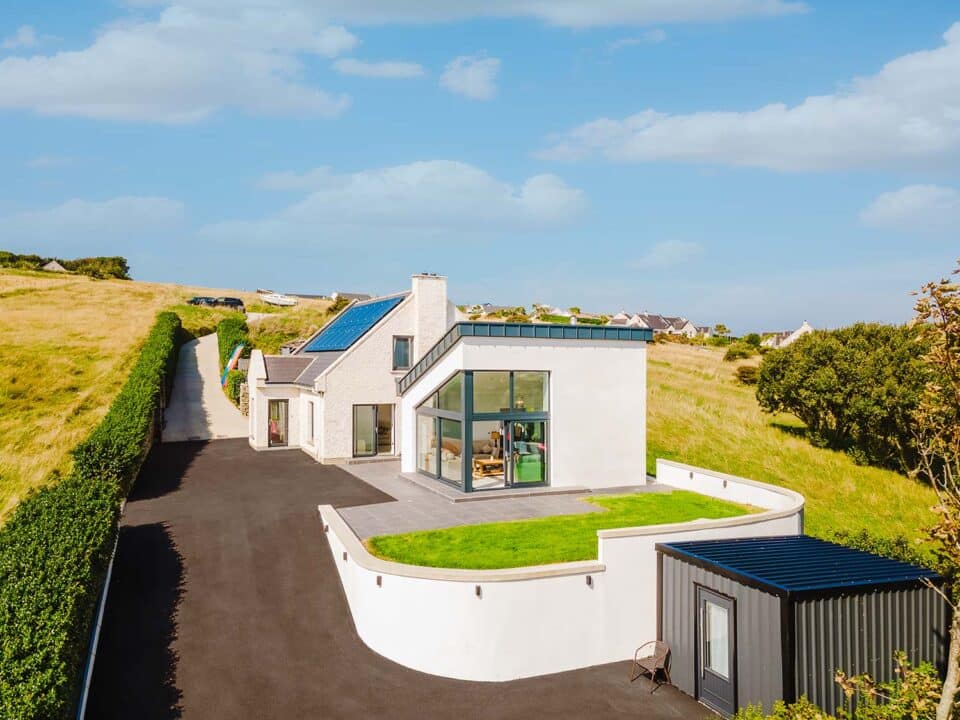
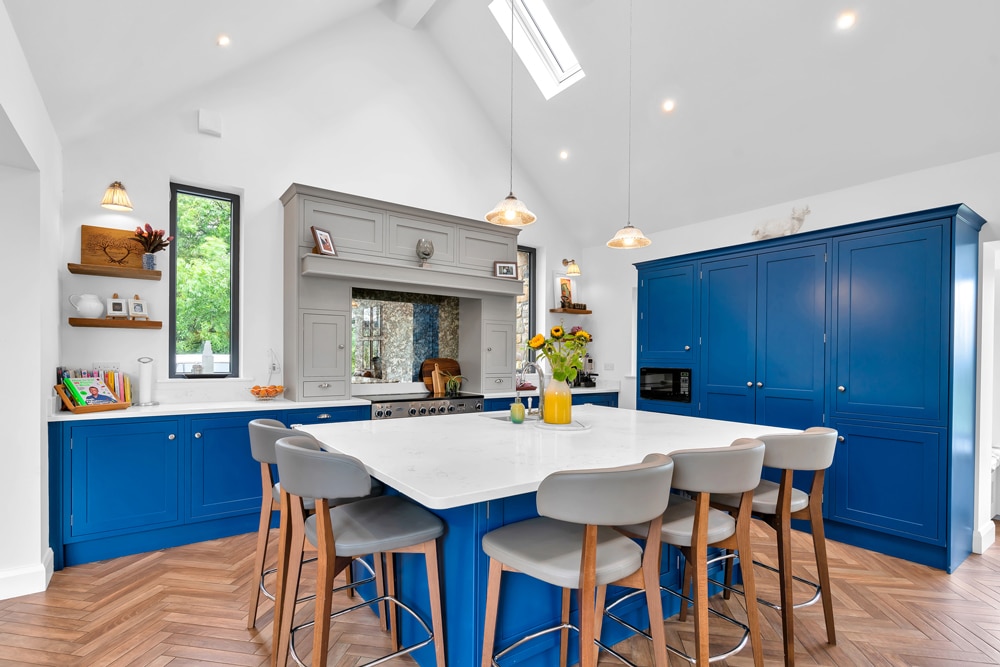
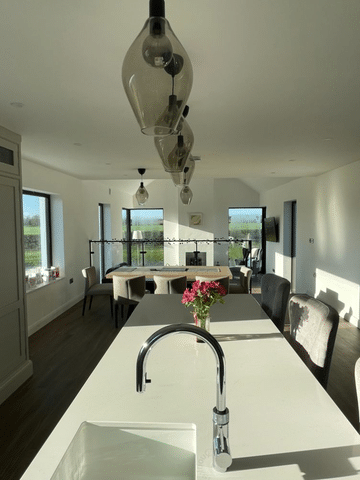
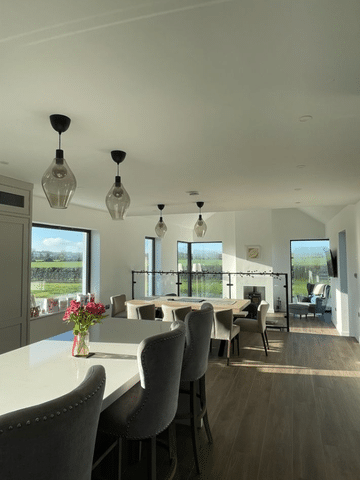
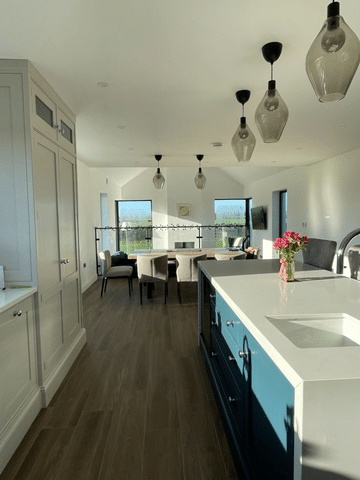
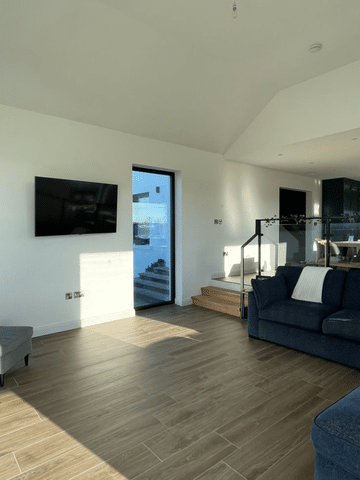
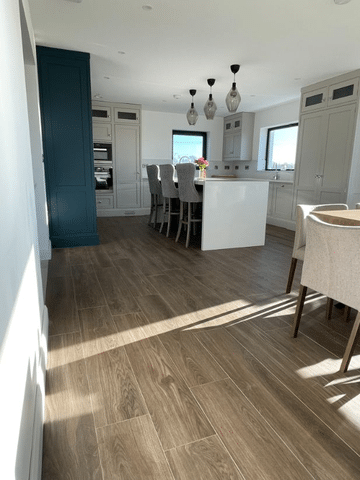
It changes on a daily basis. But I think the sunroom and kitchen win out. The whole area is so bright and airy, there’s always so much light and natural heat in this room. The sunroom is down two steps which has created a double height space. There is also a glass balustrade in place which gives amazing views from the kitchen over the sunroom and out to the sunset.
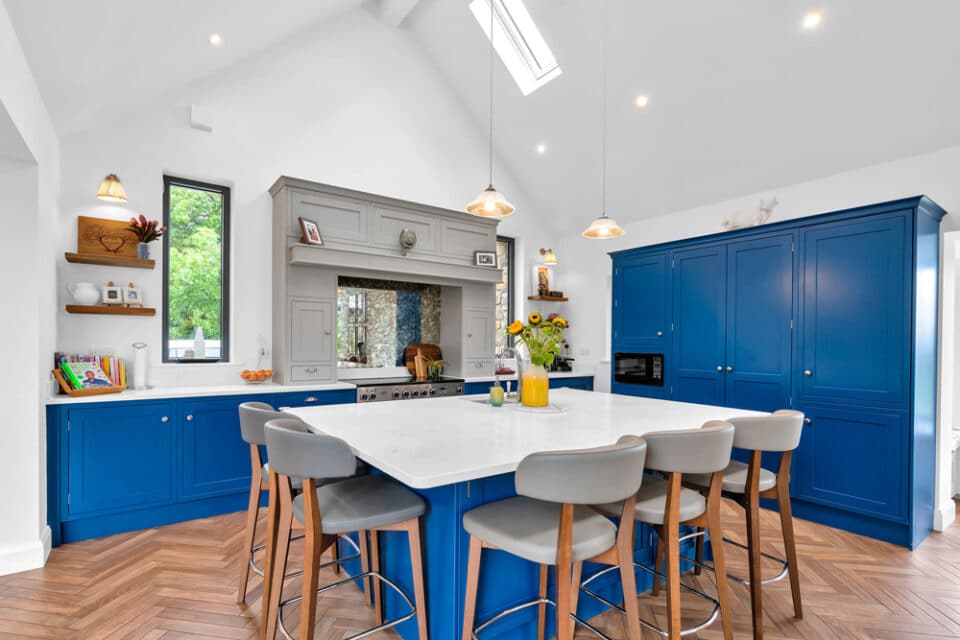
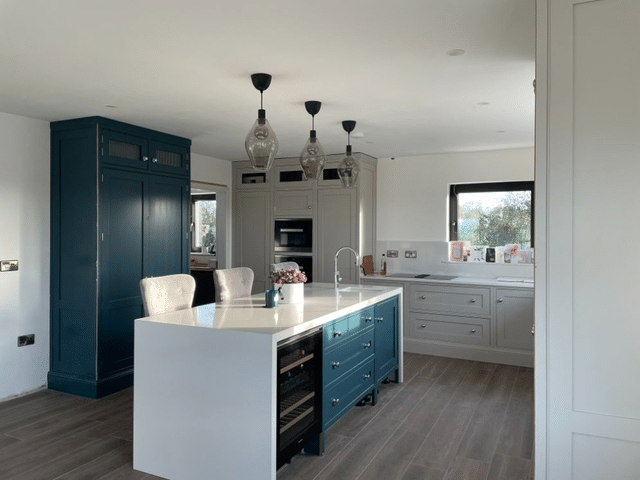
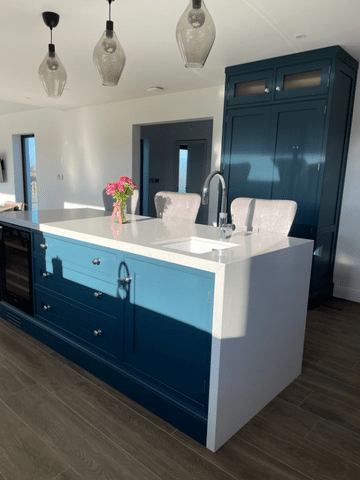
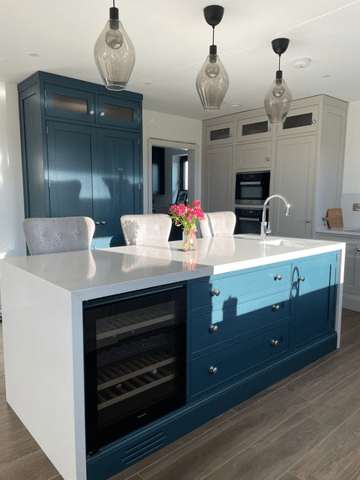
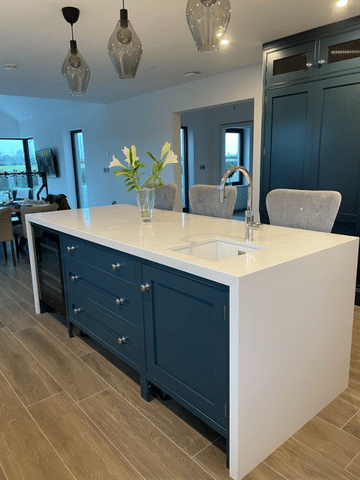
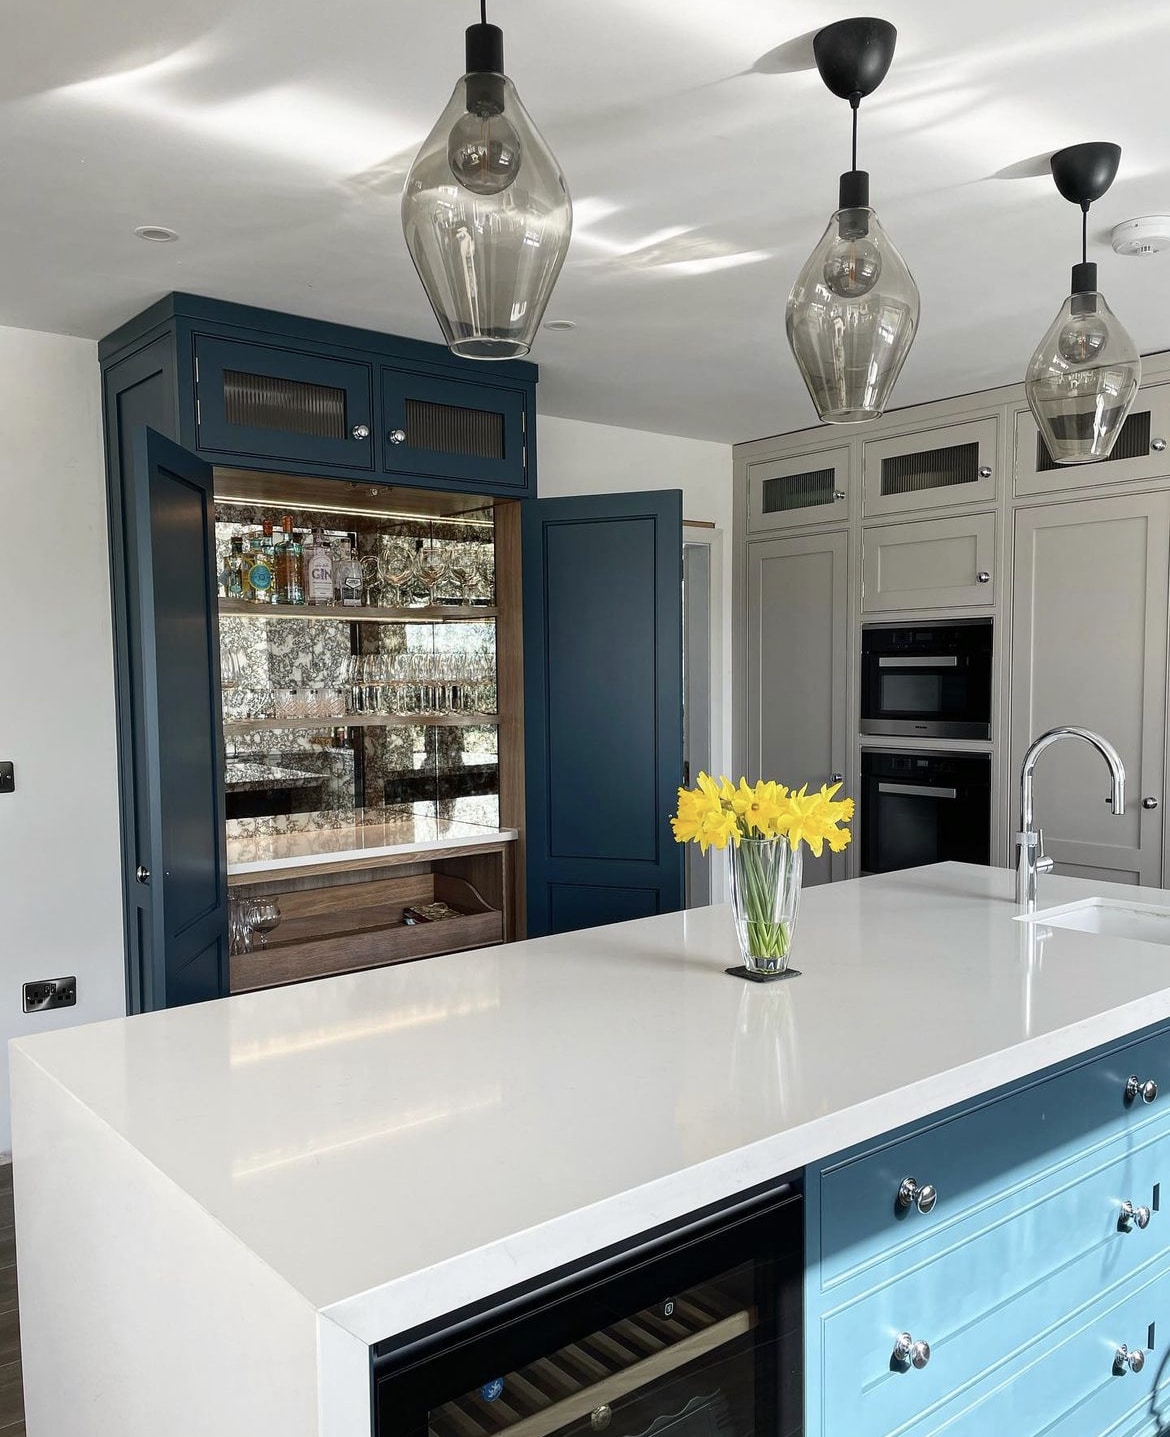
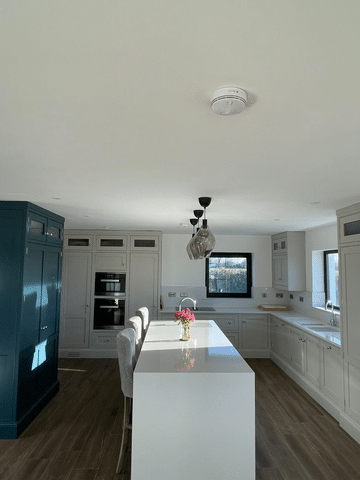
The kitchen is perfect. There’s lots of counter space and a waterfall island, along with two pantries (one with a breakfast station and food storage, the other is a gin pantry!). The waterfall
island is the main feature in the kitchen and it’s so stunning.
What are your tips for kitchen design?
Make sure the kitchen is functional, try and put the dishwasher close to the plate/cup drawer etc. Think about pop up sockets in the island, will they last or will they need to be replaced? Consider different options here such as USB chargers in drawers instead. Or a USB charger tucked away under the stone on the island.
You can never have enough storage in the kitchen, always add more. The kitchen cabinets were brought down lower in our kitchen as I’m quite short. But as a result we were able to add light boxes in over the units so they are still tall looking while at an accessible height.
How about bathroom design?
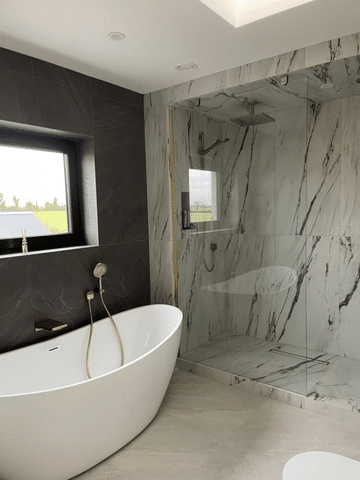
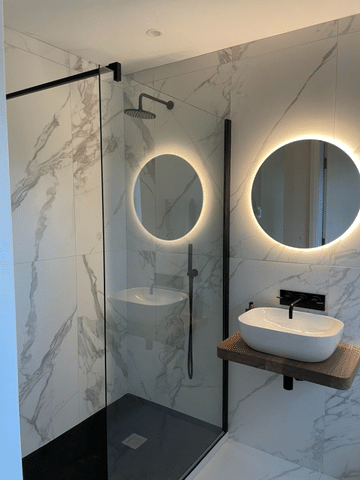
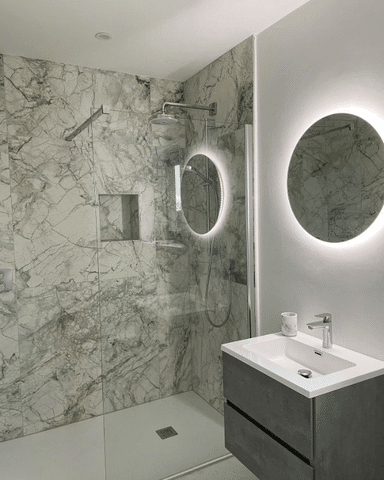
Don’t waste space. Bathrooms don’t need to be very large. They can look quite empty otherwise. Map out each bathroom and see where the sanitaryware will work best. Allow for joists moving under slate trays as this may affect the runoff of the shower at a later stage. If this might happen opt for an XPS wetroom tray ready for tiling instead. Decide on shower niches early on.
For all aspects of your build, make sure you are choosing options because you love
them, not because they are on trend.
Biggest splurge?
The biggest splurge in the house was the bathrooms. They are stunning and we did go for top range here. We visited a showroom and when we saw what was available we made the decision to invest.
At the showroom, Martin and his team were amazing to deal with and they helped us design the perfect bathrooms, from tiles to shower heads they guided us superbly through it all and made sure we had everything we needed.
With hindsight, what would you change?
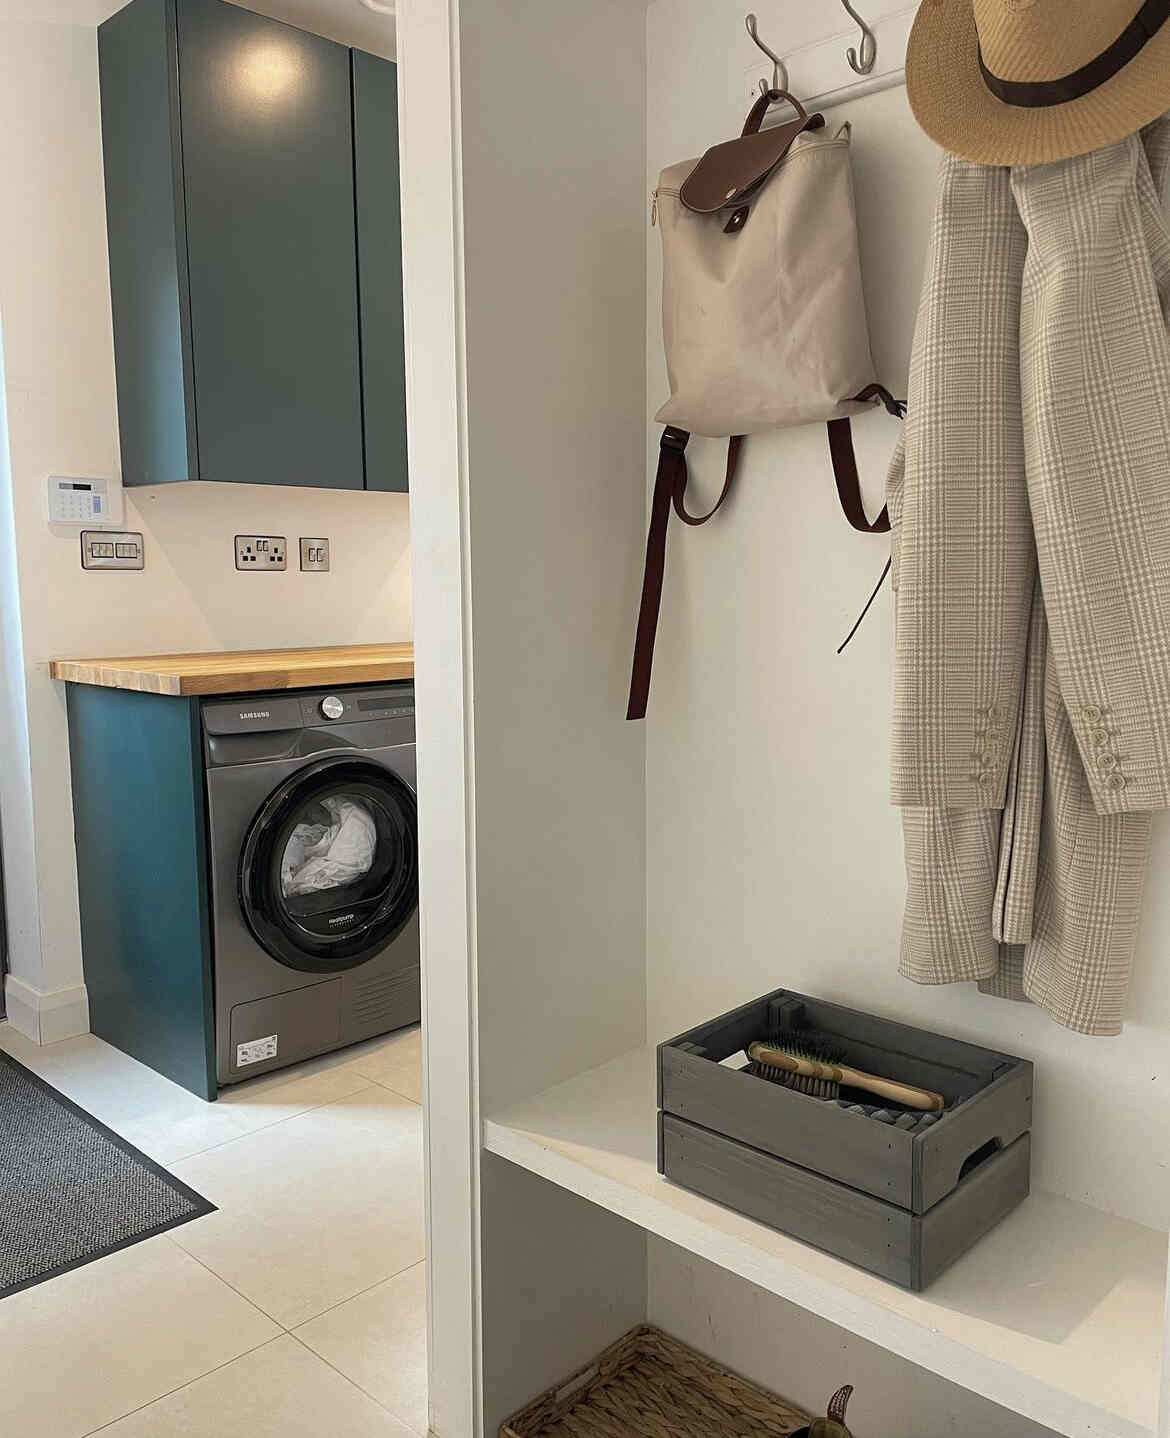
The build has matched the design perfectly. When we look at the plans, the exact house has been built. However, I would have made the utility/boot room bigger and made the dressing room a little wider. And rather than having wood window sills internally, I think a plastered finish would’ve yielded a cleaner look.
Would you do it again?
We would do it again, but on a smaller scale and maybe more of a renovation instead of a brand new build.
Spec
Walls: 150mm cavity pumped with EPS beads and 50mm insulated plasterboard on the external walls to meet NZEB requirements. The stud walls and ceilings have 80mm rigid board.
Roof: attic has 150mm rock wool in the joists, fibre cement slates roof covering
Floor: 150mm PIR boards under the screed
Covid delays for Co Louth build suppliers
Architect/Engineer
Colm Marron of Finegan Jackson Building Surveyors
Builder
JSM Kelly
Kitchen
O’Connor’s of Drumleck
Bathrooms
Deluxe Bathrooms
Heat pump
Thermia supplied through HeatpumpsIreland

