After a dormant or slow moving winter season, spring is all about creating a buzz. There is plenty happening and plenty to be done, including divisions.
Spring divisions are not just a way to generate new plants and bulk up your borders with fresh and healthy clump sections. They are also a way to help regenerate tired or underperforming plants, renewing their vigour. Separating out diseased and spent sections ultimately benefits the health and longevity of the perennial plant that you divide.
Dividing plants that you have in your garden is, of course, a much more involved and rewarding activity than planting something you’ve just bought. It is in fact a mindset and a meaty event to get stuck into, one that’s very hands on and that I relish every year.
In an ideal world, to keep the garden in tip top shape, it is a good idea to divide and replant clump-forming herbaceous perennials and ornamental grasses every three to five years.
You can divide:
- Corms, which are swollen stem bases that store nutrients.
- Bulbs, which are the same as corms but made up of layers – think onions.
- Crowns, or the area where the stems join the roots.
- Grasses and herbaceous clumps.
There are five simple stages to a successful division.
ONE
Demarcating establishes what you are you going to divide. That may start with a circle of sand or some canes and string back in autumn or winter, marking not only where the plant is but also its girth. This will help find the edges of its root ball when digging to lift after it has entered dormancy or before it comes back into vigorous growth. Plants that can be lifted in the green or where crowns or remnants of last year’s growth are still visible can be etched around with the blade of your spade.
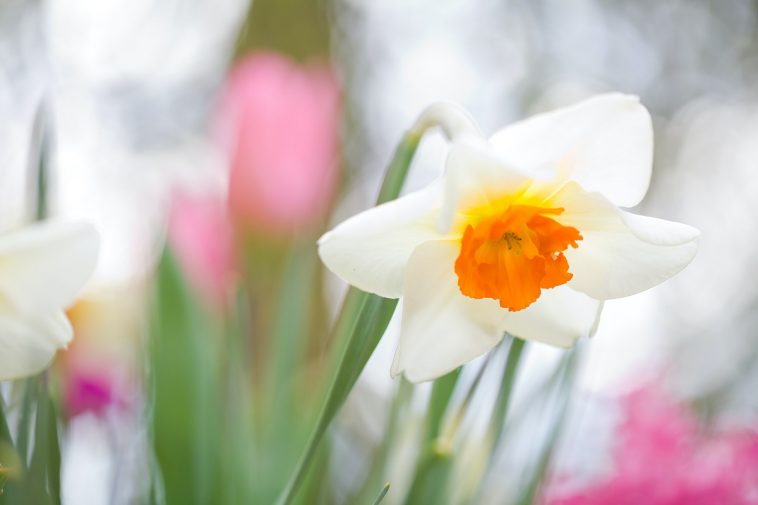
Snowdrops, daffodils and many spring bulbs fare better when divided and transplanted in the green and in their case, it is often only at that stage that we can be certain where to lift, without slicing through the bulb, corm or crown, or missing the spot altogether.
TWO
The lift is best with a fork but in reality, there may be the requirement for some digging and slicing in at the edges of the root ball to loosen out enough soil to get in at it, with a fork, or to prize it up with a spade. The aim is to get the plant up out of the ground with as much of its roots intact as possible.
Depending on your soil, plant type and even the recent weather, the plant may or may not lift with ease. Plants with extensive and deep roots or ones with long tap roots are generally not bothered with. I like to lift the plant out onto a tarp or into a wheelbarrow – for neatness’s sake but also to keep all the action in a controlled space.
THREE
Dividing into sections can take many forms – a simple pull apart or a more surgical affair but to begin with it is a good idea to shake off or brush away any excess soil, to make roots and buds more clearly visible. We don’t want to snap or slice into a bud. Some plants, once lifted, will naturally break open or start to separate, others will accept being gently pulled apart. Some can be eased open with a hand trowel; others will need the slice of a spade or a sharp knife to pry open.
The tradition with larger or more congested clumps is to guide two garden forks, back-to-back, into the crown or centre of clump and lever apart – the two sections can then be divided again. Once you have formed newly divided sections, it is a good idea to remove any dead leaves, damaged roots or withered, old, woody stems with secateurs or a clean knife. Then generally tidy and check over for any pests, disease or problems. Fix what you may find before replanting.
FOUR
Replant as soon as possible. Failing a same day completion, it is ok to moisten the roots and fold in tarp or other membrane overnight. Always replant sections at the original depth or surface point of the parent plant so as to not sink a crown, corm or stem deeper than it has been growing successfully all year. Where possible, allow the roots to sit with an even spread in the planting hole before back filling and firming in. Water in well – to keep the plant from wilting or going into transplantation shock, and also to push down the smaller soil particles into place around the roots.
FIVE
Aftercare is really a matter of making sure the divisions don’t dry out as they start to extend new roots and re-establish. After a week or so, a little tomato feed or top dressing with compost will reward the establishing plant and boost its growth of roots and shoots. It will take off and fill out and perform well for another three to five years.