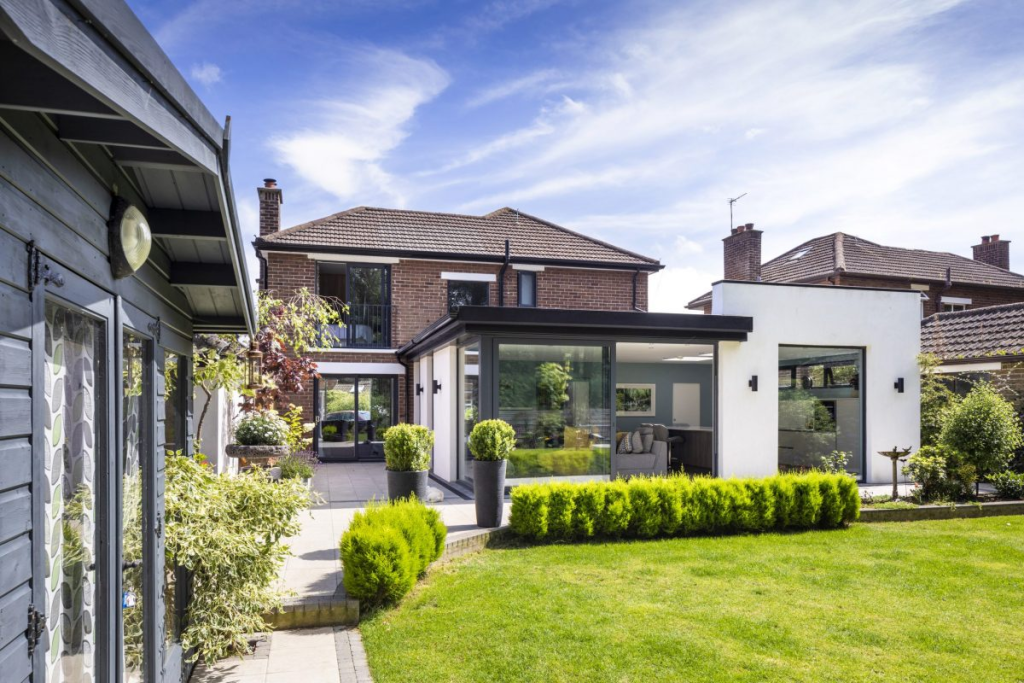
Gareth and Lesley McAuley’s extension project created a connection with the garden and increased the value of their home in Co Antrim.
In this article Gareth and Lesley explain how they added value to their home with their extension, including:
- Details of 1950s house and demolish plans of previous extensions
- Internal redesign and extension design to maximise the garden views
- Tips to stay on budget and how to tackle an extension project as a novice
- Plumbing upgrades and new heating system details
- Choosing a builder and putting a contract in place with details including prime cost (PC) sums
- Cost effective and stylish choice of windows, plus other means to reduce draughts
- Staircase design and interior design details
- House value before and after
- Full before and after floor plans
- Insulation strategy and how it went on site
- Supplier list and specification
Overview
House size before: 100sqm
House size after: 150 sqm
House cost (2014): £275,000
Refurbishment and extension cost (2014-2017): £100,000
House valuation (2019): £400,000
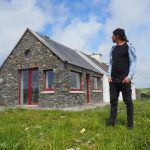
“When we bought the property in June 2014 we always knew it would be a renovation project; the house had been built in 1955 and not an awful lot had been done to it since then,” says Gareth.
“In the late 1960s, a stud partition had been added to one of the bedrooms to turn the house into a four bed, which we removed, along with a two-storey extension at the front of the house. A lean-to extension was also added in the mid-1990s at the back which we eventually knocked down to build our own extension.”


“When we moved in we replaced the pipework and changed the heating system; we chose to move from oil to gas and changed all the radiators throughout as well. We replaced the uPVC double-glazed windows, guttering, fascia and soffits, removed one chimney stack and rebuilt the
other.”
“The window frame colour went from white to grey which seemed like a bit of a bold move at the time but we knew we wanted the windows in our new extension to be aluminium framed which would eventually tie in with the rest of the glazing.”“We found the uPVC window company for the existing window replacements through a neighbour and friend of ours who had used them in his own building and refurbishment business, and he also recommended a plumber who we used early on for the changeover from oil to gas, and later for the extension.”
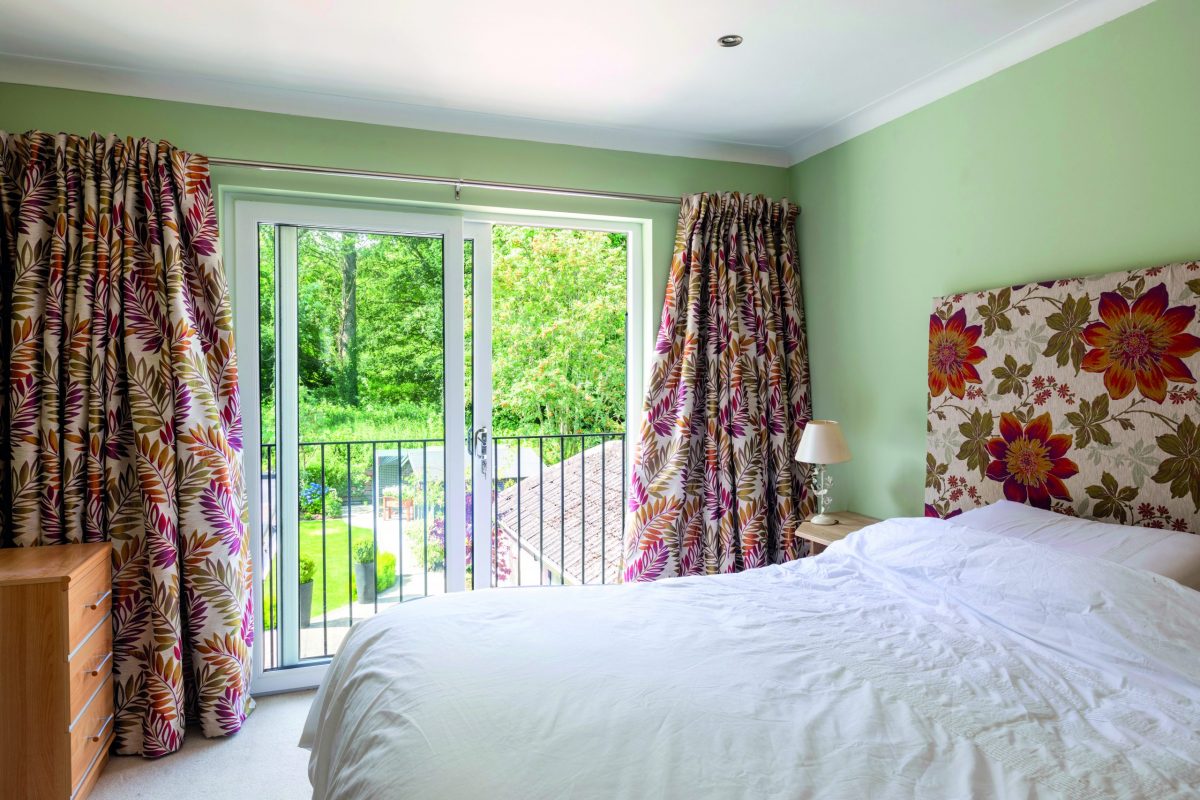
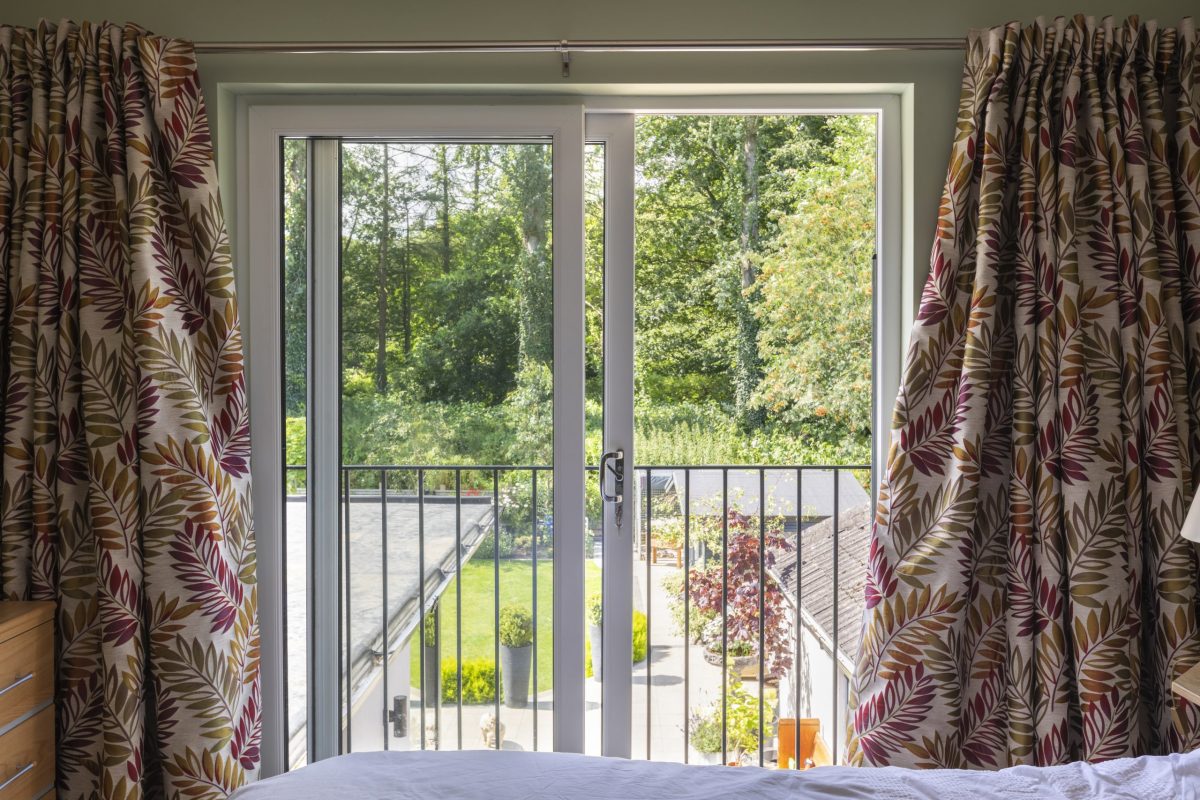
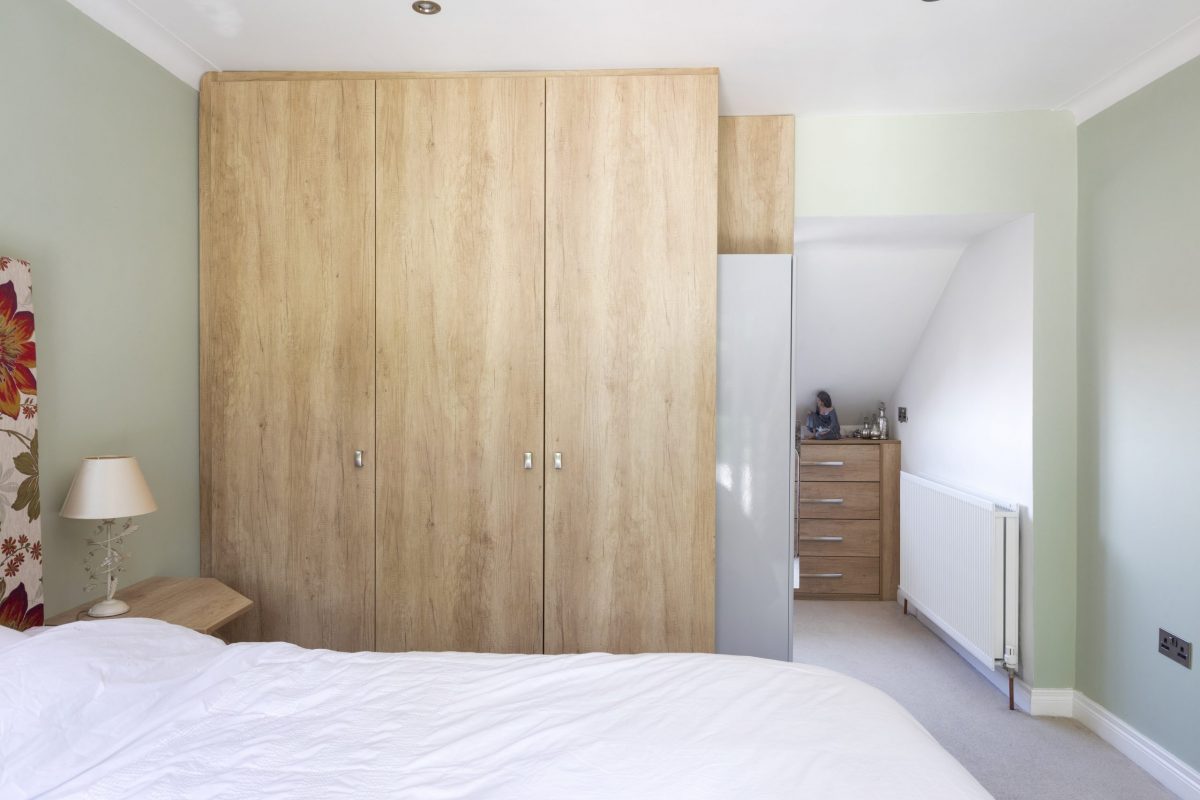
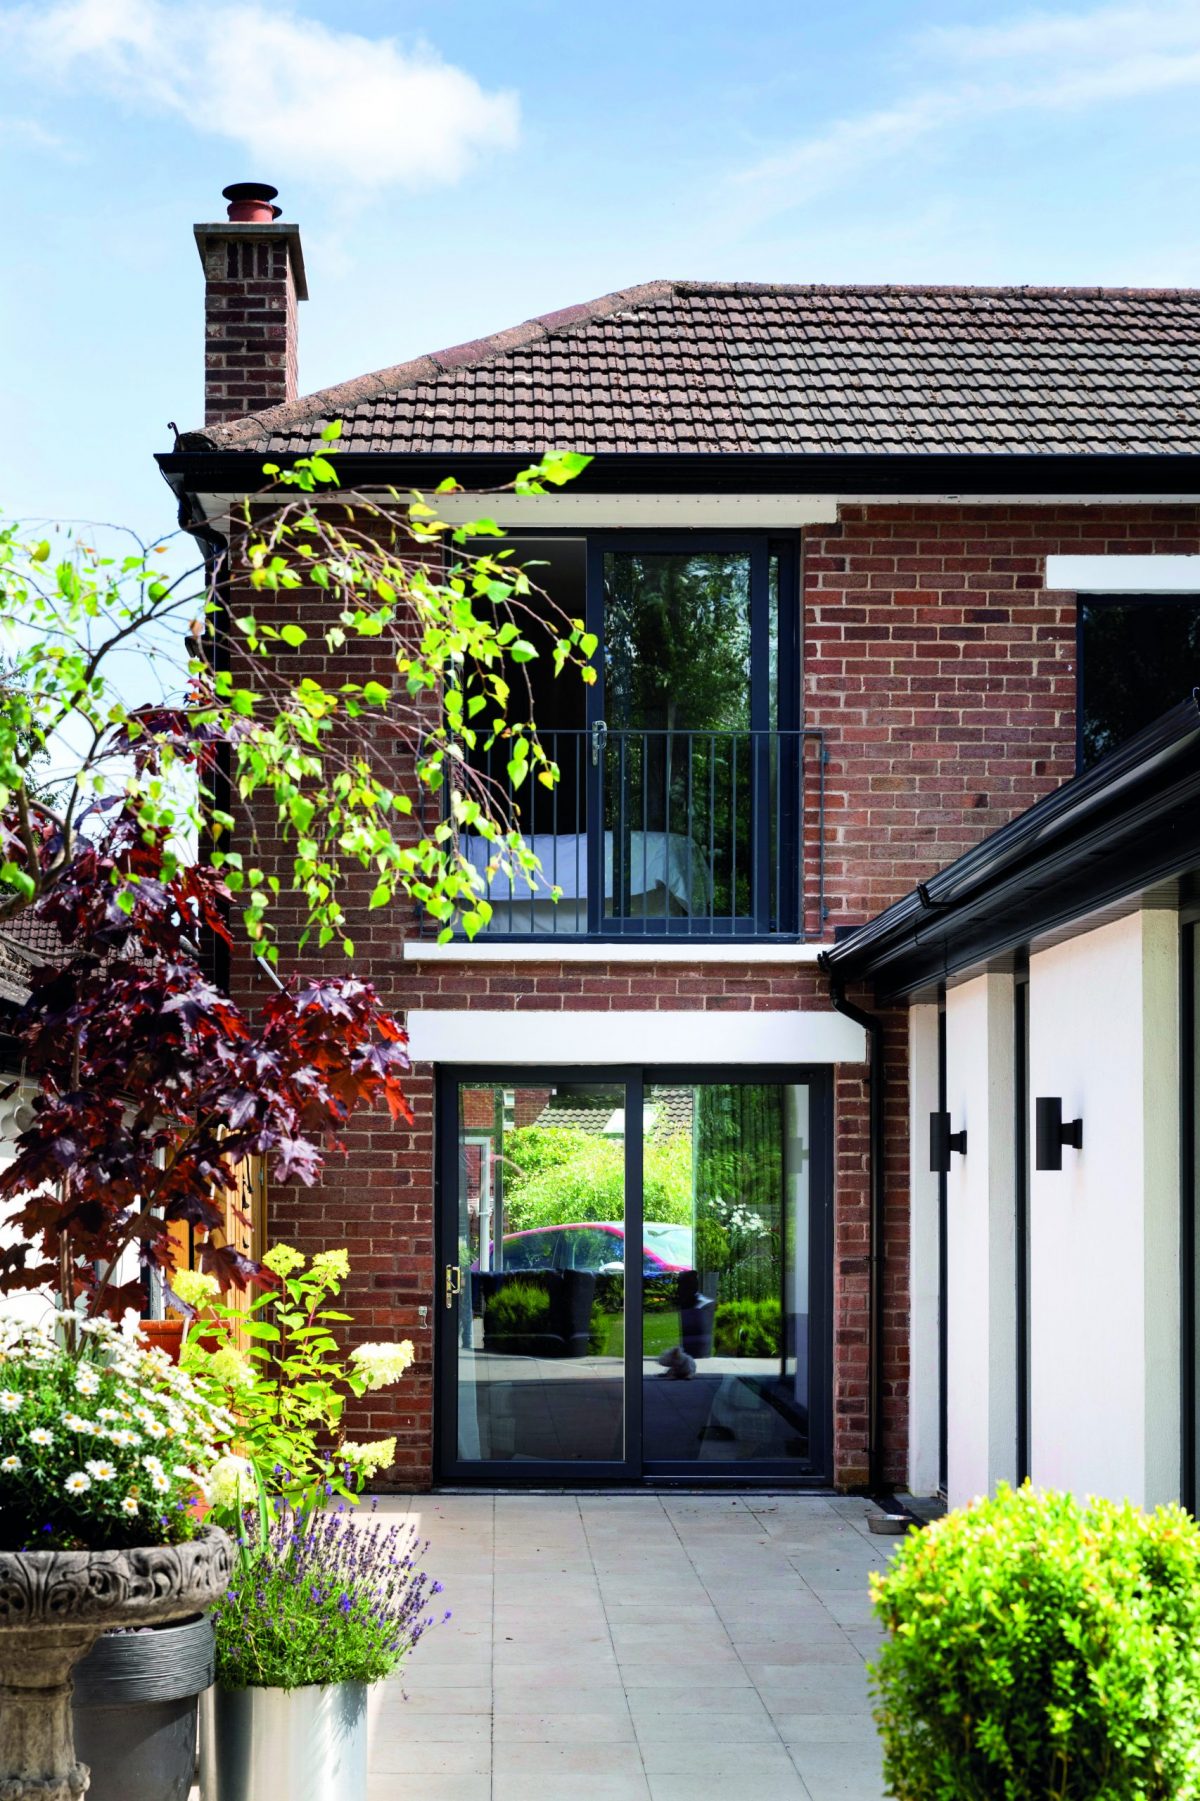
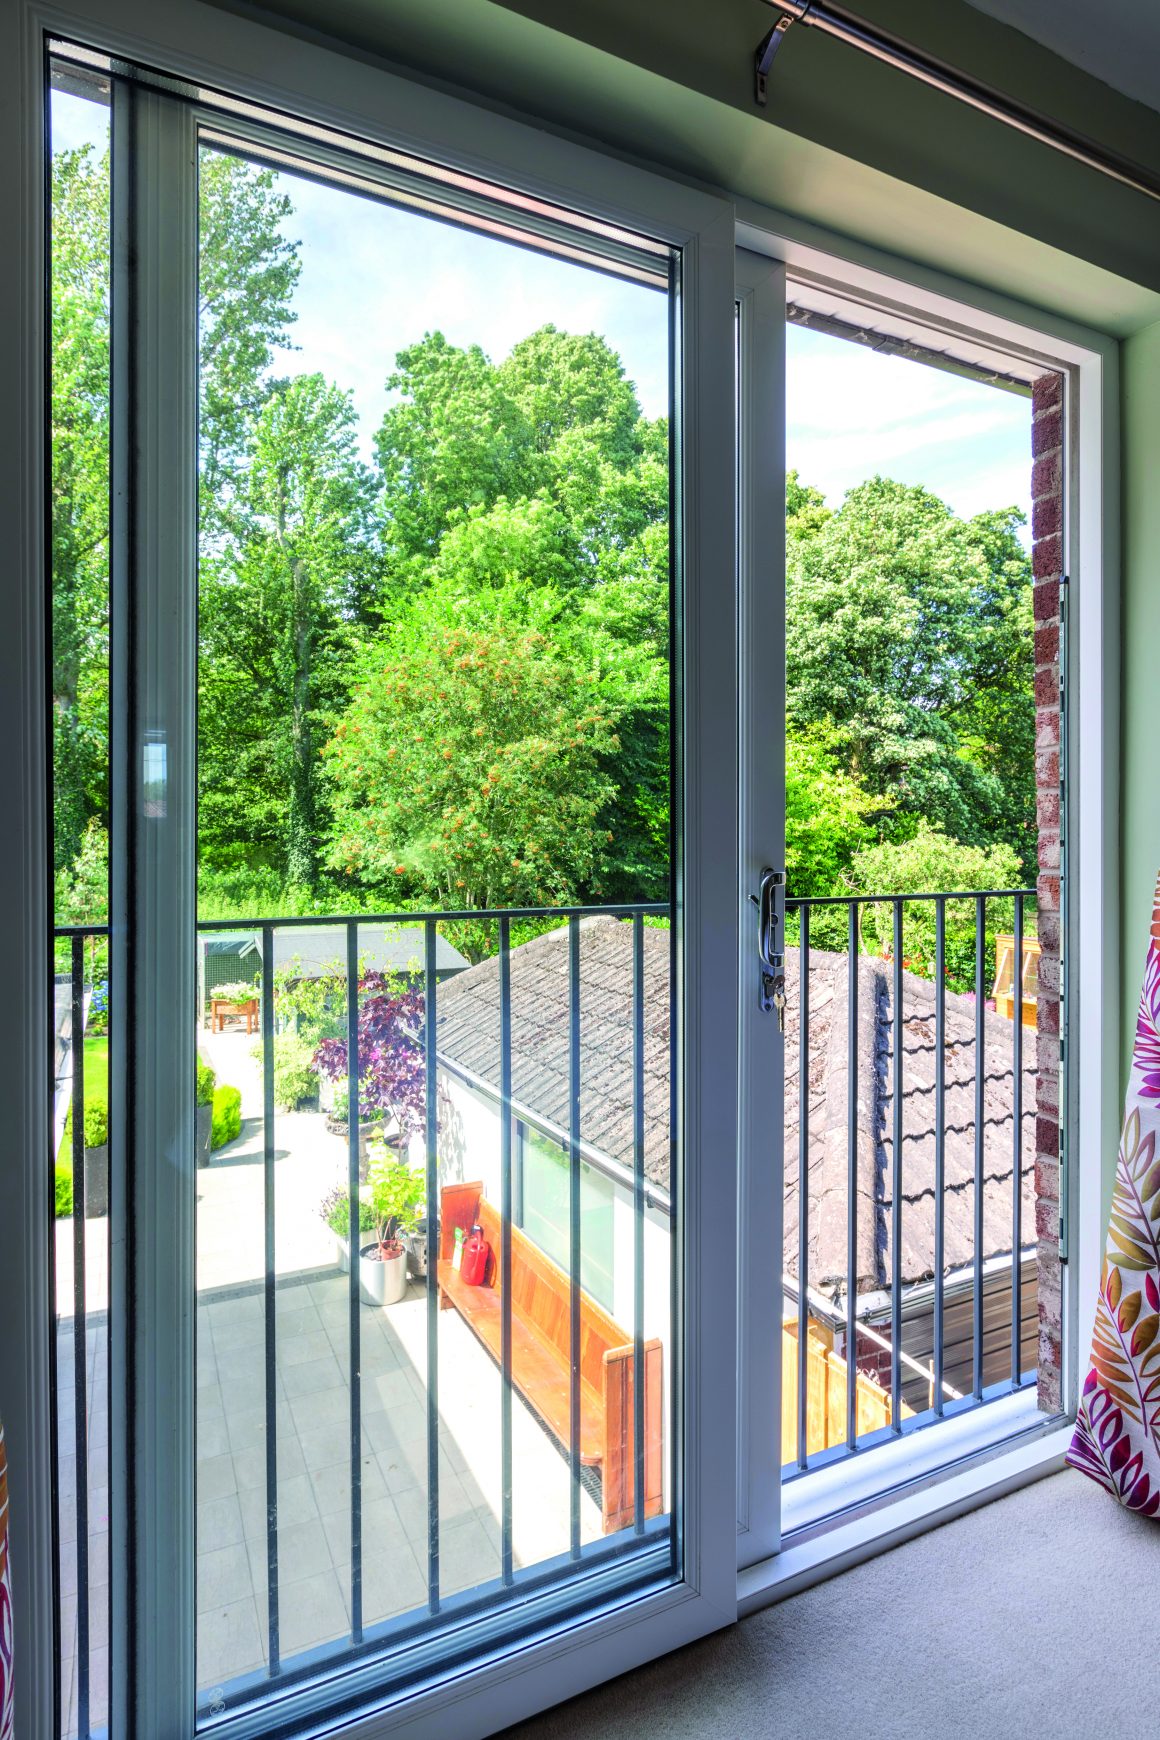
“It was during this initial phase that we removed some of the stud walls in the first floor, creating in essence three generous bedrooms and adding a dressing room to the master bedroom. We replaced the window of the master bedroom with sliding doors and created a Juliette balcony to maximise the views to the woodland.”
Gestation period
“Once these initial renovations had been completed, we decided to live in the house for a while to ensure we knew what additional accommodation we needed from the extension, gauging where the available sunlight was throughout different parts of the day.”
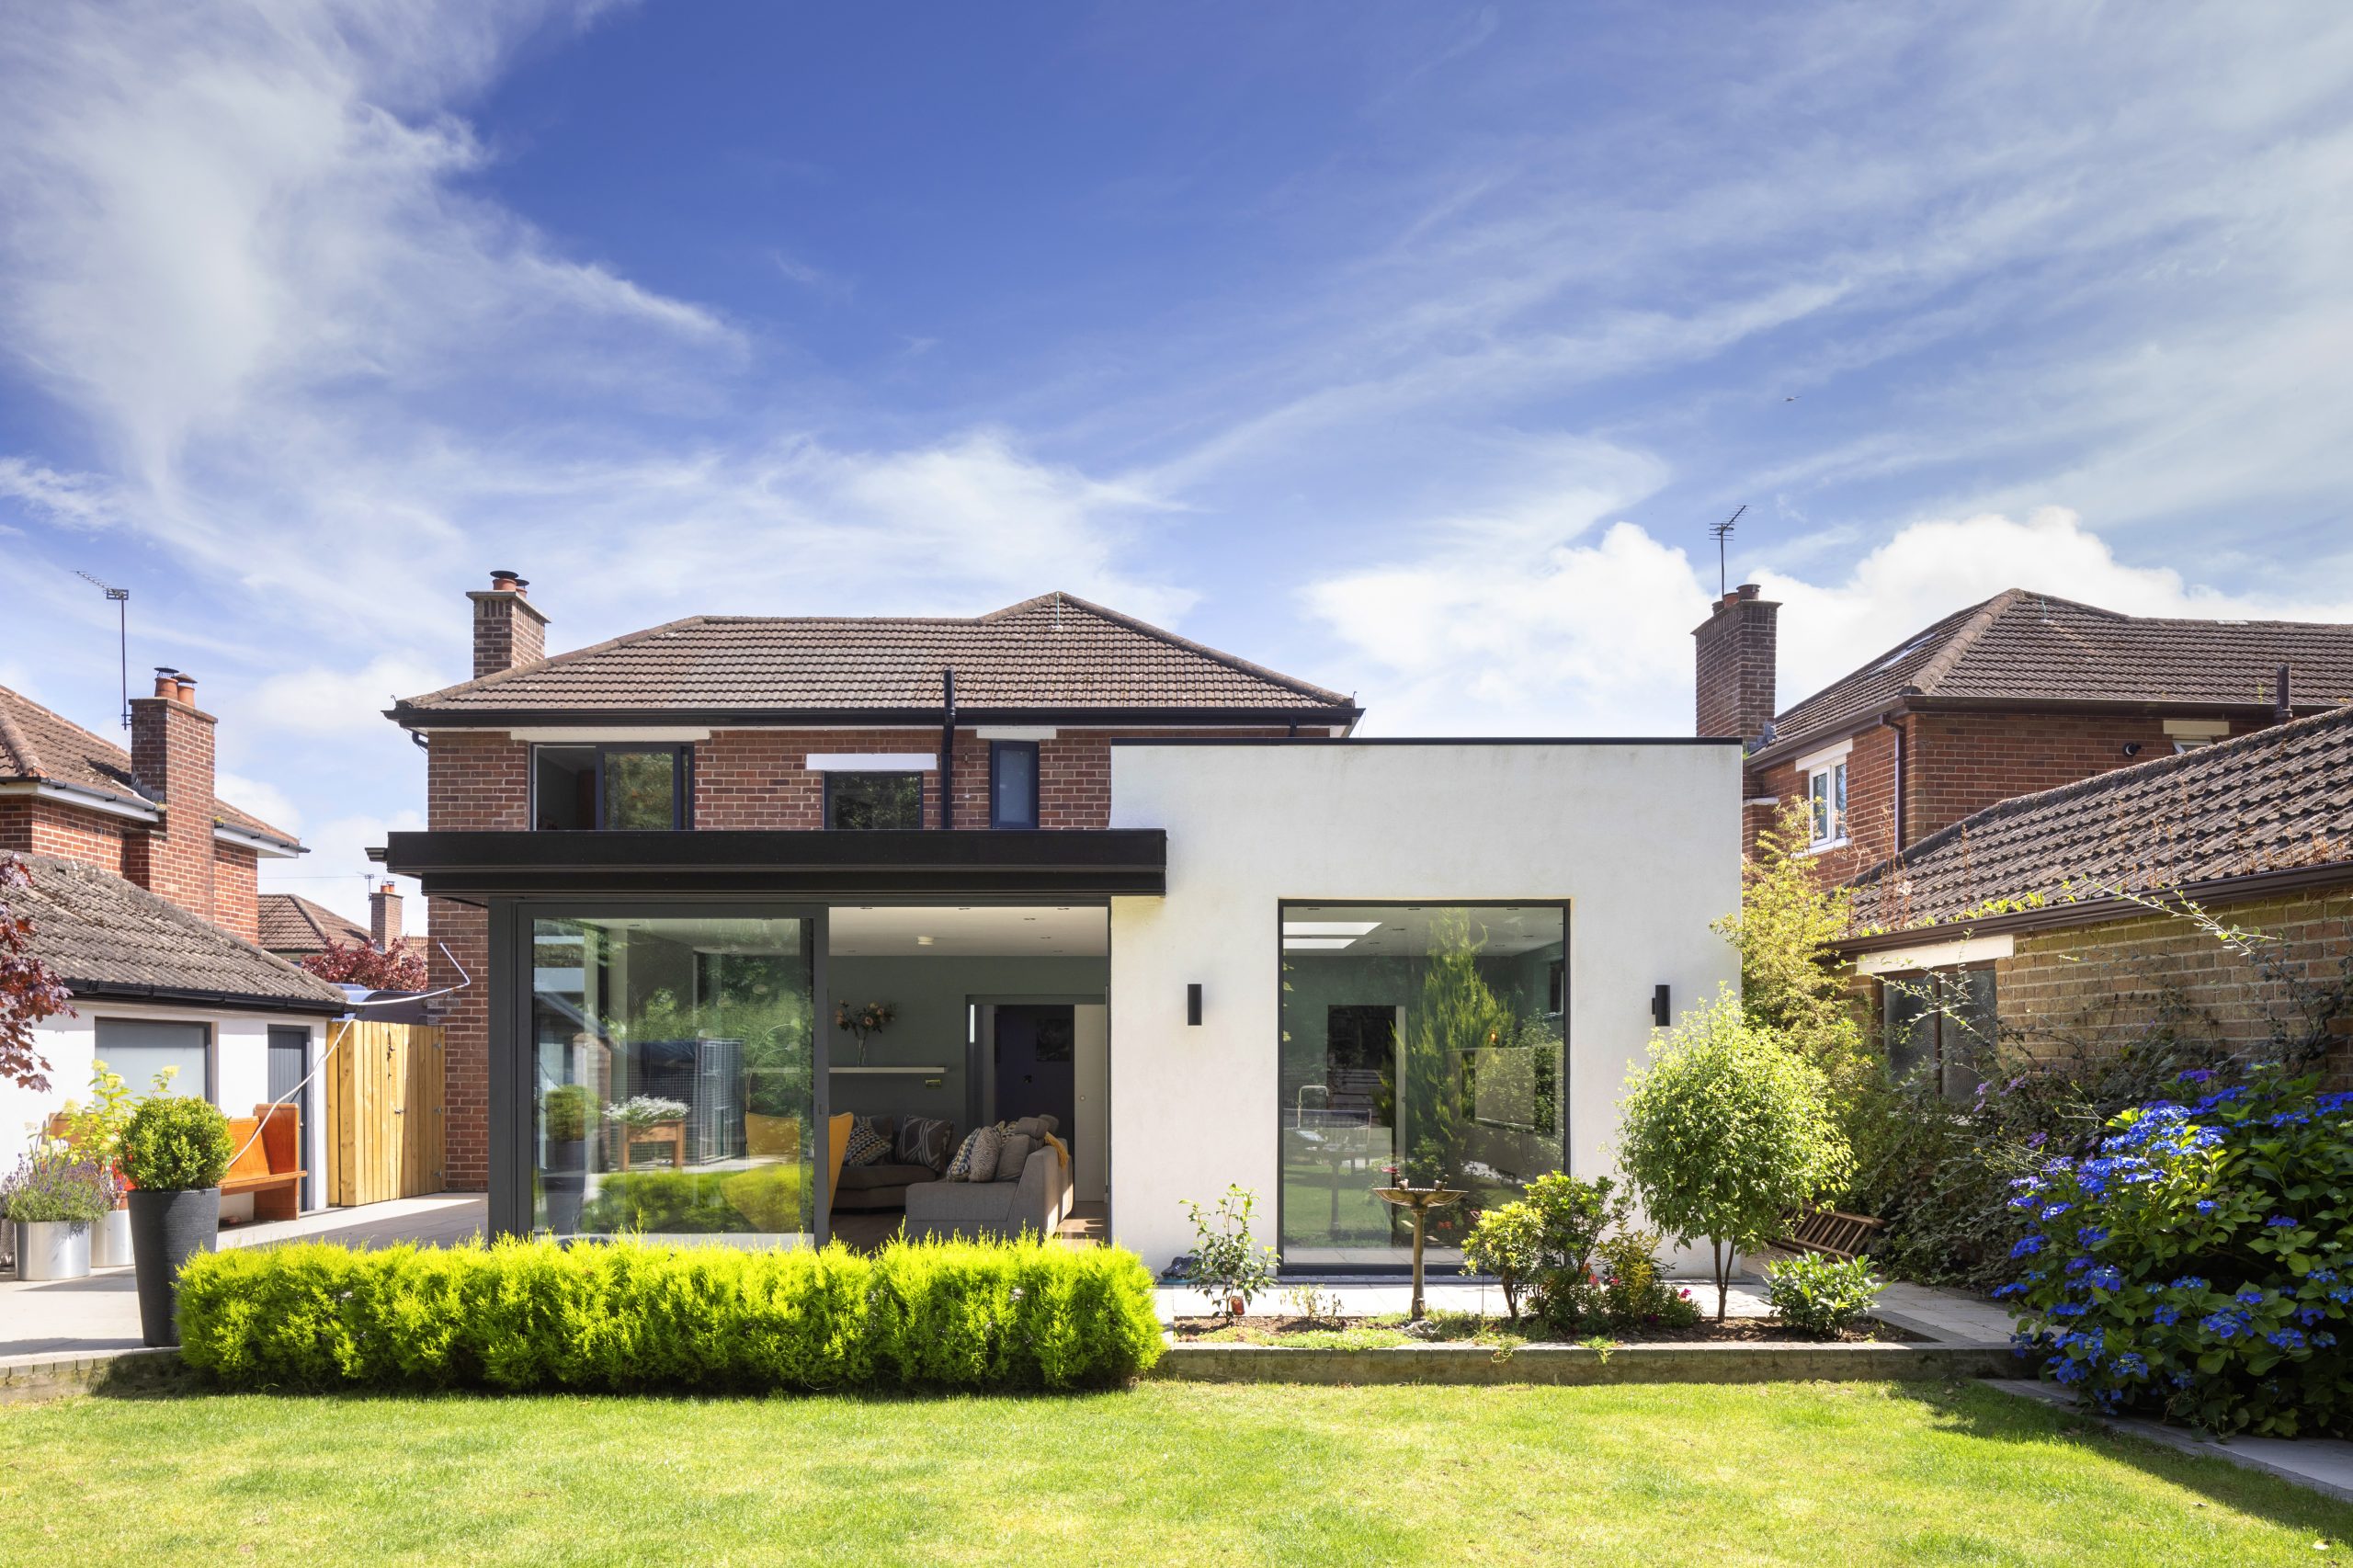
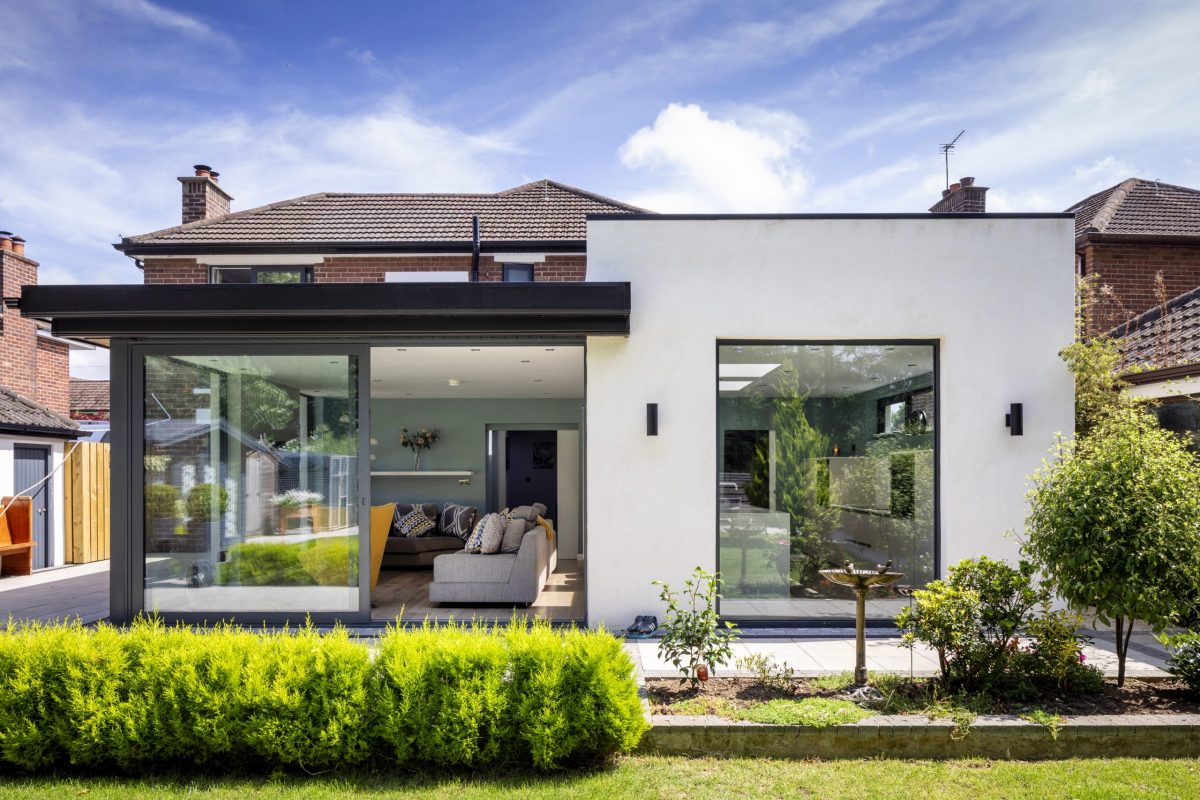
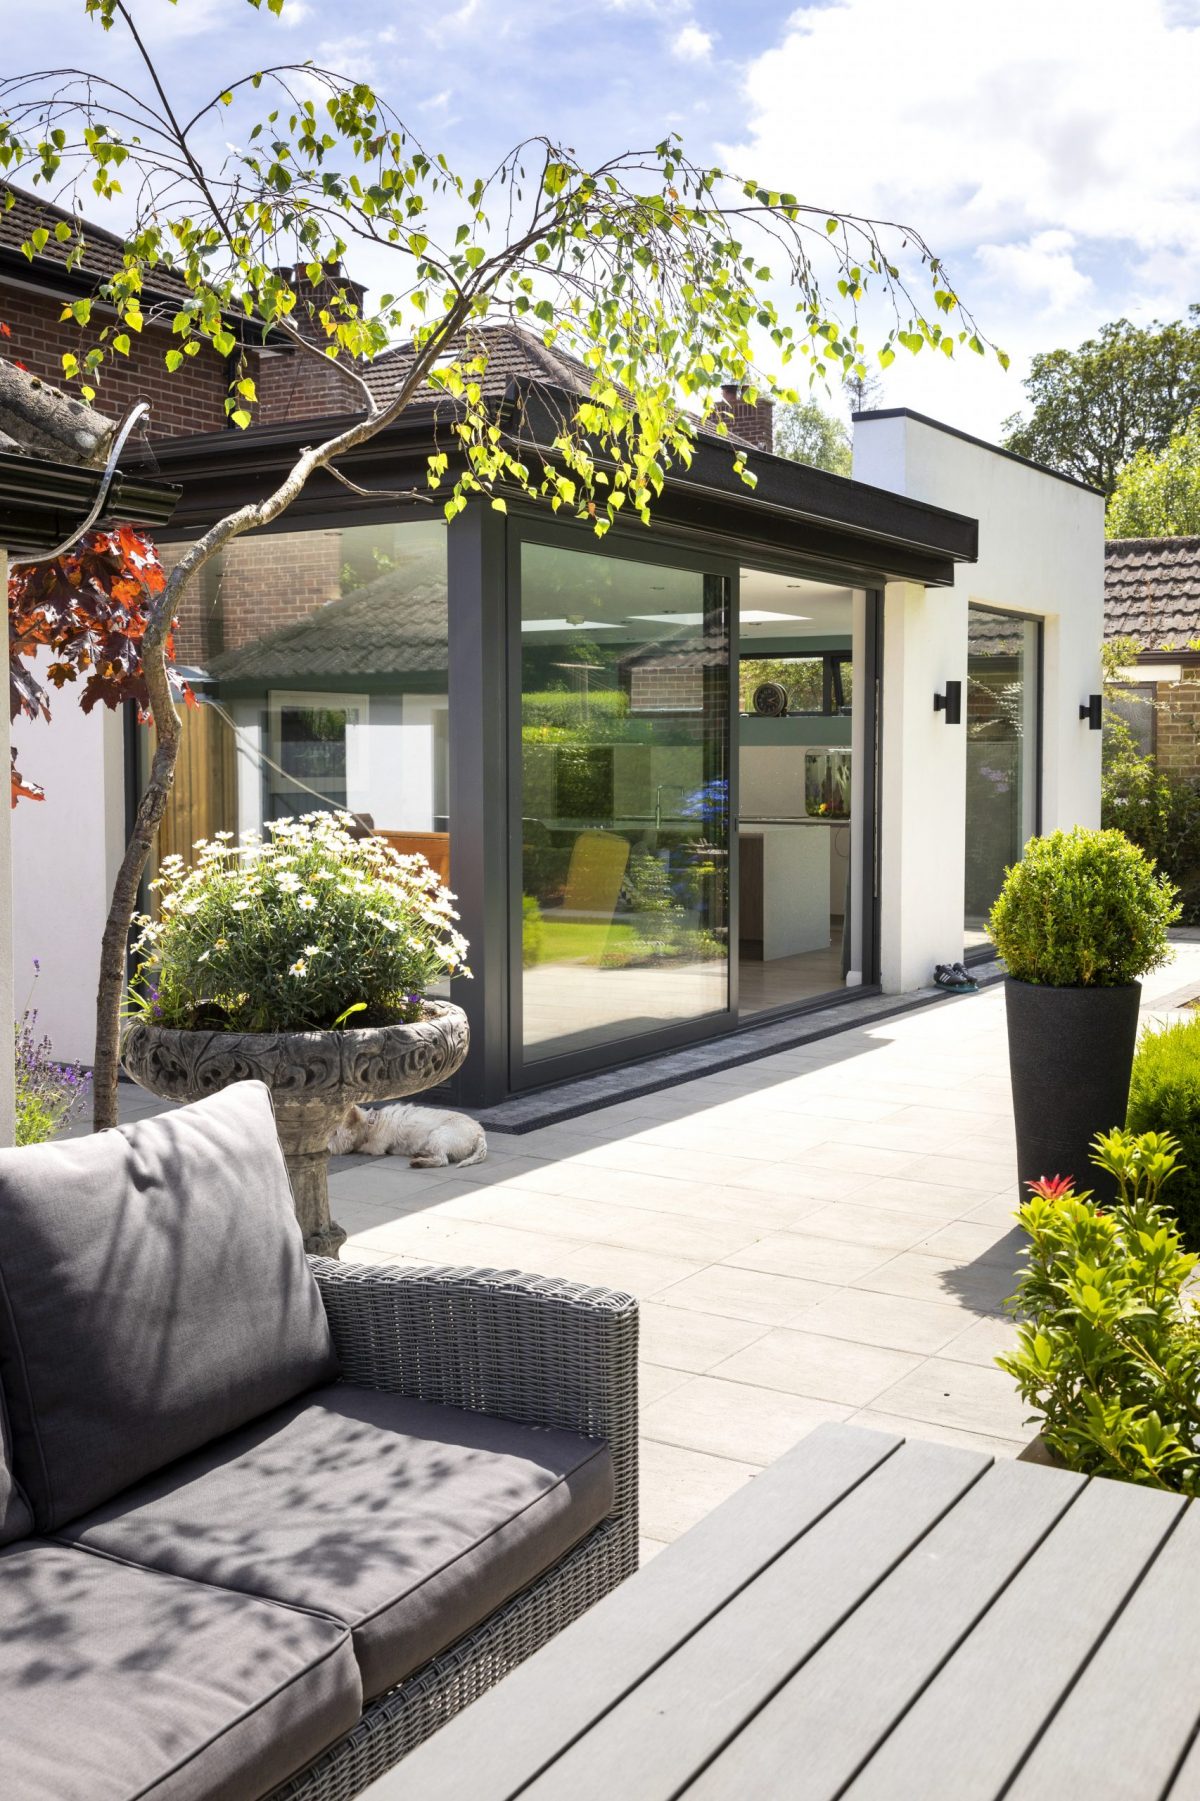
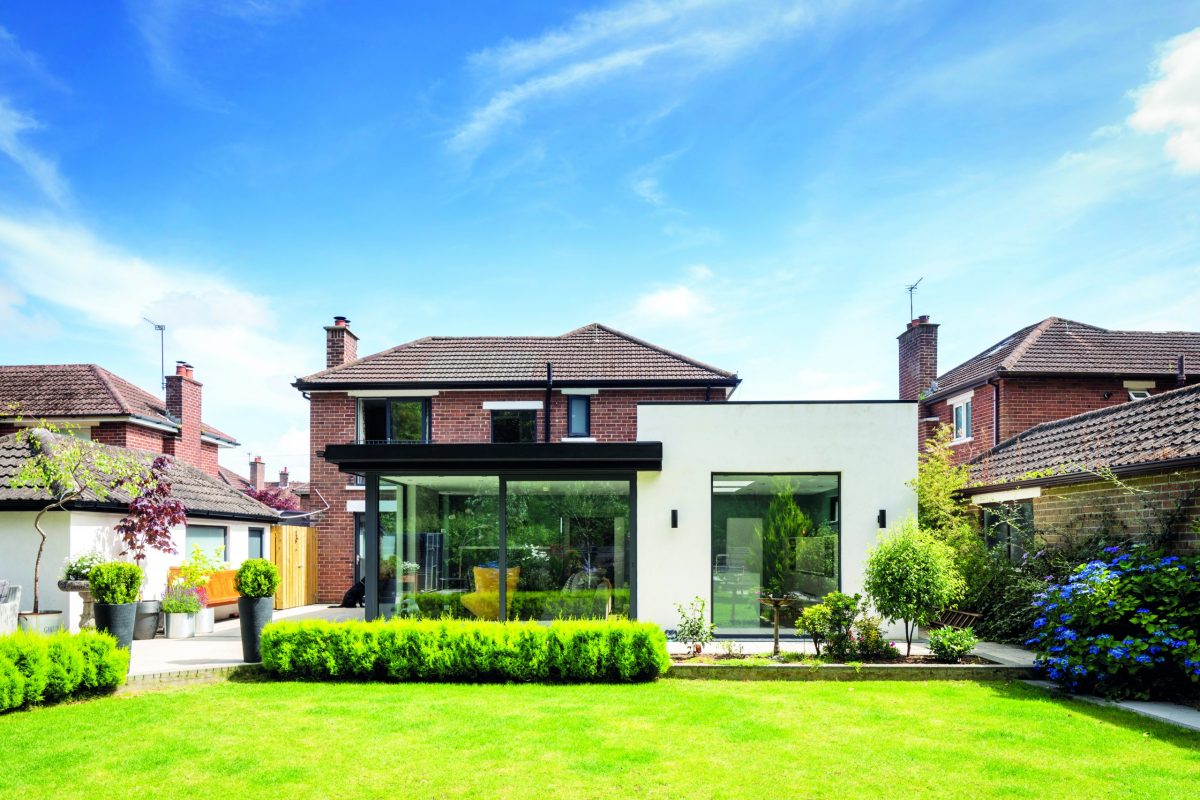
“We commenced the design phase in late 2016. Realising we wouldn’t be able to match the existing brick (given the age of the house) it seemed obvious to adopt a contemporary approach to the new extension which would provide a contrast to the traditional brick frontage.”
“We initially sought inspiration online but also had some of our own ideas in mind having already extended one of our previous homes, albeit on a smaller scale. We also visited some of our neighbour’s houses to see how they had extended in various ways, so it gave us some ideas as to what to do and not to do.”


“For instance, one of our neighbours told us he regrets putting in a back door directly into their kitchen as it’s open plan and gets draughty in winter. We decided to incorporate a separate porch at the back including a space to put in our wet gear and boots. It also helps with the dogs.”
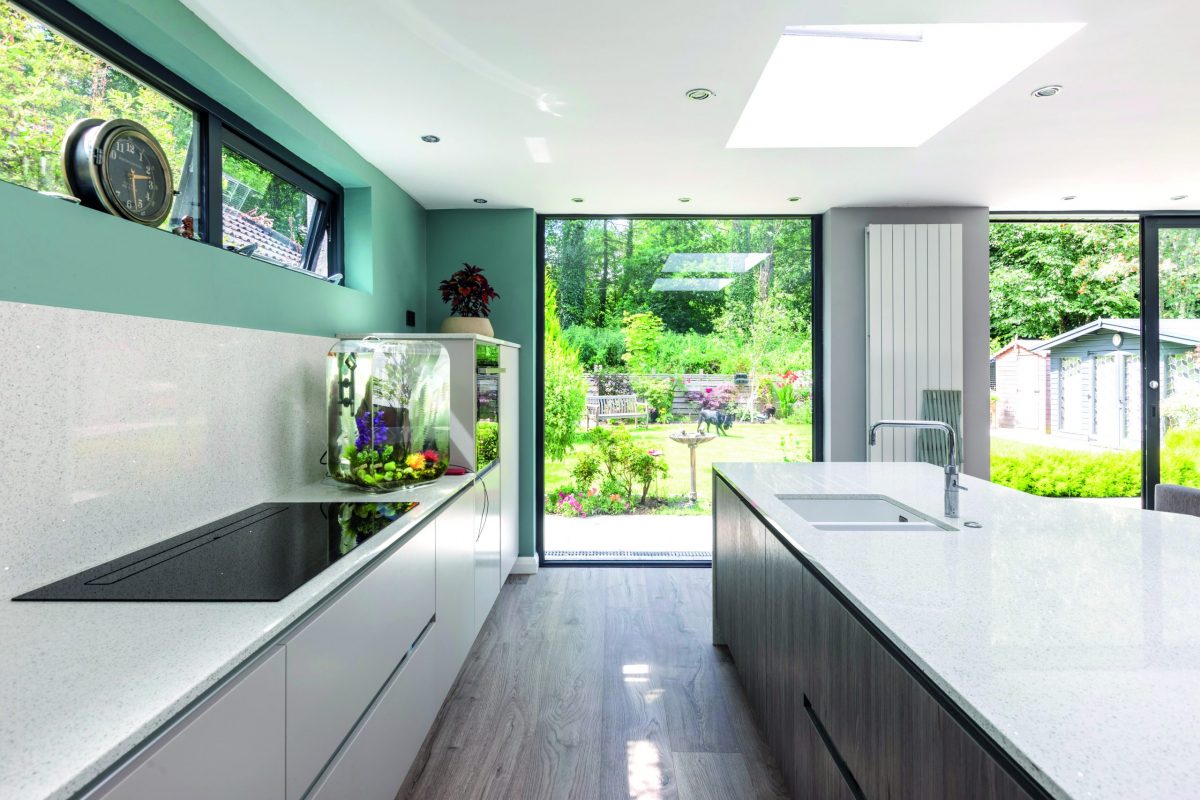
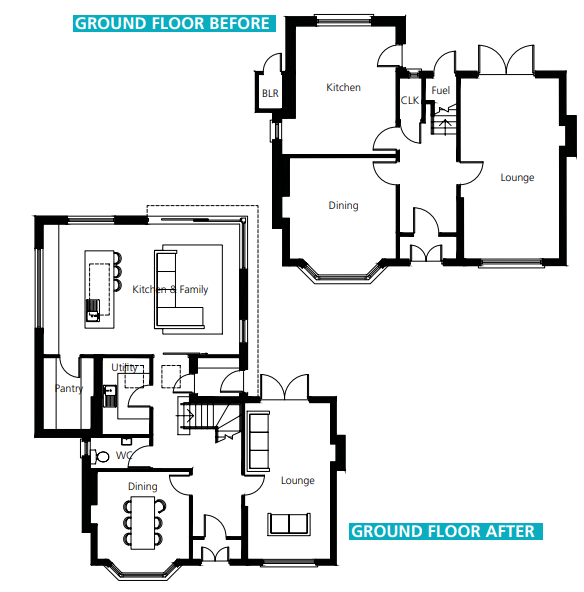
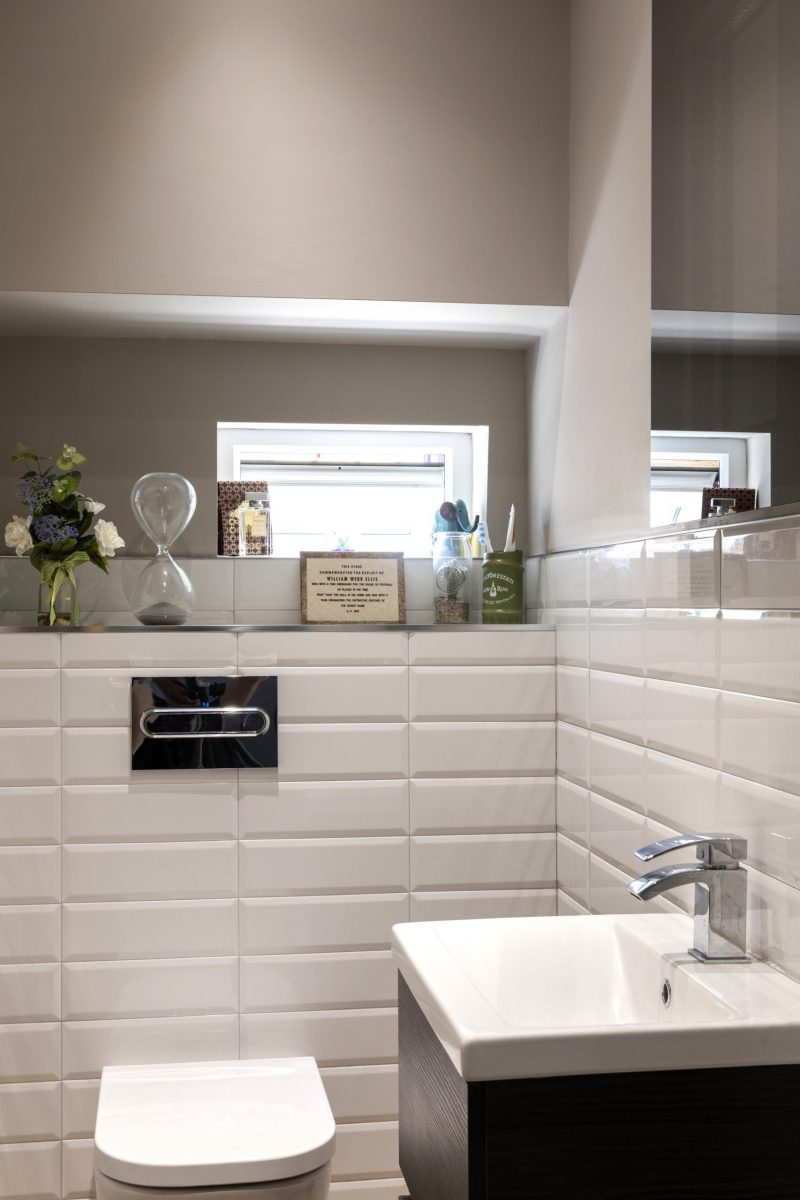
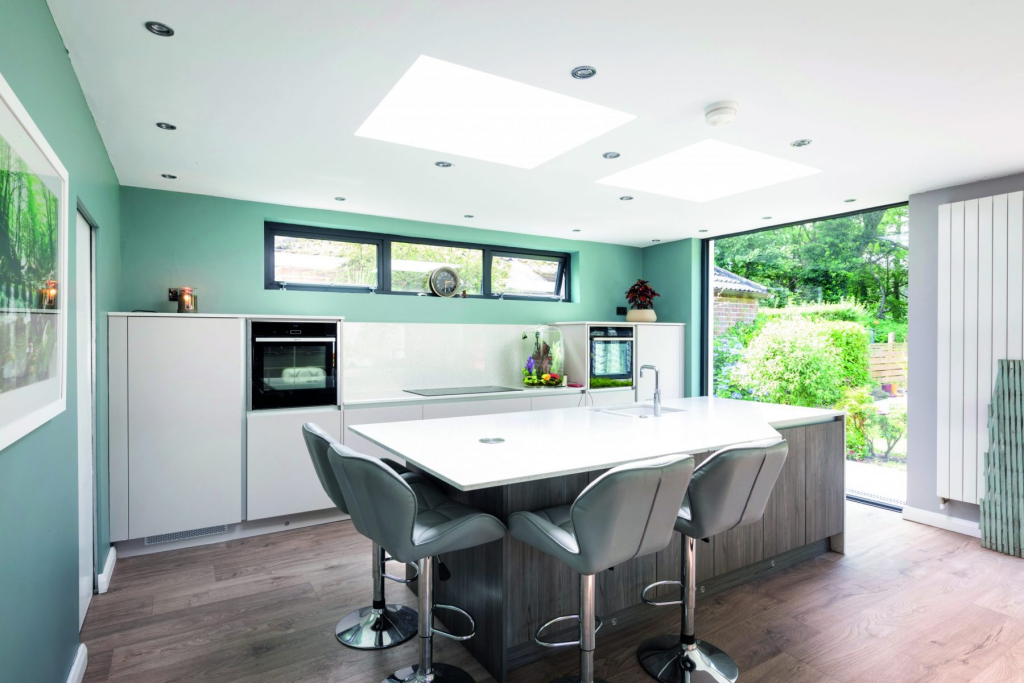
“But it was my brother Colin who’s an architectural designer and planning consultant who brought it all together for us. Through the design process we gained a pantry, utility room, downstairs toilet, a back porch/boot room arranged around the centrepiece of our open plan kitchen/ garden room.”
‘‘‘Investing in the design stage is extremely important; this
is where you’re deciding on all of the details, how the new spaces will integrate with the existing house…’”

“Investing in the design stage is extremely important; this is where you’re deciding on all of the details, how the new spaces will integrate with the existing house and they need to be very carefully considered.”
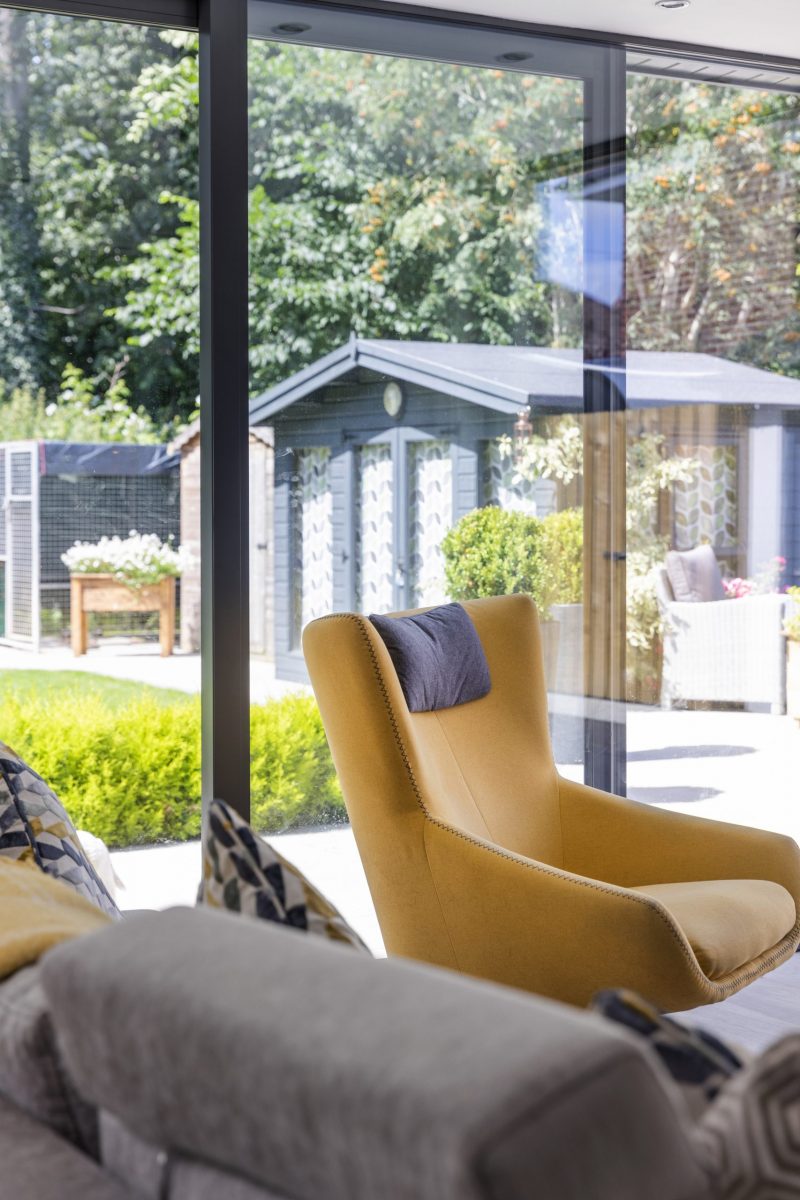
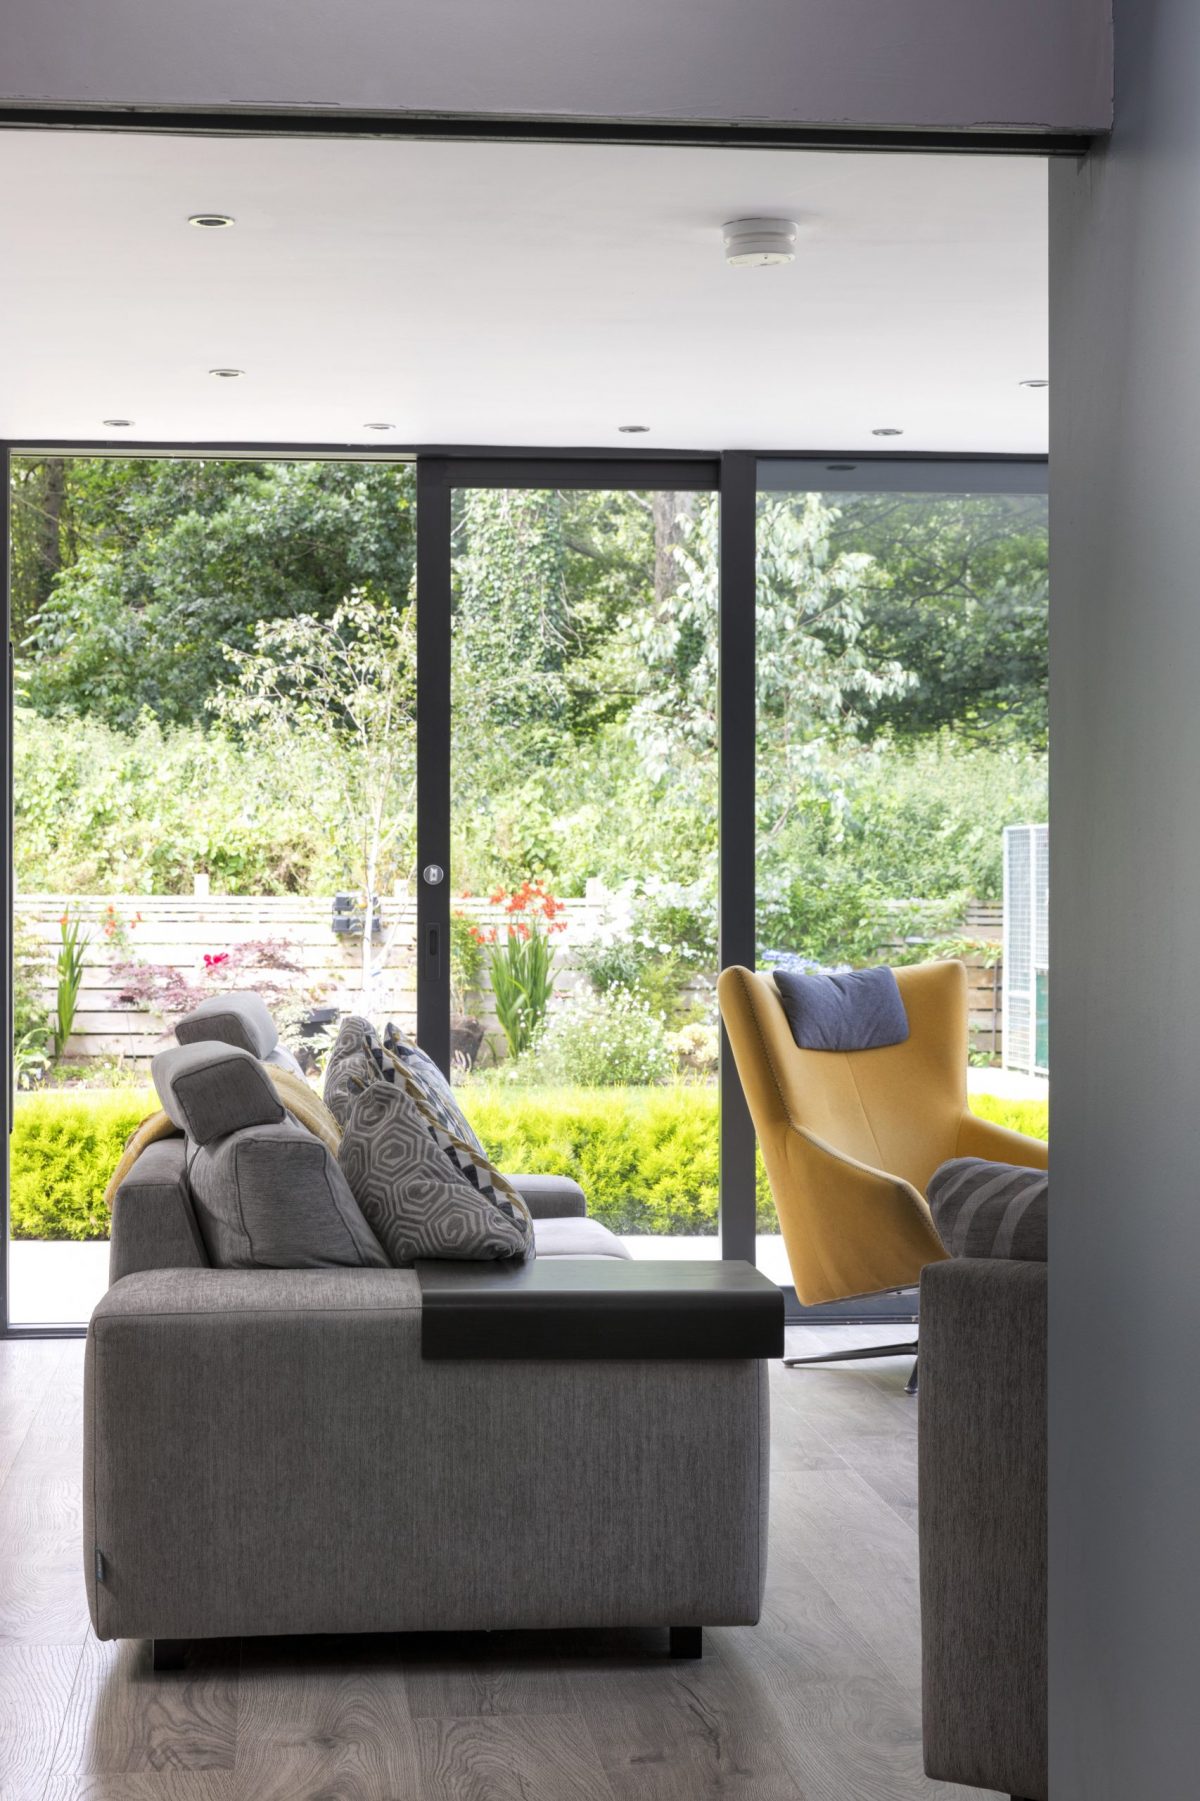
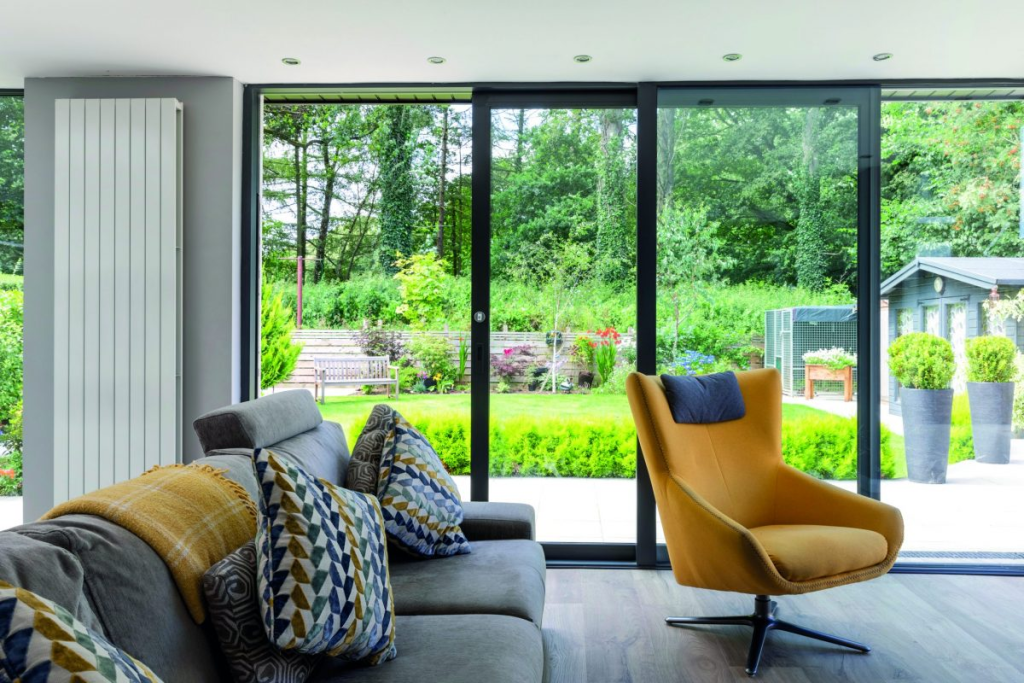
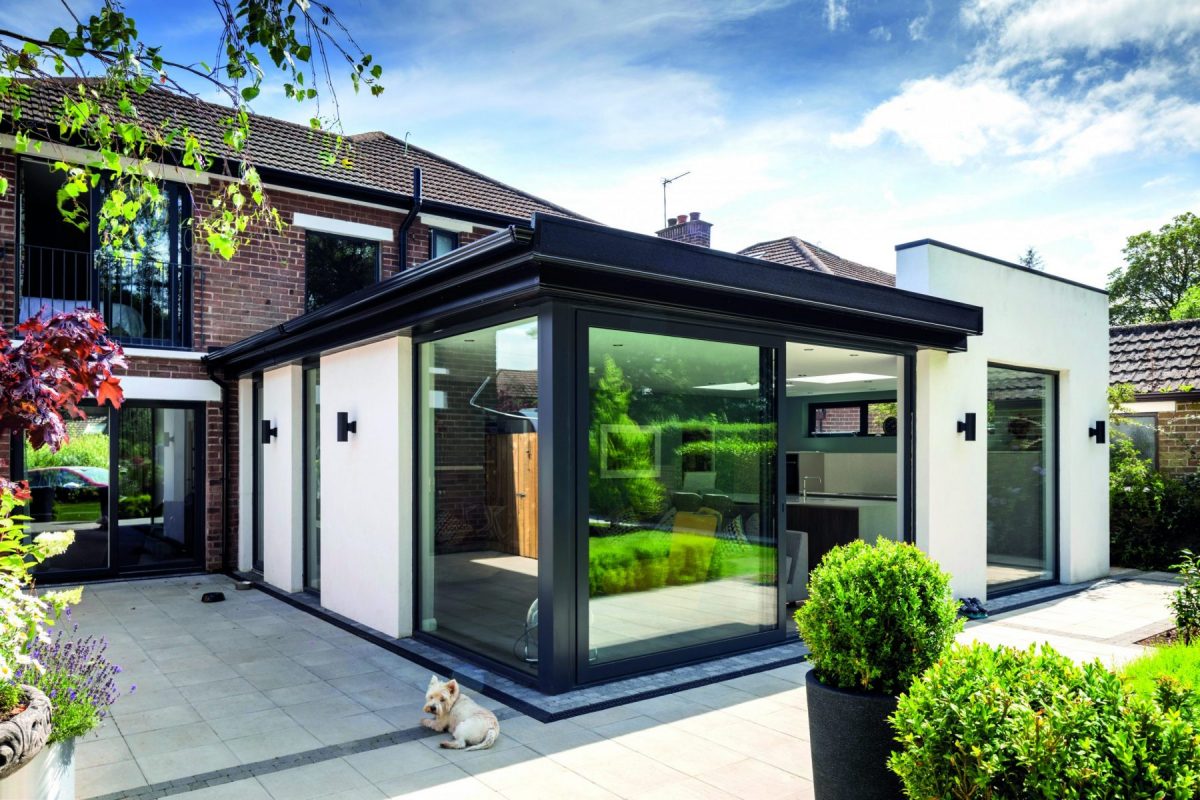
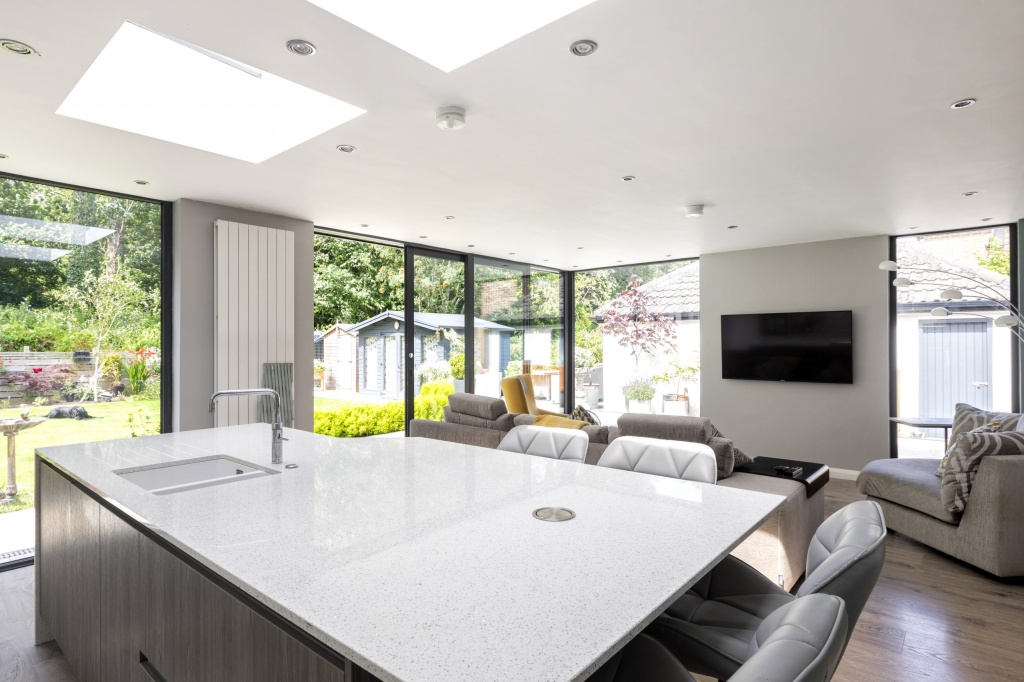
“The old house layout provided no real connection to the garden so that was the primary focus of the design from the outset. We now have full height picture windows from the living space onto the garden and a floor to ceiling sliding door to access it.”
“One of our major concerns in terms of layout was how we would create a
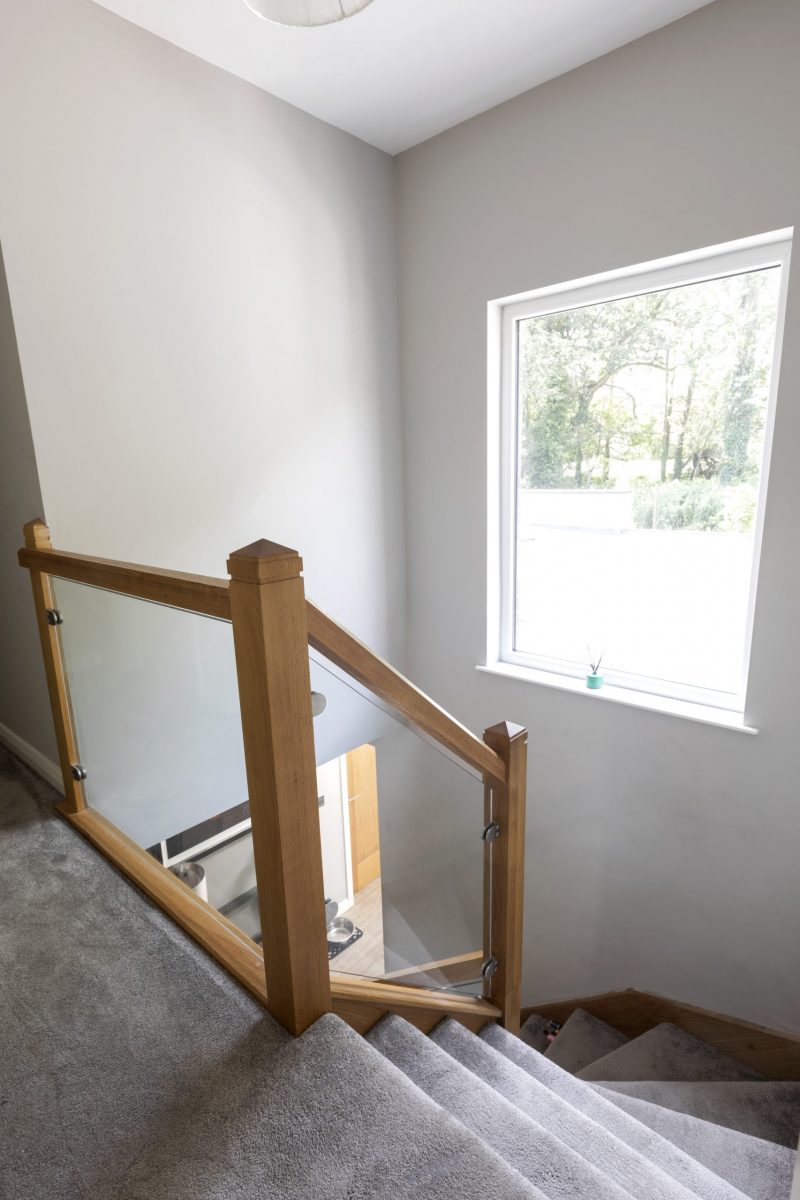
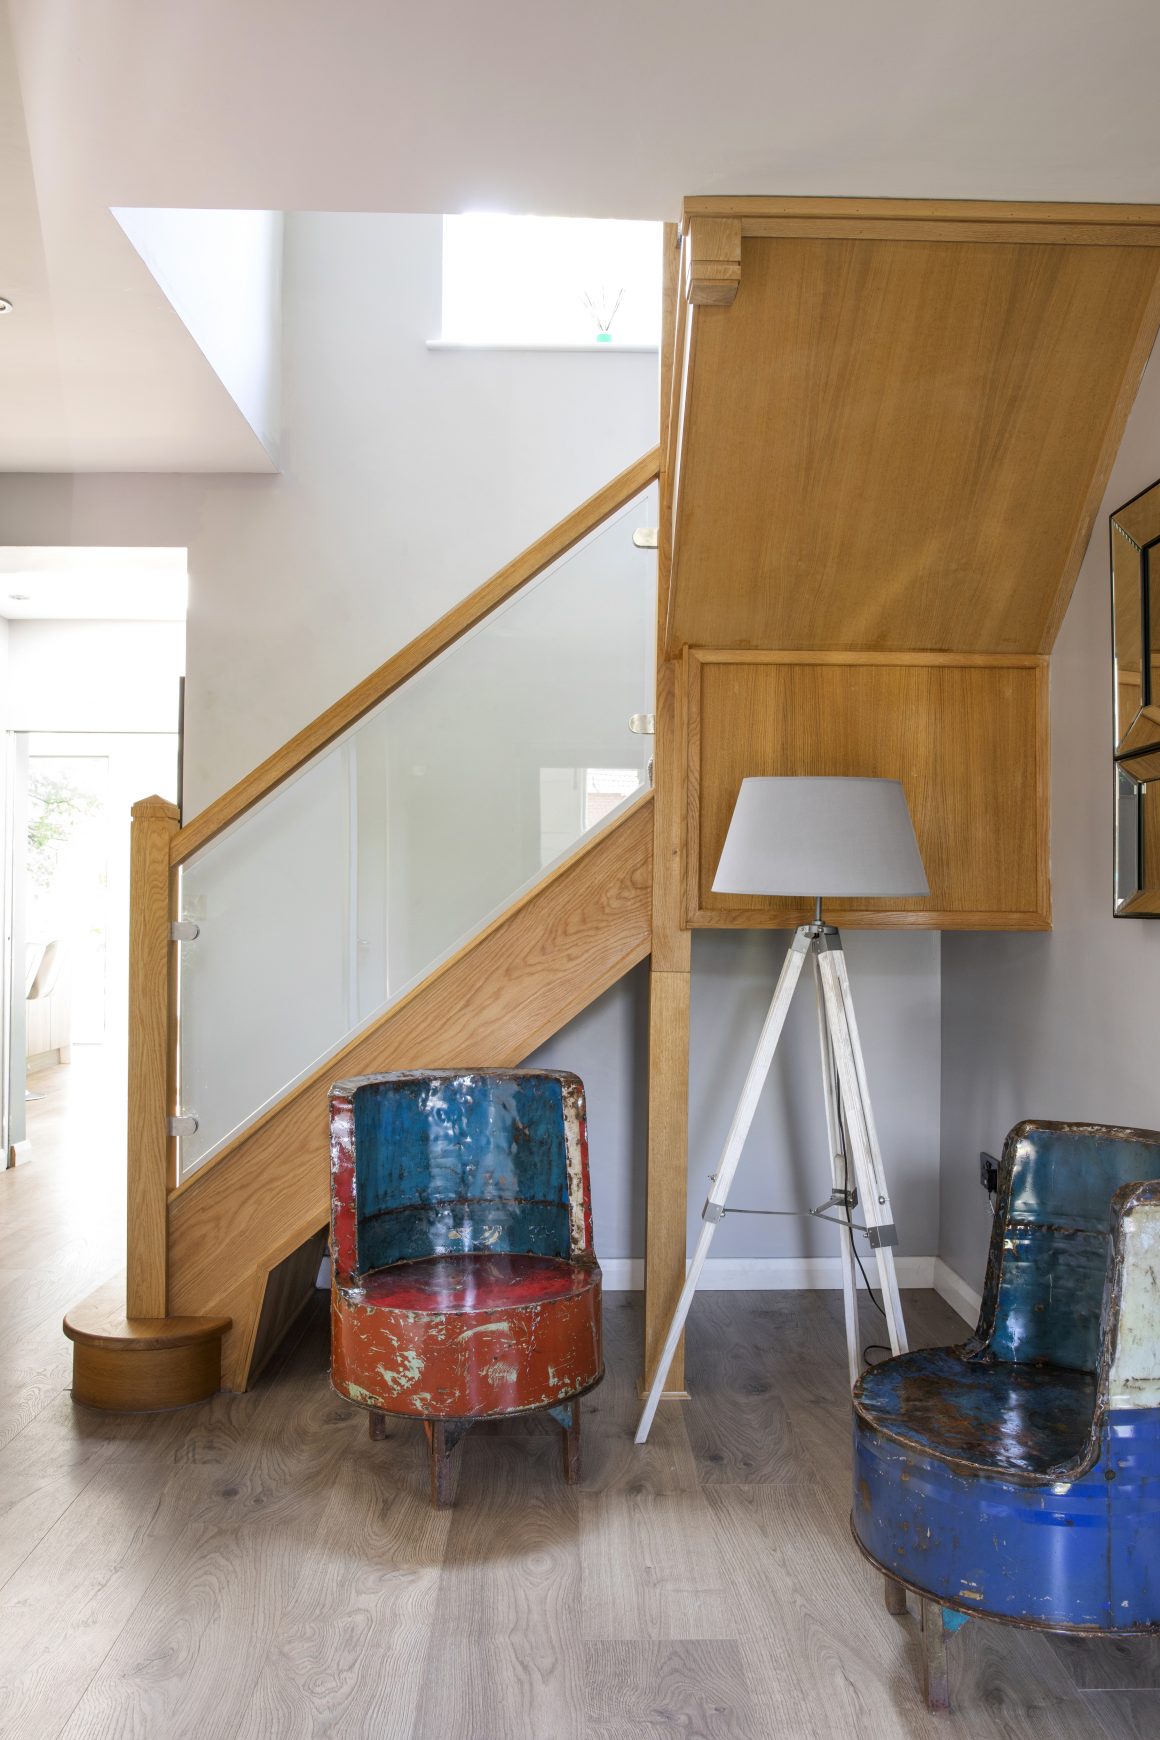
legible connection between the existing house and the new extension. Through the design process we managed to achieve this by taking out the staircase; none of our neighbours had done this but by simply turning the staircase 90 degrees and providing a generous hallway width it flows much better.”
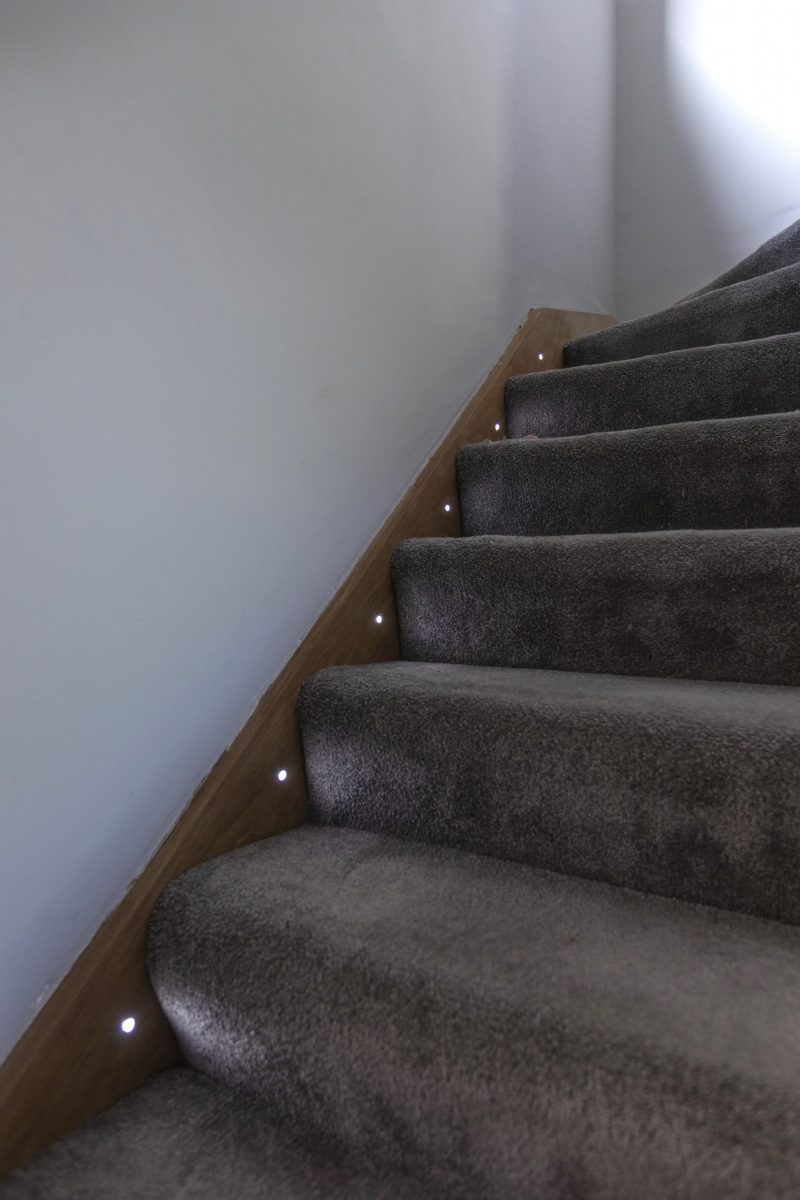
“The new oak staircase includes glazed balustrades to maintain a complete line of sight from the front door through the rear extension to the garden beyond, delivering on our primary design objective of bringing the outside in, and providing a tangible connection with our garden and the woodland beyond.”
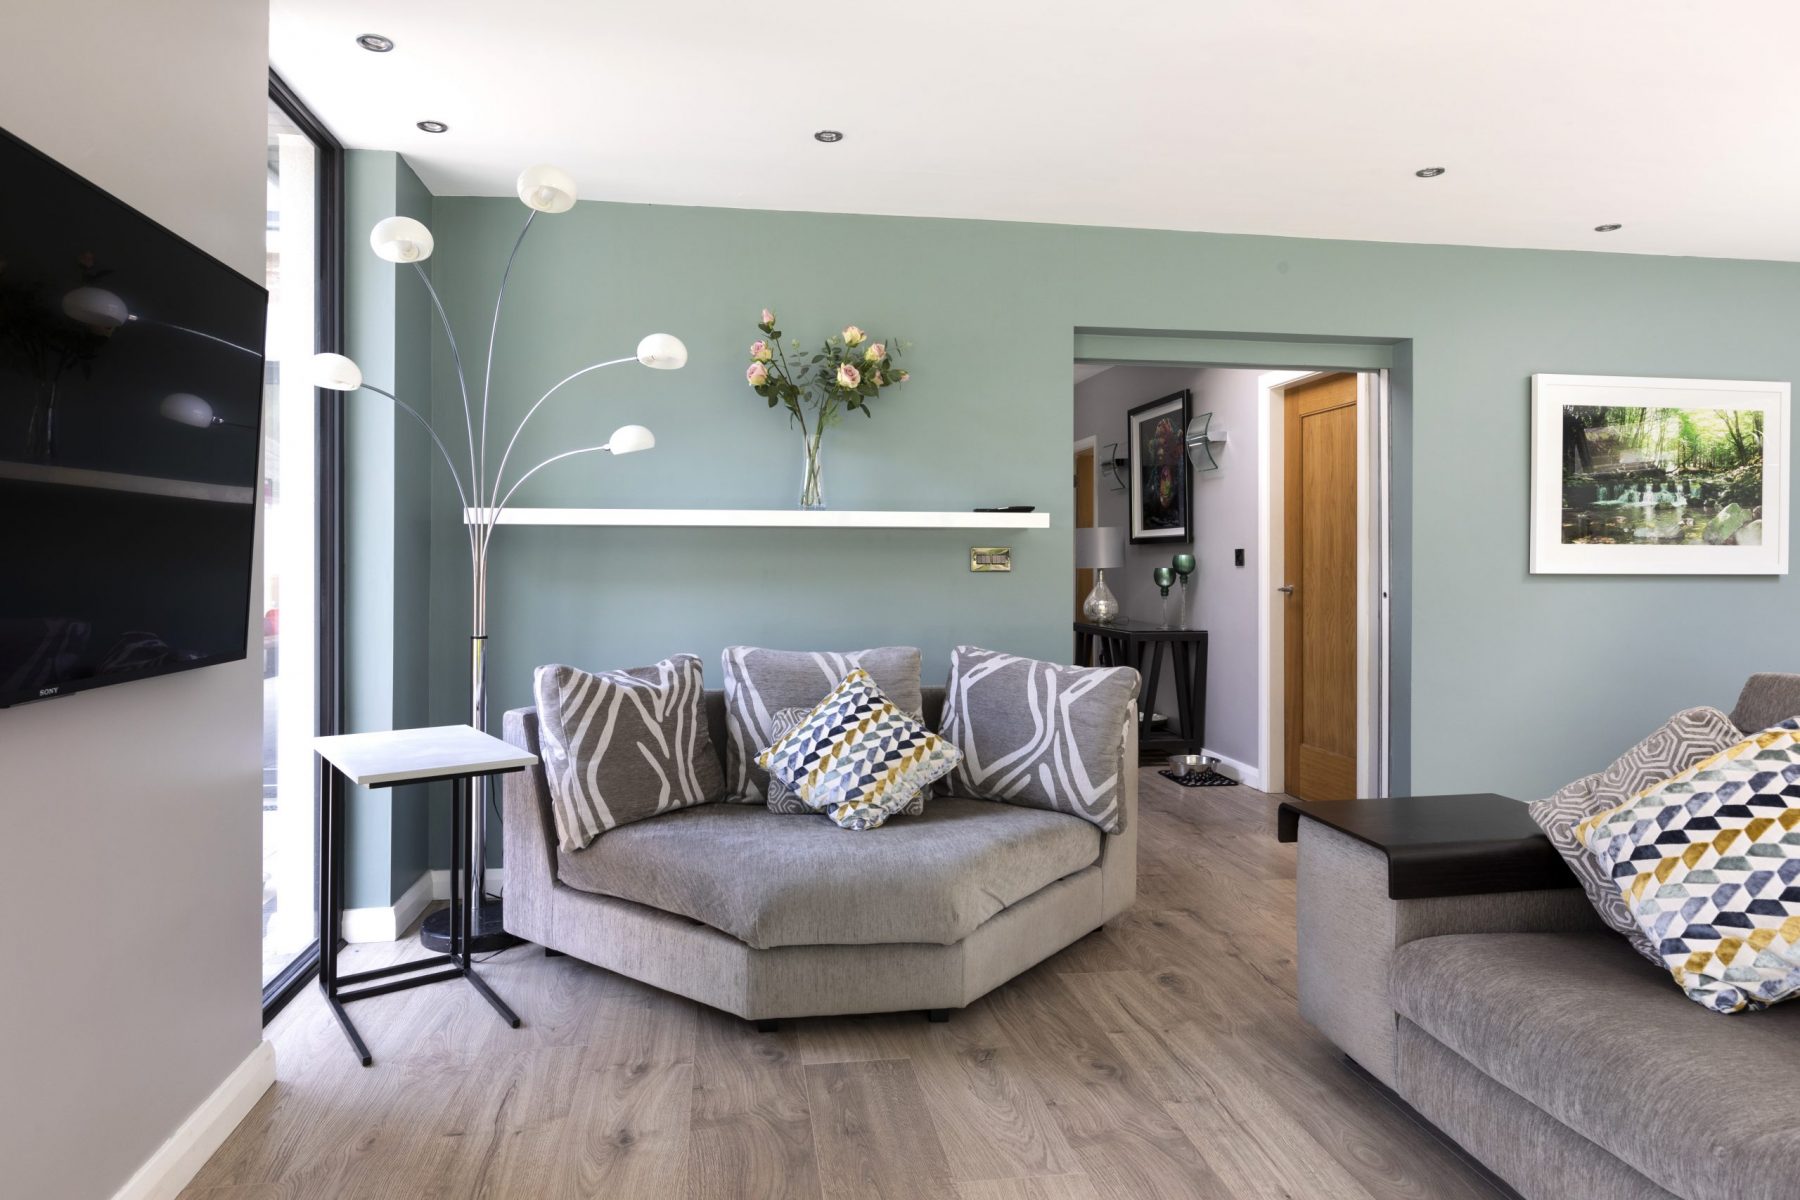
“In addition to the extension works, we also adapted the two reception rooms at the front of the house, a living room and a dining room, to make them fit for modern living. These are great for entertaining guests and for the teenagers as it gives them their own space.”
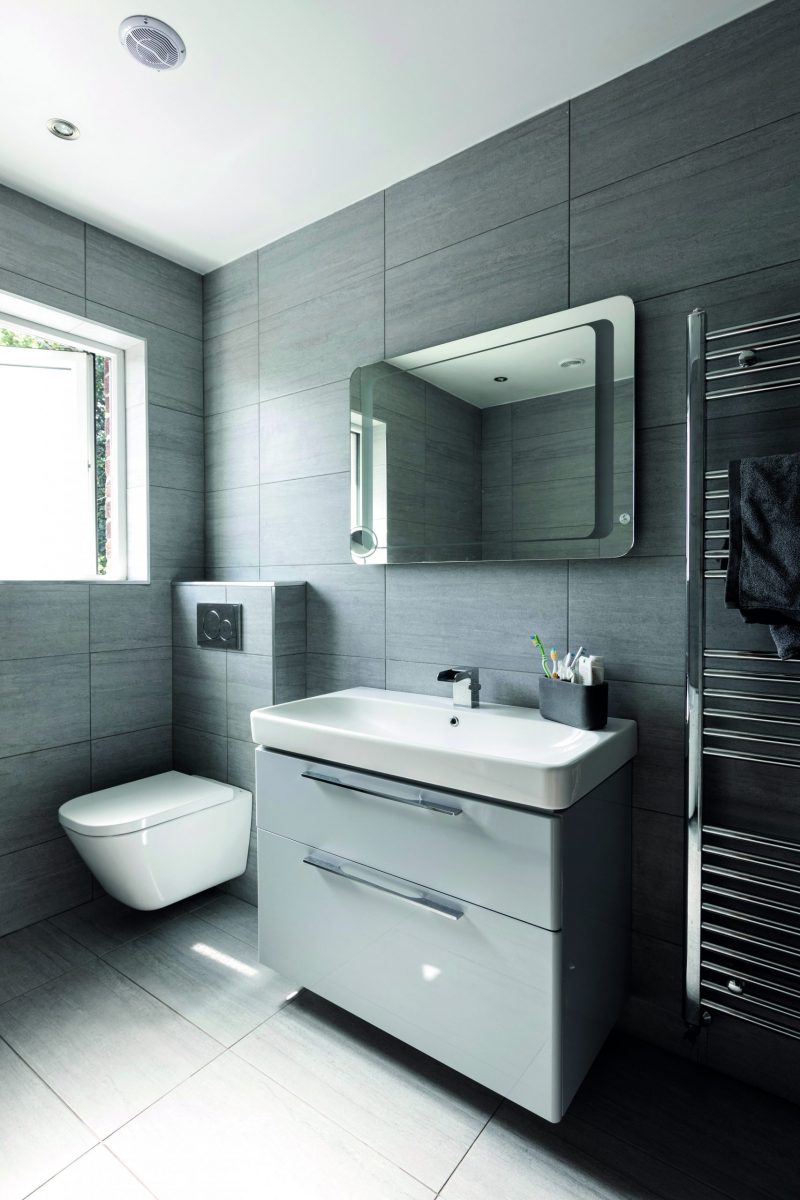
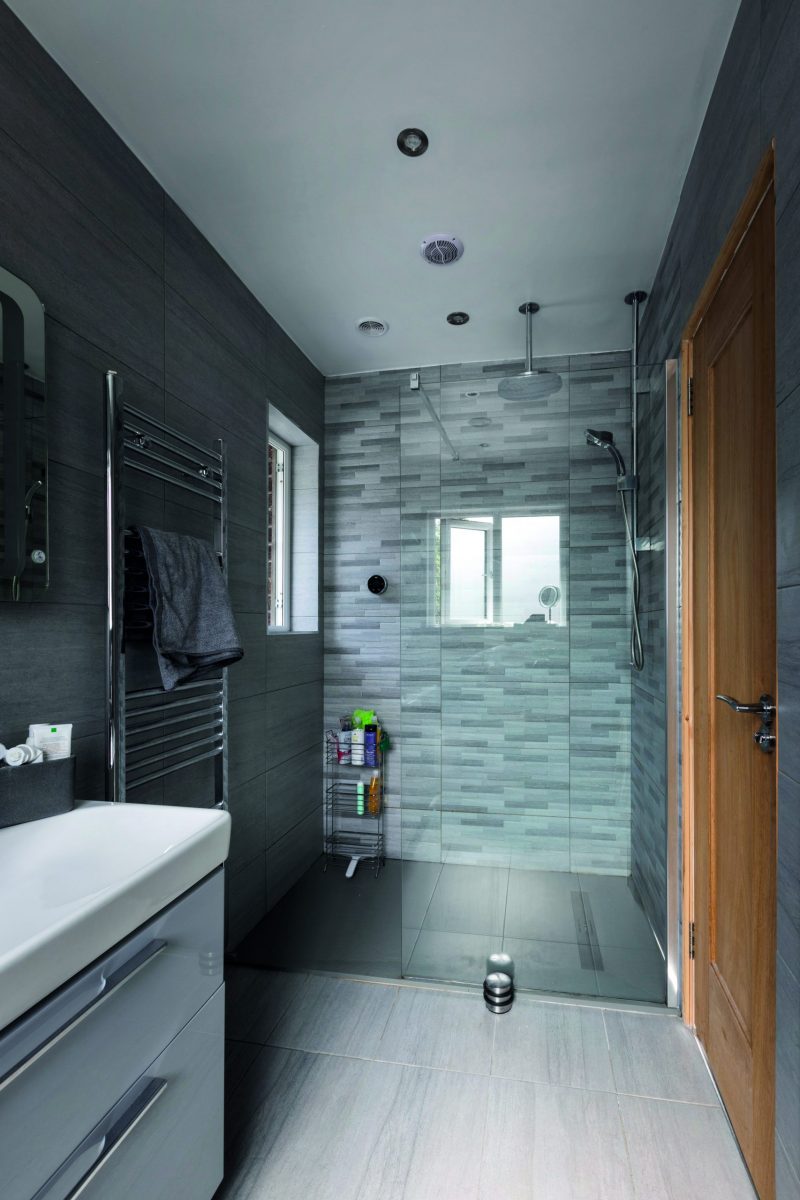
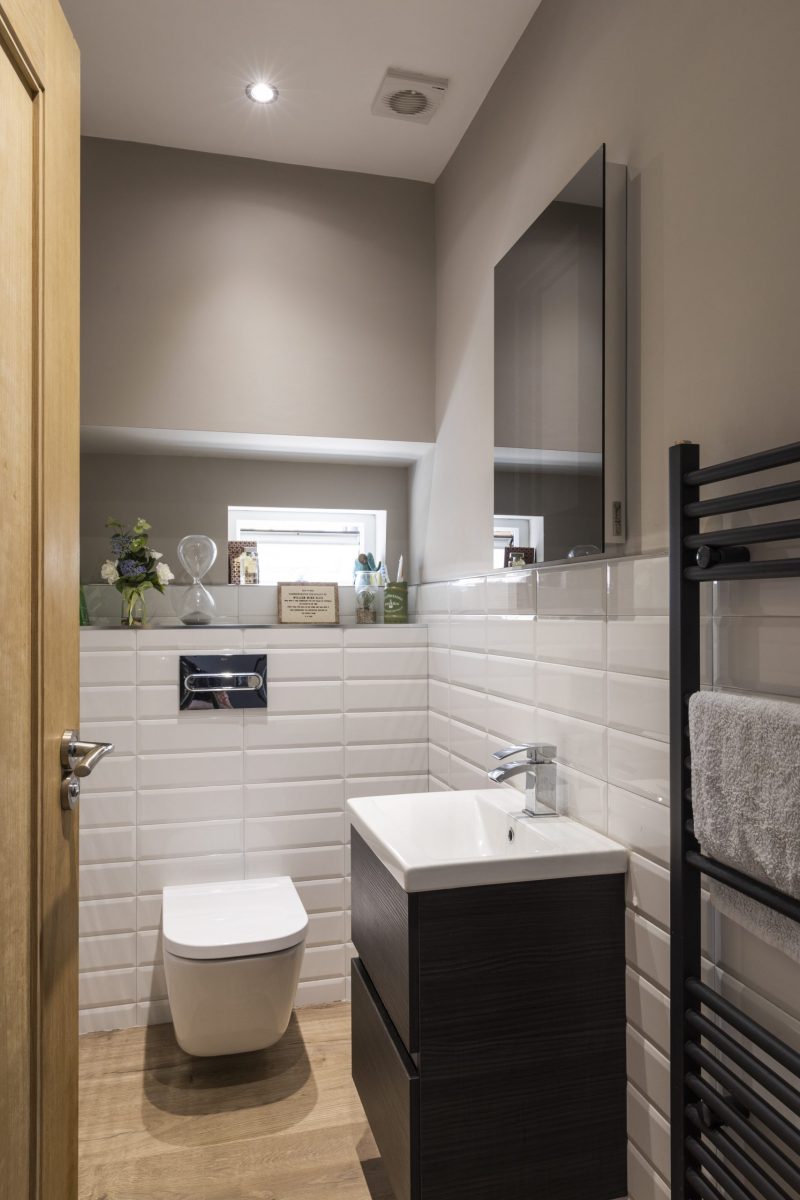
“The house now works well in that each room has a different purpose. Smaller upgrades included re-fitting the main bathroom, re-plastering and re-painting throughout, as well as replacing all internal doors.”
Once bitten…
“We extended our previous house and learned a lot from it. The first hurdle we had come across with that project was securing planning permission; it took us nearly a year because of a third party objection.”
“In contrast, securing planning permission for this current project was extremely quick. The process was smooth and the application was approved within just six and a half weeks from the date of submission to the council.”

“In our previous home we also had trouble with our builder so this time we placed a lot of emphasis on finding the right one. We got three quotes for the plans and went to visit previous work for all of them; we got talking to the owners when the builder wasn’t there to get a good idea of how they work and we could also look at the level of workmanship.”
“We went with a local builder who had extended our parents’ house a few years back; he was very good at making suggestions and he would take us to other people’s homes to show us what he meant with some of the changes. For instance when we landscaped the house, he brought us to a job where he was further ahead and that helped us decide what to do with the patio area and even the garden furniture.”
The contract included everything apart from the aluminium glazing elements and the flat roof. “We sourced suppliers ourselves where necessary. The plumbing and electricity were included in PC sums and we hired them directly. We also did the kitchen ourselves,” adds Gareth.
A Prime Cost sum is an amount set aside by a main contractor for a third party to supply; it’s a notional figure that allows the self-builder to budget for that aspect with a ballpark figure, i.e. without knowing how much it will cost exactly as the specifics of that element of the build haven’t been
worked out yet.
Thankfully the family was able to live in the house while the work took place, which hadn’t been the case in their previous home. “With that previous project we had to move out for six weeks which made project managing less straightforward.”
“This time around Lesley was on hand to speak with the tradesmen whenever they needed her there, to the plumber and electrician to choose where to place radiators, sockets, where the TV would go – getting these small decisions right is so important.”
“The tradesmen need answers pretty much straight away so it’s good to be on hand to give them the answers as opposed to letting your builder second guess what you want.”

Smooth sailing
“In terms of the building method, we wanted to make sure the existing house wouldn’t be compromised because of the extension so insulation was an important aspect; Colin had specified pumped EPS beads in an enlarged cavity and that’s what we did. The roof is also well insulated with
both PIR insulation boards and mineral wool,” adds Gareth.
“Colin was really good at getting the design and finish he had envisioned. For instance he was able to make sure the colour of the render on the new extension would tone in with the brick finish of the existing house. He wanted a perfect roof finish so he guided the builder on sourcing and how to approach some of these aspects.”
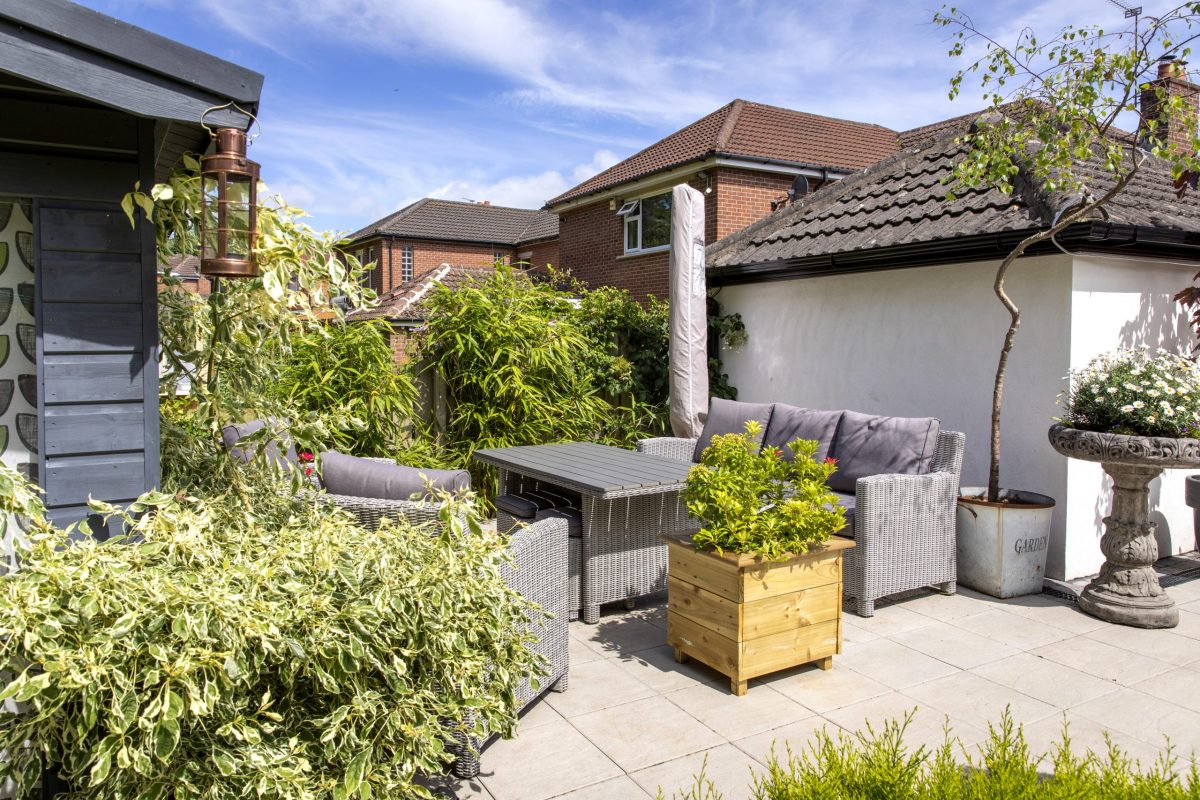

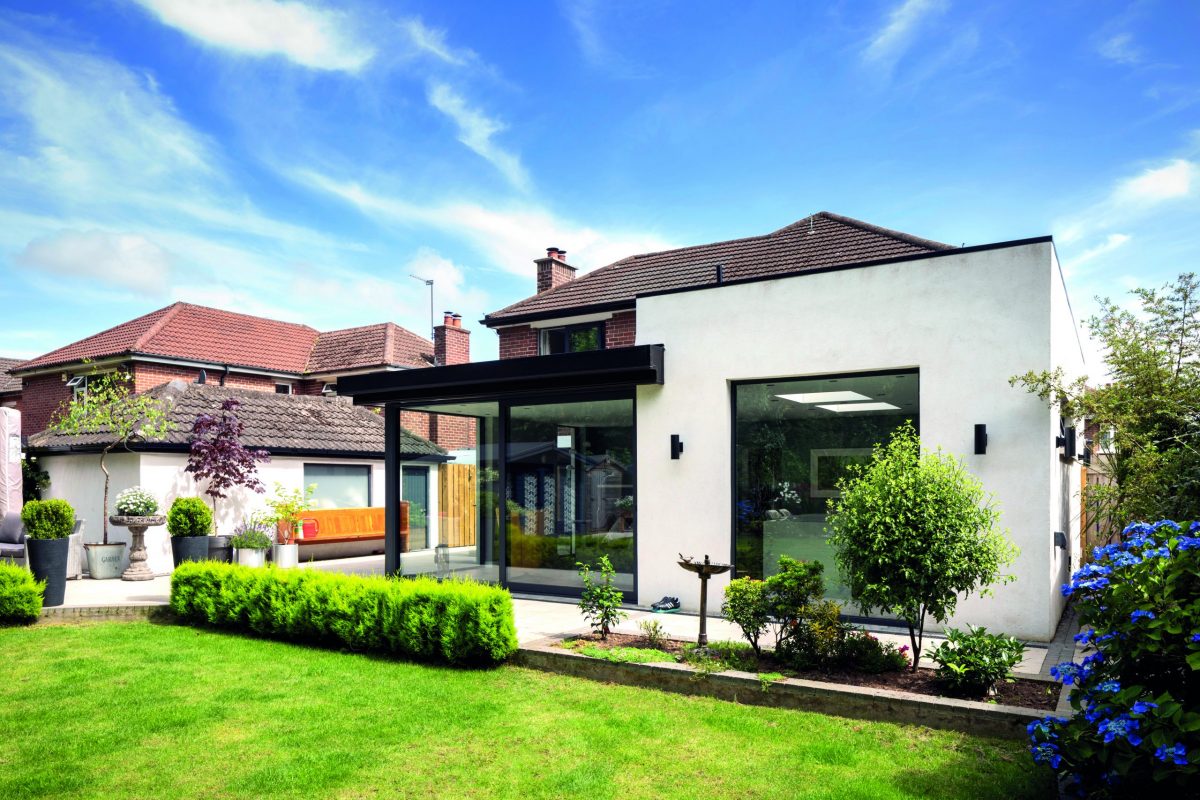
“We had the foundations in by Christmas 2016 and the overall extension works were complete inside and out by May 2017. The following year we landscaped the back garden, extended the driveway and redesigned the front garden.”
“Given how visible the garage was from our new extension, we decided to renovate it. We put in new windows and rendered it to match the extension which ties everything in really well.”
“Provided you spend enough time thinking about how a new extension can integrate with, and improve your home and standard of living, a renovation project can provide a really good return on investment.”
Specification for value added extension
Windows: double glazed, timber, aluclad, U-value 1.1 W/sqmK
Extension floor: 150mm concrete slab with 125mm PIR insulation and 100mm sand/cement screed. U-Value 0.22W/sqmK
Extension walls: masonry cavity wall with 100mm blown EPS bead insulation. U-Value 0.28W/sqmK
Extension roof: EPDM flat roof with 150mm PIR insulation laid between coiling joists and 35mm PIR insulation below. U-Value 0.18W/sqmK
Extension connecting a beautiful garden top tips
What single piece of advice would you give a budding renovator?
Go with your first choice, your A-list. But have at the back of your mind what fixtures and fittings you’re prepared to compromise on. Also really ponder how important the high cost items are; if something costs a disproportionate amount of money decide if it’s really necessary to your original design objectives. We did that exercise with the staircase, it seemed like an awful lot of money to be ripping out a staircase to put it back in again – thousands of pounds – but in the end it was integral to the success of the design and layout and we know it was the right decision. We get a great sense of achievement having seen it through.
What surprised you?
We had learned a lot from our previous build and for this project we felt we got most of it right. In our previous house for example we’d chosen to go with a vaulted ceiling which did not turn out to be a great idea as it was more costly to heat. We’d been discouraged from installing a wood burning stove at the time and we did regret it for that house. However in our current home, we didn’t feel the need for a stove as the standard of the insulation and glazing we installed keeps the house at a regular temperature year round, and the gas heating is also so efficient. For the flame effect we do have an open fire in one of our front reception rooms, which isn’t great for energy with most of the heat going up the chimney but you can’t beat the comfort of an open fire on a cold winter night!
What changes would you make?
I can’t image what we would change. We did hire an interior designer to help us fit out the house because we felt it was quite a lot to be thinking about at the one time. The interior designer helped with furniture, decoration, colour and flooring choices too. We went with a wooden floor unifying the surfaces from the front door through to the new extension
which works very well.
Would you do it again?
After a year I would have said no. But now that we’ve been living with the new addition for two and a half years I realise what we gained. The experience leaves us with the impression that we would do it again if we
needed to.
What’s your favourite part of the house?
Simply because we lived with a dated one for so long, the bathroom. I really appreciate the luxury! Above all it’s how good the house feels. It’s why we took on the project, to create a meaningful connection with the garden. Everywhere you look now you see the outdoors, it feels part of the house.
Invest in the basics. That is the structure including the insulation, ventilation, airtightness. It all has to be done right even though you won’t ever see it. The windows and doors are another aspect you won’t be changing any time soon.
Plan as much as you can yourself.
Price materials yourself and pick them out; touching and feeling them in the flesh is very different to buying from a book. You want to know what you’ll end up with, don’t let the builder choose it for you because he’ll have to second guess what you actually want. So the more involved you are in
choosing door handles and the like, the more you’ll know what you’ll end up with. We picked lighting, glass, a lot of effort went into determining exactly what we wanted, not just an impression.
For quotes, three is the magic number. There is such a thing as getting too many prices; after a while the same prices will come back to you. And as you go on, you will get an idea of the value of things. You do get clued in and you’ll get a sense if you’re being charged too much or just about right.
Make a diligent search for good tradesmen. Go and see their previous work, get comparative quotes based on a specification.
Suppliers for value added extension
Planning consultant and architectural designer: Colin McAuley, Colin McAuley Planning, Belfast, tel. 90 489441, colin@colinmcauleyplanning.com
Building, construction, joinery and landscaping: Kevin Horner, K Horner Building & Joinery, Comber, khorner@hotmail.com
Plumbing and heating: D. Glavin Plumbing & Heating
Kitchen: Clive Lonsdale, Lonsdale Kitchens, Belfast, tel. 90 657373
lonsdale.kitchens@gmail.com
Staircase: Colin Millar, Millar Woodcraft, Randalstown, millarwoodcraft.co.uk
Aluminium windows and doors: Derek Carroll, Carroll’s Glass, Belfast,
tel. 90 481116, carrollsglass.co.uk
Interior design: Jane McSherry, Belfast, janemcsherry@hotmail.com
Furniture and interiors: Keens Furniture, Belfast, tel. 90 453310,
keensfurniture.com
Photography: Christopher Hill Photographic, scenicireland.com