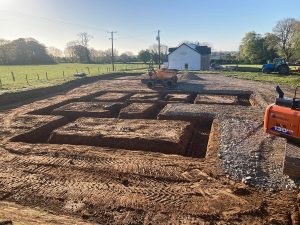
Your foundation type will have been chosen at this stage.
Your foundation type will have been chosen at this stage. The process for a standard foundation will usually involve your engineer specifying your foundation system, including specification for the concrete and reinforcements. Specialist foundations, e.g. piles or insulated foundations, will be contracted out to a specialist company which will have their own engineer make the specifications for you.
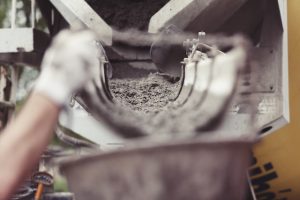
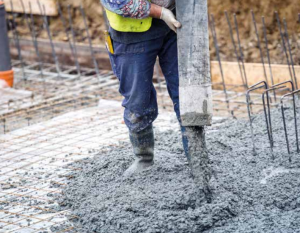
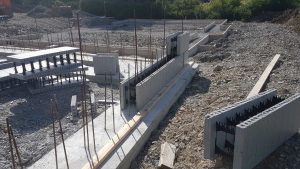
For standard foundations, your engineer will call to site to check all is proceeding as planned. You will also need the building control inspection (NI) and your certifier (this may be your engineer) check this stage. Concrete will usually have to be ordered from a truck; depending on access if the truck cannot get to the location you will need to separately hire a pump/extension from the truck to site. Reinforcement usually comes in the form of steel, colloquially known as rebar, and this can be ordered from the builder’s merchant.
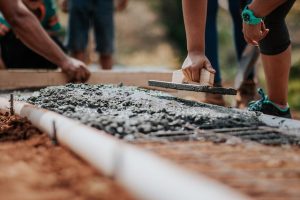
Once the foundation is in, you will follow your engineer’s specification for the subfloor and depending on ground conditions, this might require reinforcement with bar or mesh. Before pouring the concrete slab (subfloor), the groundsman will need to install piping for the kitchen and bathroom waste at the correct location, plus any ventilation for the extractor hob if going in the floor, as well as waste pipes for the washing machine. All of this should be on your plans but best to also check with the plumber and electrician.
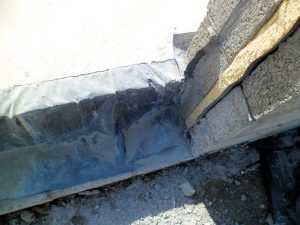
The groundworks contractor must also install the radon sump if one is needed and an external air supply if you plan to install a stove or other combustion appliance. Check the need for another outlet for your hob extractor, depending on the type you choose. You may or may not be able to run the rest of your services in the screed, depending on depth, so make sure everything is accounted for. If you need to cut the radon barrier for the pipes, you will need to seal the barrier back up with proprietary clips ,‘top hats’ and an approved adhesive system.
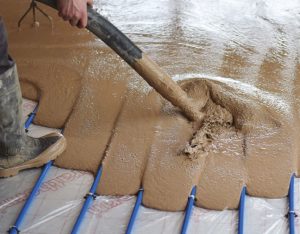
Remember that any wet pour, for slab or screed, will require drying out time depending on type and thickness. Check in advance how long yours will take; once poured you will be able to check moisture levels with a meter.
The rule of thumb is not to start painting or applying undercoats until the floors and plaster on wall have dried (although some argue it’s a good idea to paint when the plaster is still wet). It can take a day per mm of thickness to dry with cross ventilation (windows and doors open) but this will depend on many factors so check with your screed manufacturer.
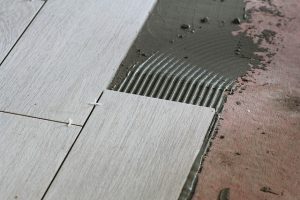
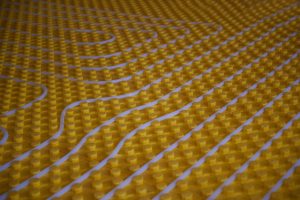
Tilling requires gradually heating the screed before application, i.e. the underfloor heating will need to have been commissioned. Some additives may help reduce drying times, and when laying tiles on anhydrite screeds, the surface must firstly be primed with a calcium sulphate screed compatible primer in accordance with the tile adhesive manufacturer’s guidance.